
Italian Rainbow Cookies

In honor of pride month, I thought I would share how to make fabulous rainbow cookies.
Italian rainbow cookies feature cakey almond cookies layered with raspberry jam and topped with chocolate. Classically, rainbow cookies are layered with green, white, and red cookies to represent the Italian flag, but for pride month I’m going to go full rainbow by making 6 colors out of it.
I think they’ll be pretty and delicious and I can’t wait to get started!
One key ingredient for Italian rainbow cookies is almond paste. As the name implies, almond paste is almonds ground up with sugar to form a thick paste.
Almond paste can be found in the baking goods in any grocery store, usually near pie fillings, nuts, and chocolate, but it is possible to make your own almond paste by grinding almonds with powdered sugar, egg white, and almond extract in a food processor.
By the way, a similar almond product, marzipan, has a higher sugar content and a finer consistency than almond paste, giving it a similar consistency to Play-Doh, so it’s ideal for molding and creating little edible sculptures.
In a pinch, you could use marzipan instead of almond paste, but it can affect the final texture of your cookies and given marzipan’s higher sugar content, you may need to use less sugar when making the cookies.
Italian Rainbow Cookies
Cooking spray
1 cup of sugar
1 (8-ounce) container of almond paste
3 sticks of unsalted butter, softened
4 eggs, separated
1/4 cup of milk
1 teaspoon of almond extract
1 teaspoon of vanilla extract
2 cups of flour
Red, yellow, and blue gel-based food coloring
1/2 cup of raspberry jam, or any tart jam that you like, divided
1 1/2 cups of semisweet chocolate chips
Step 1: Start the creaming process
Preheat the oven to 325 degrees and line 2 large baking sheets with parchment paper.
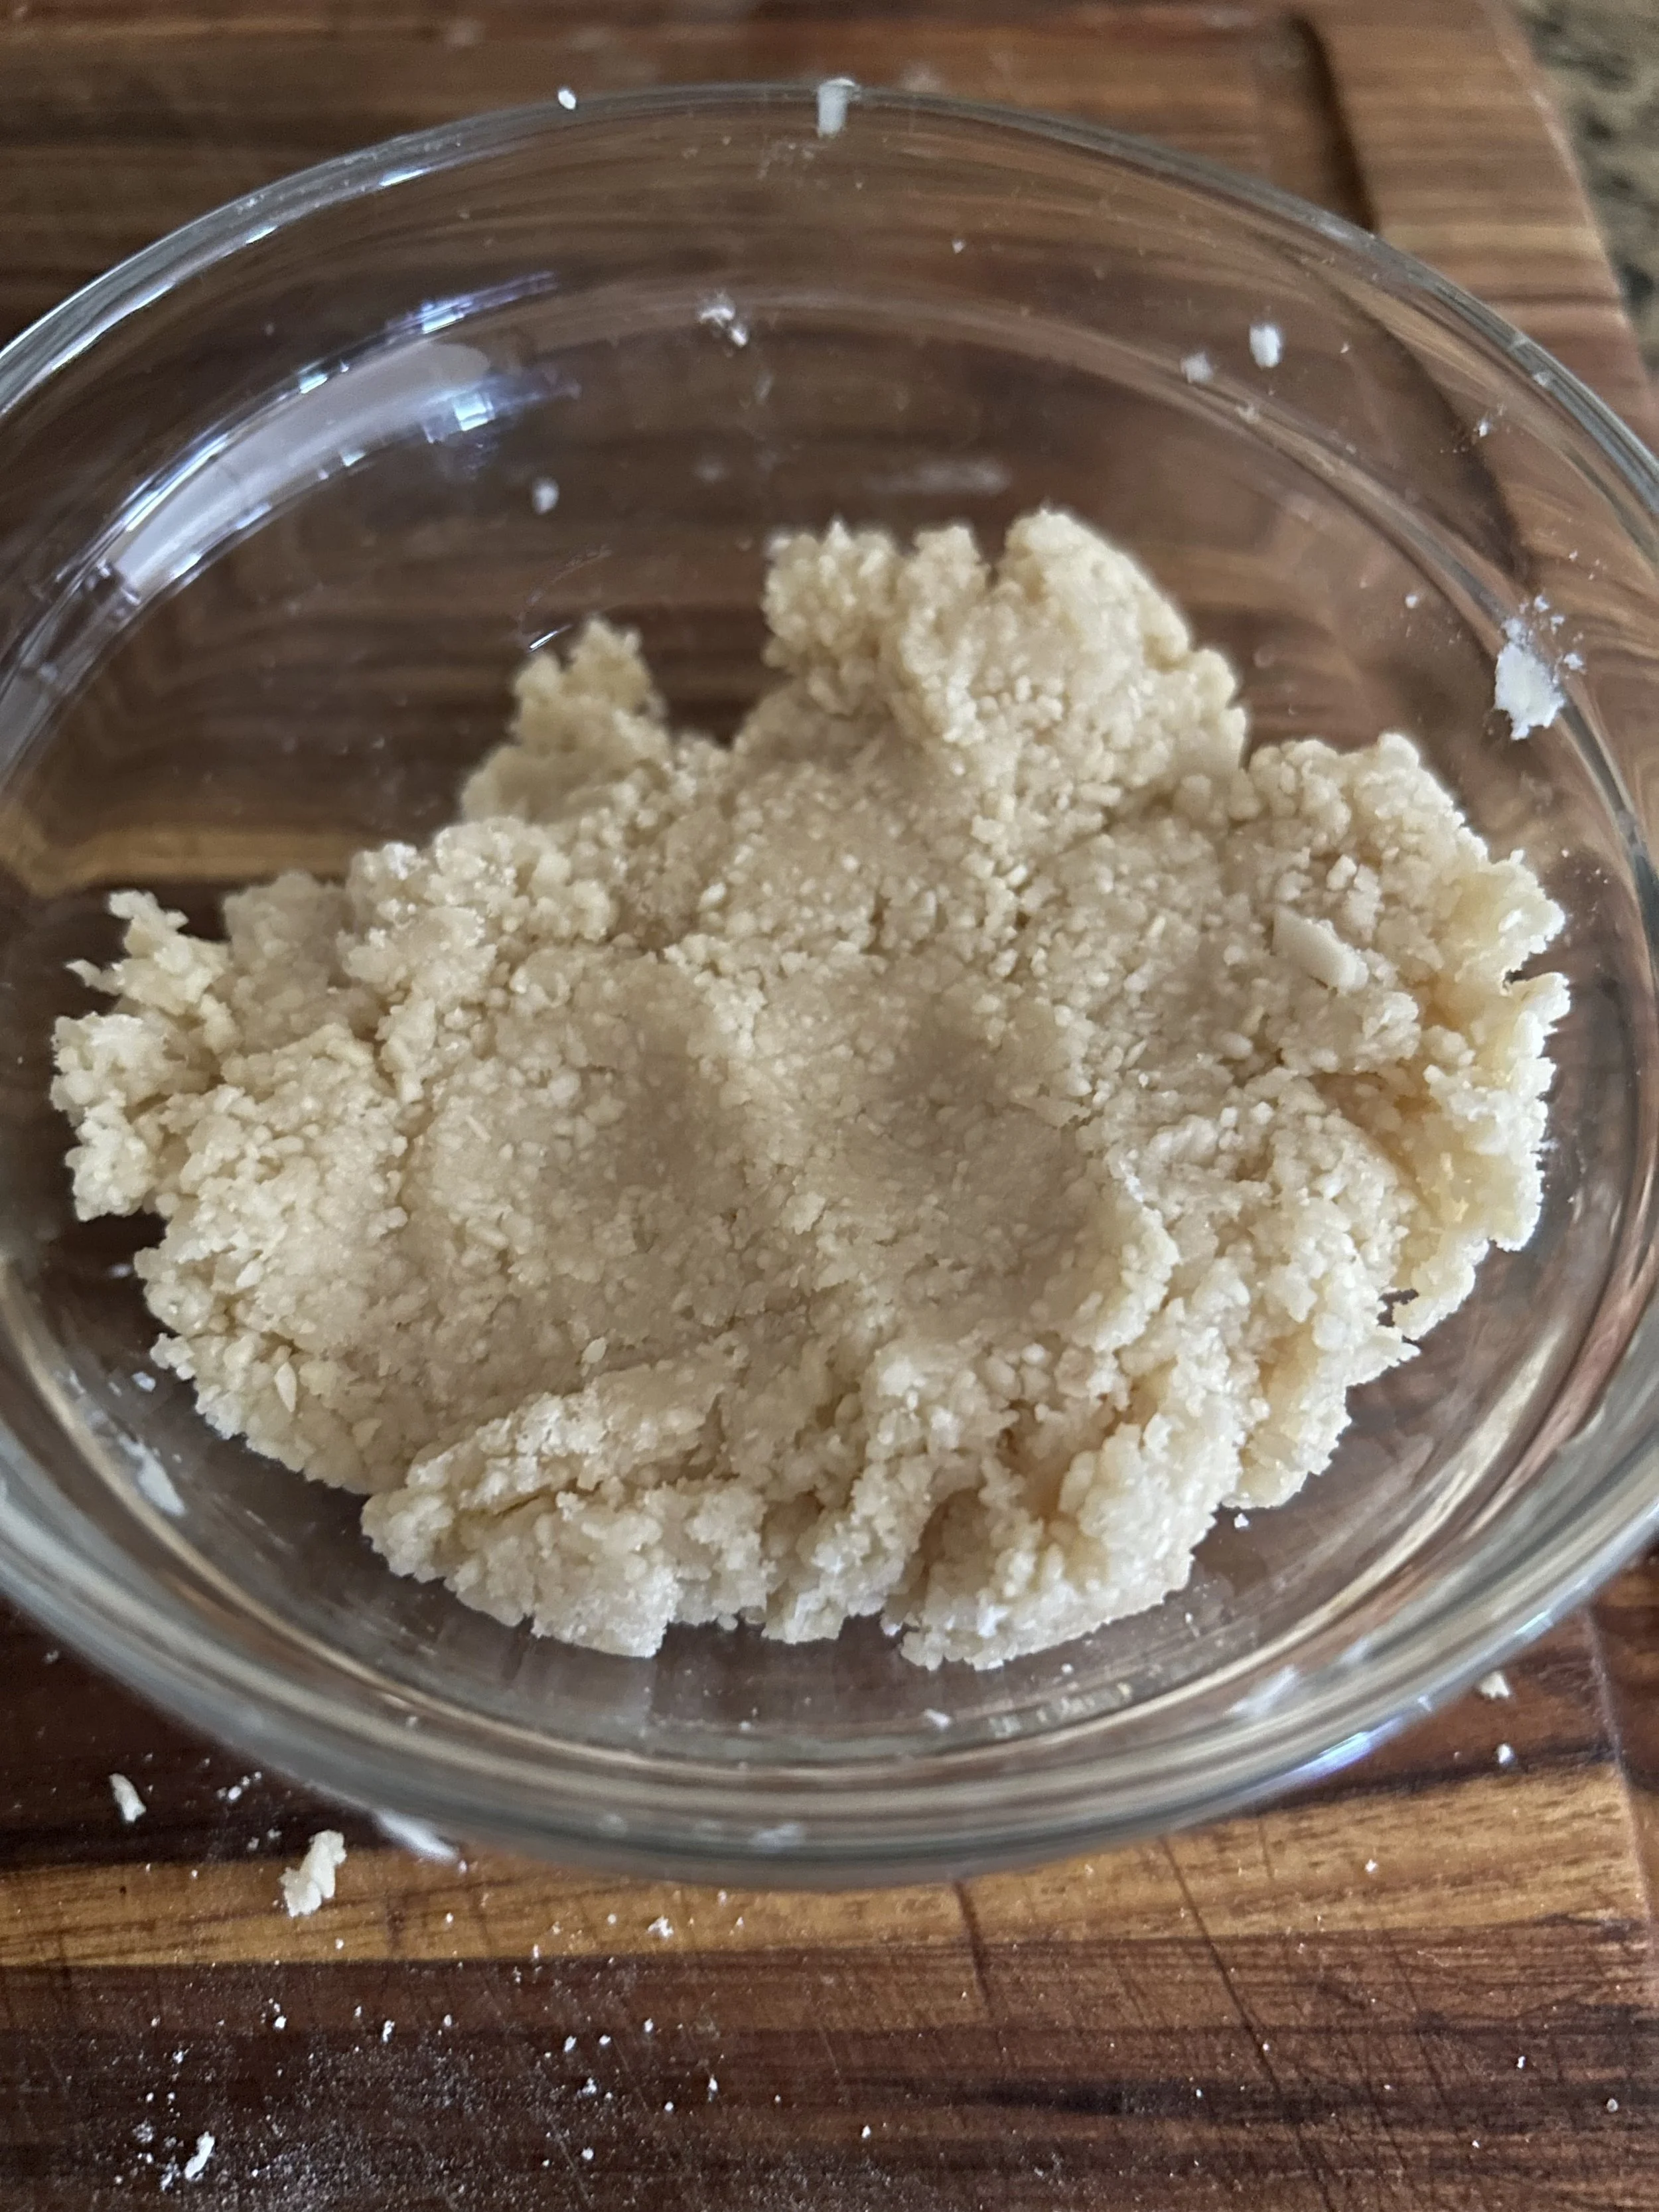
In the bowl of a stand mixer, beat the sugar, 1 stick of butter, and almond paste for about 2 minutes, or until fully combined. You want to beat this very generously to get rid of any clumps of almond paste, it helps to crumble the paste before adding it to the mixer.
Once it’s fully combined and the almond paste has broken down, add the remaining 2 sticks of butter and beat until fully combined, scraping down the sides of the bowl as needed.


Step 2: Add the remaining ingredients
Add the egg yolks, one at a time, beating until fully combined after each addition, then add the almond extract and milk.
Add the flour and slowly mix until fully combined. Be careful not to over-mix once you add the flour.


Step 3: Make your egg cloud
In a separate bowl, whip the egg whites with an electric beater until firm peaks form, then gently fold them into the batter until smooth and combined.


Step 4: Color and bake the batter
Divide the batter into 6 small bowls as evenly as you can, then color each portion red, orange, yellow, green, blue, and purple.
(Here is how much food coloring I ended up using for each color.
Red: 4 drops of red
Orange: 2 drops of red and 3 drops of yellow
Yellow: 4 drops of yellow
Green: 2 drops of blue and 4 drops of yellow
Blue: 3 drops of blue
Purple: 1 drop of blue and 2 drops of red)
Spread into an even layer on the prepared sheet pans, then bake for 10-12 minutes, or until the batter is fully set. Let it cool on a wire rack.

Step 5: Assemble
Once cooled, spread some of the raspberry jam onto the red layer, then lay the orange layer on top, sandwiching the jam in between the red and orange layers, and repeat with the remaining jam along with the yellow, green, blue, and purple layers.
Cover the cake with plastic wrap, then use another sheet pan to weigh it down. Move to the fridge, and let it chill for at least 4 hours, but overnight would be best.


Step 6: Apply the chocolate
Melt the chocolate in the microwave at 15-second intervals, stirring between intervals until thoroughly melted.
Remove the weight and unwrap the cake. Spread half of the chocolate on top of the cake, then return to the fridge and chill for 30 minutes, or until the chocolate is set.
Invert the cake onto another sheet pan so that the red layer is on top, then spread the remaining chocolate on top.
(If you want to, you can drag a serrated knife along the chocolate in a diagonal pattern to create a nice design. You will want to do this quickly, as the chocolate will harden quickly.)
Return to the fridge and chill for an additional 30 minutes, or until the chocolate is set.
Trim the edges off the cake, then cut it into a 3x5 grid. Don’t throw away those scraps, by the way, that’s the baker’s snack. :)


Not only do these rainbow cookies look beautiful and have all of the wonderfully vibrant colors of the rainbow, but they taste even more incredible! Almond, raspberry, chocolate, it’s a classic flavor combination but it works!
