
YPDIW: Risotto
Risotto is one of the best rice dishes in the world. Plump, tender rice in a creamy, velvety sauce made with the rice’s starch and a liquid, usually in stock or broth.
I will not lie that risotto is tricky to master; the rice could be mushy, undercooked, gluey, and a hot mess in a bowl. So today, I would like to share how to make delicious risotto at home that will guarantee to impress your loved ones.
As always, just a reminder to share this blog with your friends, family, or strangers and spread the love!

Believe it or not, the biggest mistake people can make when making risotto is also the smallest, the rice. Rice is, without question, the most essential component of risotto, as riso is the Italian word for rice.
People think they can use plain, long-grain white rice such as basmati or jasmine. The issue with long-grain rice is that it has nowhere near the starch content to form risotto’s signature creamy texture.
What you want to use is starch-filled short-grain rice, such as arborio; this type of rice tends to absorb liquid slower and will guarantee a creamy risotto.

Also, refrain from rinsing your rice. I understand that many people will tell you to rinse the rice under cold water until the water turns clear to remove as much excess starch as possible.
If we’re making sushi or cooking rice as a side dish, this is fine, but with risotto, you want as much starch as possible to create a creamy consistency, so please don’t rinse your risotto rice.

Something else that can easily be messed up is not using the right stock or broth. If you don’t use enough liquid, the risotto will be dry, but if you use too much, you’ll end up with rice swimming in a pool of stock.
For the risotto, the general rule is to use a 3:1 ratio of liquid to rice; I know that sounds like a lot of liquid, but you need it to help form that creamy texture.
Another mistake that people often make is adding cold liquid to their rice as it’s cooking. What that does is it brings down the temperature of the risotto and therefore slows down the cooking process, making the risotto take twice as long to cook.
To ensure that your rice cooks evenly, heat the liquid to a gentle simmer in a small, separate saucepan. Also, you can use this time to check the seasoning of your stock because the point of using the stock is to help season the risotto as it cooks.

For this reason, I like to start with more liquid than I think I’ll need. Remember, you can always add more liquid to risotto if you need to thin it out, but you can’t take it away.
A quick tip: For a faster-cooking risotto, try par-cooking the rice in equal parts liquid and rice before dumping it onto a sheet pan and letting it cool before making the risotto. It’s how risotto is done in restaurants and is a real time-saver.
To get started, take a shallow, wide pan and start sautéing down some aromatics in olive oil; I like using diced onions, carrots, mushrooms, fennel, garlic, and any aromatic vegetables I happen to have.
You do want to use as wide of a pan as you have because that will give the starch in the rice some room to expand and prevent the rice from clumping together.
Once the vegetables start to soften, it’s time to add the rice. You’ll want to let the rice cook for about a minute to toast it and give it more flavor.
At this point, I might also add a splash of white wine for some pleasant acidity to balance out the risotto.

Once the wine has evaporated, it’s time for the most crucial part of making risotto, adding the liquid and stirring constantly. Unfortunately, many things can go wrong with this all-important step.
If you add too much liquid at once, or if you don’t constantly stir the risotto, the rice will absorb too much liquid and turn to mush; if you don’t add enough liquid, the cooking process of the rice will be slowed, and it will take longer to cook. If your heat isn’t high enough, the rice will sit in the liquid and take longer to cook.
Turn the heat up to medium, add enough stock to cover the rice, then constantly stir the rice with a wooden spoon, ensuring the liquid is at a constant simmer.
That constant stirring is essential because it beats out the rice’s starch and builds towards risotto’s signature creaminess. However, it’s not the end of the world if you pause for a minute to give your arms some rest.

Once the first addition of liquid has almost been absorbed, and the rice starts to pop up from under the surface of the stock, add more stock and repeat this step until the rice is fully cooked.
I suggest tasting the rice before each addition of stock, as that will help you know if it is done.
Once the rice is cooked and the liquid has thickened, take it off the heat, put a lid on top, and let it sit for about 10 minutes. Doing this will relax the rice and ensure the risotto is even creamier.
If you want to add peas to your risotto, something that is very nice to do now would be a good time to do so as the peas can slowly heat in the hot rice as it’s resting.
Once the risotto is rested, add a few tablespoons of butter or olive oil and a generous amount of grated parmesan; doing this will make the risotto even creamier, and the parmesan will help to season the risotto at the end.

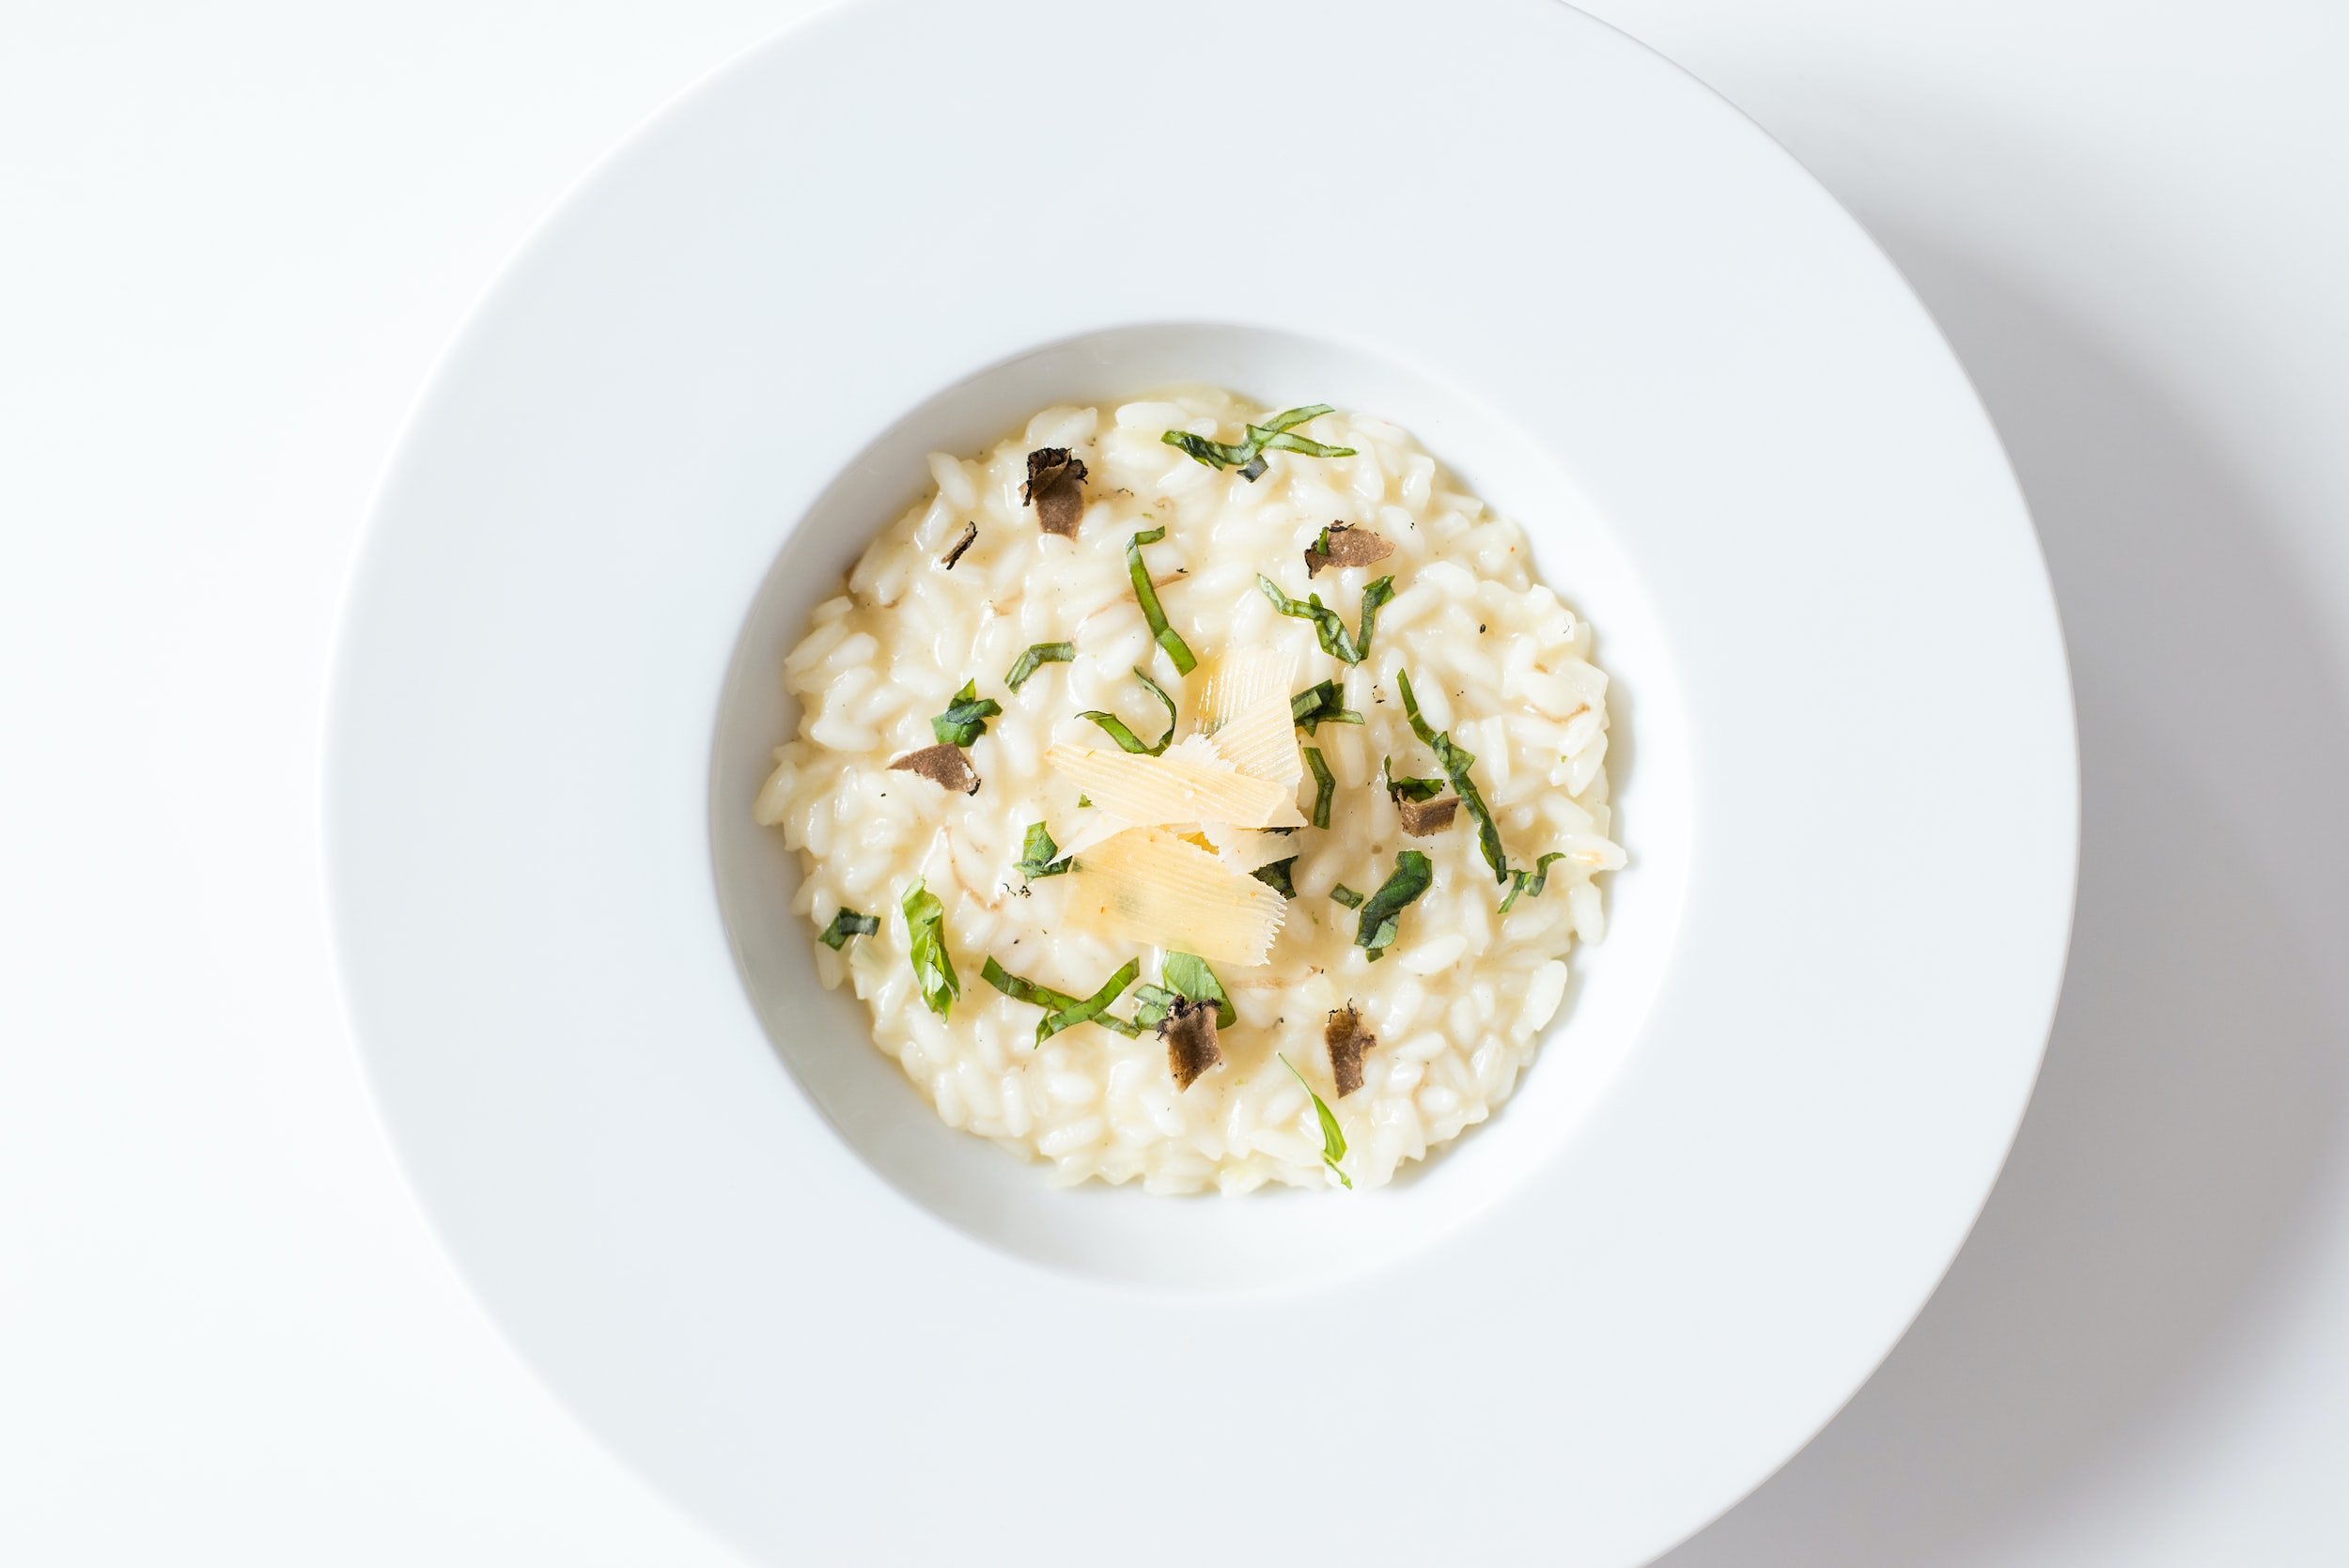
As for plating, the classic Italian thing to do is dump enough risotto into your serving bowl to fill the center, then tap the bottom of the bowl with your hand to spread the risotto to the edges. Garnish with some chopped herbs and parmesan, and you are done!
If you have done everything right, you’ll have creamy, velvety, perfectly-cooked risotto that you want to have as your main course.