
Is this 150 hour chocolate cake worth it?
Here we are again, me attempting to make a dish that takes a borderline insane amount of time to make and seeing if it really is worth it. Why do I do this? I don’t know, maybe I just find myself with too much free time these days. I mean, it’s not like I’m physically writing articles every minute of every hour of the day, I’d probably have to replace my fingers if that was the case.

As you likely guessed from the title of this article, I will attempt to make a chocolate cake that will supposedly span across 150 hours, or a little over 6 days. A recipe, once again, brought to me by Alvin Zhou.
Alvin, if you are currently reading this, I just want to say thank you for giving me chance to go on these culinary journeys and giving me something extra to do.
So this chocolate cake that I’ll be doing will feature a very rich chocolate cake batter laced with a touch of a brown butter fat-washed honey bourbon (A mouthful if I’ve ever seen one), more on that later, then rather than your traditional buttercream it will be frosted with a mousse made with a coffee-infused cream.
I’m sure there are other components that I am forgetting at this time, but I think it would be best to just get to the recipe. Once again, Alvin never actually dropped a recipe for this cake, so I will be basing this on what I see him do in the YouTube video that he made.
Also, I’ll be keeping with the ingredients he used but change up the technique just a little bit just because I’m not the best baker and I wanted this recipe to work for me. Also, I’ll be doing a half recipe because…I live alone.
However, if you’d like to check out the original recipe, I’ll put a link down below.
Serves 8
Difficulty: Intermediate
Time: Read the title
For the Brown Butter-Bourbon Infusion (try saying that five times fast):
1 1/2 sticks of unsalted butter, thinly sliced
1-2 ice cubes
1/2 bottle (375 ml) of honey bourbon (see note)
1 tablespoon of Instant espresso powder
For the Coffee-Cream infusion:
2 cups of coffee beans
2 cups of heavy cream
For the Cake Batter:
3 whole eggs
1 1/2 cups of brown sugar
1 tablespoons of vanilla paste/extract
1 1/2 cup of cold brew coffee
1 1/2 cups of flour
1 1/2 cups of cocoa powder
1/2 tablespoon of salt
1 tablespoon of baking soda
8 ounces of bittersweet chocolate, cut into large chunks
For the Chocolate Mousse Icing:
3 egg yolks
1 tablespoon of brown sugar
1 tablespoon of vanilla paste/extract
2 bars of semisweet chocolate, cut into large chunks
1 cup of heavy cream
1/2 cup of powdered sugar
For the Hot Chocolate Soak:
1/2 cup of milk
1/4 cup of semisweet chocolate, chopped fine
1 1/2 teaspoons of brown sugar
For the Ganache Pour:
1/2 cup of bittersweet chocolate, roughly choppped
2 cups of chocolate chips, for decoration
*In the original video, Alvin uses a Japanese honey bourbon which supposedly it has notes of honey, orange and vanilla, all of which go great with chocolate, after all that’s the real goal here is making the cake taste as chocolatey as possible.
Now, that honey bourbon is a bit on the top-of-the-shelf side of the booze world and is a bit hard to find, so any honey bourbon or whiskey that you like will work well for this.
Step 1: Make the Brown Butter-Bourbon Infusion
Dump the butter into a wide frying pan, then melt the butter over medium-low heat, stirring frequently. Continue to cook the butter until it turns a nut-brown color and smells nutty. (Tip: A stainless steel pan is preferred for this so you can see the progress of the butter easier)
Turn off the heat, then add the ice cube to stop the butter from getting too dark. The butter will get very foamy and hiss at you, so be careful.
Pour the bourbon into a glass jug or any heatproof container with a wide opening. Pour the brown butter into the bourbon and stir to combine. This technique is known as fat washing and it’s going to bring out lots of wonderful flavors in the bourbon. Let that cool while you make the coffee-cream infusion.


Step 2: Make the Coffee-Cream infusion
Dump the coffee beans into a container big enough to hold them. Pour in the cream and stir for a bit to ensure the beans are almost submerged.
Cover both the bourbon and cream mixture tightly with either a lid or plastic wrap, then transfer both to the fridge to infuse. The bourbon will be infusing for 2 days while the cream will infuse for 4. Give the cream a shake now and then just to ensure the coffee beans stay submerged.


(2 days later)
Step 3: Filter the bourbon and finish the brown butter
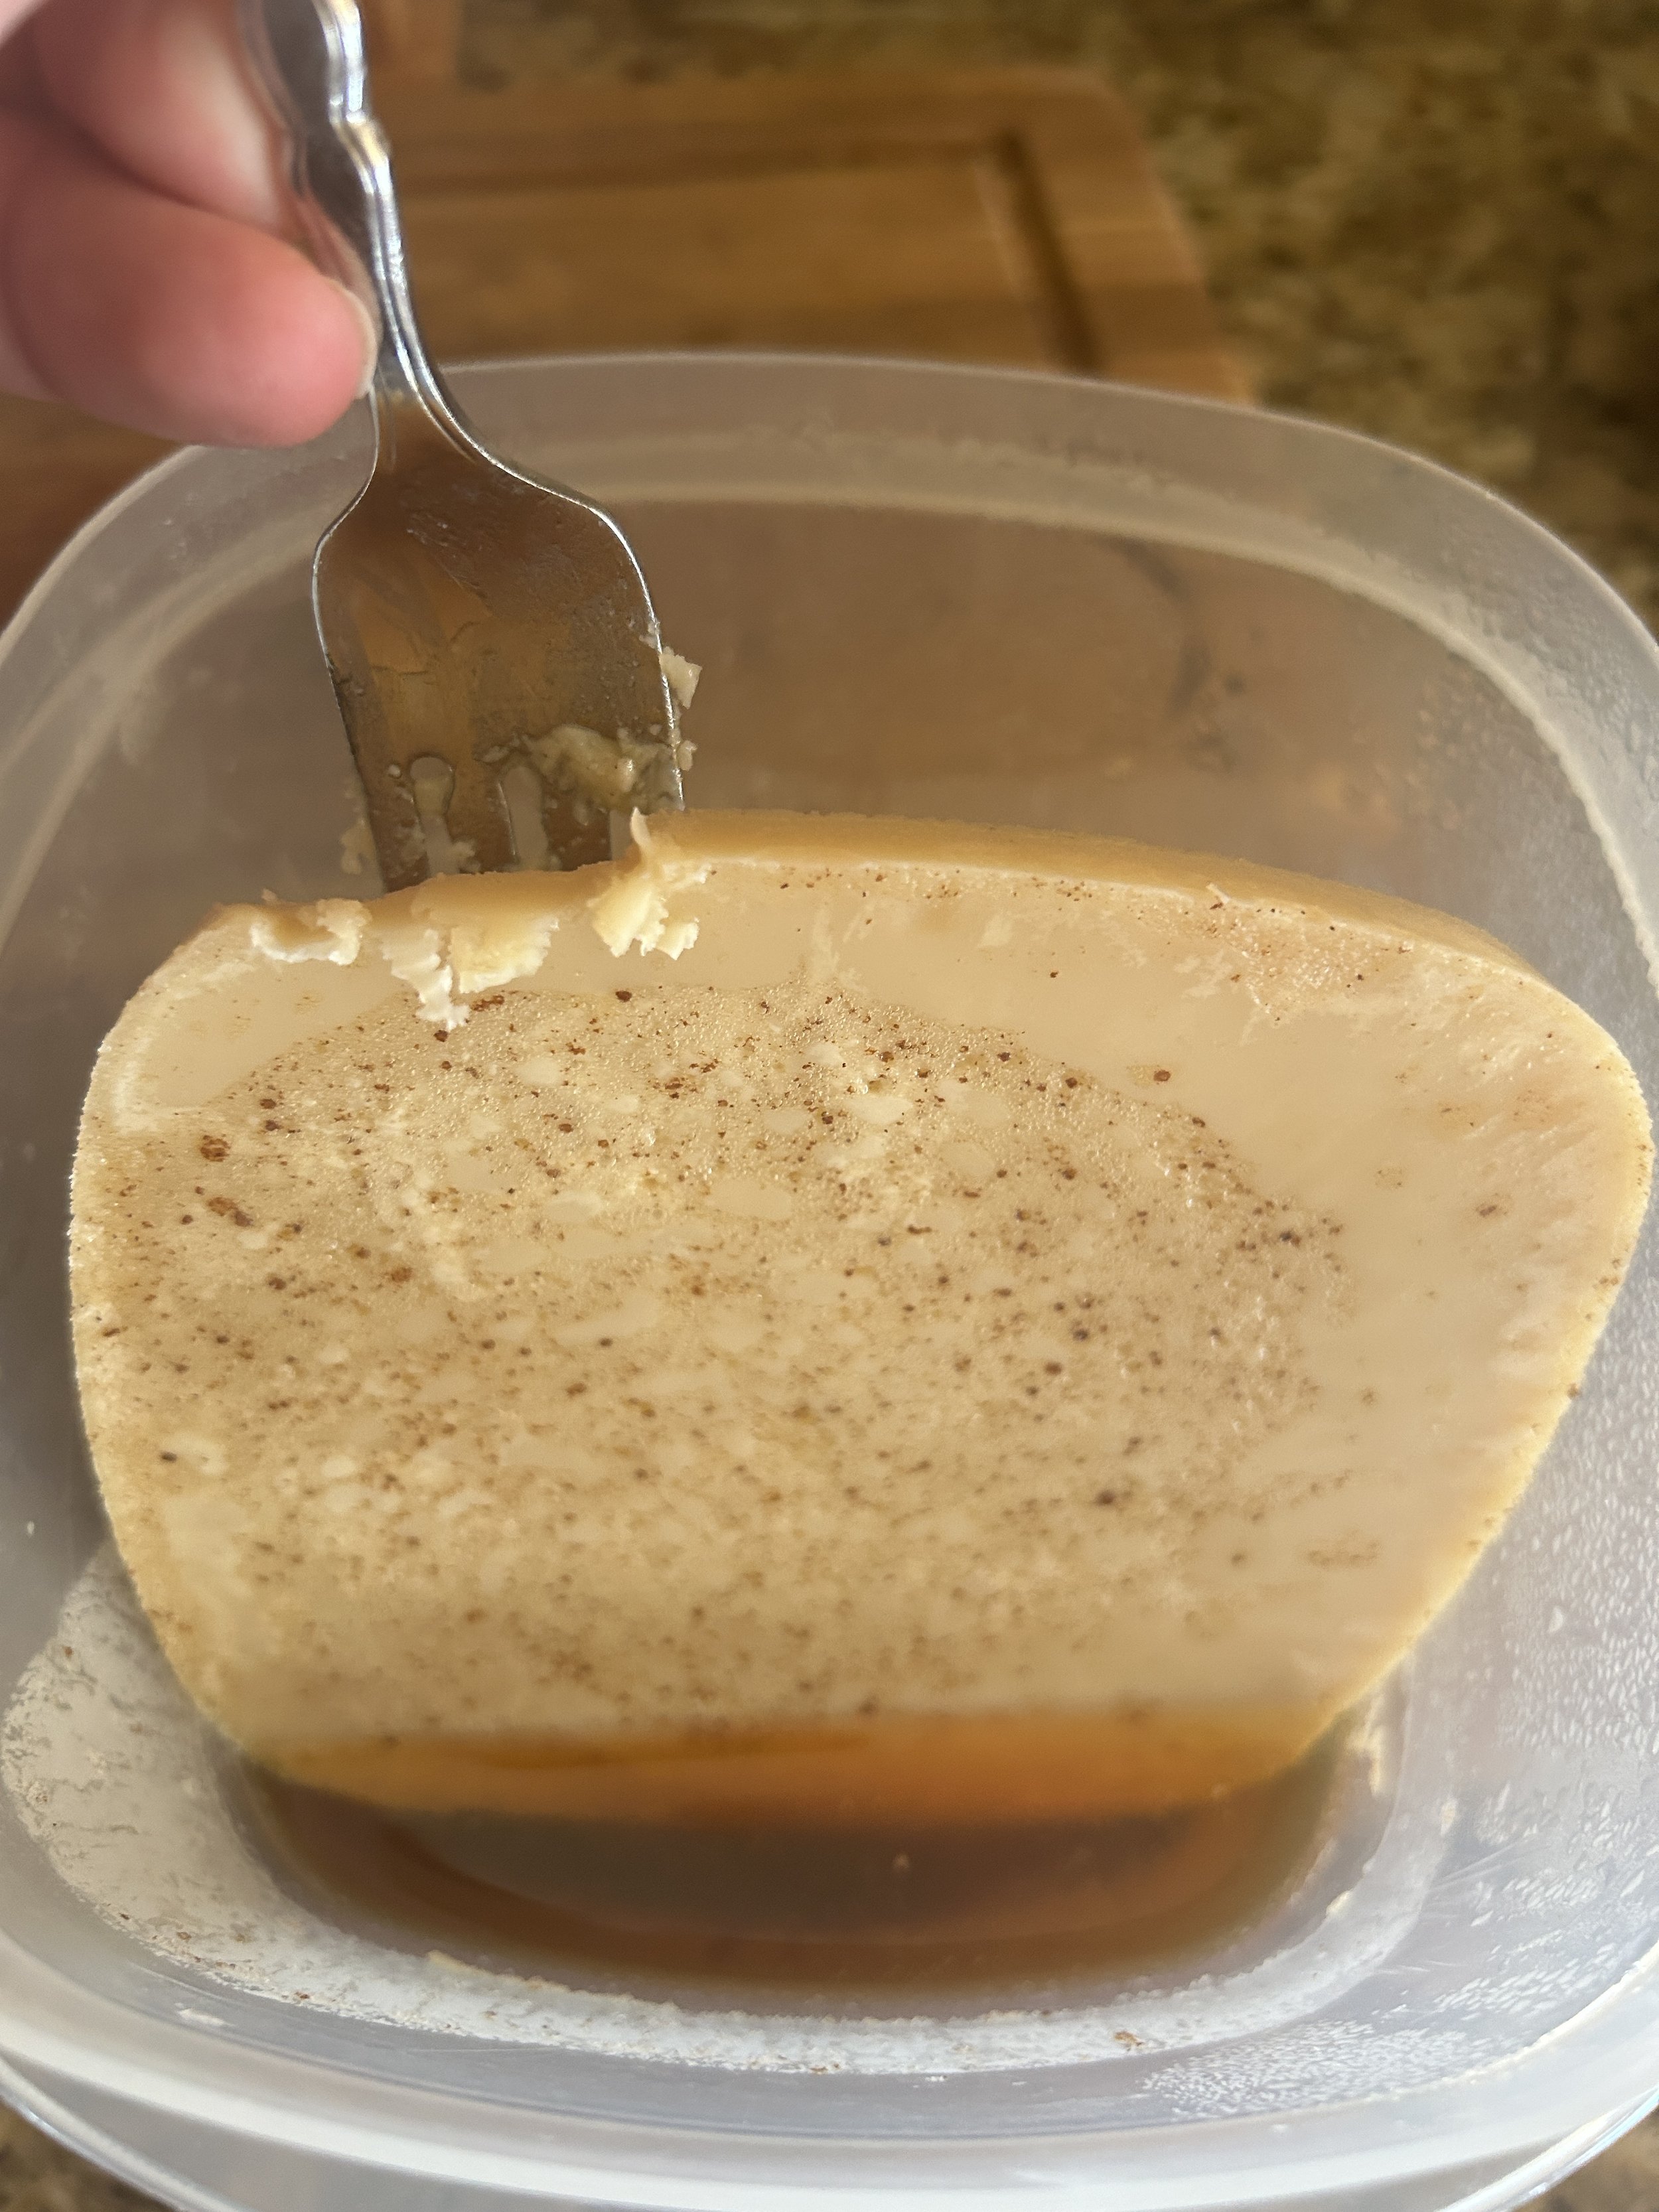
Take the infused bourbon out of the fridge, you’ll notice that the butter has solidified into a disc on top, this is normal. Do your best to remove that butter disc from the bourbon, it’s pretty solid so you might need to get a knife in there or something like that. Place that butter disc into a medium saute pan, then set aside.
Fold a coffee filter into a cone shape (Or line a strainer with one) and place that over a bowl or an empty jug that has a lid. Pour some of the bourbon into the filter and leave that to drip and filter down into the bottle.
Once all of the bourbon has been filtered, dump any brown solids from the butter into the pan with the butter disc. Melt the butter disc over low heat, then stir in the espresso powder. Cook that for another minute, or until the espresso smells very toasty, then remove from heat and let that cool while you make the cake batter.


Step 4: Make the Cake Batter
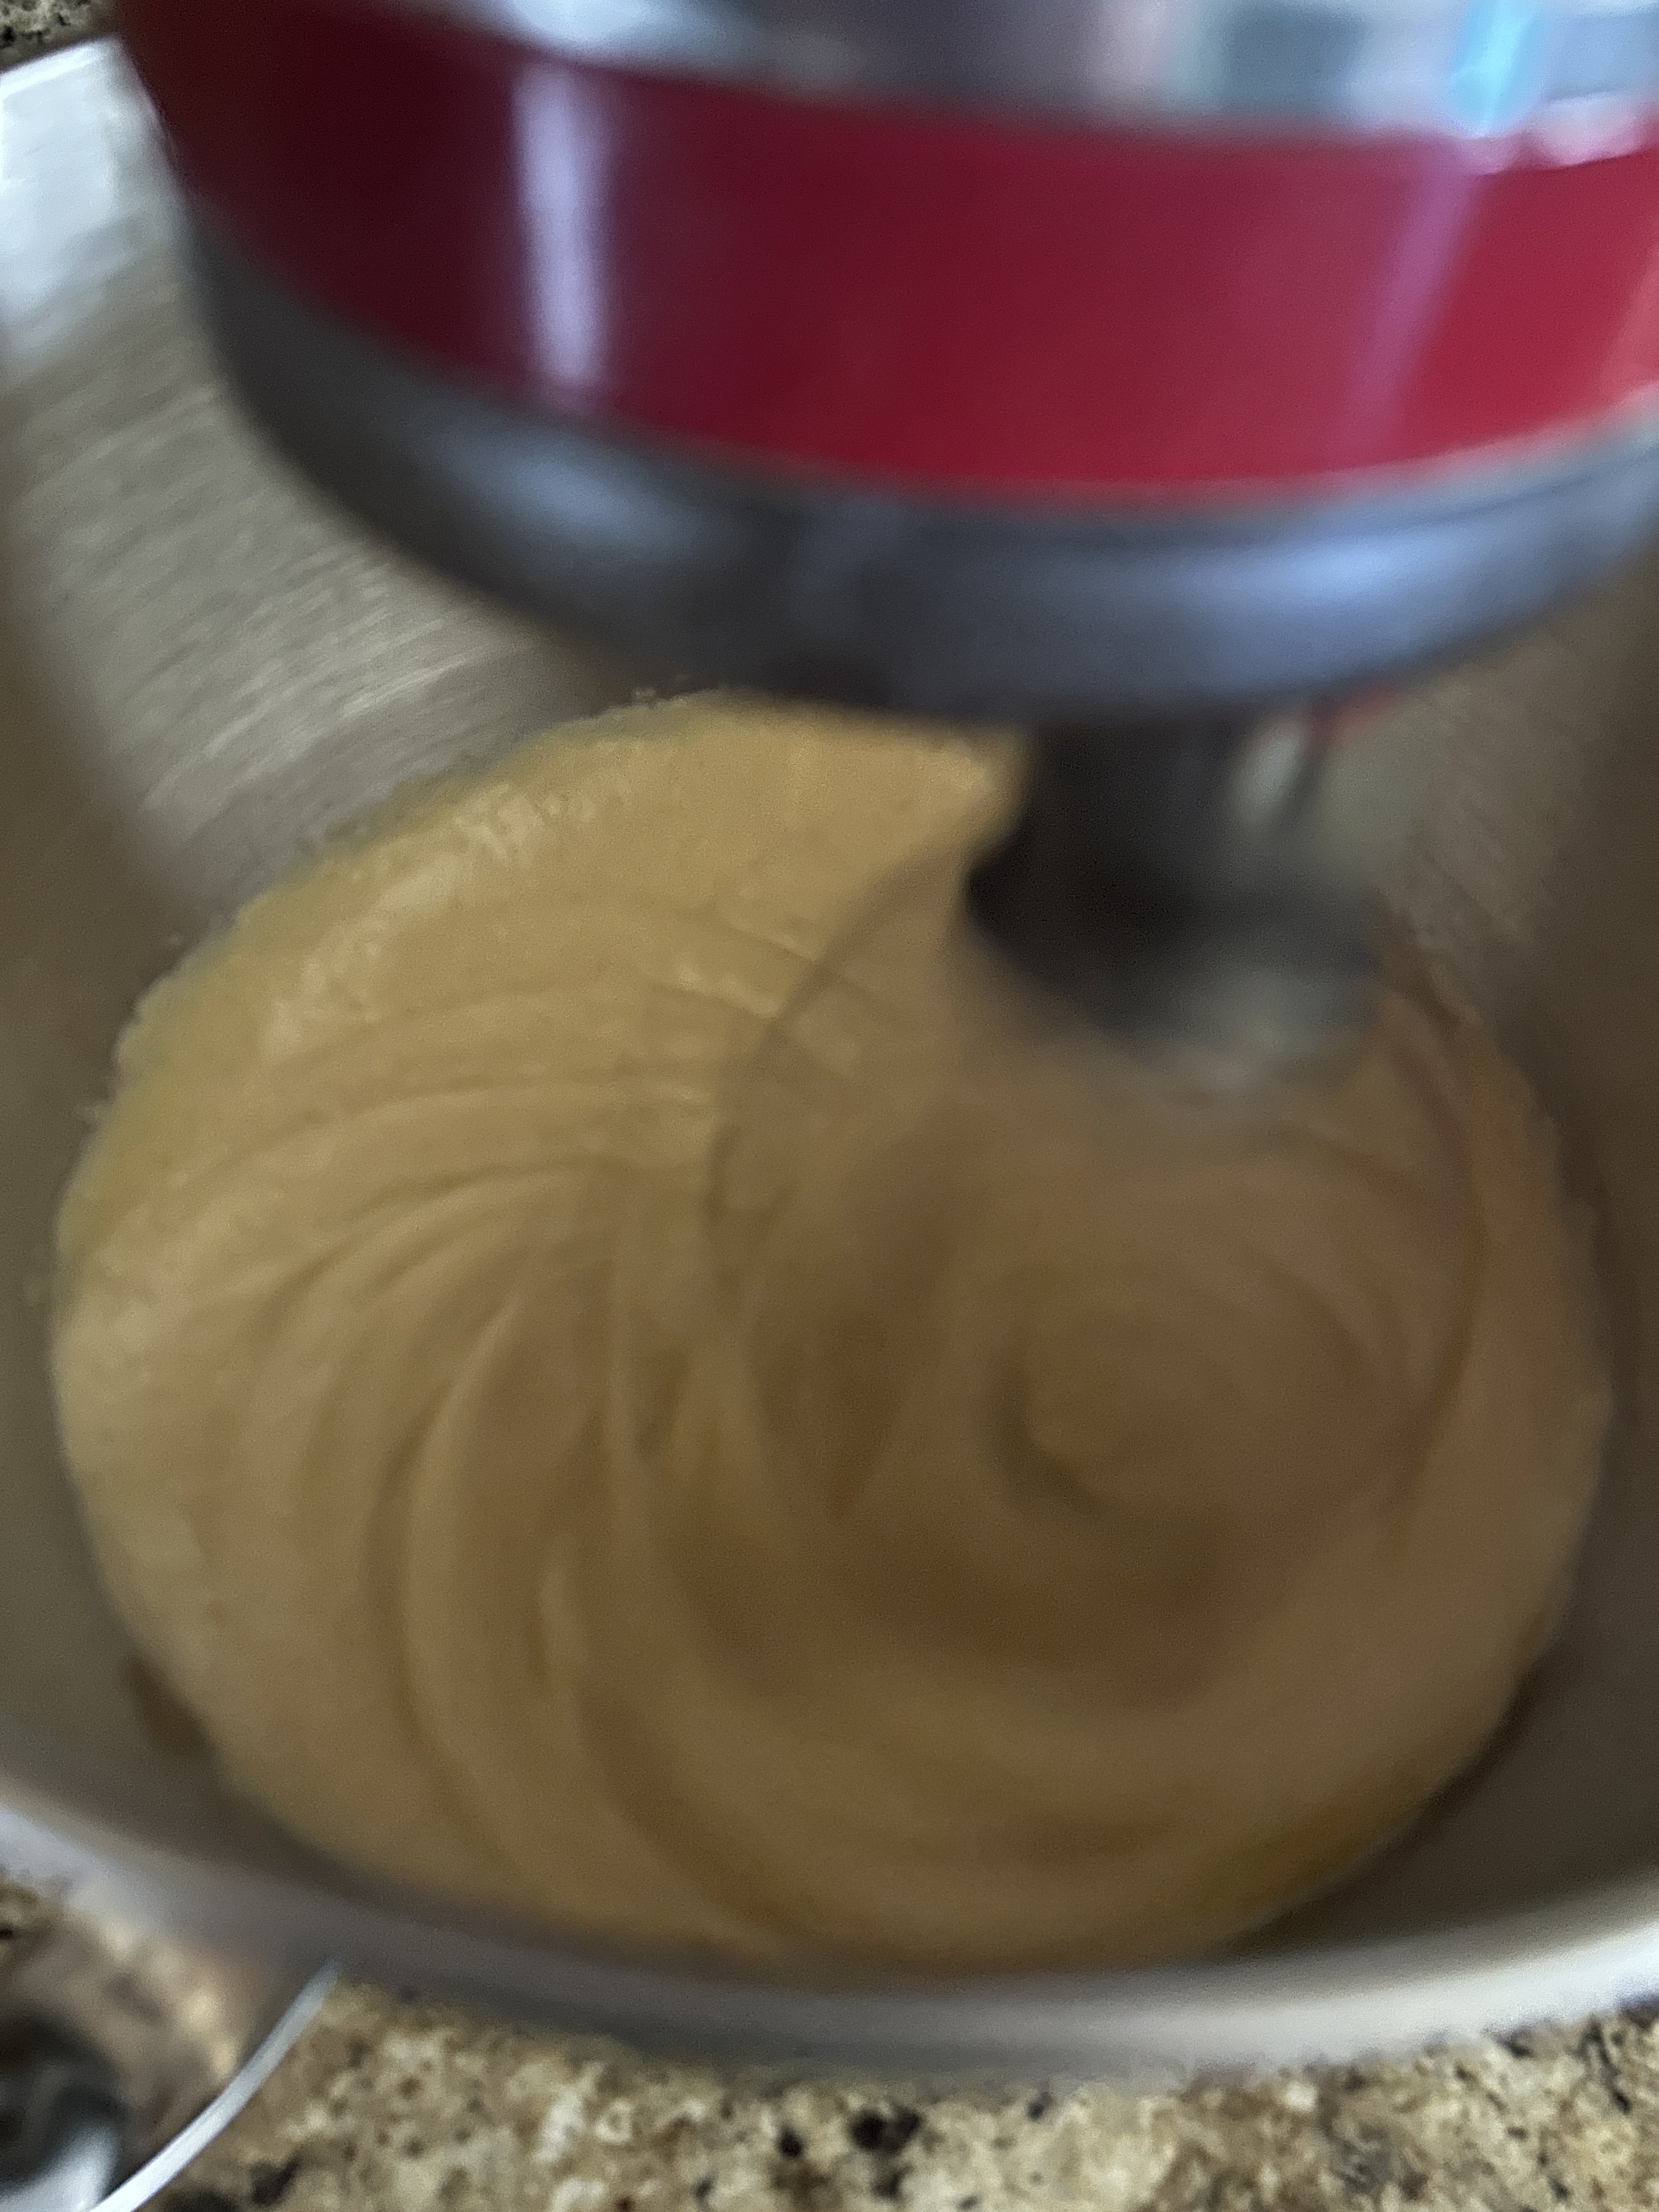
Crack the eggs into the bowl of a stand mixer, then add the brown sugar and vanilla paste.
With a whisk attachment, beat the eggs and sugar with medium speed for about 5 minutes, or until the egg mixture becomes pale and have nearly tripled in volume. Turn the mixer down to low, then slowly pour in the still warm brown butter so it can emulsify with the eggs. Add the cold brew and 2 tablespoons of the infused bourbon.
(Any remaining bourbon is yours to keep. It makes wonderfully sweet, nutty, slightly buttery Old Fashioned.)
Dump in the flour, cocoa, salt, and baking soda then gently fold to combine. Finally, stir in the chopped chocolate.
Pour the batter into a large baking sheet lined with parchment paper and spread into an even layer. Cover the pan with plastic wrap, then transfer the batter to the fridge and let it rest for two more days. Resting your cake batter isn’t necessary, but it will allow some of the strong flavors to mellow out.


(2 days later)
Step 5: Bake the cake
Preheat the oven to 350 degrees and let the cake batter come up to room temperature.
Bake the cake for 25 minutes, or until a toothpick inserted into the center comes out clean. Allow the cake to cool completely, then use a 9-inch cutter (or use the bottom of a round cake pan as a guide) to cut two large circles out of the cake. Any scraps is your snack.


Step 6: Make the Mousse Icing Base
While the cake is baking, remove the infused coffee cream from the fridge, then pass that through a strainer into a large bowl. Discard the coffee beans. (If the cream seems a bit thick, warm it in the microwave for about 30 seconds. It’ll pass through the strainer a lot easier.)
In a saucepan, whisk together the egg yolks, brown sugar, and vanilla until combined. Add 1/2 cup of the coffee cream, then heat over medium-low heat, stirring frequently, until the mixture thickens up and looks more custard-like. Remove from the head, then add the chocolate and stir until melted and combined. Allow that to cool completely.


Step 7: Make the Hot Chocolate Soak
Warm up the milk in the microwave or a saucepan until hot but not boiling, then pour that over the chocolate and brown sugar and stir until the chocolate is melted. Let that cool completely.


Step 8: Finish the Mousse Icing
Beat the heavy cream (Not the coffee-cream) with the powdered sugar with an electric beater until stiff peaks form. Stir a little bit of the whipped cream into the chocolate mixture to loosen, then gently fold to combine. Chill for about 2 hours so it can firm up a bit.
Since the coffee-cream has such a strong coffee flavor, I figured using regular cream for this would help mellow that out.


Step 9: Assemble the Cake
(Alright, I never said I was perfect. I think I ended up putting too much liquid into my cake batter and as a result the cake became very tender, to the point where it was very difficult to remove it from the pan, in fact my bottom layer almost completely crumbled.
It’s still a tasty cake, and I was able to get the frosting on smooth, I just wish that the cake had stayed together better.)
Wrap either a sheet of acetate or a strip of parchment paper around the inner sides of a springform cake pan or a 9-inch ring mold.
Carefully lay one of the cake circles into the bottom of the pan. Brush on some of the hot chocolate soak, then pour an even layer of the mousse mixture on top. Repeat with the other cake layer, more soak, and more of the mousse, then transfer to the fridge and let that chill for 2 more days so the mousse can firm up.


Step 10: Frost
Remove the cake from the fridge, then carefully pull away the sides of the springform pan/the ring mold and gently peel away the acetate/parchment.
Take more of the mousse, which should have firmed up into a spreadable consistency, then spread that into a thin layer onto any patches of cake that may be exposed. Spread another thin layer of mousse onto the top of the cake, then use an offset spatula or a bench scraper to smooth out the top and sides.
Transfer the whole cake to the freezer for about 30 minutes to set the mousse. (I don’t know about you but I find something very calming about frosting a cake. Maybe that should be a thing, cake frosting therapy.)


Step 11: Decorate
In a small saucepan, heat the remaining 1/2 cup of coffee cream with the chocolate over low heat, stirring frequently, until the chocolate is melted and a thick ganache forms. Let that cool for a few minutes.
Carefully move the cake to a narrow stand above a wide baking sheet lined with parchment. Pour the ganache onto the top of the cake, using a spatula to smooth out the top, and let it flow down to coat the sides of the cake. Finally, grab the chocolate chips and press them all over the sides of the cake.


Okay, after all this time, it is time to see if this six-day chocolate cake was really worth all that extra time.
The cake itself was very moist, maybe a bit too moist, and had a nice rich chocolate flavor with a nice touch of those little chocolate bits inside. The ganache on the outside provided a nice shiny coating, and those chocolate chips provided a good deal of texture at the end.
The only part I have an issue with was that mousse frosting. It did have a nice creamy, spreadable texture much like a classic buttercream, but it had such an intense flavor of coffee, likely from the coffee-cream, that it almost overpowered the flavor of the chocolate. I think that if I were to do this again, I would use regular cream.
However, this was a fun project and I’m glad I did it.