
How to Make Perfect Fresh Pasta
Take away the pasta in Italy and the people die.
That quote comes to us from Antonio Saccomani, a master pasta supremo and former owner of Lina Stores, a premium pasta market in London, who unfortunately passed away in November 2021.
As sad as this might seem, Saccomani did have a point in that pasta is one of the most sacred and widely known food in all of Italy, and it has sparked dozens, if not, hundreds of different sizes, shapes, and even colors, not to mention as many dishes to make with it as there are grandmothers in Italy.

These days, most pasta is brought to us dried and in a box. It’s not that there’s anything wrong with dried pasta, but to me, there is nothing that says that you care about someone more than if you make them fresh, homemade pasta.
I’ve gone over this process of pasta making in a previous article about how to use different pasta shapes, but today I’d like to give more of a hands-on demo of how Italy’s most sacred food is made.
Today, I am going to share my tips on how to make authentic, delicious homemade pasta. And once you take that first bite of that fresh pasta, you will find that it is well worth the time and effort.
To make great pasta, you need great dough, and to make great dough, you need great flour.

Professional chefs will tell you to use a high-protein flour from Italy known as 00. 00 flour is milled from a soft Italian wheat known as Durum, which grows in some parts of the US in climates that are semi-arid.
The reason why 00 flour is so beloved by chefs for making pasta and pizza is because it not only has a high-protein content, which leads to strong gluten development and a slight chew when the pasta is cooked, and has a very fine grind which leads to a smoother dough.
Big grocery stores will sell 00 flour, it might also be labeled as ‘pizza flour’, but it is otherwise rather hard to find, so I say it’s time to substitute!
I will be using a mix of regular all-purpose flour for structure and semolina flour, which is also made from durum wheat but has more of a coarse grind to it, leading to a wonderful texture contrast in my finished pasta.
When I do pasta, I like to do a 3 to 1 ratio of all-purpose flour to semolina as the finer-milled AP flour will help me achieve a smooth dough.

Now, to turn this flour into a dough, we need a form of liquid.

Some of the most ancient Italian recipes call for making their pasta dough with flour, water, and salt, but these days it’s accepted that switching the water for eggs and egg yolks leads to a denser, richer dough.
The rule of thumb I typically follow is, for every 1/4 pound (1/2 cup) of flour, I’ll use one whole egg and one egg yolk, I like having that extra yolk in there for some extra richness and a wonderful dark-yellow color. I will keep some water nearby in case my dough seems to be a bit too dry.
I also like adding a bit of salt to my dough, if I didn’t add this then the pasta would be bland, and a bit of olive oil for some extra richness and flavor.

Alright, the ingredients are covered, let's get doughy!…that sounded better in my head.
You could do this by dumping all of your ingredients into a food processor and pulsing that a few times until a dough forms, but I do find that making pasta dough by hand is quite fun.

To start, I’m going to combine 6 ounces (3/4 cup) of AP flour and 2 ounces (1/4 cup) of semolina and a pinch of salt in a small bowl.
Given that flour tends to compact inside measuring cups, I strongly suggest weighing out the flour to ensure that you get a consistent product every time, but I’m also not going to ding cup measuring because…hey, I’m just an average American boy.
I will then dump the flour onto a clean work surface to create a mound before digging my fingers into the center and swirling a bit to create a well in the center.
You want to make this well quite wide as you don’t want the eggs that we’re about to add to spill out and create a mess.

Once my well was made, I then add in two whole eggs, two egg yolks, and a tablespoon of olive oil into the well. I’m not going to lie, this process is going to get messy, so I strongly advise working on a clean cutting board or kitchen counter.

At this point, if you want to color your pasta dough, now would be the time to do so.
You could add some cooked and chopped spinach to make green pasta, some tomato paste to get red pasta, you could add finely chopped herbs like basil or parsley, or you could even add squid ink to get black pasta! Doesn’t that sound delicious?
Then, using a fork (You could also do this with gloved fingers), start to whisk and beat the eggs until the yolks incorporate evenly with the whites.
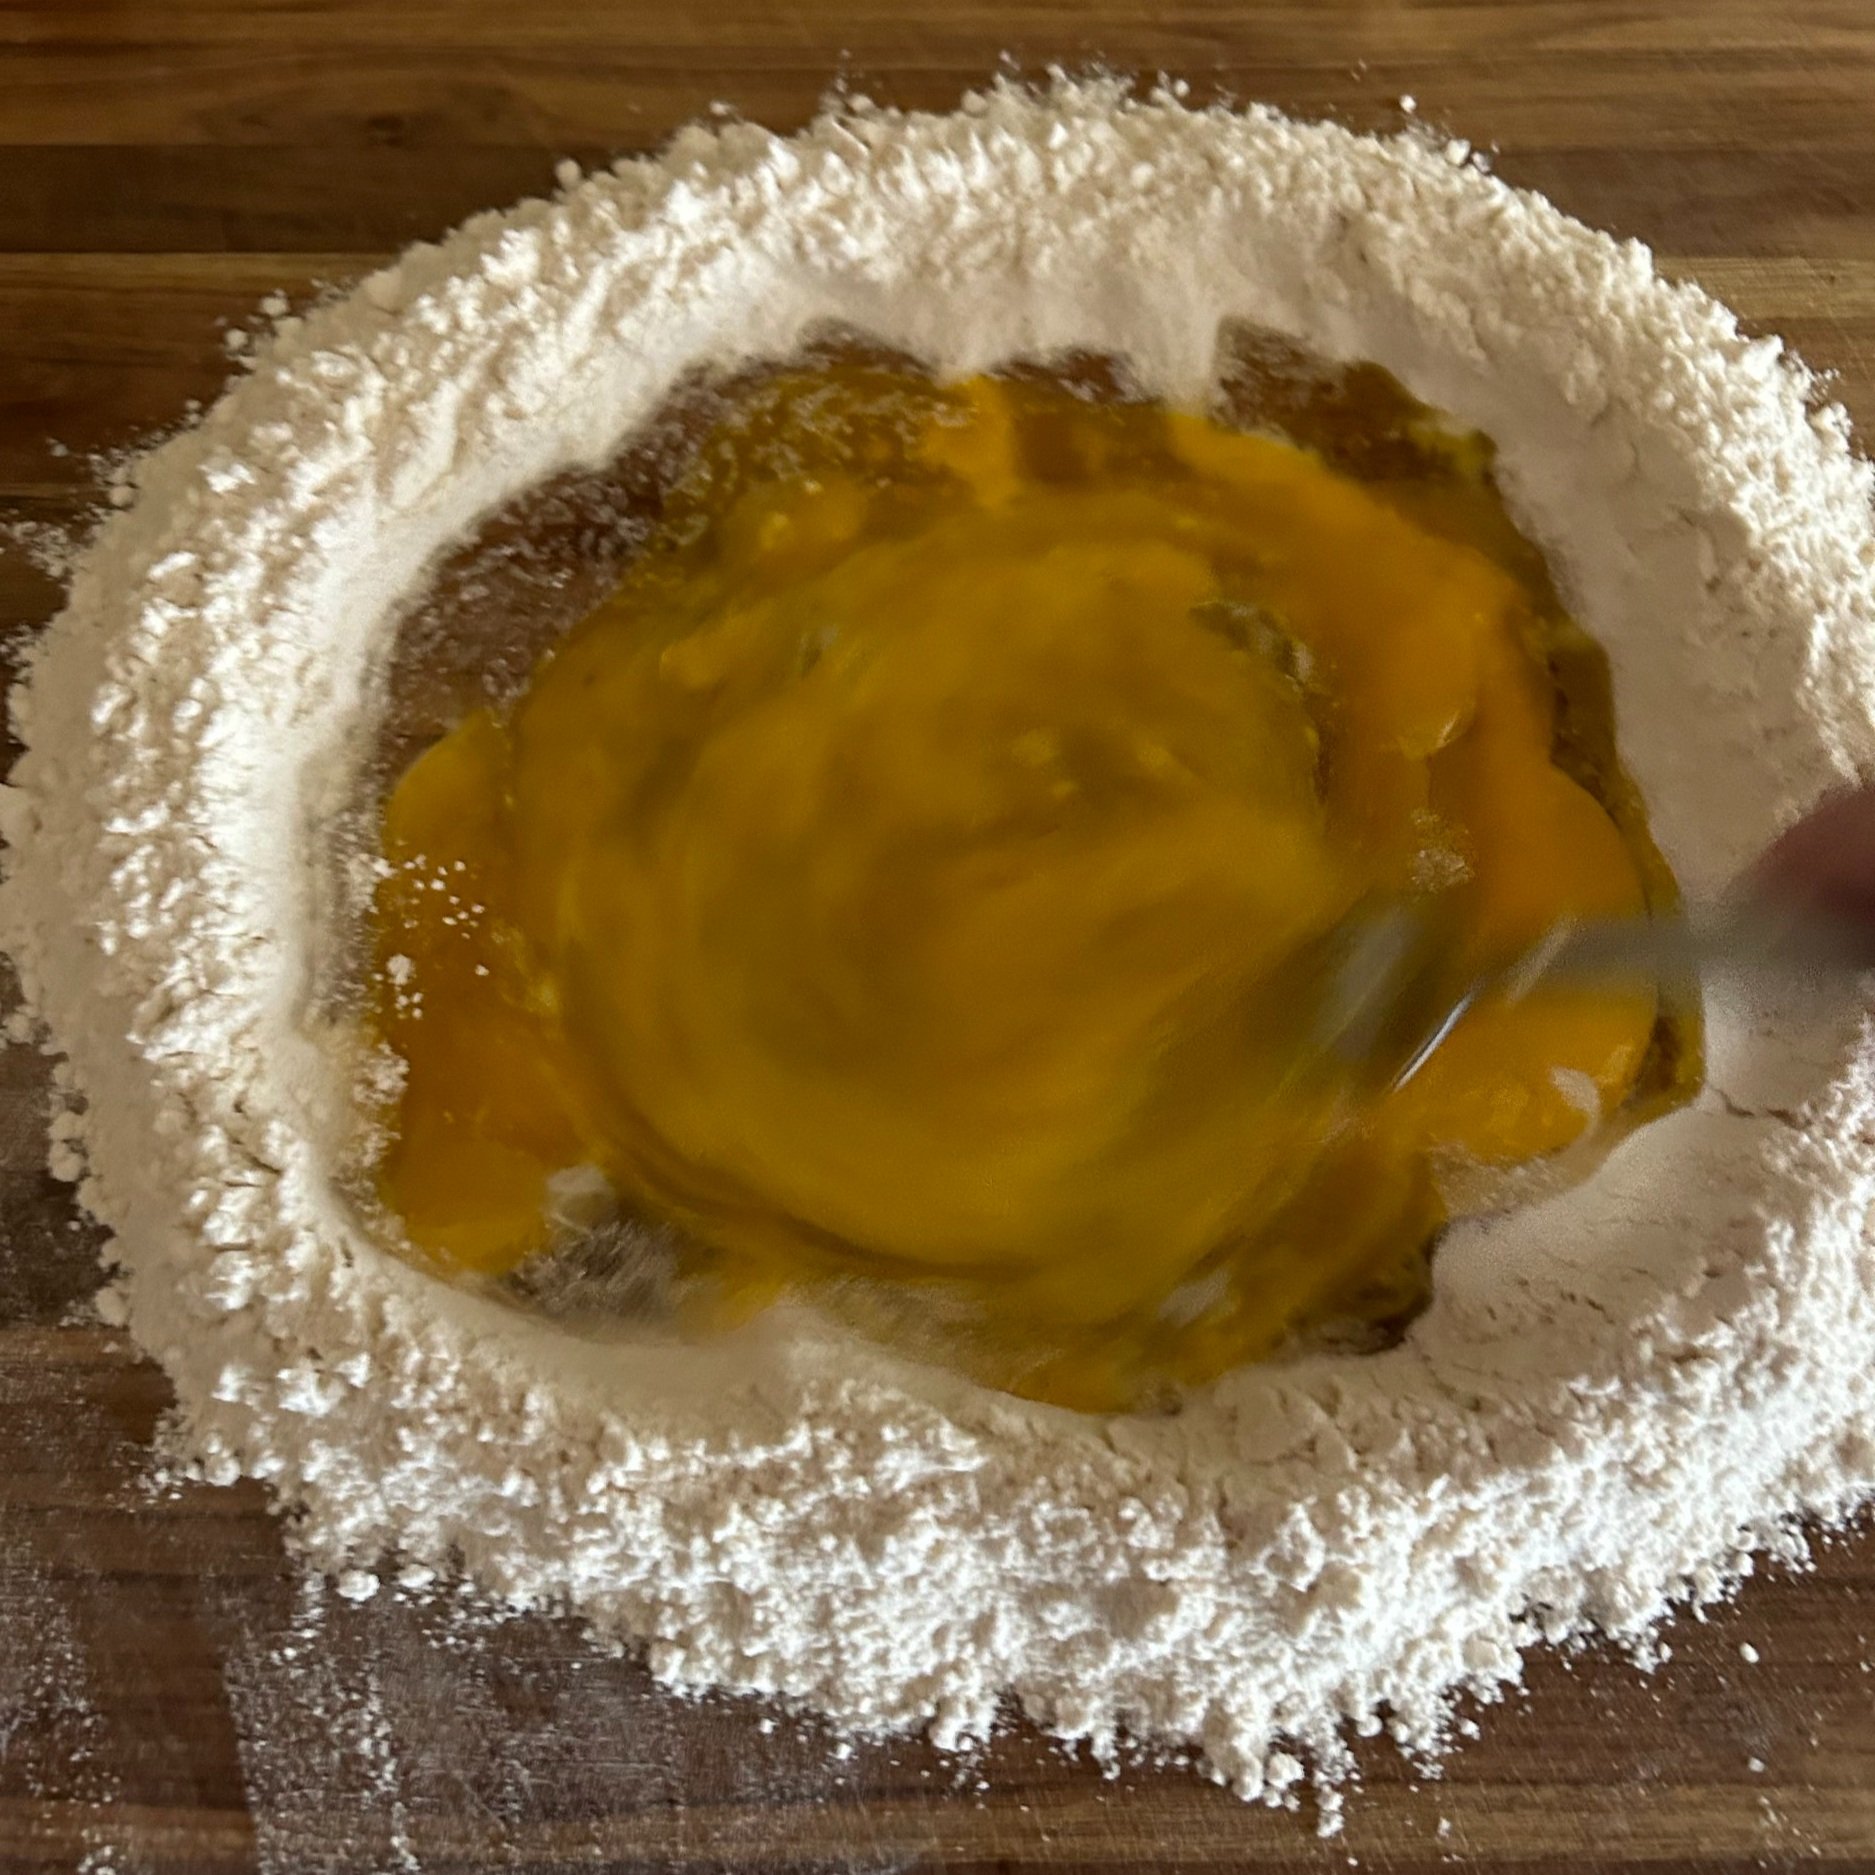

From there, it’s time to gradually add in the flour, and this is a step that will greatly affect the overall texture and density of your final pasta. If the eggs absorb too much flour at once, then they will tighten up a lot, giving a dense, tight dough that’ll be nearly impossible to roll, even after the dough rests.
The way I go about it is by first swirling the eggs around the edges of the flour, picking up small bits of flour as I go, and mixing those in.

In only a few minutes, you will notice the eggs gradually start to get thicker from the flour being added in, but do not add lots of flour at this stage as we are looking for a tender, soft dough.

As you do this, the walls of the flour well can start to expand, so you can use a bench scraper to push the flour walls back towards the puddle of thick eggs in the middle as you continue to gradually add flour.

At this stage, this will look like a soupy mess of eggs sitting in a crater of flour and not so much like a pasta dough, but keep slowly adding flour and I can guarantee that the dough will come together.


As the eggs thicken up, it’ll become harder to whisk them with the fork, and at some point they will be so thick that a fork won’t do it justice, so at that point you want to put the fork aside, after thanking it for it’s service, and you want to use the bench scraper to start folding the remaining flour on top of the eggs and pressing it down to incorporate.
At this point, I’m not too worried about adding lots of flour because the eggs have reached a point of being so thick that they’ll be able to take in more flour without leading to a tough dough.

Fold the remaining flour over the eggs with the bench scraper until most of the flour has been absorbed and the dough looks somewhat shaggy, at this point it is time to thank the bench scraper for its service, an important step, and switch to using our hands to knead the dough into a smooth ball.

This is the point where it’s a good idea to keep a bit of extra flour nearby in case the dough happens to stick to your fingers and hands a bit. The idea is to knead the dough using the weight of your wrists to press down on the dough and make it nice and elastic.

A good way to test if your pasta dough is ready is by gently pressing your finger onto the dough. If that dimple you created pushes back up a little after pressing, then your dough is ready to roll!

But before we roll, it’s time to give our pasta dough a nap as right now the gluten strands in the pasta dough are very tight, so if we allow the dough to rest for at least 20 minutes, it’ll become softer and easier to roll out.
Just shape the dough into a disc then wrap it in plastic wrap to prevent the surface of the dough from drying out and leave it to relax for at least 20 minutes at room temperature, or until the dough feels softer.

Ok, while the dough is resting, let’s talk about an important piece of equipment, the pasta machine. You could roll out the dough with a rolling pin, but I find that the pasta machine helps me achieve an even thickness across my pasta.
A standard hand-crank pasta machine will come in 4 parts: The roller, the crank, the stabilizer, and the cutter.


The roller is the main working force for the pasta machine, it is essentially two rolling pins that, when moved with the crank, help to roll the pasta dough to an even thickness. It also has a knob on the side that adjusts the distance between these two rolling pins, affecting the pasta’s thickness.
Different models of pasta machines will have different numbers to indicate thickness, some put 1 as the thickest setting, some put 7, some put 10, etc.
The thing to remember with this process is that, no matter the machine, you want to always start the machine with the thickest setting, that’s the setting where the two rolling pins are the farthest apart.
If you try to press the pasta dough through the machine that’s too thin, then you’re putting too much pressure on the dough and it could tear or break.
The crank sits in a hole on the other side of the knob and the stabilizer keeps the machine stable on the countertop or table you’re using.
I strongly recommend fitting the machine on a table or counter with at least 5 inches of overhang as that’ll make screwing the bottom of the stabilizer that much easier.

The cutter will evenly cut your pasta sheets into either a wider fettuccine or linguine or narrower angel hair, depending on what type of dish you’re making, but using it isn’t necessary.
You can also cut your pasta with a knife and get it as wide or narrow as you wish, or leave it as whole sheets for lasagna or ravioli.

Ok, the pasta machine is set up; let’s roll out!
I will start by cutting my rested pasta dough in half, any pasta I’m not using right away I will keep in the plastic wrap to keep it from drying out.

On a floured surface, I will gently roll my dough a little bit to make things easier for the pasta machine before moving the dough to the top of the roller and using the crank to roll my dough through.
At this point, we are doing two things, we are giving the dough almost a second knead for a nice texture and we are also smoothing out the dough so we get nice smooth sheets.

Once I roll the pasta through once, I will then fold the ends of the pasta into the center, twist it 90 degrees, and run it through again. I’ll repeat this step, adding more flour if I need to, about 2-3 times or until I get a nice, even shape.

Once I’m happy with the shape, I’ll then turn the knob down to the second-widest setting and roll the pasta through again. I will keep doing this, turning the knob down by one notch each time, until my pasta dough starts to become transparent, meaning I can hold it up to a light and start to see my hand through it.


It is really important that you do not hold the pasta dough with your fingers while you roll, as your fingers can cause the dough sheets to tear. Instead, lay the dough onto the back of your hand as you feed it into the roller.

This would be a good time to have someone else in the kitchen to help pull the pasta sheets out of the bottom of the roller as you are rolling, but…I live alone, so I do what I have to do.
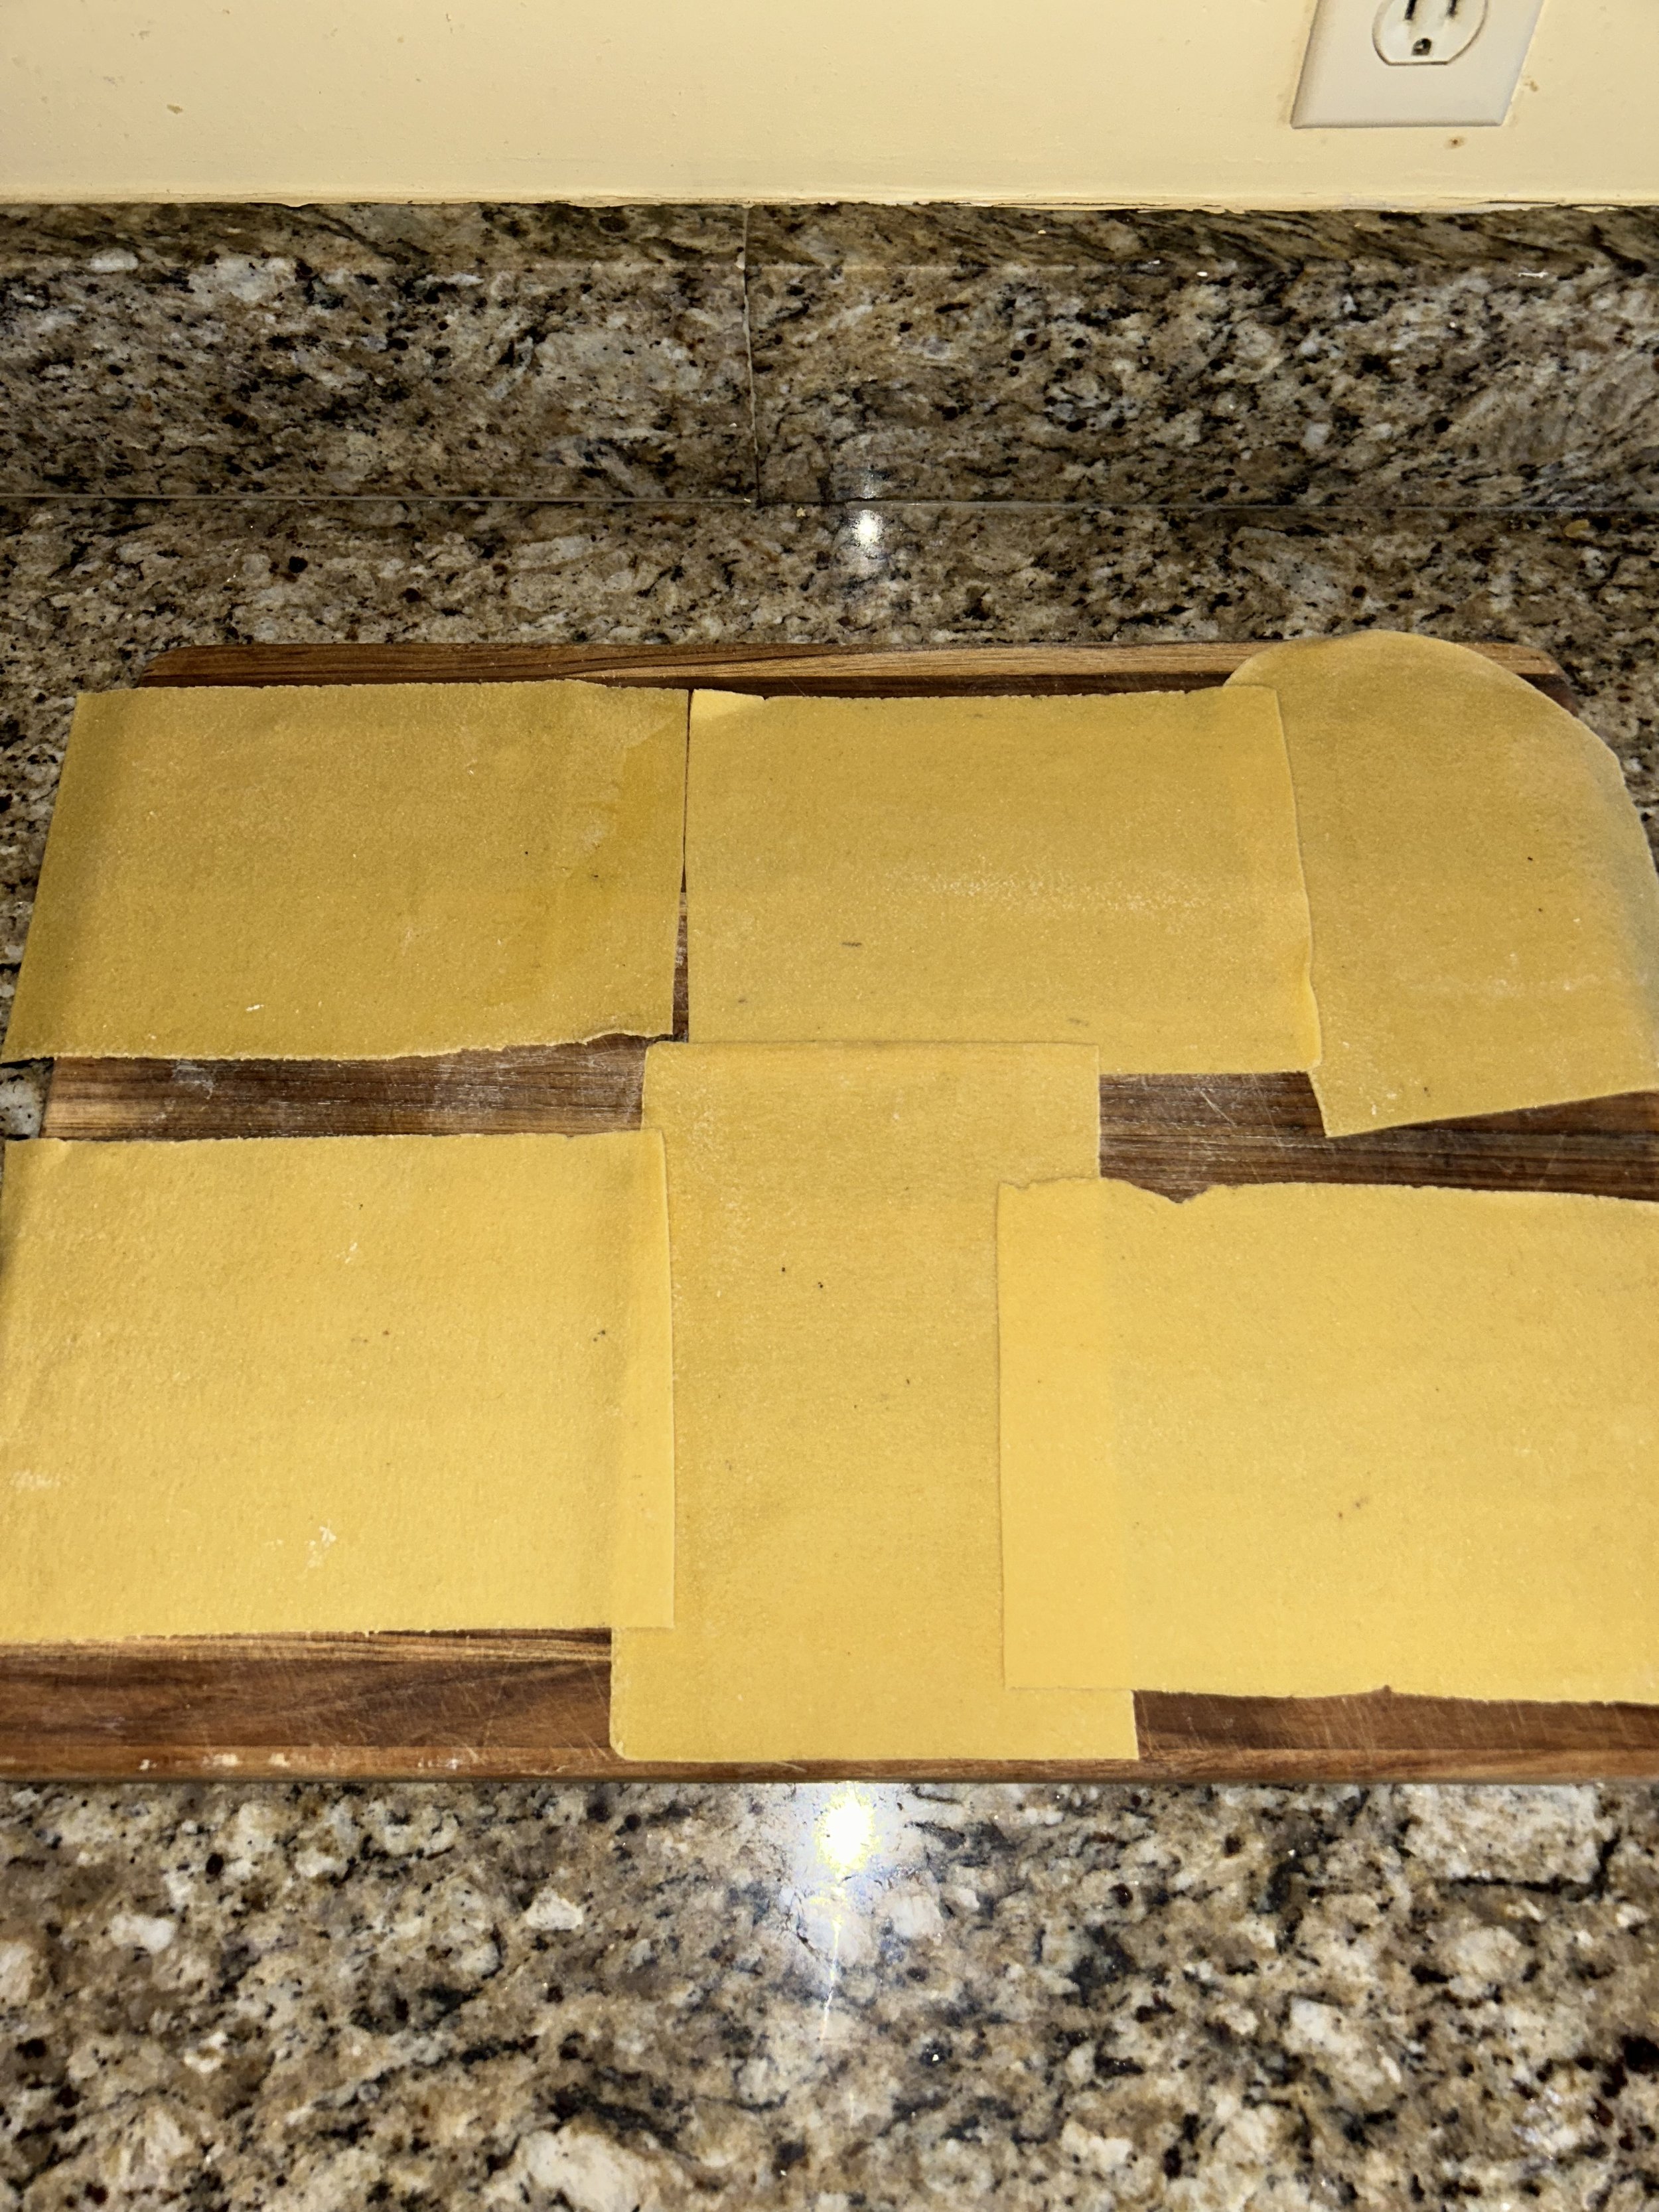
Now, if I were to cut the pasta like this, that would be pretty long, so I’m going to cut the pasta sheets into a few portions so it’ll be easier to twirl my finished pasta onto my fork without ending up with a mouthful of pasta.
How do I know how large to cut it? Well, what I like to do is take a long piece of dried pasta and use that as a ruler to tell me how long I should cut my sheets! The sheets don’t have to be the same size, but they do need to be similar.

Once all of my pasta has been rolled, it is time to cut it! Today, I’m going for some simple fettuccine, so I will move the crank on my pasta machine over to the hole next to the fettuccine/linguine slicer.
Working with one dough sheet at a time, I will feed them into that slicer and use the crank to roll my sheets through, creating an evenly-cut fettuccine. Once my pasta is cut, I will dust them with flour and lay them on a sheet tray to set aside.

And there it is? Beautifully fresh, homemade pasta that was made in an hour! From there, you can let your pasta sit on a wire rack and leave it to dry overnight, then cook it whenever you need it! (If you have a dehydrator, then that would also be useful here.)

Course, the work isn’t fully done, because now it is time to cook the pasta!
Very easy process here, just bring a large pot of salted water to a gentle boil. Unlike dried pasta which needs to be cooked with a rapid boil, fresh pasta needs to be cooked at a gentler boil as I don’t want it to fall apart from such a rapid boil.
I hope I don’t need to say it, but do not add olive oil to your pasta water! It just sits at the top of the water and doesn’t do anything to the finished pasta, so save some olive oil and just add salt to your pasta water.
The great thing about fresh pasta, other than the fact that it tastes great, is that it only takes 2 minutes to cook, maximum, so before you cook it I do suggest having your sauce and garnishes ready and cooking that pasta at the last minute.

Simply lower the pasta into the water and give the pot a gentle side-to-side twirl to keep the pasta from sticking to the bottom of the pot.
You’ll know your fresh pasta is cooked when it floats to the top of the water, at that point you can go ahead and save some of that pasta cooking water if you need to adjust your sauce before draining the pasta, mixing it with the sauce, plating it, and serving!

As mentioned, there is an infinite number of things that pasta can be served with, but today I went with some pancetta, mushrooms, leeks, and creamy pesto, a simple yet delicious flavor combination.

And there you have it, a bowl full of fresh, delicious pasta that has a wonderfully soft texture with a slight al dente bite and is well worth the wait.
Fresh Pasta
Servings: 4
6 ounces (3/4 cup) of all-purpose flour, plus more for dusting and rolling
2 ounces (1/4 cup) of semolina flour
A pinch of salt
2 whole eggs
2 egg yolks
1 tablespoon of olive oil
Note: If you’re short on time, you can skip steps 1-4 and put all of the ingredients into the food processor. Just pulse until a dough forms.
Whisk both flours and salt in a small bowl then dump onto a clean work surface. Use your fingers to make a wide well in the middle.
Add the eggs, egg yolks, and oil, and use a fork to whisk the eggs thoroughly.
Slowly incorporate the flour into the eggs, starting by making swirls around the edges of the well as you slowly pick up the flour and mix it in. If you need to, use a bench scraper to push the walls of the flour closer to the eggs. Be careful to not add too much flour too quickly.
After about 6-8 minutes of whisking and slowly add the flour, the eggs should get to a point where they become so thick that you need to put in a lot more effort with using the fork, so then you can use a bench scraper to fold the remaining flour over the egg mixture, pressing down as you go, until a stiff dough forms.
(If you used a food processor, then here’s where your next set of instructions starts)
On a floured surface, knead the dough for a few minutes, or until the dough becomes smooth and elastic, dusting with more flour if it gets too sticky. If you press your finger into the dough, then it should spring back a little.
Shape the dough into a disc, wrap with plastic wrap, then leave it at room temperature for at least 20 minutes, or until the dough becomes softer.
Set up your pasta machine according to the manufacturer’s instructions, making sure the machine is set to the thickest setting possible.
Cut the rested dough in half and, keeping any remaining dough in the plastic wrap, dust half of the dough with flour before pressing it down a bit to flatten, then feeding it into the roller part of the pasta machine once.
Dust the dough with flour, fold the edges of the dough towards the center, turn it 90 degrees, then run it through again, repeating this step until the dough becomes smoother.
Using the knob on the pasta machine, crank the machine down to the second-largest setting and roll the dough through again, repeating this step with the next few settings until the dough starts to become transparent.
(You could stop here if you’re doing a lasagna or ravioli)
Use a knife to divide the dough into 1 1/2-2 foot lengths, then cut each sheet with either one of the two cutters on your pasta machine, or use a knife to get the size and width of the pasta that you desire.
Once your pasta is cut, dust with flour, making sure to roll it around to prevent the pasta from sticking together, then lay onto a sheet pan or other flat surface and set aside while you prepare your sauce or wait for the cooking water to heat up.
Bring a pot of salted water to a gentle boil, then add the pasta, giving the water a little twist, and cook until the pasta floats to the top of the water.
Save at least 1/2 cup of the pasta cooking water, drain the pasta, toss with any sauce, protein, or vegetable you desire, and serve!
