
How to Make Cream Puffs
Pate A Choux is a classic eggy dough from France if you can believe it. Once baked, it puffs up to become golden on the outside and hollow on the inside, which you can then fill with whipped cream, ganache, or custard and it is used for a wide range of desserts such as cream puffs, eclairs, paris breast, and even churros.
You can also take some cream puffs and use some caramel to glue them together to form a croquembouche…but that’s a bit advanced so we’re going to stick with the classic cream puffs.
Today, I’m going to show you how to make perfect Pate A Choux, as well as some delicious cream puffs, that will make you feel like a superstar baker once you’ve mastered them.

Cream Puffs (Pate a Choux)
Makes about 28
1 cup of water
1/2 cup (one stick) of unsalted butter, cut into cubes
1 teaspoon of sugar
1/2 teaspoon of salt
1 cup of all-purpose flour
5 large eggs at room temperature. (4 for the dough, one for the egg wash)
3 cups of whipped cream.
Step 1: Cook the Dough
Preheat the oven to 375 degrees and line two large baking sheets with parchment paper or baking mats.
In a medium saucepan (not nonstick), heat the water, butter, sugar, and salt over medium heat until the butter is melted and the water comes up to a simmer.
Dump the flour into the hot water mixture, then stir with a wooden spoon for about 2 minutes, or until the dough is very thick and a thin film forms at the bottom of the pot. Remove from the heat and let it cool slightly for about 3 minutes.


Step 2: Add the eggs
Add four eggs to the dough one at a time and beat well after each addition. You can do this with an electric mixer, but I find that I have more control when I beat the dough by hand. Besides, this way I don’t end up dirtying more dishes that I’ll need to wash.
This is the tricky part about making Choux pastry as you want the dough to reach a thick piping consistency. For a moment, it’s going to seem like the dough isn’t coming together and is ruined, but keep beating it, and I promise it will smooth itself out. (This is also why I suggest avoiding nonstick cookware for this as all that beating could scrape up the Teflon. I can guarantee that Teflon-flavored cream puffs would not taste very good.)
A good way to test the consistency of your dough is by picking it up with your spatula, if it starts to drop off from the spatula after picked up, then you’re good to go.


Step 3: Pipe the puffs
Load the dough into a piping bag lined with a round tip. (see bottom) If you’re lazy, then you could scoop the dough out with a spoon.
Pro tip: Piping a little bit of dough on the corners of the pan will stick the parchment paper to the pan a bit and keep it from sliding around as you pipe. Don’t worry, it’s easy to clean off.
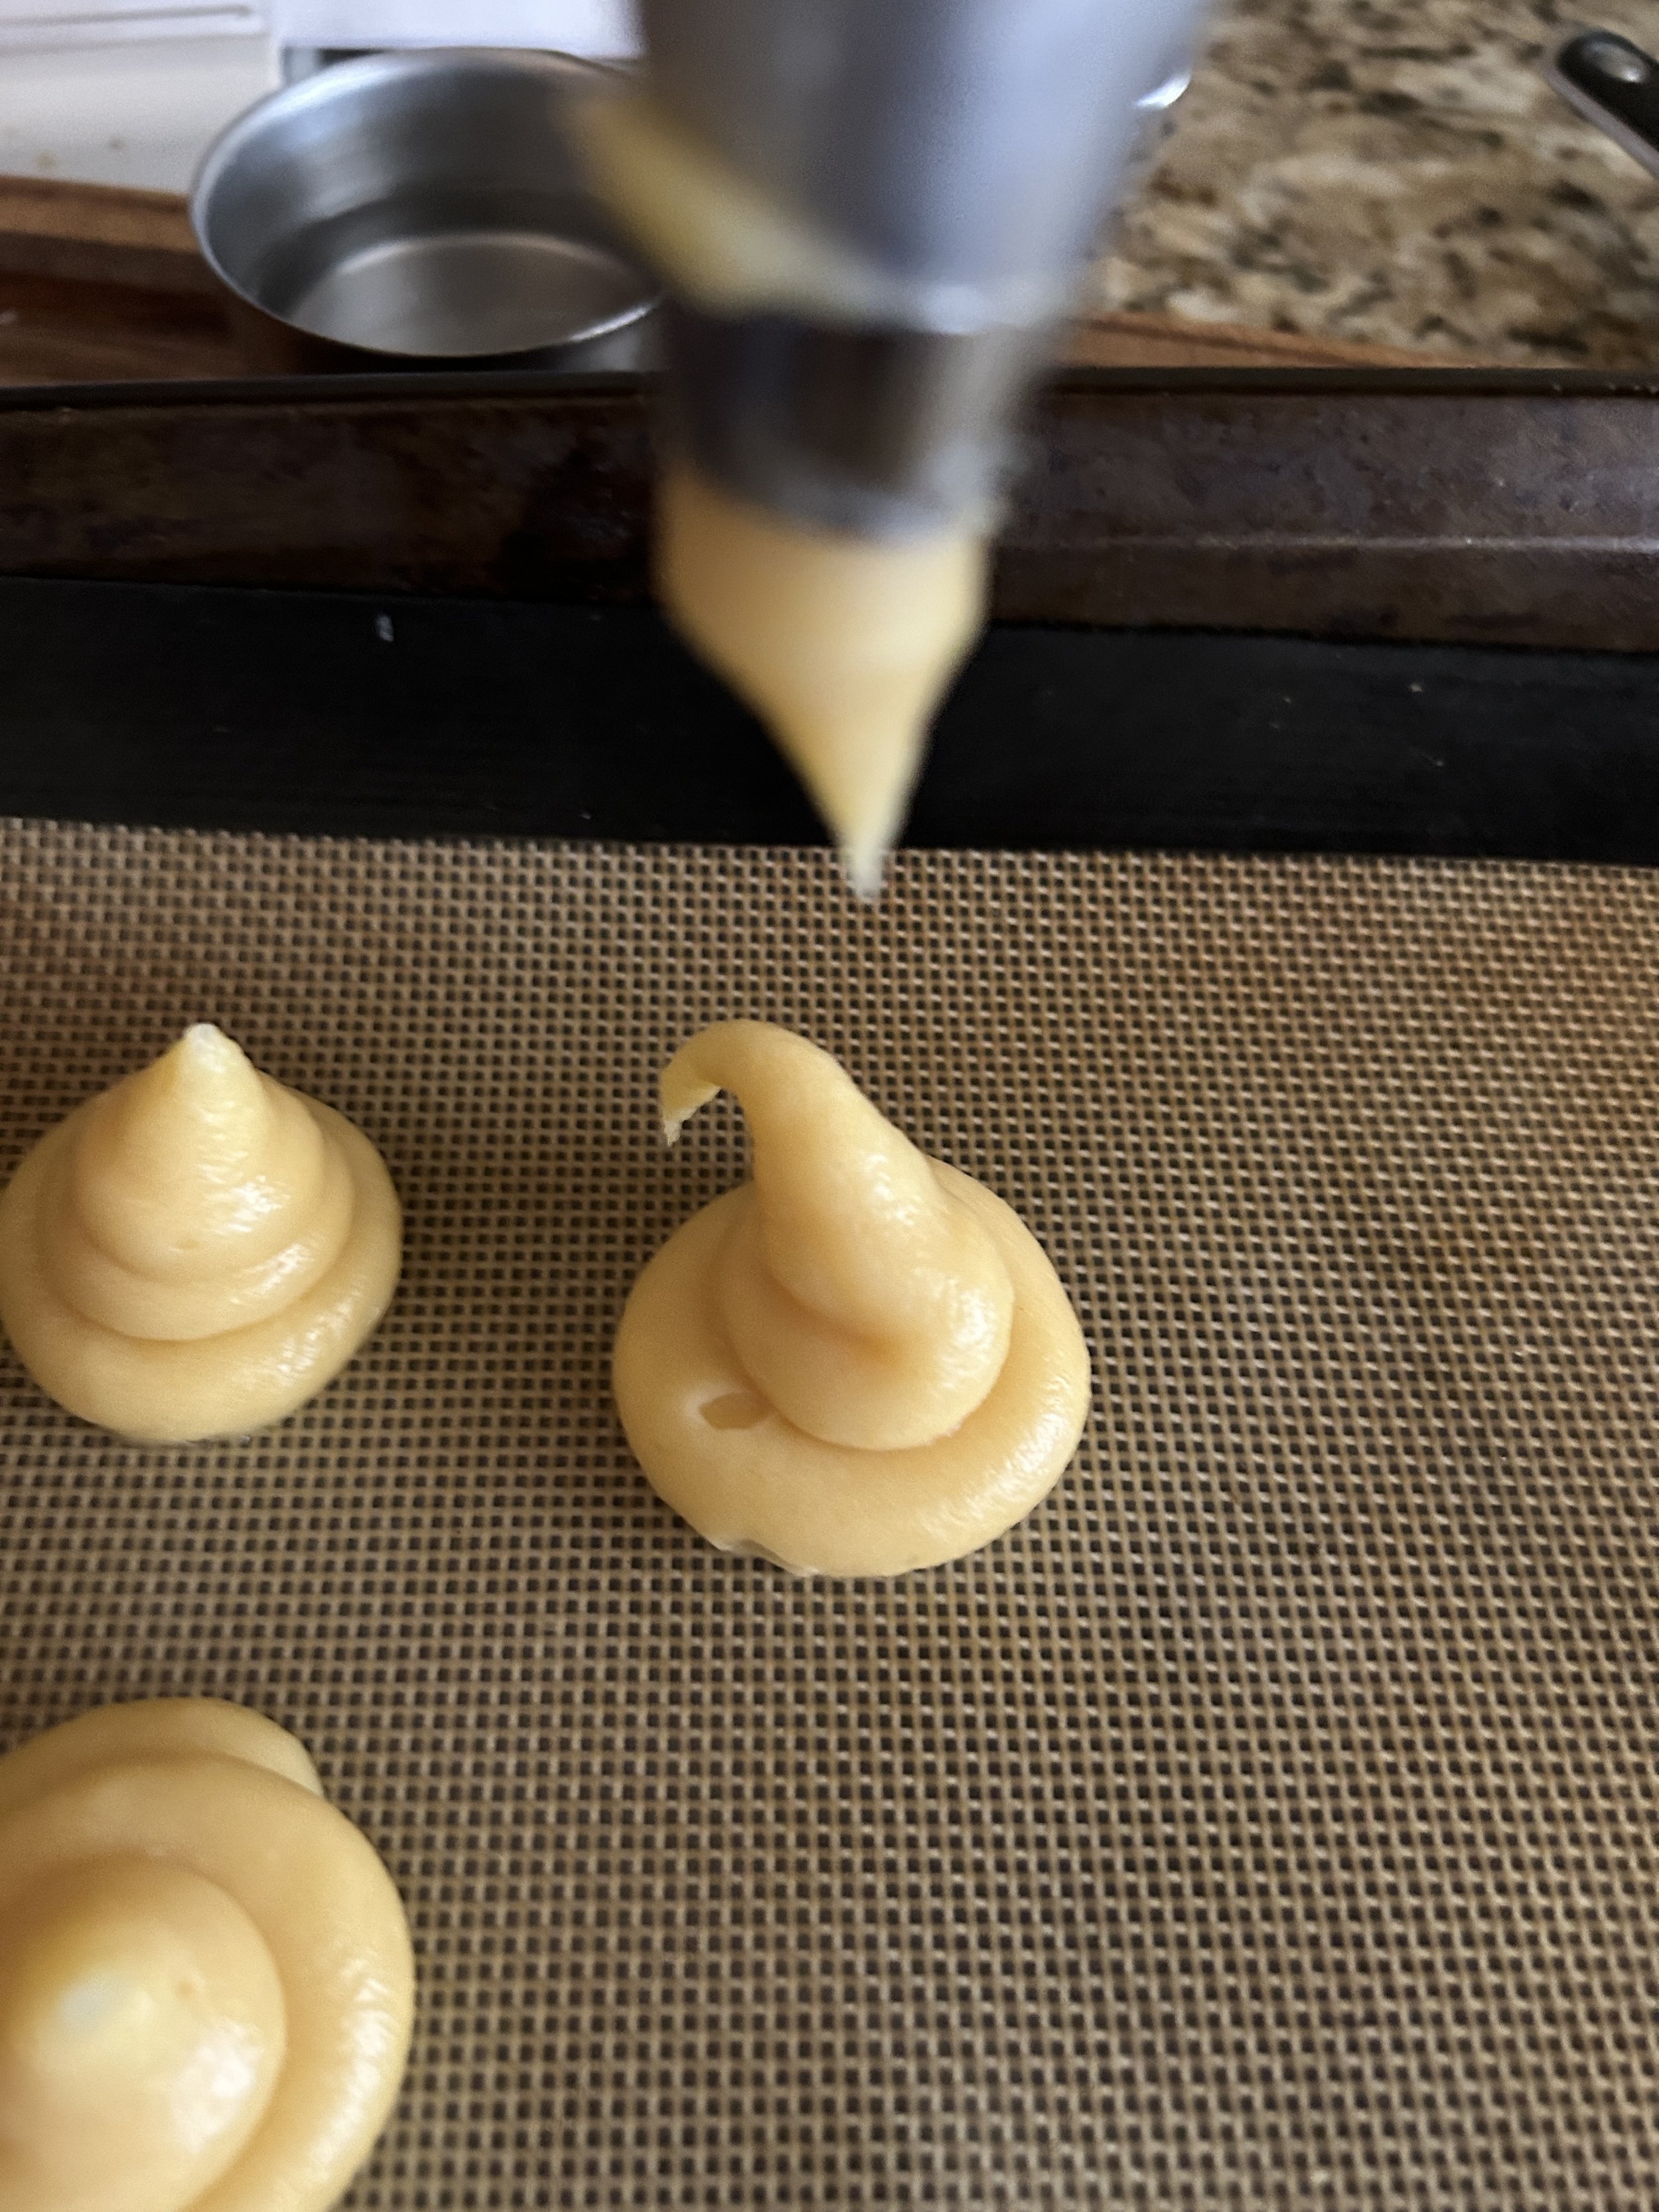
When piping, you want to keep a swirl-and-lift motion in mind. Pipe a 1-inch circle on the pan, then move to the center and pipe a little mound on top, then quickly pull the bag away to create a little mound of dough. You’ll want to pipe the puffs about 2 inches apart.
The technique takes a bit of practice, but once you have it down it’ll go a lot smoother. Any dough mounds that you’re not happy with can be scraped up with an offset spatula, put back in the bag, and then re-piped.
Before baking, dip your finger into some water, then press down any little peaks on top of the puffs, as those could burn in the oven.


Step 4: Bake
Beat the remaining egg with 1 tablespoon of water, then brush that on top of each dough mound.
Bake for 30 minutes, or until the puffs are golden on the outside and have puffed up to about twice their original size. A good way to test that the puffs are cooked on the inside is by picking one up and tapping the bottom, it should sound hollow on the inside.
Let the puffs cool completely in the pan before filling.

Step 5: Fill
Load the whipped cream into a piping bag lined with a thin star tip. Use a paring knife or metal skewer to poke a small hole at the bottom of each puff, the hole should be just big enough for you to stick the tip of your piping bag into.
Lift up one of the cooled puffs, push the tip of the bag into the bottom, then squeeze the bag until you can start to see some of the cream spill out the bottom. These puffs should be filled to the brim, so don’t be stingy with the cream. They should end up feeling heavier, even.
Repeat with the remaining puffs and cream, then enjoy!


Follow all of these instructions carefully, and you will find yourself with a plate full of light, tender, airy cream puffs that are filled from edge to edge with sweet cream, and you and your family will find it hard to resist gobbling them up.
How to fill a piping bag
To fill a piping bag, peel about 2 inches from the top of the bag down onto your non-dominant hand. Drop the tip you want to use down to the bottom of the bag, it is important that you do that before adding the dough, then use a spatula to put as much dough into the bag as you can.
Pull the folded-down portion of the bag up, then give it a little bounce to remove any air bubbles and force the dough down into the tip of the bag. Finally, cut off the little corner of plastic at the tip and there you go! A piping bag that is full, firm, and ready to go.


