
Raspberry Custard Pie
One thing that I love about the summertime, other than the outdoor activities and the frequent need to put on sunscreen, it’s the gorgeous fresh berries that seem to pop up like those tiny fish in shallow waters.
While it’s amazing to eat those berries as they are, they also bring forth a large variety of desserts that can be birthed from said berries, so that is what I’ll be doing today. I will be making a very tasty raspberry custard pie.
This pie sounds simple to make because it is, but I find that simple desserts like this are a great way to rush up on 8 essential baking skills that you do not have to be the pastry chef of a Michelin-starred restaurant to know.
So, before diving into how to make this stunning but tasty dessert, let’s go over those 8 skills.
Skill #1: Preparation
With baking, as well as cooking, it is very important to get ahead and do as much in advance as you can, it’s what we know in the kitchens as mise en place.
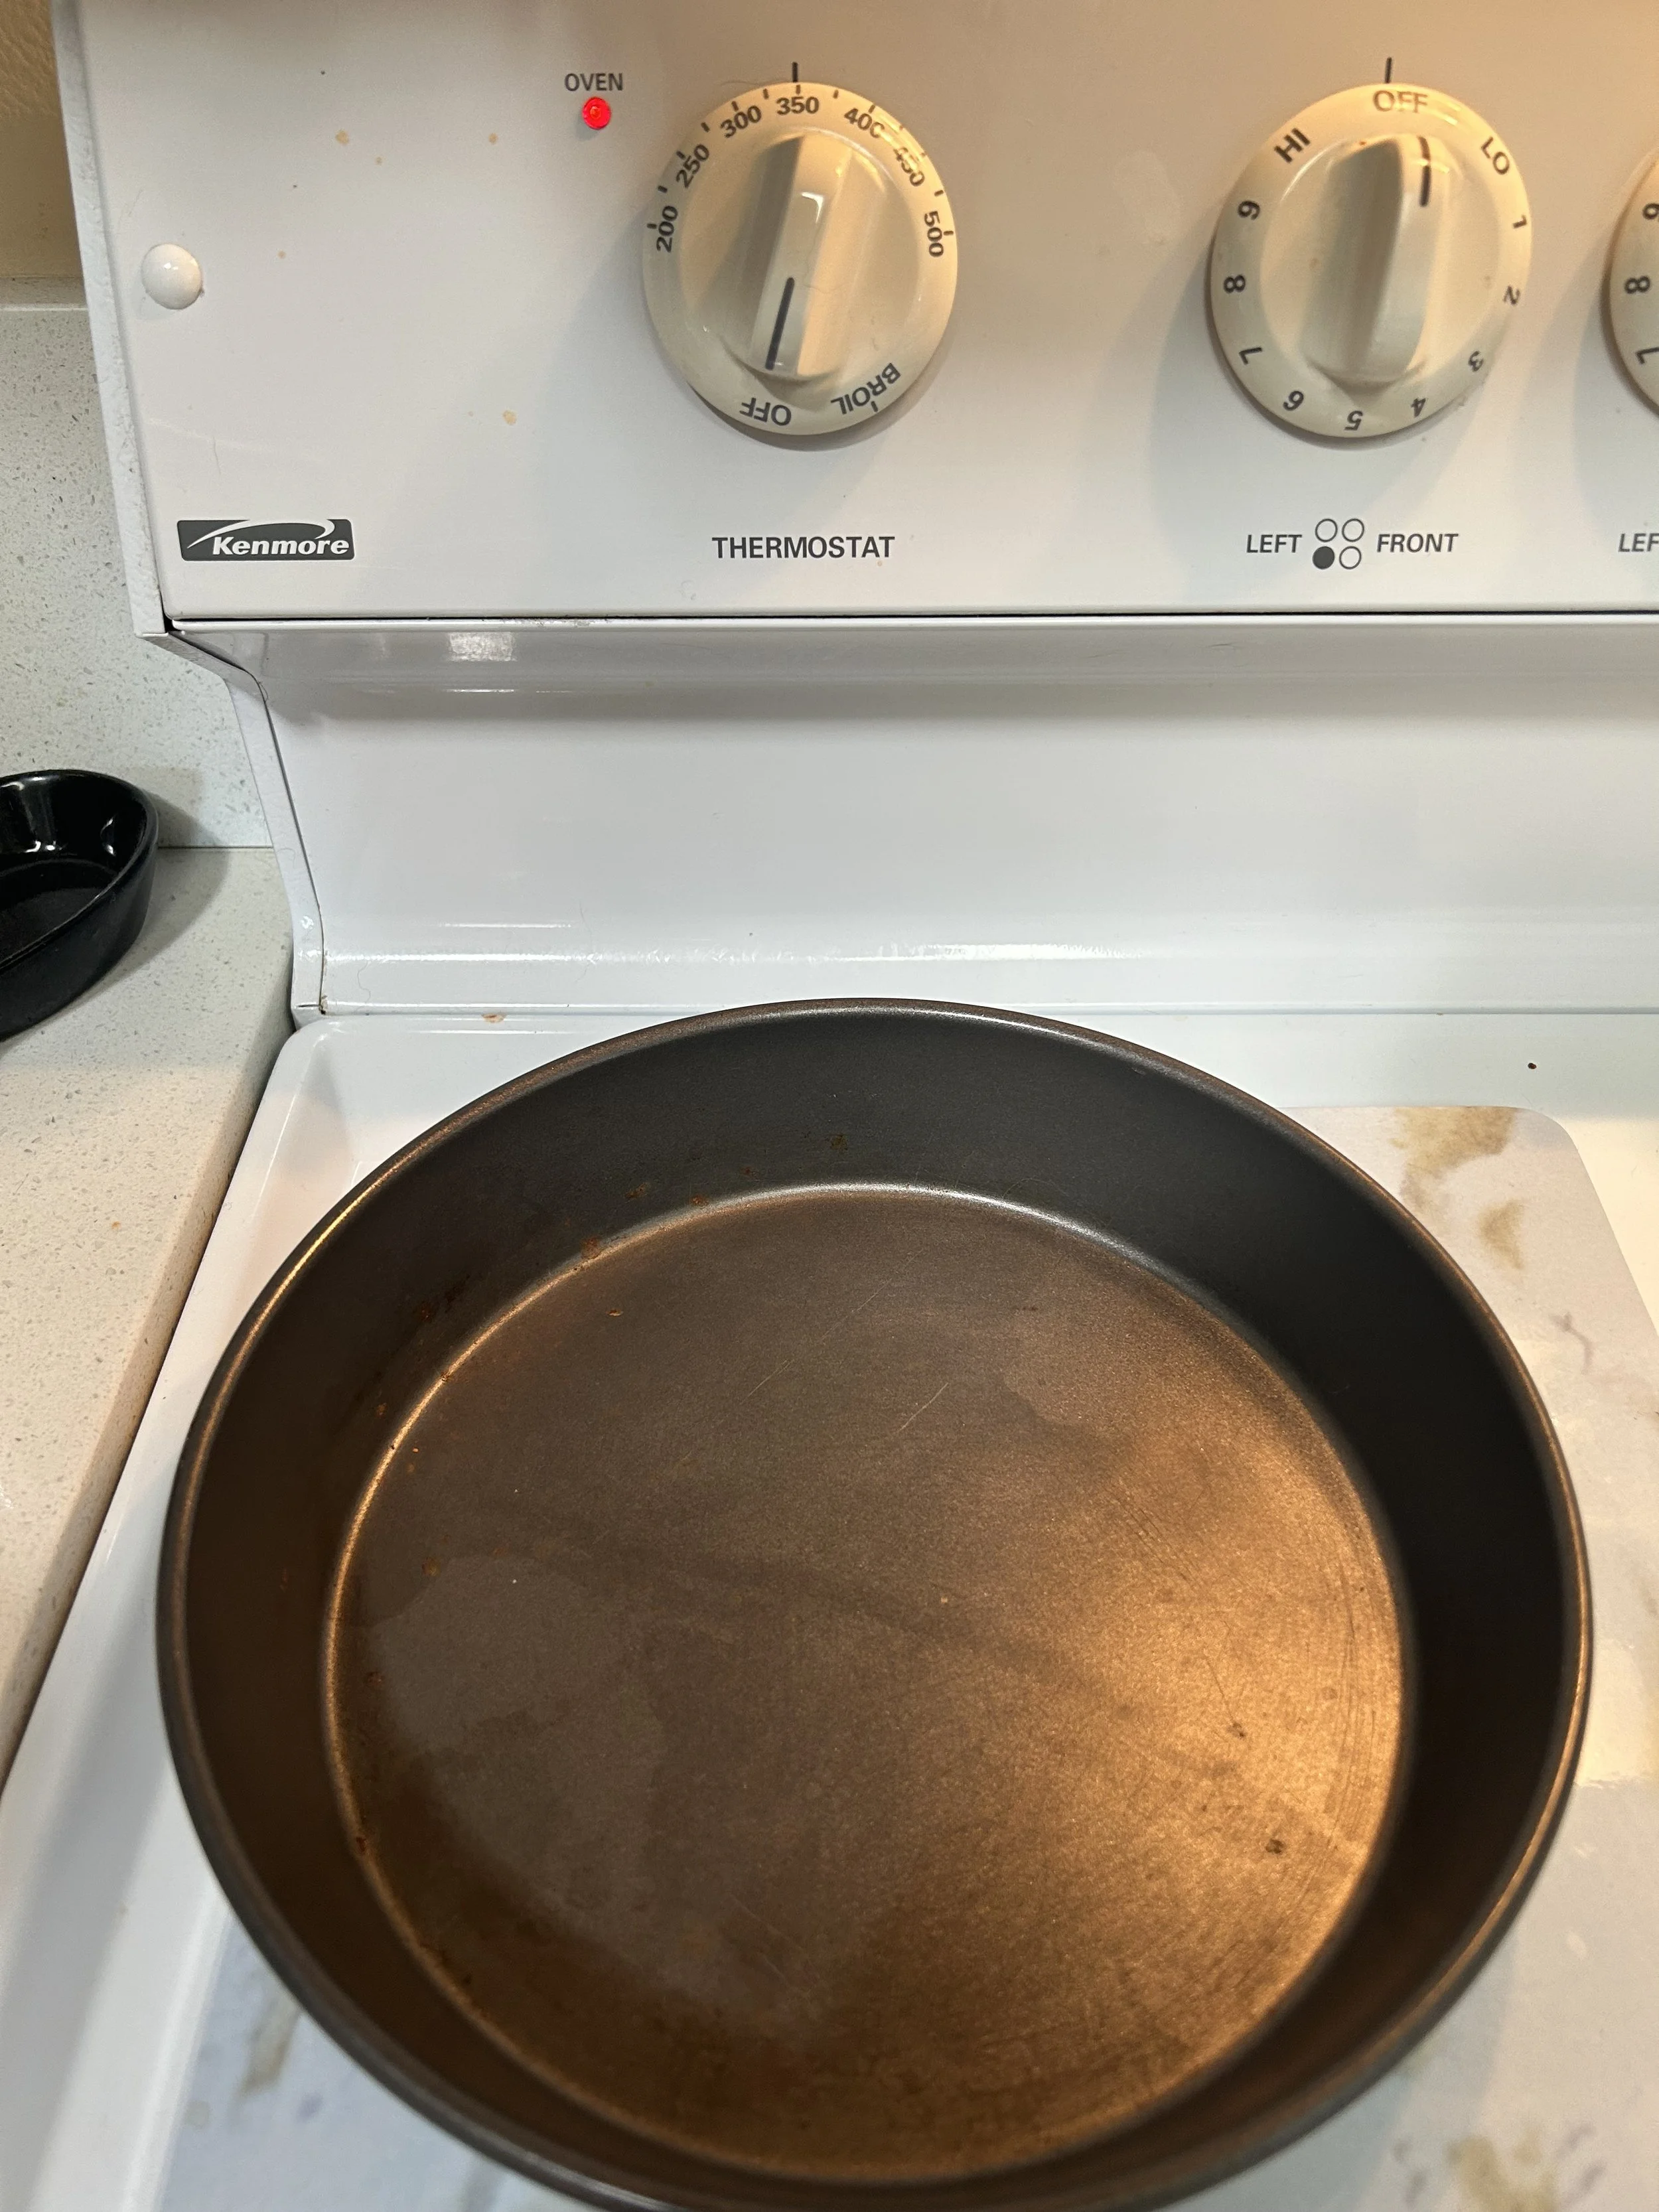
In this case, the 2 things that you must always do before you start baking something, even before you gather up your ingredients, it’s to pre-heat your oven and grease/prepare the baking pan you plan on using.
Doing this now will ensure that by the time your dough, batter, or whatever you’re baking is ready to be baked, your pans and oven are also ready to go!
In this case, with the raspberry custard pie, I will need to preheat the oven to 350 degrees F and get out a 9-inch pie pan. There’s no need to grease the pan as I’m using nonstick, plus all of the butter in the dough for the pie crust will do that for us.
Skill #2: Measuring Ingredients Properly
One common pitfall for home bakers is not measuring their ingredients properly thus leading to inaccurate measurements and your baked goods might not come out the way you expect.
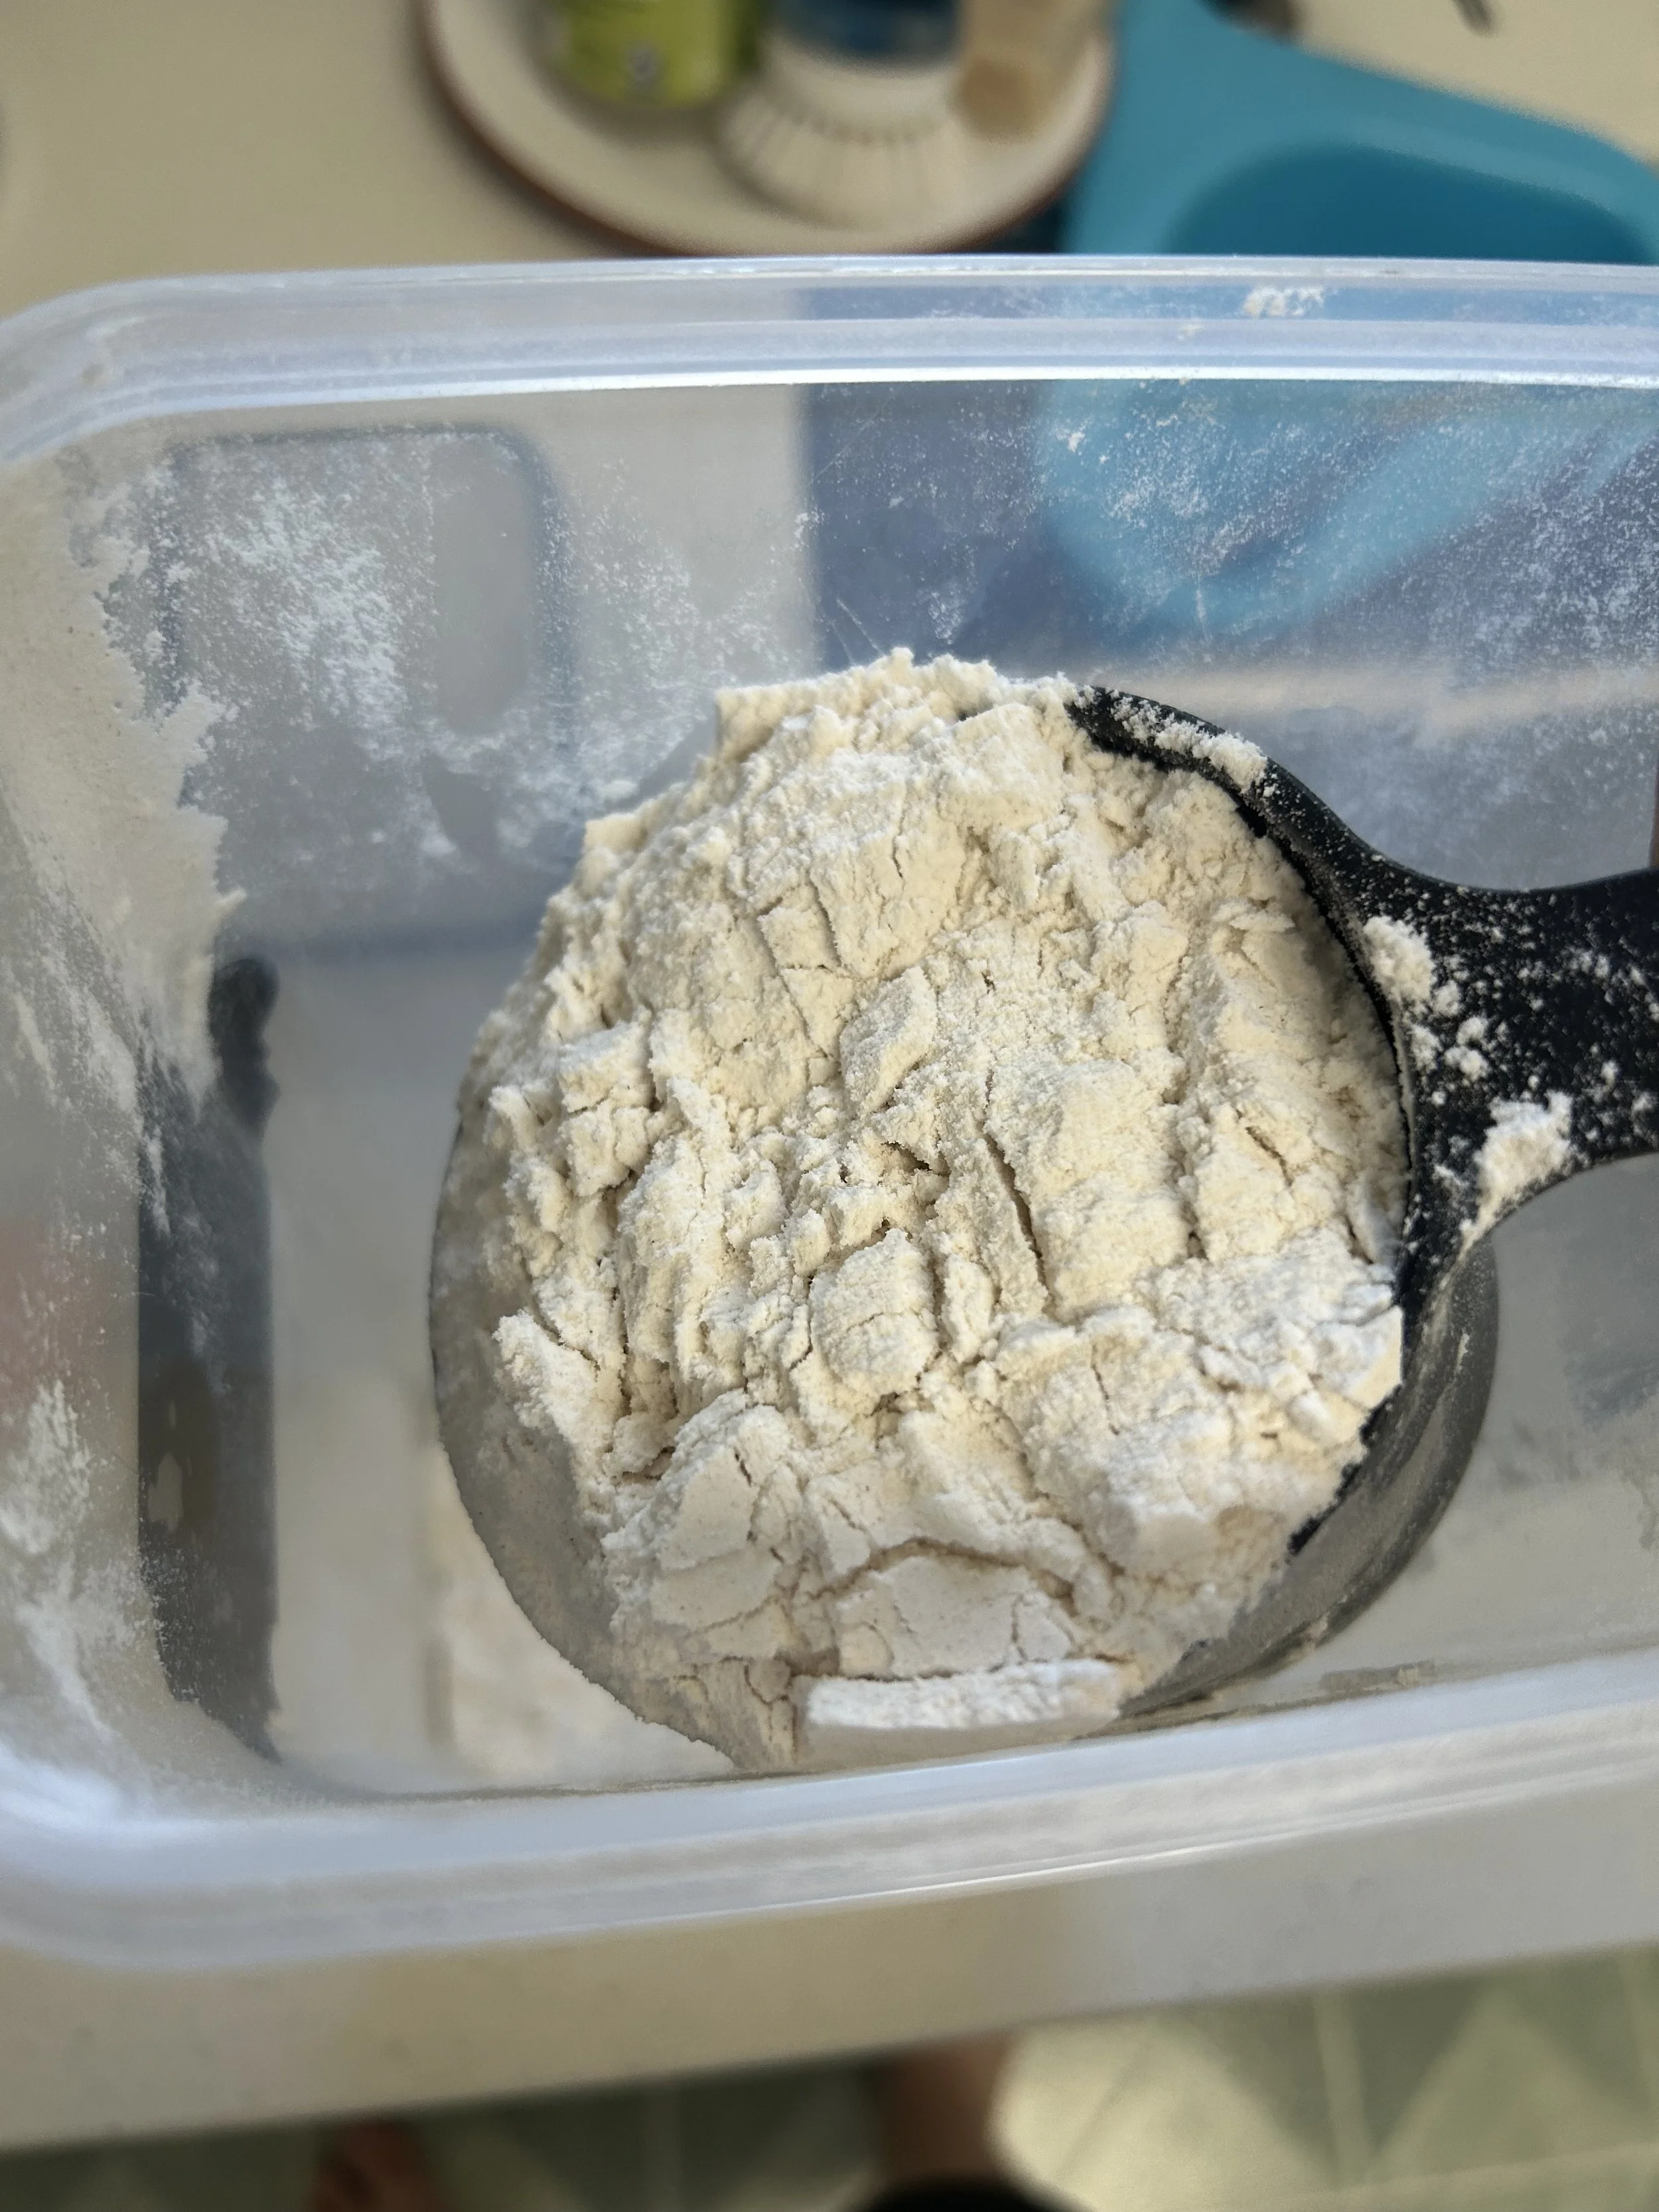
This is especially true in the case of flour, which has the tendency to compact together, and adding too much flour can lead to dry, crumbly, slightly dense baked goods. For bread, this is fine, but for a light and flaky pie crust, this is an issue.
The most accurate method for measuring ingredients is to weigh them with a digital kitchen scale, one cup of flour is roughly 8 ounces. However, I understand that there’s a good amount of home bakers who don’t really want to bother with electronics, so I say that cups are acceptable, as long as you use them the right way.
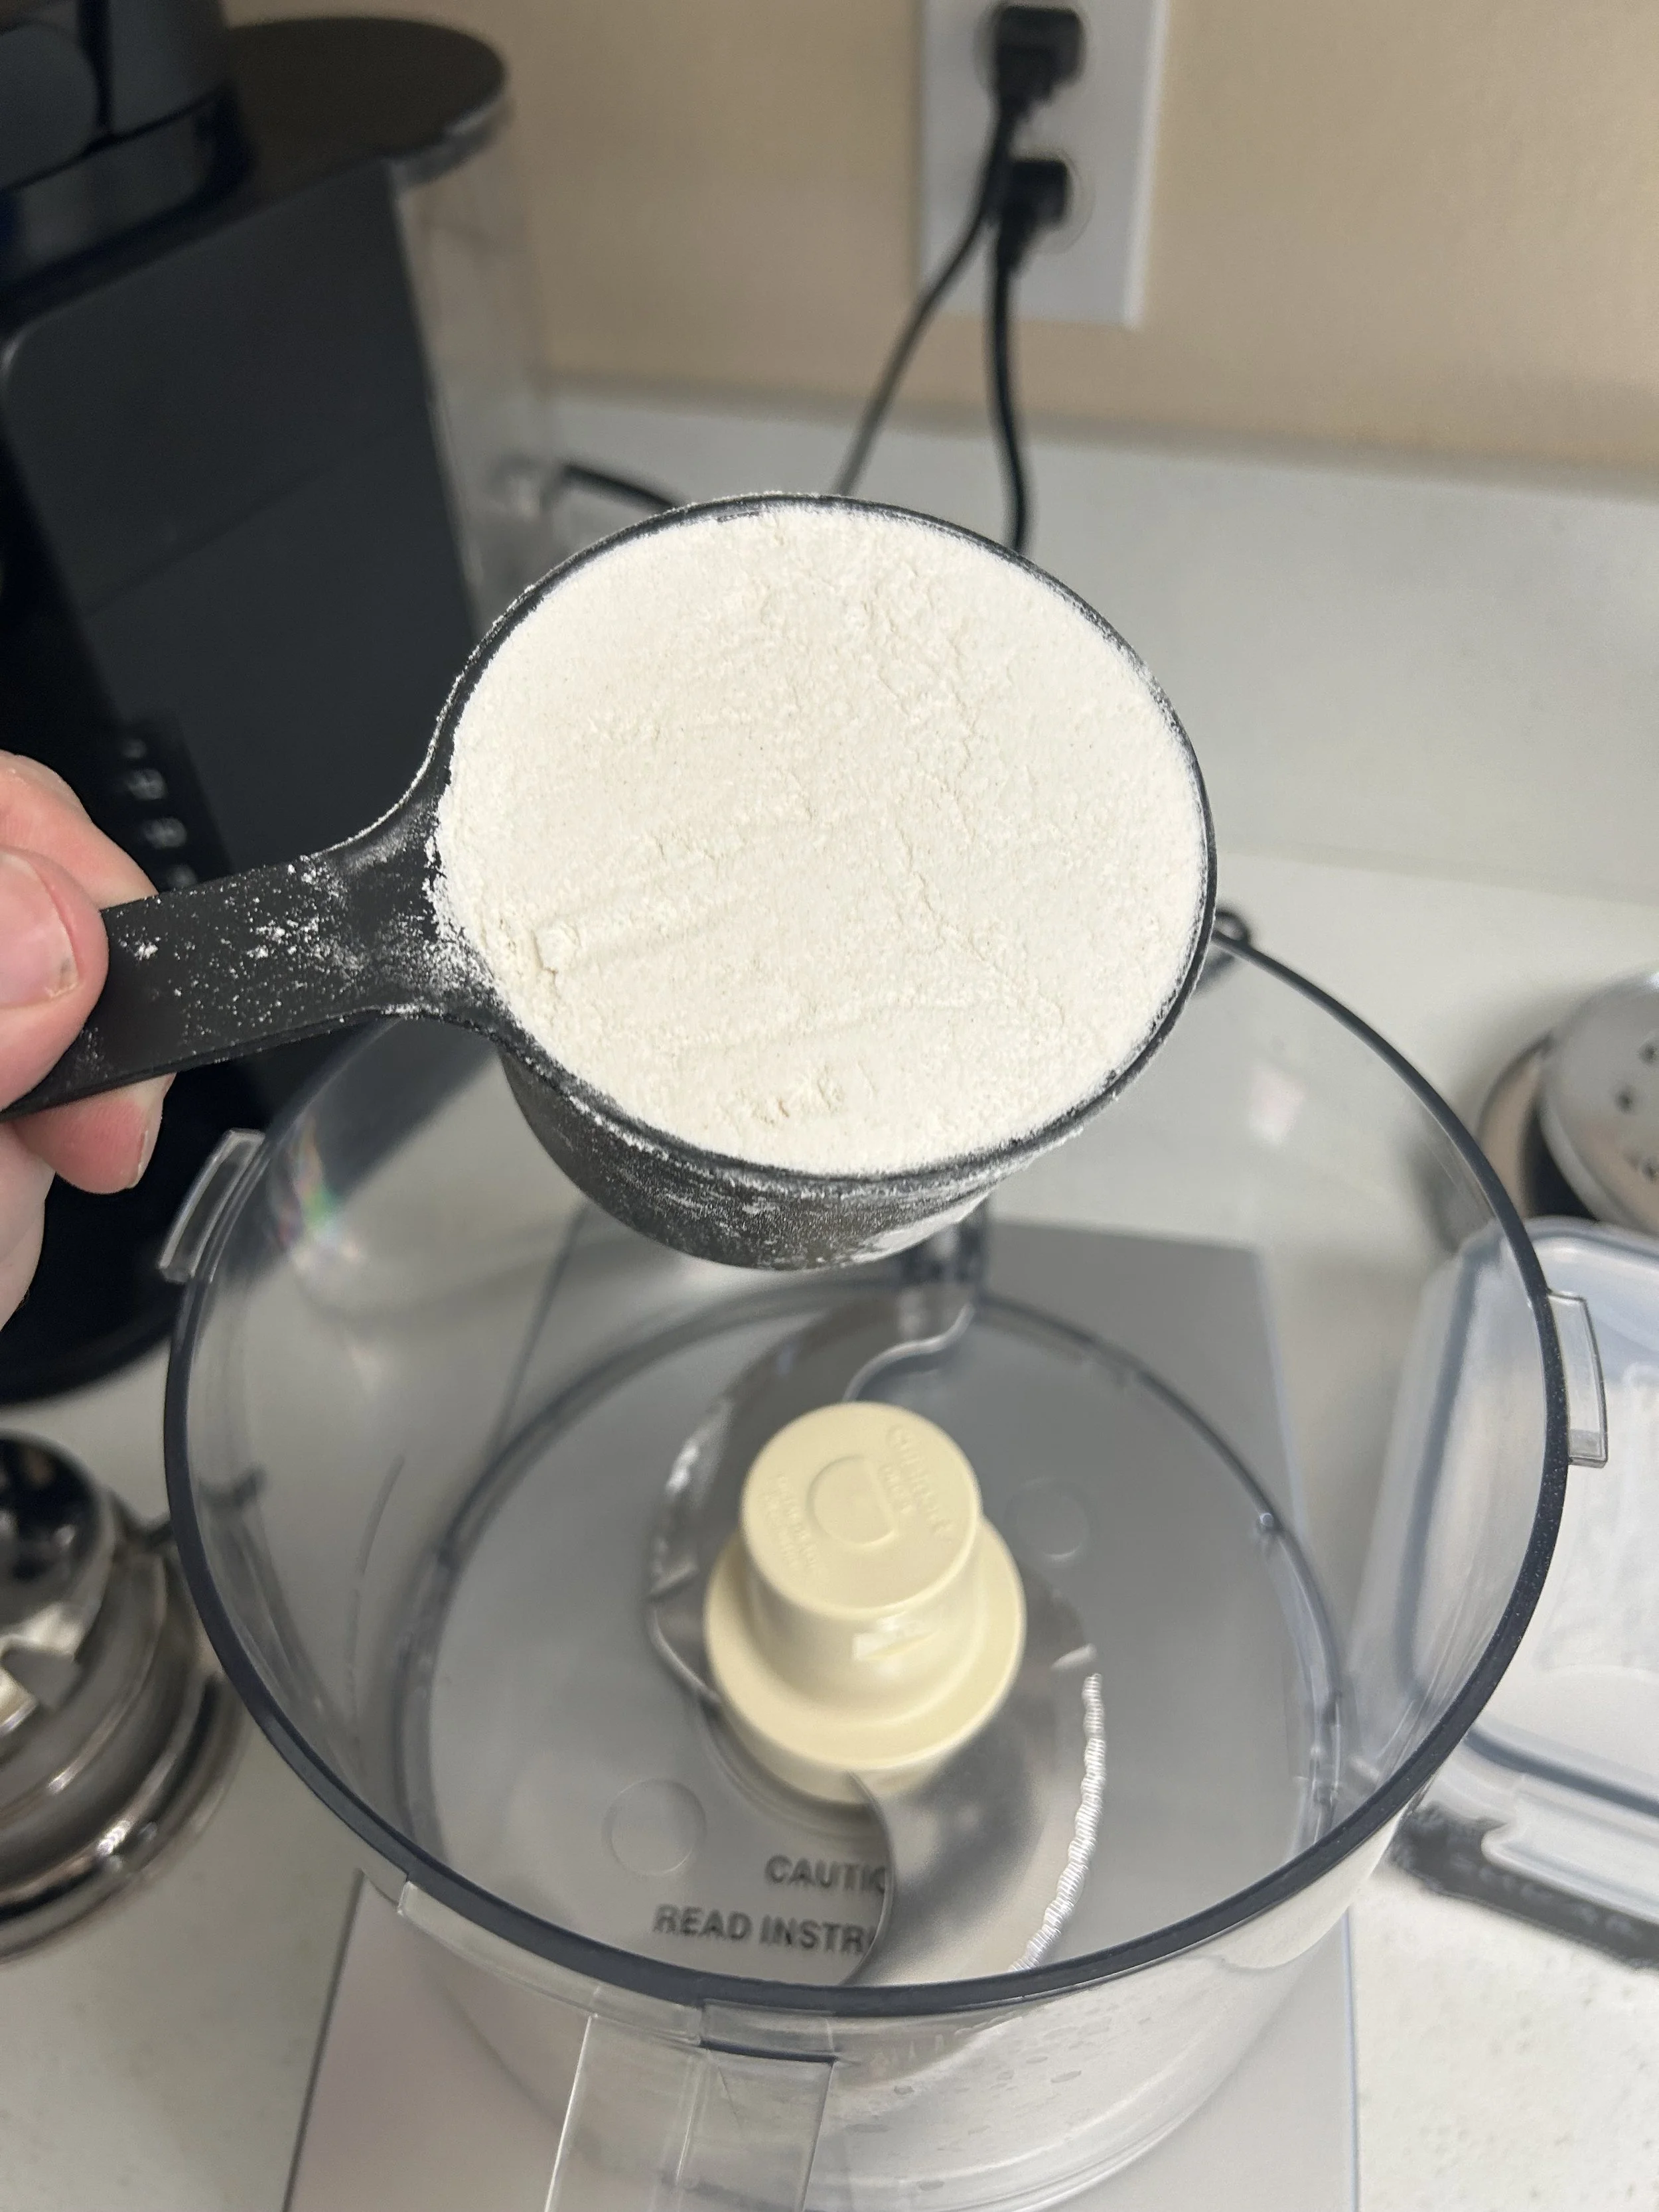
What I like to do is the classic scoop-and-sweep method. The method is self-explanatory, you scoop up a mound of flour with your measuring cup, then, using an offset spatula or the back of a knife, level off the top of the cup for a very accurate measurement.

Skill #3:Separating eggs
Eggs are one of the most widely-used ingredients in baking, but many times you will need to separate them as the yolks are great for making custards while the whites can be whipped into a meringue.
There are lots of methods for separating eggs, but the way I like to do it is the way my grandmother, Nana, taught me. For this, you will need 2 small bowls.
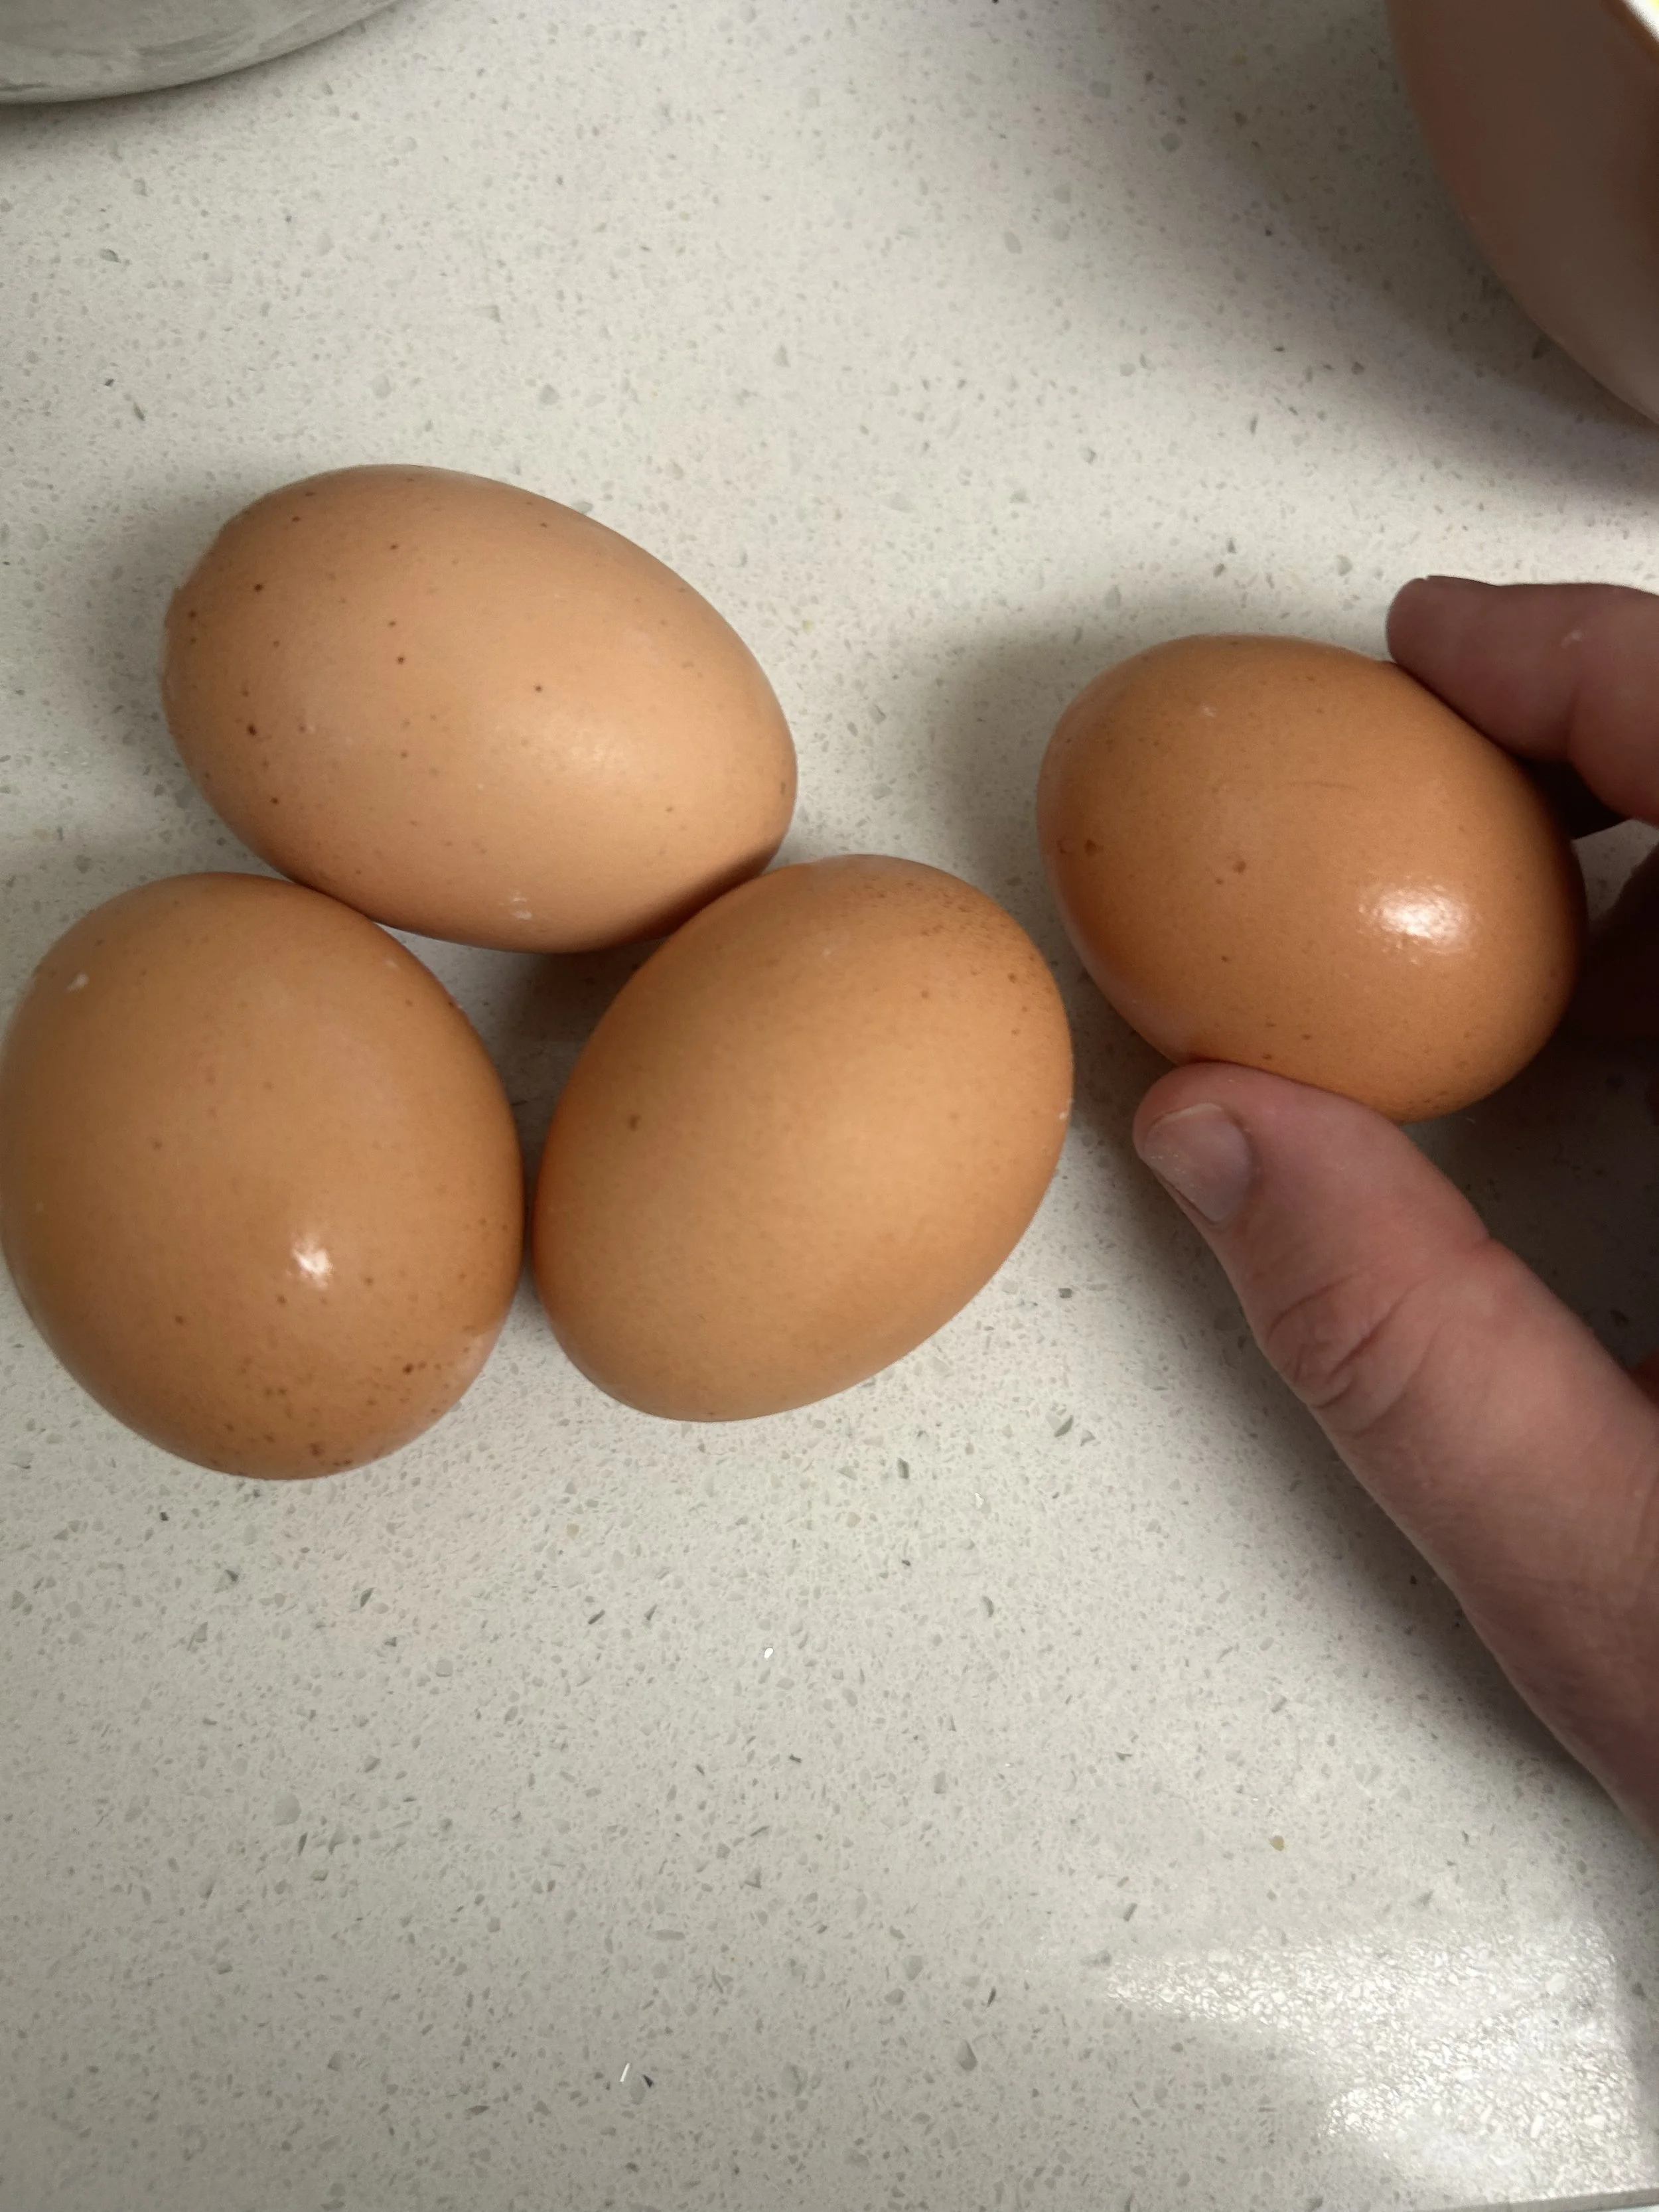
Crack the egg by tapping it on a flat surface (not the side of a bowl), open up the shell into 2 halves, then carefully pass the yolk between the shell halves as the egg whites drop down into a bowl below.
There is a risk factor with this method as part of the shell could pop the yolk and that could get into the whites, however, this is also the method that does not dirty additional dishes.
For this recipe, you’ll need 2 egg yolks for the crust dough and 4 for the custard filling. By the way, you don’t have to throw away those egg whites. I like to scramble them the next day for breakfast.


Skill #4: Making a Pie Crust
If you are short on time, then you can absolutely use a refrigerated or store-bought pie crust, however, if you want to show your family/friends how much you mean to them, then making pie dough from scratch is a must.
(Although, keeping one ready-made crust on hand might be a good idea in case things don’t go your way with the homemade crust)
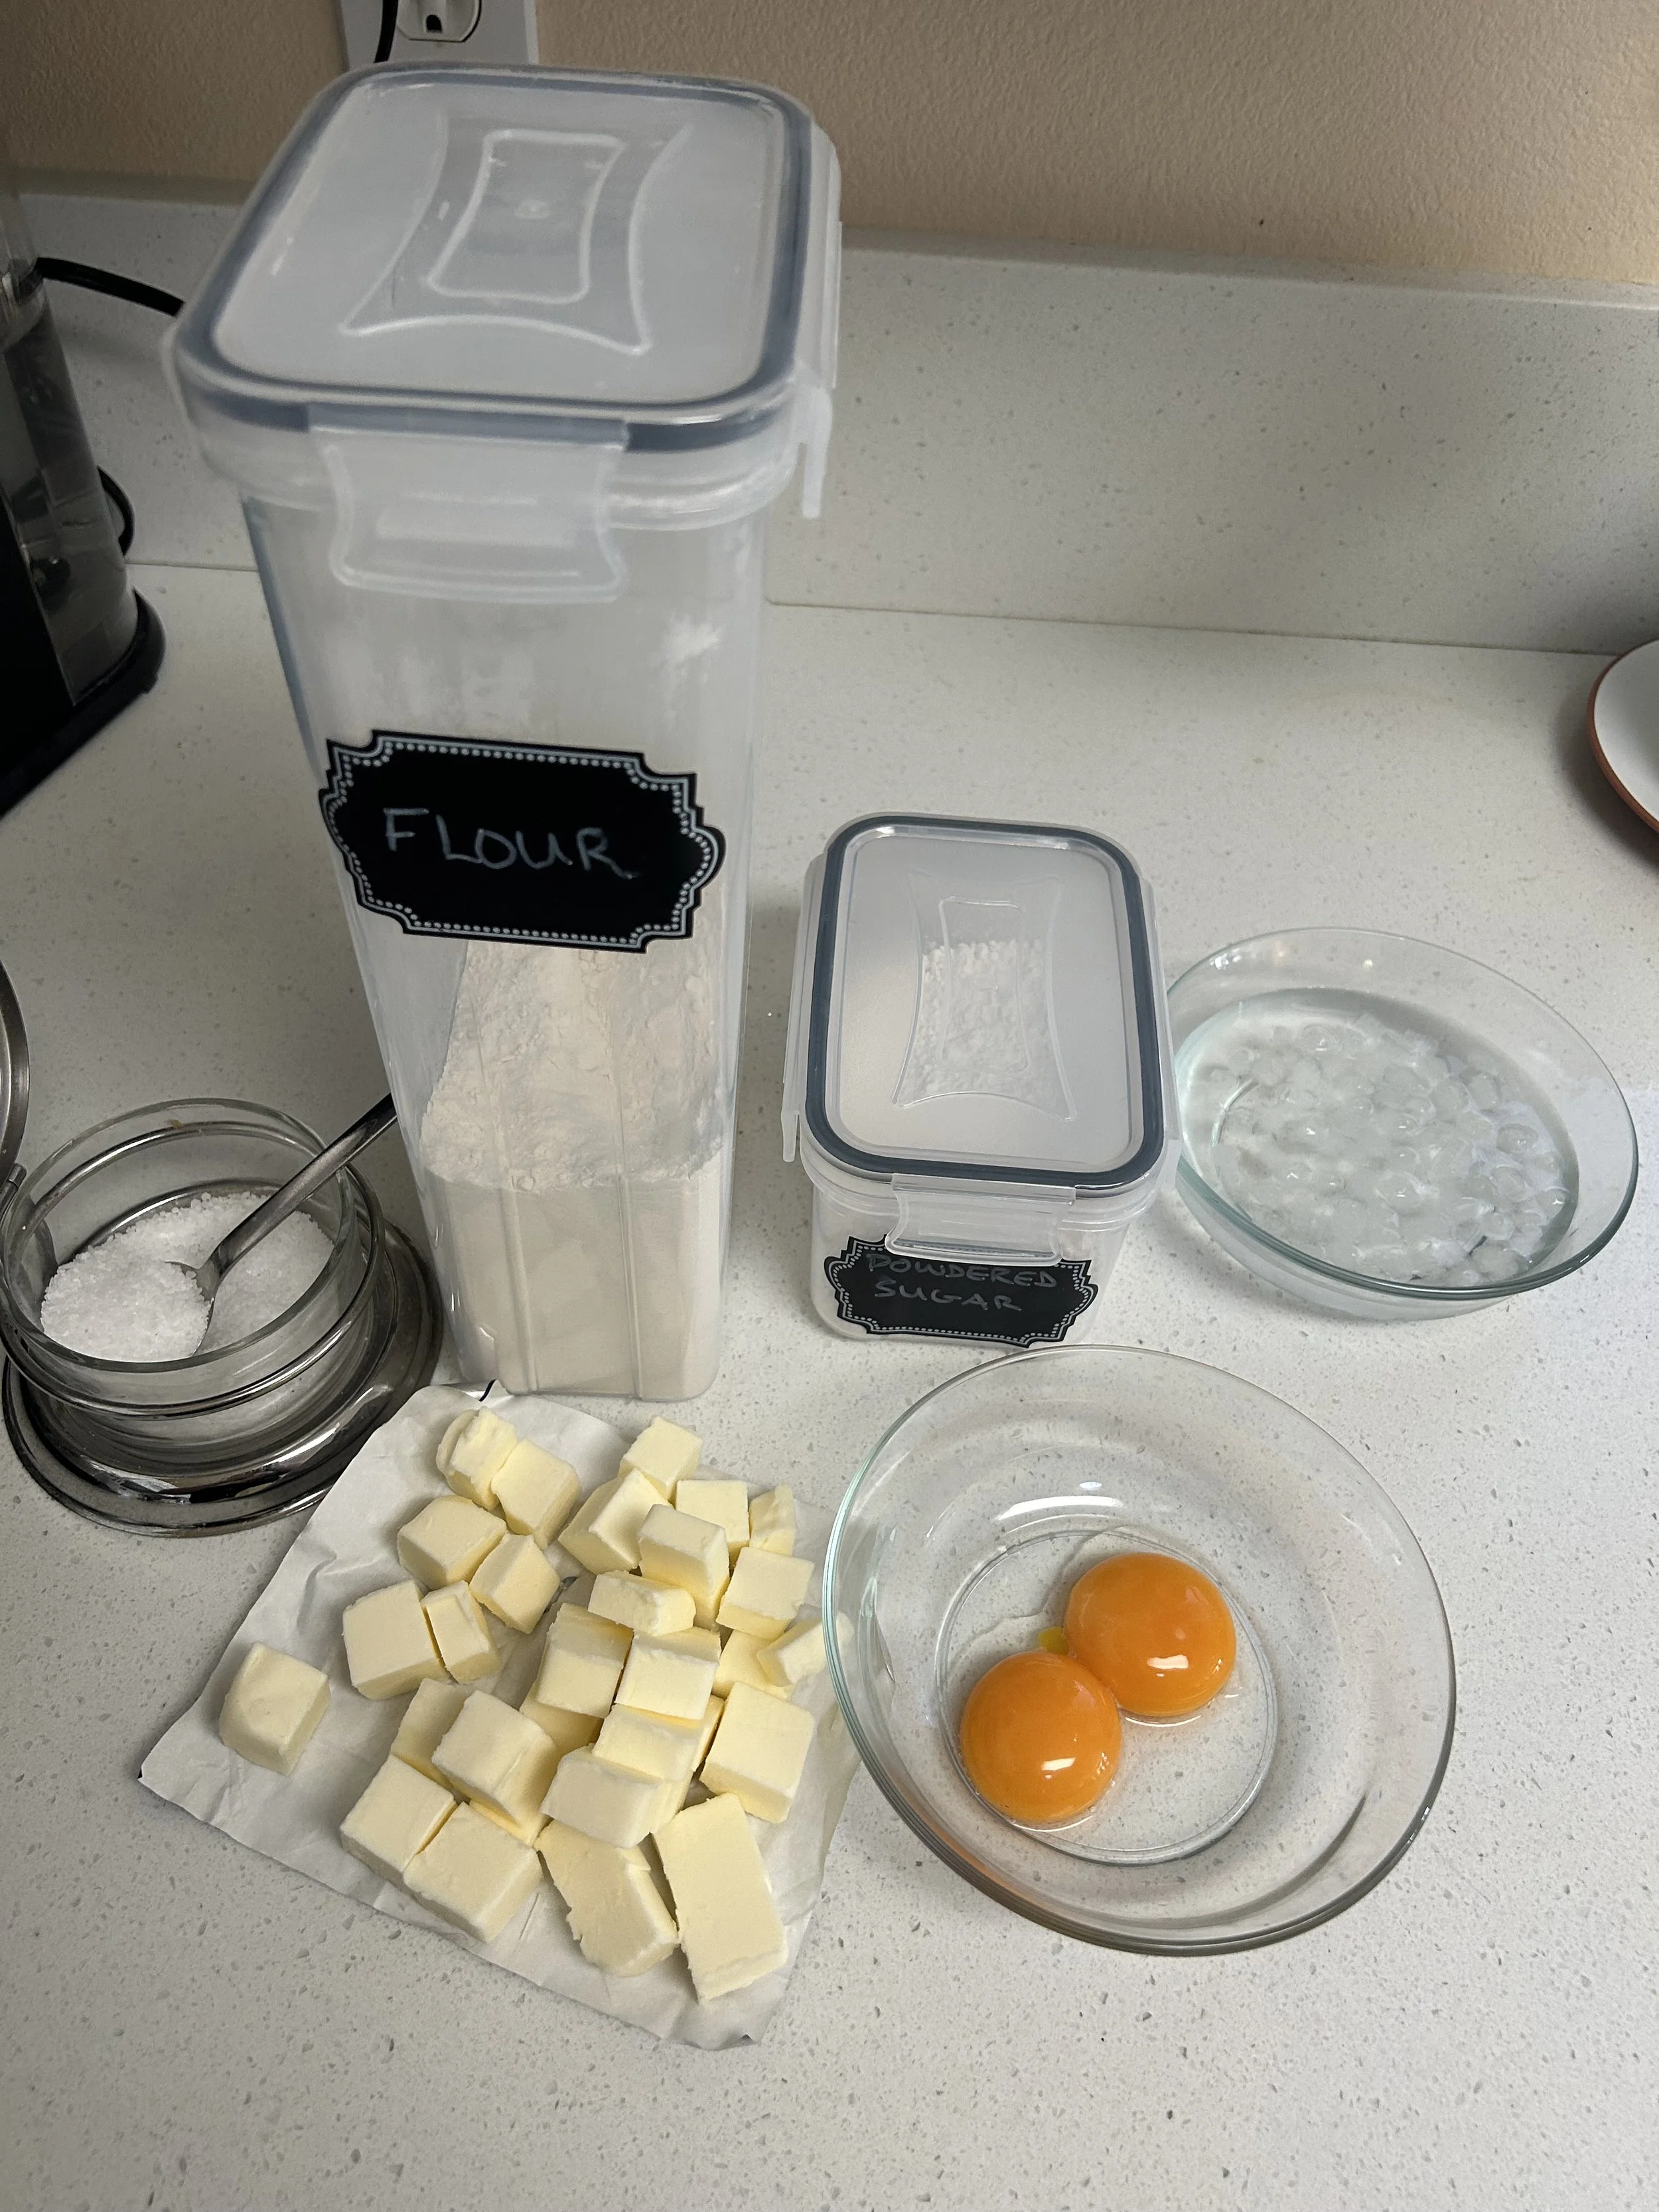
I’ll go over the details on how to make the crust, but making pie dough from scratch only requires a few basic ingredients: flour, sugar, salt, butter, egg yolks for some richness, and ice water, and it’s also incredibly easy.
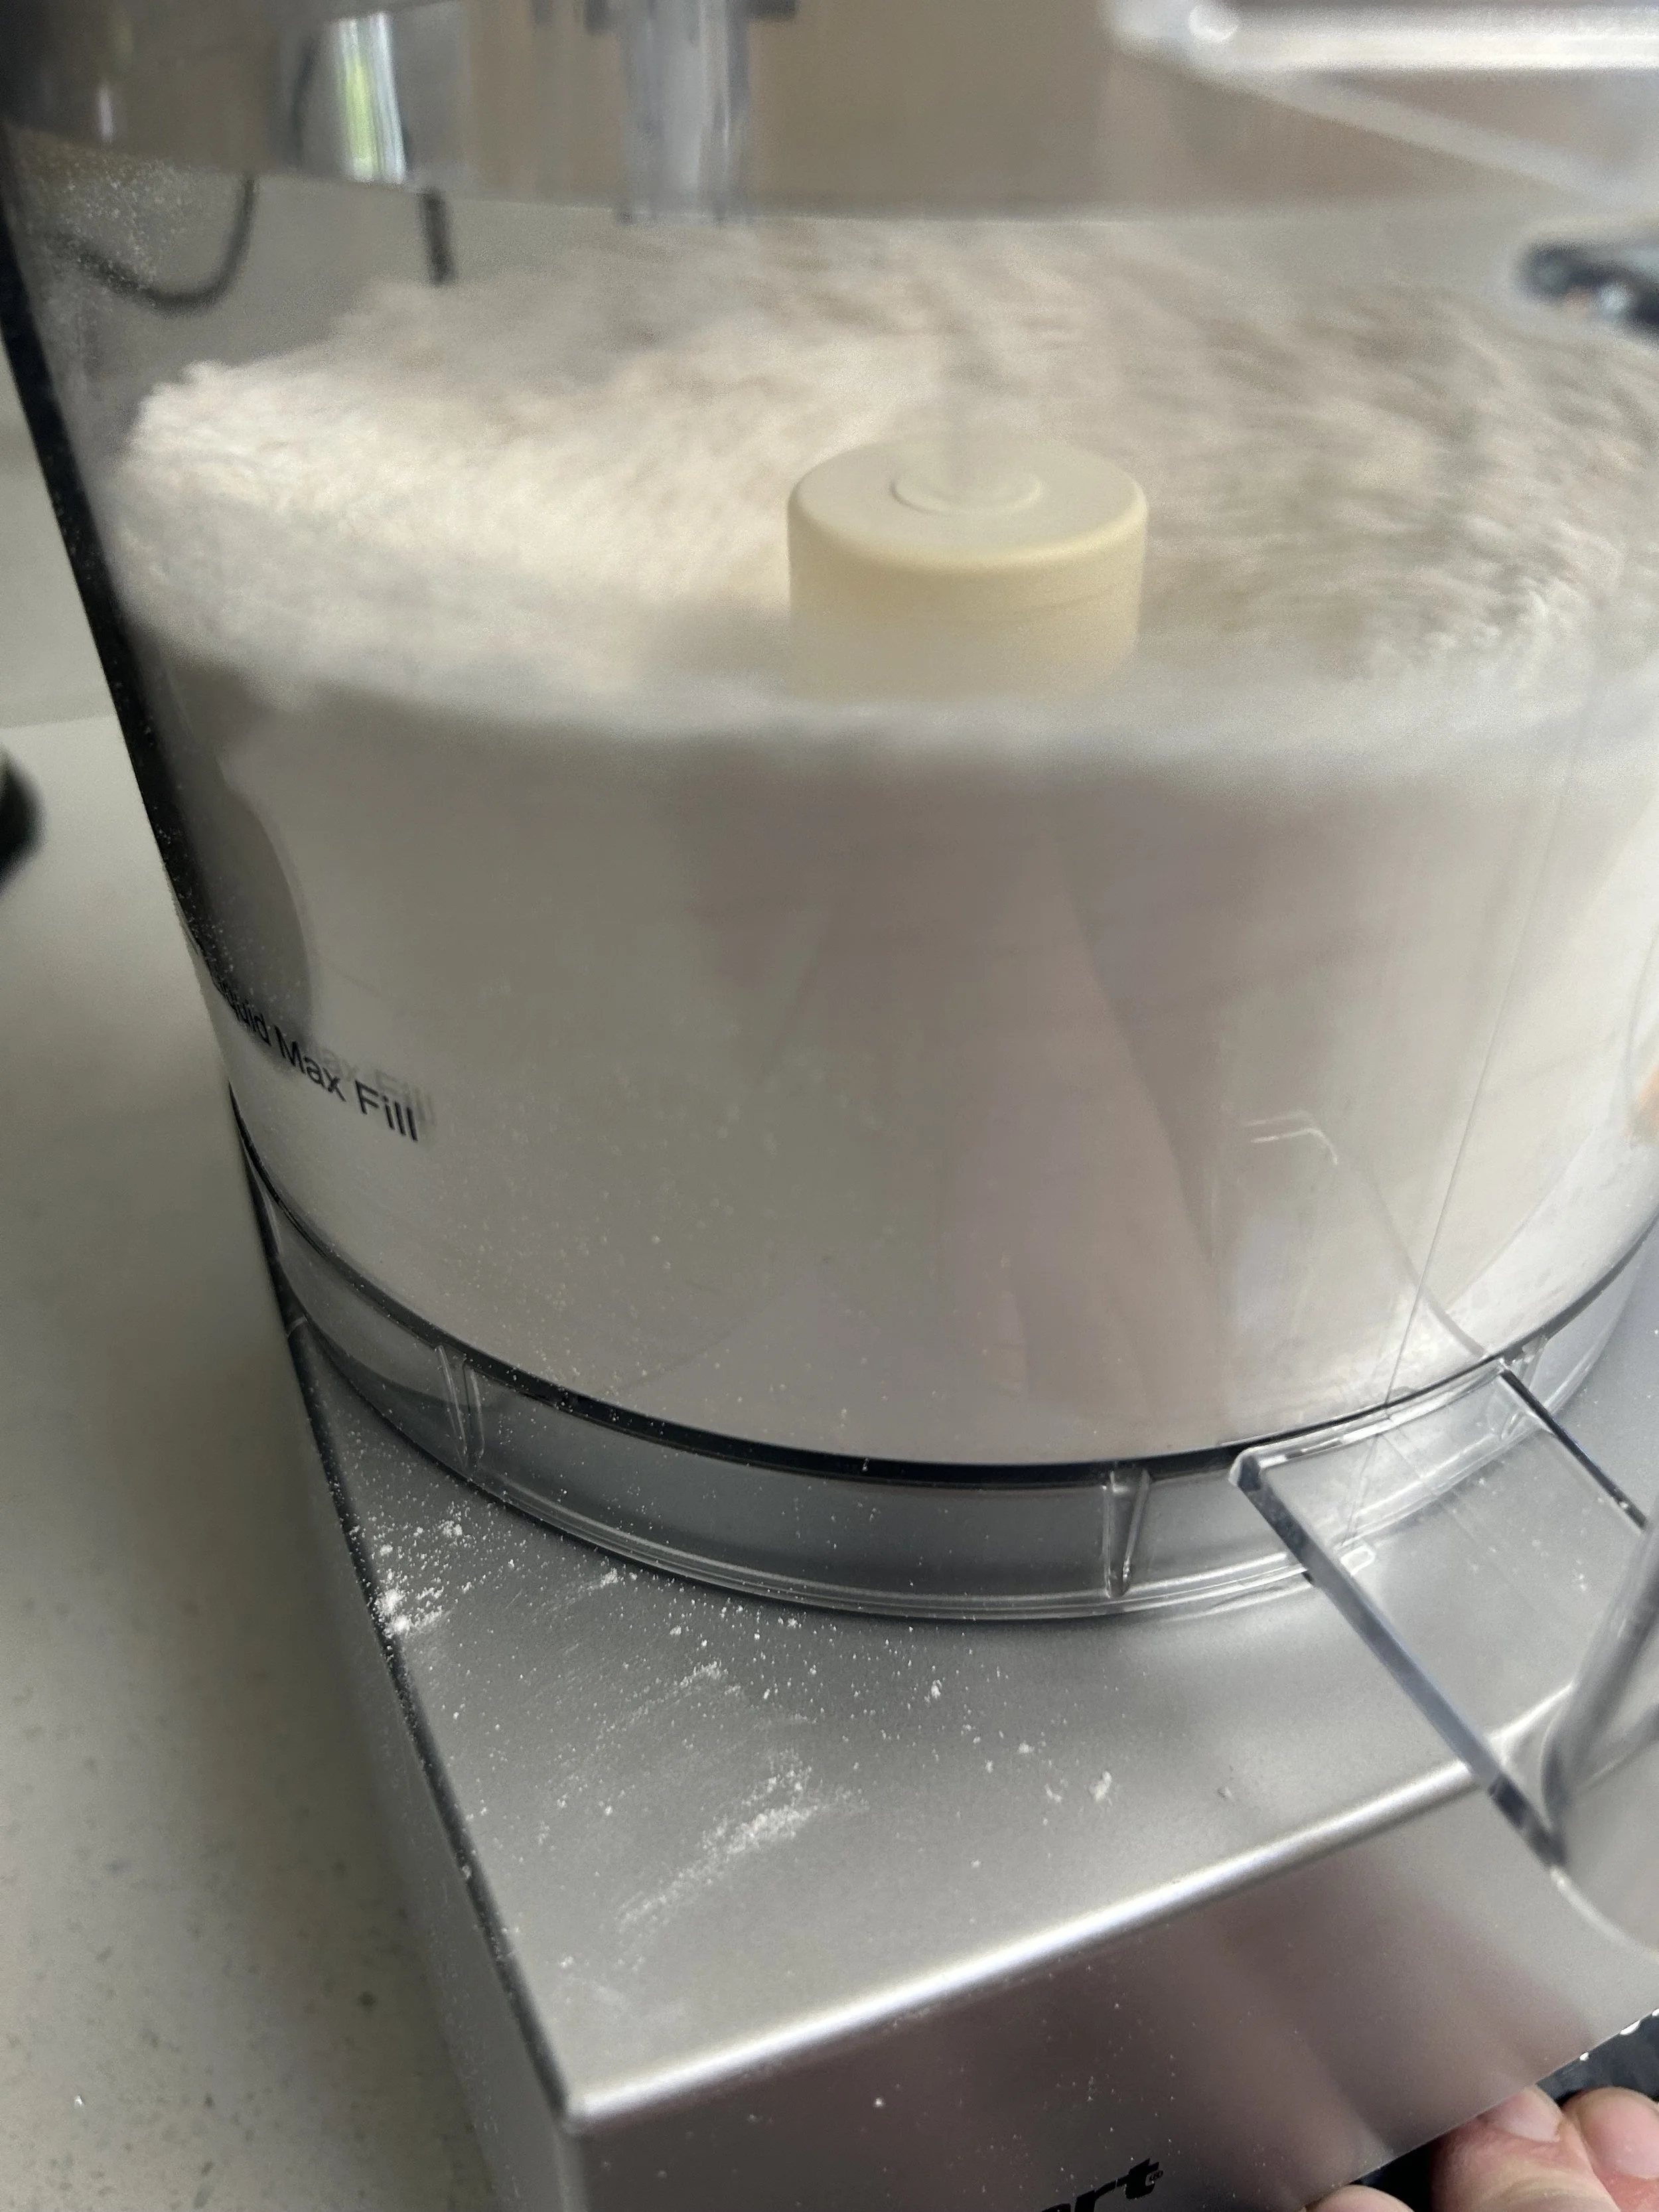
It’s even quicker and easier if you have a food processor, though let’s face it, who doesn’t have a food processor these days?
Once you know how to make this crust, you can then transfer that knowledge to making just about any pie you want.
Pumpkin, blueberry, cherry, apple, pecan, you could double the recipe if you want to do a closed pie or a nice design on top, and you could also leave out the sugar to do a savory quiche or chicken pot pie.
If you are doing a richer pie like pecan or coconut cream, then I’d suggest leaving out the egg yolks and using more ice water.
Skill #5: Making a Custard
Making custards is easy in theory, you cook dairy, egg yolks, sugar, and a thickener (usually flour or cornstarch) in a pot until it becomes a thick, smooth, creamy consistency. However, as with many cases in baking, there are many ways this can go wrong.
If you overheat or don’t whisk your custard enough during cooking, then the eggs could curdle and instead of a smooth custard you’ll get sweet scrambled eggs swimming in milk/cream.
If you don’t cook your custard long enough, then it’ll be too loose and you won’t get that creaminess, the list goes on.
Fortunately, the 6th skill is a great way to help prevent some of those factors.
Skill #6: Tempering
Tempering is a process where you slowly add hot milk or cream to egg yolks and whisk them in. Doing this will slowly raise the temperature of the eggs and allow them to create that creaminess easier.
Eggs cook at a very low temperature, 125 degrees F, and if we were to add cold eggs to hot dairy, then that shock of heat can cause them to curdle before you even realize it.
Tempering the eggs brings the egg yolks to the same temperature as the dairy, so they’ll cook evenly and get you the silky, pudding-like custard of your dreams.
Skill #7: Blind Baking
To ensure that we end up with a crispy, flaky crust, it is very important that we blind-bake it.
Blind baking means putting a piece of parchment paper onto the crust dough and then filling it with a weight, doing this will weigh down the crust and keep it from puffing up in the oven and also prevent the crust from sliding down the sides of the pan.
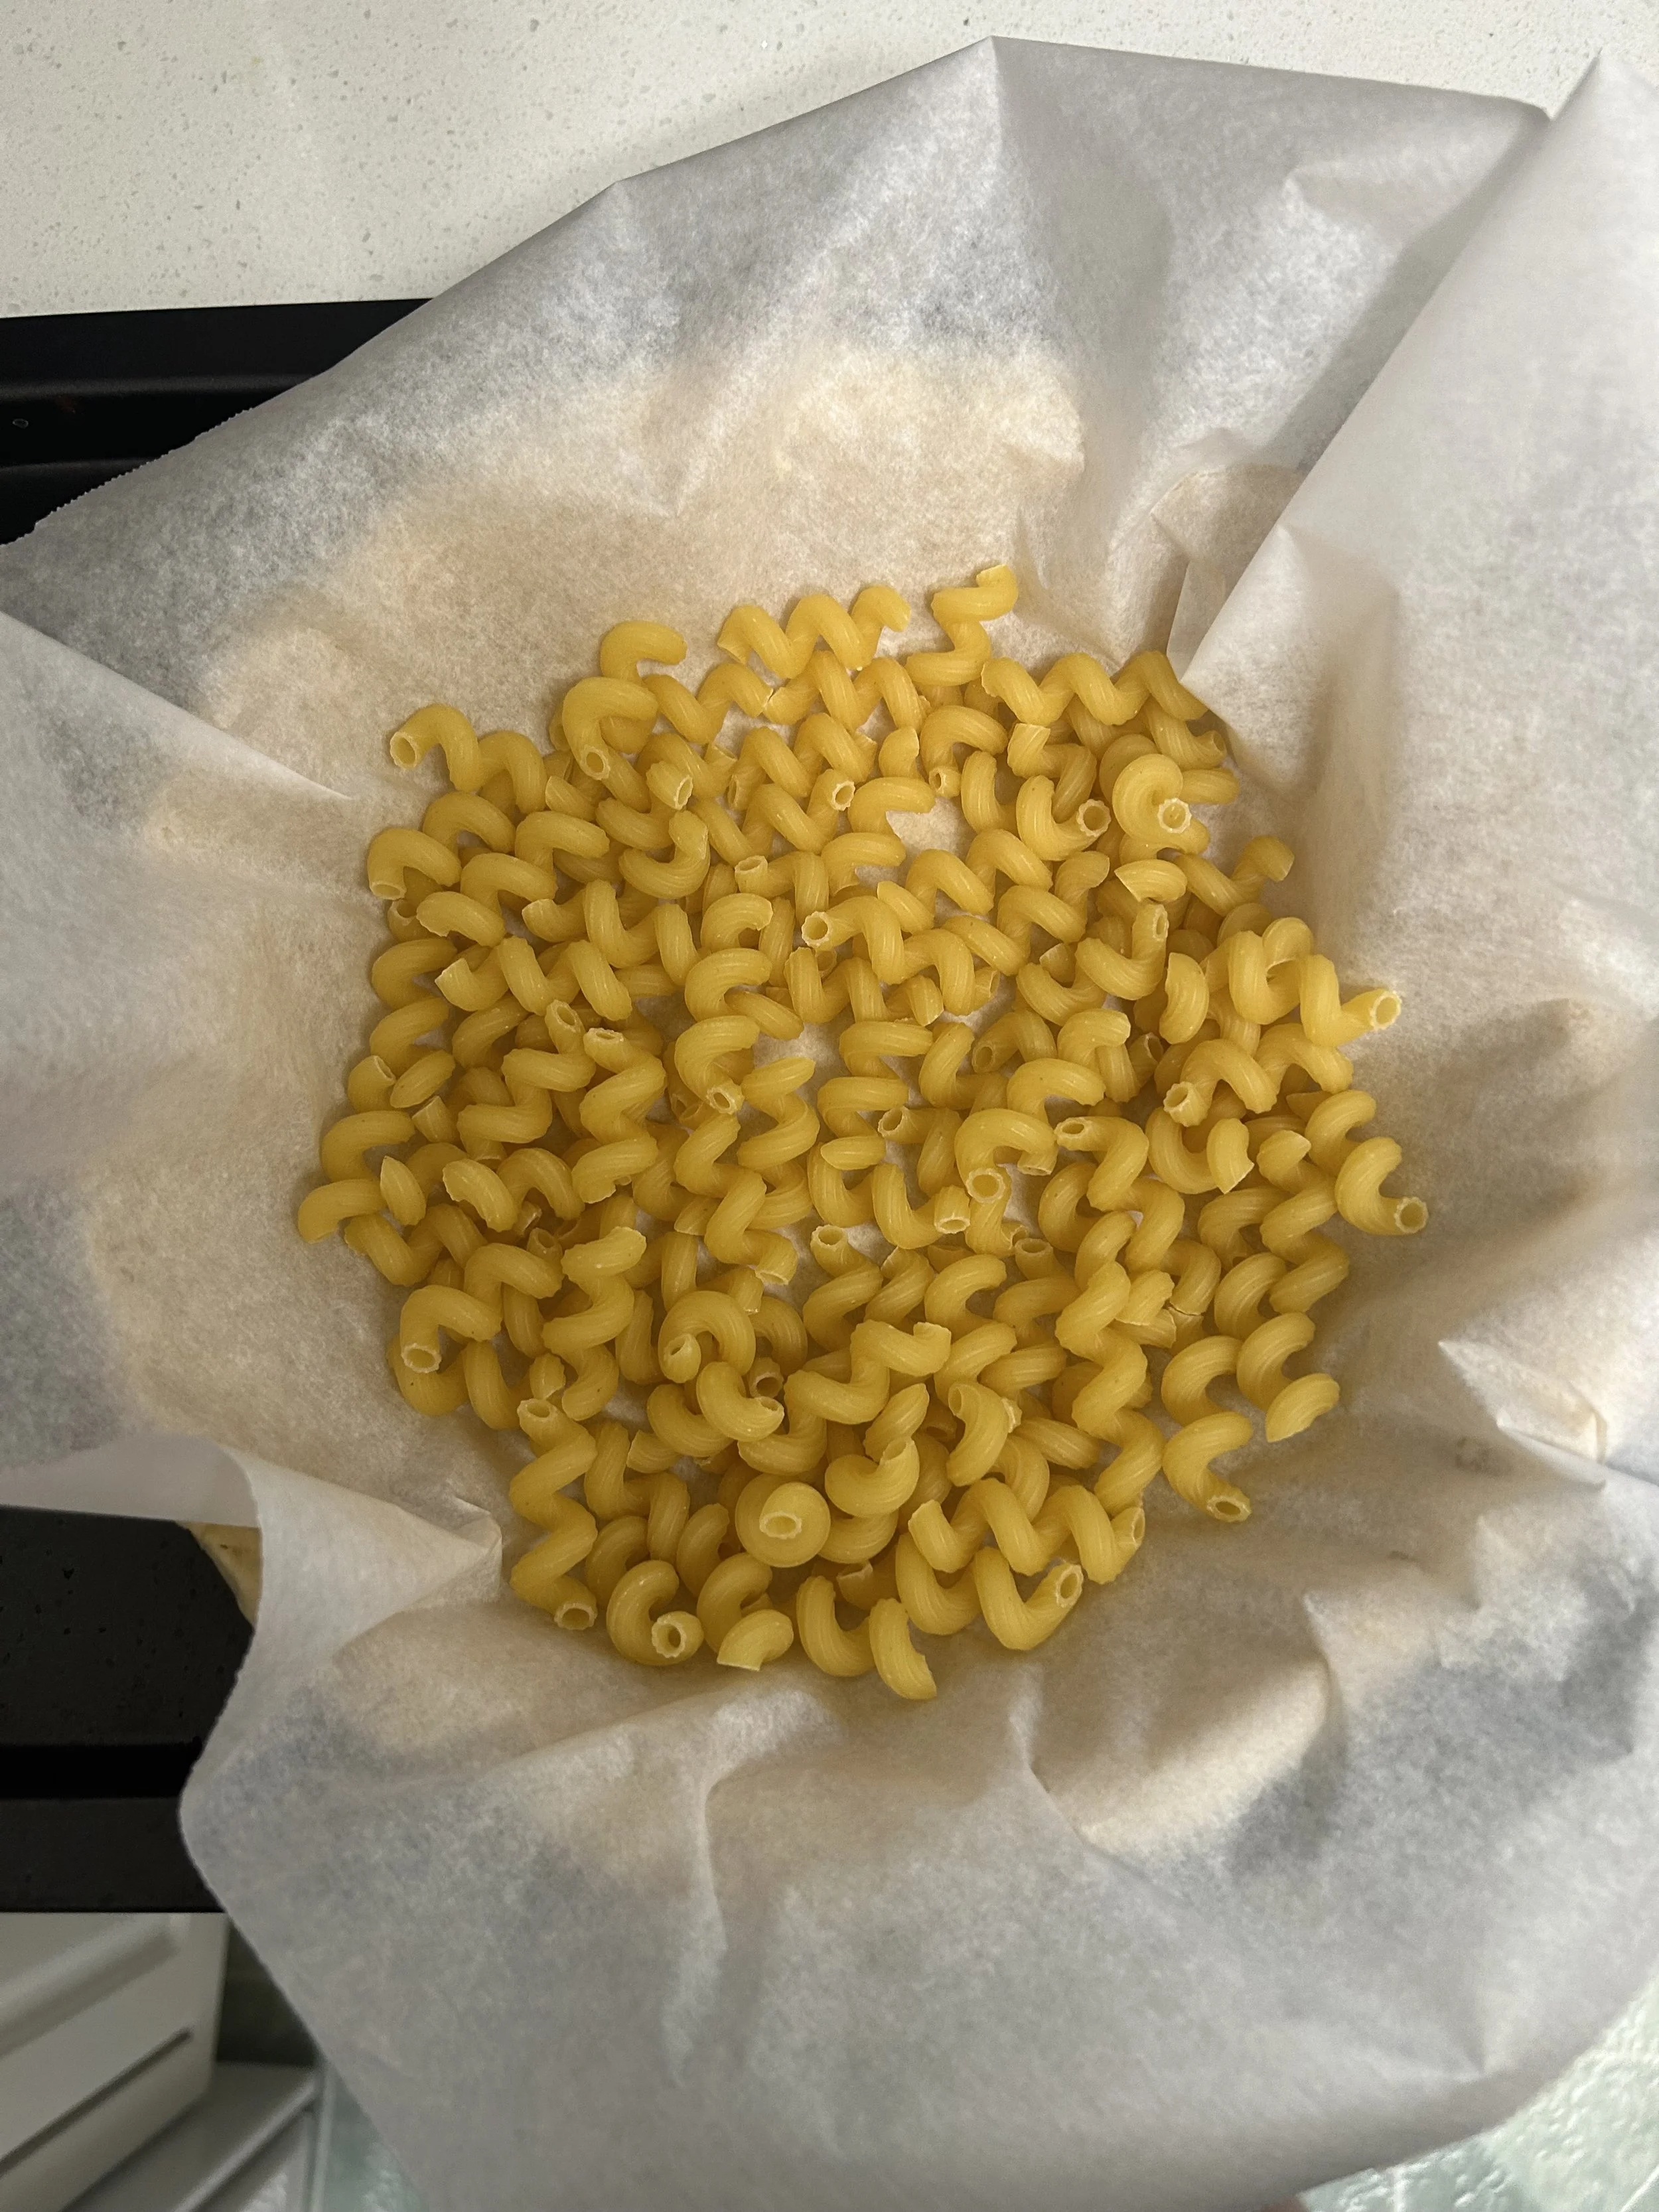
You could buy ceramic pie weights, or, for an even cheaper option, you could use dried beans, rice, or even dry pasta.
Skill #8: Presentation
When it comes to cooking or baking, the taste is crucial, but taking the time to get the look and presentation right can really impress whoever you’re baking this pie for, as we always eat with our eyes first.
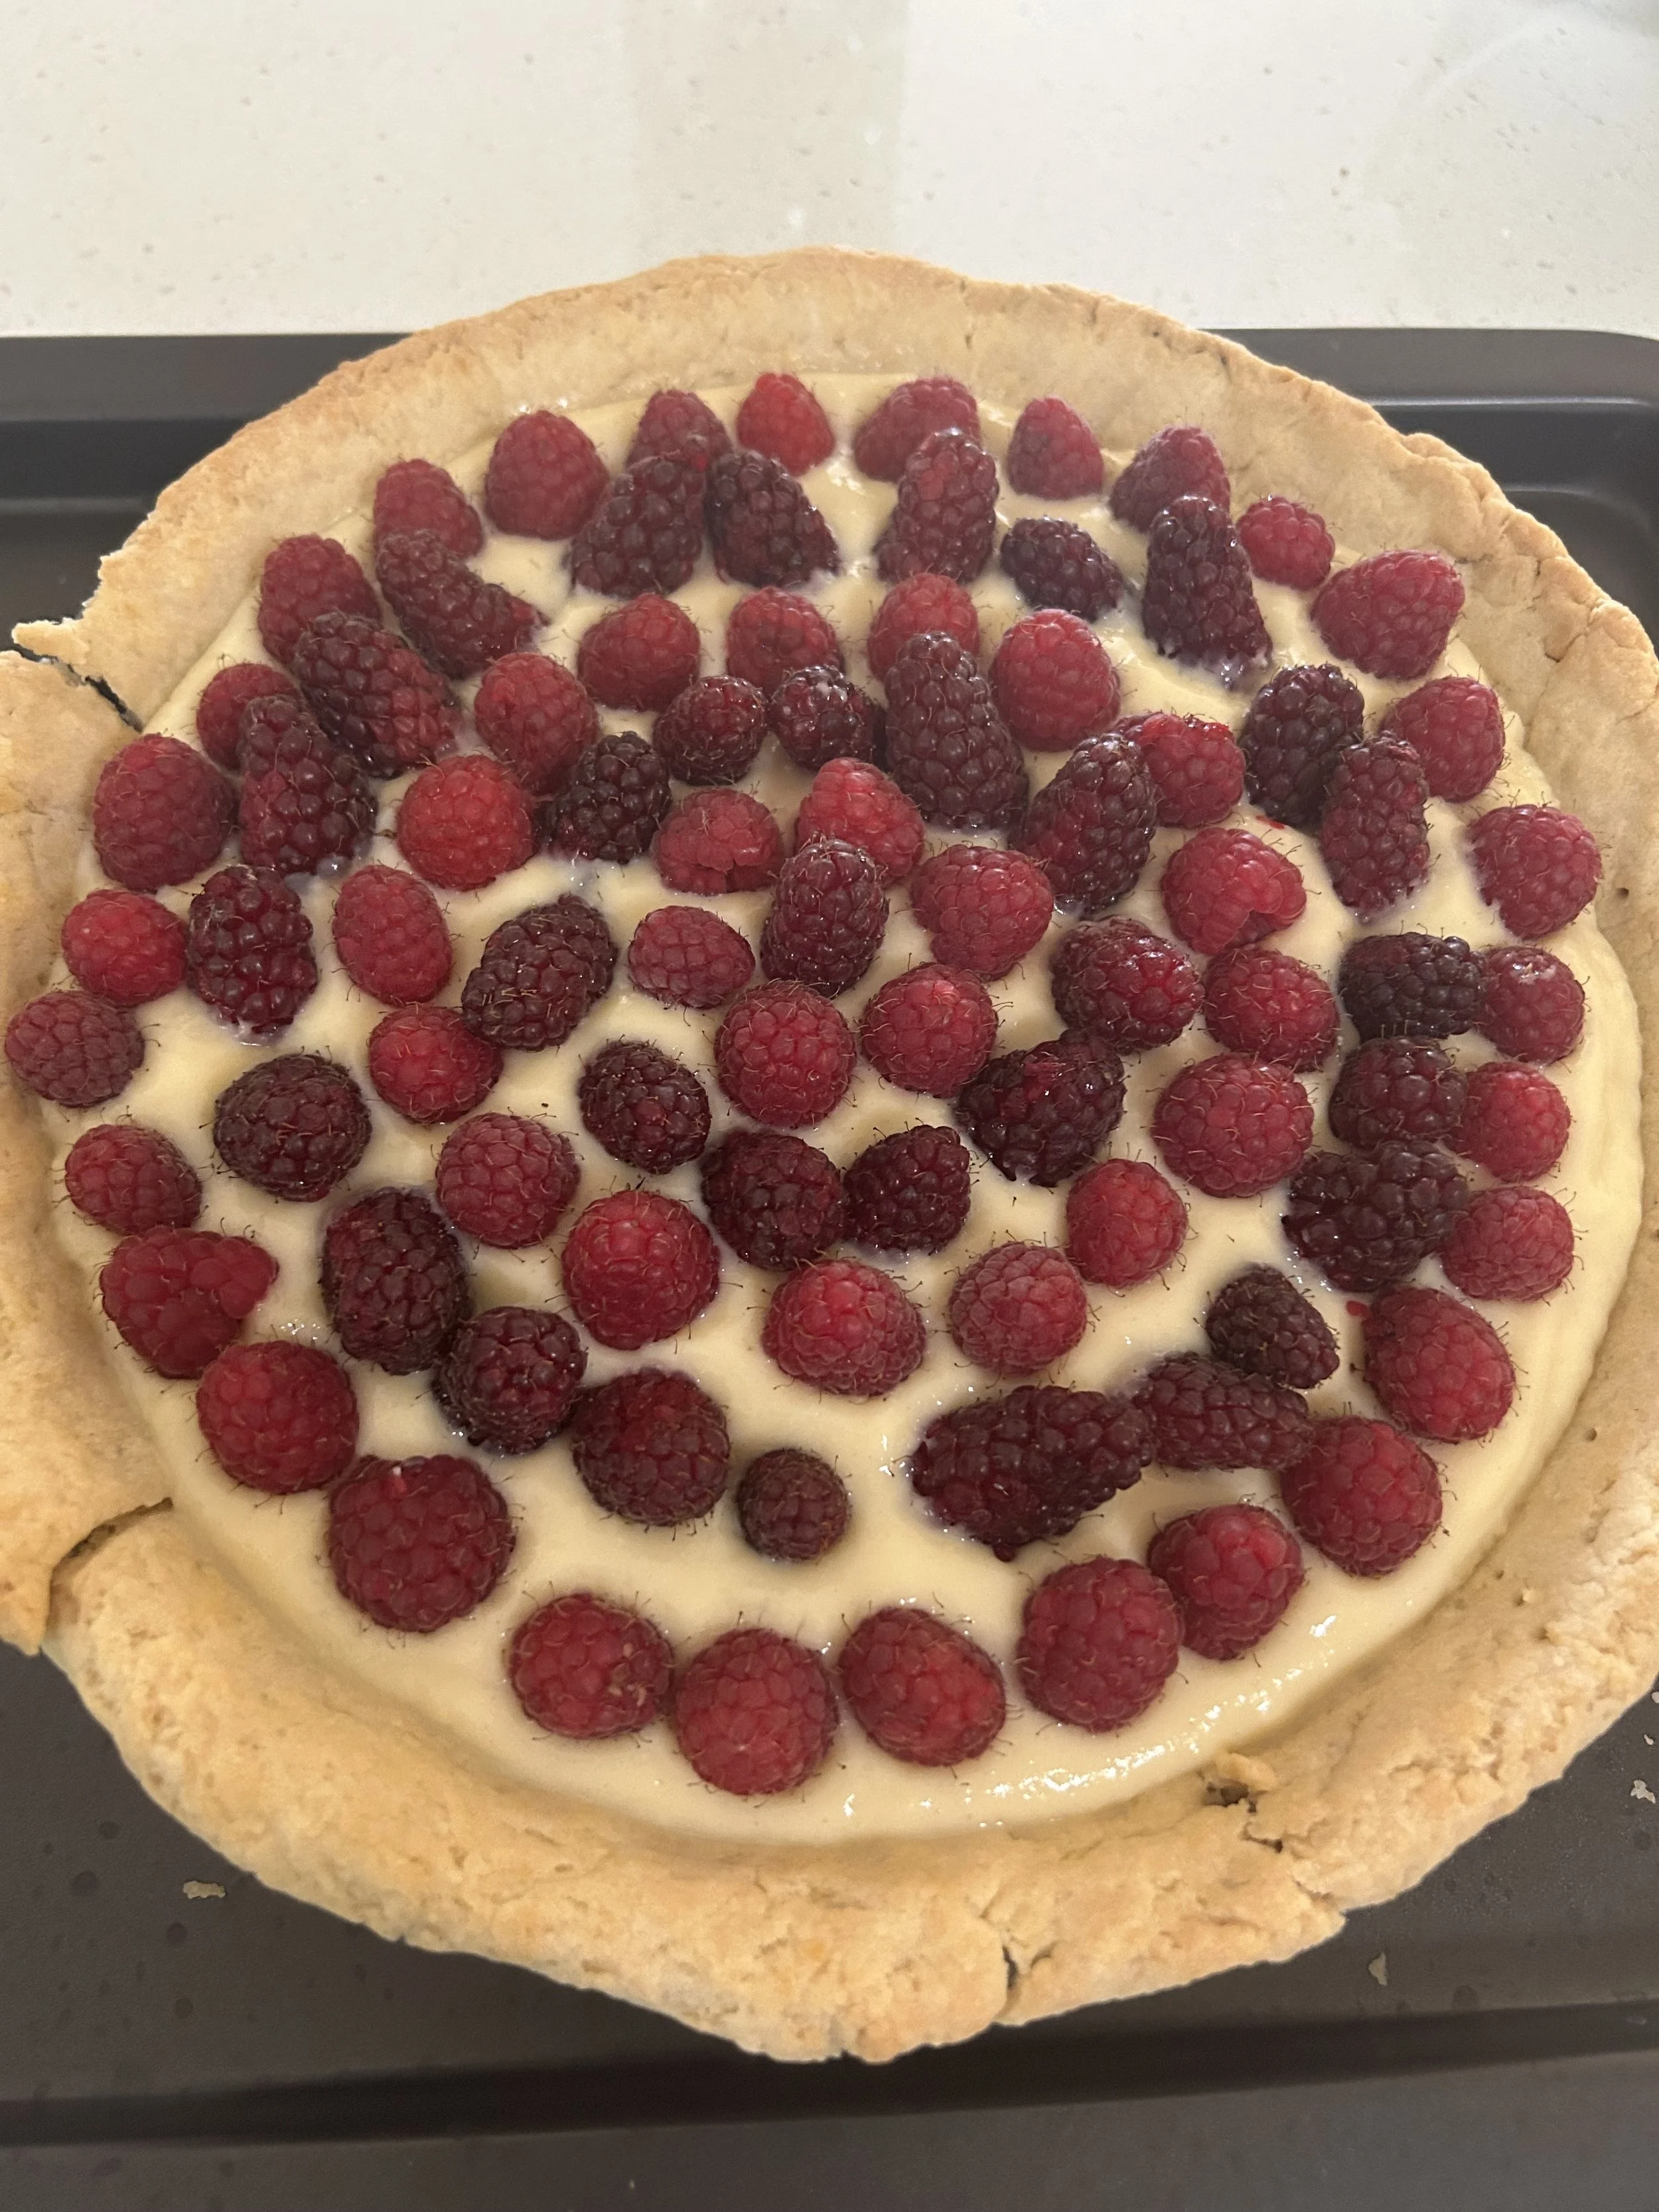
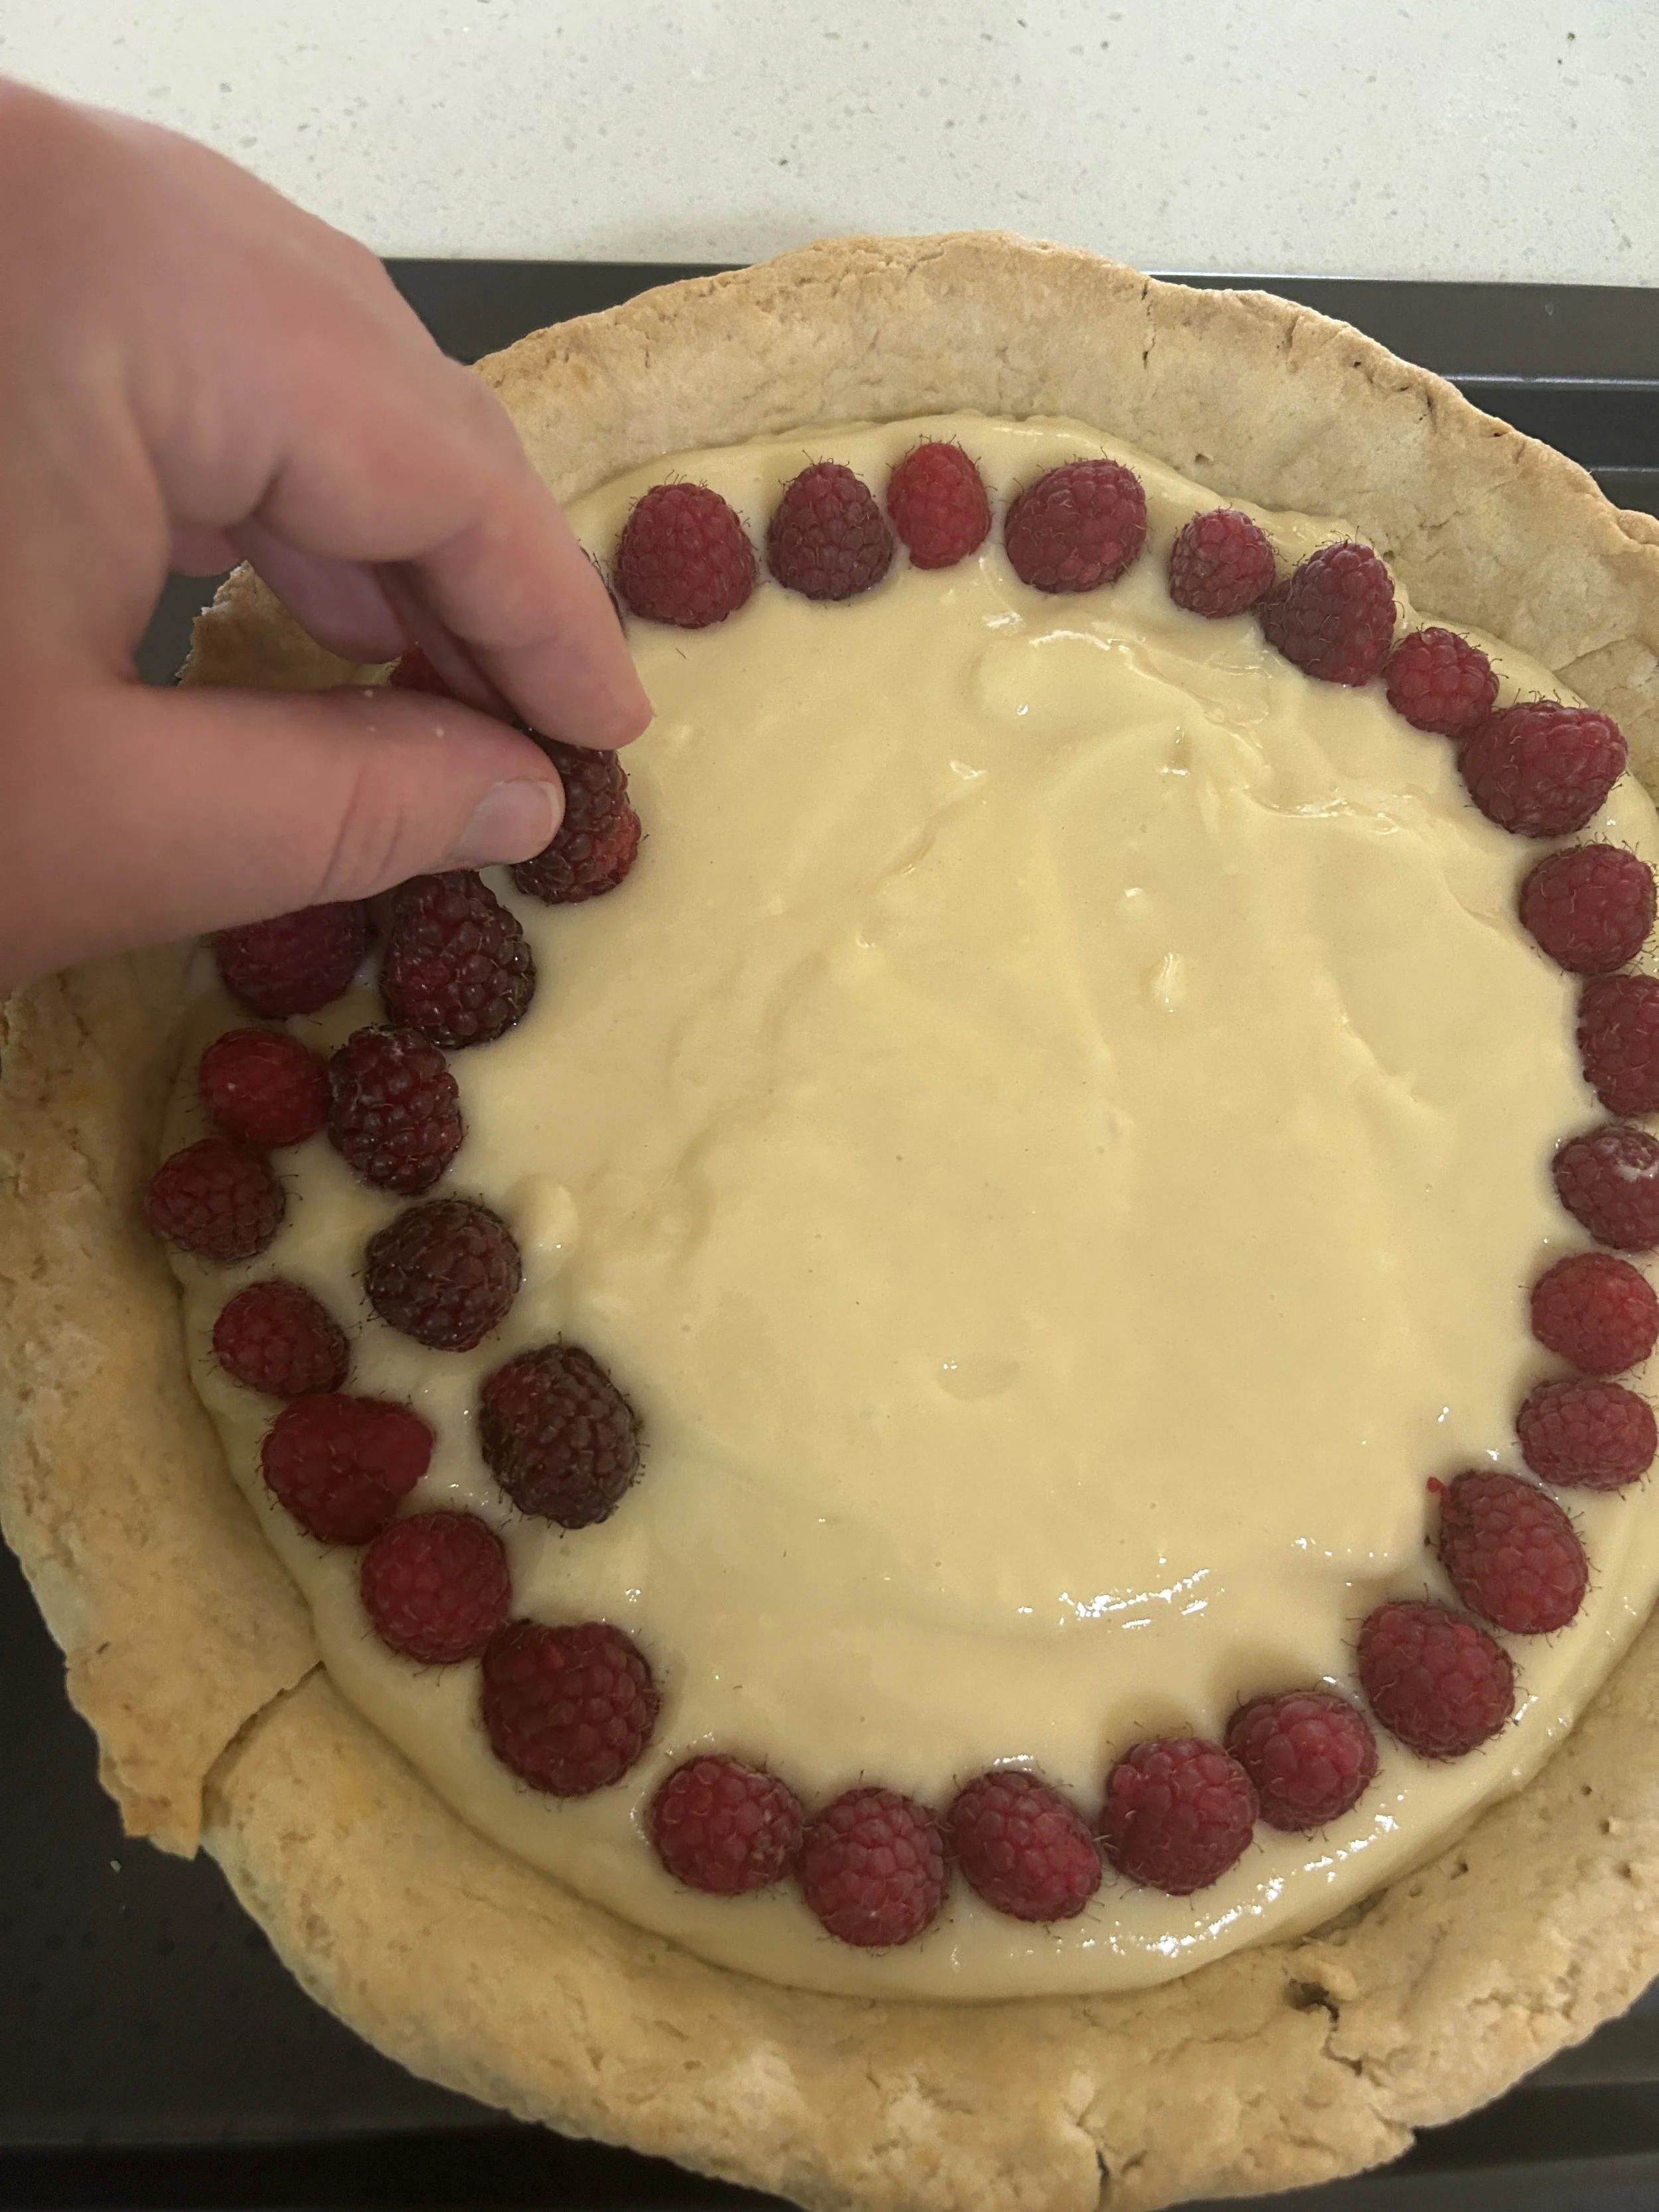
In this case, I’ll be making a few rings of raspberries around the top of the custard after pouring said custard into the baked crust to try to get it looking as nice and neat as I can.
Do do this, I begin by lining the edges of the pie with my berries, going all the way around, then doing that a few more times until the whole top of the pie is covered in those stunning berries. I then top the berries with a dusting of powdered sugar, and that’s it.
Alright, now we have all of those skills down, though I will be sharing how those skills come into play as I go through the recipe, so let’s get baking!
Raspberry Custard Pie
Servings: 8
Time: 2 hours plus overnight chilling
For the Crust:
3 cups of flour, measured using the scoop-and-sweep method (See Skill #2), plus more for dusting
1/2 cup of powdered sugar
A pinch of salt
3/4 cup of unsalted butter, cubed and chilled*
2 egg yolks (See Skill #3)
1/3 cup of ice water
For the Custard Filling:
4 cups of milk
1/2 teaspoon of vanilla extract
4 egg yolks
1/2 cup of flour
1/2 cup of sugar
For the topping:
2 cups of raspberries
Powdered sugar, for dusting
*When making a pie crust, it is very important that your butter and water are as cold as possible as that will lead to a flaky, tender crust in the end. I’ve even seen some bakers go as far as using frozen cubes of butter.
Step 1: Make the Crust, AKA skill #4
Dump the flour, powdered sugar, and salt into a food processor, then pulse a few times to combine.
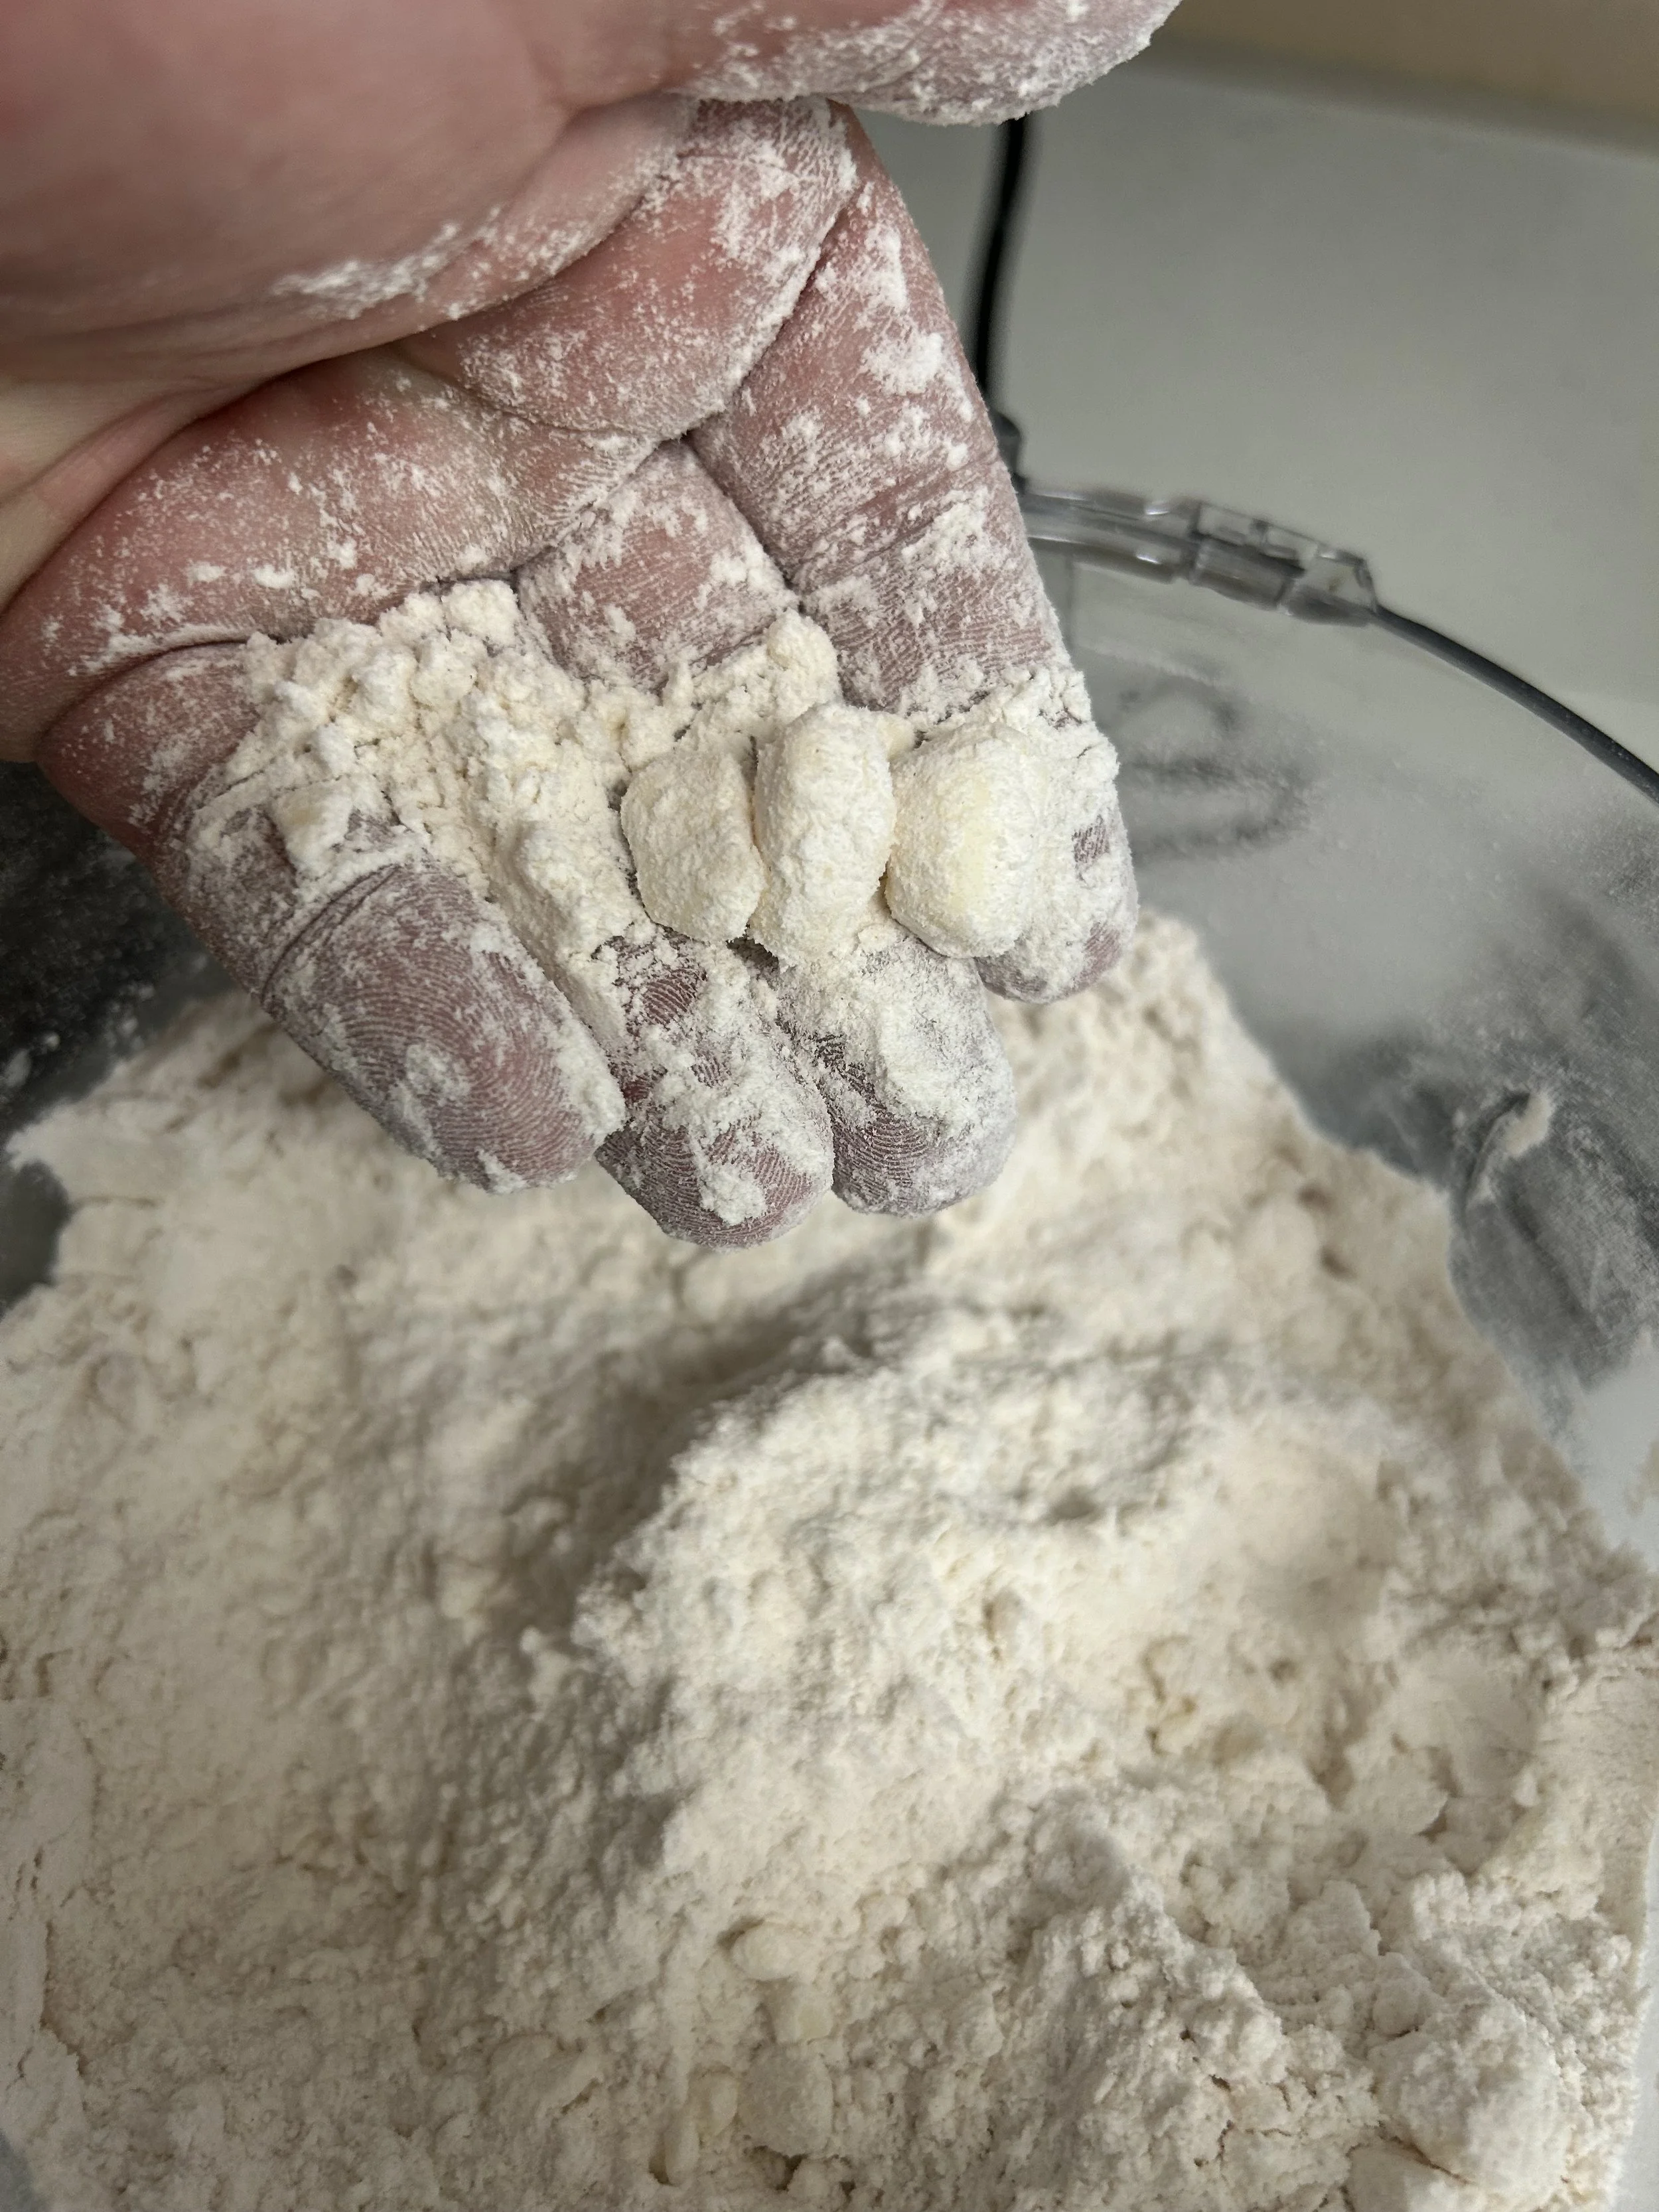
Add the butter and pulse 6-8 times, or until the butter breaks down into chunks the size of peas. Add the egg yolks and ice water, then pulse until a crumbly dough forms. Be careful to not overmix your dough as that will cause gluten to develop, which can make the crust a bit chewy.
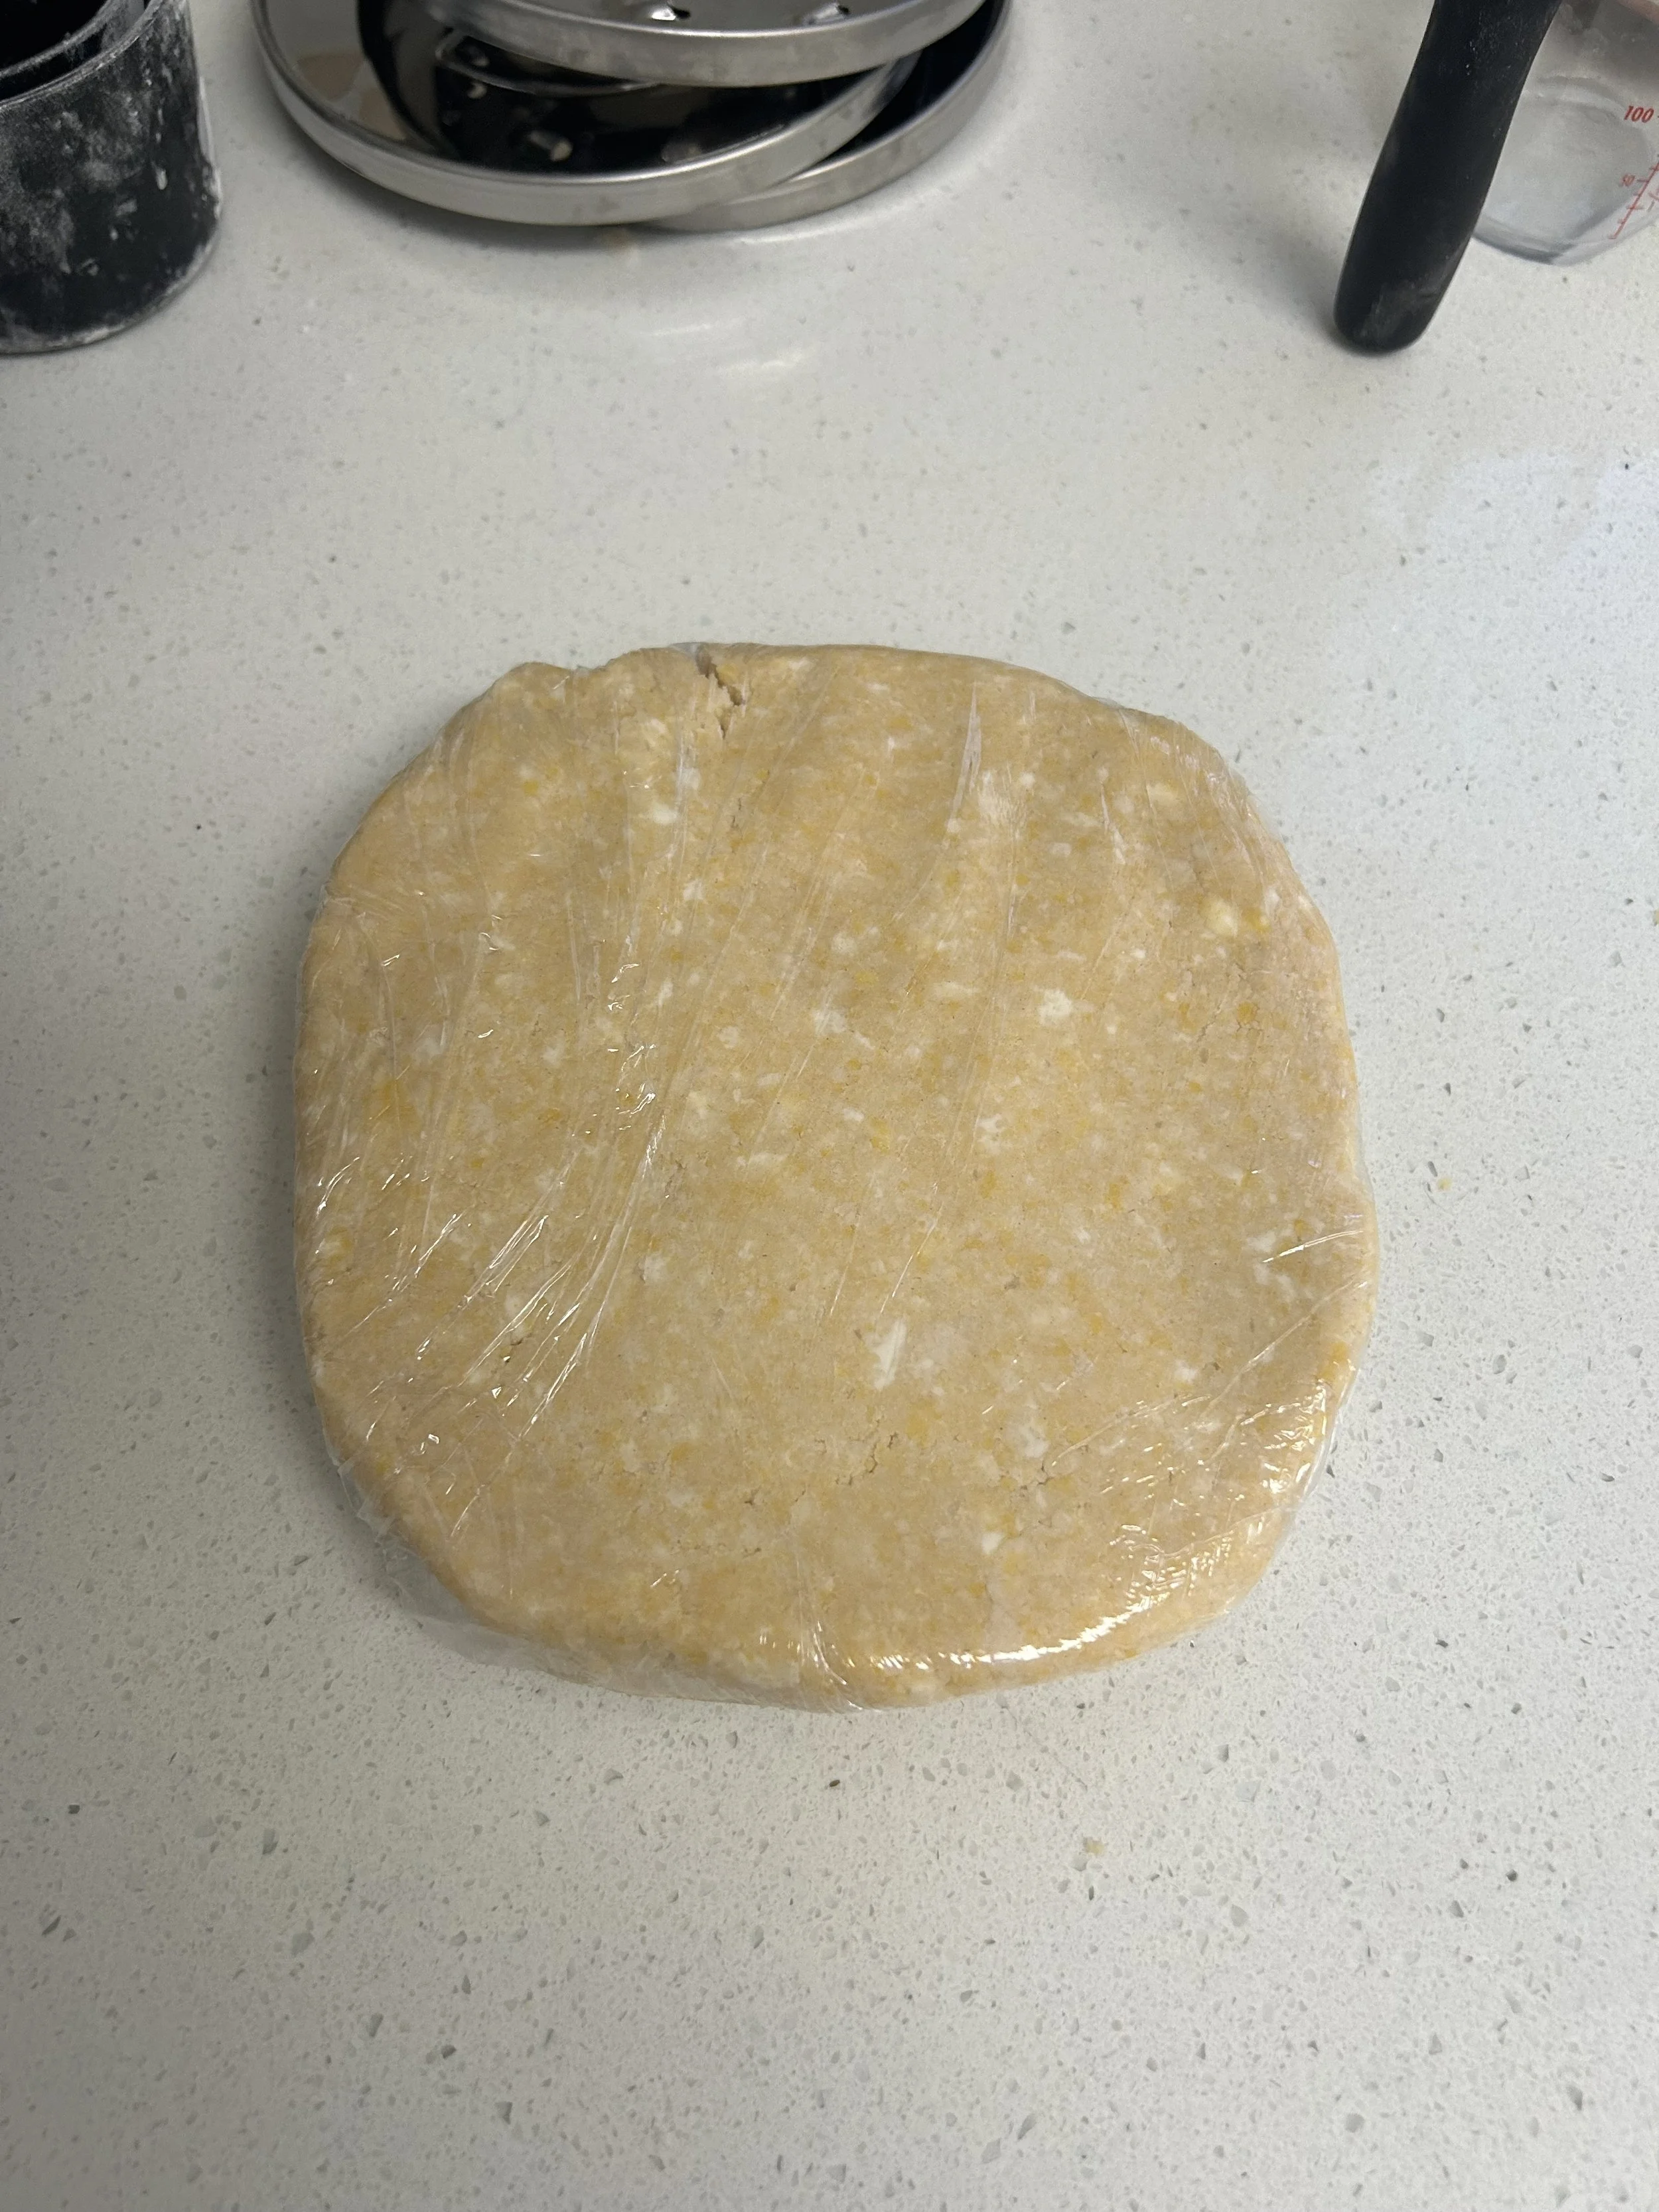
Dump the dough onto a sheet of plastic wrap, then use the edges of the wrap to help you bring the dough together into a disc. Wrap completely, then let it chill for at least 1 hour.
Resting your pie dough is very important because it relaxes the gluten structure in the dough to make it more tender and it re-solidifies the fat in the butter which will make the dough easier to roll out.


Step 2: Make the custard filling, aka skill #5
While the dough chills, bring the milk and vanilla extract to a bare simmer in a medium saucepan. You want the milk to be hot, but not boiling.
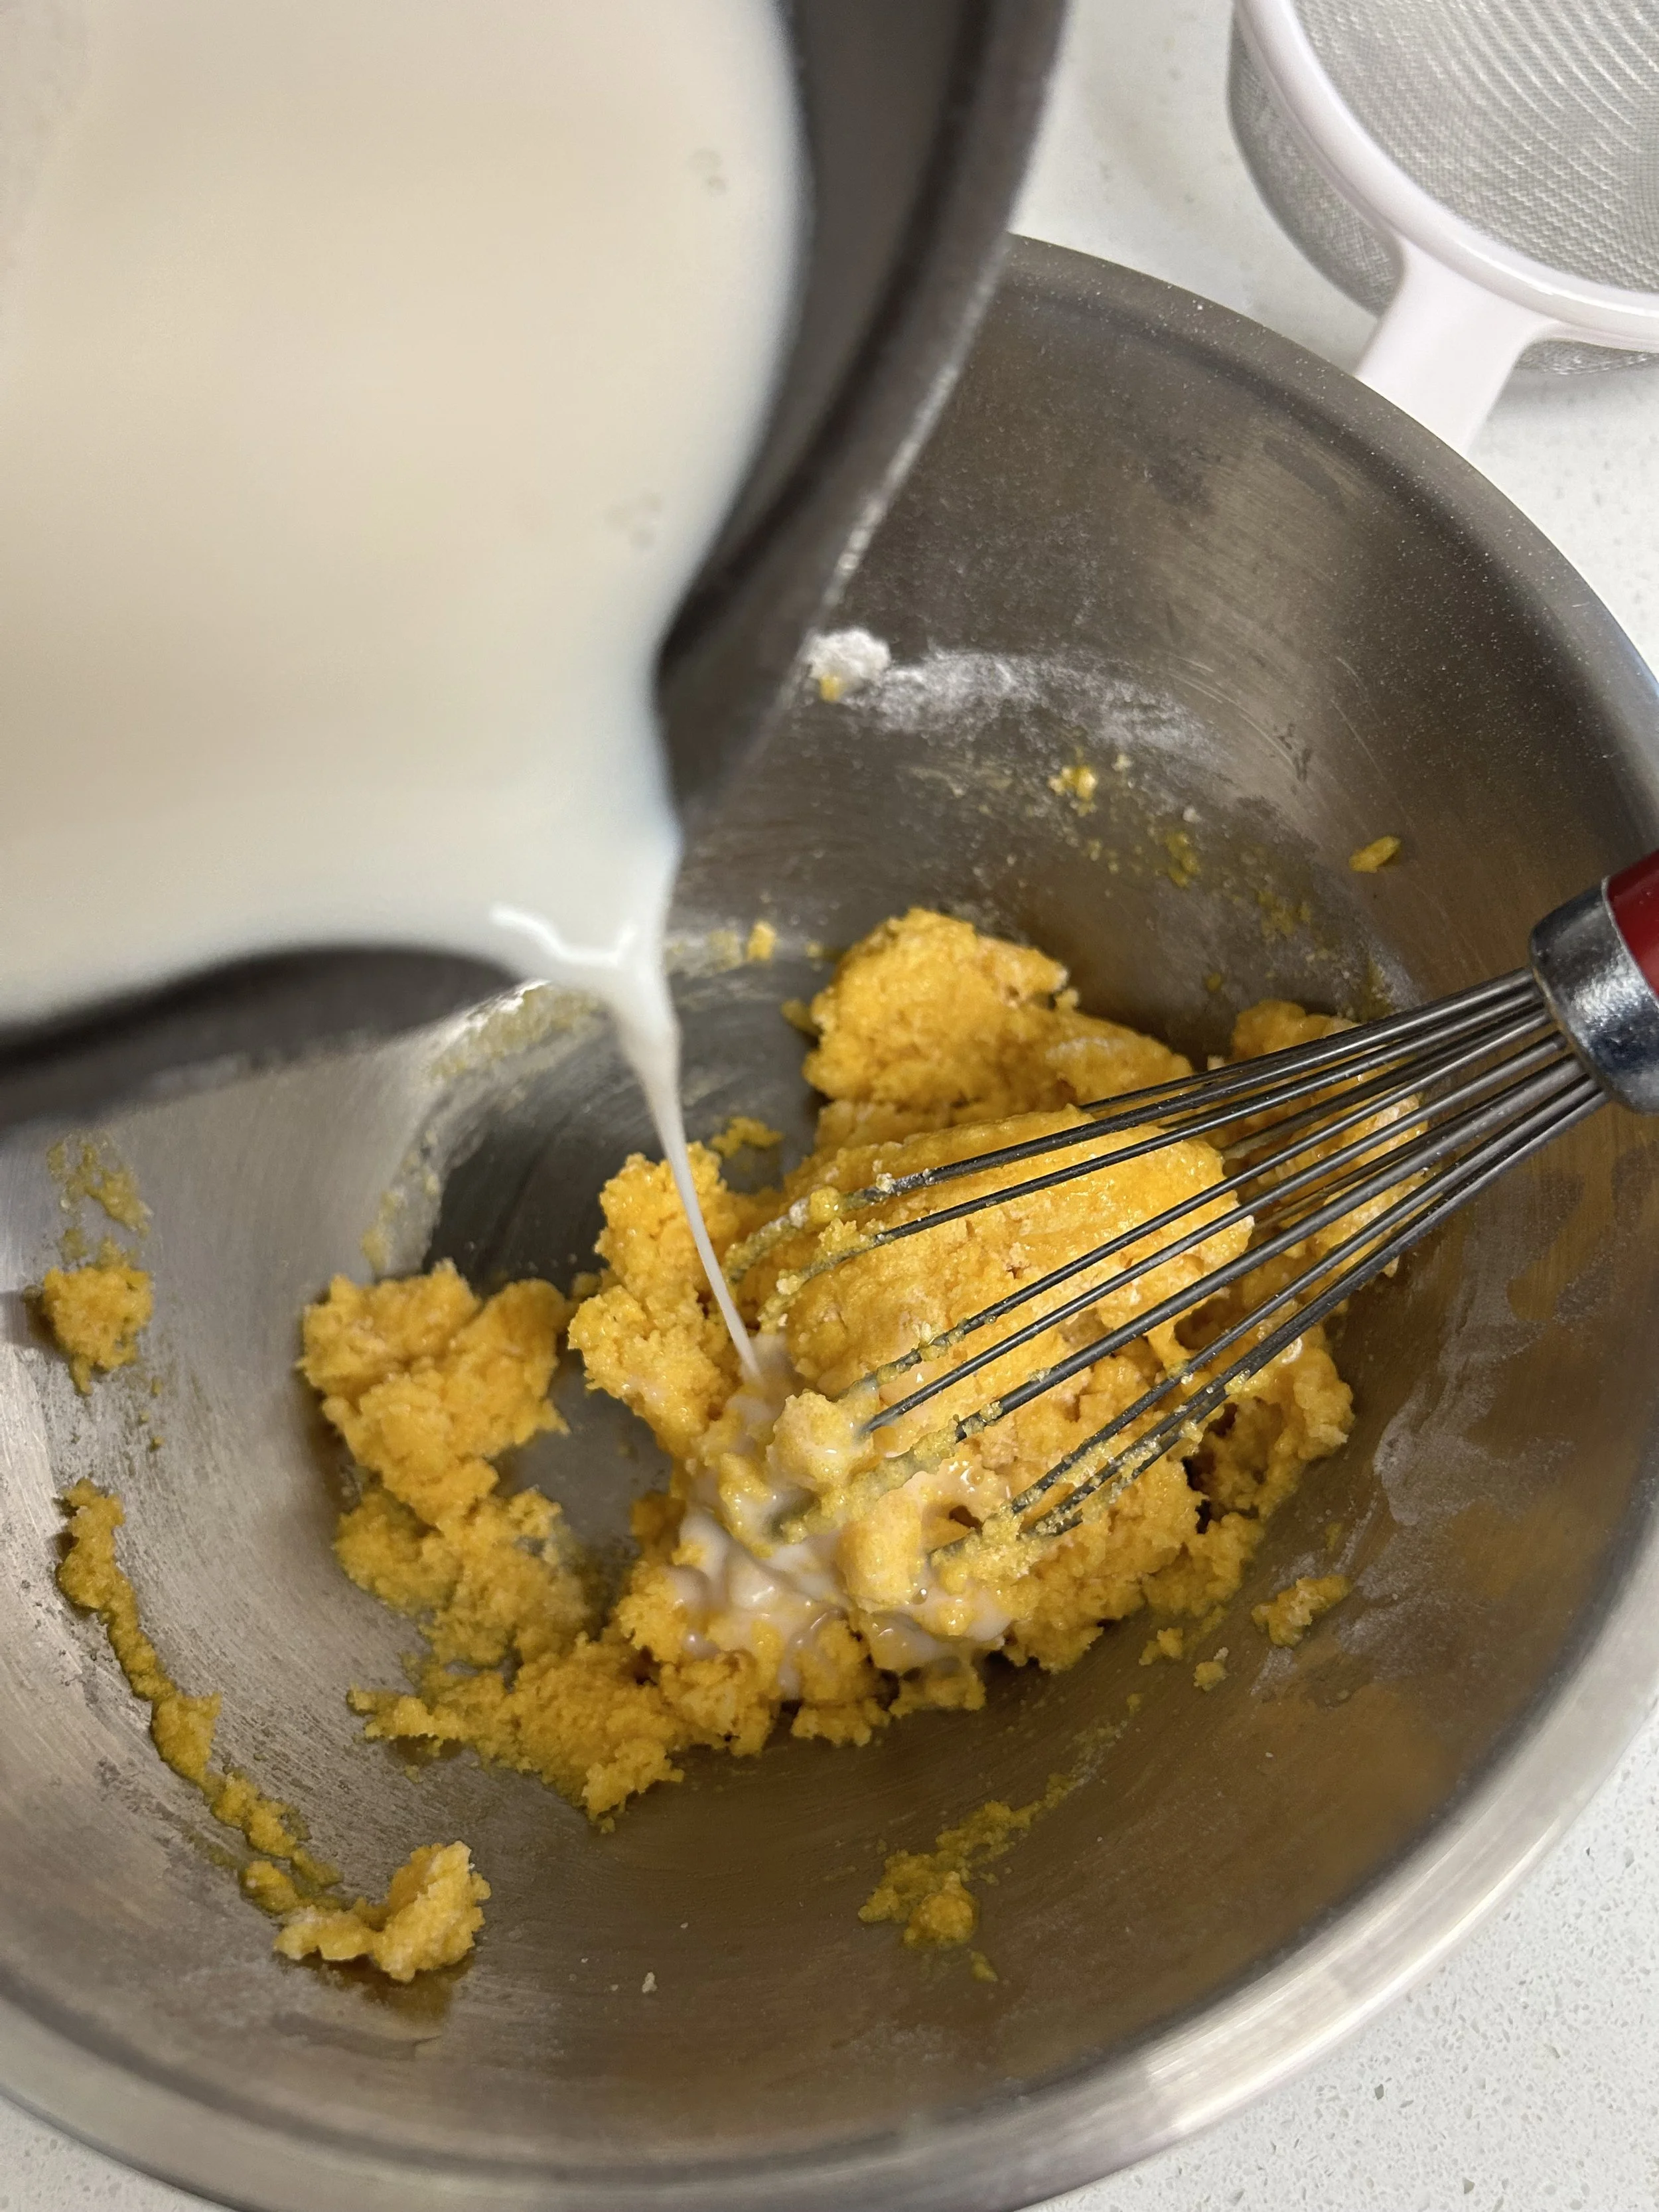
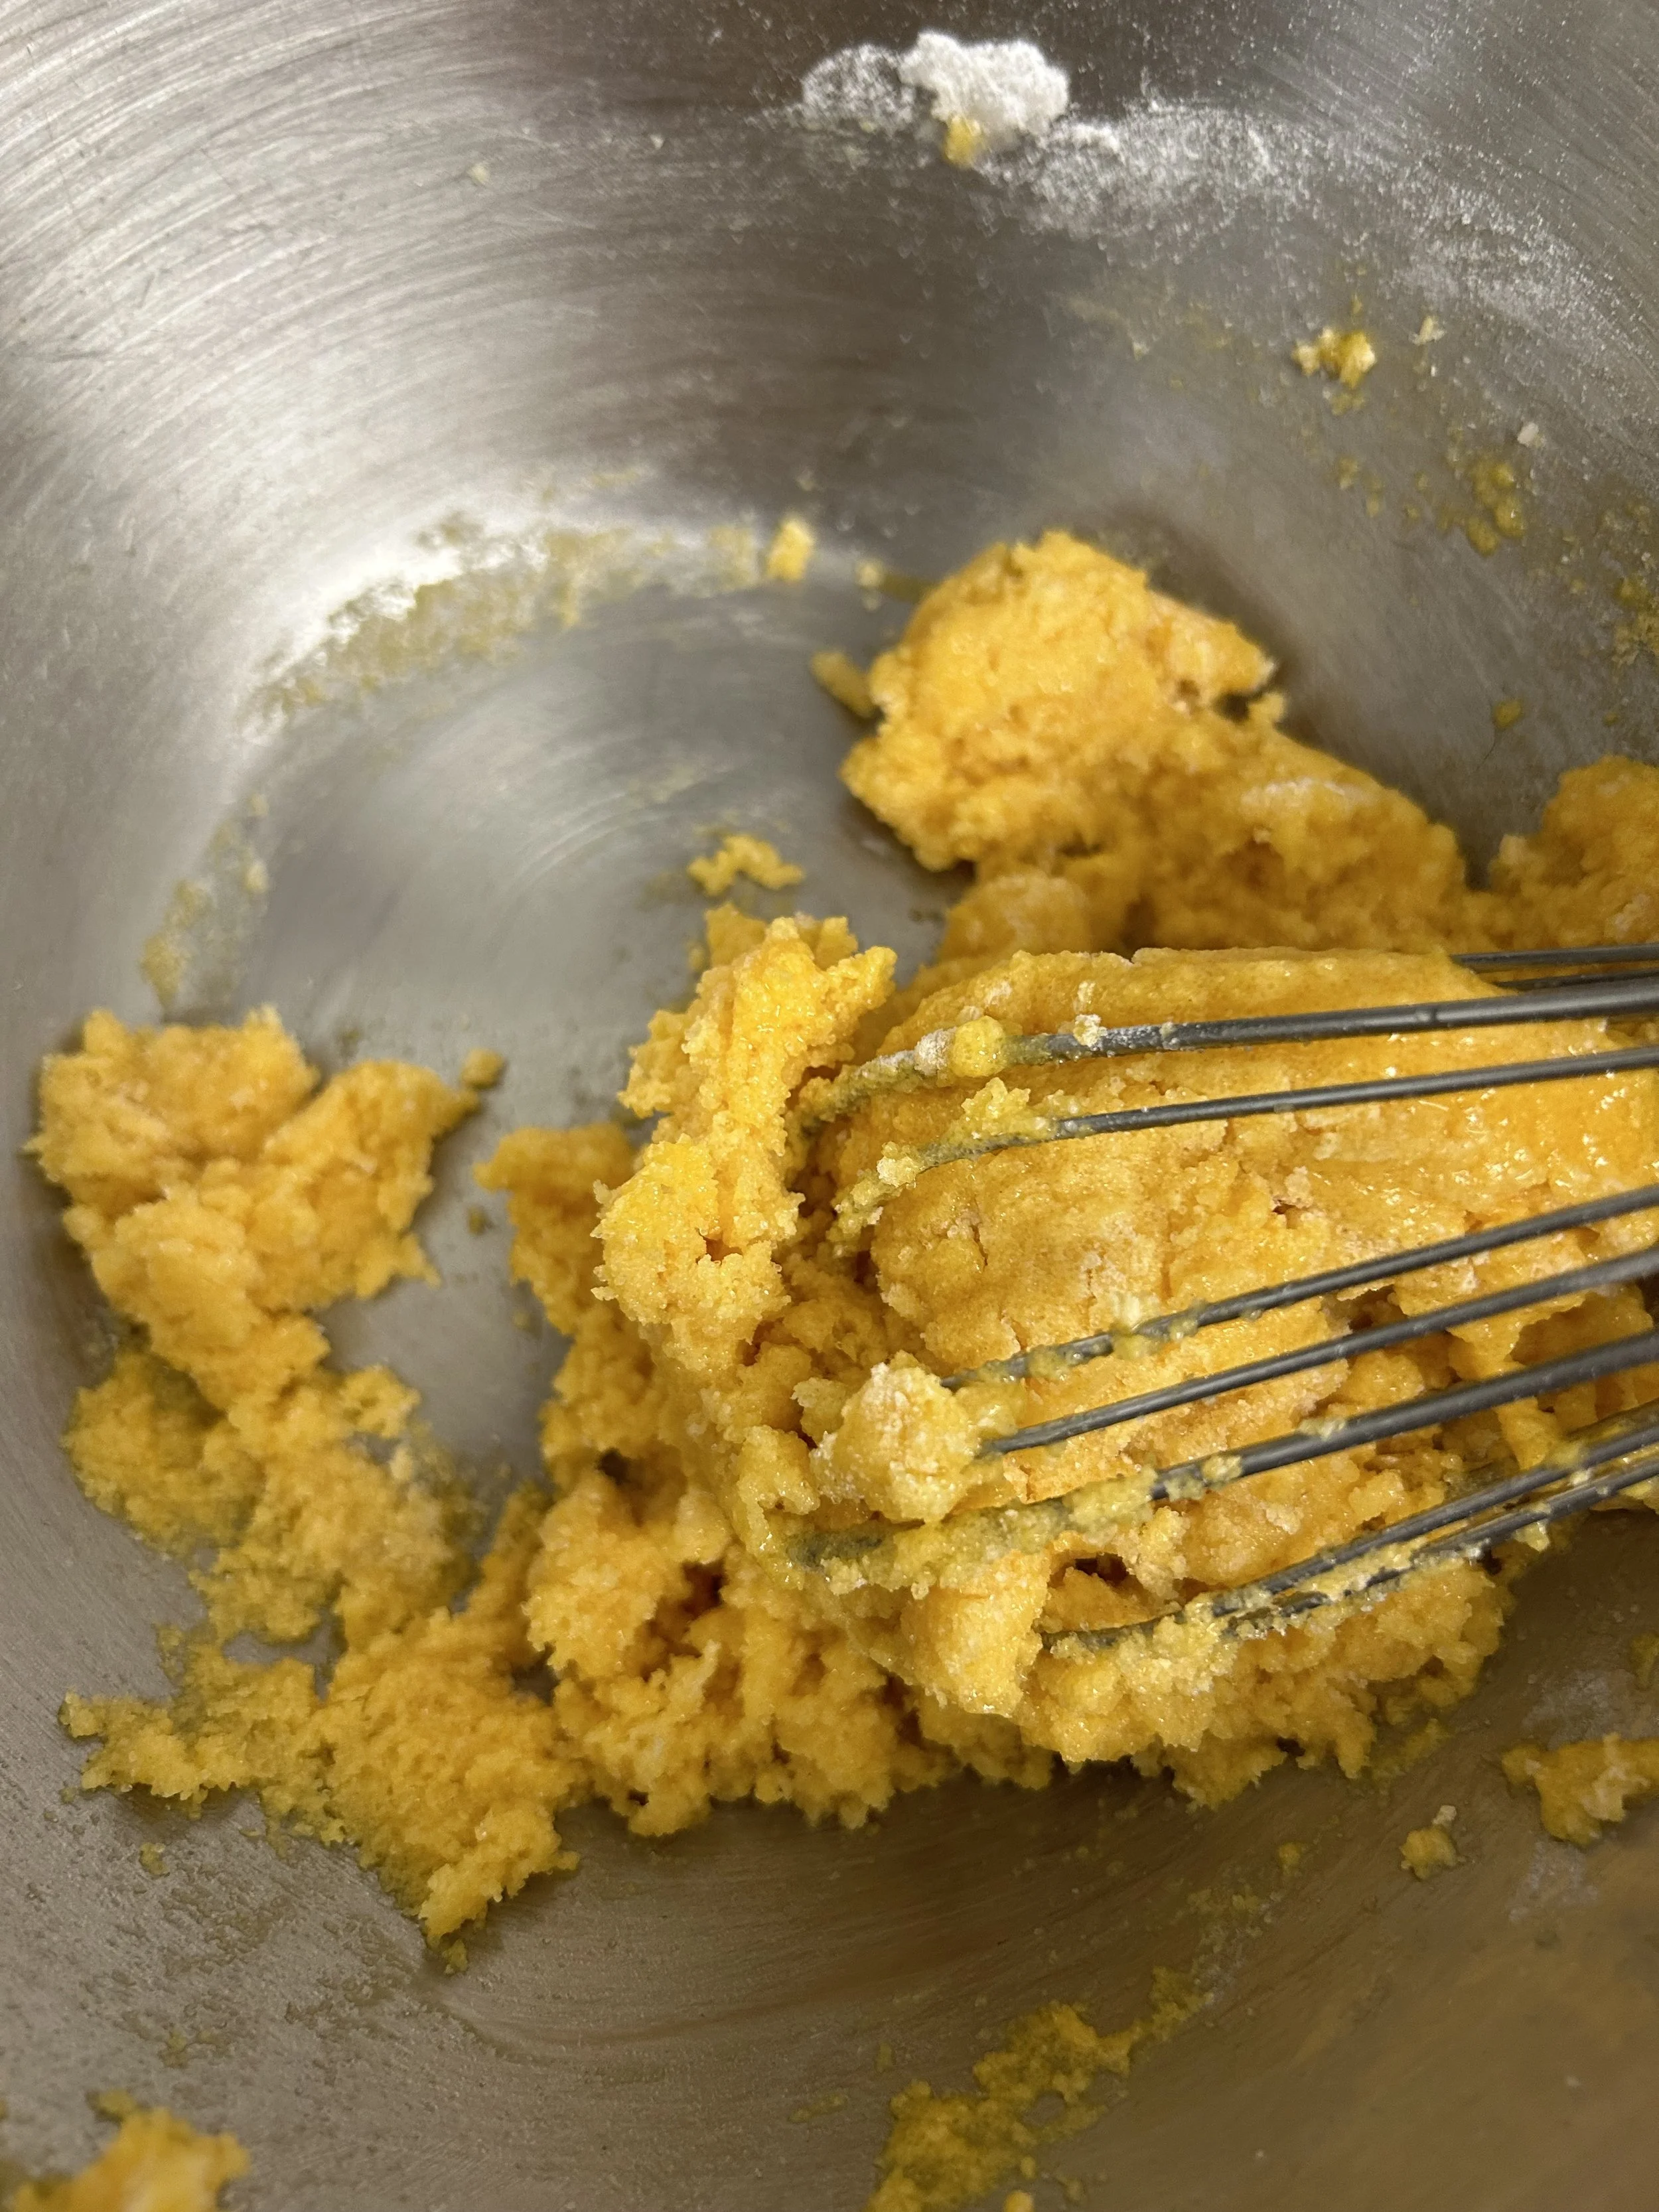
While the milk heats up, whisk the egg yolks, flour, and sugar together in a heatproof bowl until it forms a thick paste, then slowly whisk in about half of the hot milk until very smooth. (Skill #6)
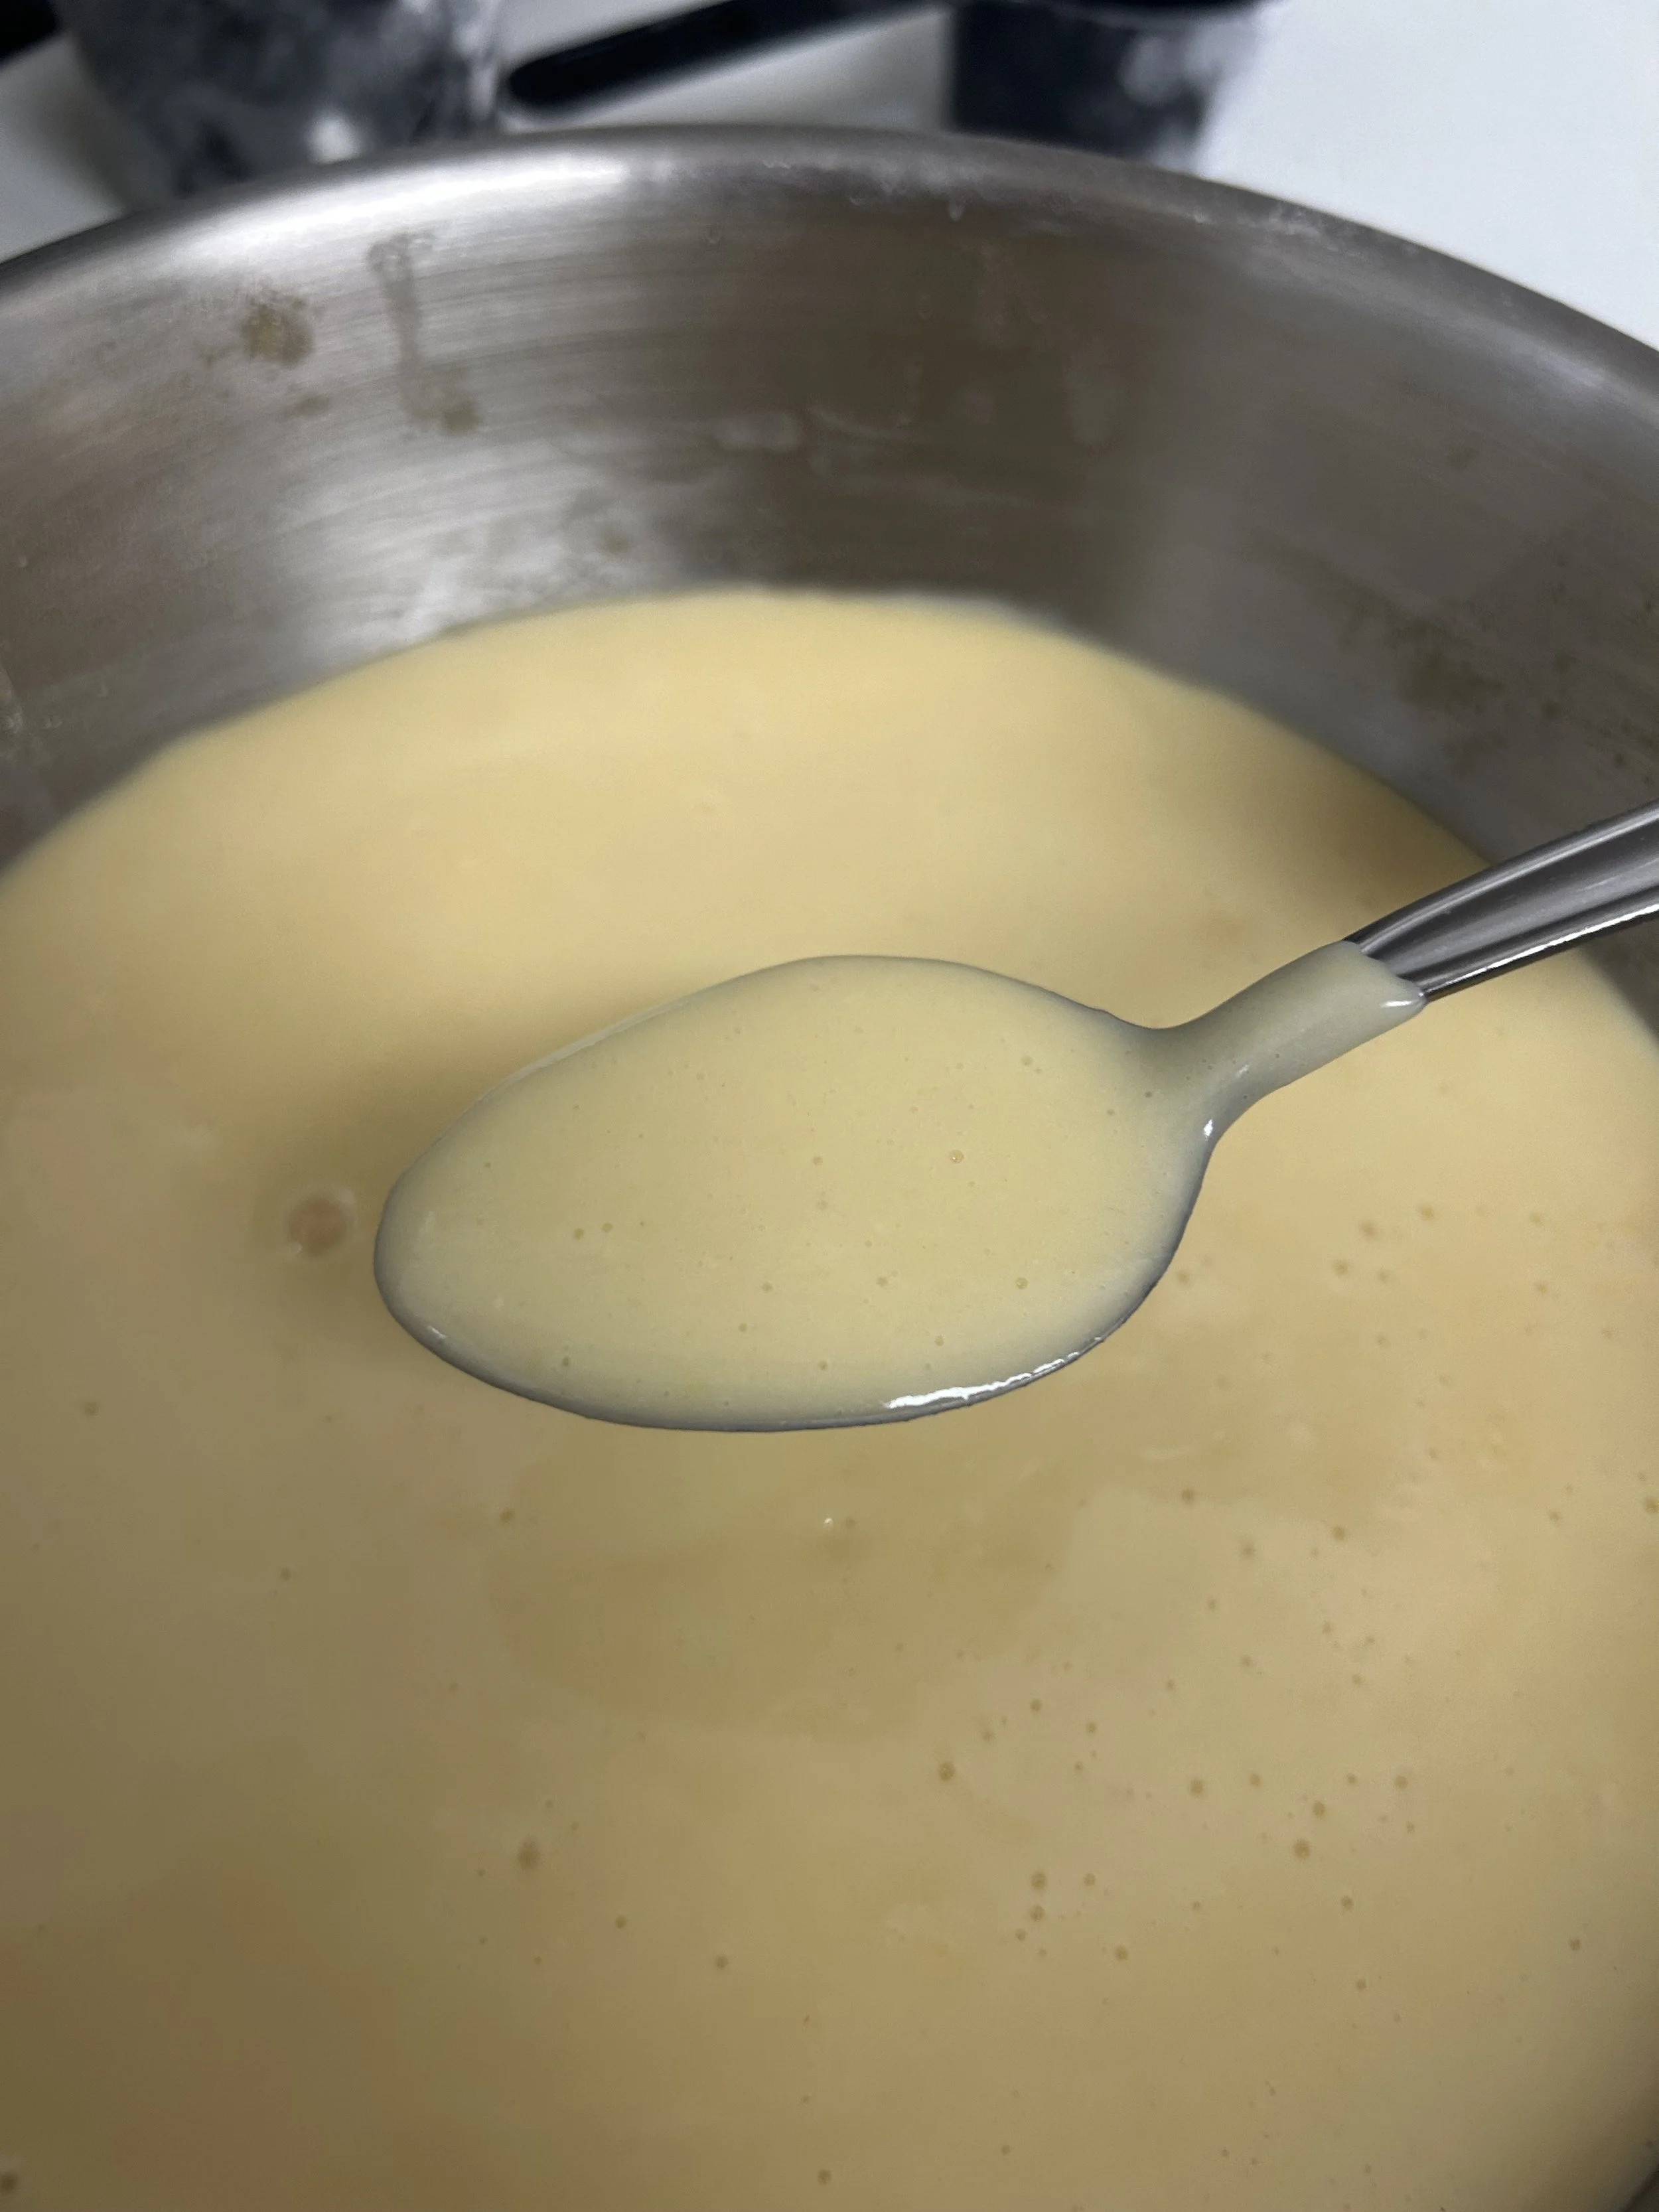
Pour the egg mixture back into the saucepan, then cook over medium heat, whisking constantly, for 5-10 minutes, or until the mixture thickens to where it can coat the back of a spoon, a consistency known in kitchens as nape.
Keep in mind that the custard will get thicker as it cools down.
Pass the custard through a fine-mesh strainer to remove any small bits of egg yolk that might’ve curdled on you, cover the custard directly with plastic wrap so it won’t form a skin on top, then chill until completely cold and has gotten much thicker.


Step 3: Roll out the crust
Preheat the oven to 350 degrees. (See Skill #1)
Unwrap the dough and lay it on a floured surface, then use a rolling pin to roll it out to a 13-inch diameter.
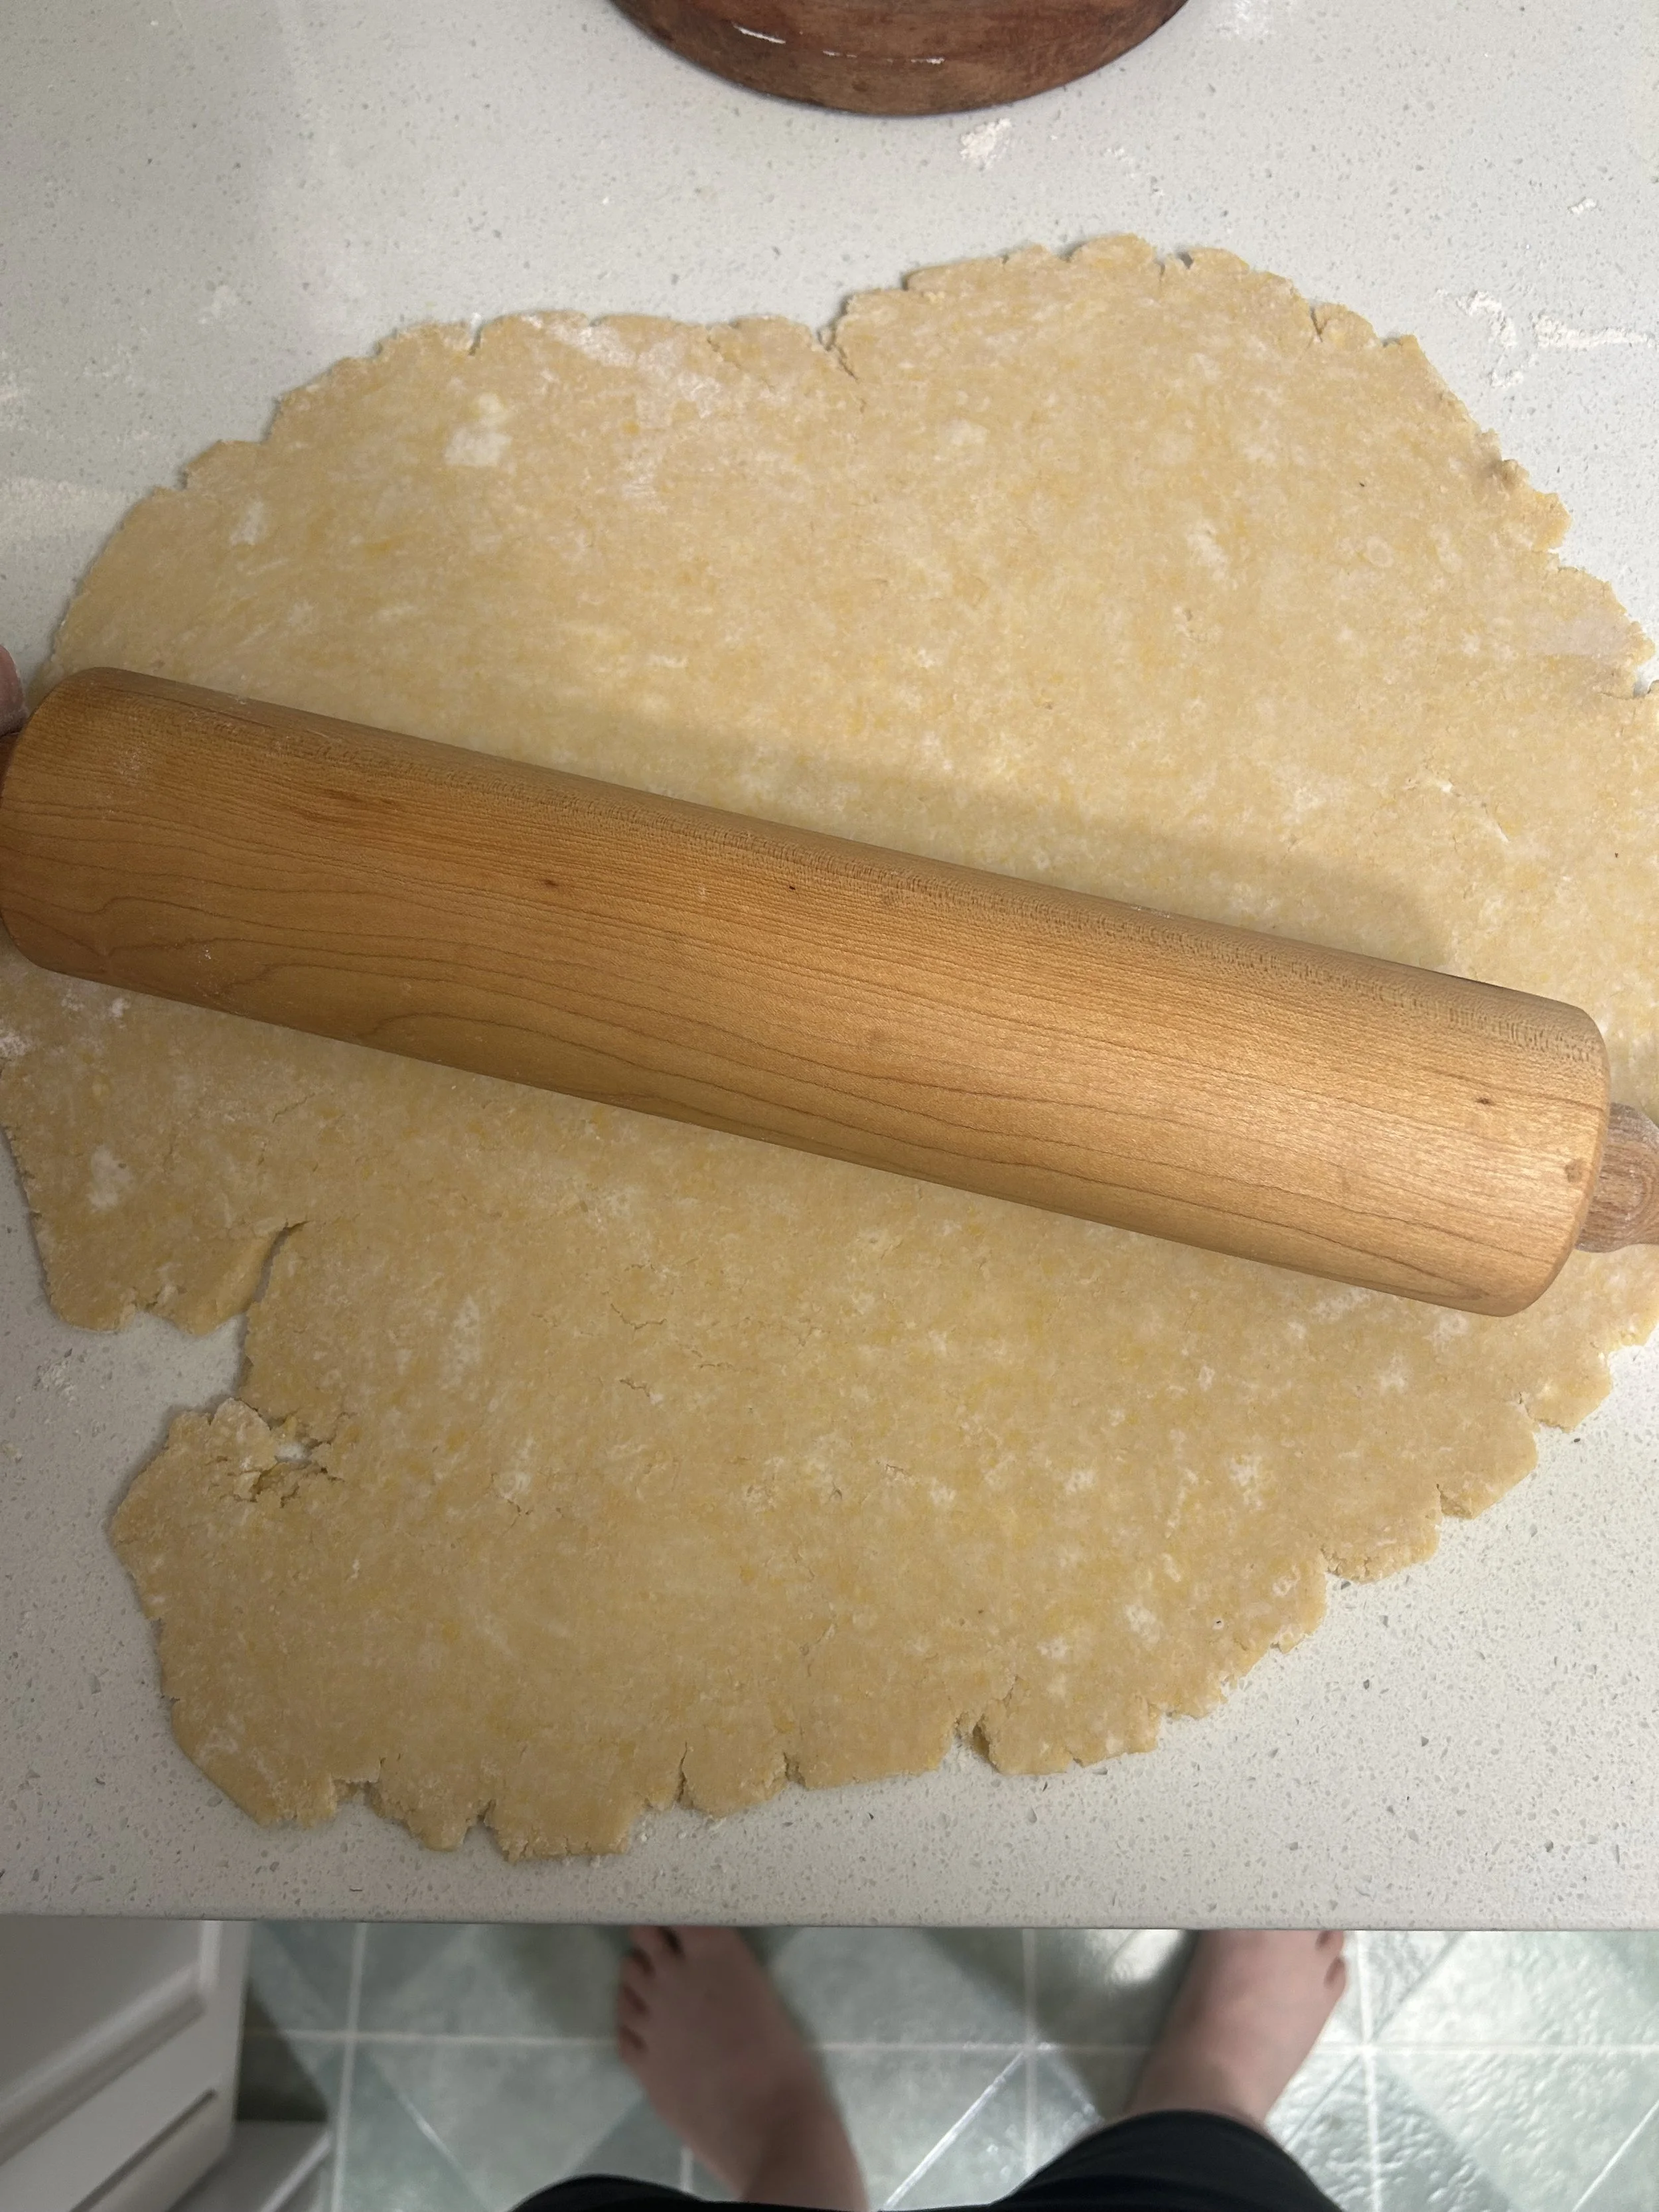
When I roll out pie dough, I like to start from the center then, applying even pressure on the rolling pin, I go in a forward-to-backward motion a few times before turning the dough slightly and repeating. The dough might crack a little bit from rolling, but you can fix that once you get the dough into your pan.
Transfer the dough to a 9-inch pie pan, a job that can be done easily by rolling the dough onto the rolling pin and then unwrapping it on top of the pan.
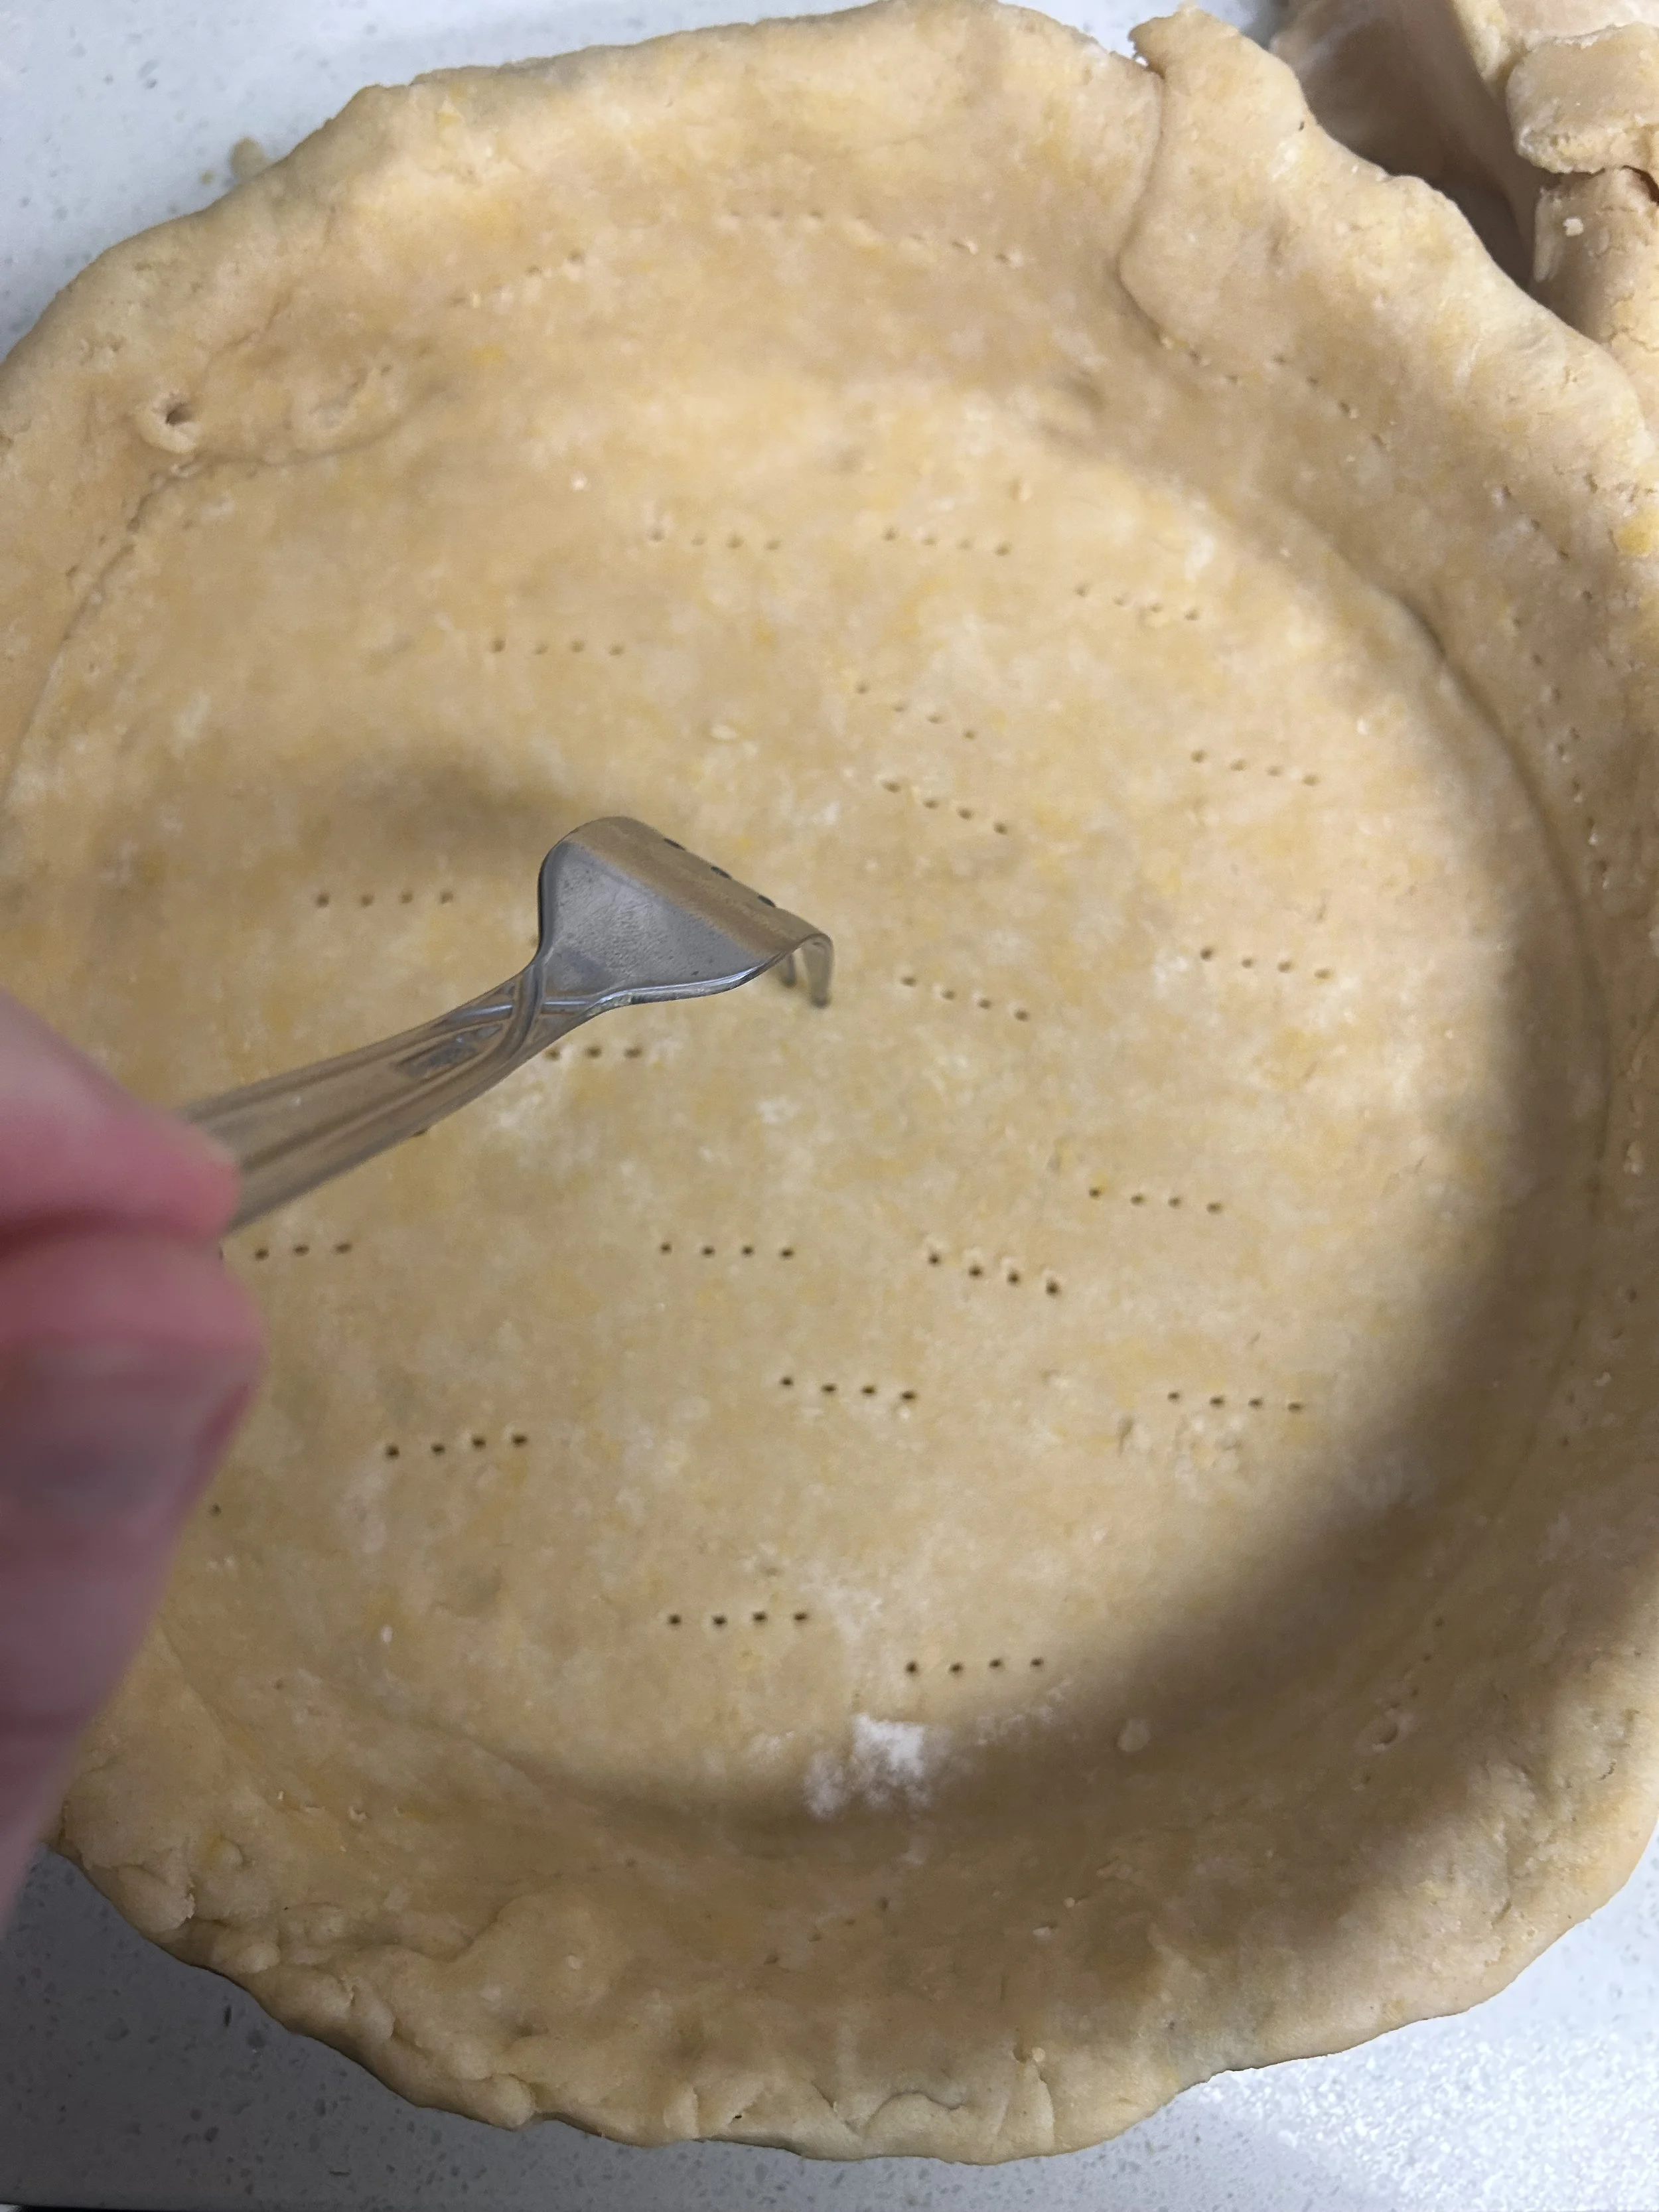
Lift the edges of the dough to help it sink and line the bottom of the pan, trim the excess dough off the sides of the pan, there should be a tiny bit of overhang out of the sides, then, if you want, crimp the edges for a cute design.
Use a fork to prick the bottom and sides of the dough all over. This is known as docking, and it’s going to help keep the dough nice and flat as it bakes.
Chill for 10 more minutes, or until firm.
Step 4: Bake the crust, just like with skill #7
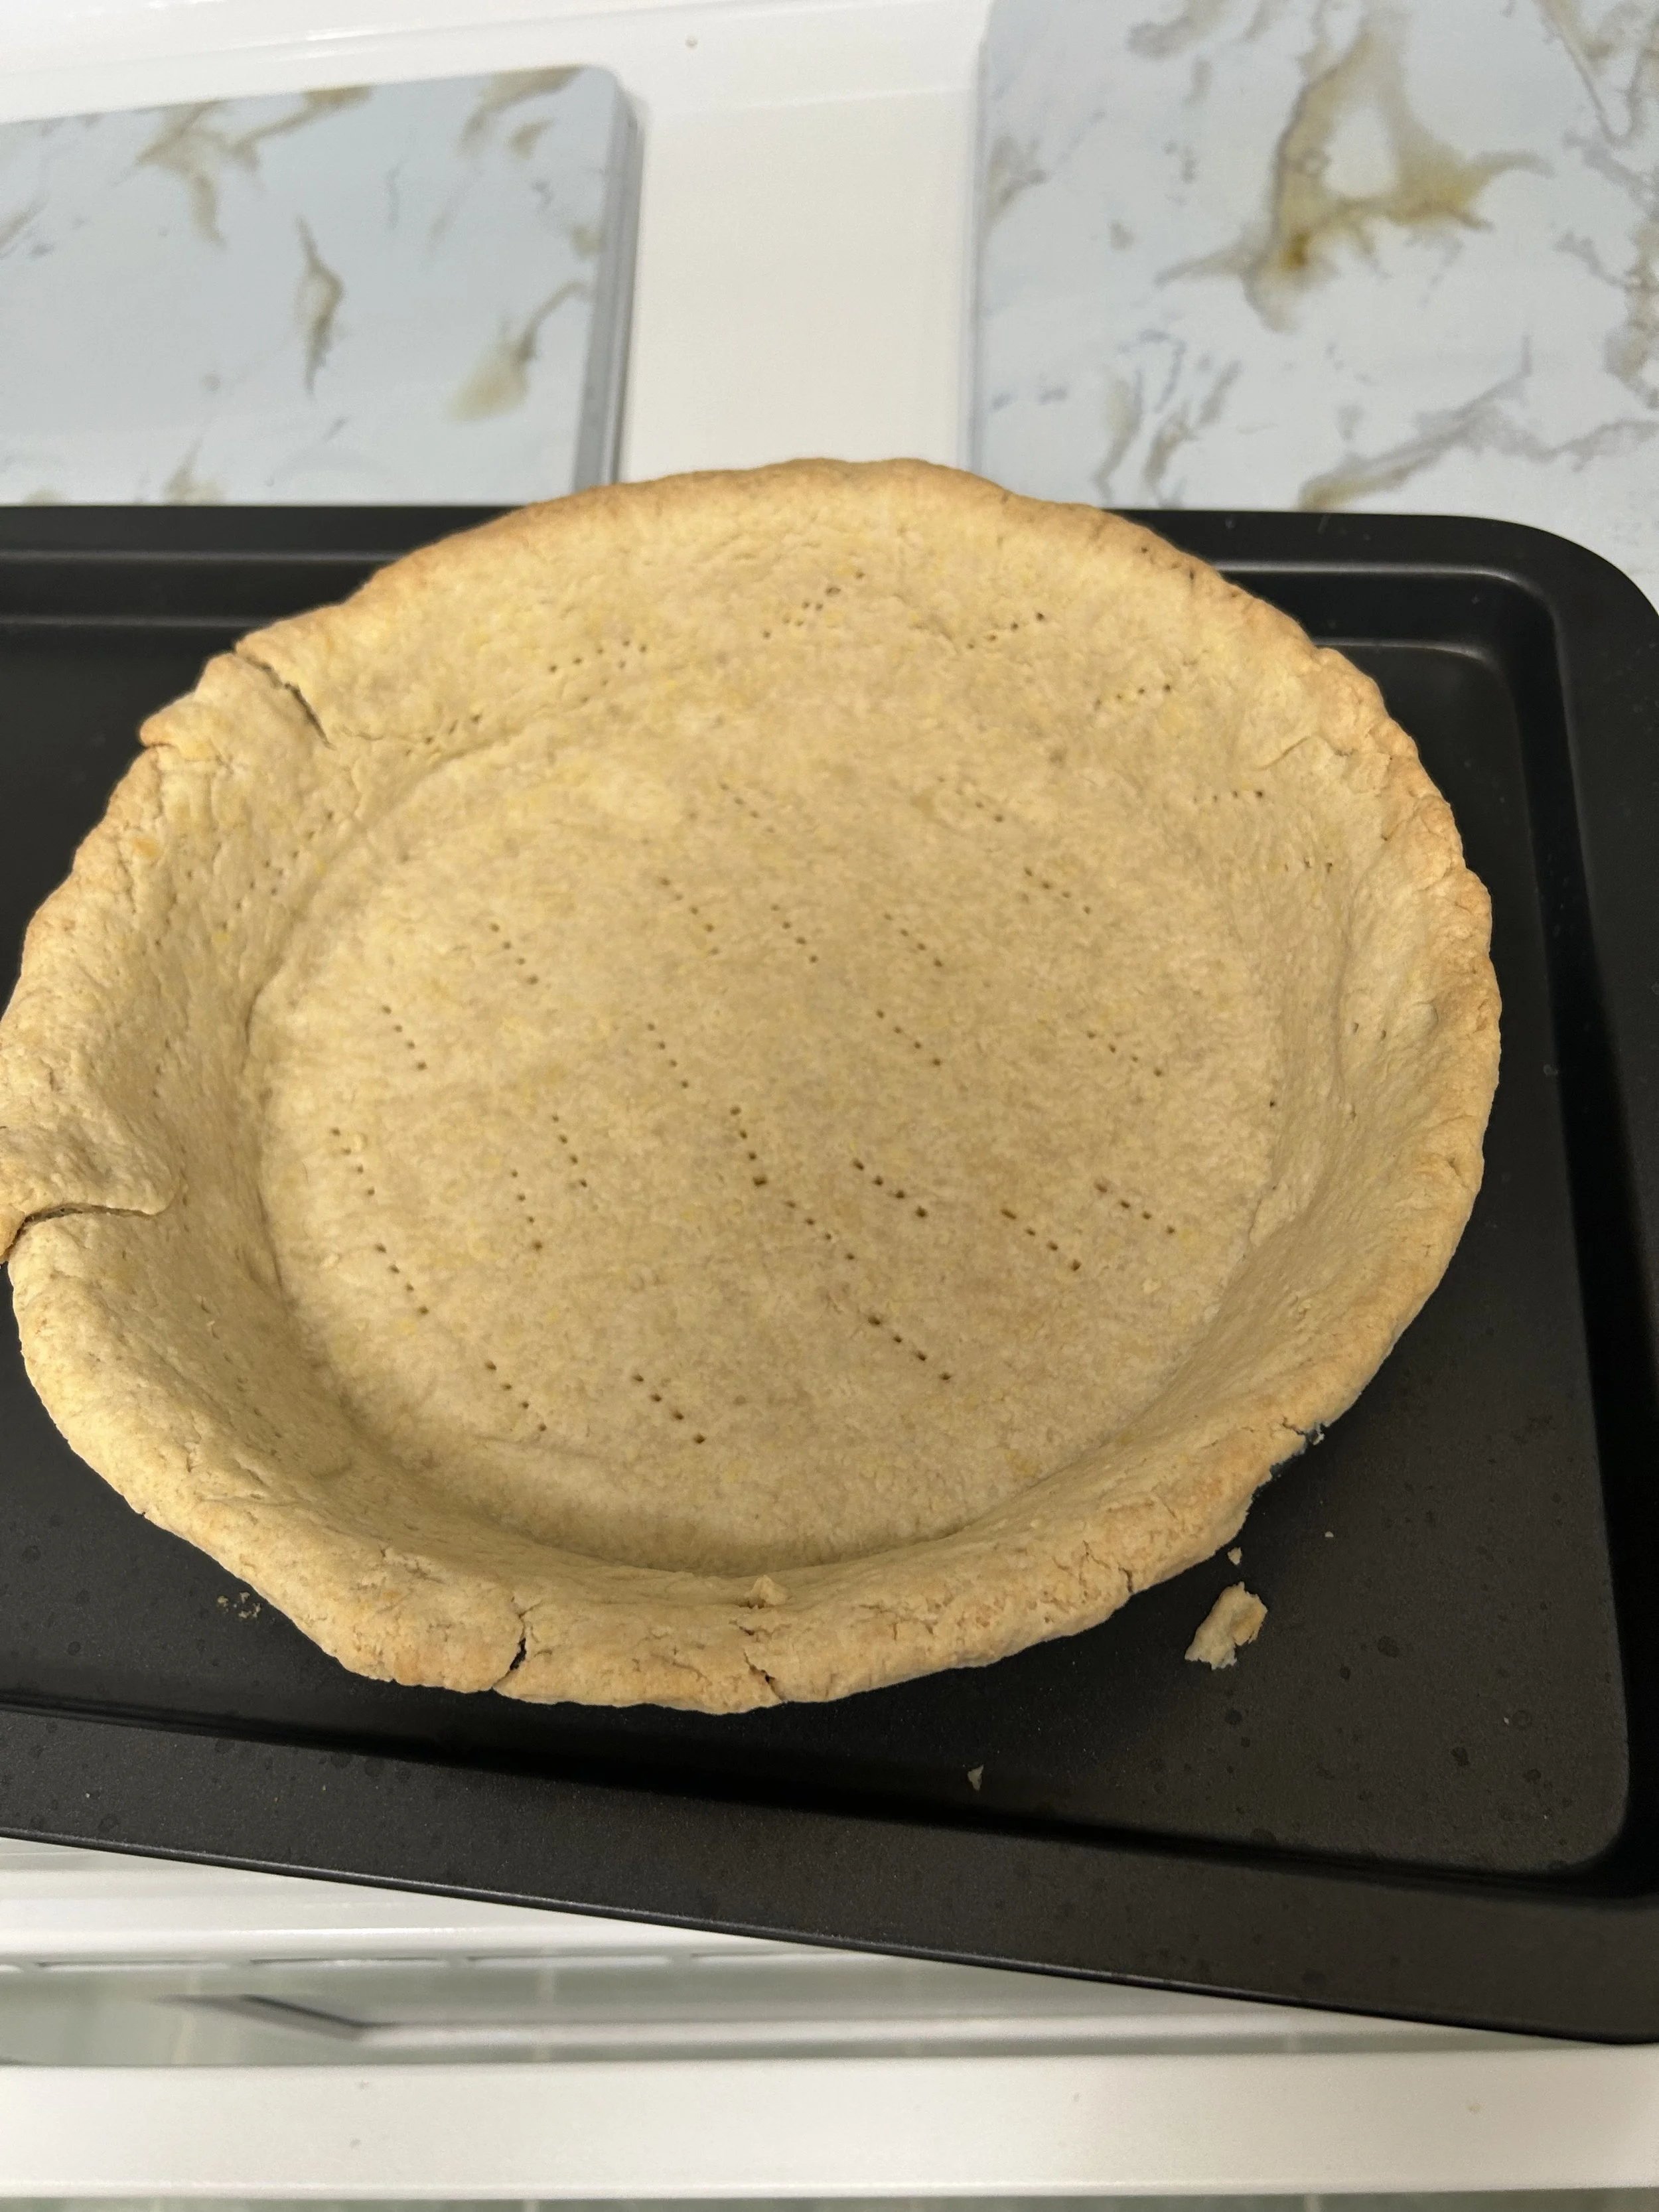
Lay a sheet of parchment paper onto the firm dough, then fill the dough with either ceramic pie weights, dried beans, or dried pasta.
Bake the crust for 15 minutes, or until the edges of the crust start to turn golden-brown, then carefully use the parchment to remove the weight and bake for another 10-15 minutes, or until the edges are golden and the bottom of the crust is dry.
Transfer the crust to a wire rack and let it cool completely.
You never want to fill a baked pie crust when it’s still hot, because the hot crust can melt the custard a bit and cause the crust to become soggy and all that work you put in to get the crust flaky and beautiful become for nothing.
Step 5: Assemble
Beat the custard a bit with a spatula to get it smoother, then pour into the cooled crust and spread it evenly.
Arrange the raspberries on top of the crust in a ring pattern (Skill #8), then chill overnight.
When ready to serve, dust the top of the pie with powdered sugar before slicing into 8 pieces.
This raspberry custard pie is the definition of all of the great things about summertime baking; crisp pastry, creamy custard, and those tart raspberries, and you can thank those 8 baking skills for making it all possible.
