
Is This 100-hour Tiramisu Worth it?
Tiramisu is, without question, the greatest dessert to come out of Italy. Layers of ladyfinger sponges soaked with coffee and Marsala wine smothered with a rich, indulgent mascarpone cream filling and dusted with cocoa. It’s one of those desserts where there’s no need to improve on perfection…or is there?
Recently, I came across a video from Alvin Zhou, a producer on Tasty who has a knack for making giant food and food that takes a very long time to make. this video features Alvin making a tiramisu that takes 100 hours to make.
This tiramisu features a cream made with homemade mascarpone cheese, homemade ladyfingers soaked in the same way, as well as a Marsala caramel and some shavings of chocolate, but after assembling his tiramisu he apparently lets it sit in the fridge for 3 days, supposedly to let it develop even more flavor.
What I wanted to know is, is it worth spending all of that extra time making a dessert that realistically can be made in a few hours? That’s what I’m about to find out. Plus, I love giving myself projects like this.
(It’s also worth noting that at the time of publishing this article, it is my mother’s birthday! So I suppose this will be my way of celebrating.)
Alvin Zhou’s 100-Hour Tiramisu
Serves 12
Time: Read the title
Note: Alvin never left any sort of recipe for this or gave any measurements, so I’m basing this on what I see him use in the video.
For the Homemade Mascarpone Cheese:
2 quarts (8 cups) of heavy cream
The juice of 1 lemon
For the Ladyfinger Sponges:
8 eggs, whites and yolks separated
3/4 cup of sugar, divided
1 1/2 cups of flour
Powdered sugar, for dusting
For the Marsala Caramel: (No, it’s not traditional for tiramisu, but I’m sure it’s going to taste great)
2 cups of sugar
1 cup of Marsala wine
3 tablespoons of unsalted butter
1/2 cup of heavy cream
2 teaspoons of sea salt
For the Soak:
2 cups of hot brewed espresso or coffee
1 cup of Marsala wine
1 tablespoon of sugar
For the Cream Filling:
8 egg yolks
1/2 cup plus 2 tablespoons of sugar
A large pinch of salt
1/2 cup of heavy cream
For Assembling:
1/2 cup of cocoa powder, for dusting
1 bar of bittersweet chocolate
Step 1 (Day 1): Make the Homemade Mascarpone Cheese
(I would like to note that before writing this article, I had never made mascarpone cheese before, nor did I even know it was possible to make it at home. But it’s really easy to do and costs about 80% less than the mascarpone you can buy at the store, so…maybe I should be making mascarpone from now on.)
Pour all of the cream into a saucepan, then heat it over high heat, stirring occasionally, until it reaches between 185-190 degrees F (A candy/fry thermometer helps with this job), it should take about 15-20 minutes. Do not let the cream boil, or it’ll get all over your stove, and you’ll have to start over.
Decrease the heat to medium-low, then add the lemon juice and cook for 3 minutes, stirring frequently while maintaining 185-190 degrees, until the cream is thick enough to coat the back of a spoon. Let the cream cool for about 30 minutes, or until it starts to thicken even more.
While the cream is cooling, place a large strainer over a bowl big enough to contain it and line the strainer with either a clean kitchen cloth or a few layers of cheesecloth.
Pour the cream into the prepared strainer, cover it with plastic wrap, then let it chill for 2 days.
(And there you have it, homemade mascarpone cheese! Who knew it was this easy to make? I did do a side-by-side comparison to store-bought mascarpone, and I found that the homemade stuff is tangier, tastes fresher, and isn’t as thick as the store-bought. Who knew?)


Step 2 (Day 2): Make the Ladyfinger Sponge
Preheat the oven to 350 degrees and line a large baking sheet with parchment paper.
With an electric beater, beat the egg whites with 1/4 cup of the sugar for 5-7 minutes, or until the whites reach firm, stiff peaks. (Beating the whites first means you won’t have to wash the beaters before beating the yolks)
In a separate bowl, beat the egg yolks with the remaining 1/2 cup of sugar for at least 5 minutes, or until the yolks are pale and thick. Add the whipped yolks to the whites, then gently beat them together on low speed until combined and smooth.
Sift in the flour then gently fold with a spatula until a smooth batter forms. Pour the batter into the prepared pan, then spread it into an even layer and dust the top with powdered sugar to create a crackly top. (Admittedly, I forgot to do this, but I’m sure it’ll be ok.)
Bake for 12-15 minutes, or until the middle is firm, then let it sit on the counter overnight. (Yes, the cake will dry out a bit from sitting on the counter overnight, but that’s what you want. This way it’ll absorb the coffee soak a bit slower.)


Step 3 (This through step 6 will be in Day 3): Make the Marsala Caramel
Take the mascarpone you made the first day out of the fridge, discard the whey that pooled up in the bowl, and let the cheese come up to room temperature.
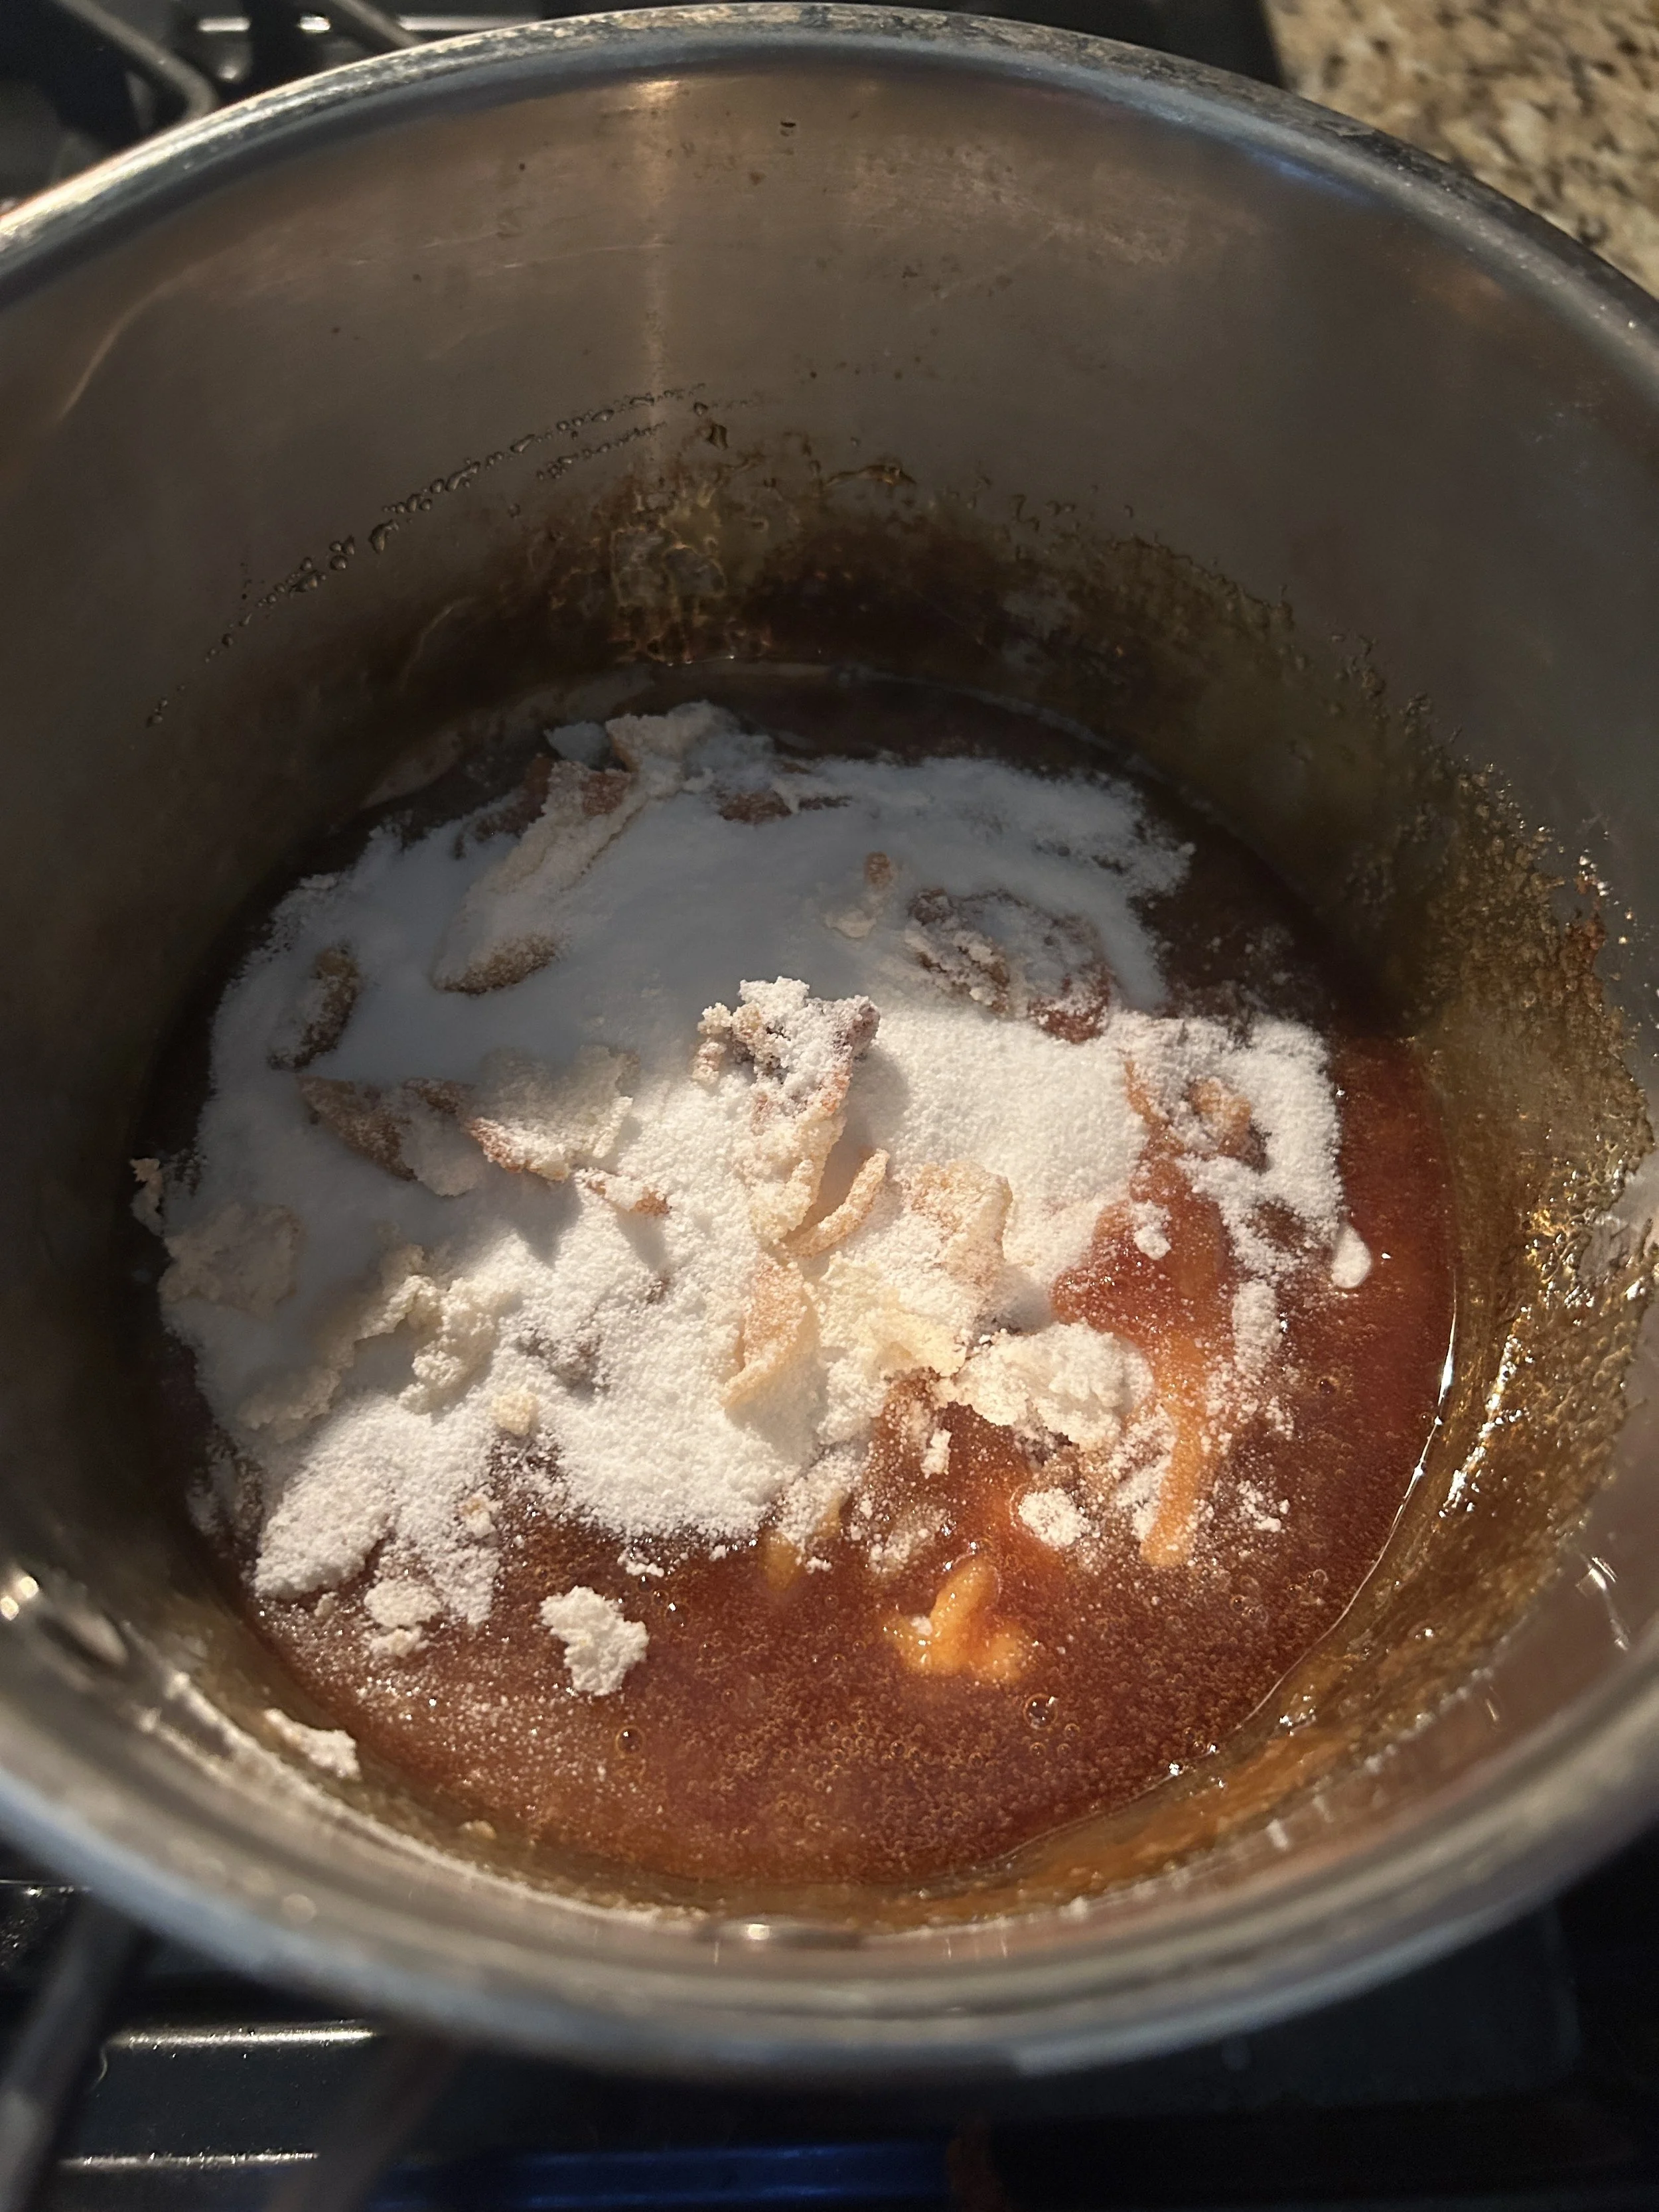
To make the caramel, dump the sugar into a saucepan then set it over medium heat. Cook without stirring for 6-8 minutes, or until the sugar has turned a light amber color. Add the Marsala, then stir until the caramel is smooth. (The sugar will get a little bit angry when you add the wine and try to harden on you, but let it simmer and I promise you it’ll smooth right out.)
Add the butter, cream, and salt, then stir until a smooth sauce forms. Allow the caramel to cool completely and resist the urge to eat that entire pot of caramel…ok, a spoonful won’t hurt that much. Don’t worry, I won’t tell.


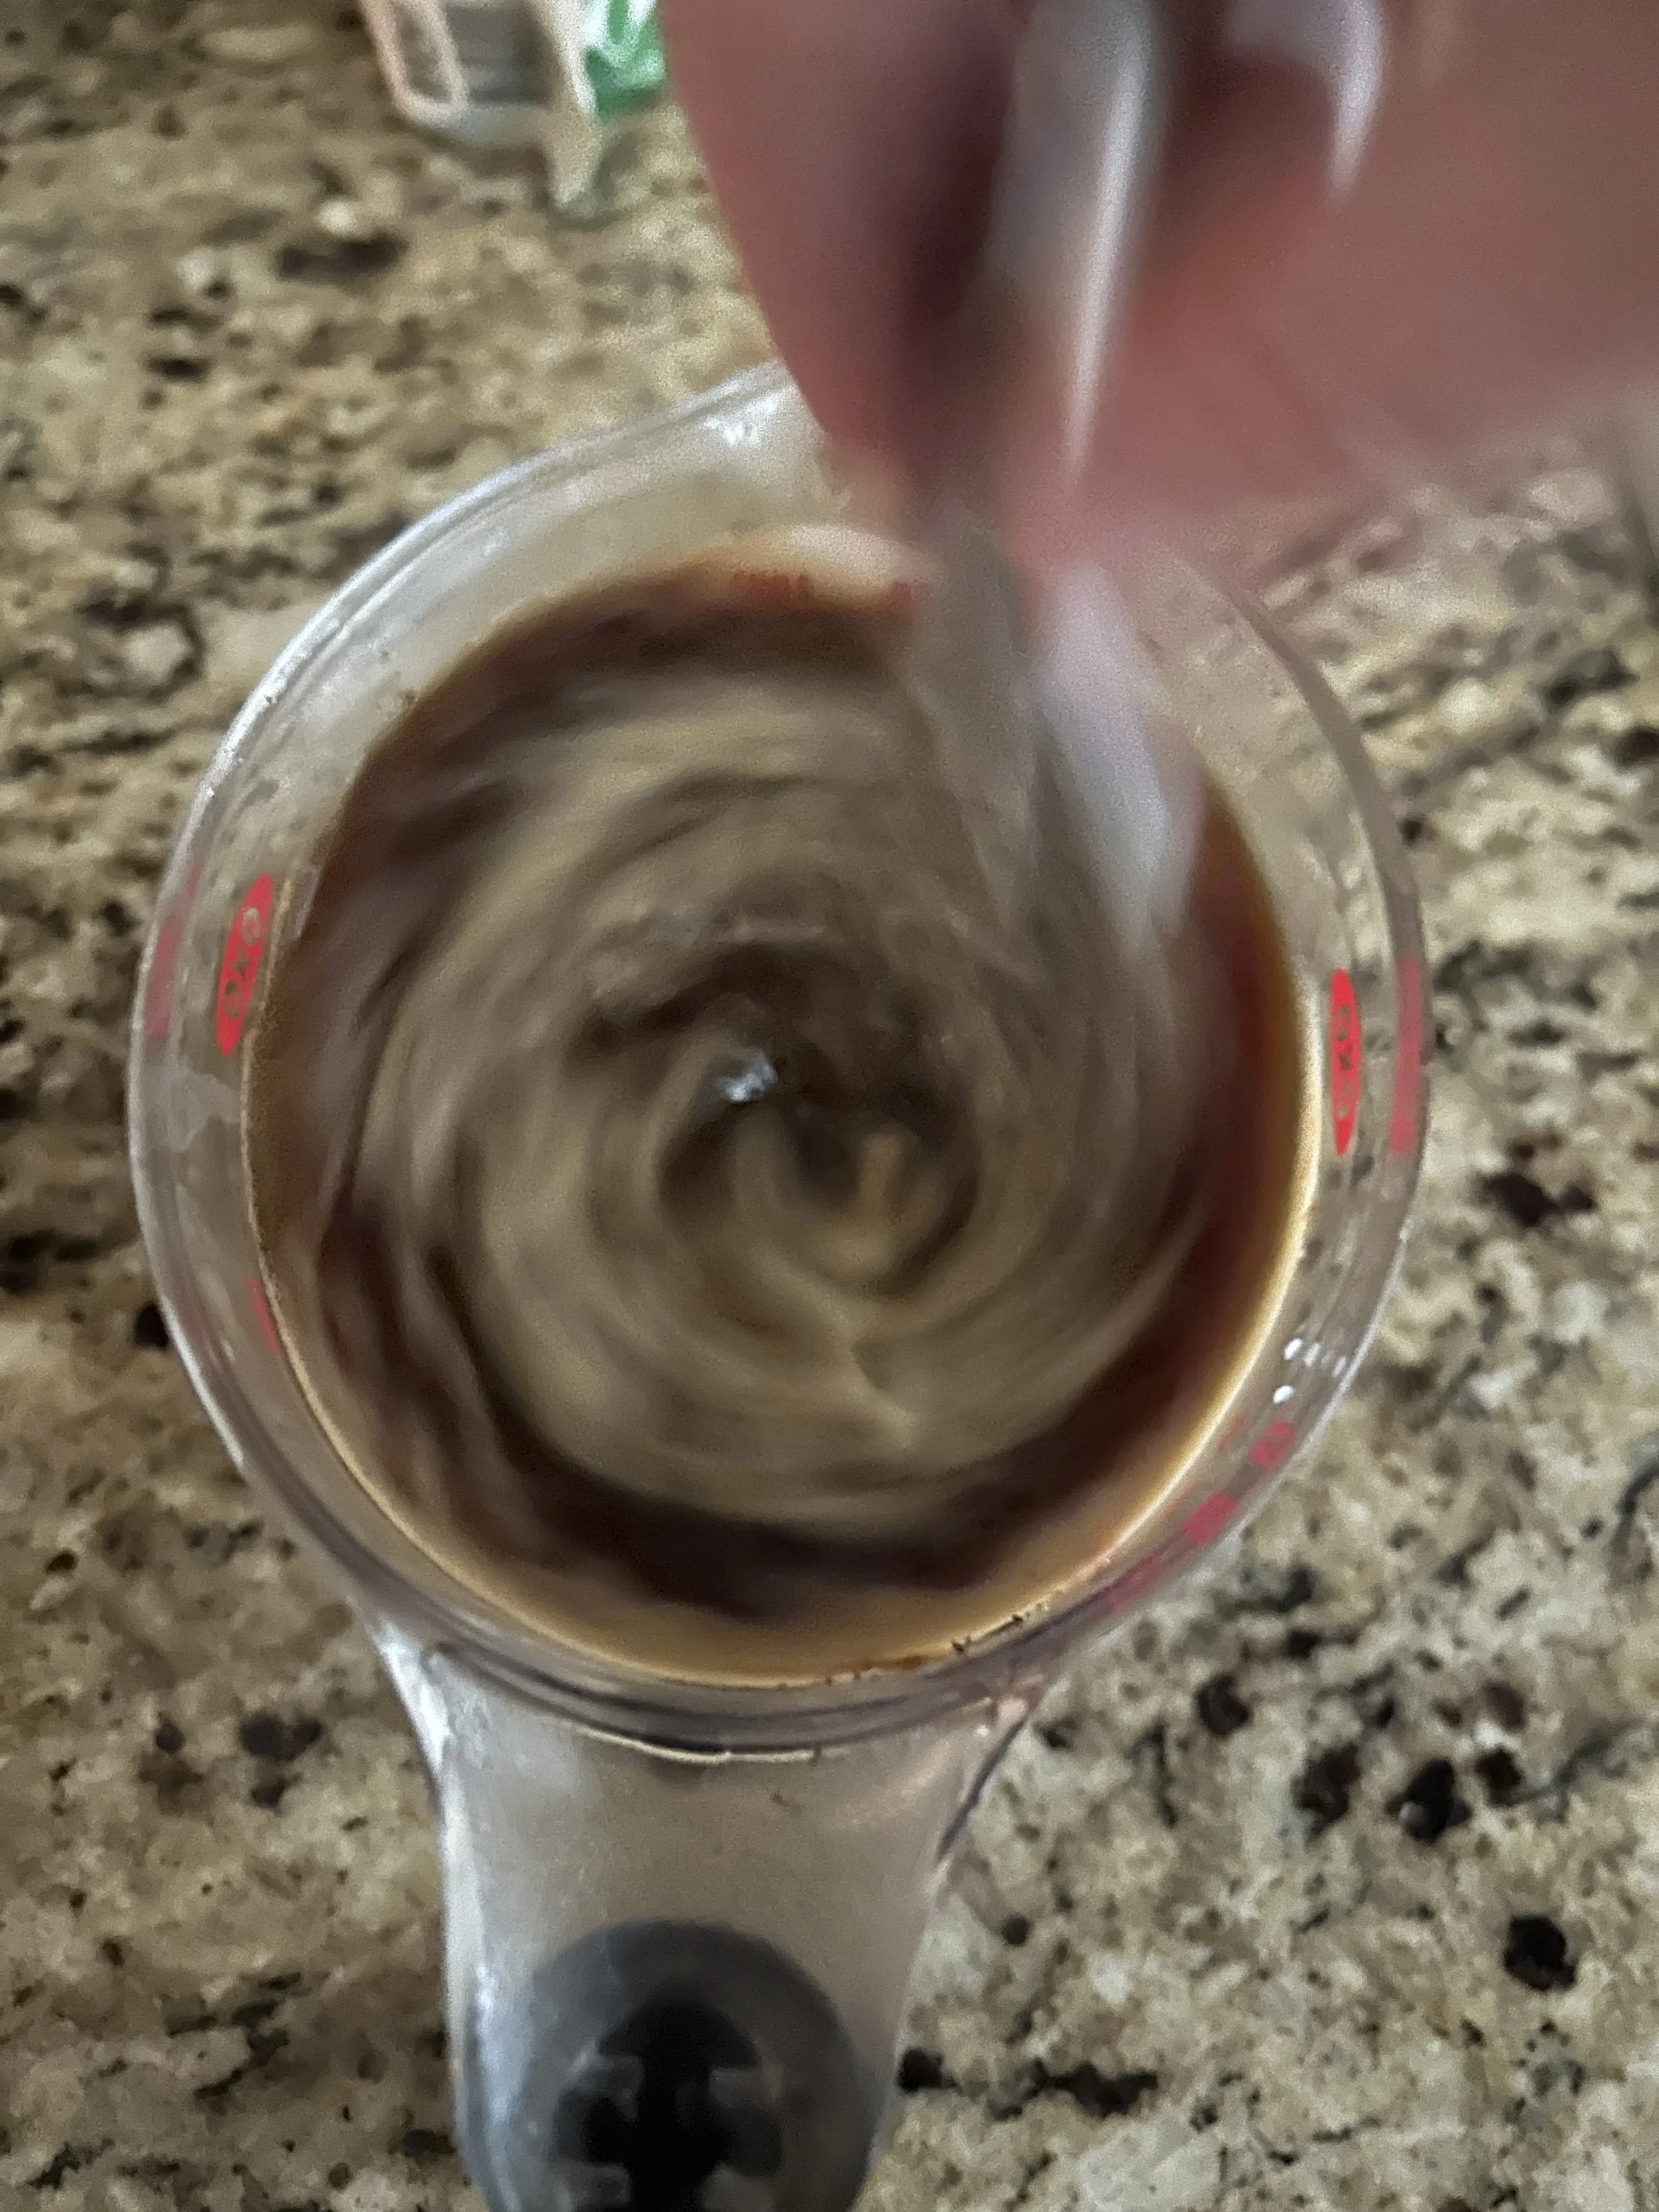
Step 4 (Also Day 3): Make the Soak
Combine the hot coffee, Marsala, and sugar in a small bowl. Stir until the sugar dissolves then set aside to cool.
Step 5: Make the Cream Filling
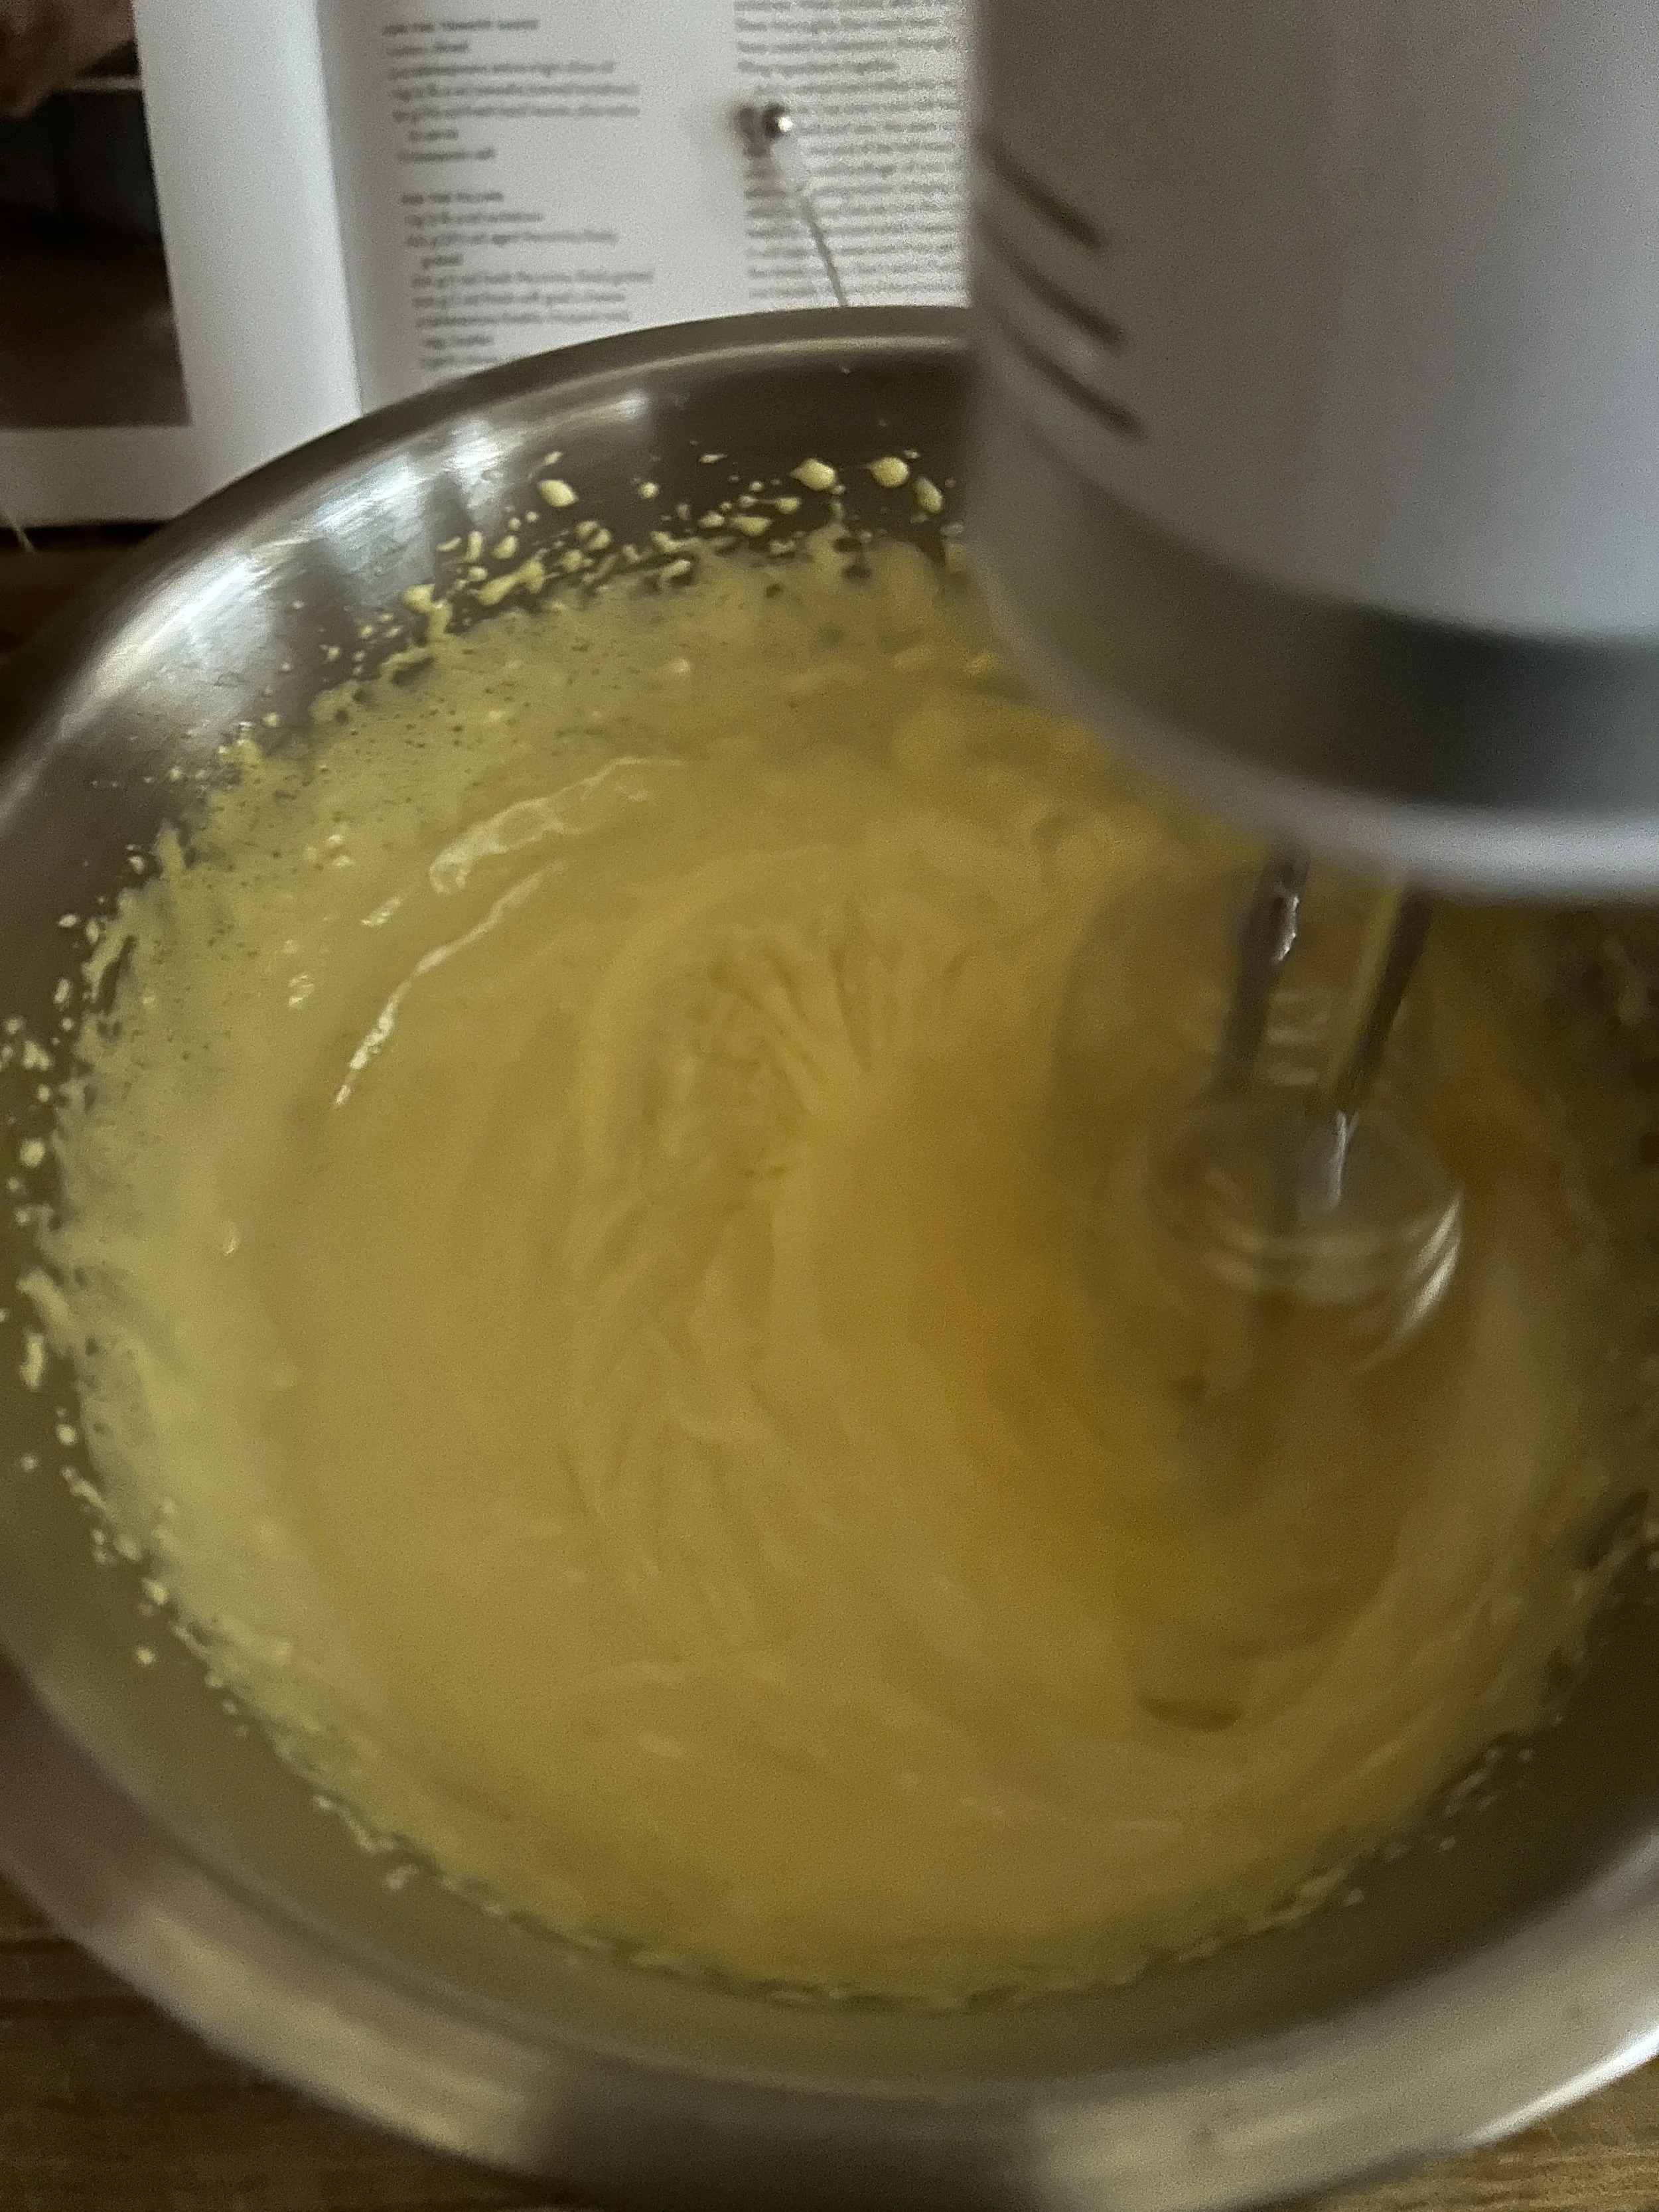
In a large bowl, beat the egg yolks with 1/2 cup of sugar with an electric beater on medium speed for about 5 minutes, or until the yolks become pale and thick. Add the salt and beat to combine. (Yes, these egg yolks are raw but don’t worry. The acidity from the mascarpone will make them safe to eat.)
Add all of the mascarpone made earlier and use your beater to combine with the yolks into a smooth paste. (The mascarpone will be very thick, so it’s gonna take some time.)
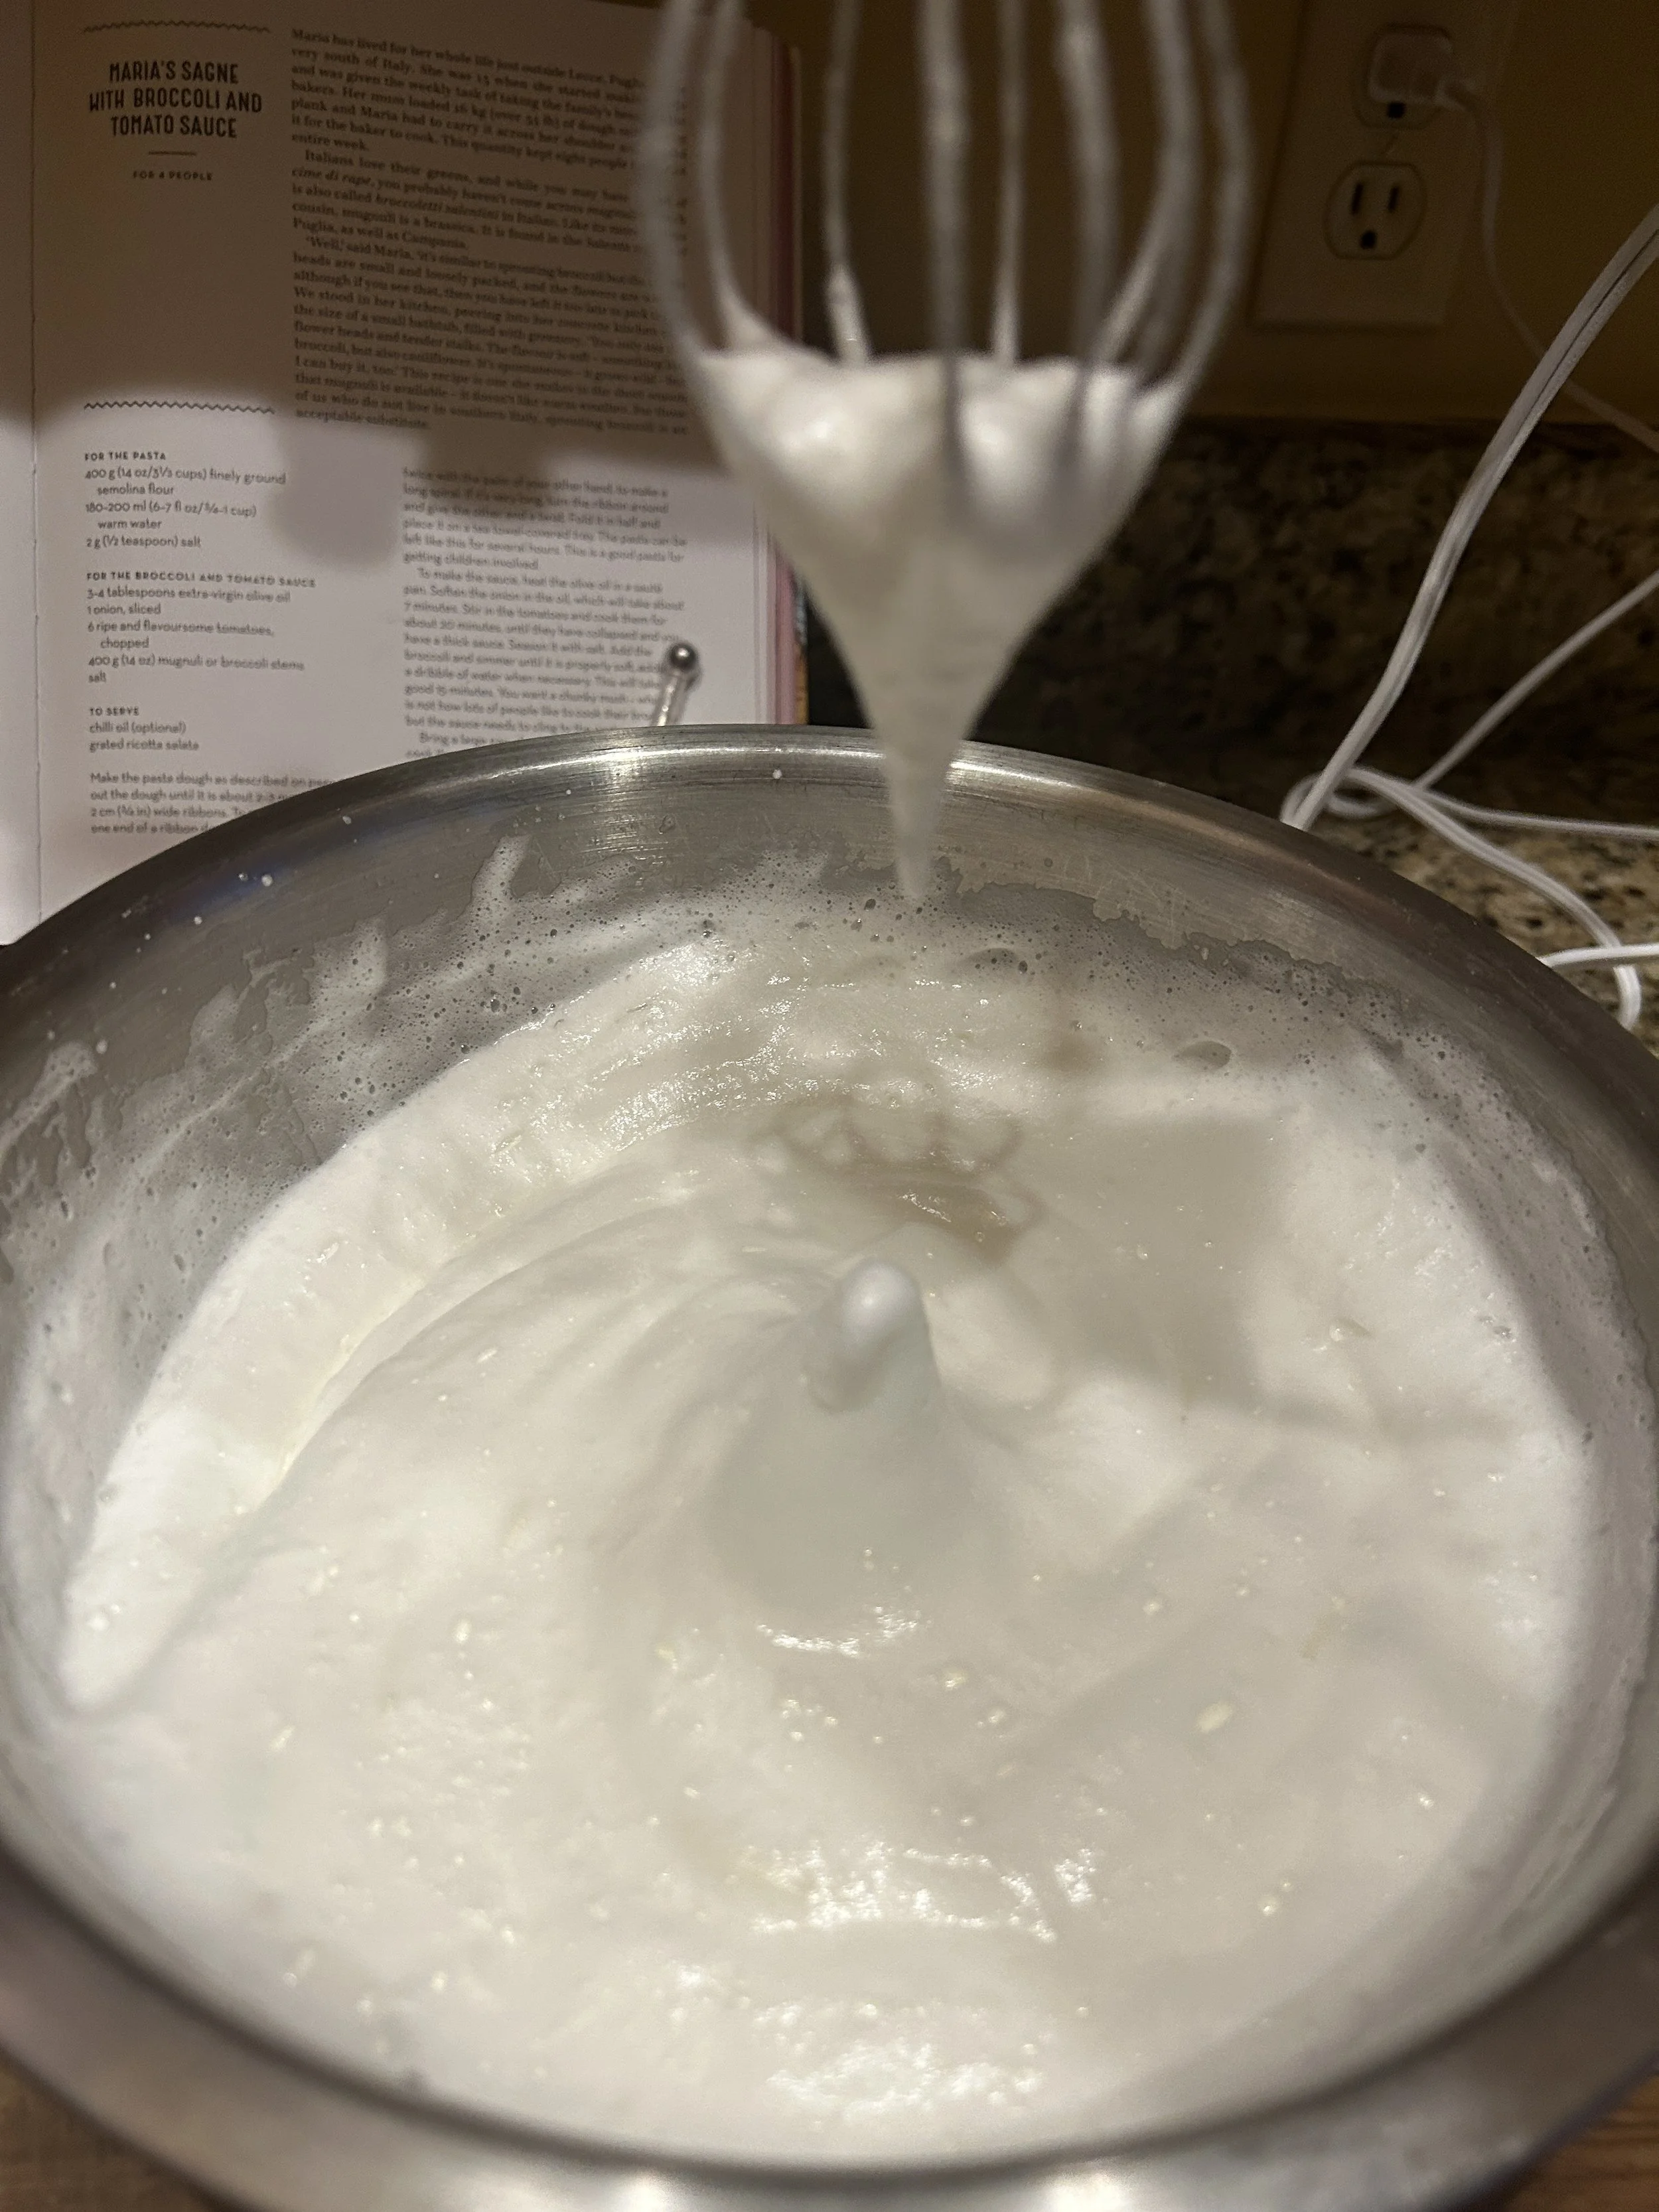
Beat the heavy cream with the remaining 2 tablespoons of sugar to stiff peaks, then gently fold into the mascarpone mixture until smooth.


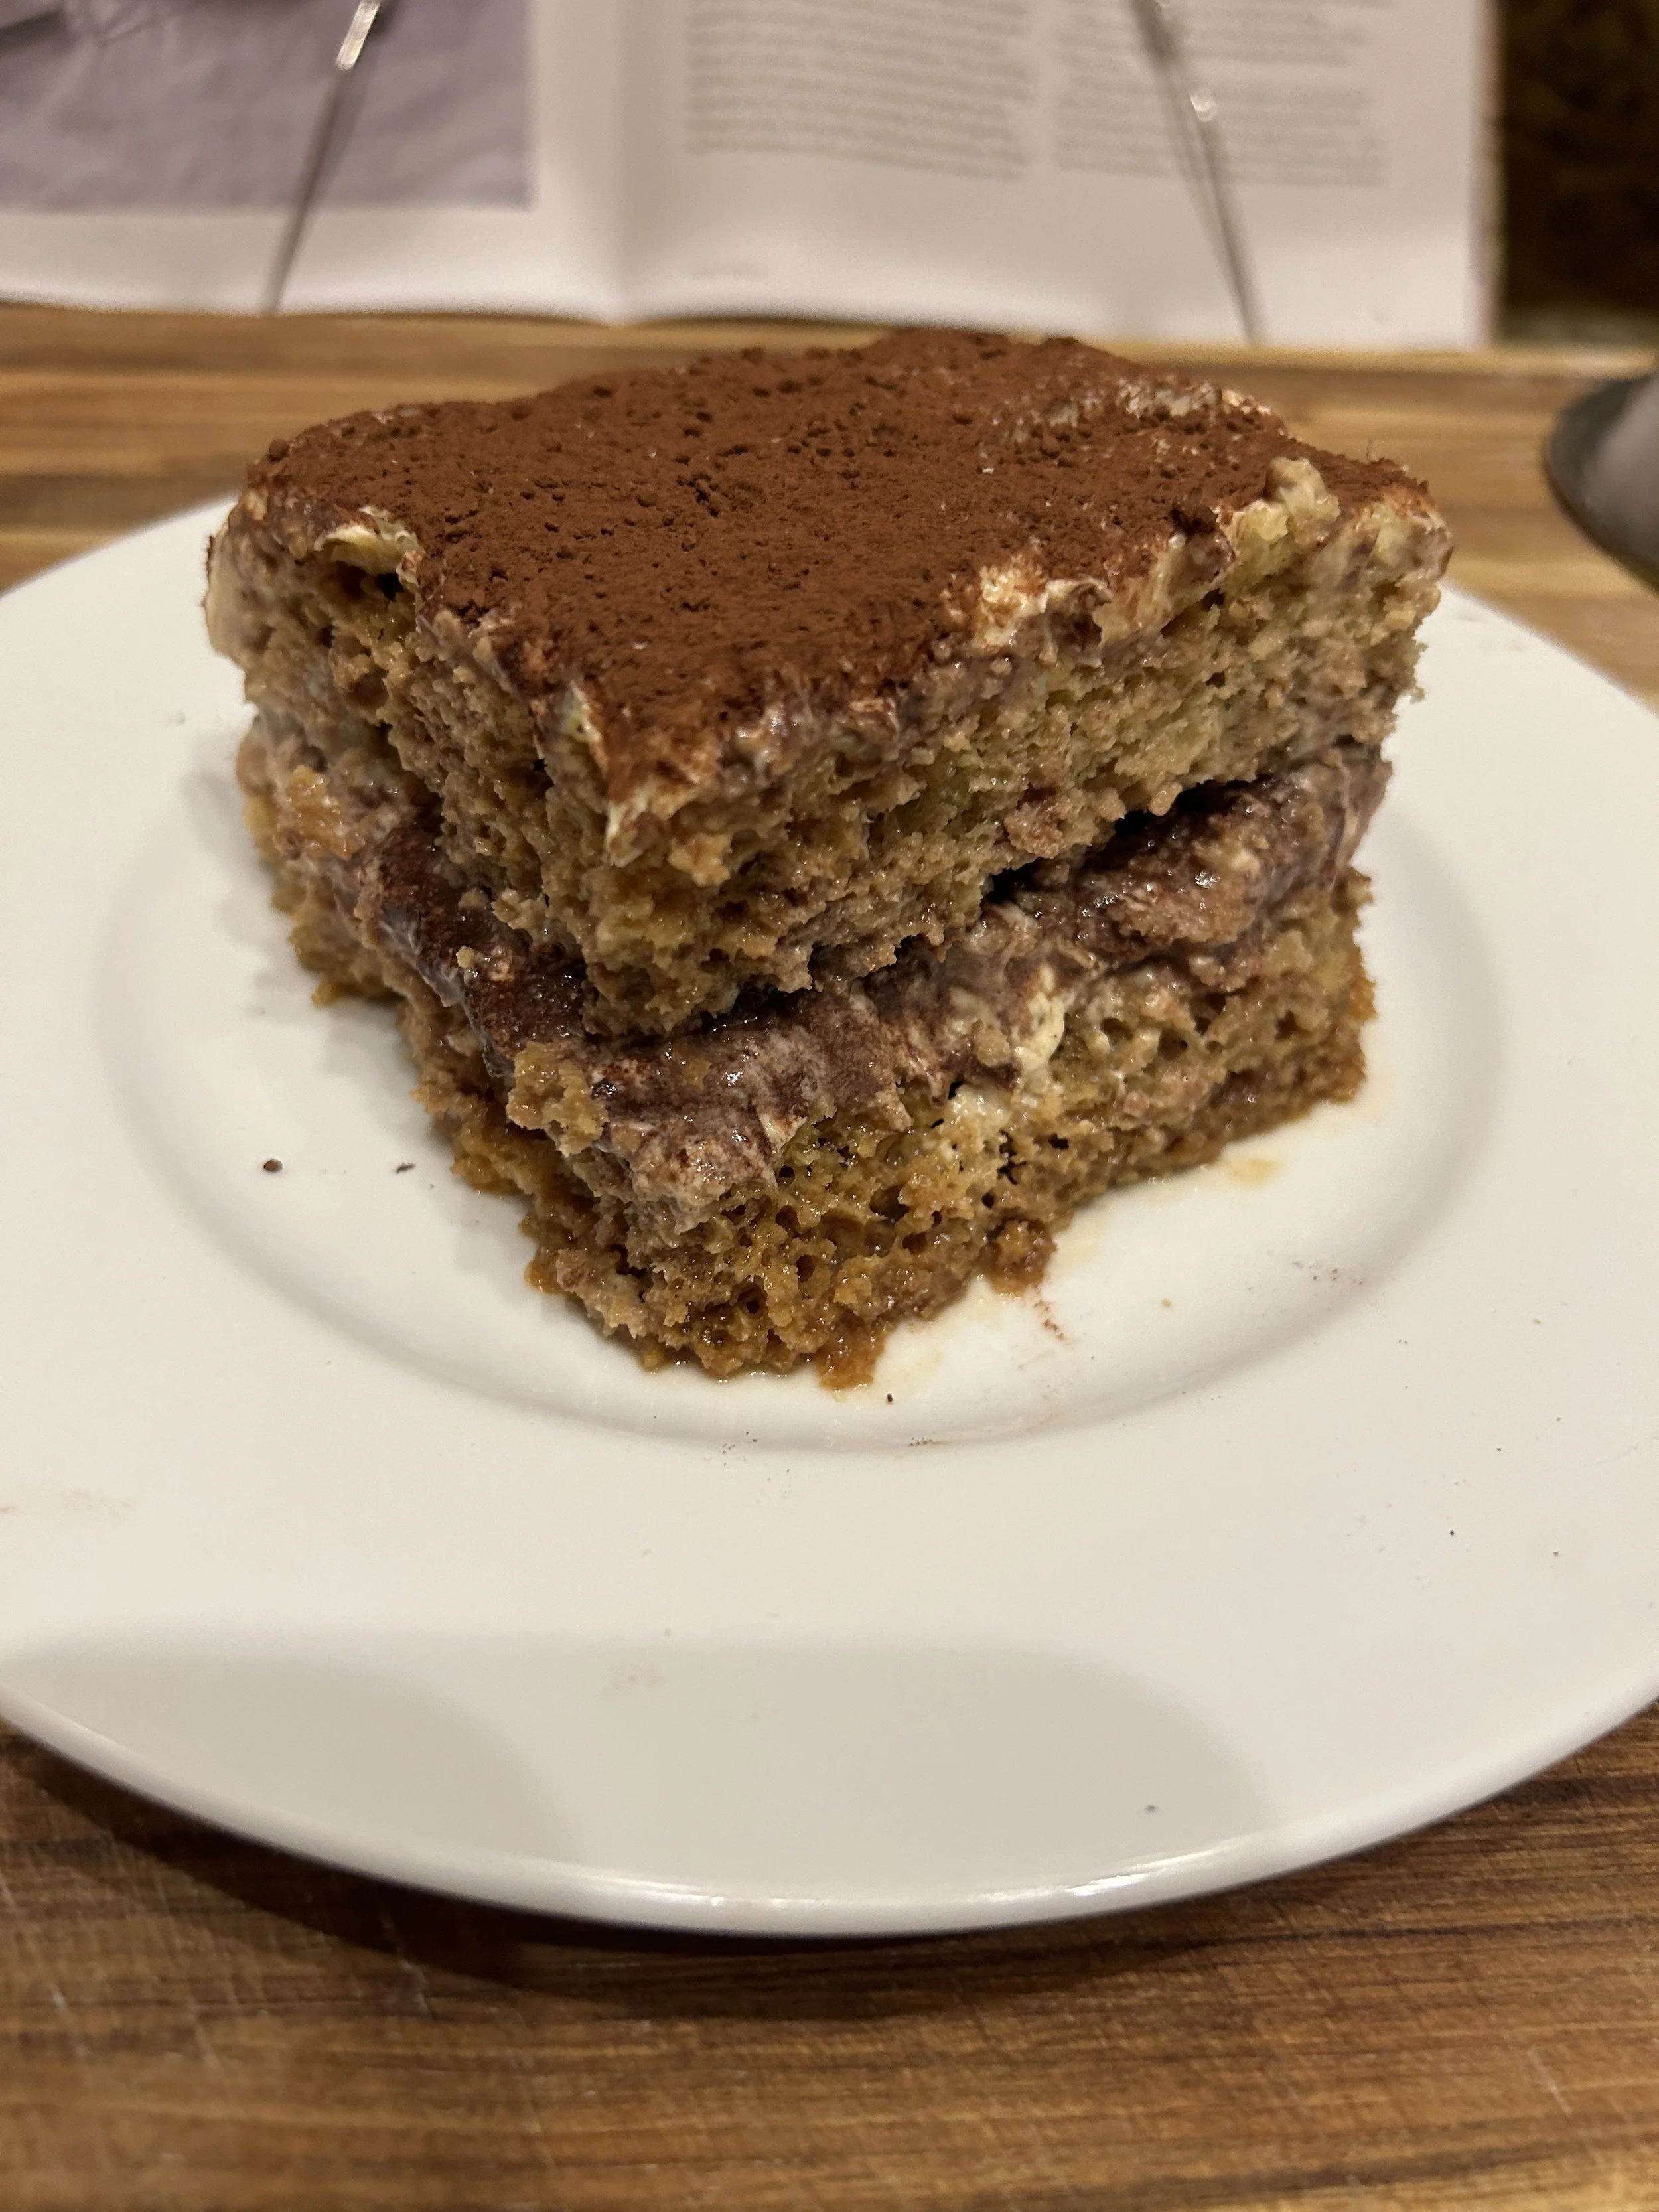
Step 6: Assemble
Pour a thin layer, maybe about 1/2 cup, of the espresso mixture onto the bottom of a 9x13 baking pan. Cut the ladyfinger sponge in half, then lay one half onto the espresso. Brush with more of the espresso.
Drizzle and spread half of the cooled caramel sauce in an even layer onto the sponge, followed by half of the cream mixture. Dust the top of the cream with some of the cocoa powder, then use a microplane to grate the chocolate on top of the cocoa in an even layer. You might not end up using all of the chocolate, so any leftover can be your snack.
Repeat this with the other half of the sponge, another espresso soak, and the remaining caramel, cream, and finish with a dusting of cocoa powder. (Depending on the size of your pan, you might end up with extra caramel and mascarpone. The caramel is great drizzled over anything from ice cream to your left foot and the cream…could make more tiramisu.)


Now comes the hardest part, it’s time to allow the tiramisu to sit in the fridge for 3 whole days. According to Alvin, when he made this tiramisu for his mother for Christmas one year, the two would keep sneaking bites of it, and he found that by the 3rd day, it was the best tiramisu he had ever tasted, so apparently, the wait is worth it.
Of course, if you can’t resist diving into that beautiful tiramisu before the 3 day period is up, then that’s fine too.
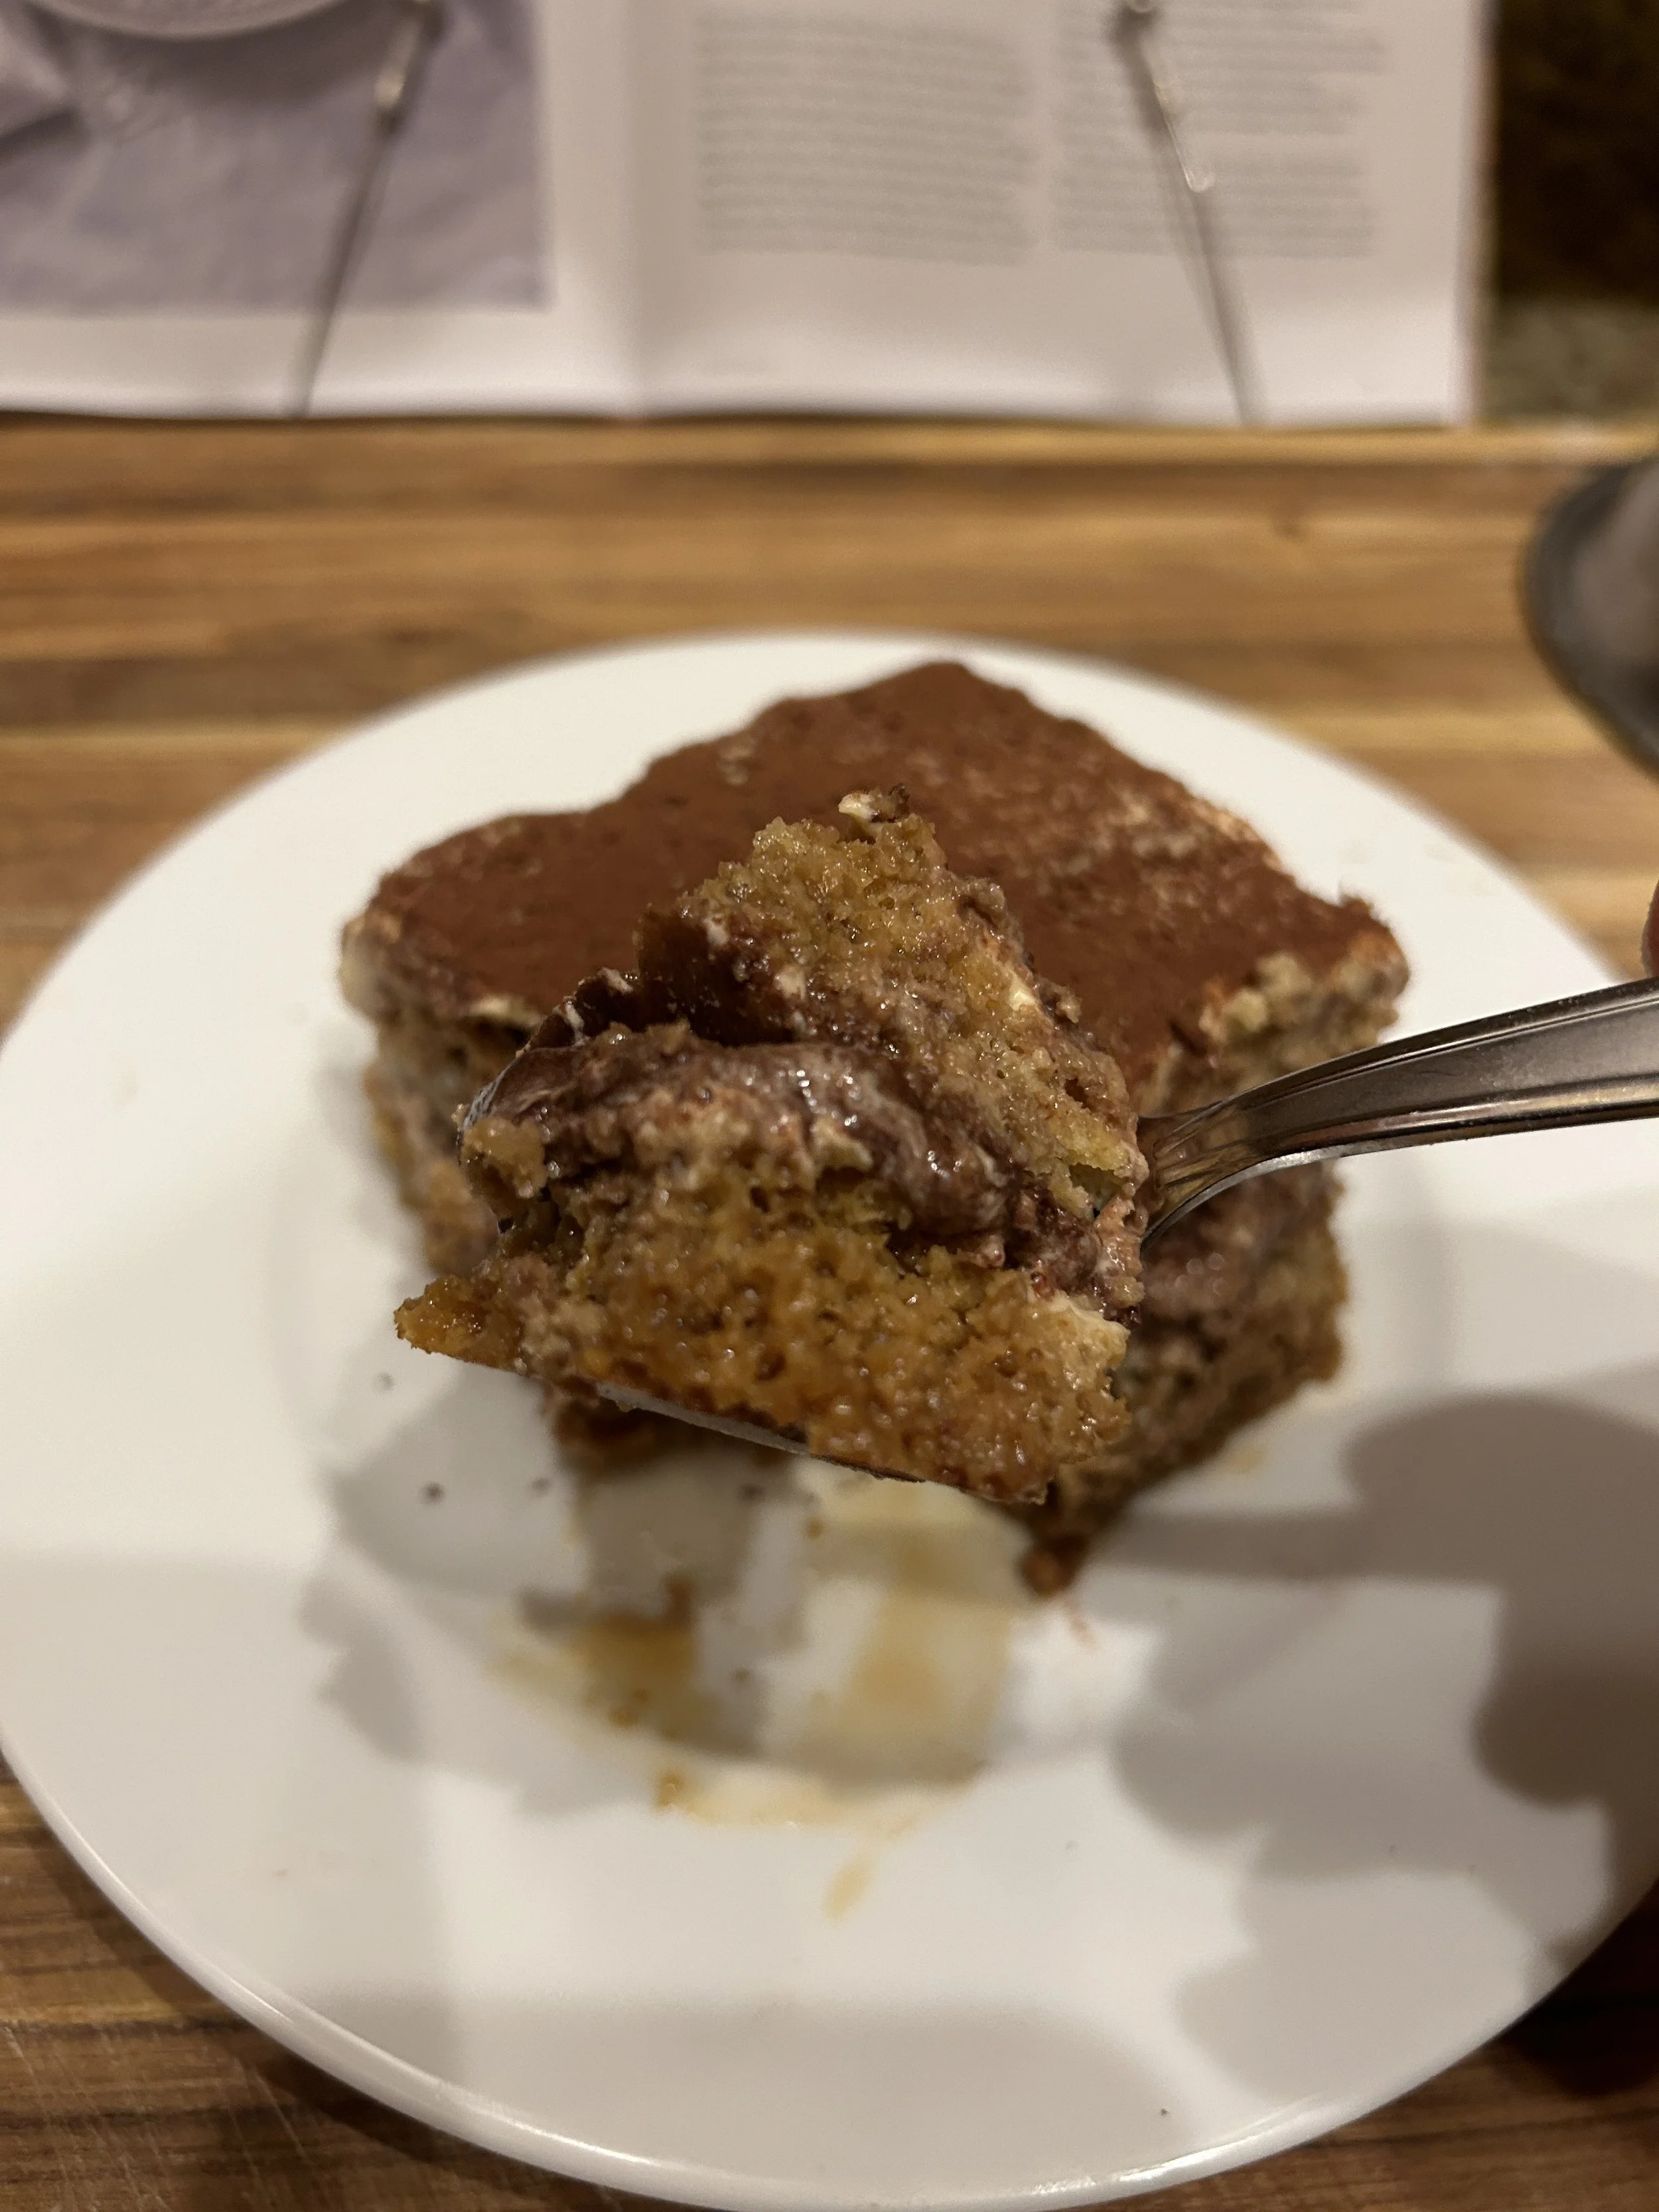
The first bite of this 100 hour tiramisu blew me away!
You have all of the classic tiramisu flavors with the espresso, the cocoa, that soft and tangy homemade mascarpone, but then that marsala caramel comes in and gives it an amazing depth of flavor.
But here’s the final question, is it worth it? Flavor-wise, the caramel was a great idea and one that I might try for tiramisu again but…I’m not going to make my own mascarpone or wait 3 days to eat it.
Although this was a very fun project and I can see myself doing projects like this in the future.