
How to Make Pie Crust
The fall season is pie season…although I suppose there’s no bad time of year for pie. As the weather gets colder people are cranking out delicious pies filled with fresh fruit like apples, blueberries, cherries or any other classics like pecan, coconut cream, and my personal favorite, pumpkin.
While you could easily make a tasty pie using a store-bought or refrigerated crust, there is nothing that says I love you more than making pie crust from scratch, so today I’ll be sharing all the basic details on how to make a delicious flaky pie crust that can work well with any filling that you desire.
To make pie crust, you need the following ingredients.
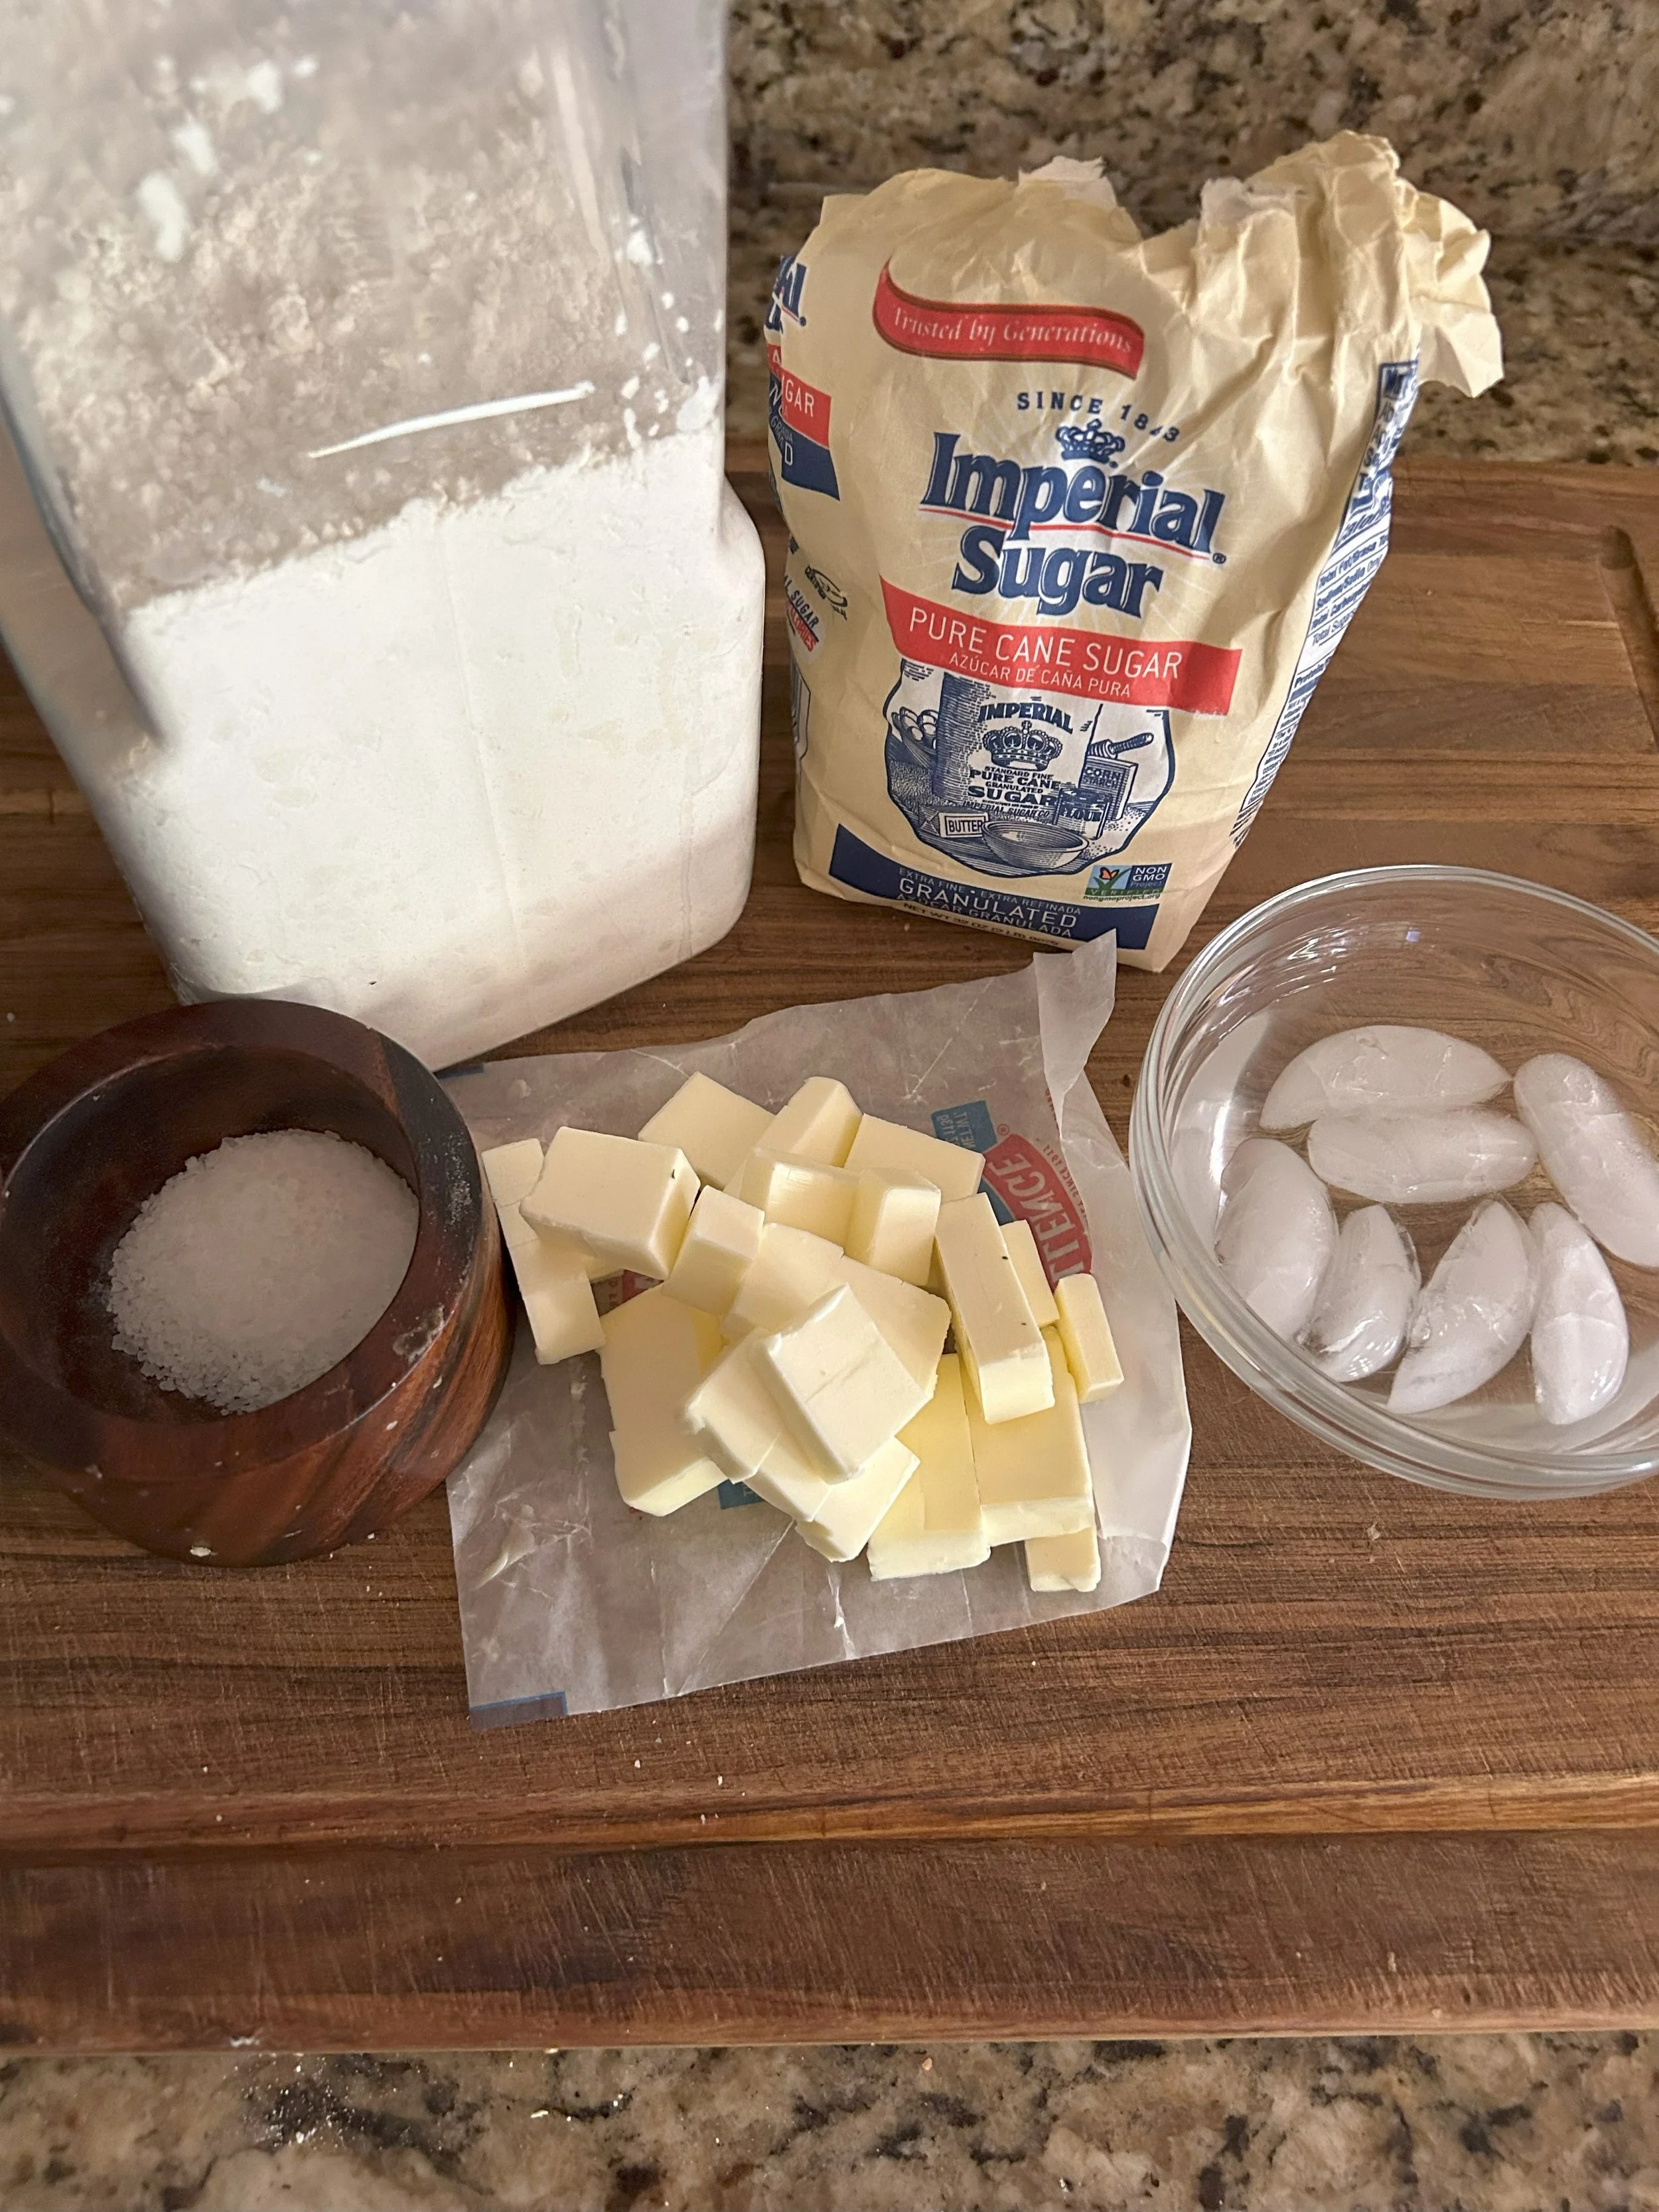
Flour-the protein content of which provides structure to any pie crust and keeps it from being a mess of butter. For a perfect blend of structural integrity while keeping the crust tender, standard all-purpose flour is perfectly fine
Sugar-a pie needs sugar, there’s no way around that. While a pie crust itself does not necessarily need to be sweet, having a bit of sugar in the crust will aid in the browning process in the oven.
Salt-Quite simple, without salt your pie crust will be bland
Butter-Fat is the most important component for achieving a flaky, tasty pie crust. While there are a few types of fat that people use for pie crust such as shortening or even lard, I prefer the classic butter for both flavor and the fact that everything tastes better with butter.
Some people will also add an egg yolk or two to their crust for some richness, ideal for balancing out a brighter filling like lemon meringue or key lime filling.
Liquid-the addition of liquid to flour will create gluten to help the crust hold its shape.
Water is certainly the classic for crust making, but some people will even add vodka to their crust as alcohol evaporates faster than water, so you’ll end up with a flakier crust. Some bakers will also add vinegar to their crust as the acidity will help balance out the sweetness of the filling. You can do what you wish, but I’m sticking with water for this recipe.
Now that the ingredients are covered, here are some of my essential crust-making tips.
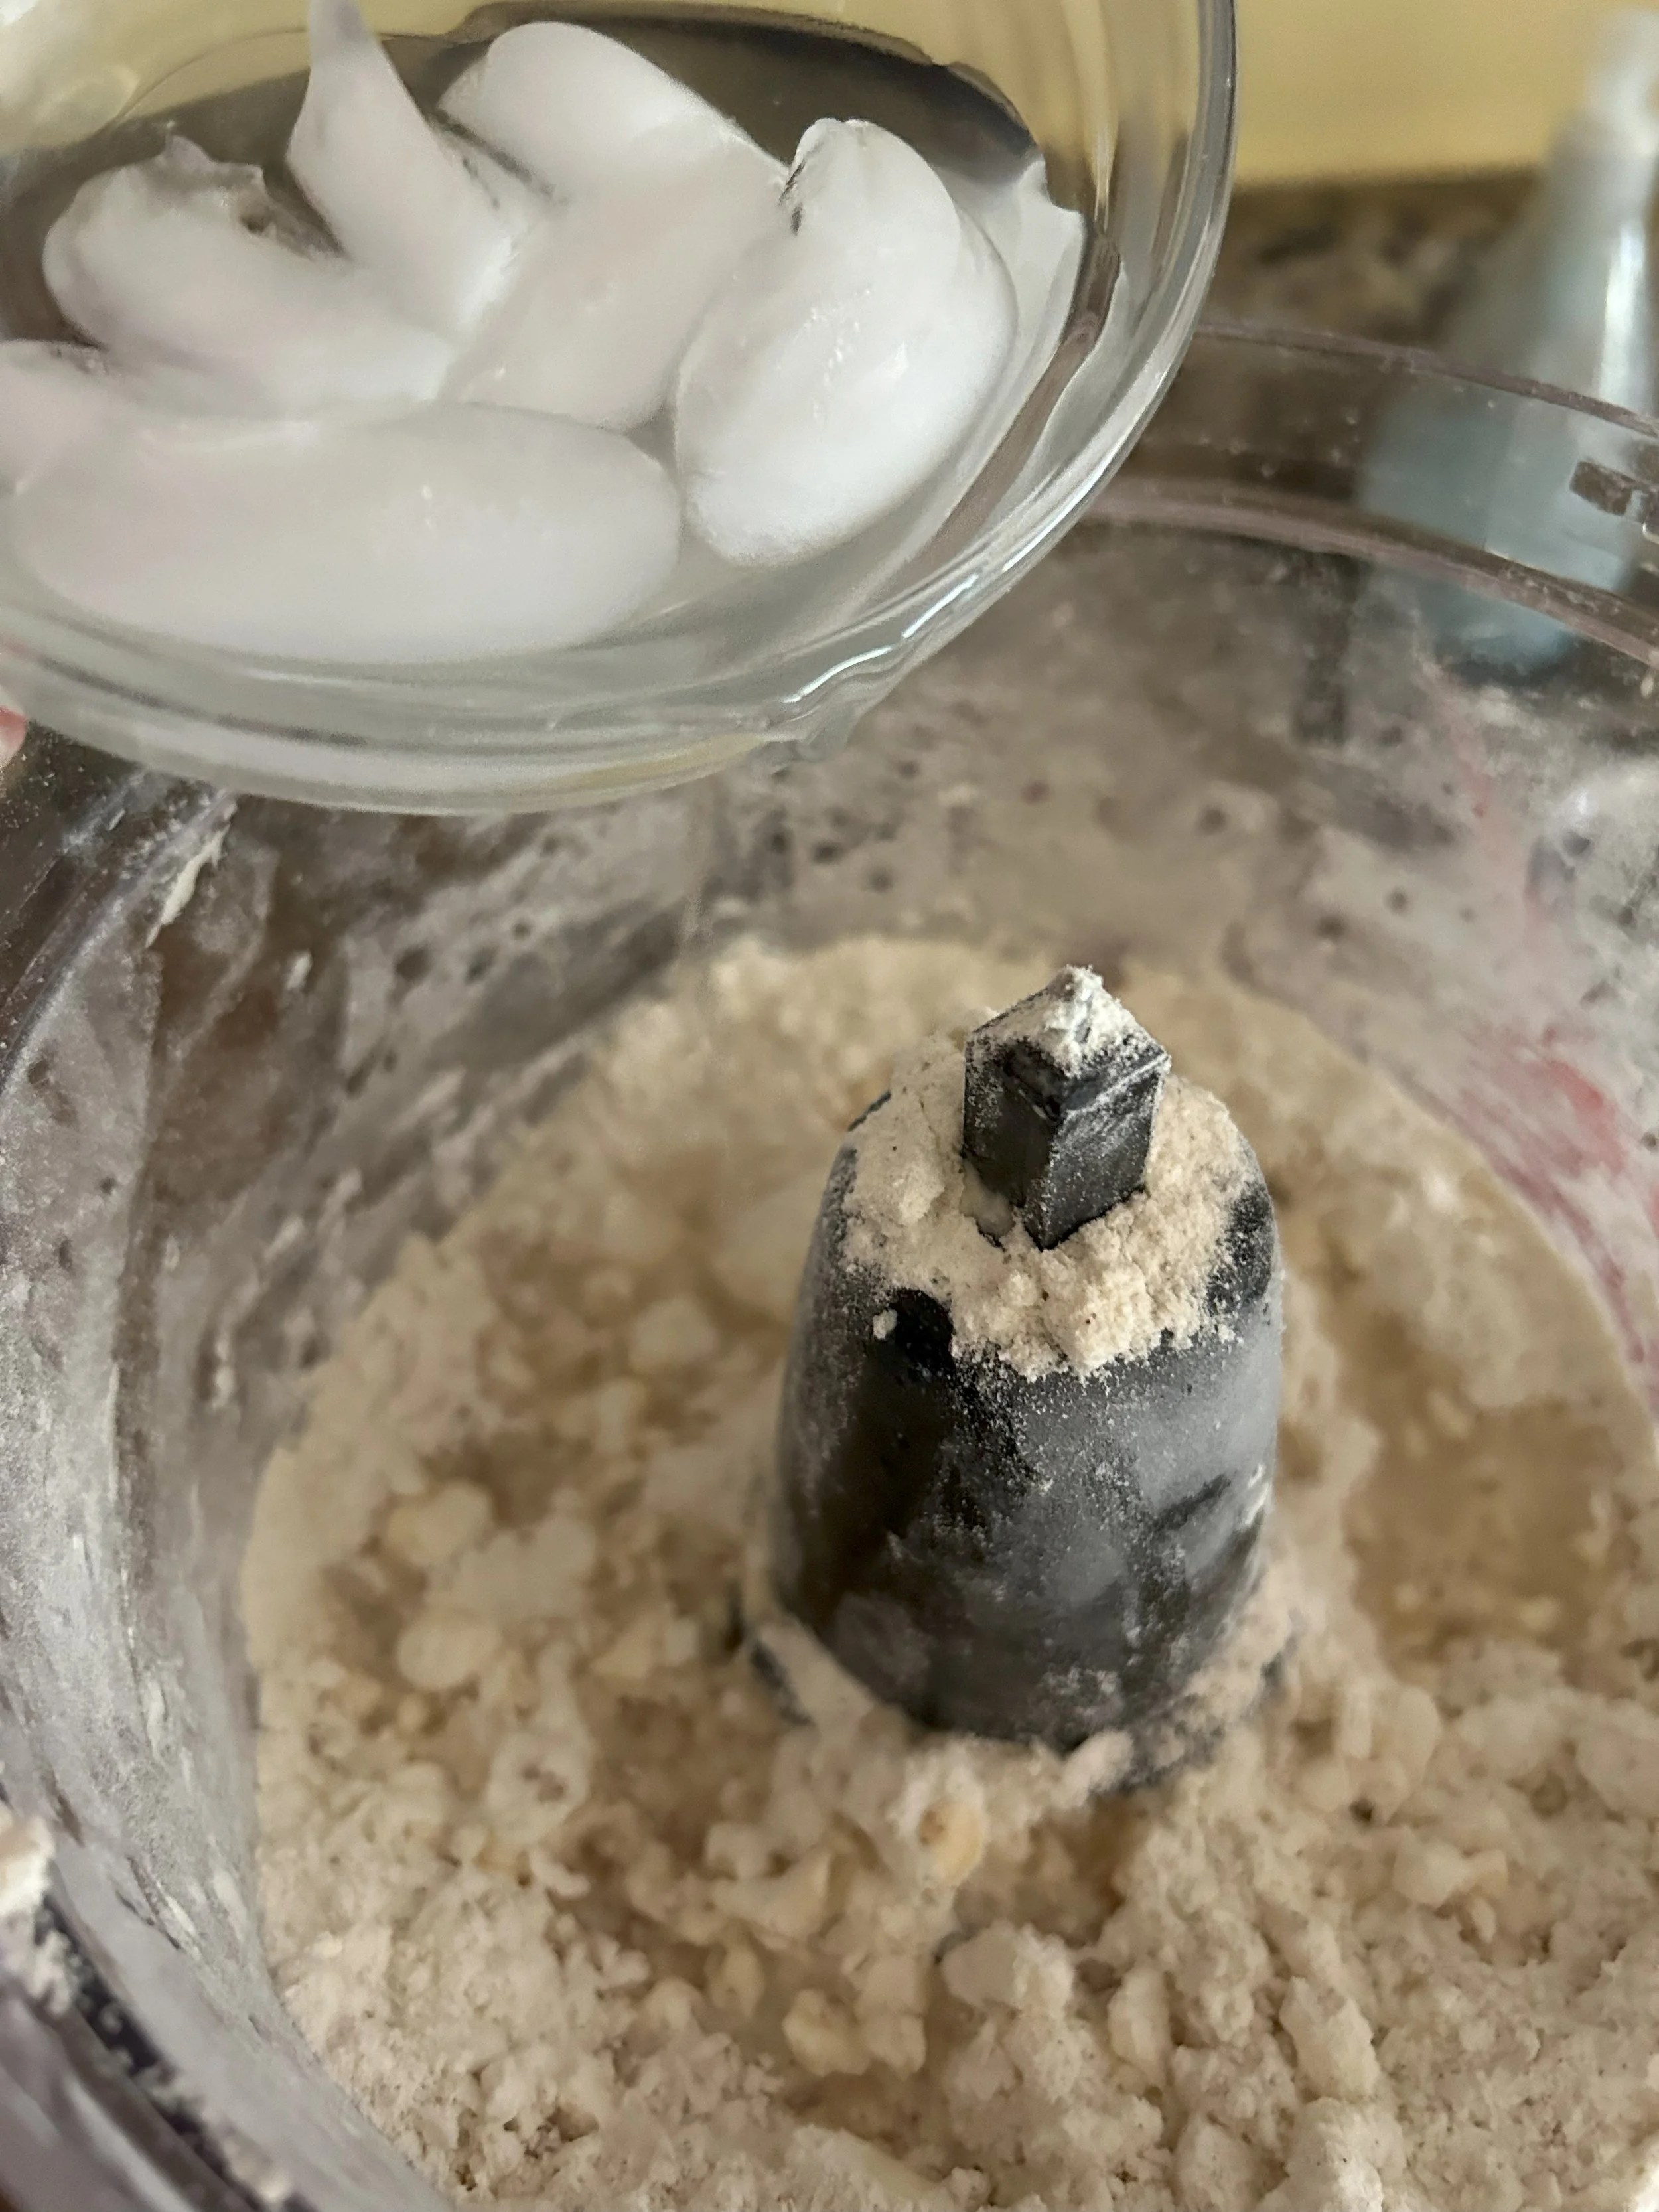
Just like with biscuits, it’s important that your fat and liquid are as cold as possible, so I suggest cutting the butter then leaving it in the fridge until you’re ready to make the crust and to use ice water. Some bakers go as far as to use frozen butter in their crust, but that’s a bit too much for me.
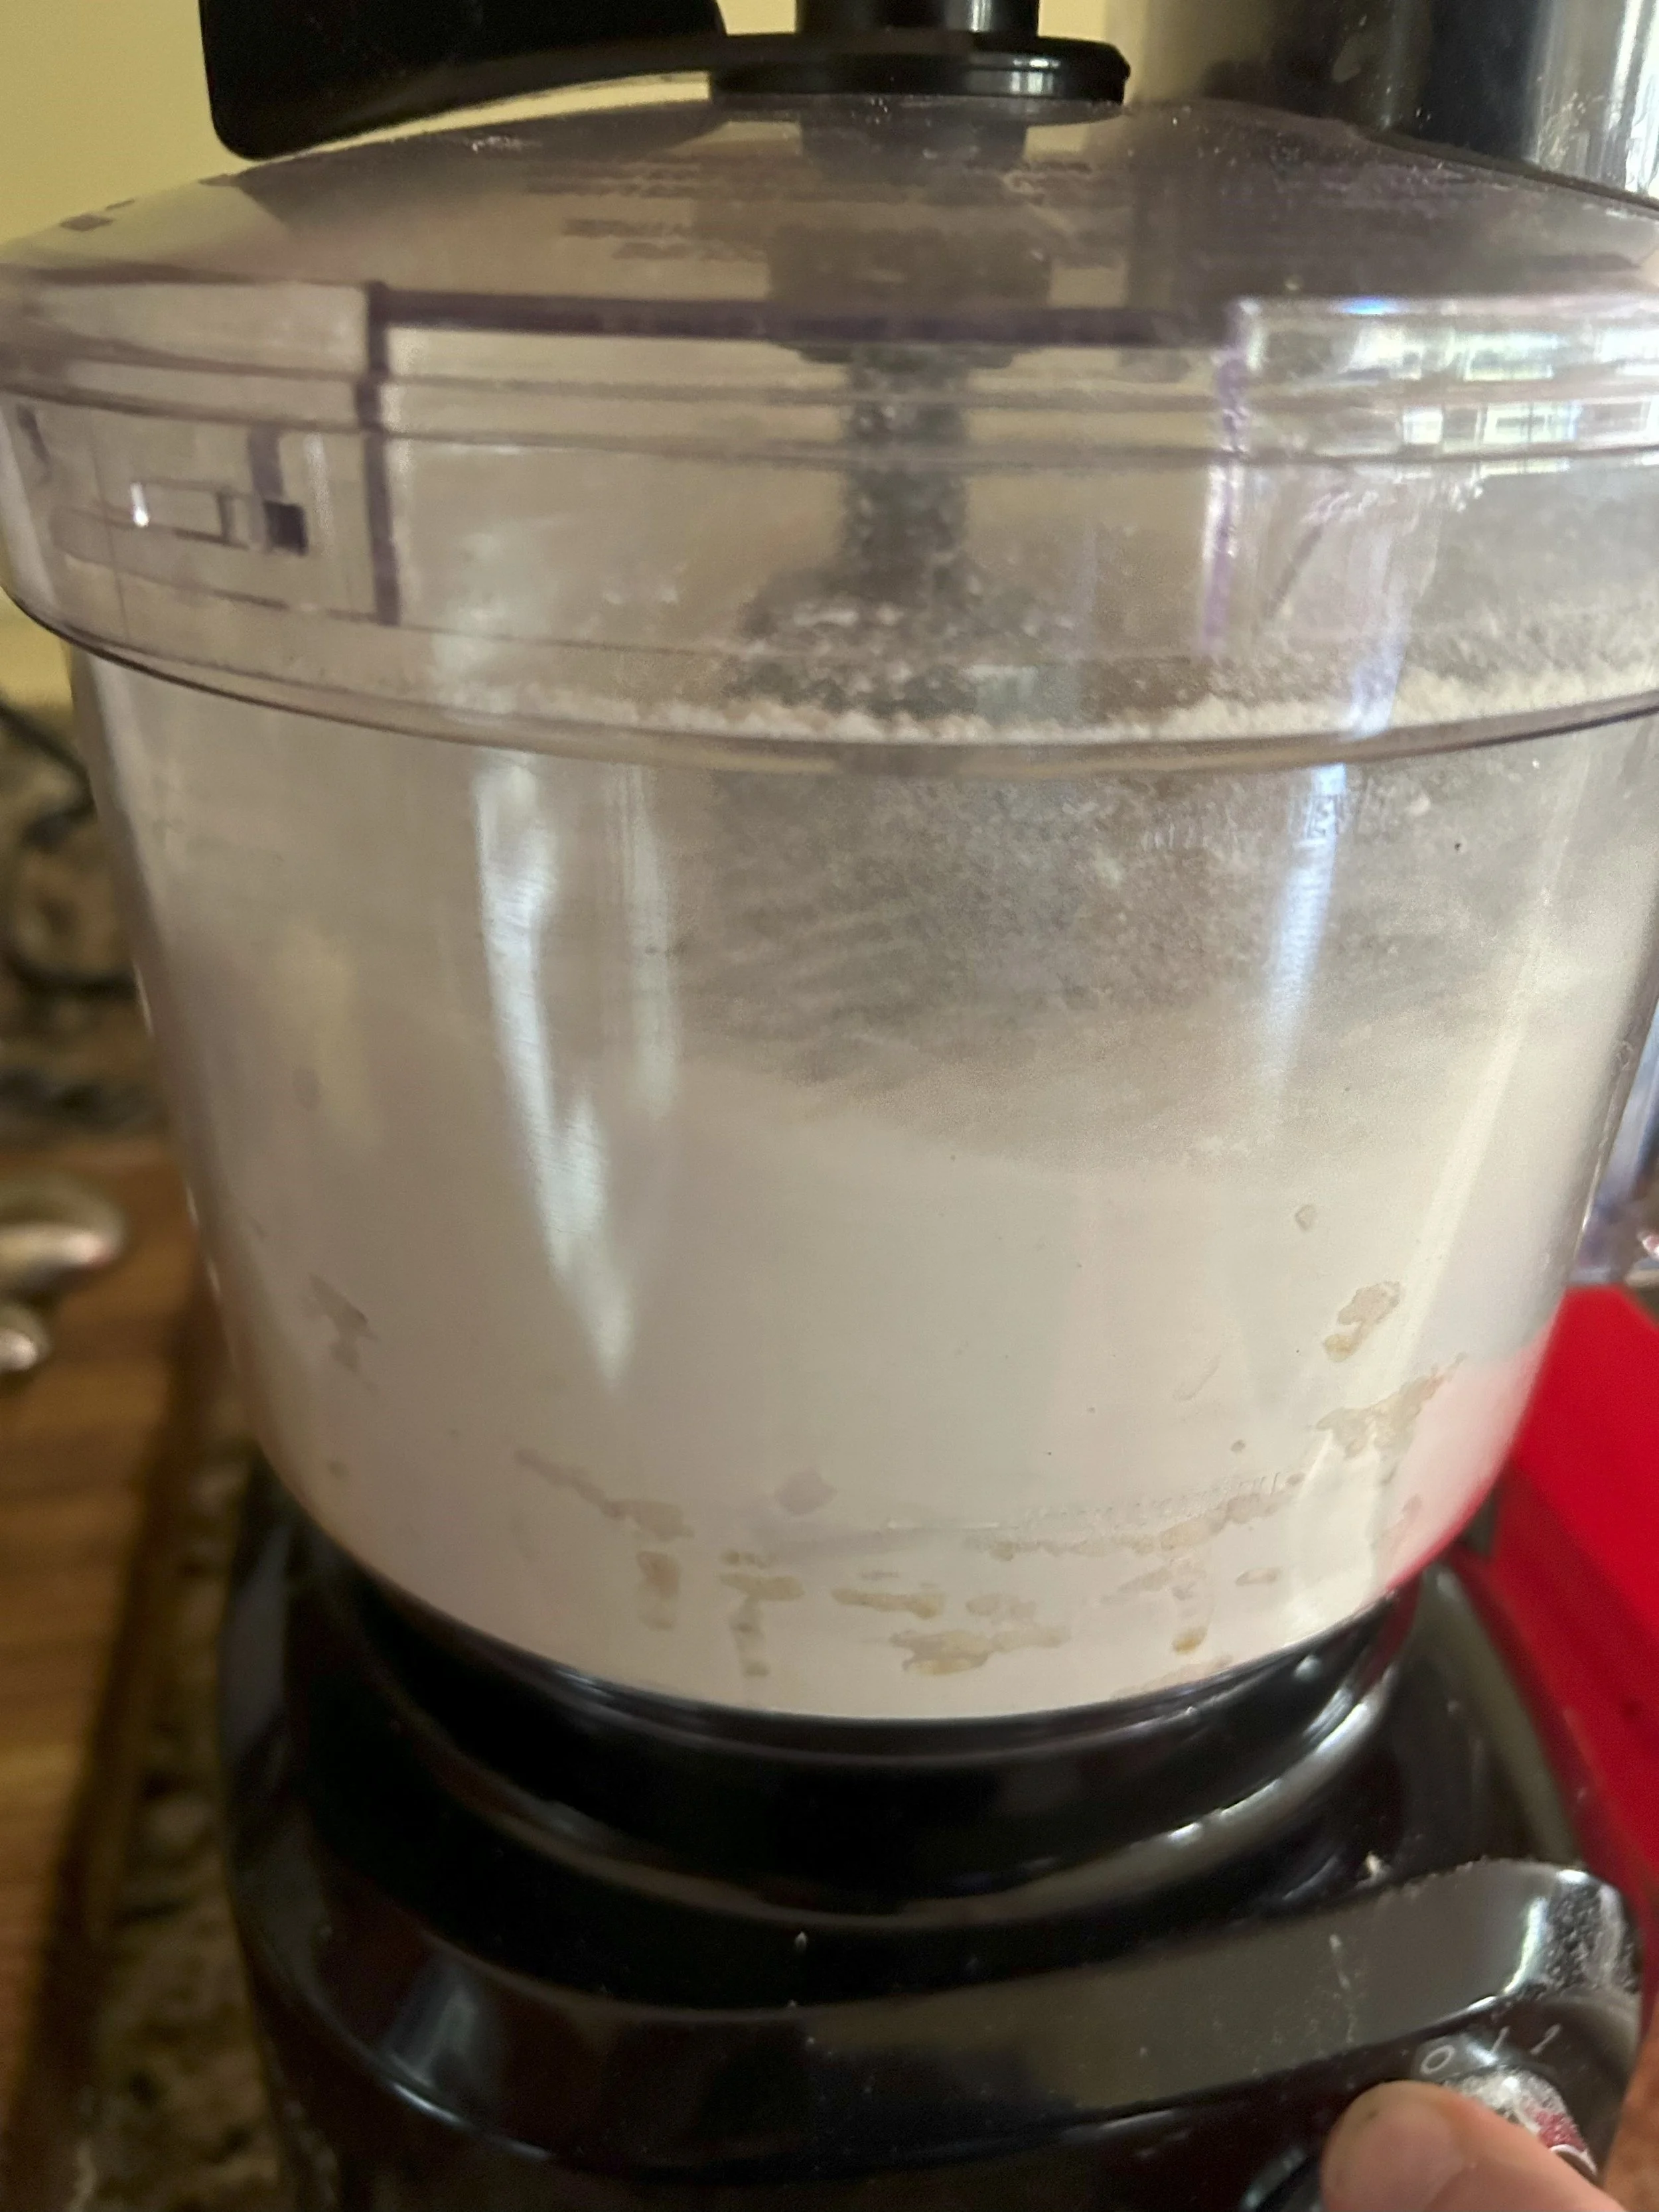
While you could certainly make the dough by hand, your life will be 5 times easier if you use a food processor; it blends up the dough in minutes.
Do not overmix the dough, you are not making bread. It might seem tempting to continuously mix the dough until it’s pliable and smooth, but that develops the gluten in the dough and will lead to a dense, chewy crust in the end.
When rolling your crust, don’t worry about getting it into a perfect circle. That’s the beauty of it being a homemade crust, it doesn’t have to look factory-made, it just needs to taste really good. If it cracks a little bit, just patch it up, nobody will notice.
Ok, with all of those tips marked down, let’s get on to the recipe. As I said, this is a basic pie crust recipe that, once you know how to make it, can work well with any filling that you can think of. You can also double the recipe for a closed pie or if you want to do a neat design on top like a lattice, and you can also leave out the sugar for a savory crust like for chicken pot pie or a quiche.
Basic Pie Crust
Makes one 12-inch crust
1 1/4 cups of flour
1 tablespoon of sugar
A large pinch of salt
6 tablespoons (3/4 of a stick) of cold unsalted butter, cut into small cubes
2 to 4 tablespoons of ice water
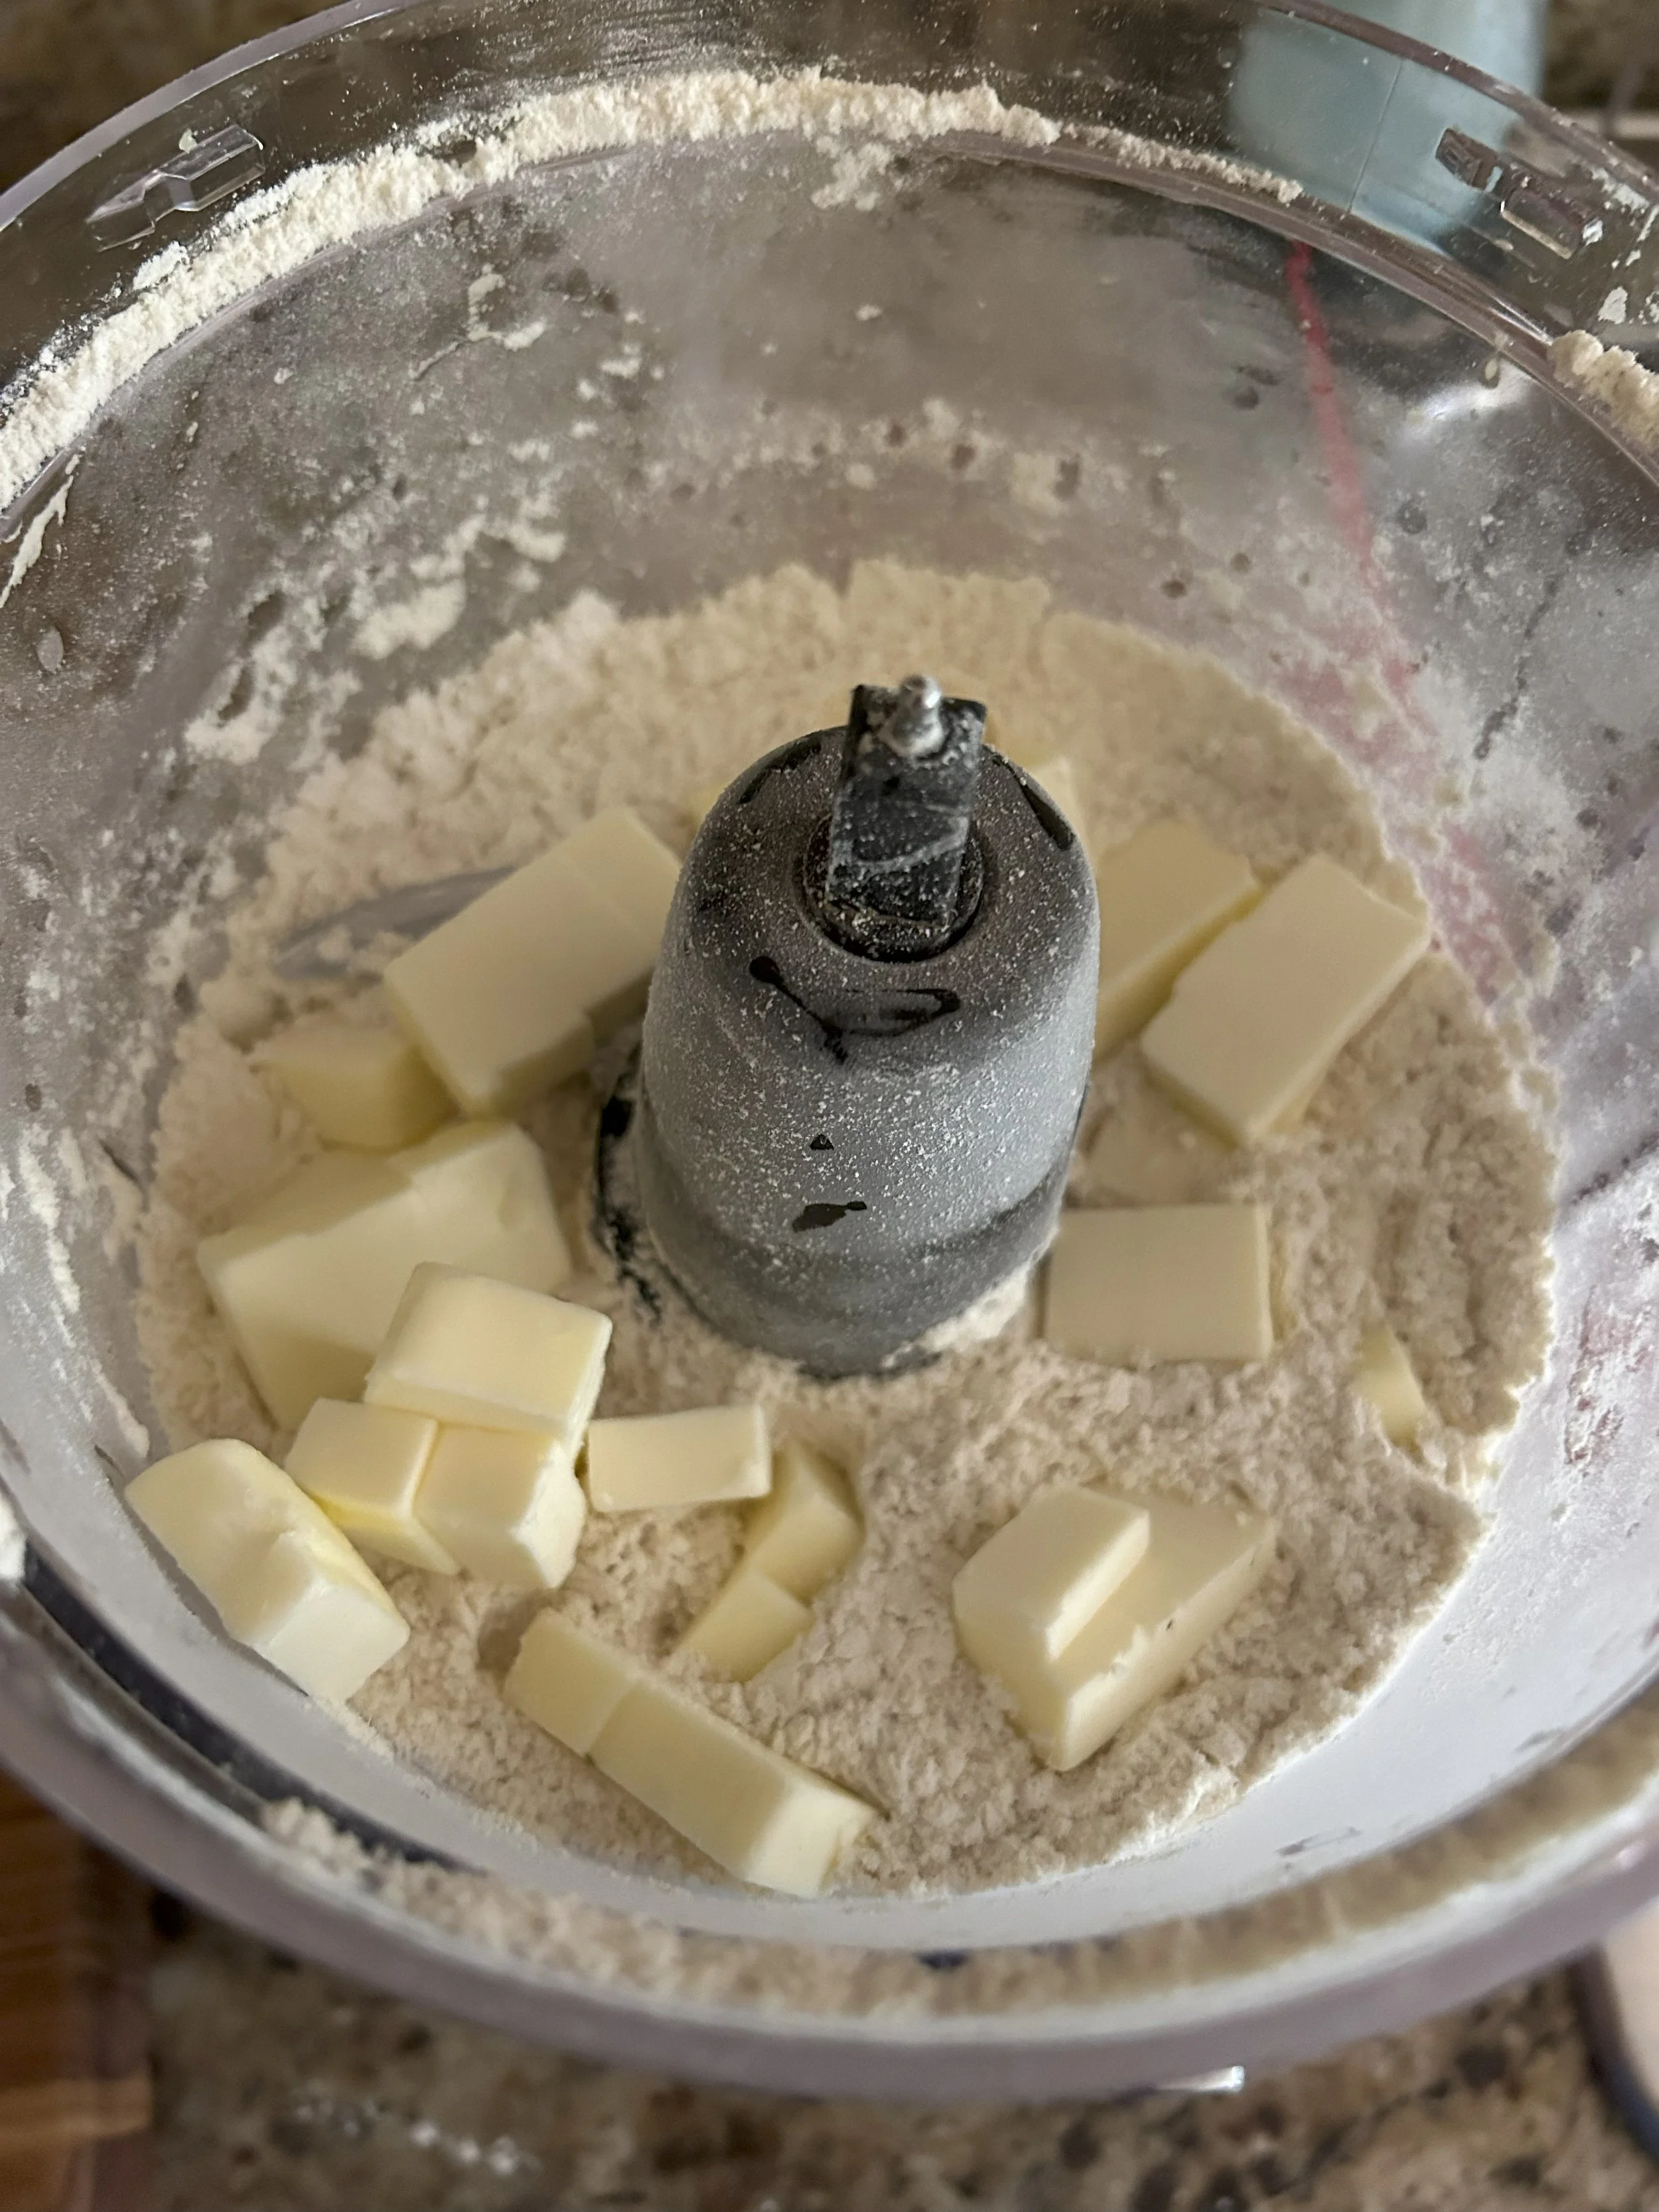
Start by dumping the flour, sugar, and salt into the work bowl of a food processor. Clamp on the lid, then pulse until combined. Add the cold butter, then pulse about 4-5 times, or until the butter breaks down into small pea-sized chunks. This technique is known as cutting in the fat, and it’ll leave large chunks of butter, which will give you a flaky crust.
(If you don’t have a food processor, then you can cut the butter with a pastry cutter. You could also do this with your fingers, but then you run the risk of the heat from your hands warming the butter too much.
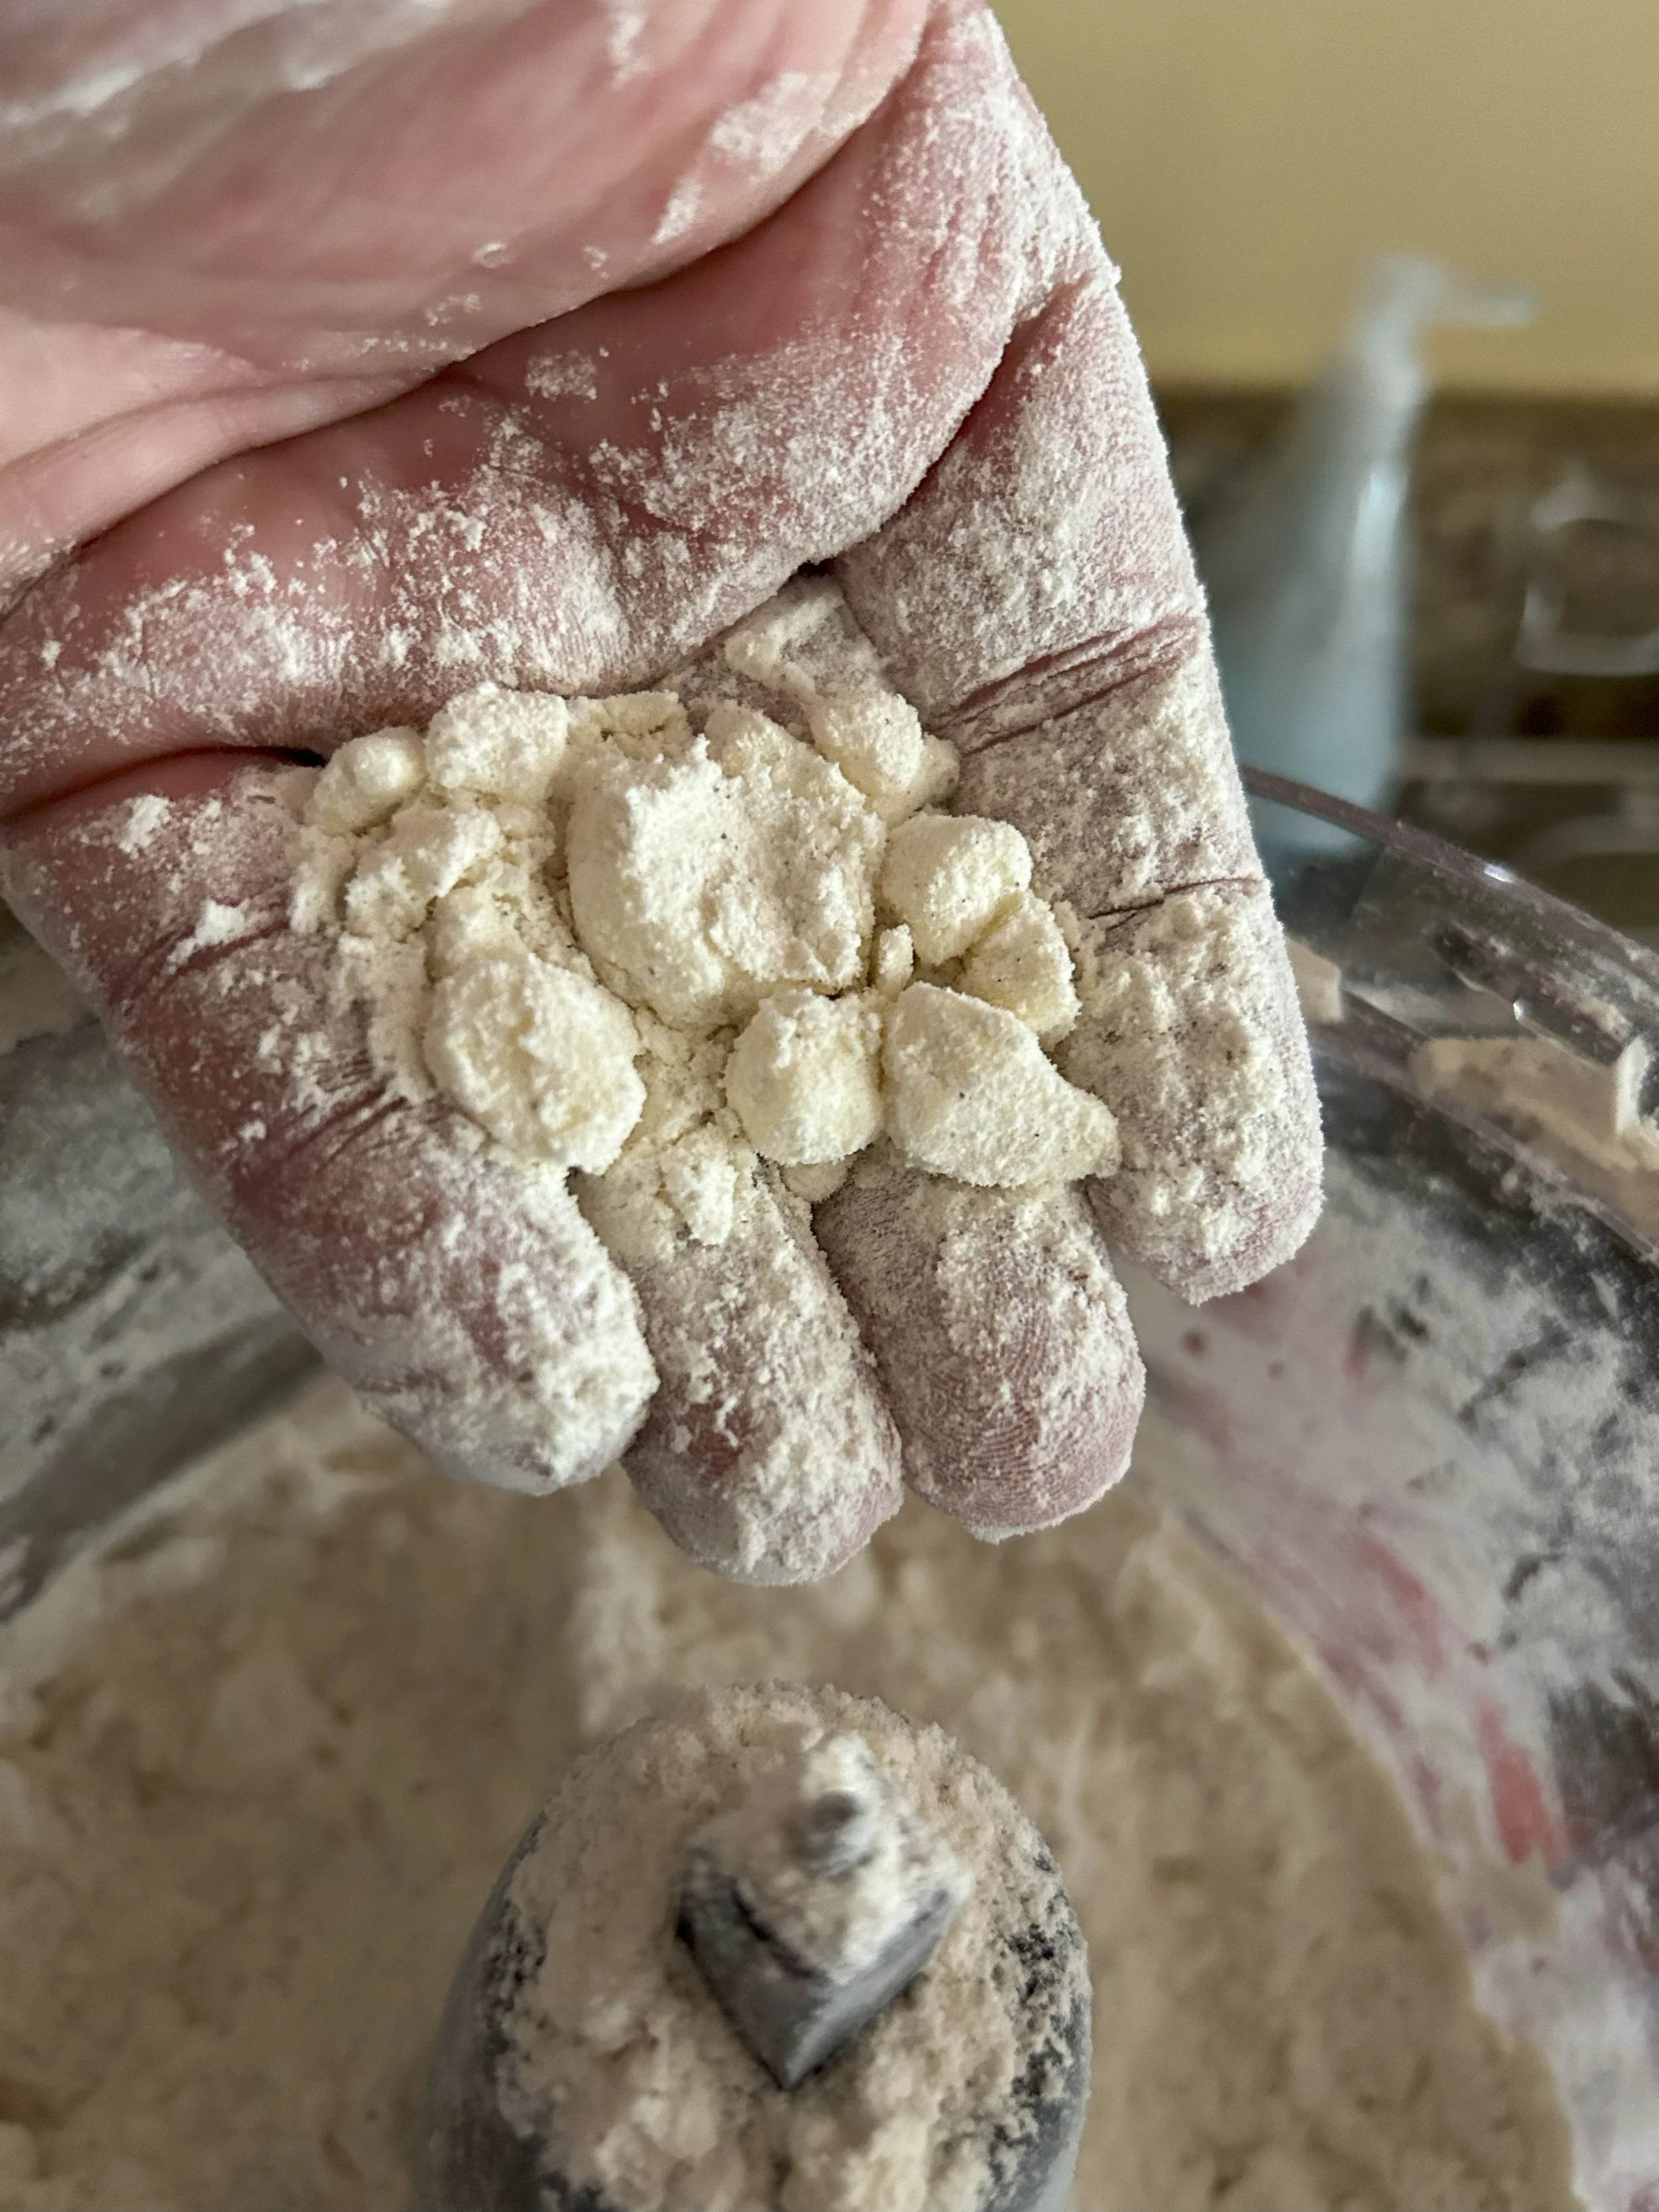
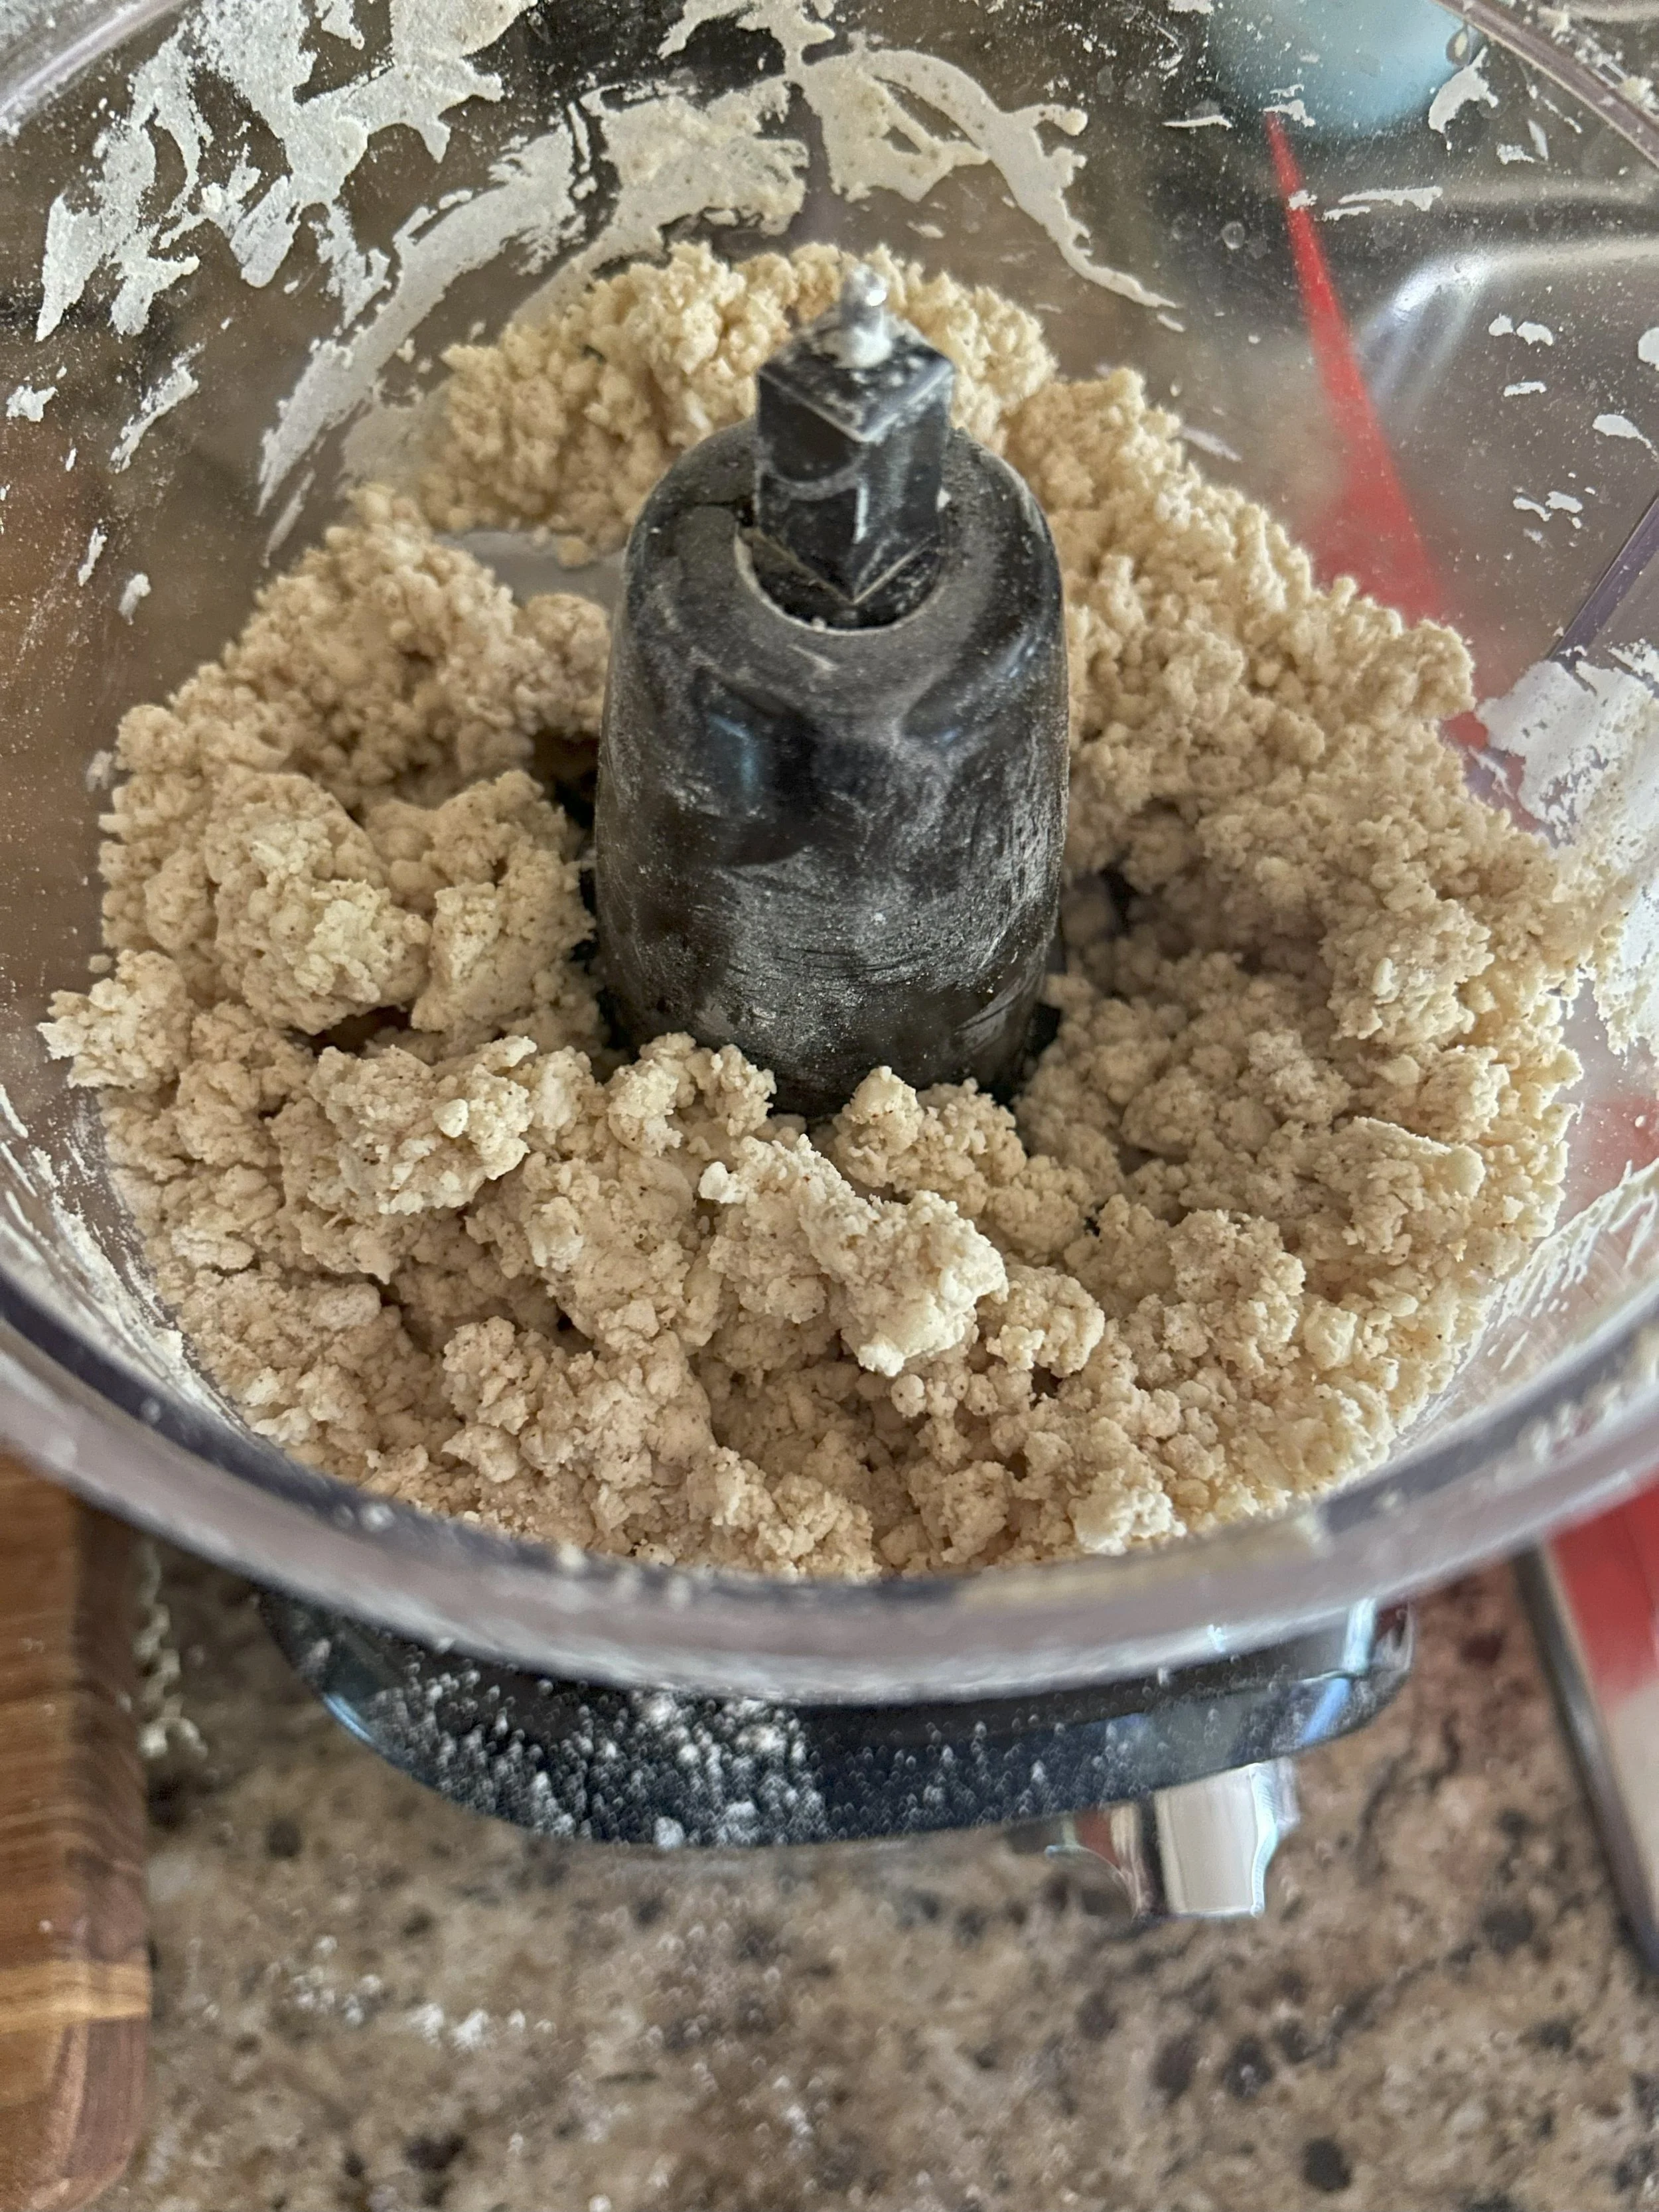
Add 2 tablespoons of the ice water and pulse until a loose dough forms. There should be enough moisture so that the dough comes together into a shaggy ball, but if the dough seems a bit dry then add more ice water. You should be able to pick up a piece of dough, squeeze it together, and it should hold its shape.
Dump the dough into a sheet of plastic wrap, then use the wrap to bring the dough together into a disc. Wrap the dough in plastic wrap, then let it sit in the fridge for at least an hour, overnight would be better.
Chilling a pie dough is also important as it firms up the fat in the butter, it allows the gluten strands to relax for a more tender crust, and it will allow the water to hydrate the starch molecules in the flour to make it easier to roll out later. You should also notice little chunks of butter studded throughout the dough, which is going to ensure the flakiness that you deserve.
(Yes, I see the brown specs in my dough. It’s instant espresso powder for a pumpkin spice latte pie that I made with this dough.)

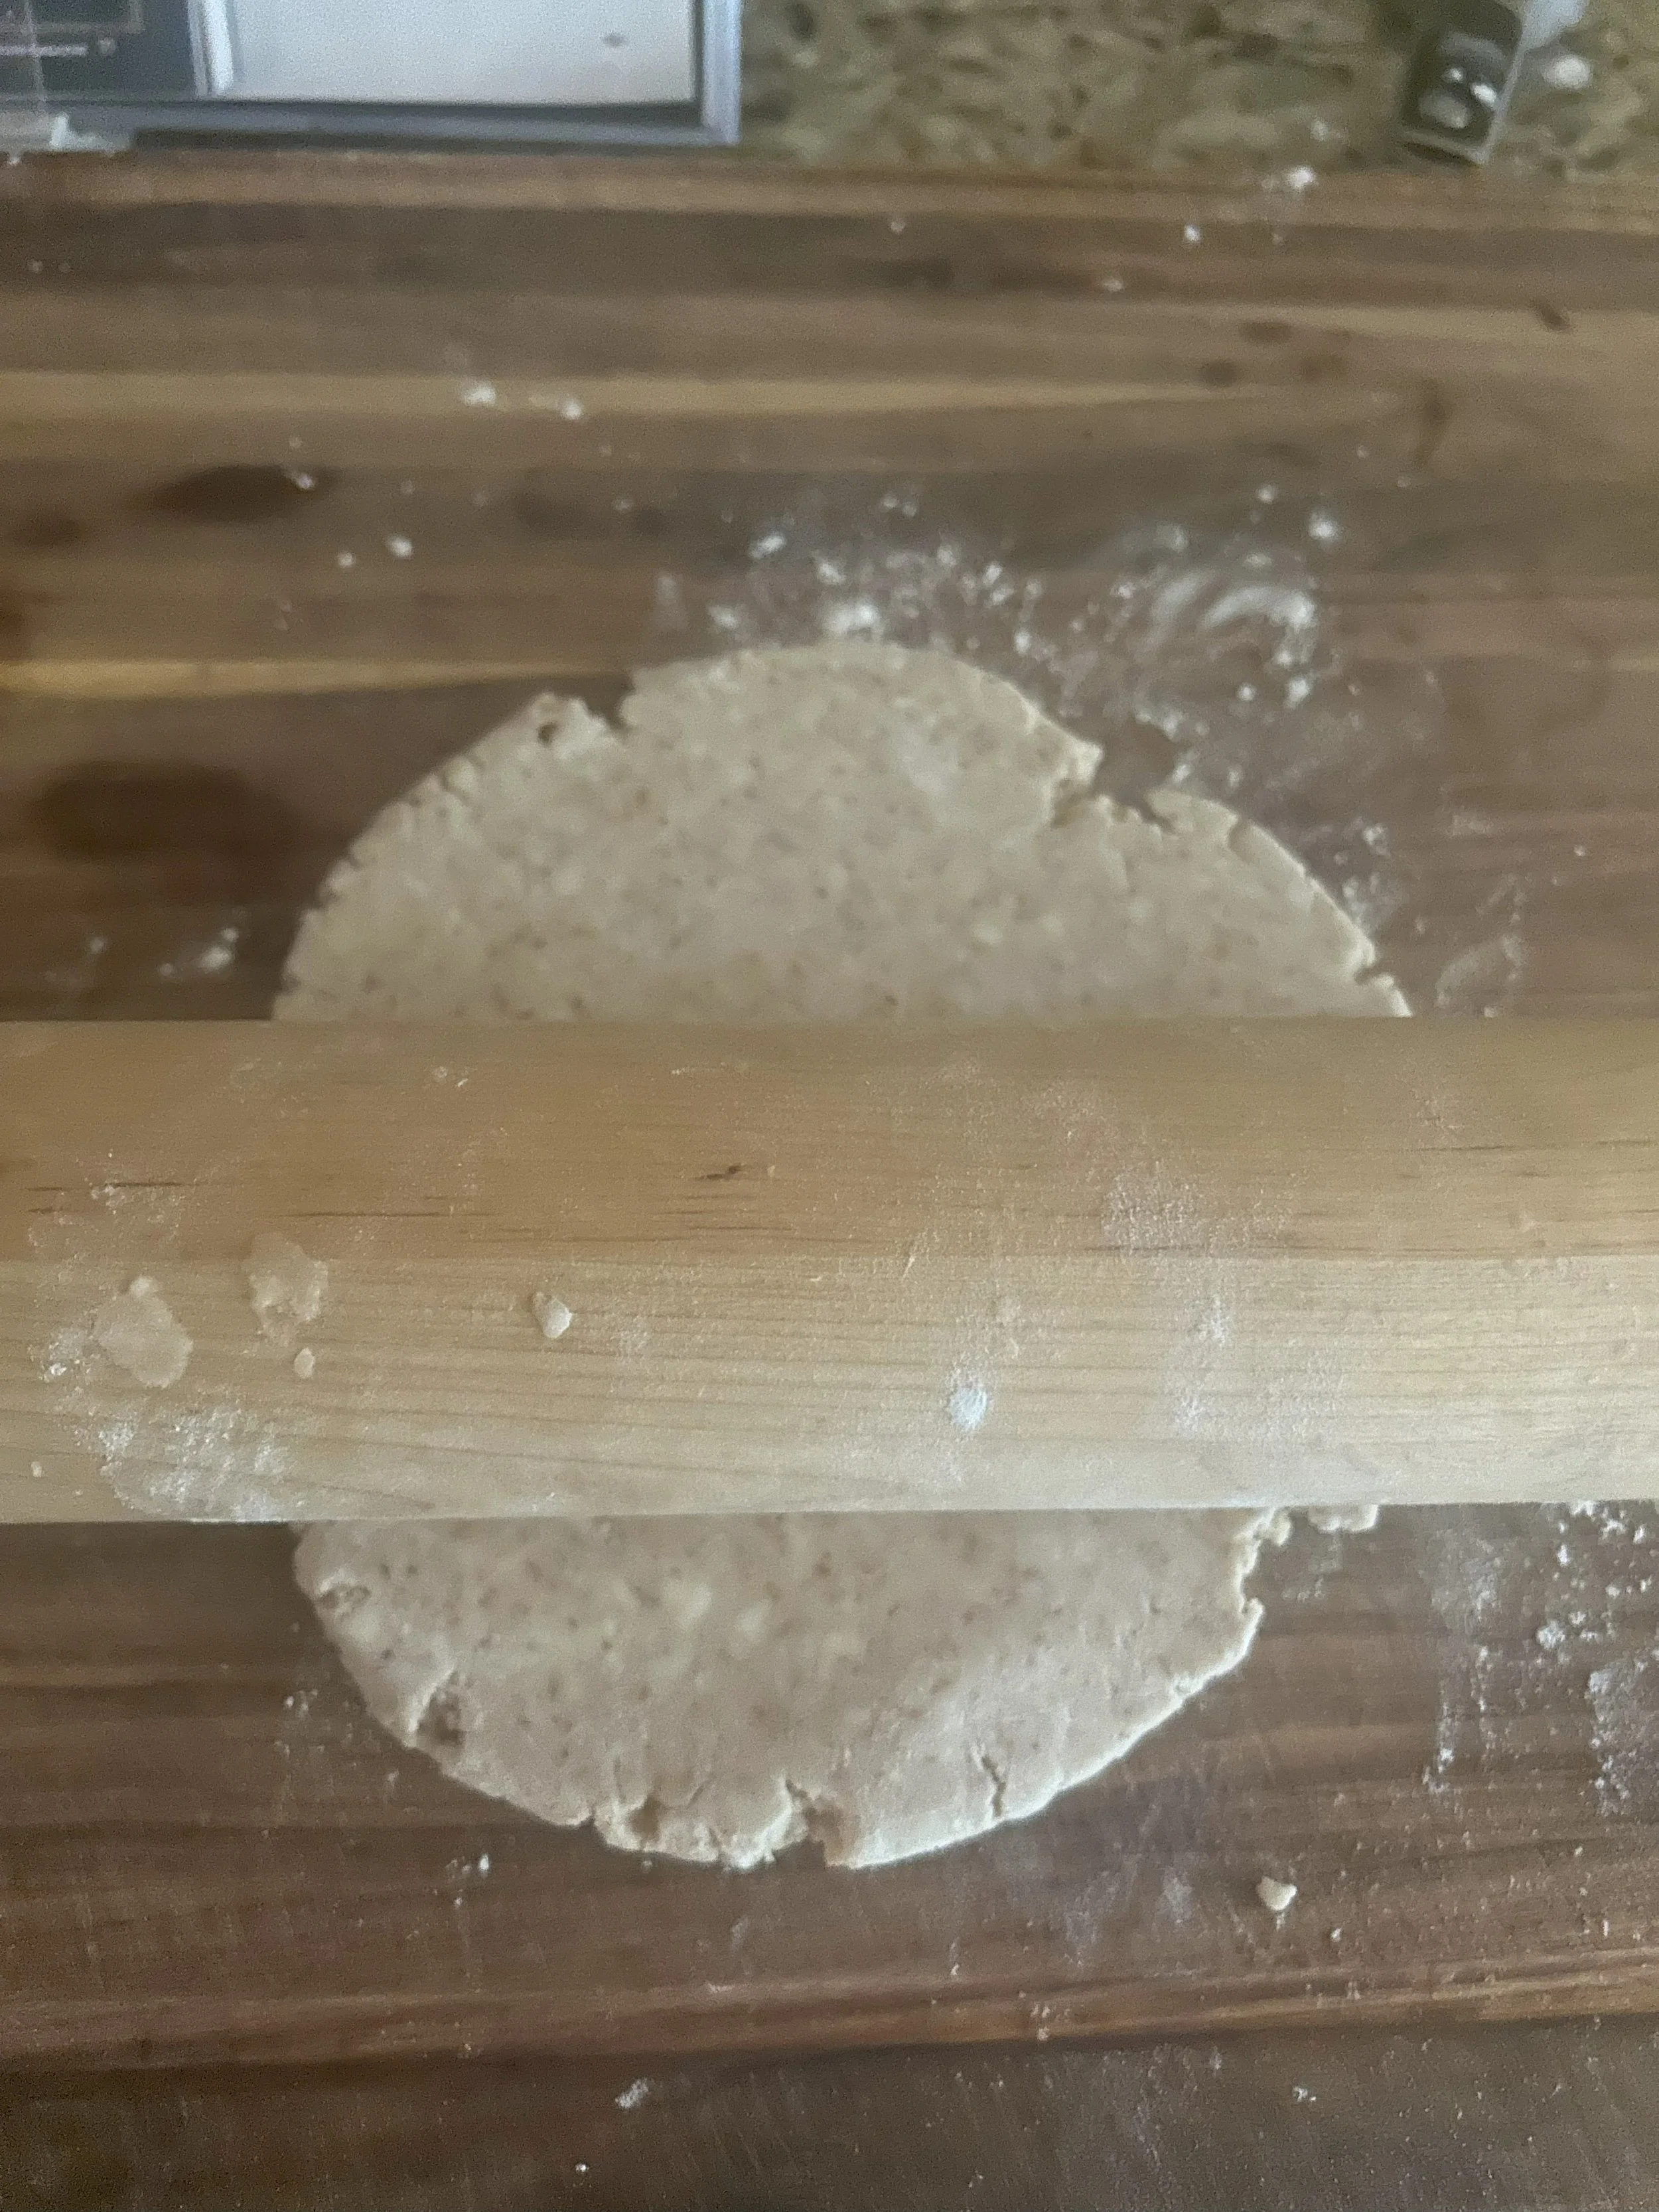
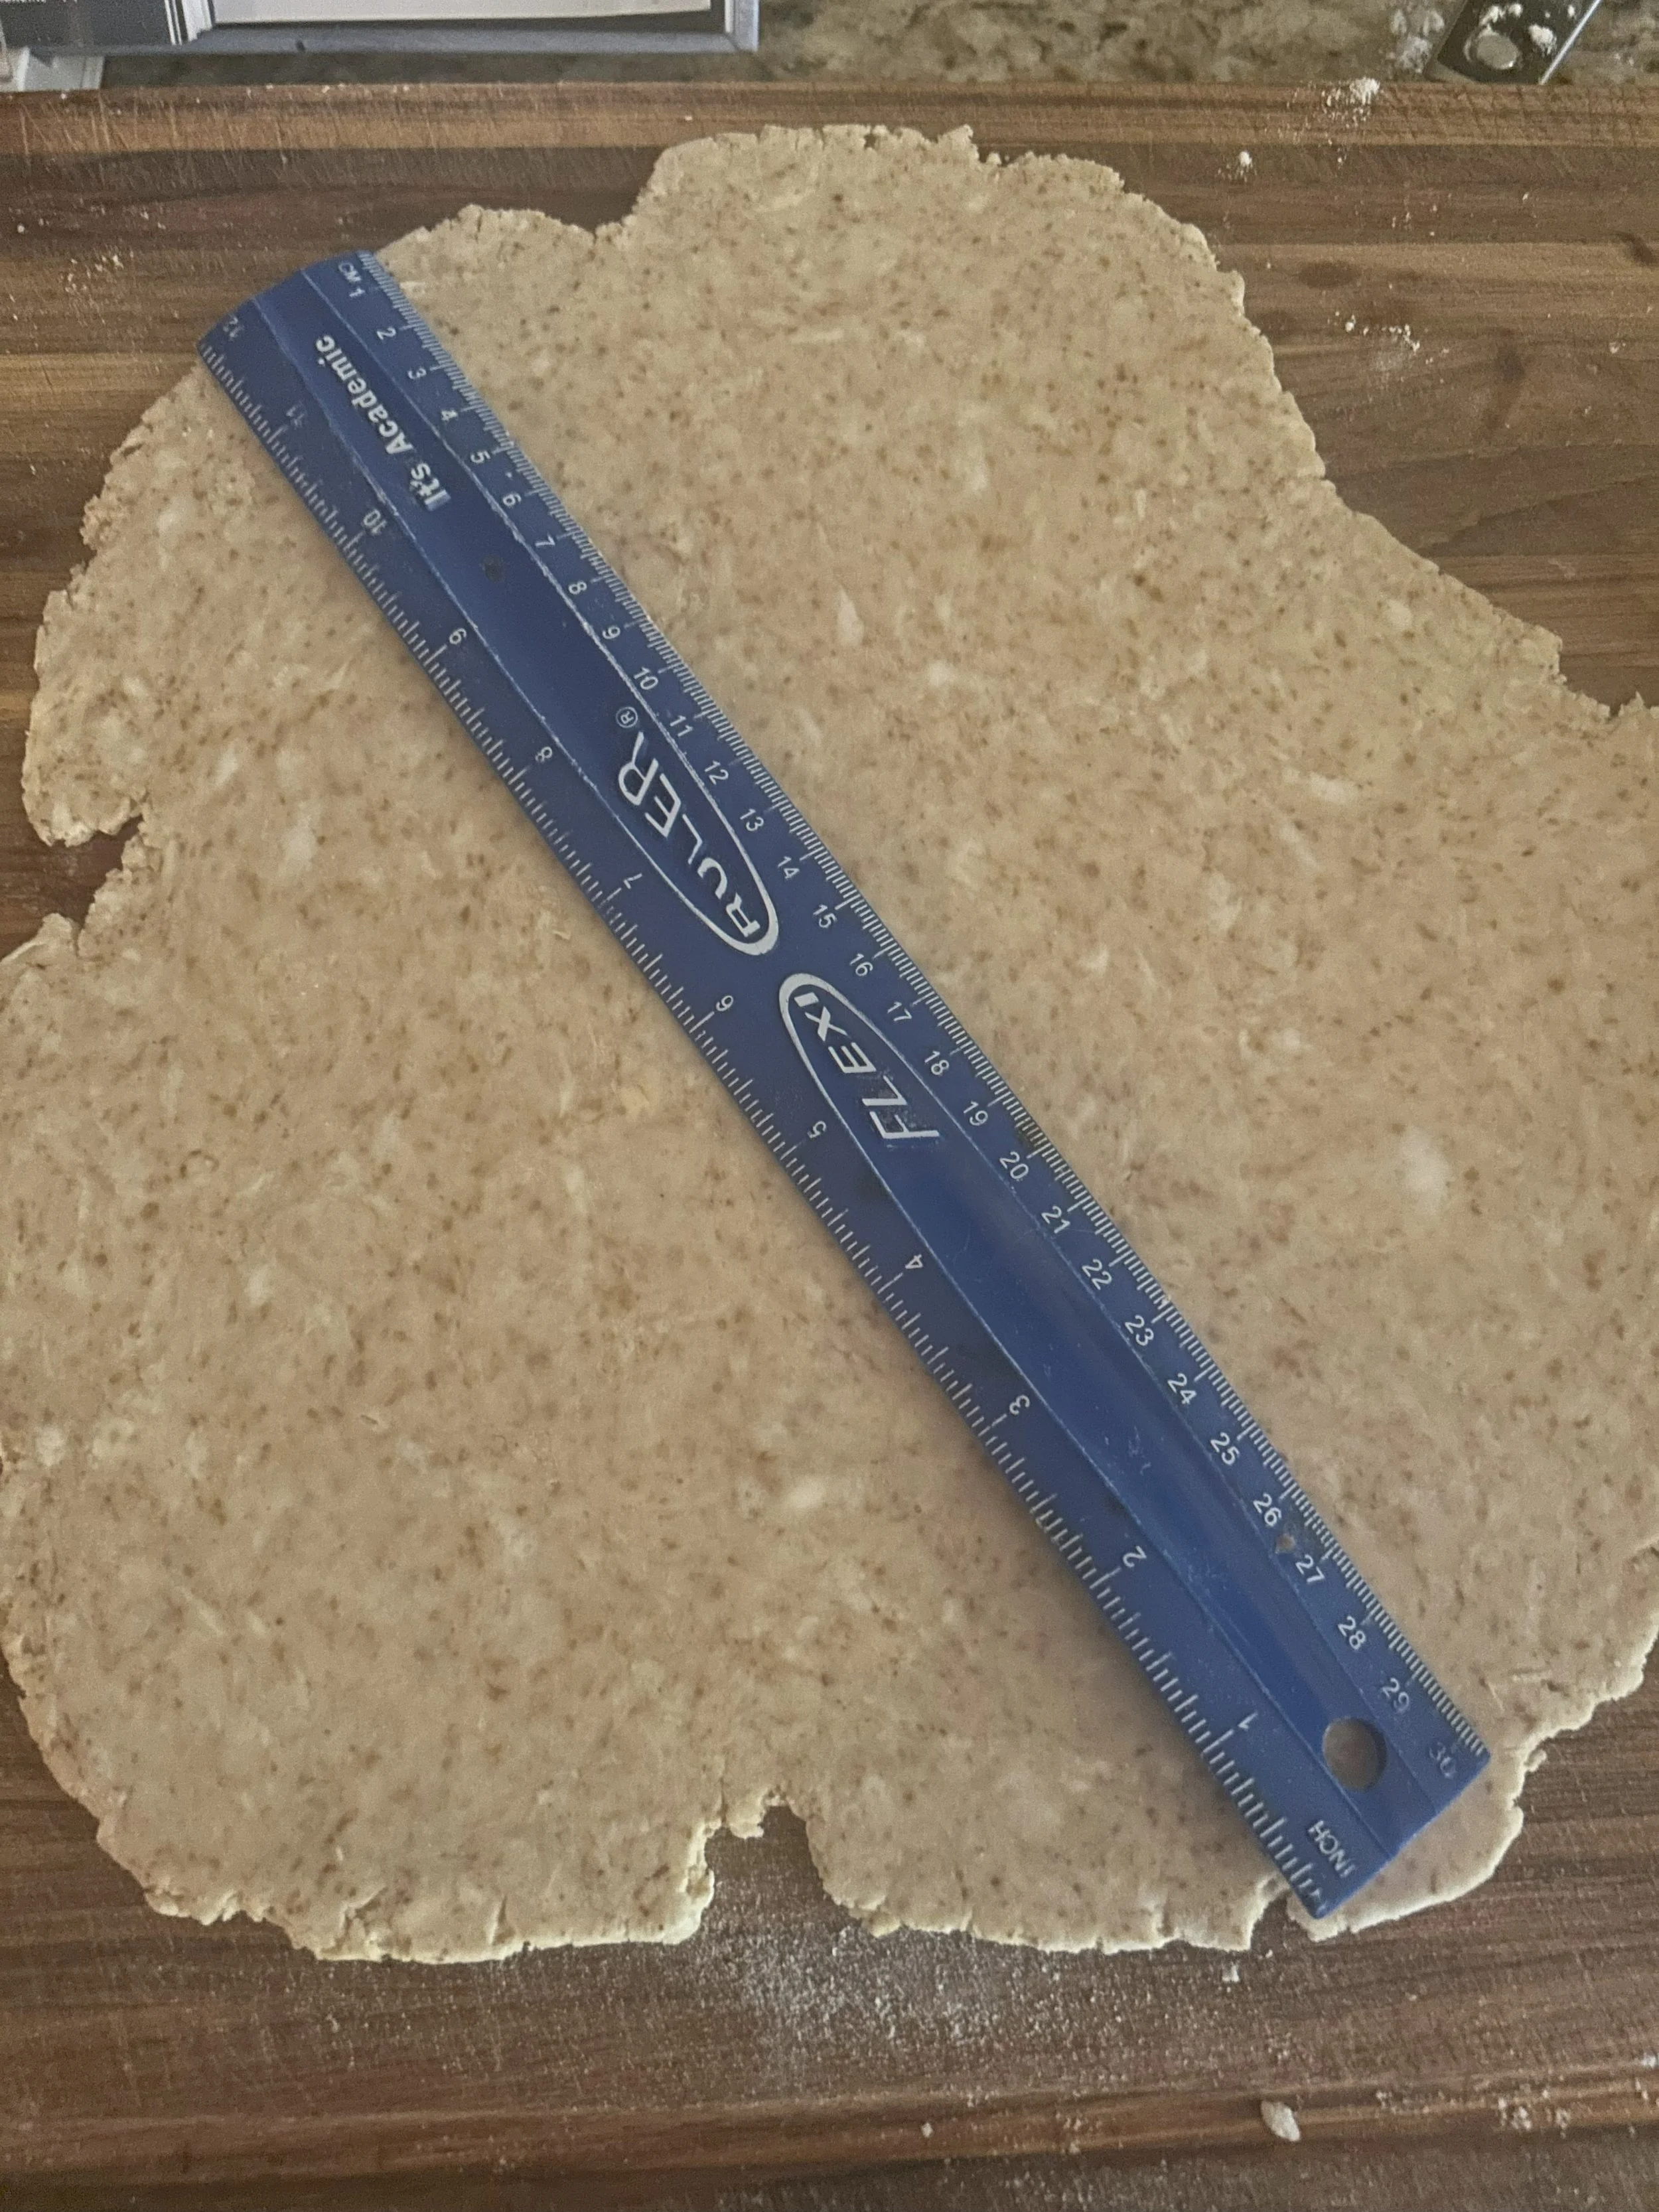
Once chilled, let the dough sit at room temperature for about 10 minutes to make it easier to roll. Then, set the dough onto a floured work surface and use a rolling pin to roll it into a 12-inch circle.
When rolling pie dough, it’s best to do so in a back and forth motion, turning the dough once in a while to ensure it gets rolled evenly. Again, the dough might get some cracks along the way, but don’t freak out, you can patch it up and keep rolling.
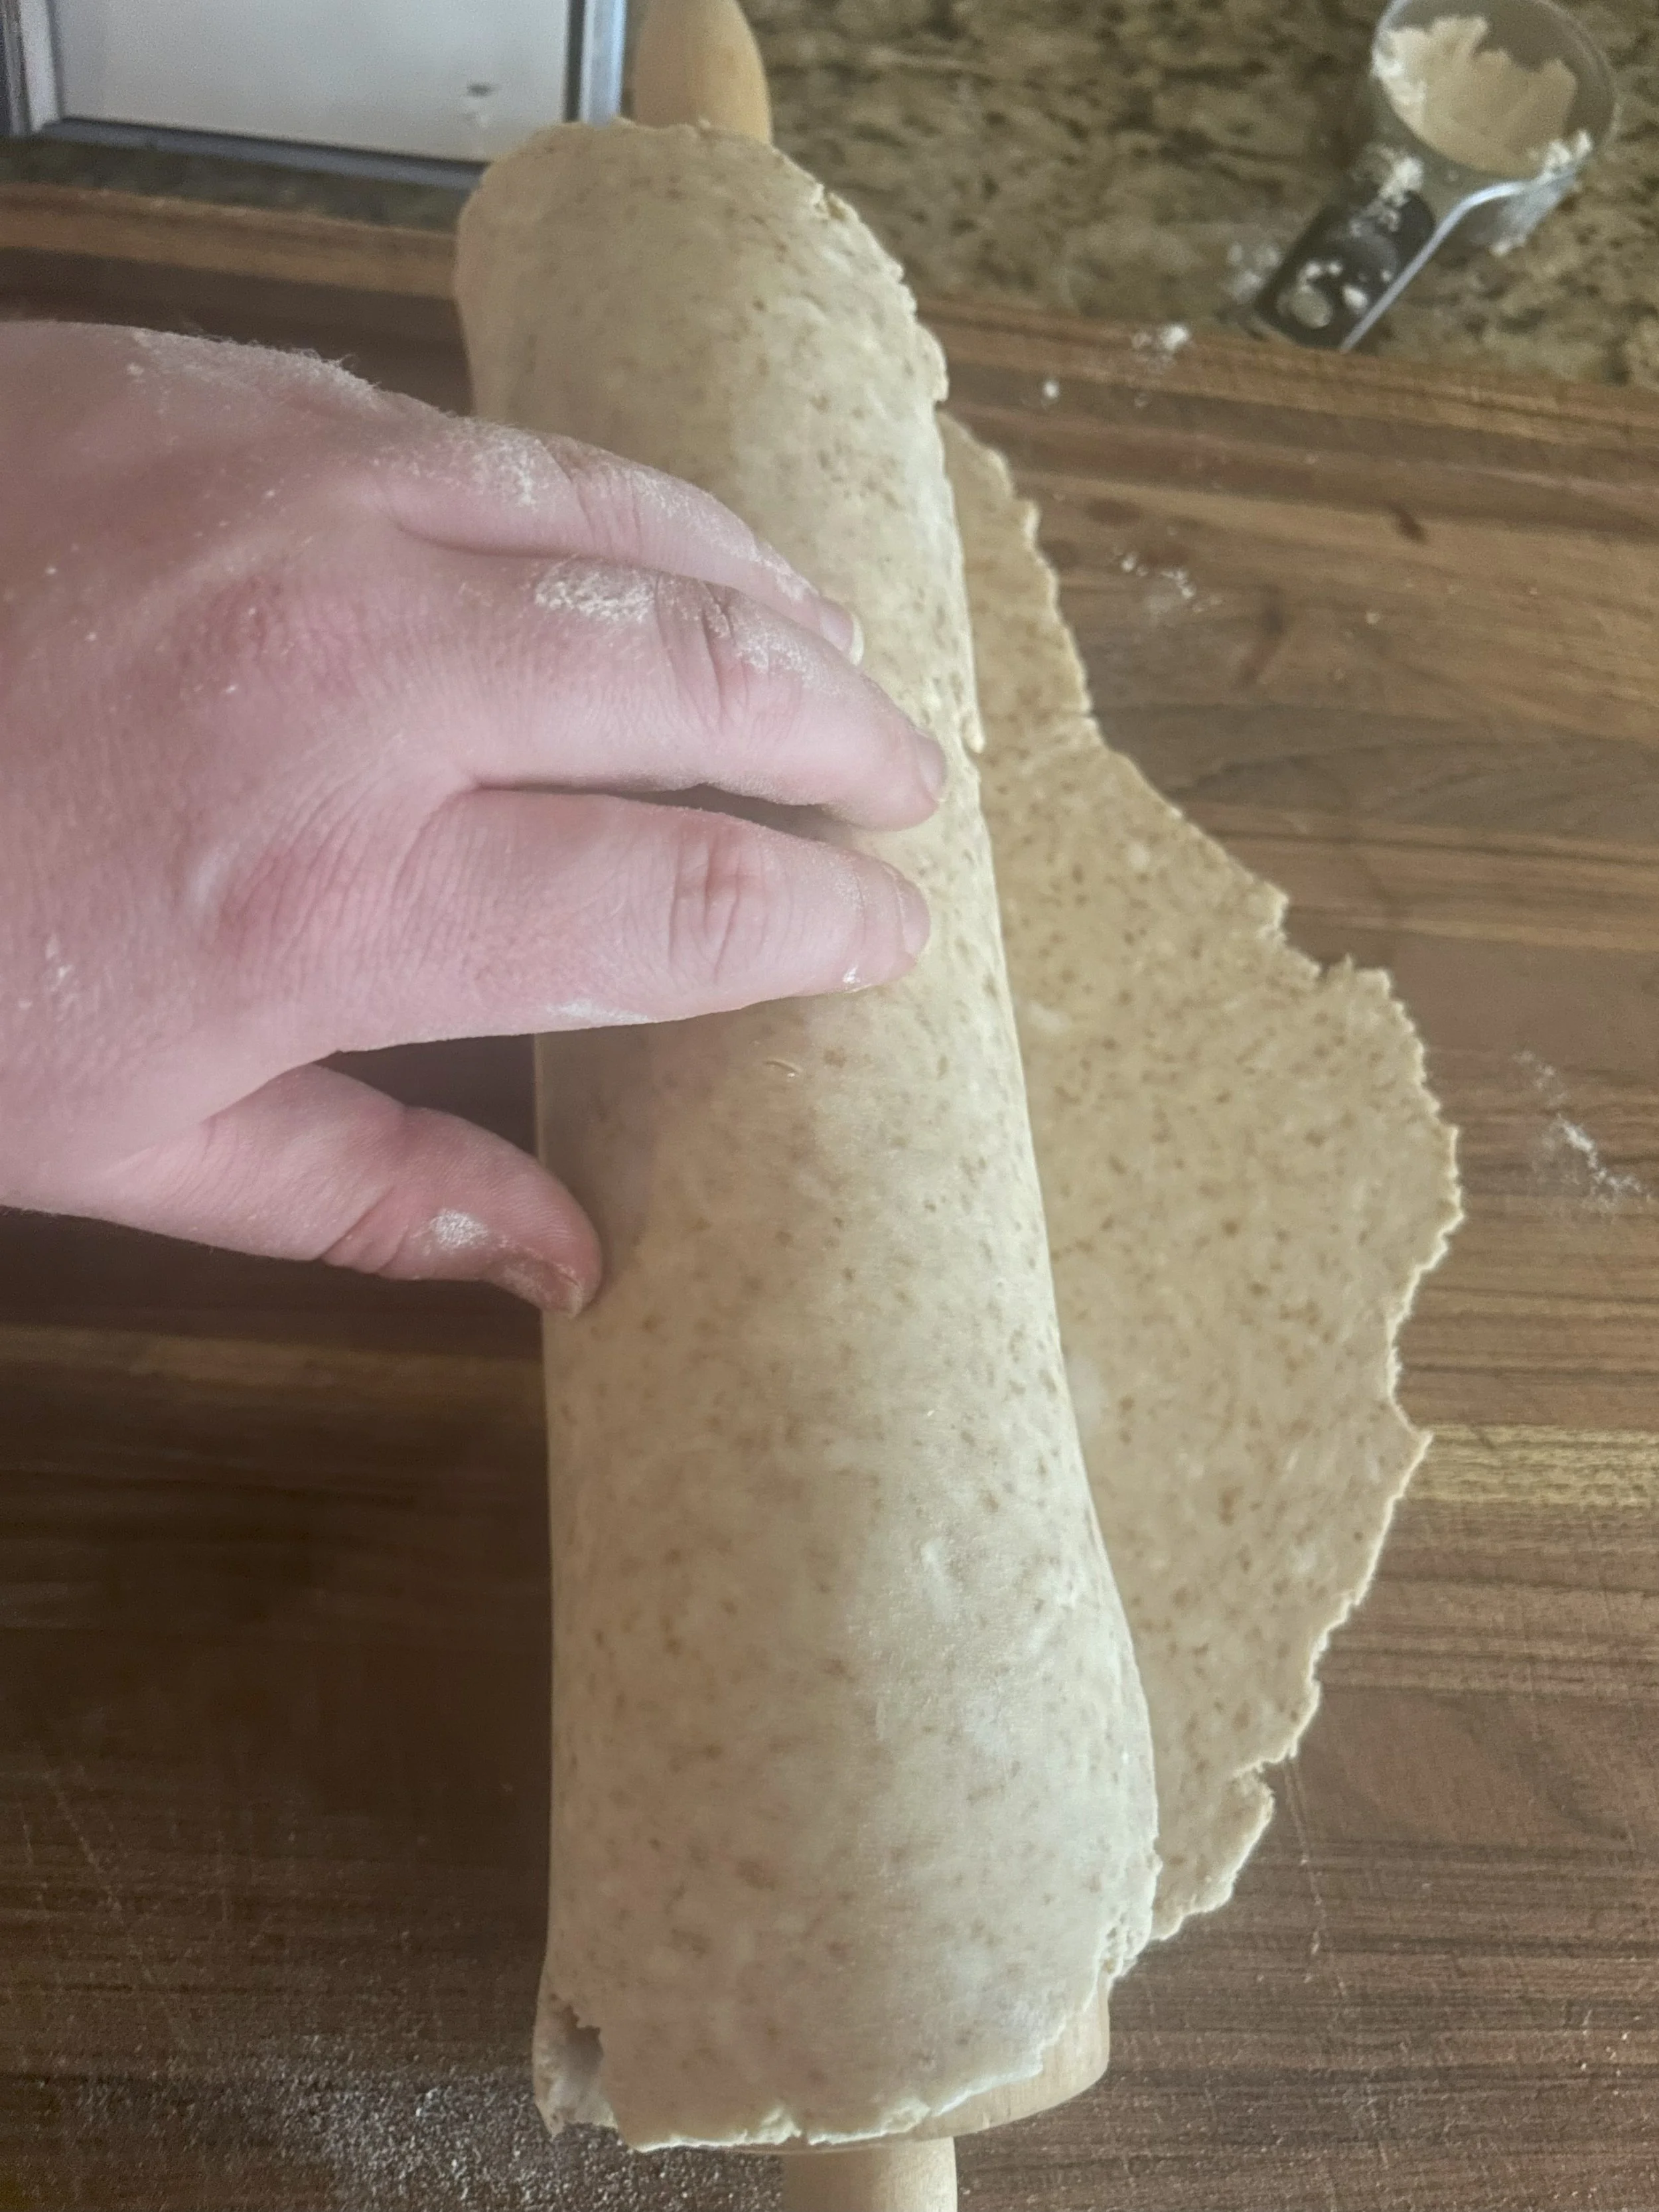
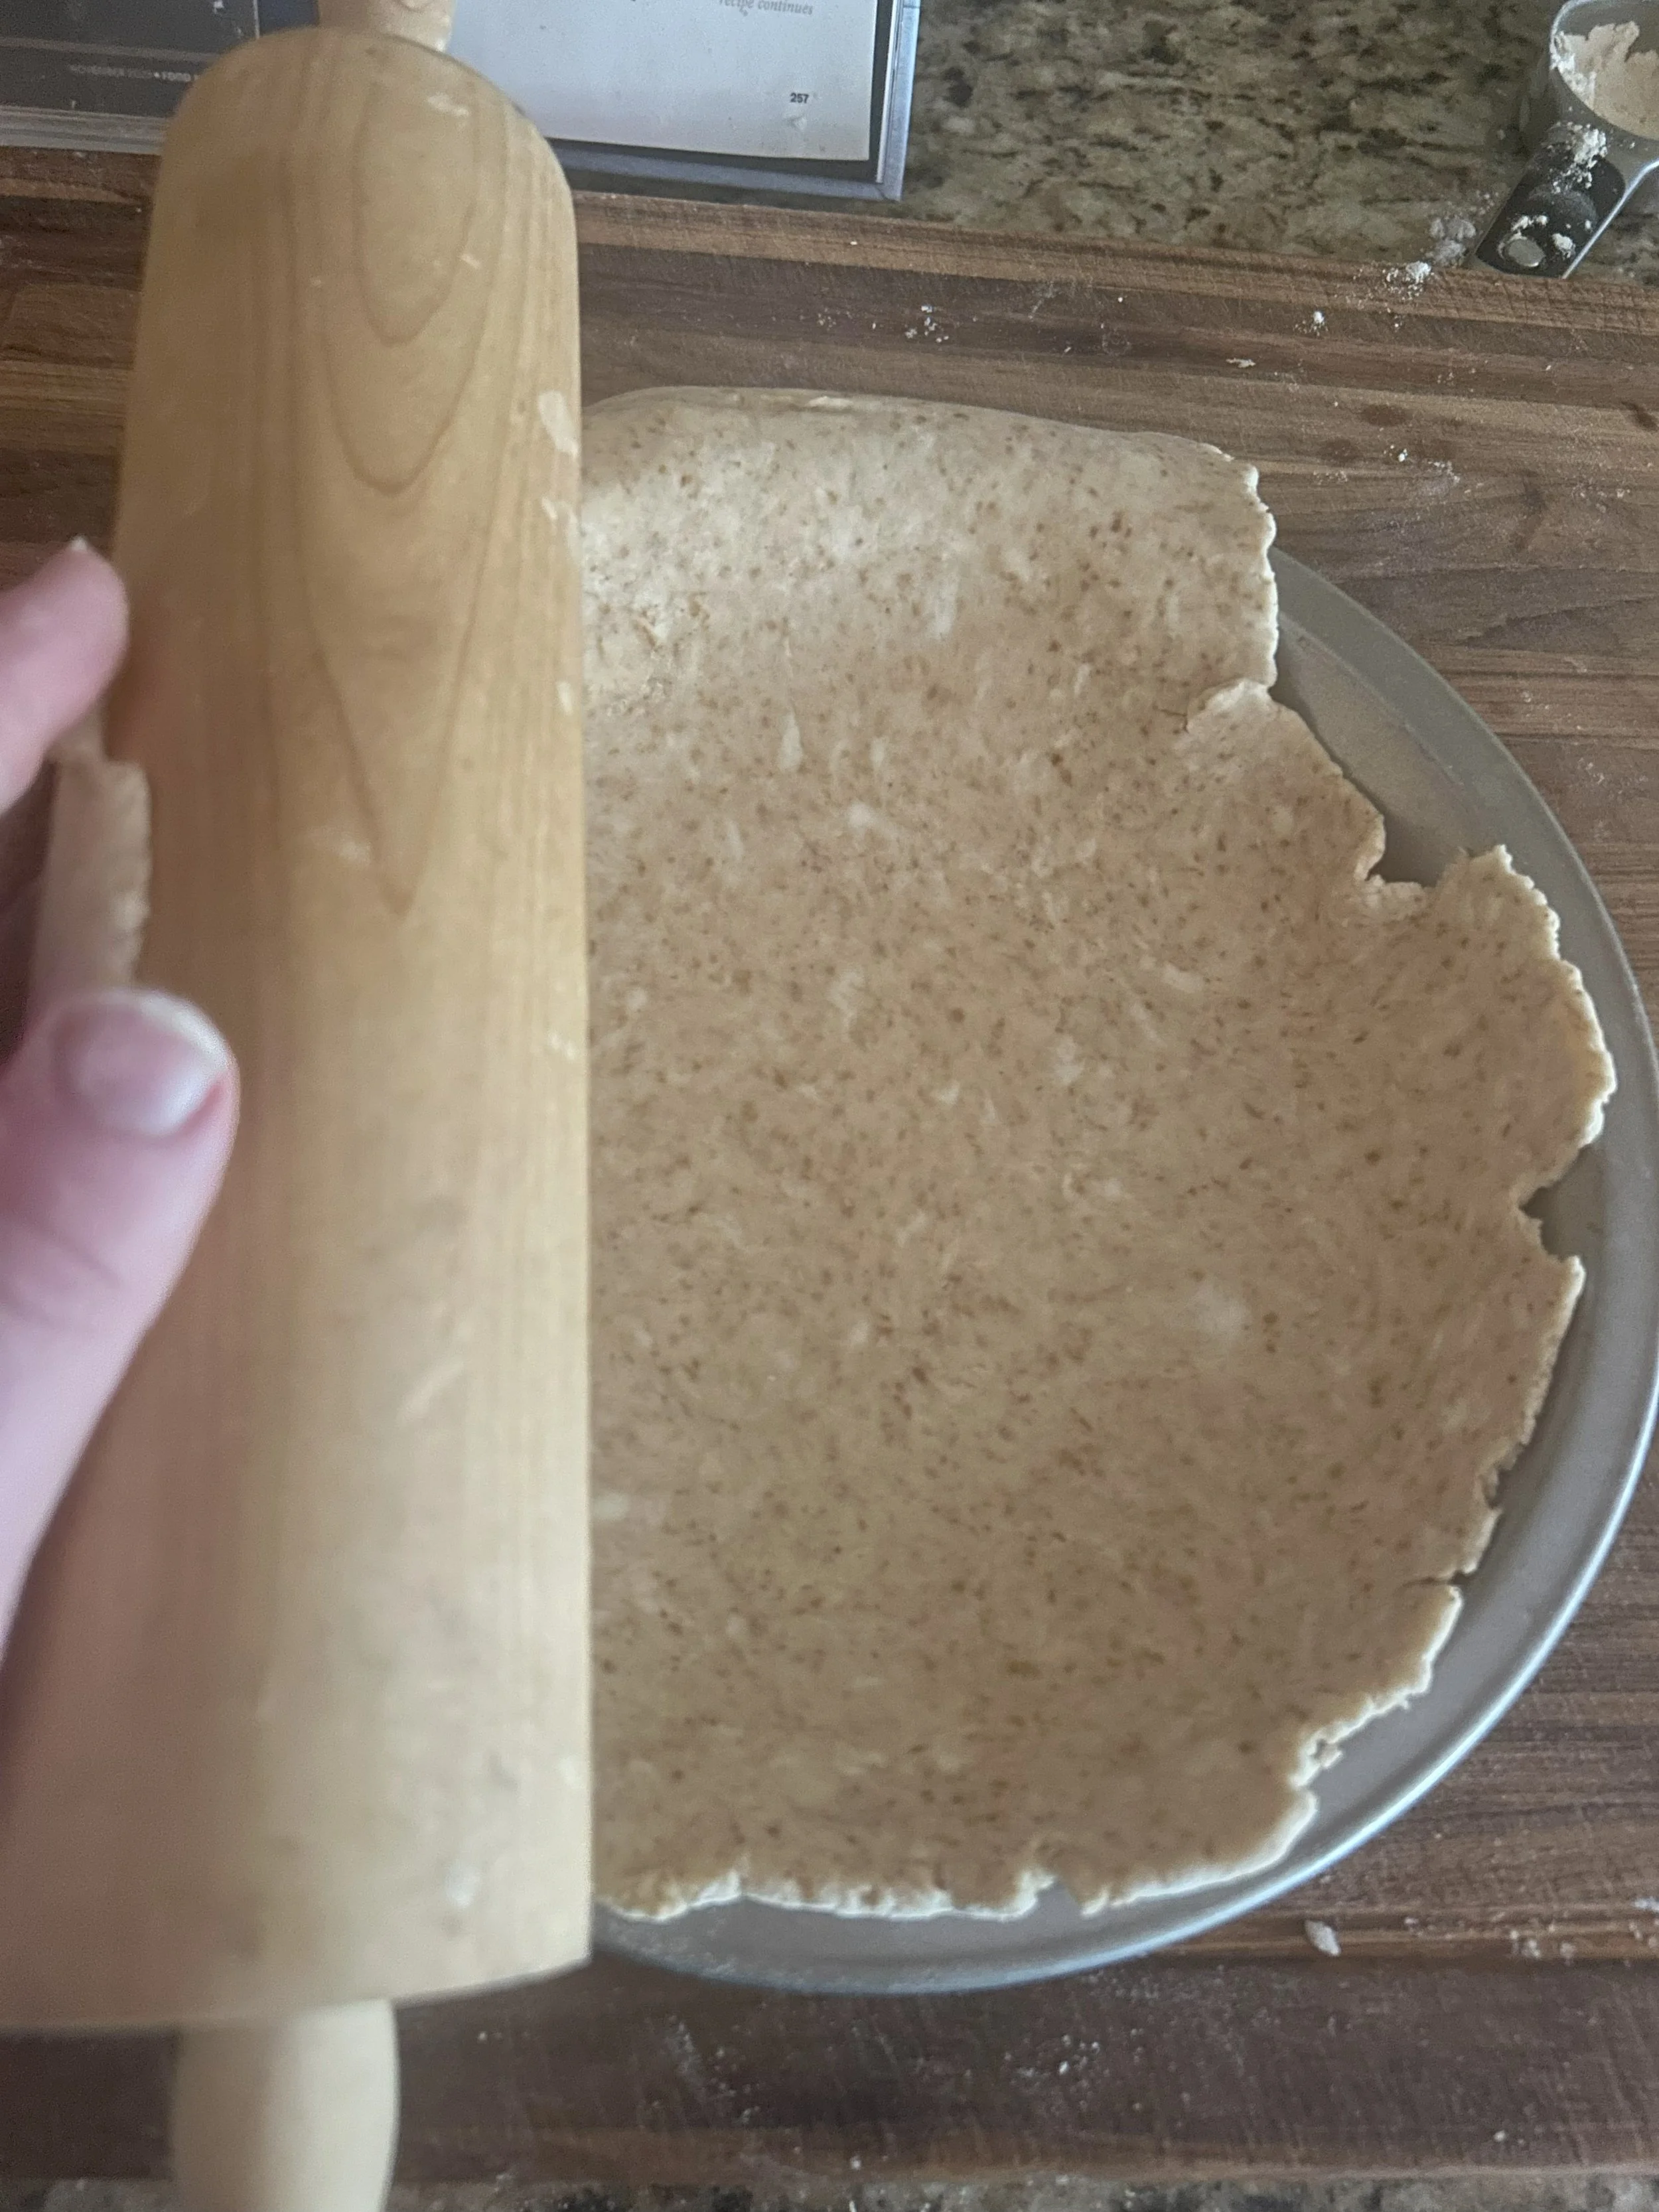
To transfer the dough to your pie pan, the trick is to lay the rolling pin onto one edge of the dough, pick up the dough, and roll it onto the pin, then simply move the pin over to the edge of the pan and roll to lay the dough inside.
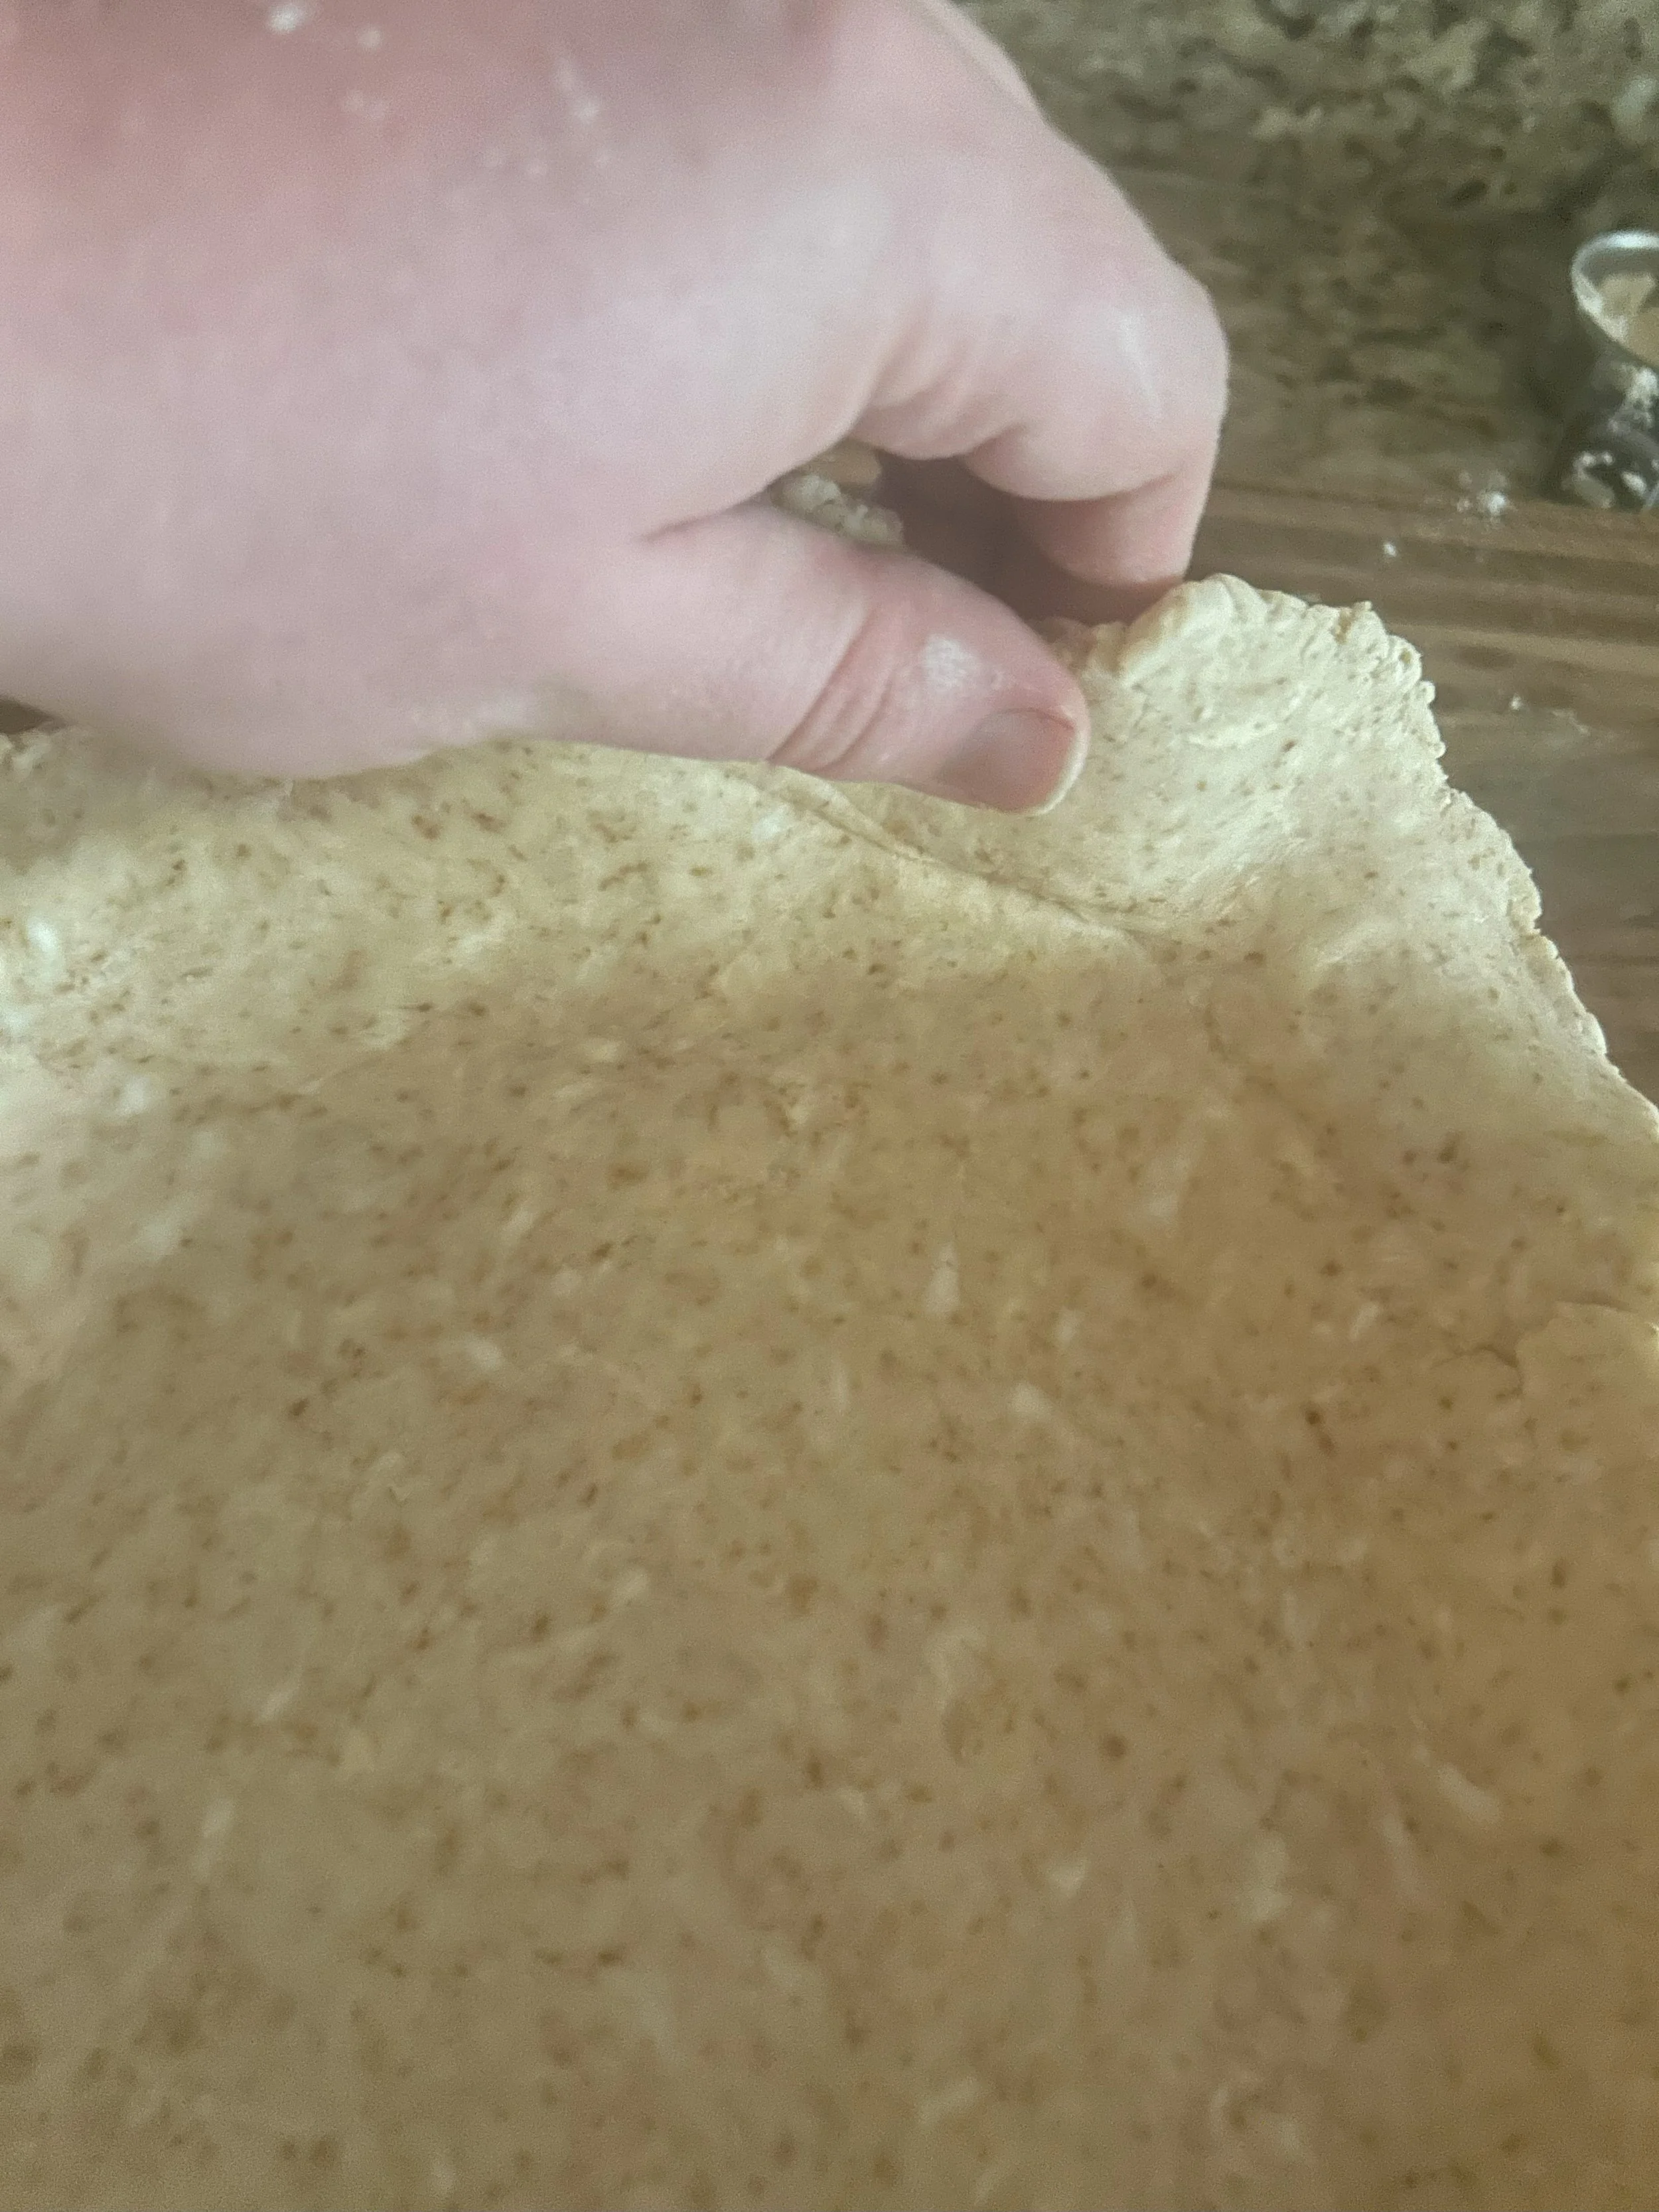
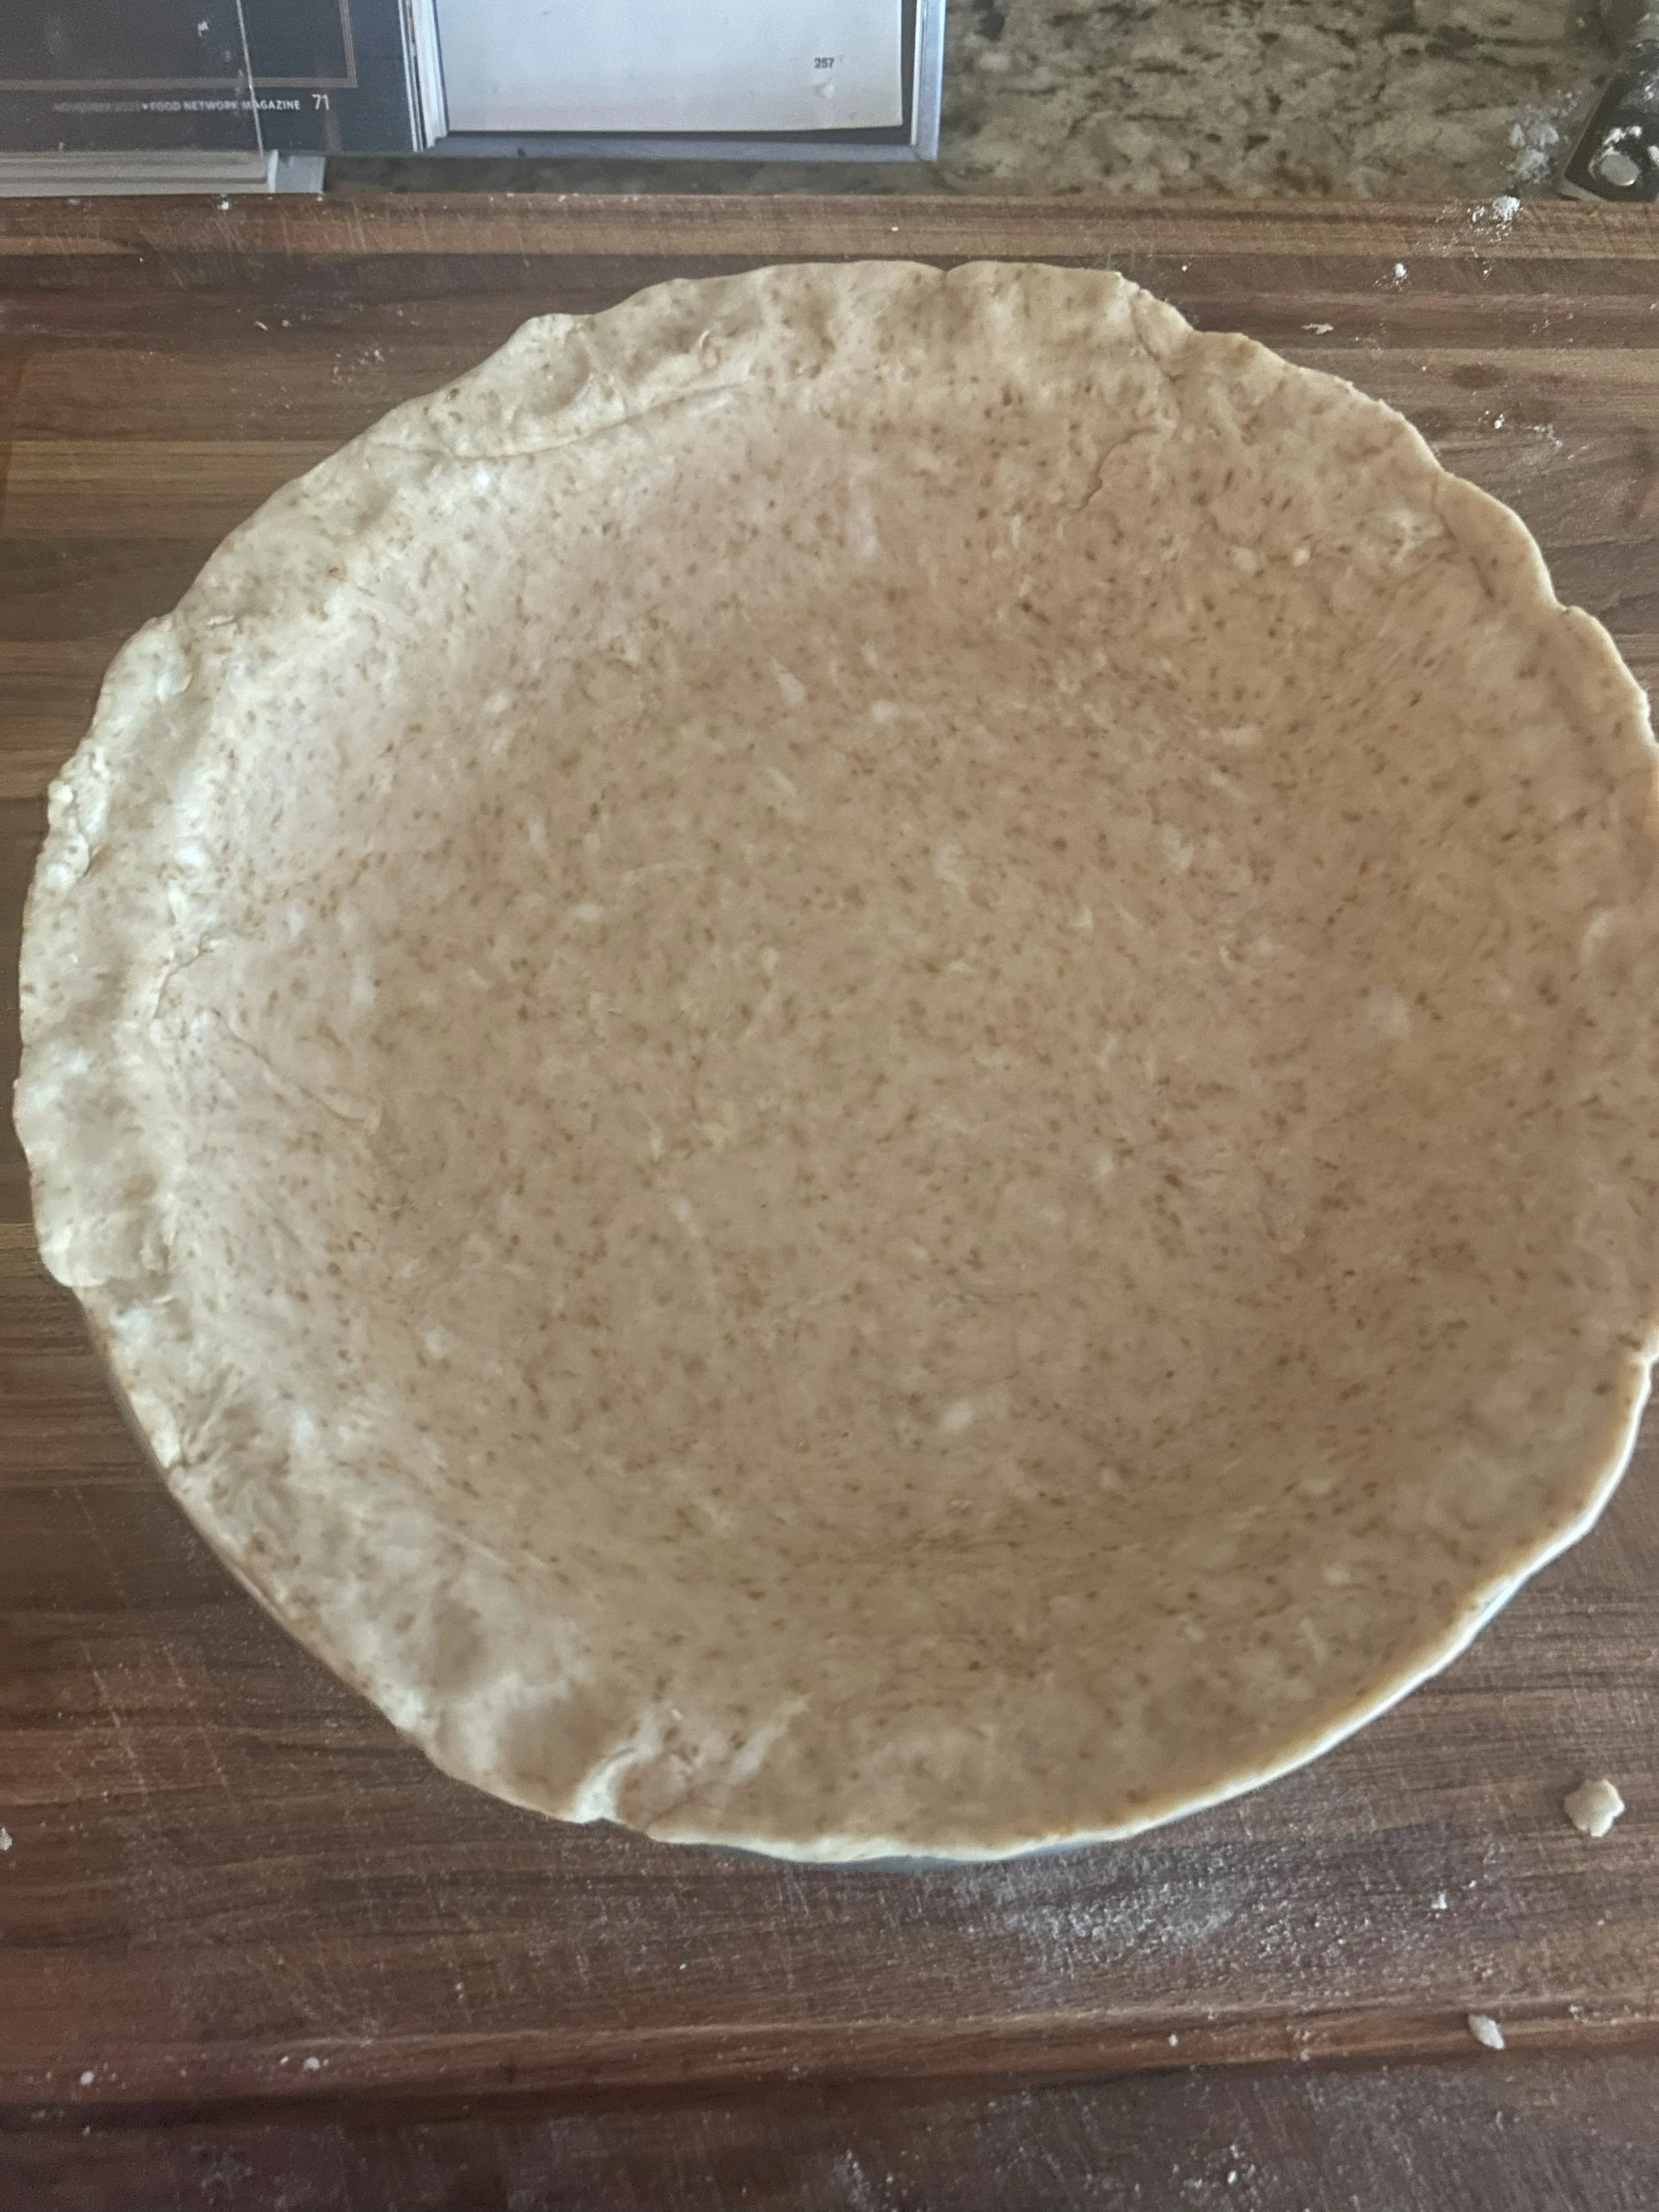
Once in the pan, lift the edges of the dough a bit to ensure that the bottom is completely covered in dough, you want the dough to come up the sides of the pan with a bit of overhang to ensure the dough doesn’t slide down the sides of the pan as it bakes. Now is also a good time to patch up any bits of dough that might have cracked or don’t come all the way up the sides of the pan, just tear off some dough that might be overhanging and press that into the sides.
Use two fingers on each hand to pinch the dough on the edge and create a small mound on top. At this point, you could do a cute fluted design by pressing one finger into two, but that’s optional.
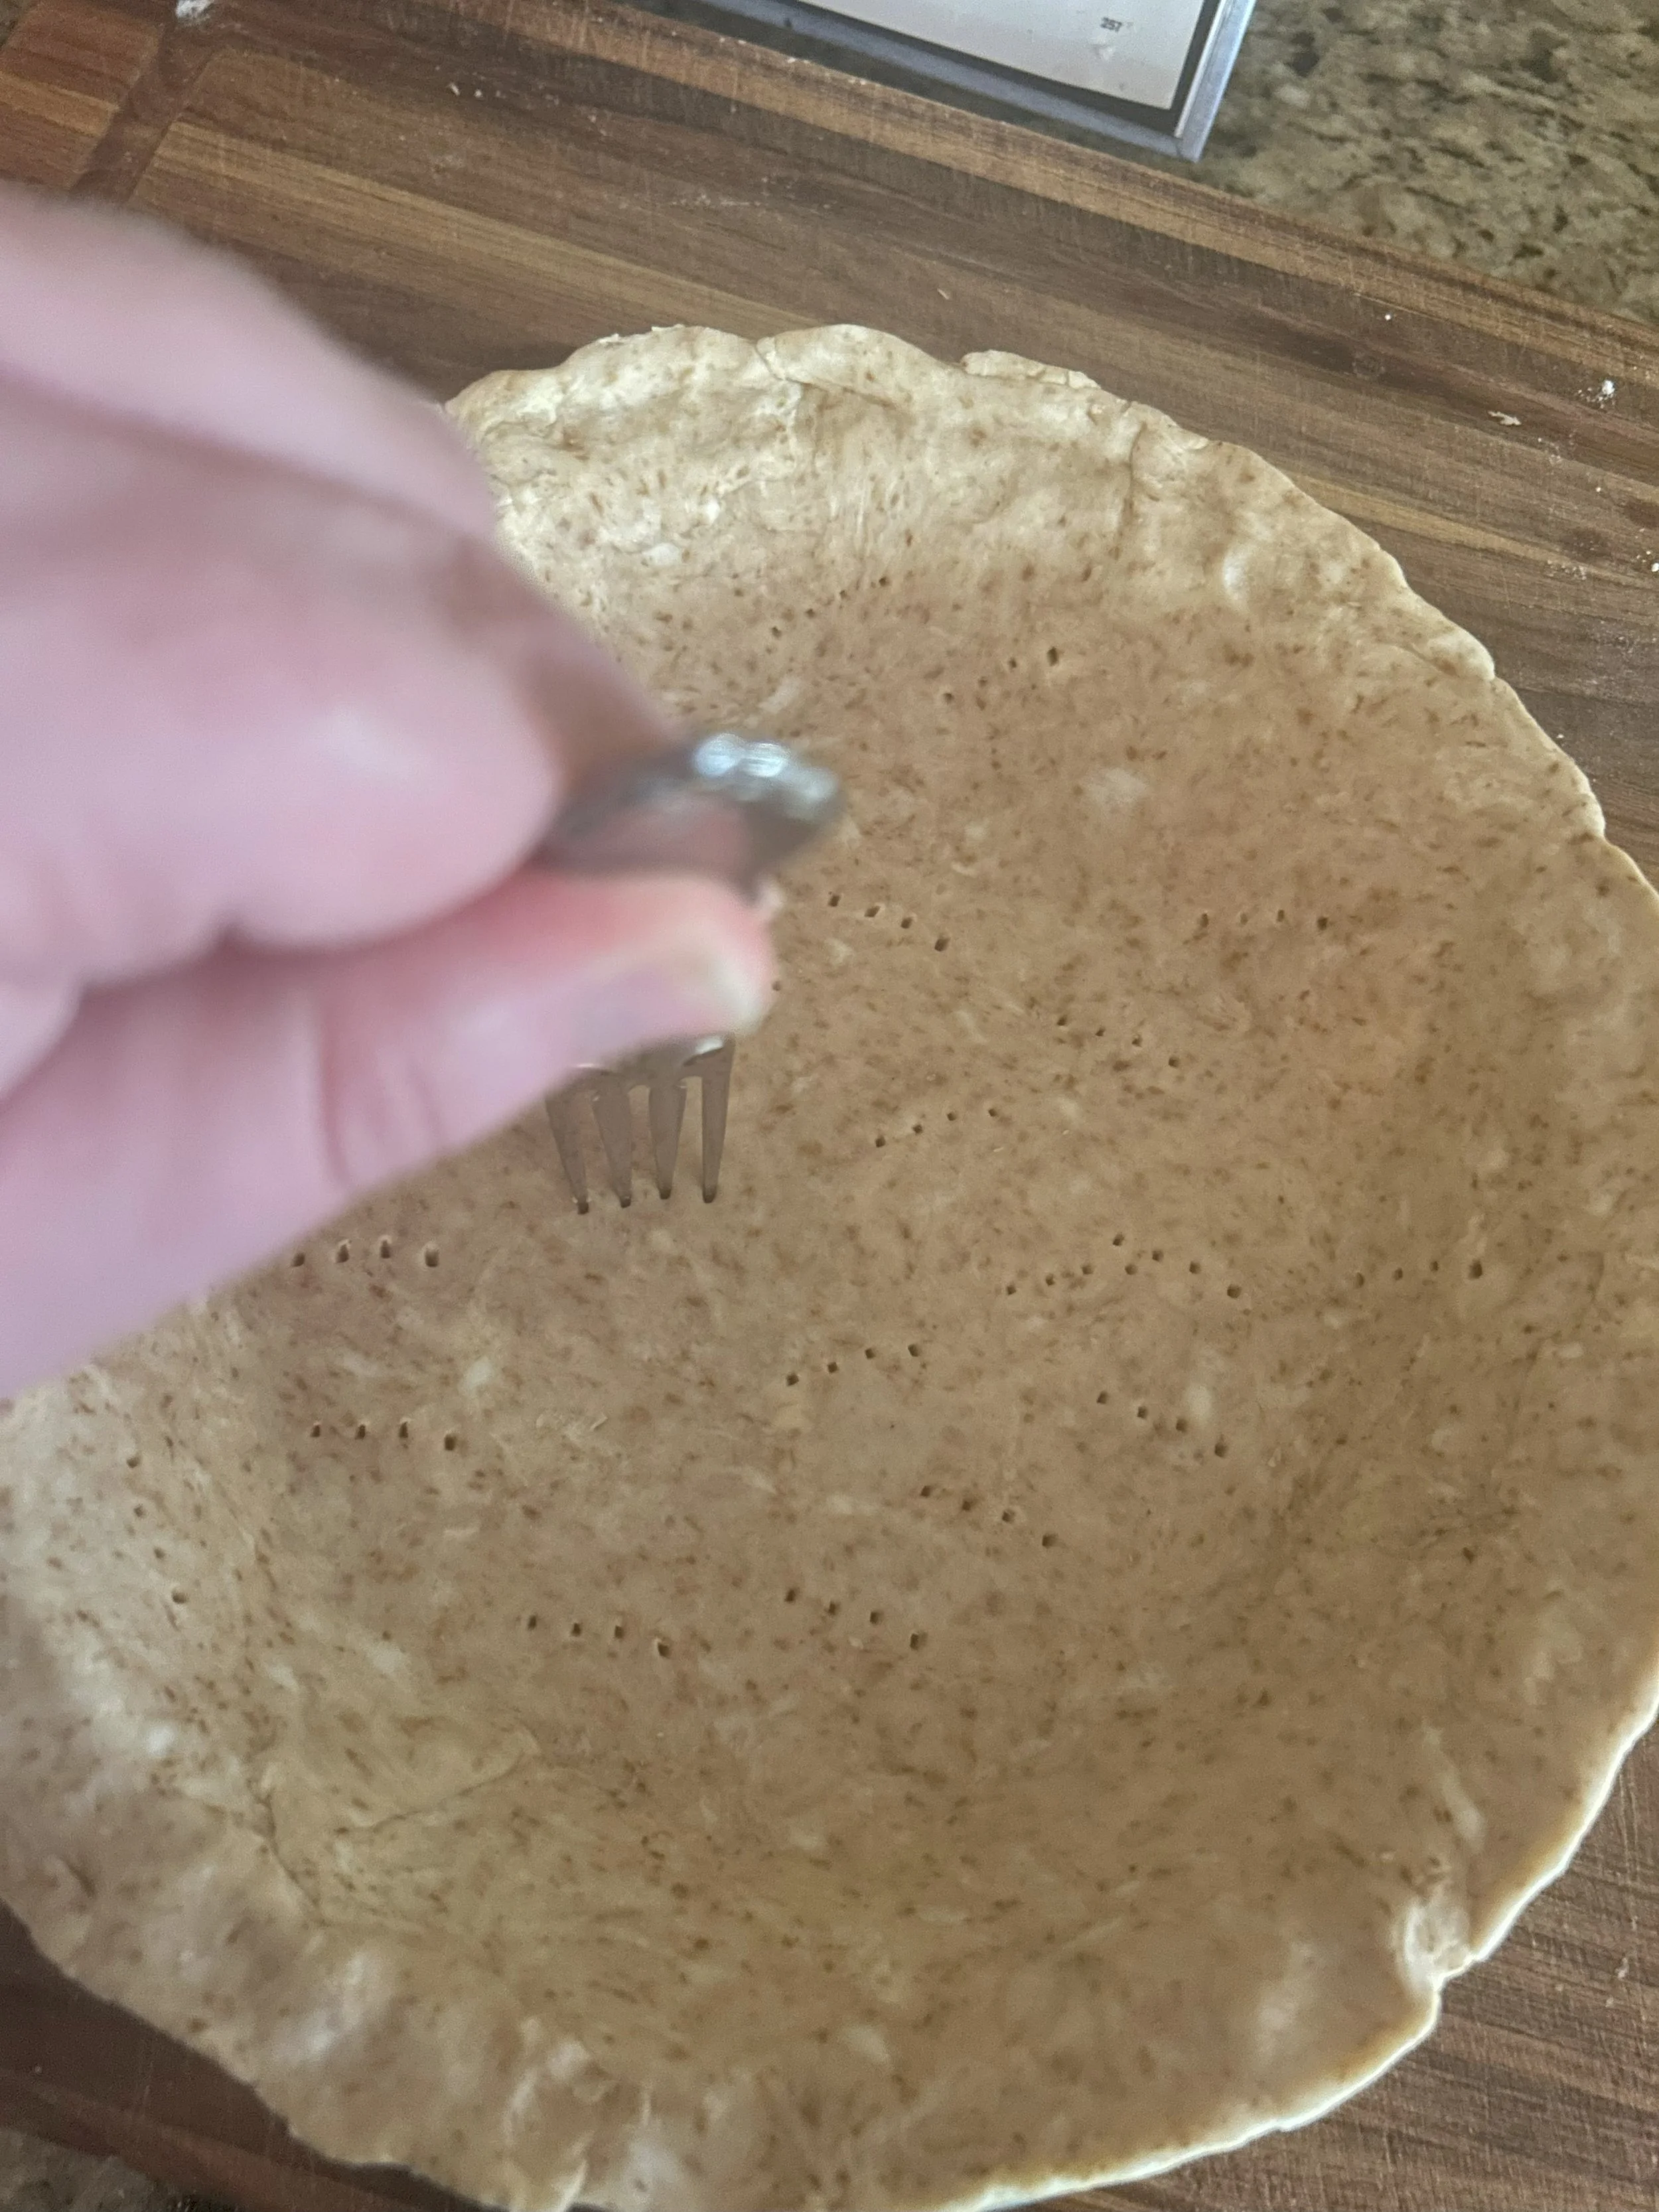
You’ll then want to prick the dough all over with a fork, this is called docking and it will help keep the dough nice and flat as it bakes. It’s easier to do this while the dough is still soft.
You will want to chill the dough for another hour before baking, again to re-solidify the fat in the butter, you can use this time to heat up the oven.
(If you’re short on time, then you can also freeze the dough for about 10 minutes.)
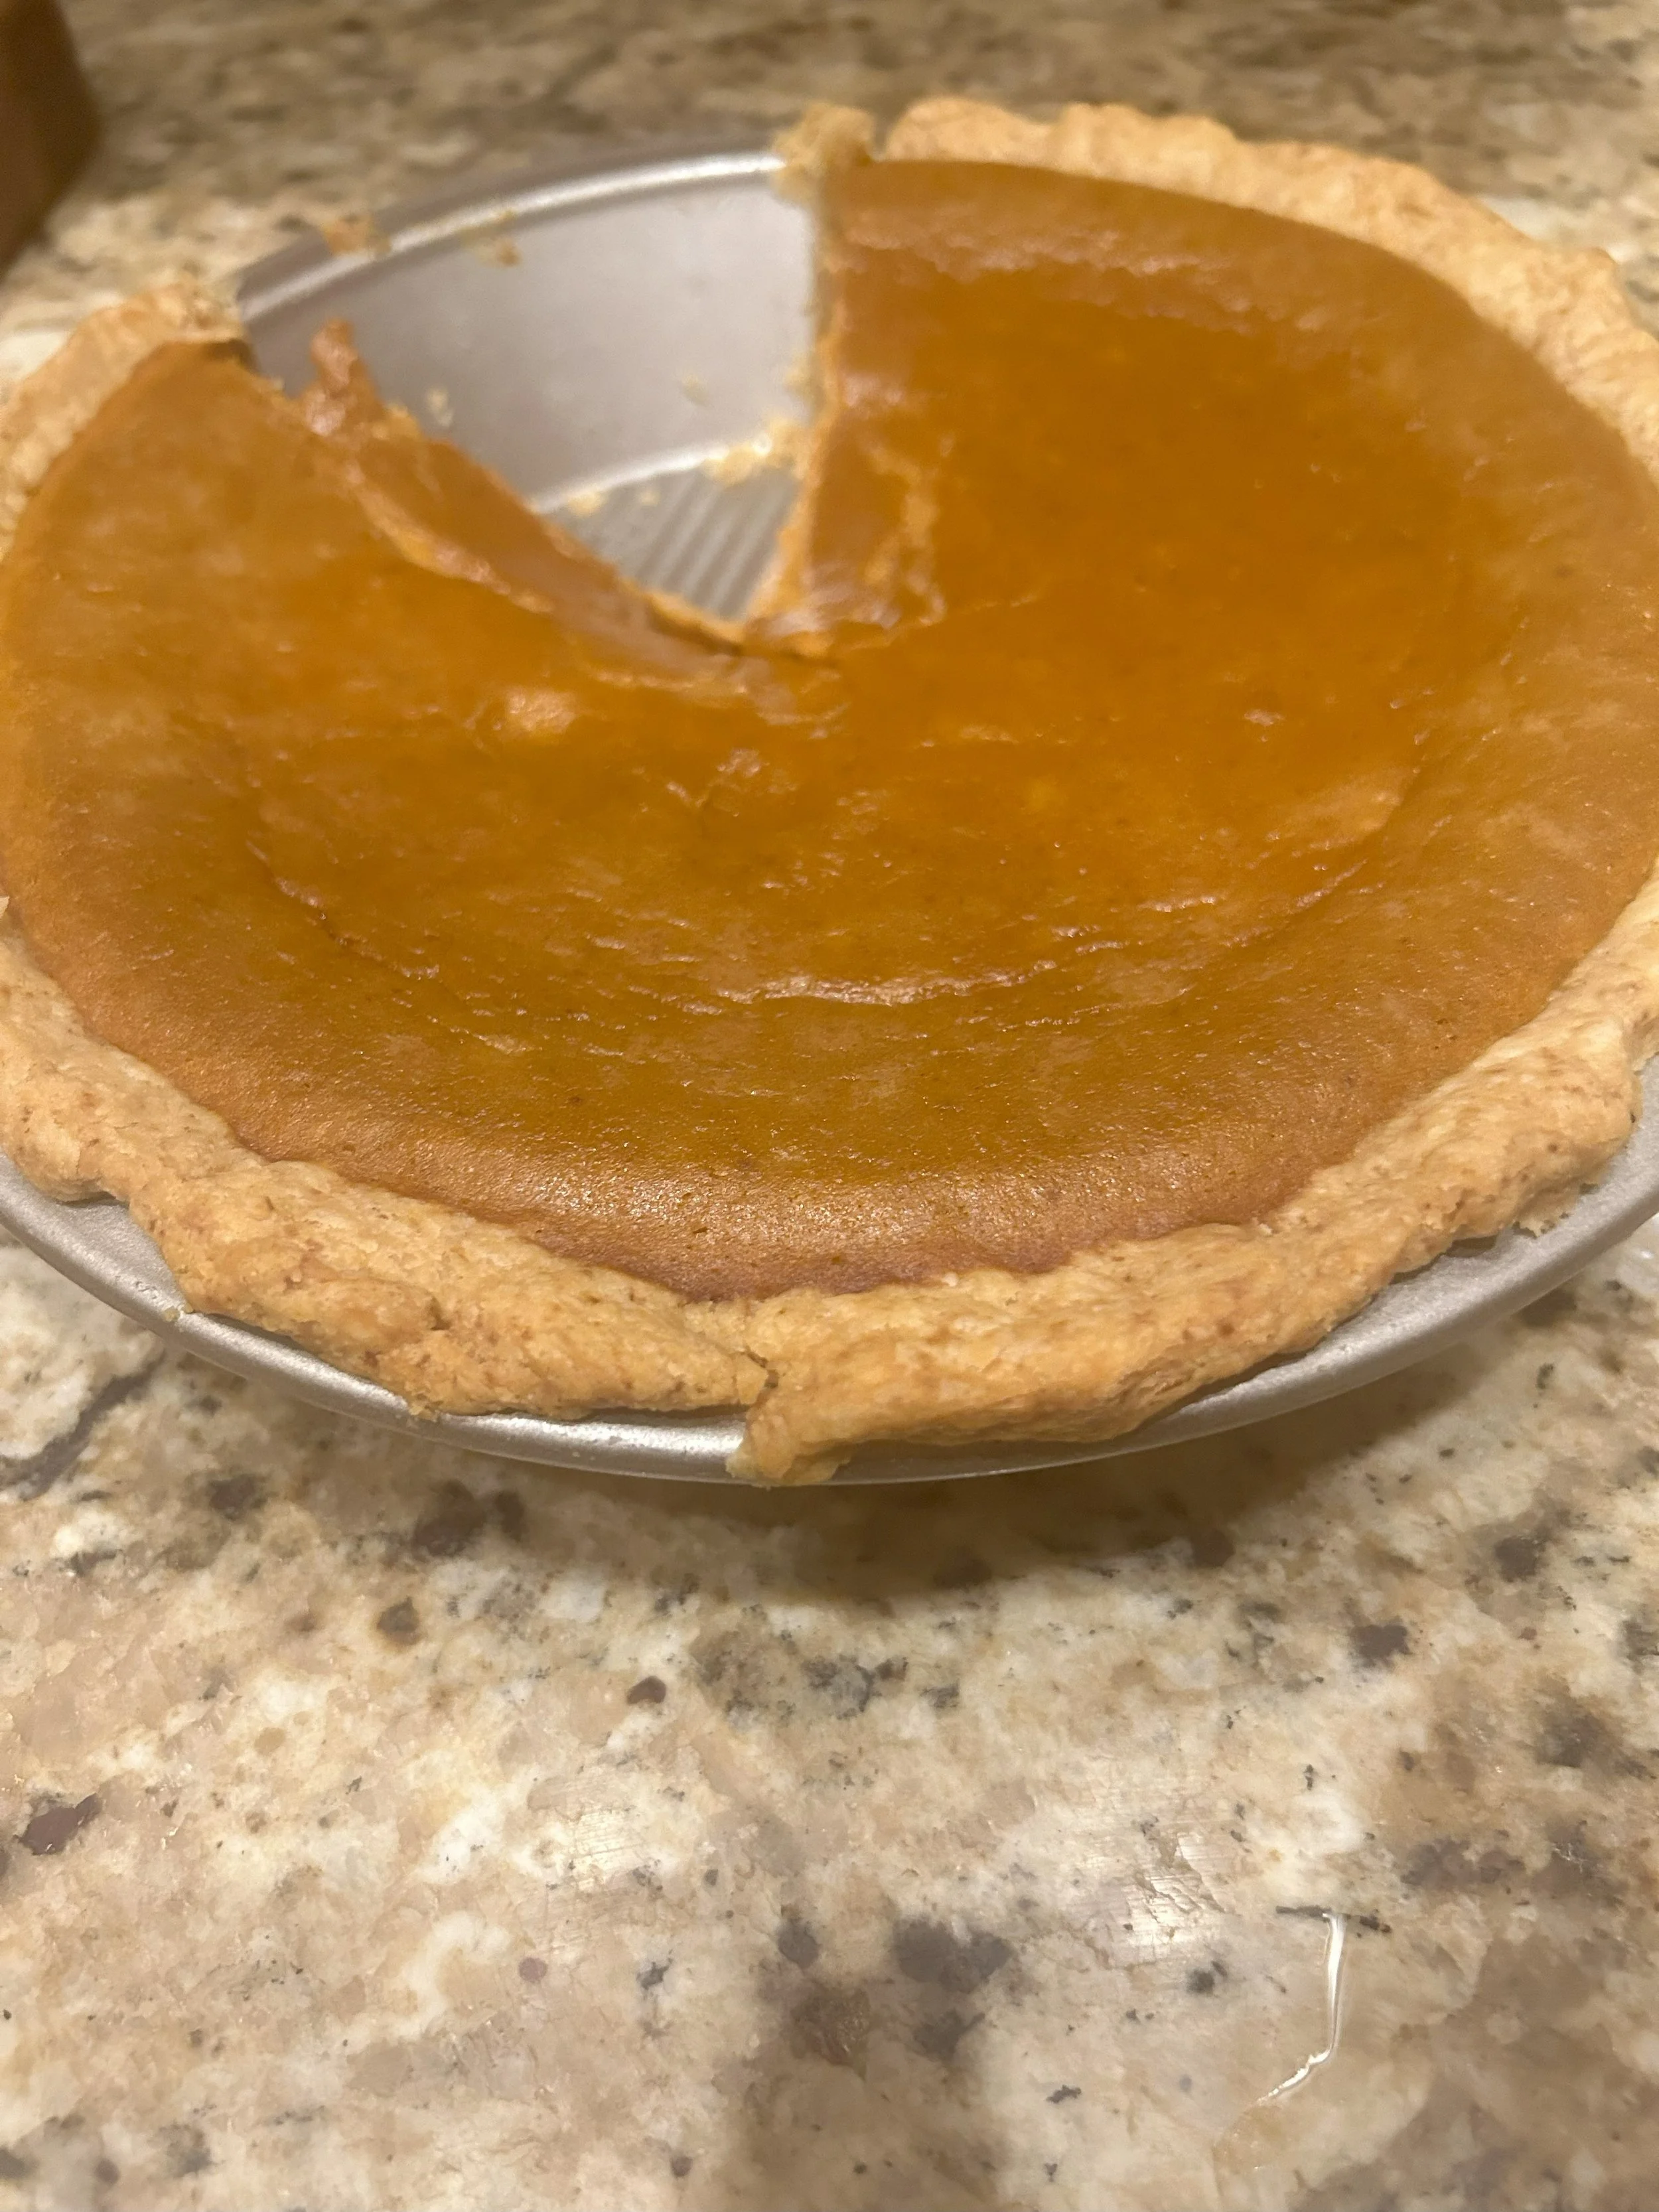
Some pies like apple do get baked with the filling inside, but for most open pies like pumpkin, then you will need to do a blind bake on the pie to ensure the crust comes out crisp and flaky.
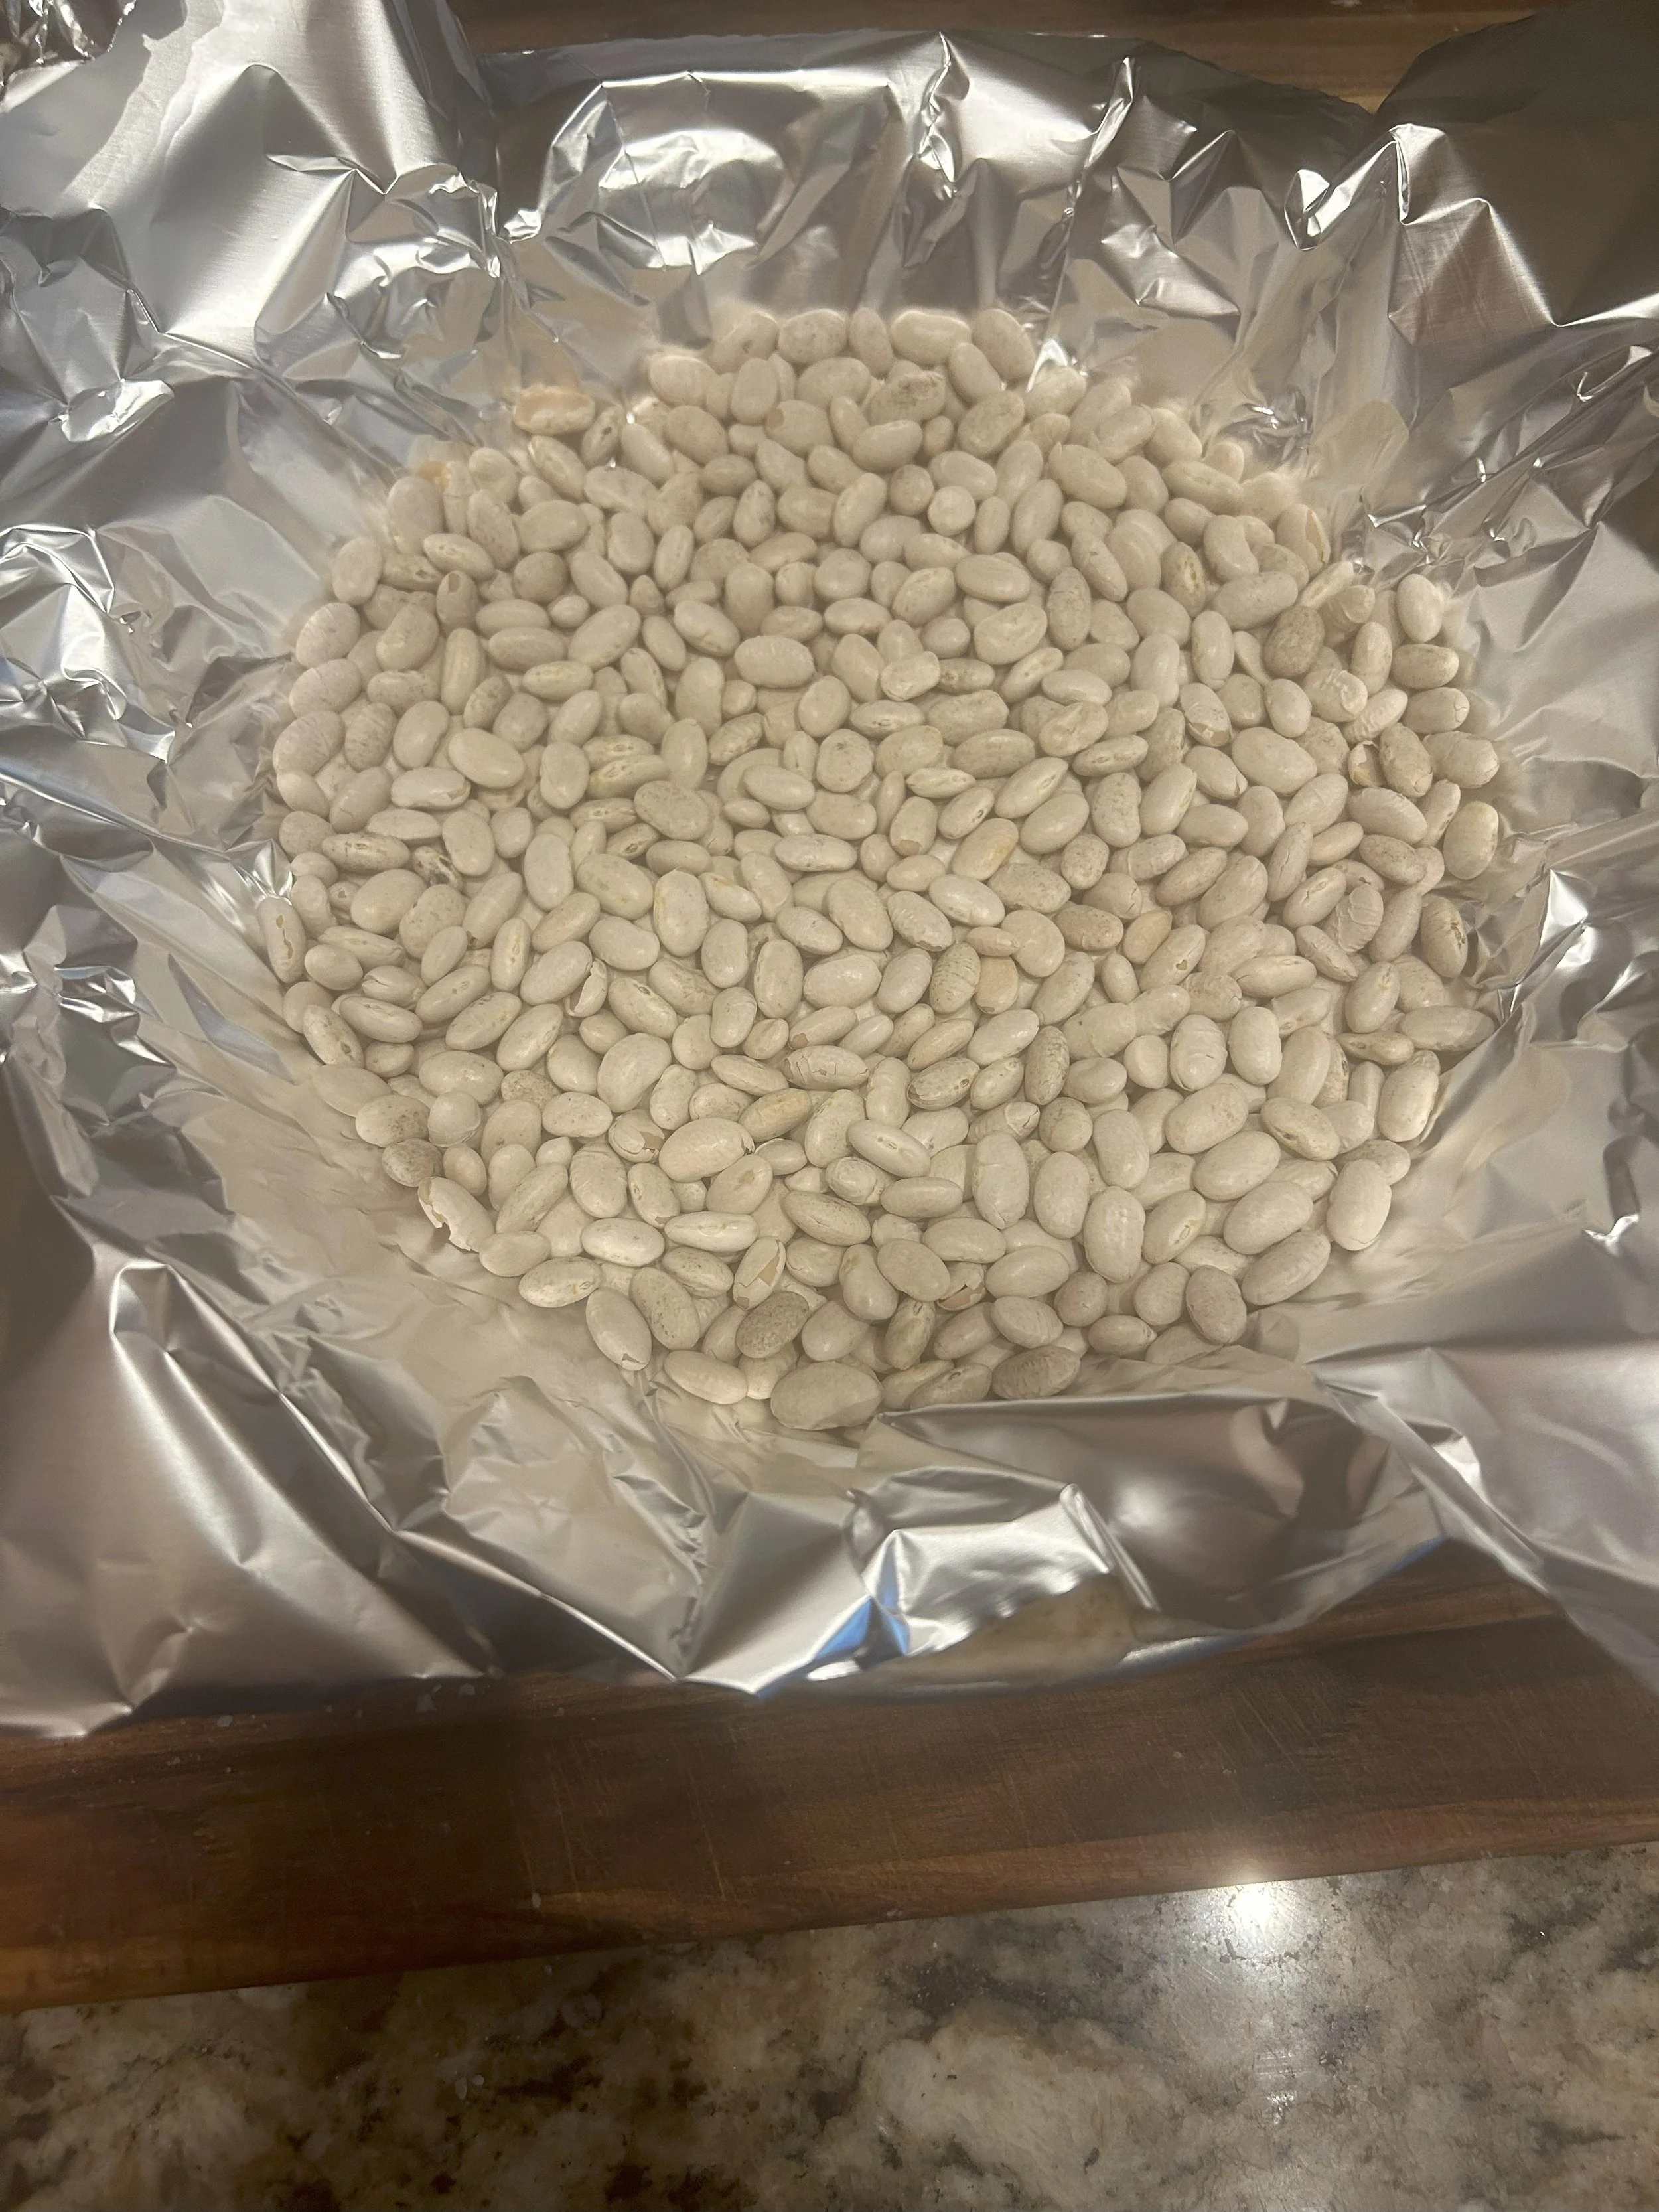
Place a piece of parchment paper or foil onto the crust, then fill it with some form of weight. Ceramic pie weights are fine, but an even cheaper option would be dry beans, which do have about 3-4 uses to them…as long as you don’t cook them afterward. What these weights will do is keep the dough flat while it bakes and also help prevent it from sliding down the sides of the pan.
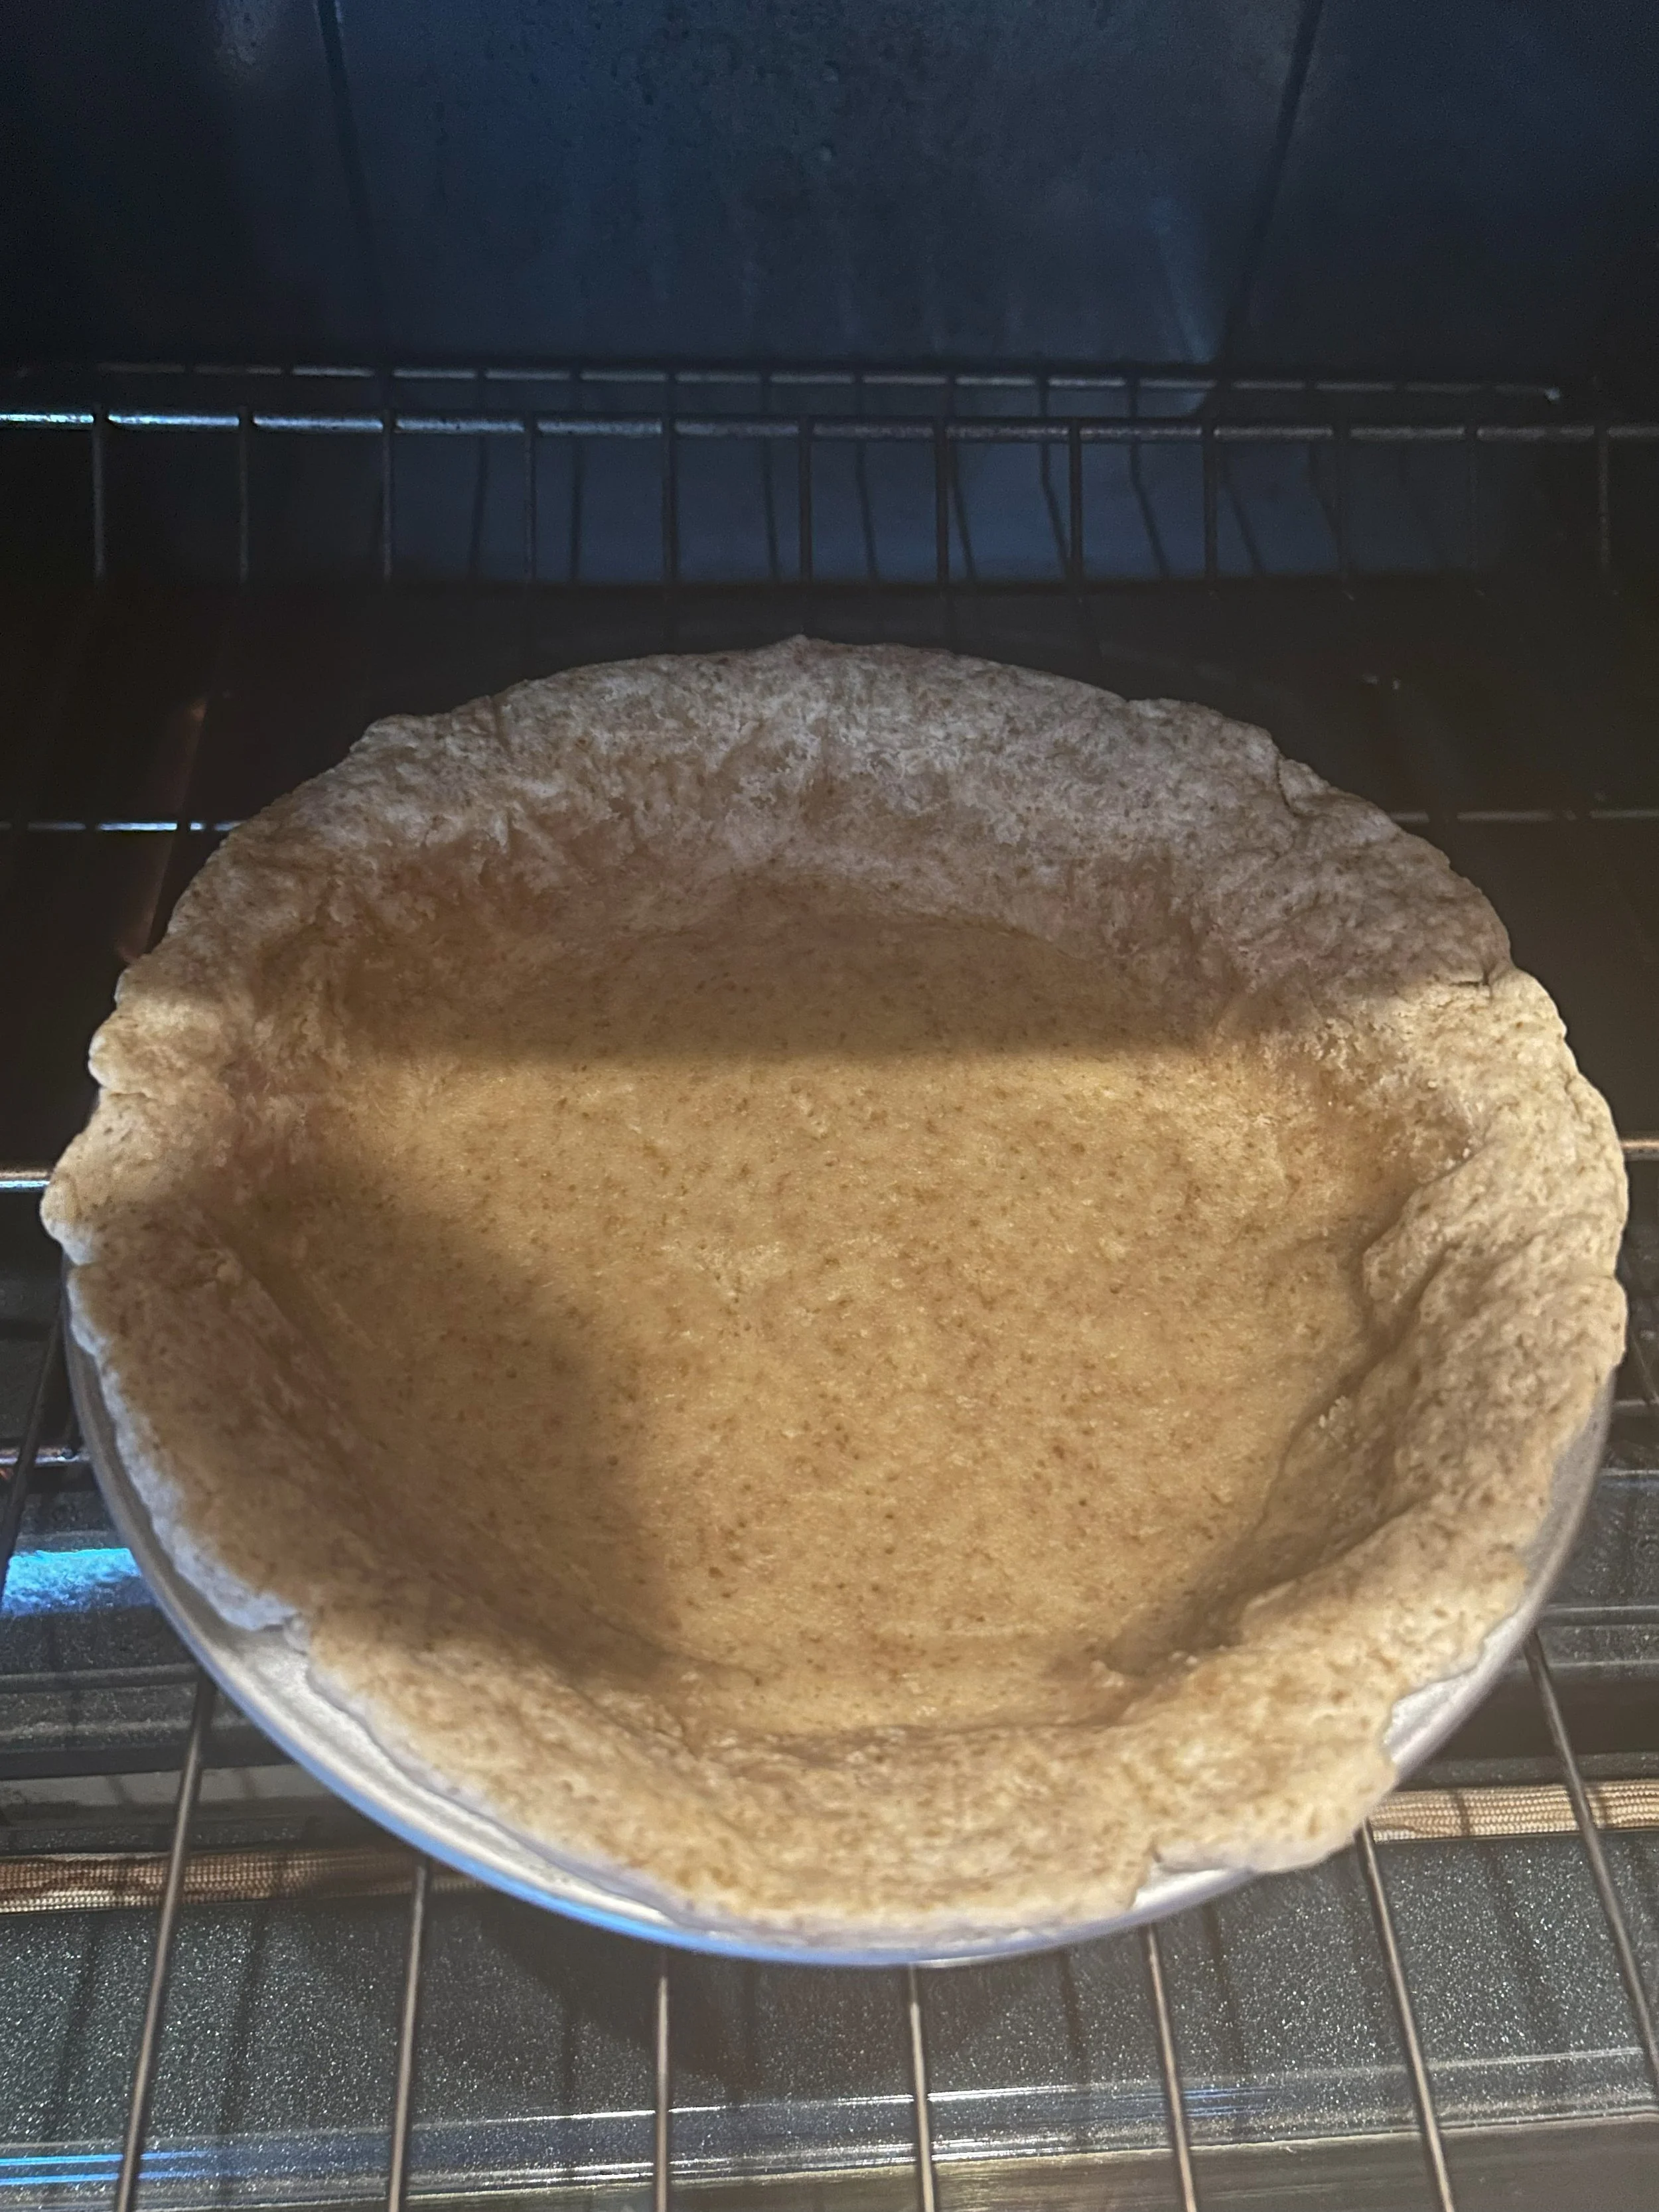
Once filled with the beans, you’ll want to bake the crust in a 350-degree oven for about 20-25 minutes, or until the edges of the crust start to turn brown, then you’ll want to carefully remove the weights and the parchment, then bake for another 10-15 minutes, or until the crust is dry at the bottom.
Once the crust has cooled for a bit, you can then add your filling.
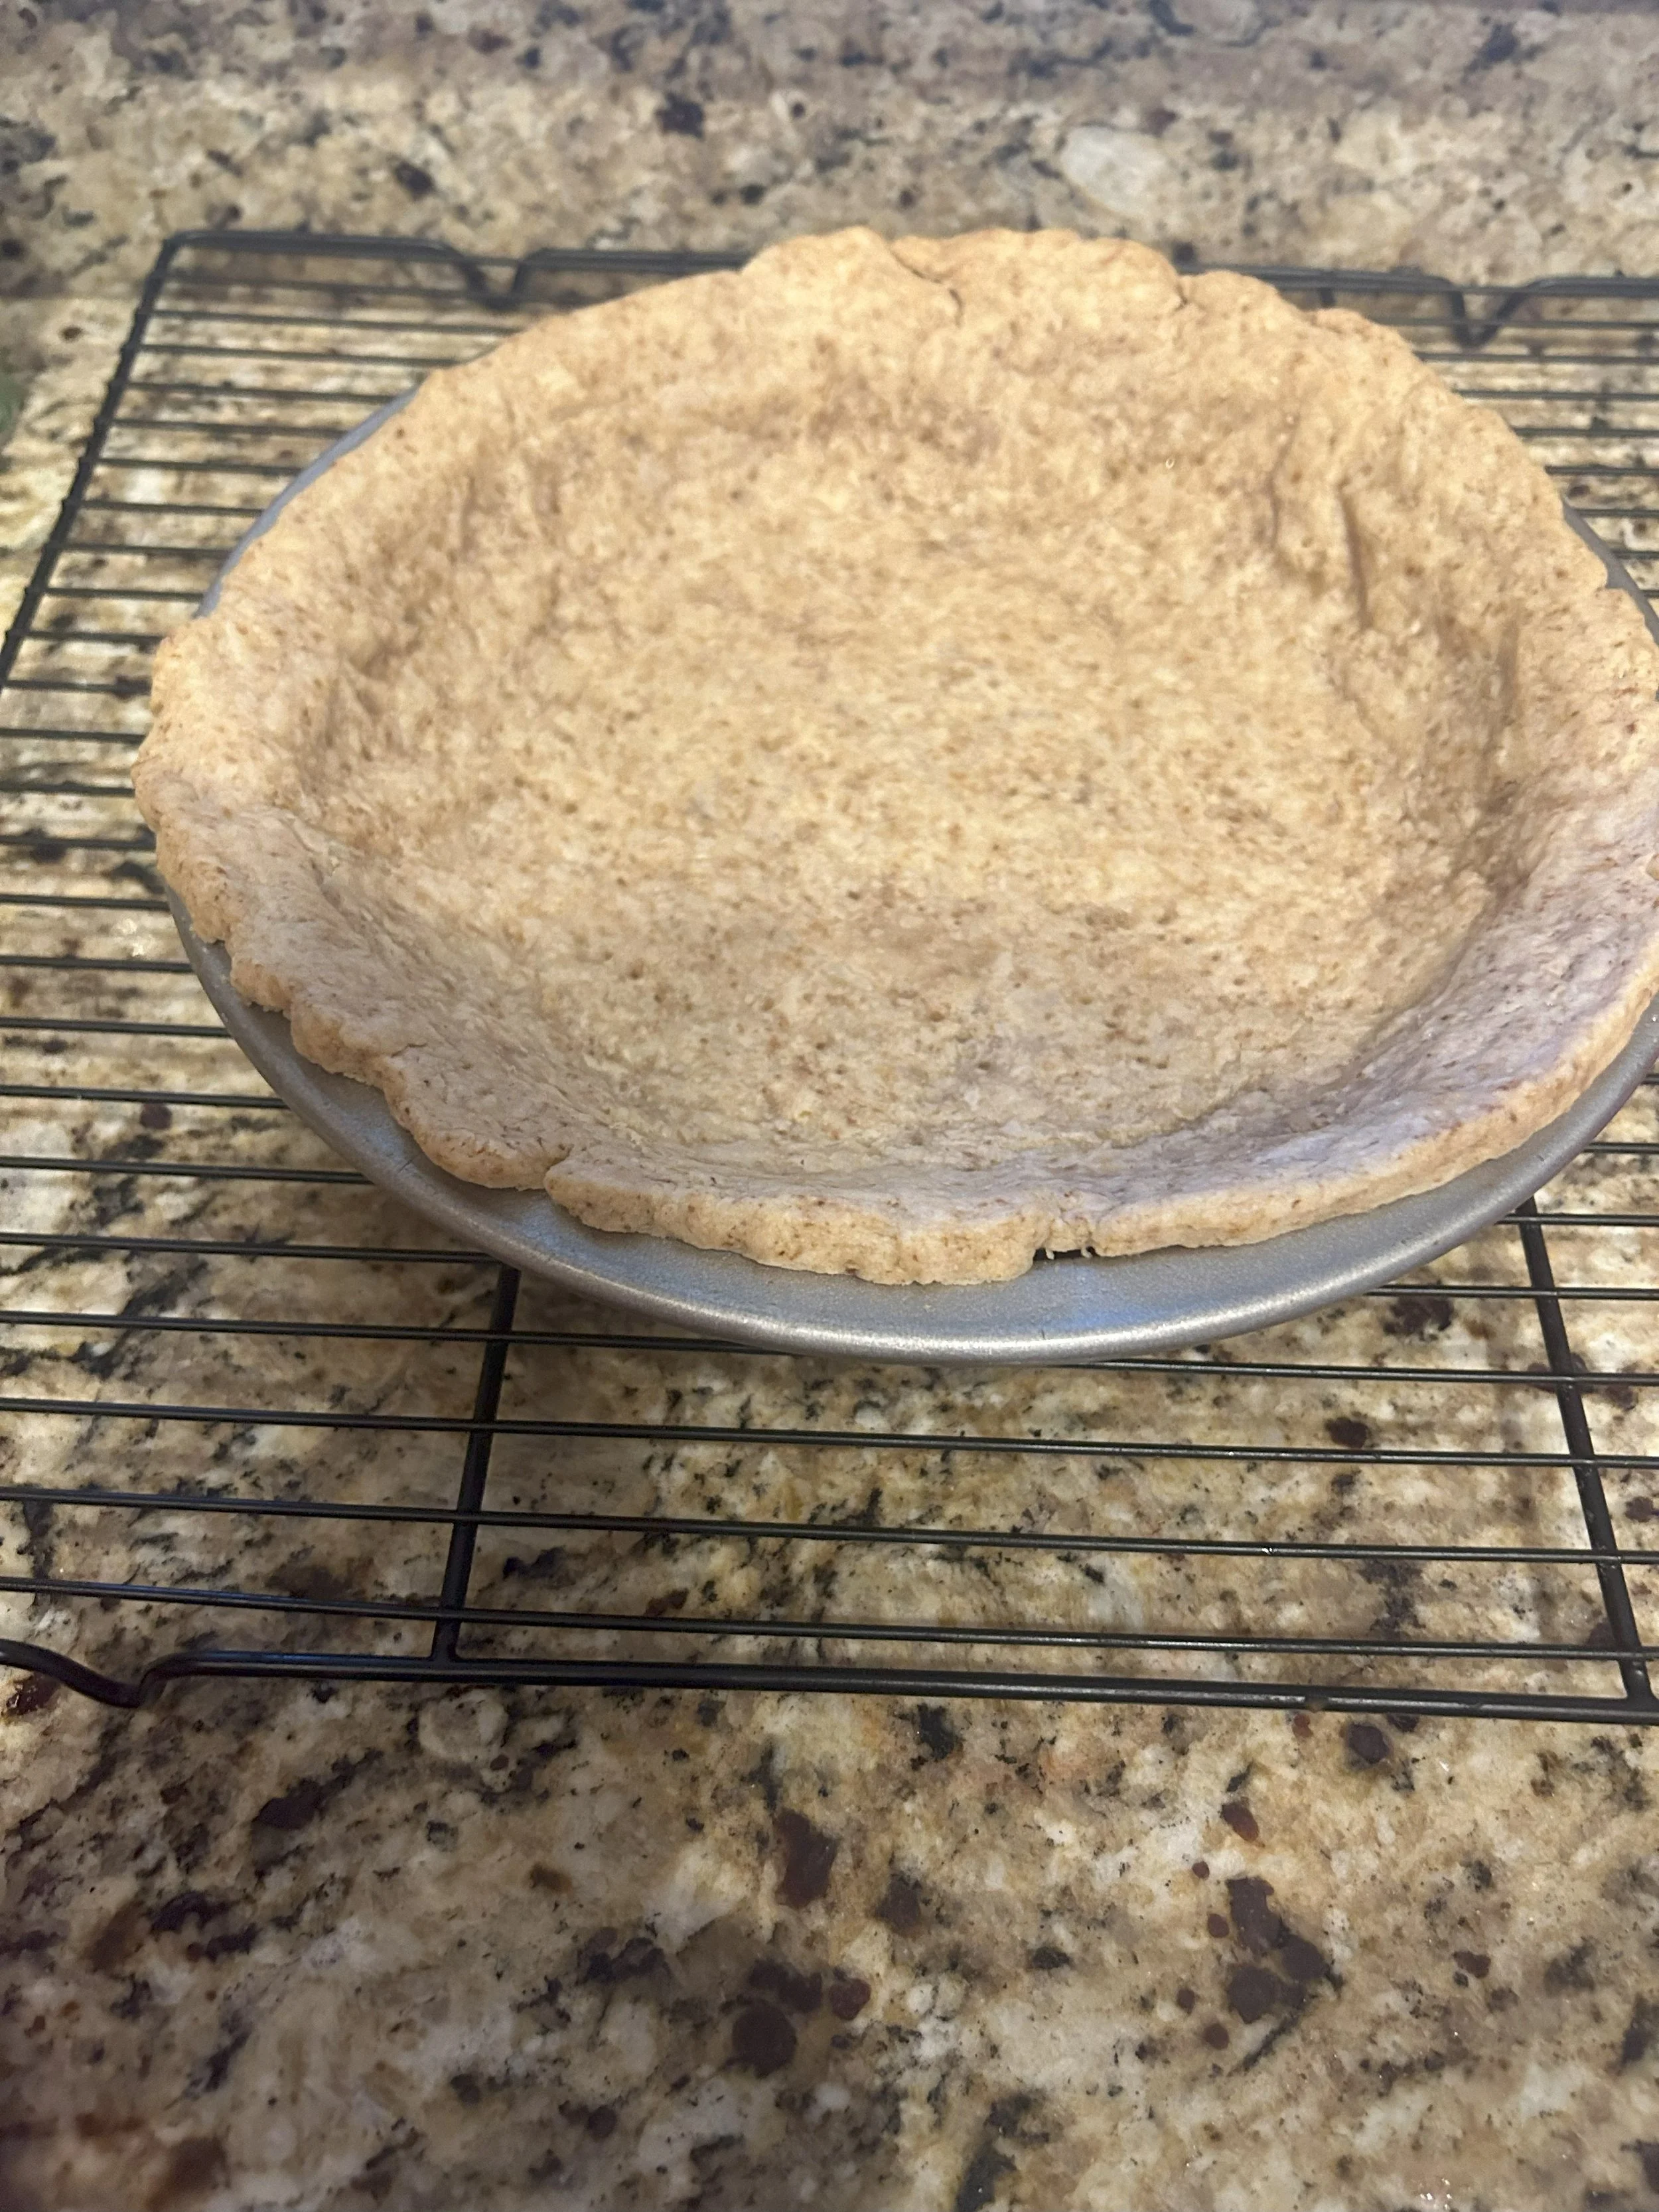
And there you have it, now you have made a delicious pie crust from scratch! It’s flaky, it’s tender, it has structural integrity, and most importantly your family will love you even more.
