
30 Day Superfood Challenge (Part 2)
This article is the second part in a 3-part series where I make dishes using 30 different superfoods throughout the month of April.
The first part of the series can be seen with this link
[https://the-s-word.net/light-eats/30-day-superfood-challenge-part-1]
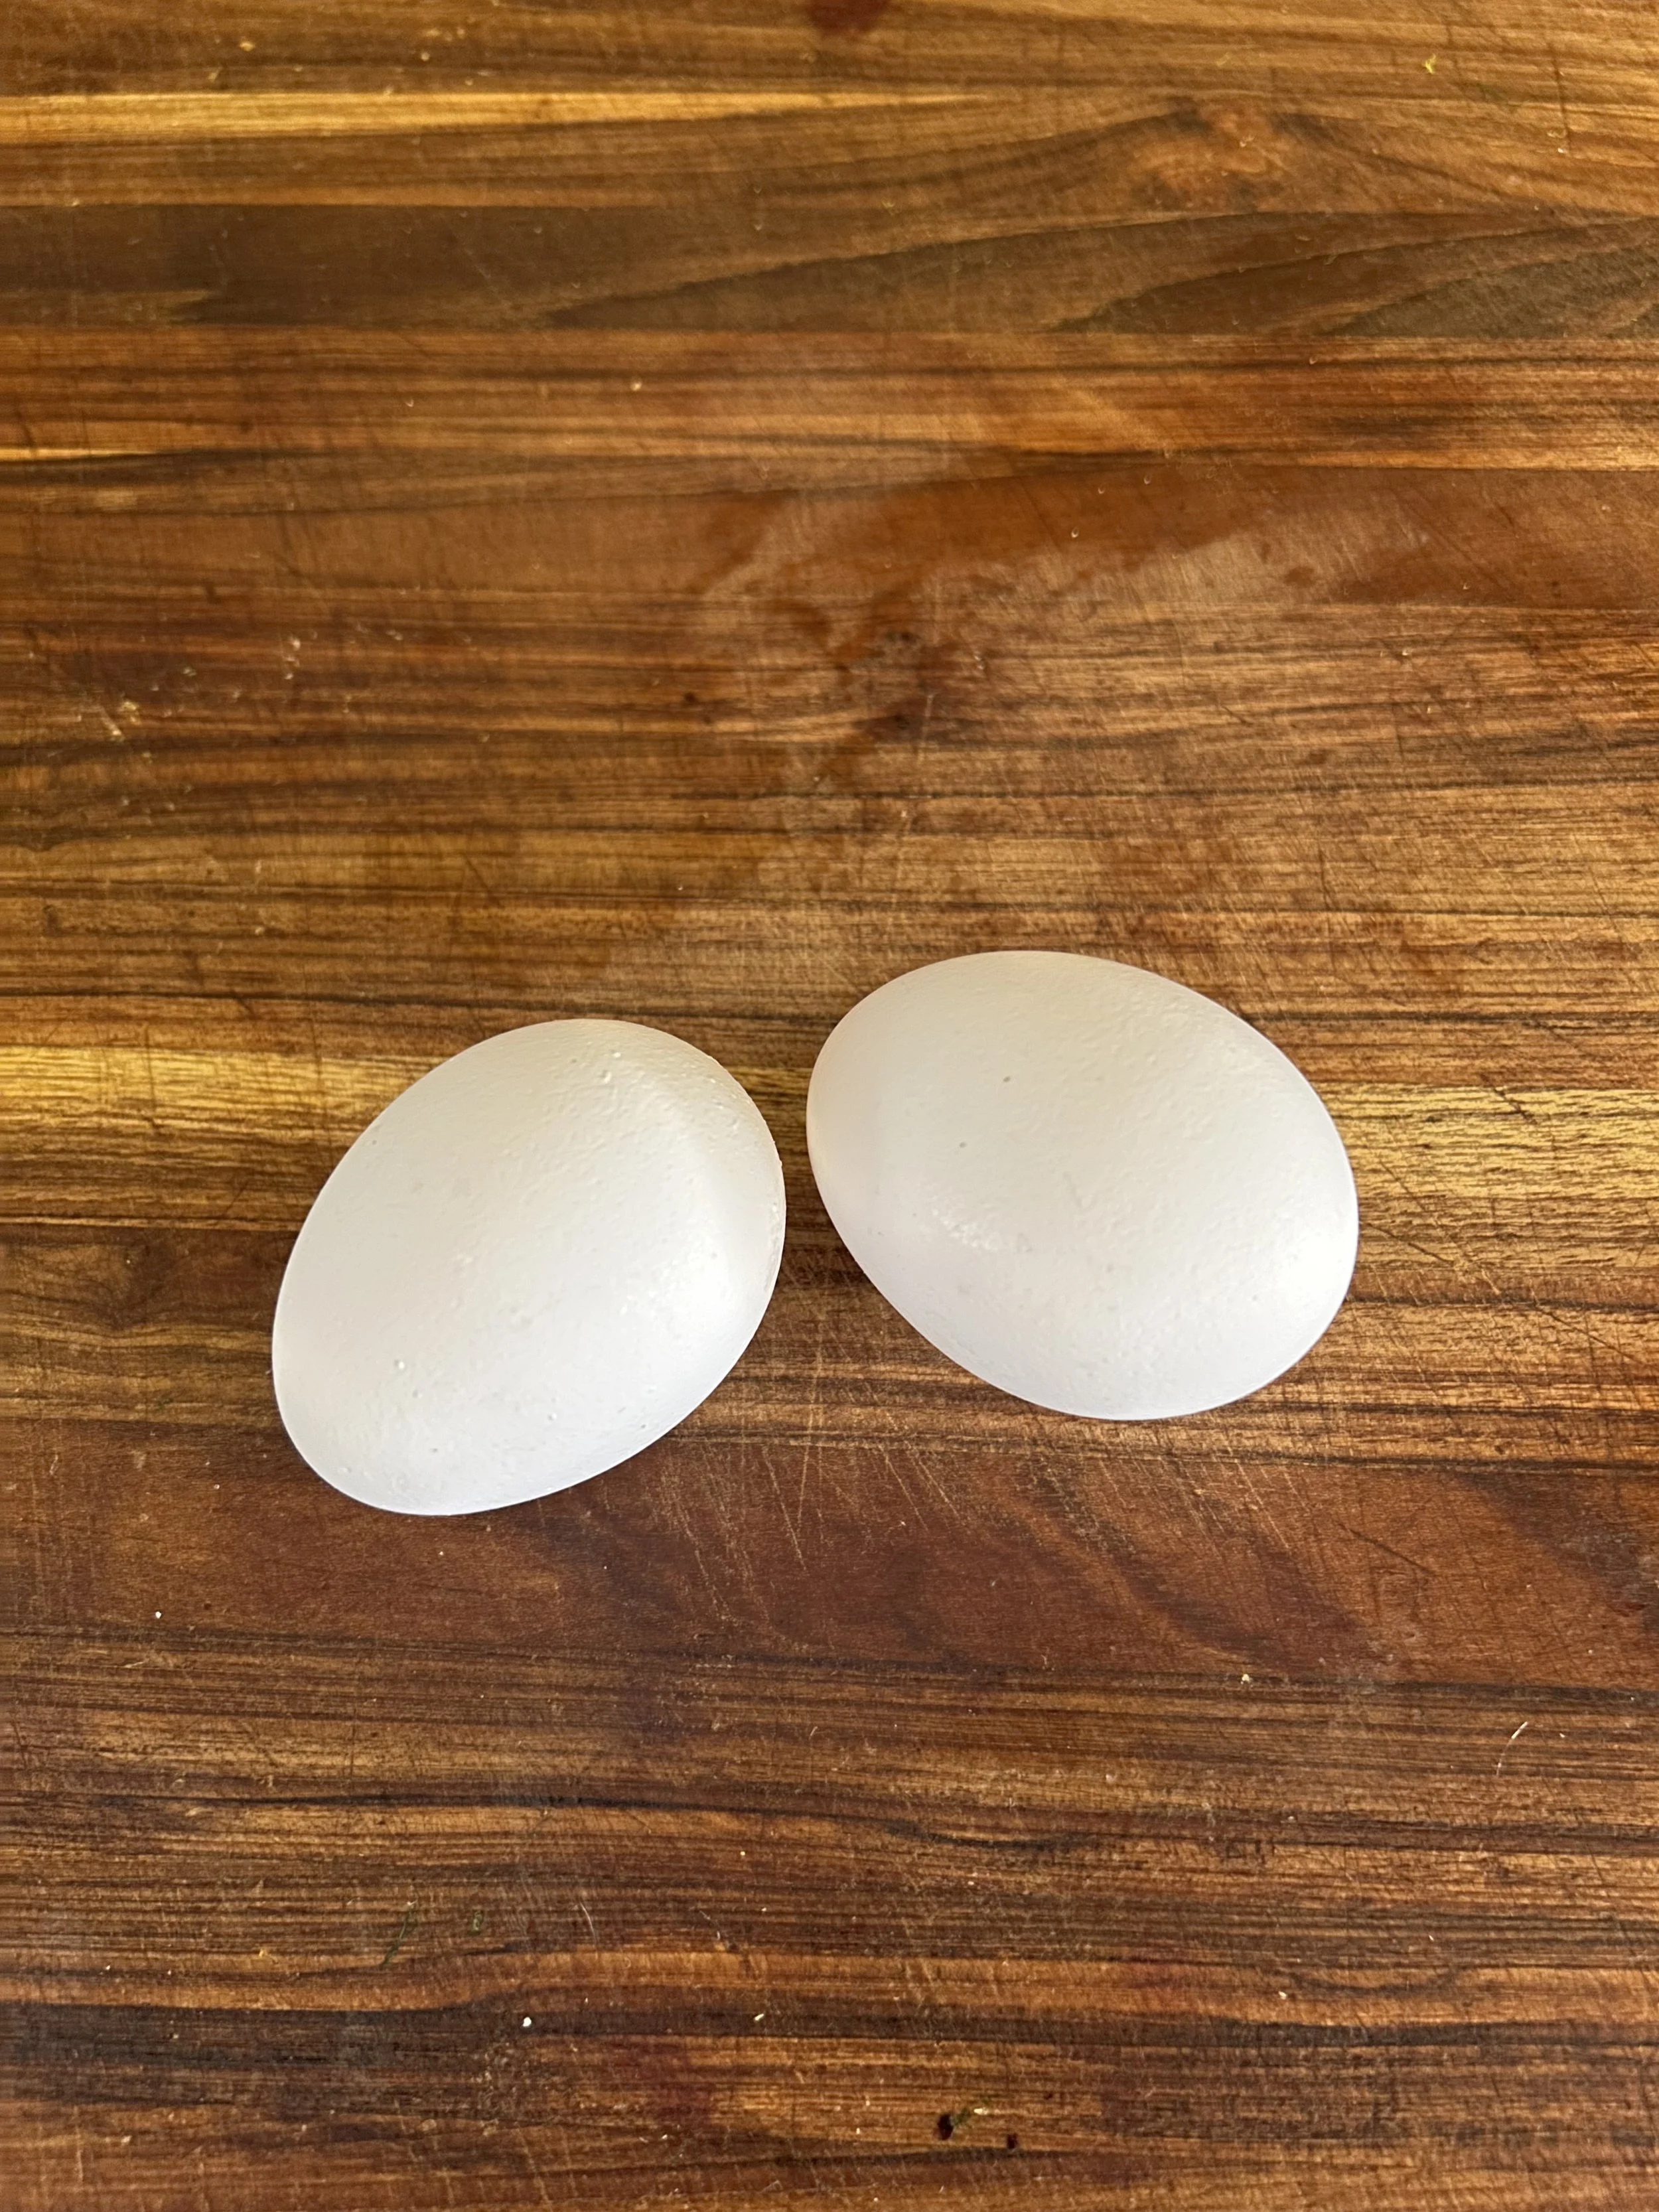
Day 11: Eggs
I respect the fact that not everyone likes eggs, but I love them, especially because they are the cheapest and most versatile source of protein in the world…or, at least they once were. They also contain lots of Vitamins like Vitamin A, B2, B5, B12, D, and E
There are infinite things you can do with eggs, but today I’ll be soft boiling them and placing them on some savory oats.
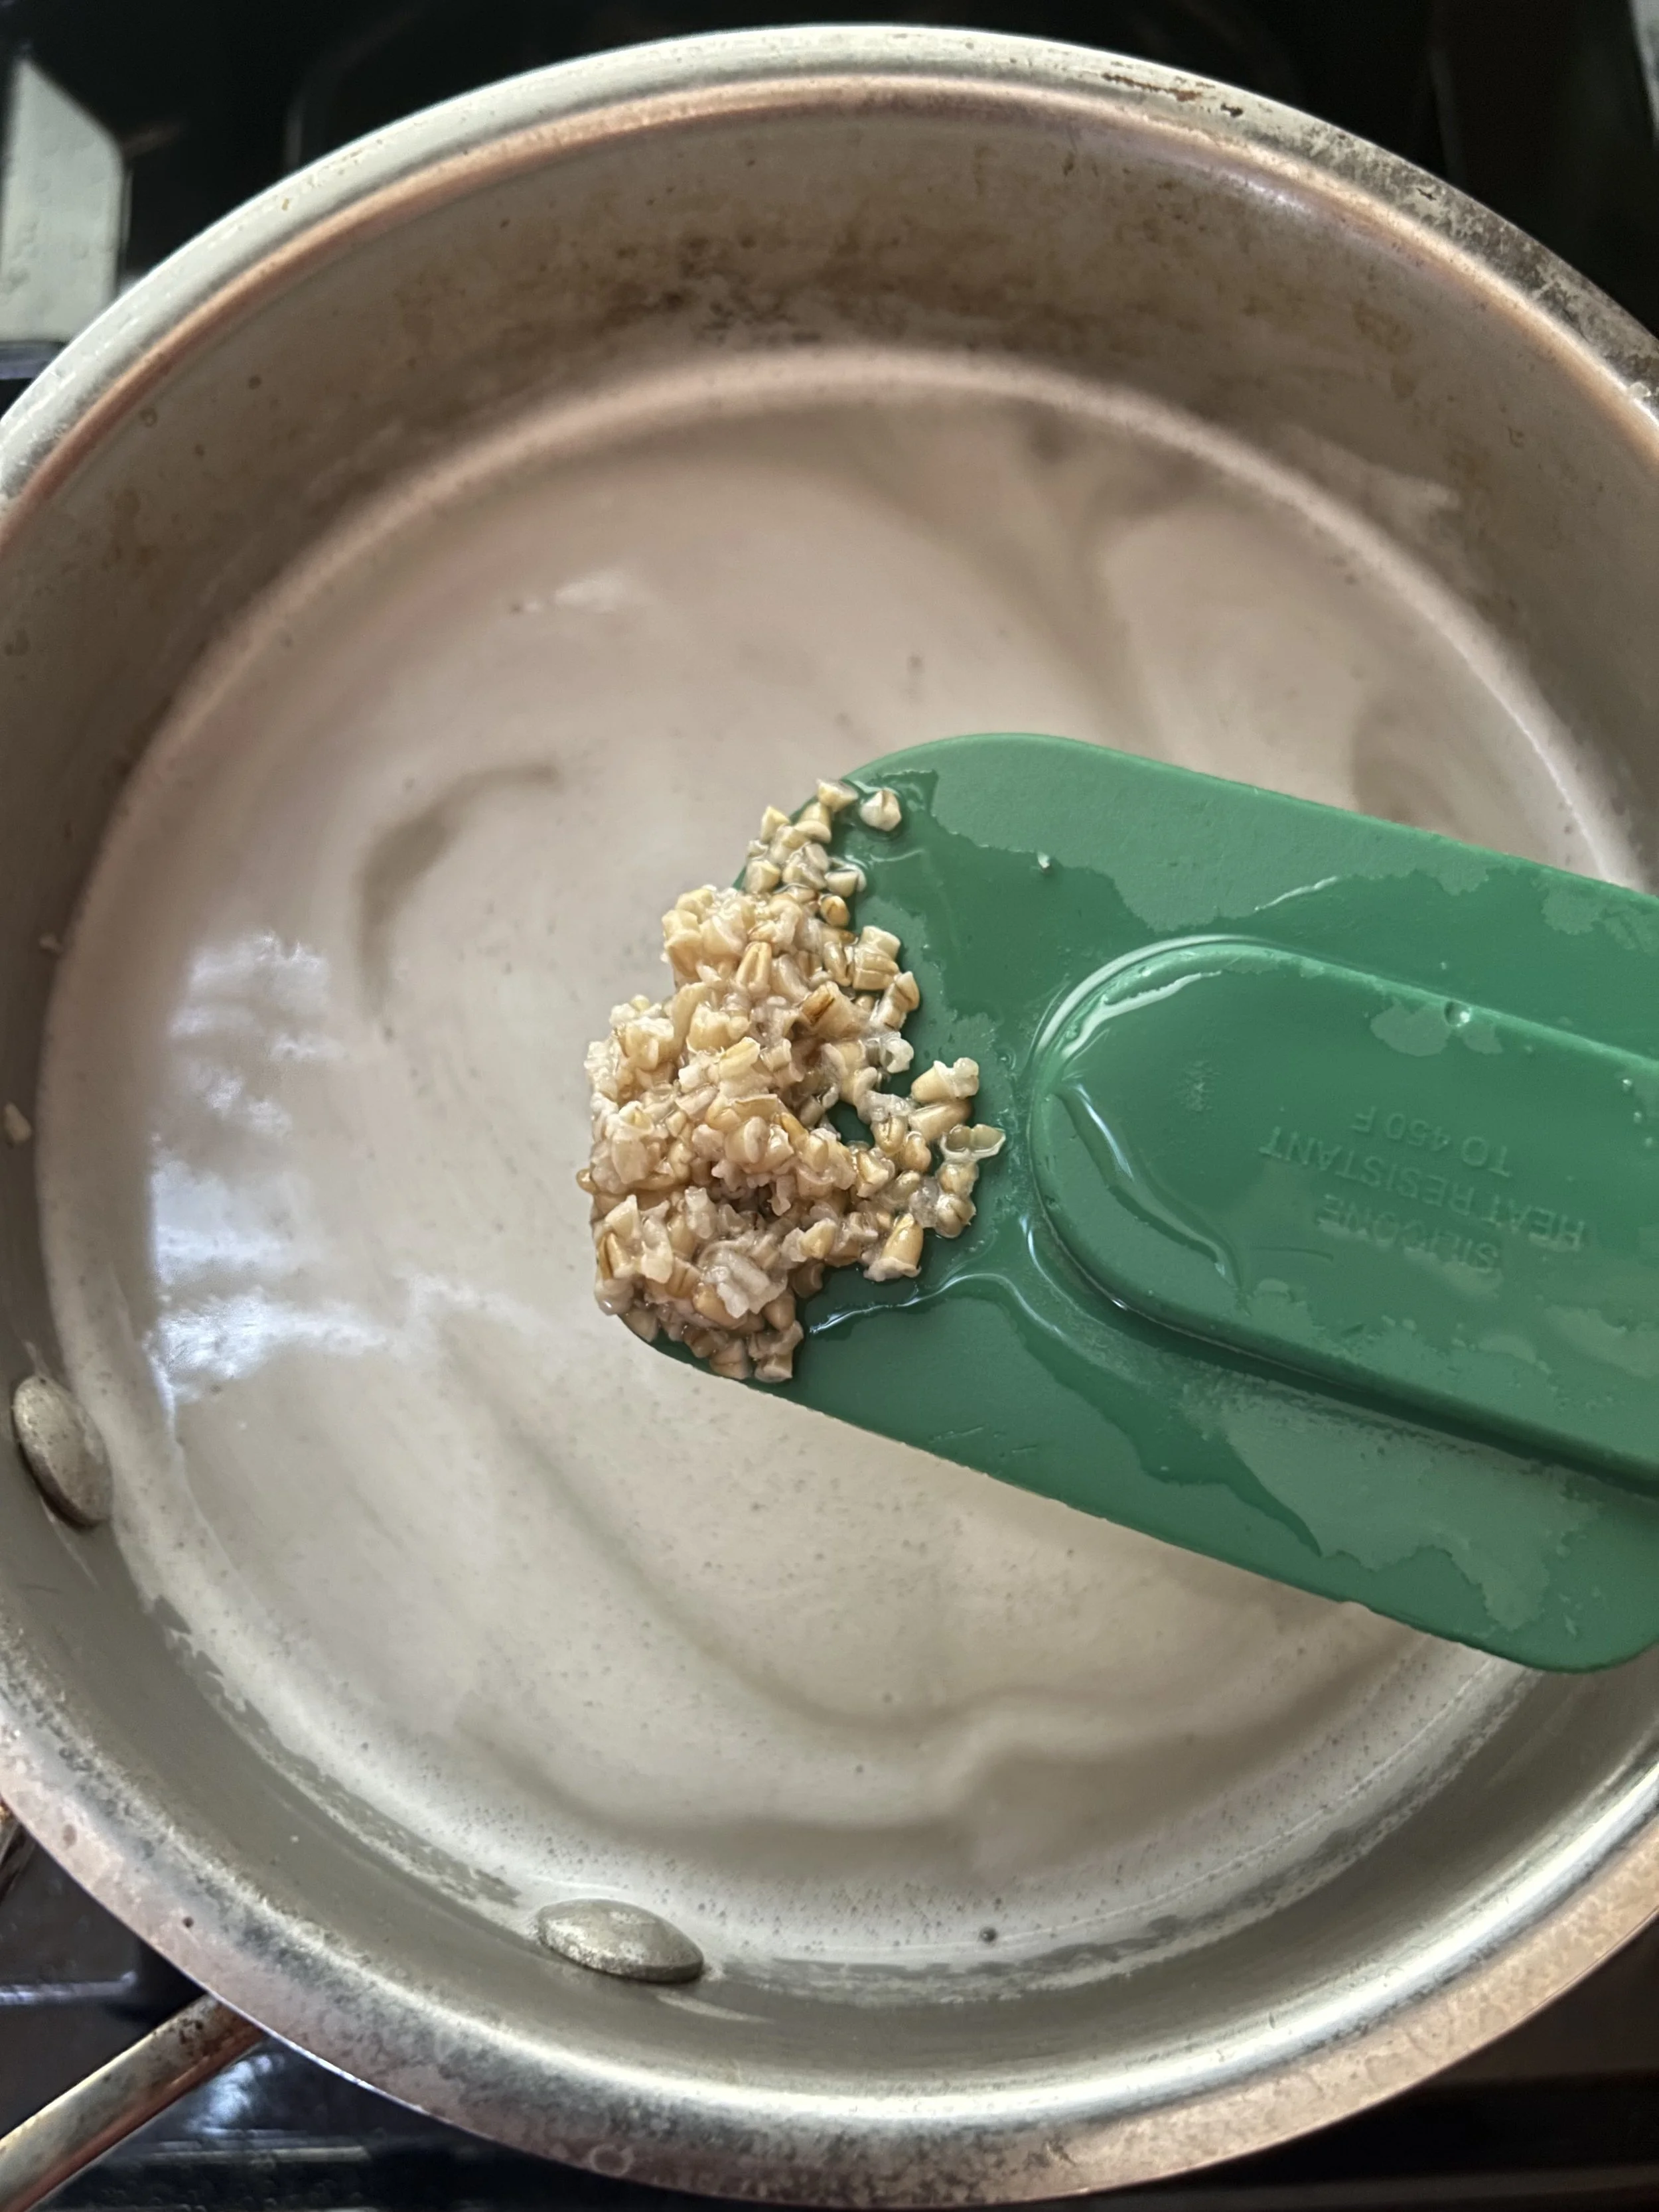
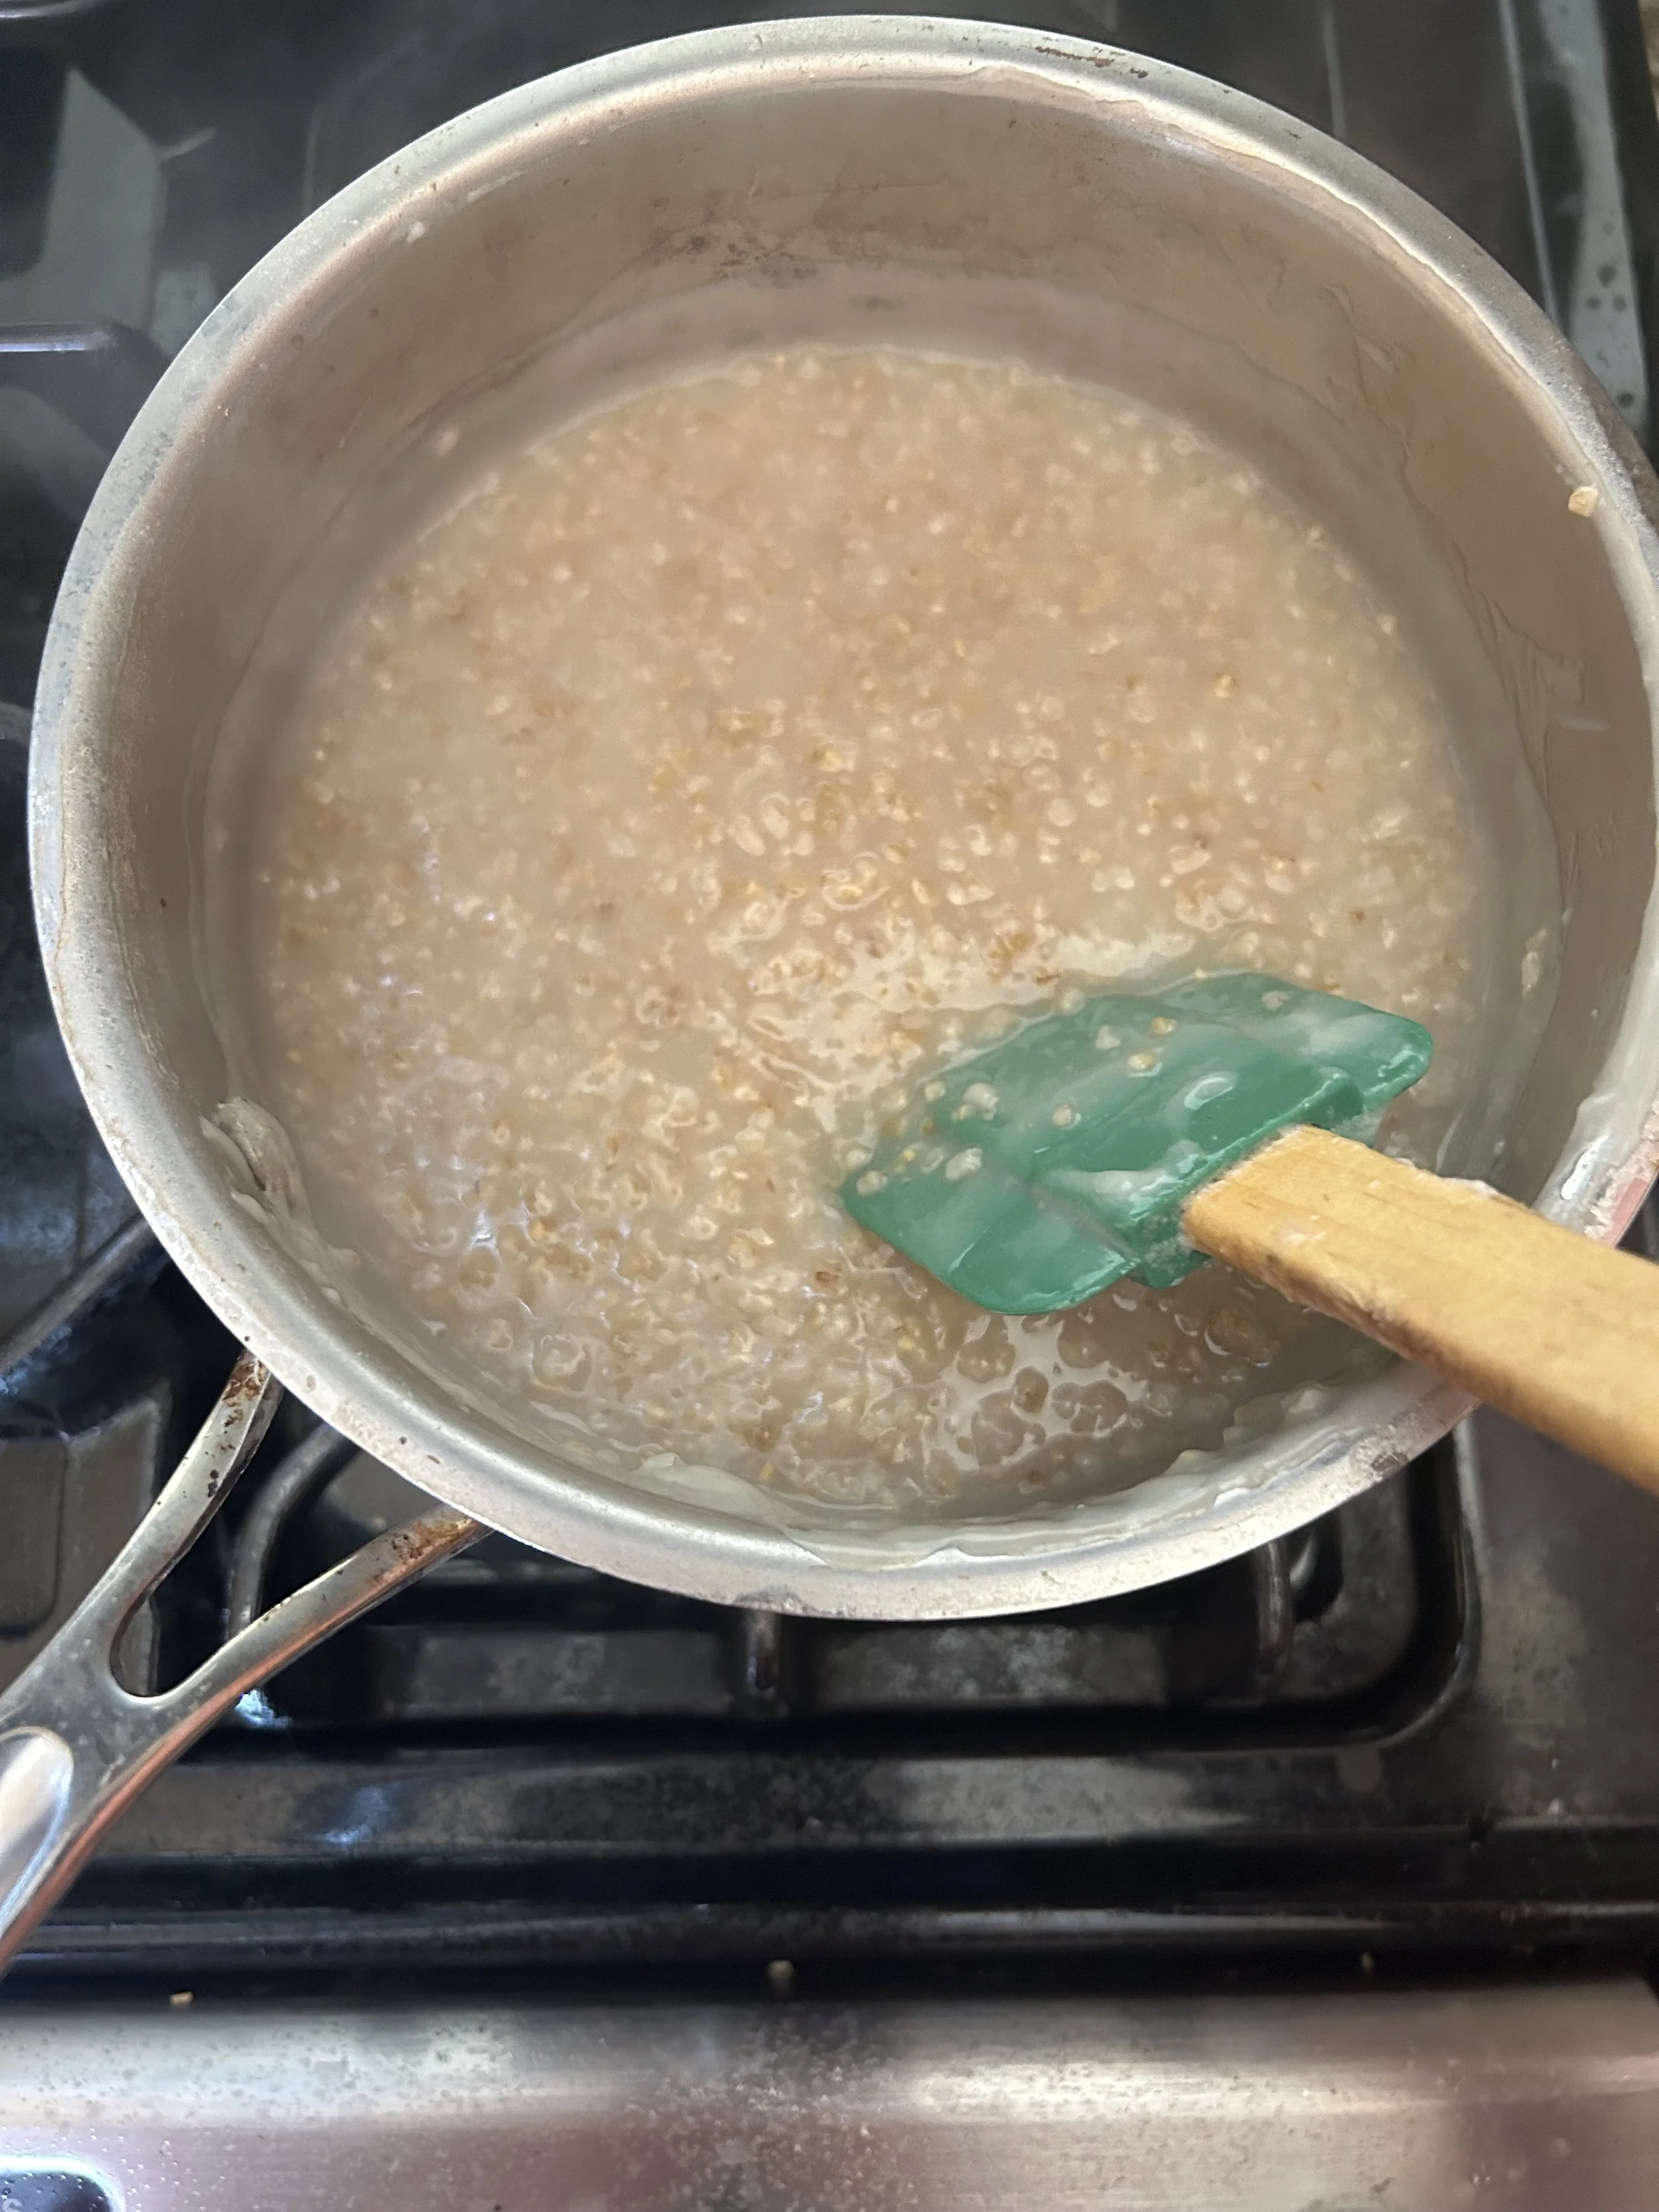
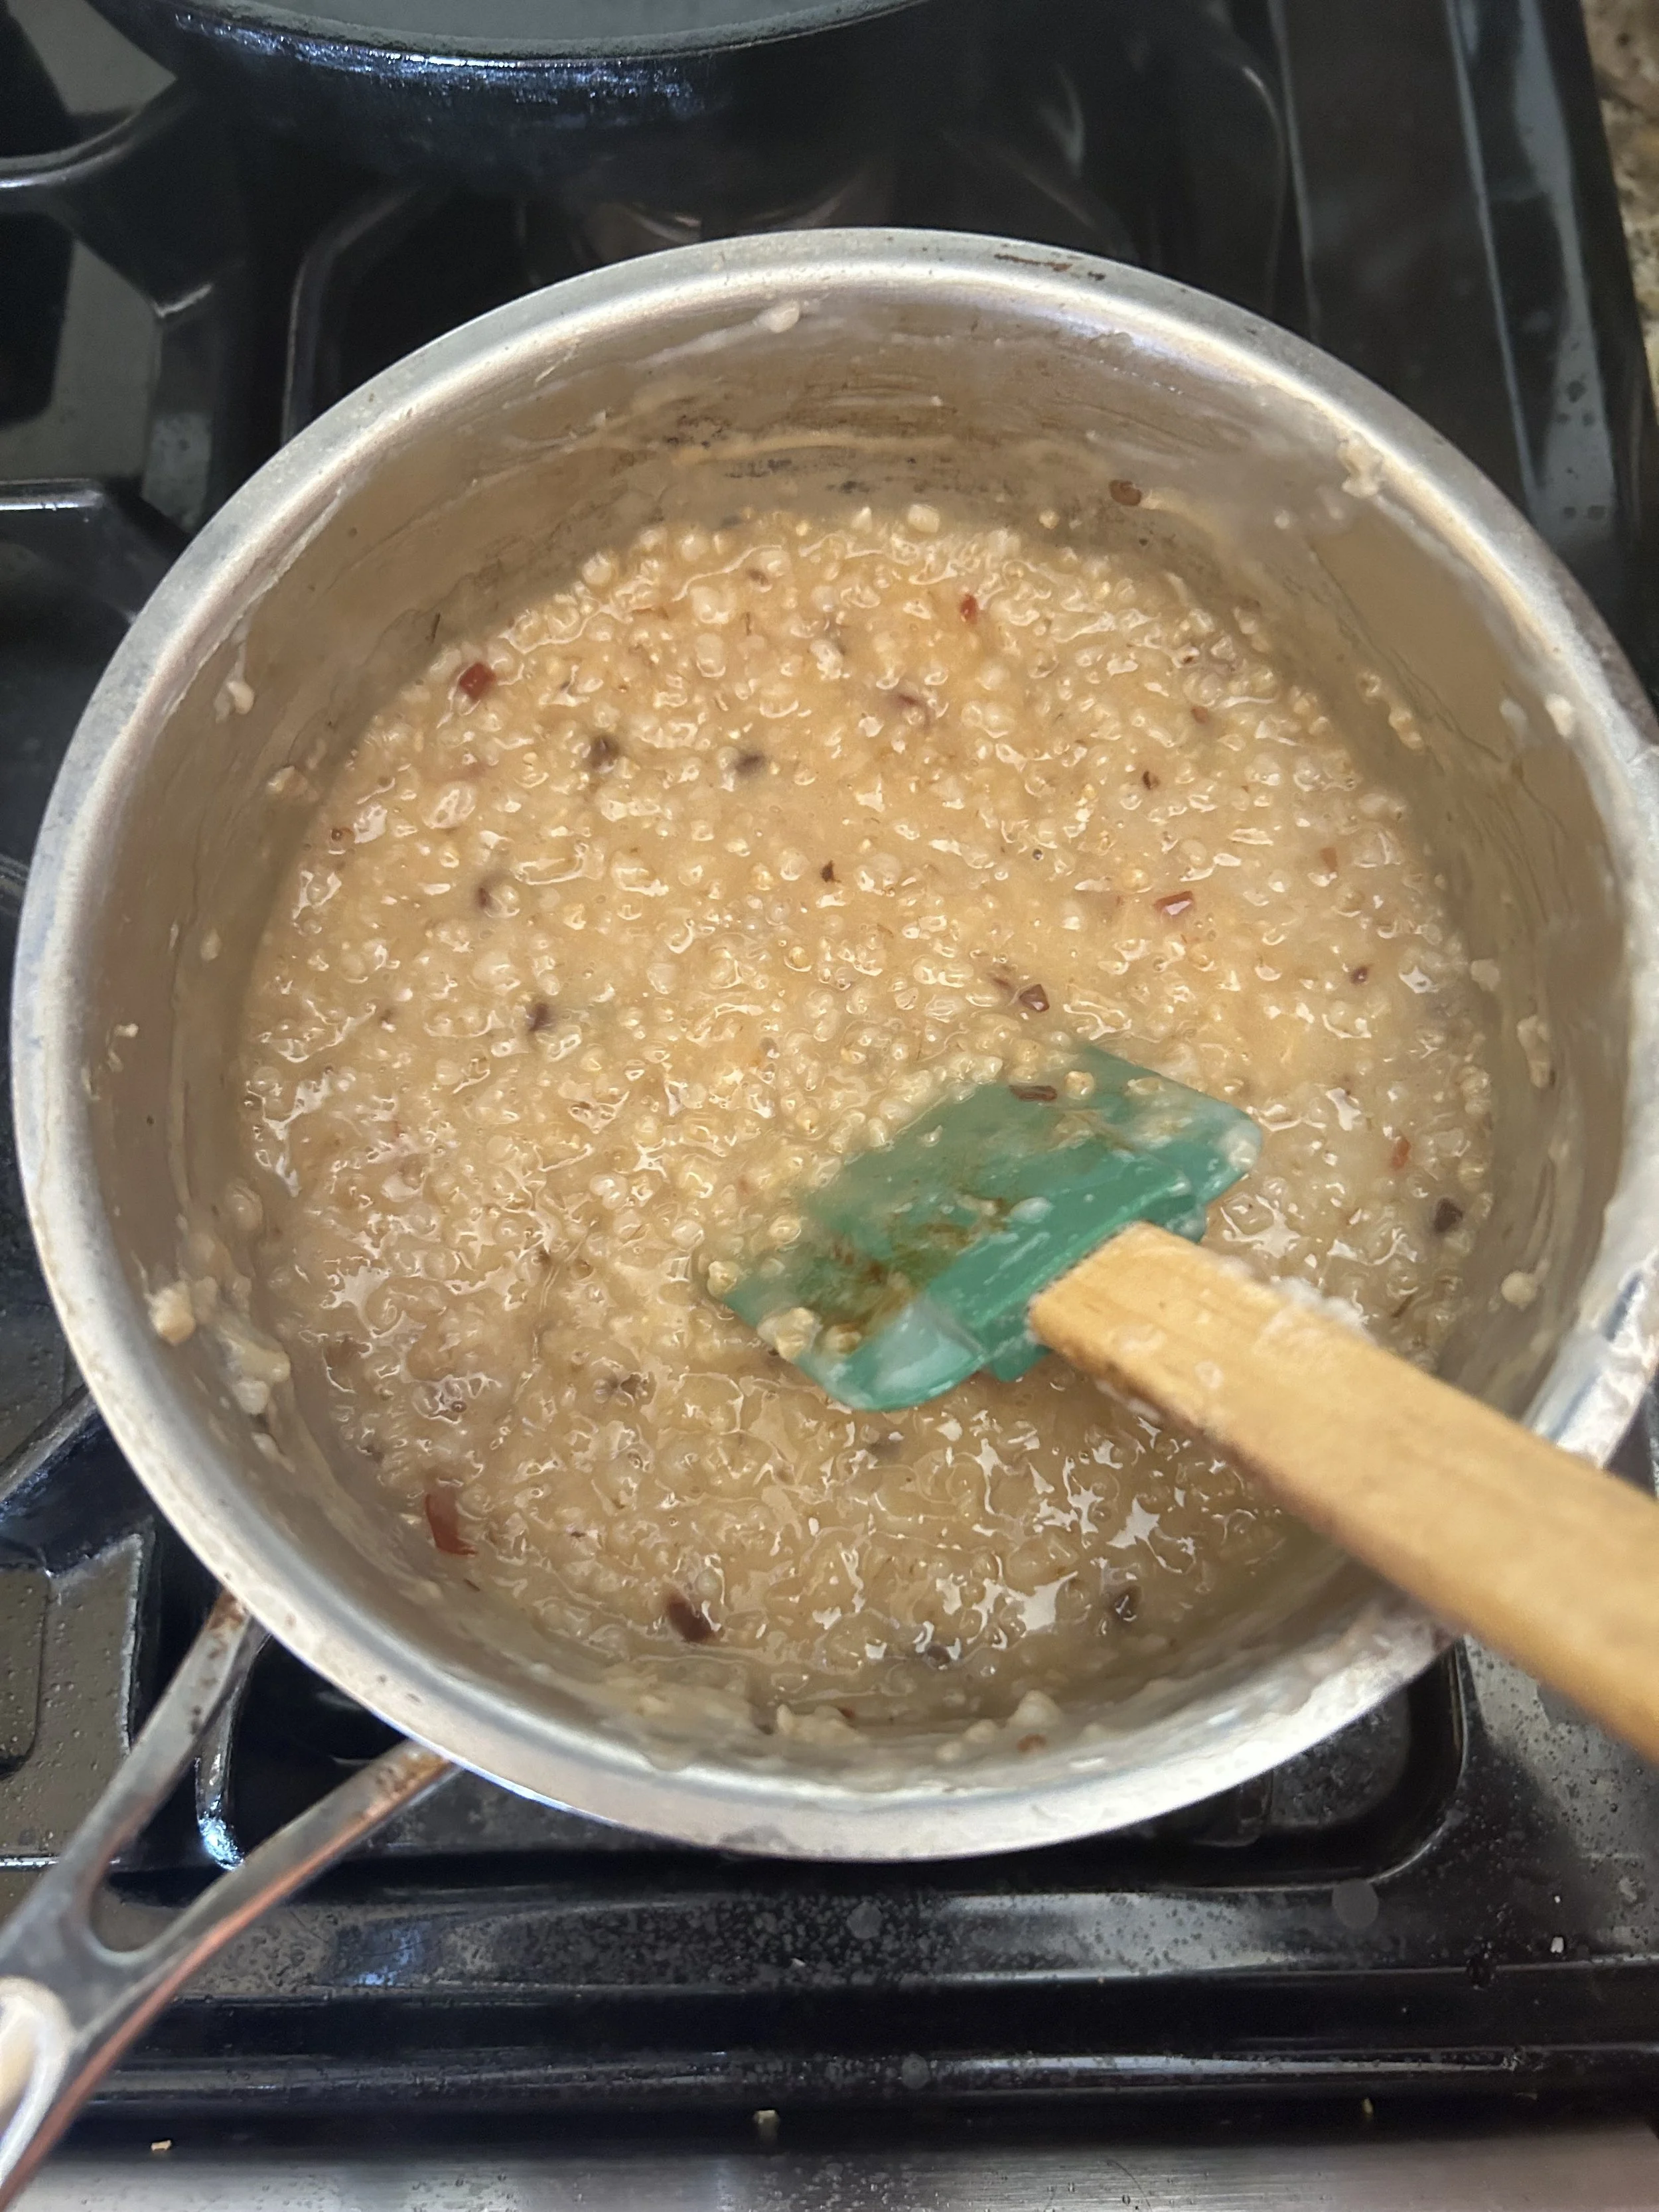
Cook 1 cup of steel-cut oats according to the directions on the package. Don’t worry oats, I’ll talk about you in a second.
(Looks a lot different than those instant oatmeal packets, doesn’t it?)
While the oats are cooking, lower 2 eggs into a pot of boiling water, then let them cook for 7 minutes. This should get you a nice soft boiled egg, but if you want it cooked hard, then let the eggs go for 10 minutes.
Drain the eggs, then shock in an ice bath to cool them completely. Peel and cut the eggs in half.


When the oats are cooked, add 2 minced canned chipotle peppers plus 2 teaspoons of the adobo sauce and a teaspoon of salt.
Divide the oats among 2 bowls, then top with the eggs, diced avocado, Pico de Gallo, and chopped cilantro.
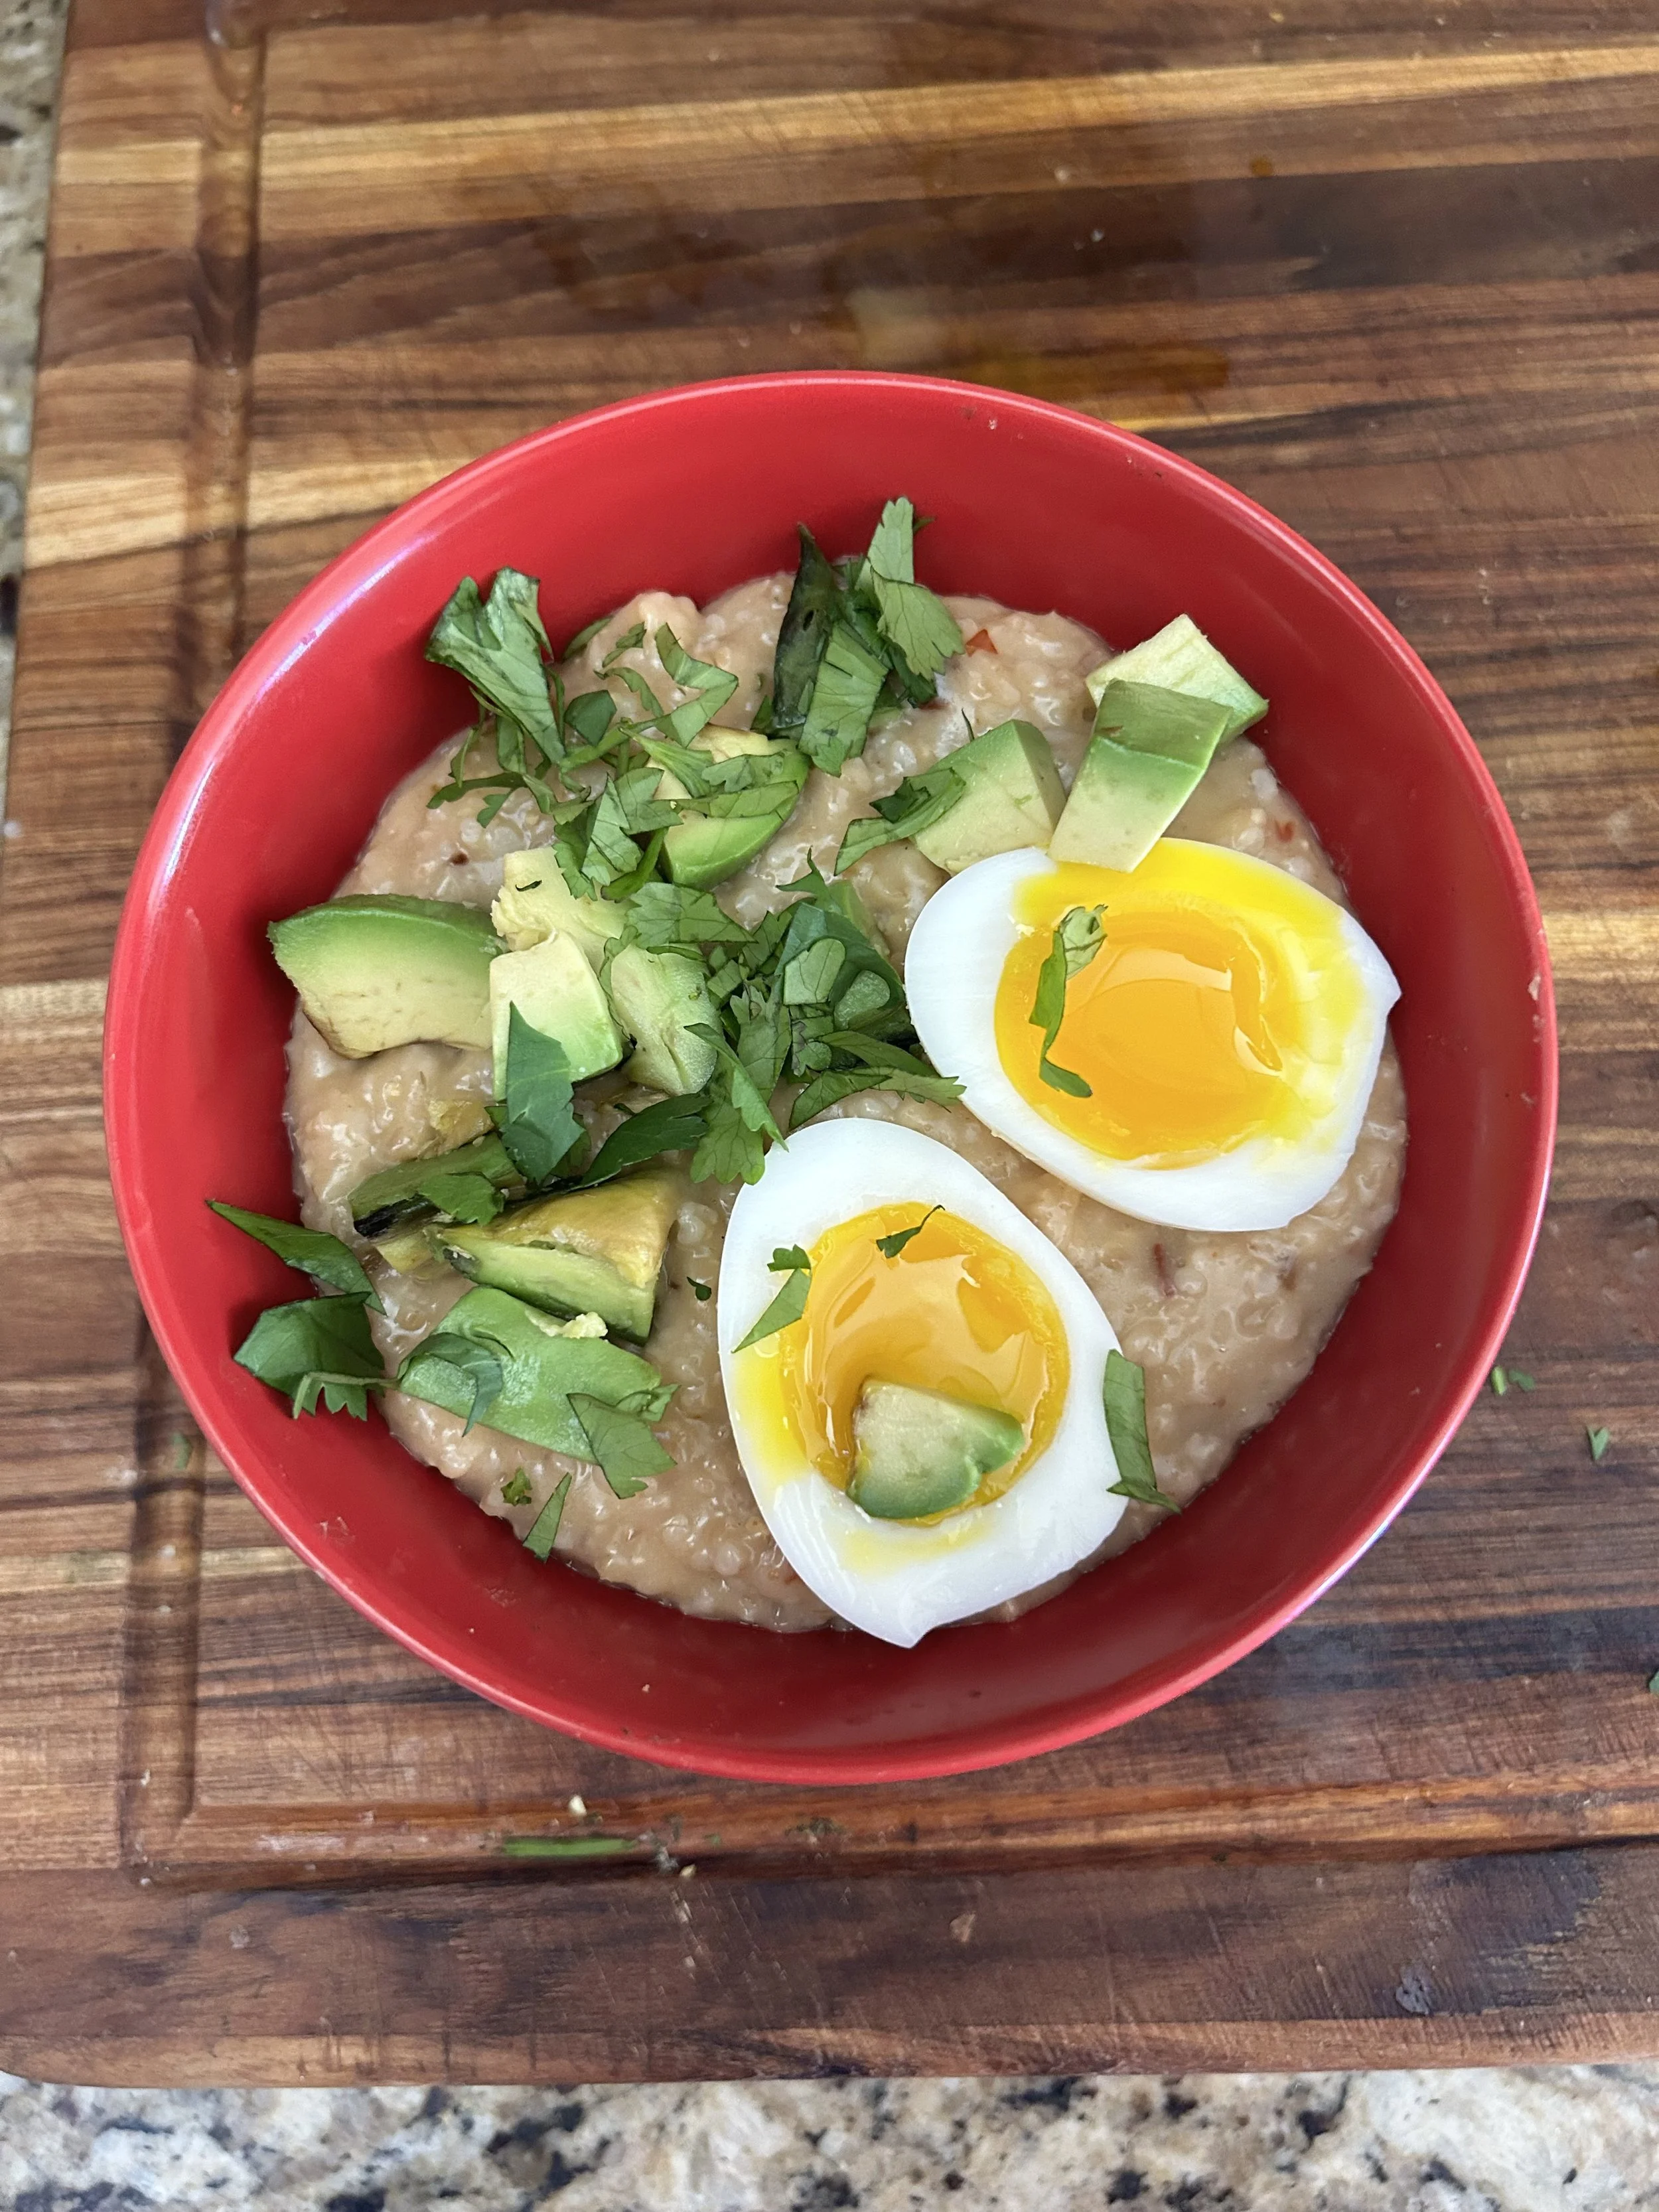
If you are into savory oatmeal, then this is for you! It has a spicy kick from the chipotles, which is cooled off by the avocado and the jammy, runny egg yolk. And since most of the fat in the dish comes from the egg yolk and avocado, you can rest assured that this dish won’t weigh you down.
Day 12: Oats
See? I told you I’d get to talking about oats.
Oats are just as great of a superfood as the rest. They have a bit of protein, a lot of fiber, and slow-burning carbohydrates to give you energy throughout the day.
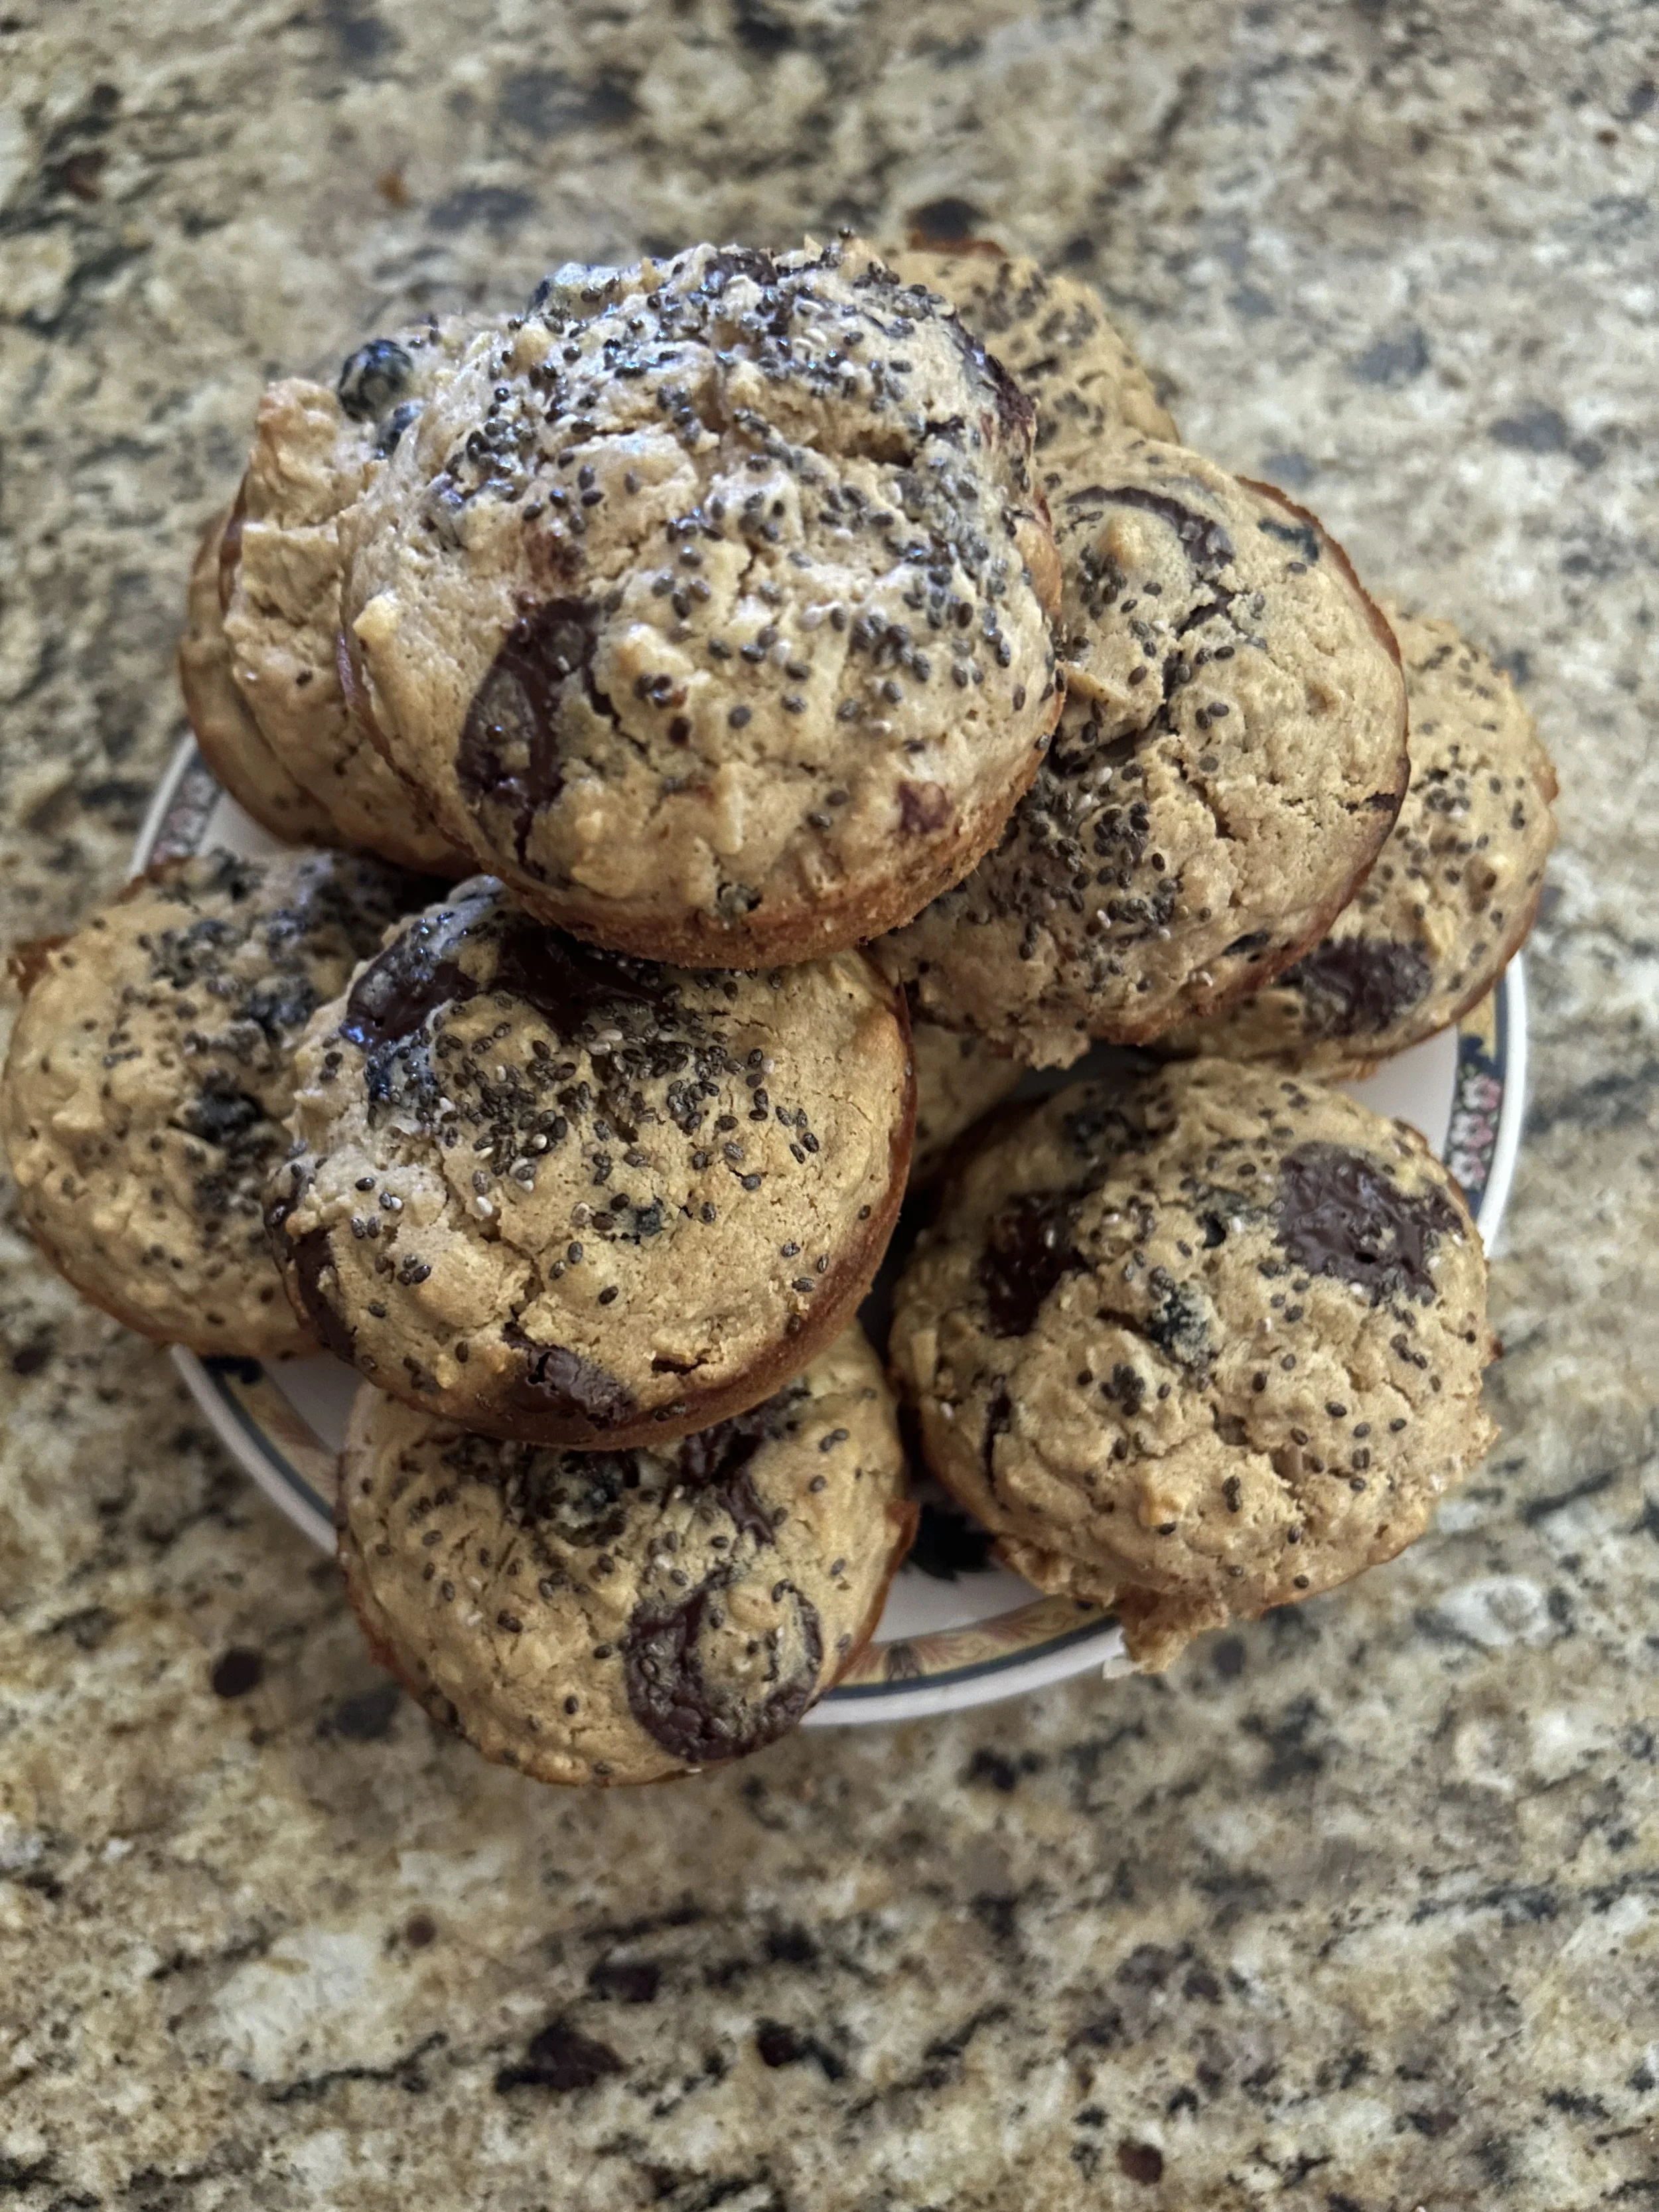
Since I already gave you an oatmeal recipe, I’m going to switch things up by combining the oats with some chocolate and peanut butter for some tasty muffins…doesn’t sound that healthy? Well, keep reading.
You want to start by heating the oven to 400 degrees and greasing a 12-cup muffin pan.
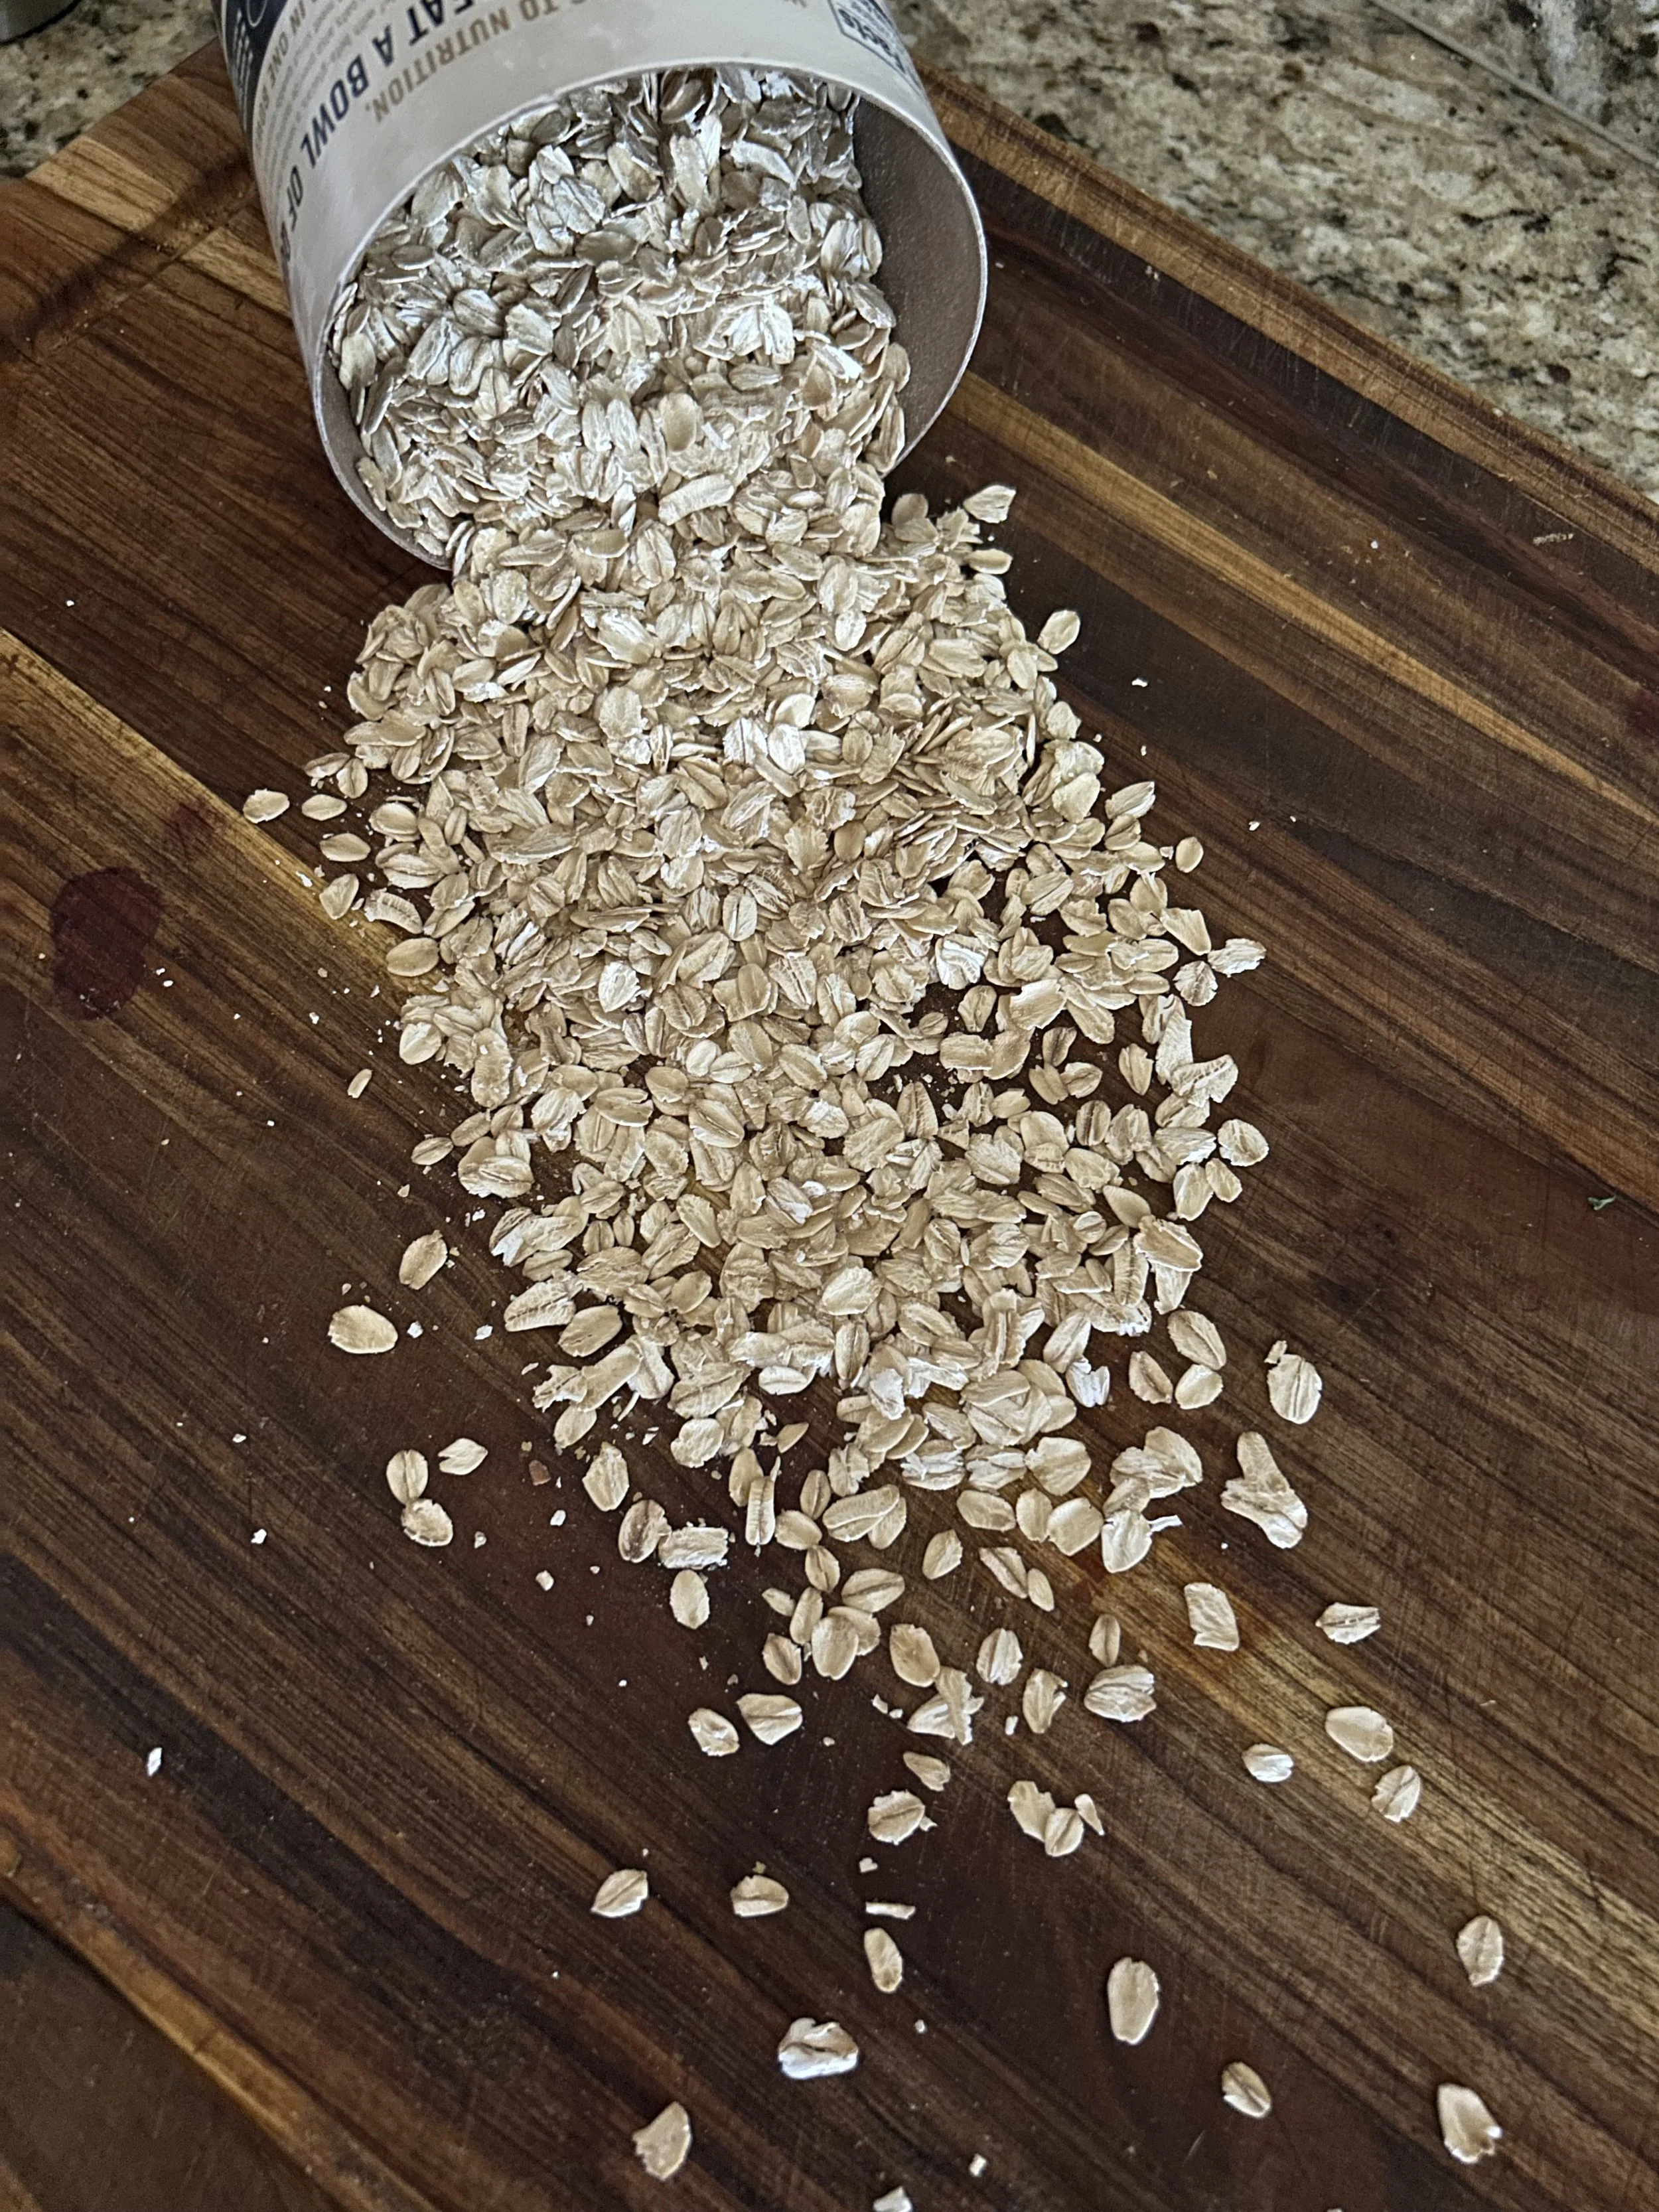
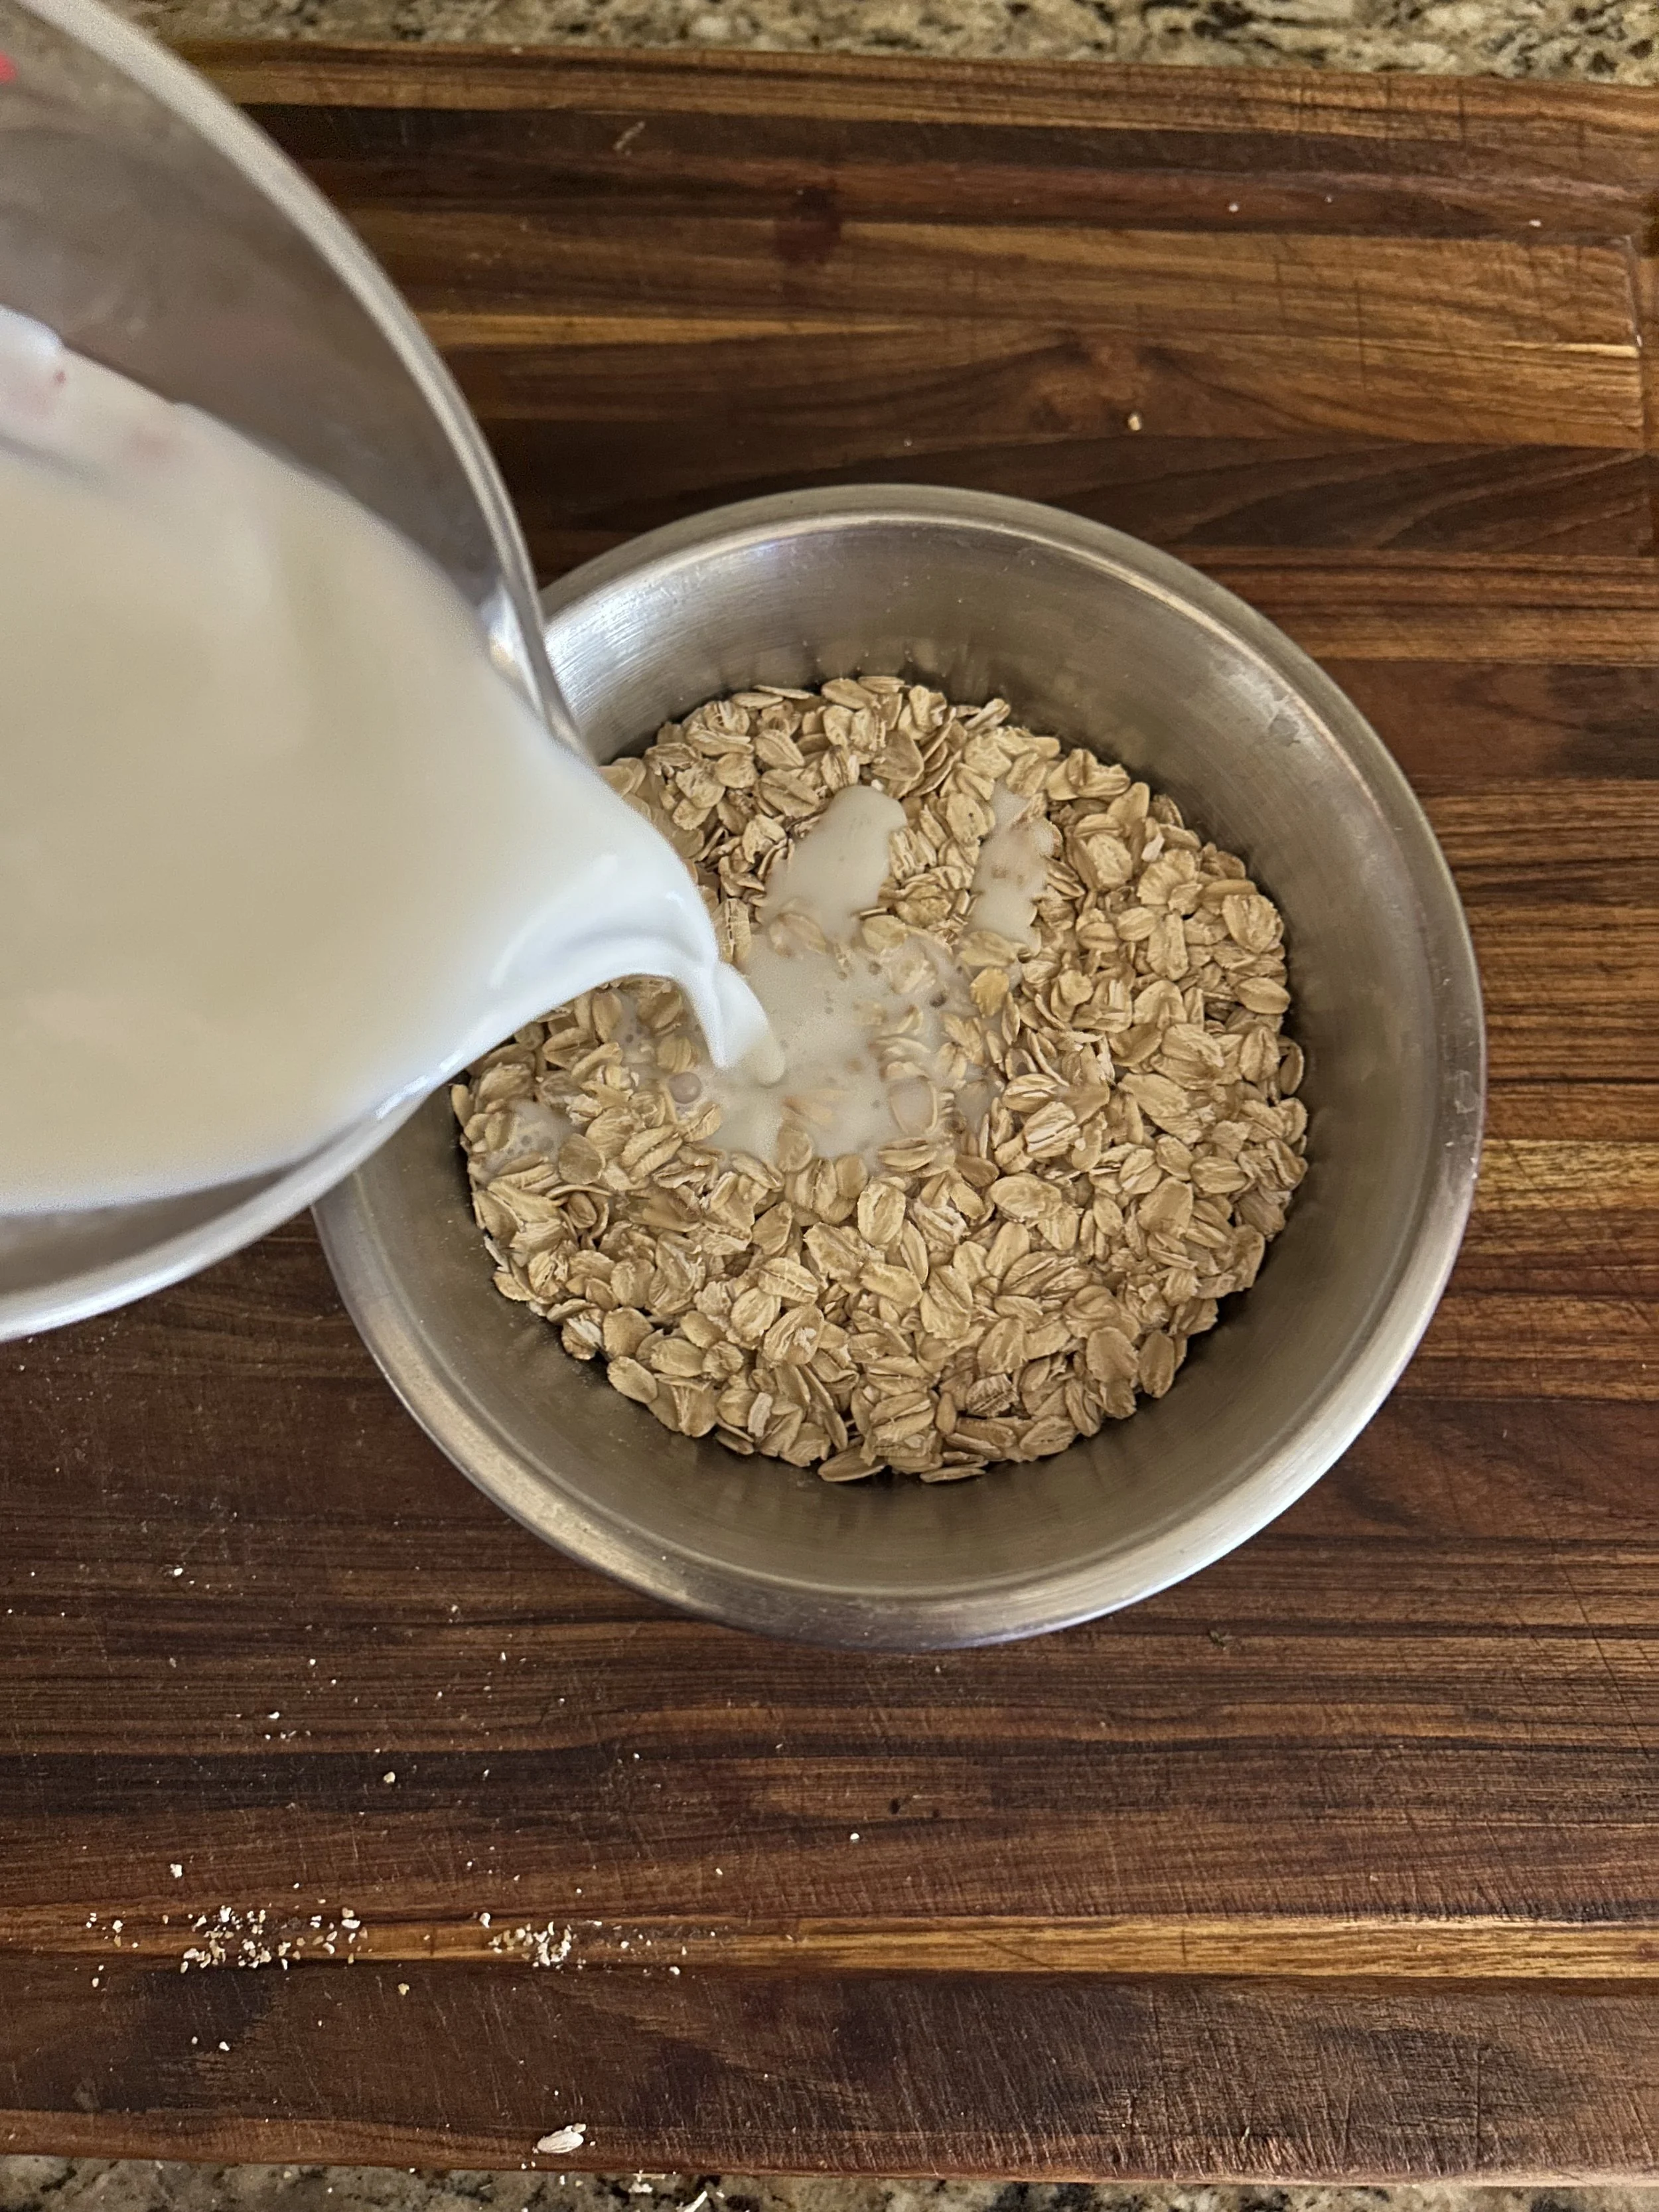
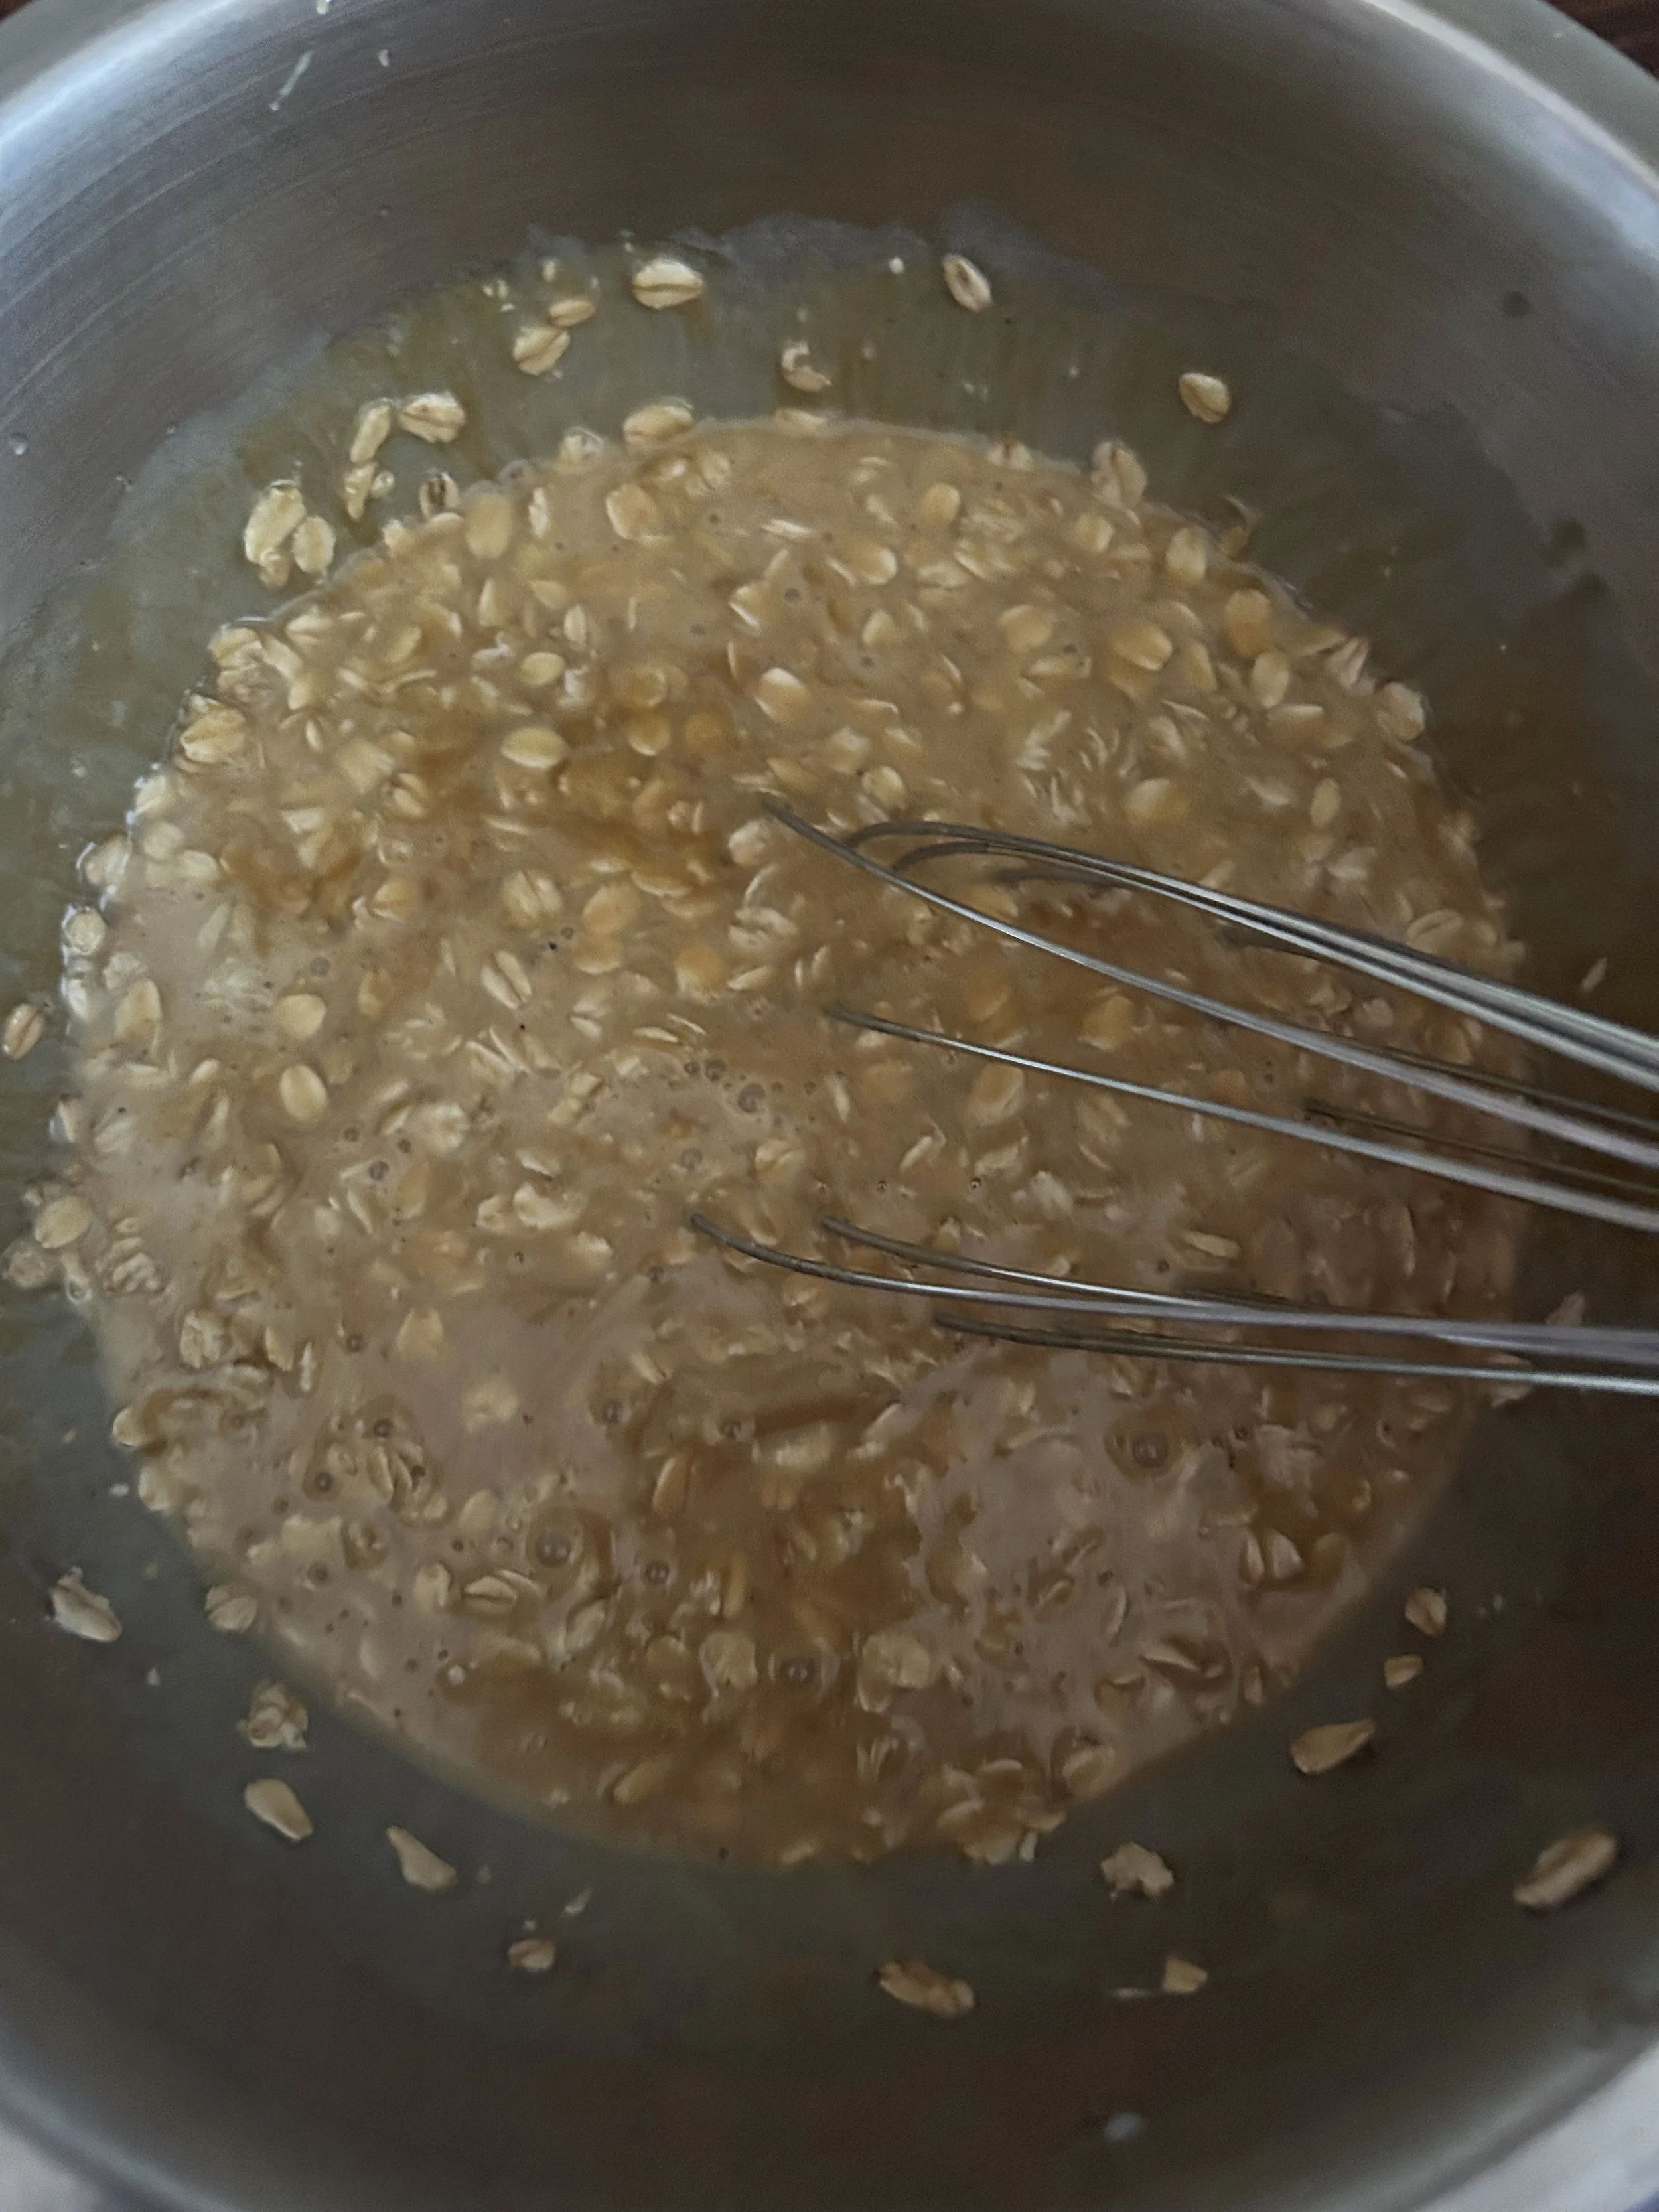
Soak 1 1/2 cups of rolled oats in 1 cup of milk for about 20 minutes. This will soften the oats, make them easily digestible, and drive home that classic oatmeal texture.
I used 2% milk for this, but whole or even almond milk will work as well.
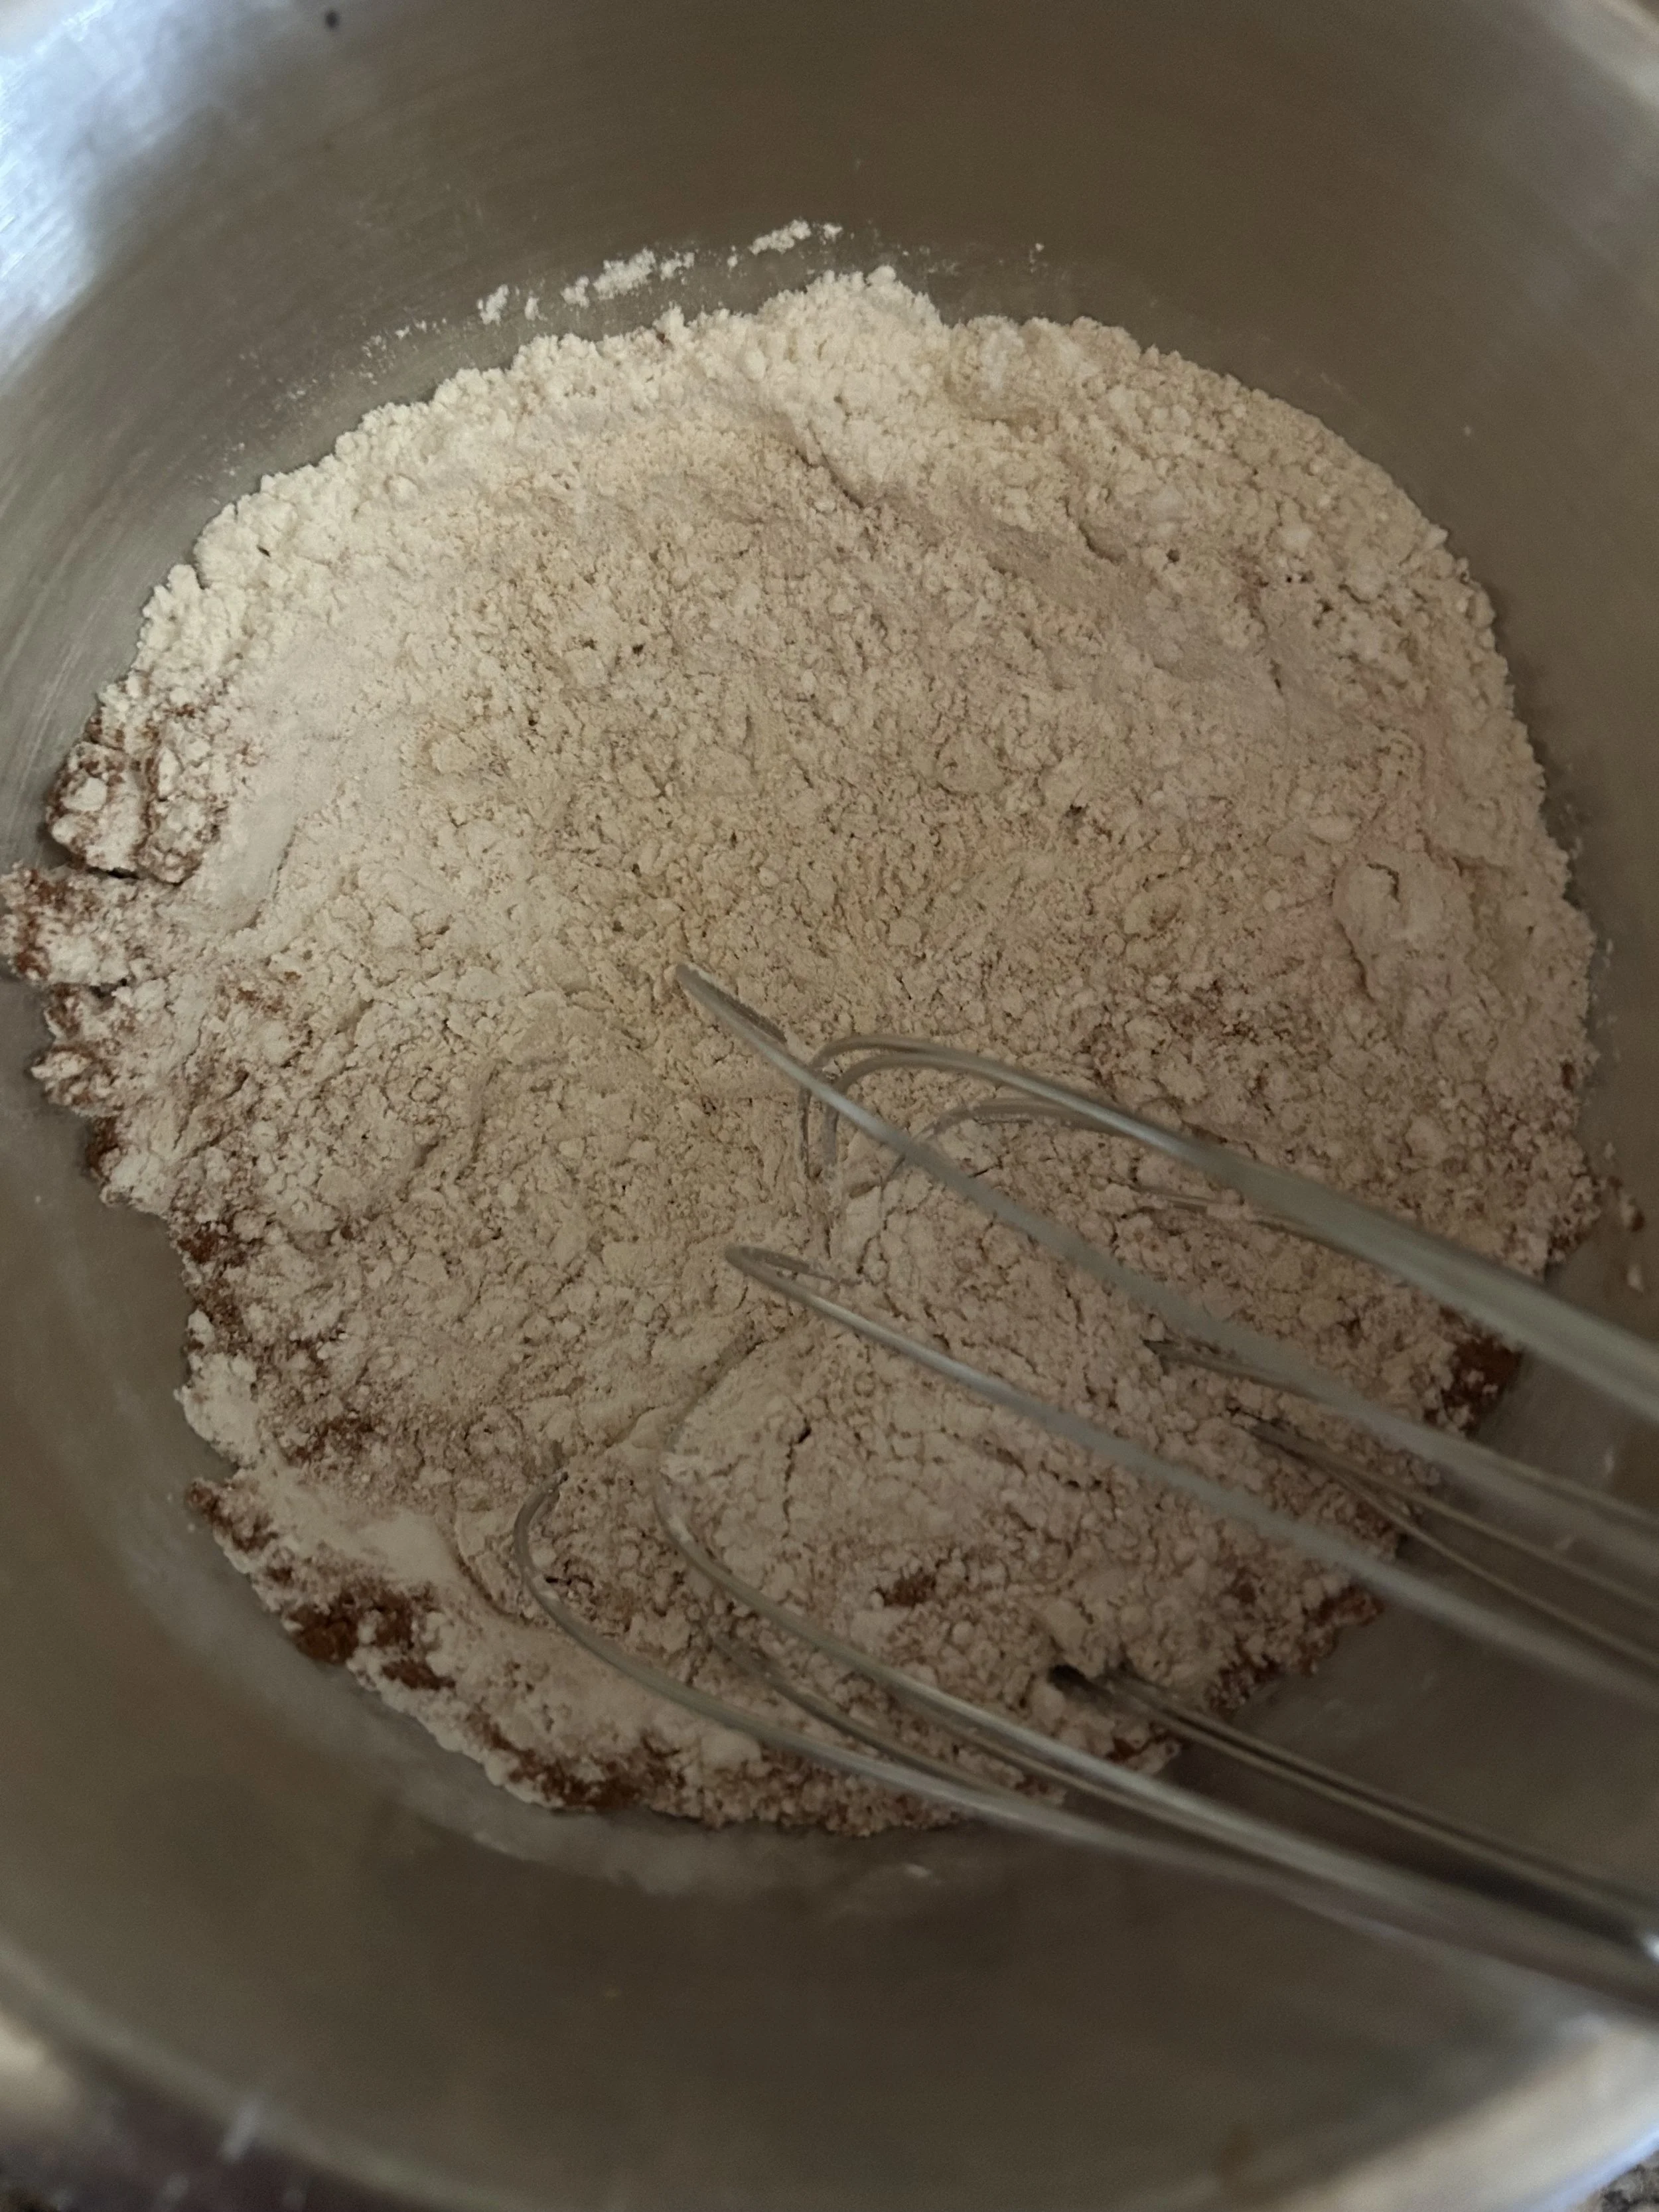
In a medium bowl, whisk together 1/2 cup each of flour and whole-wheat flour, 2 teaspoons of baking powder, 1 teaspoon of cinnamon, and 1/2 teaspoon of salt until combined. Set aside.
If you don’t have whole wheat flour, then just use an additional cup of flour.
In another bowl, whisk together 1/2 cup of each melted coconut oil or butter, peanut or almond butter, 2 teaspoons of vanilla extract, 2 eggs, and 1/2 cup of maple syrup.
Whisk the soaked oats into the peanut butter mixture until combined.
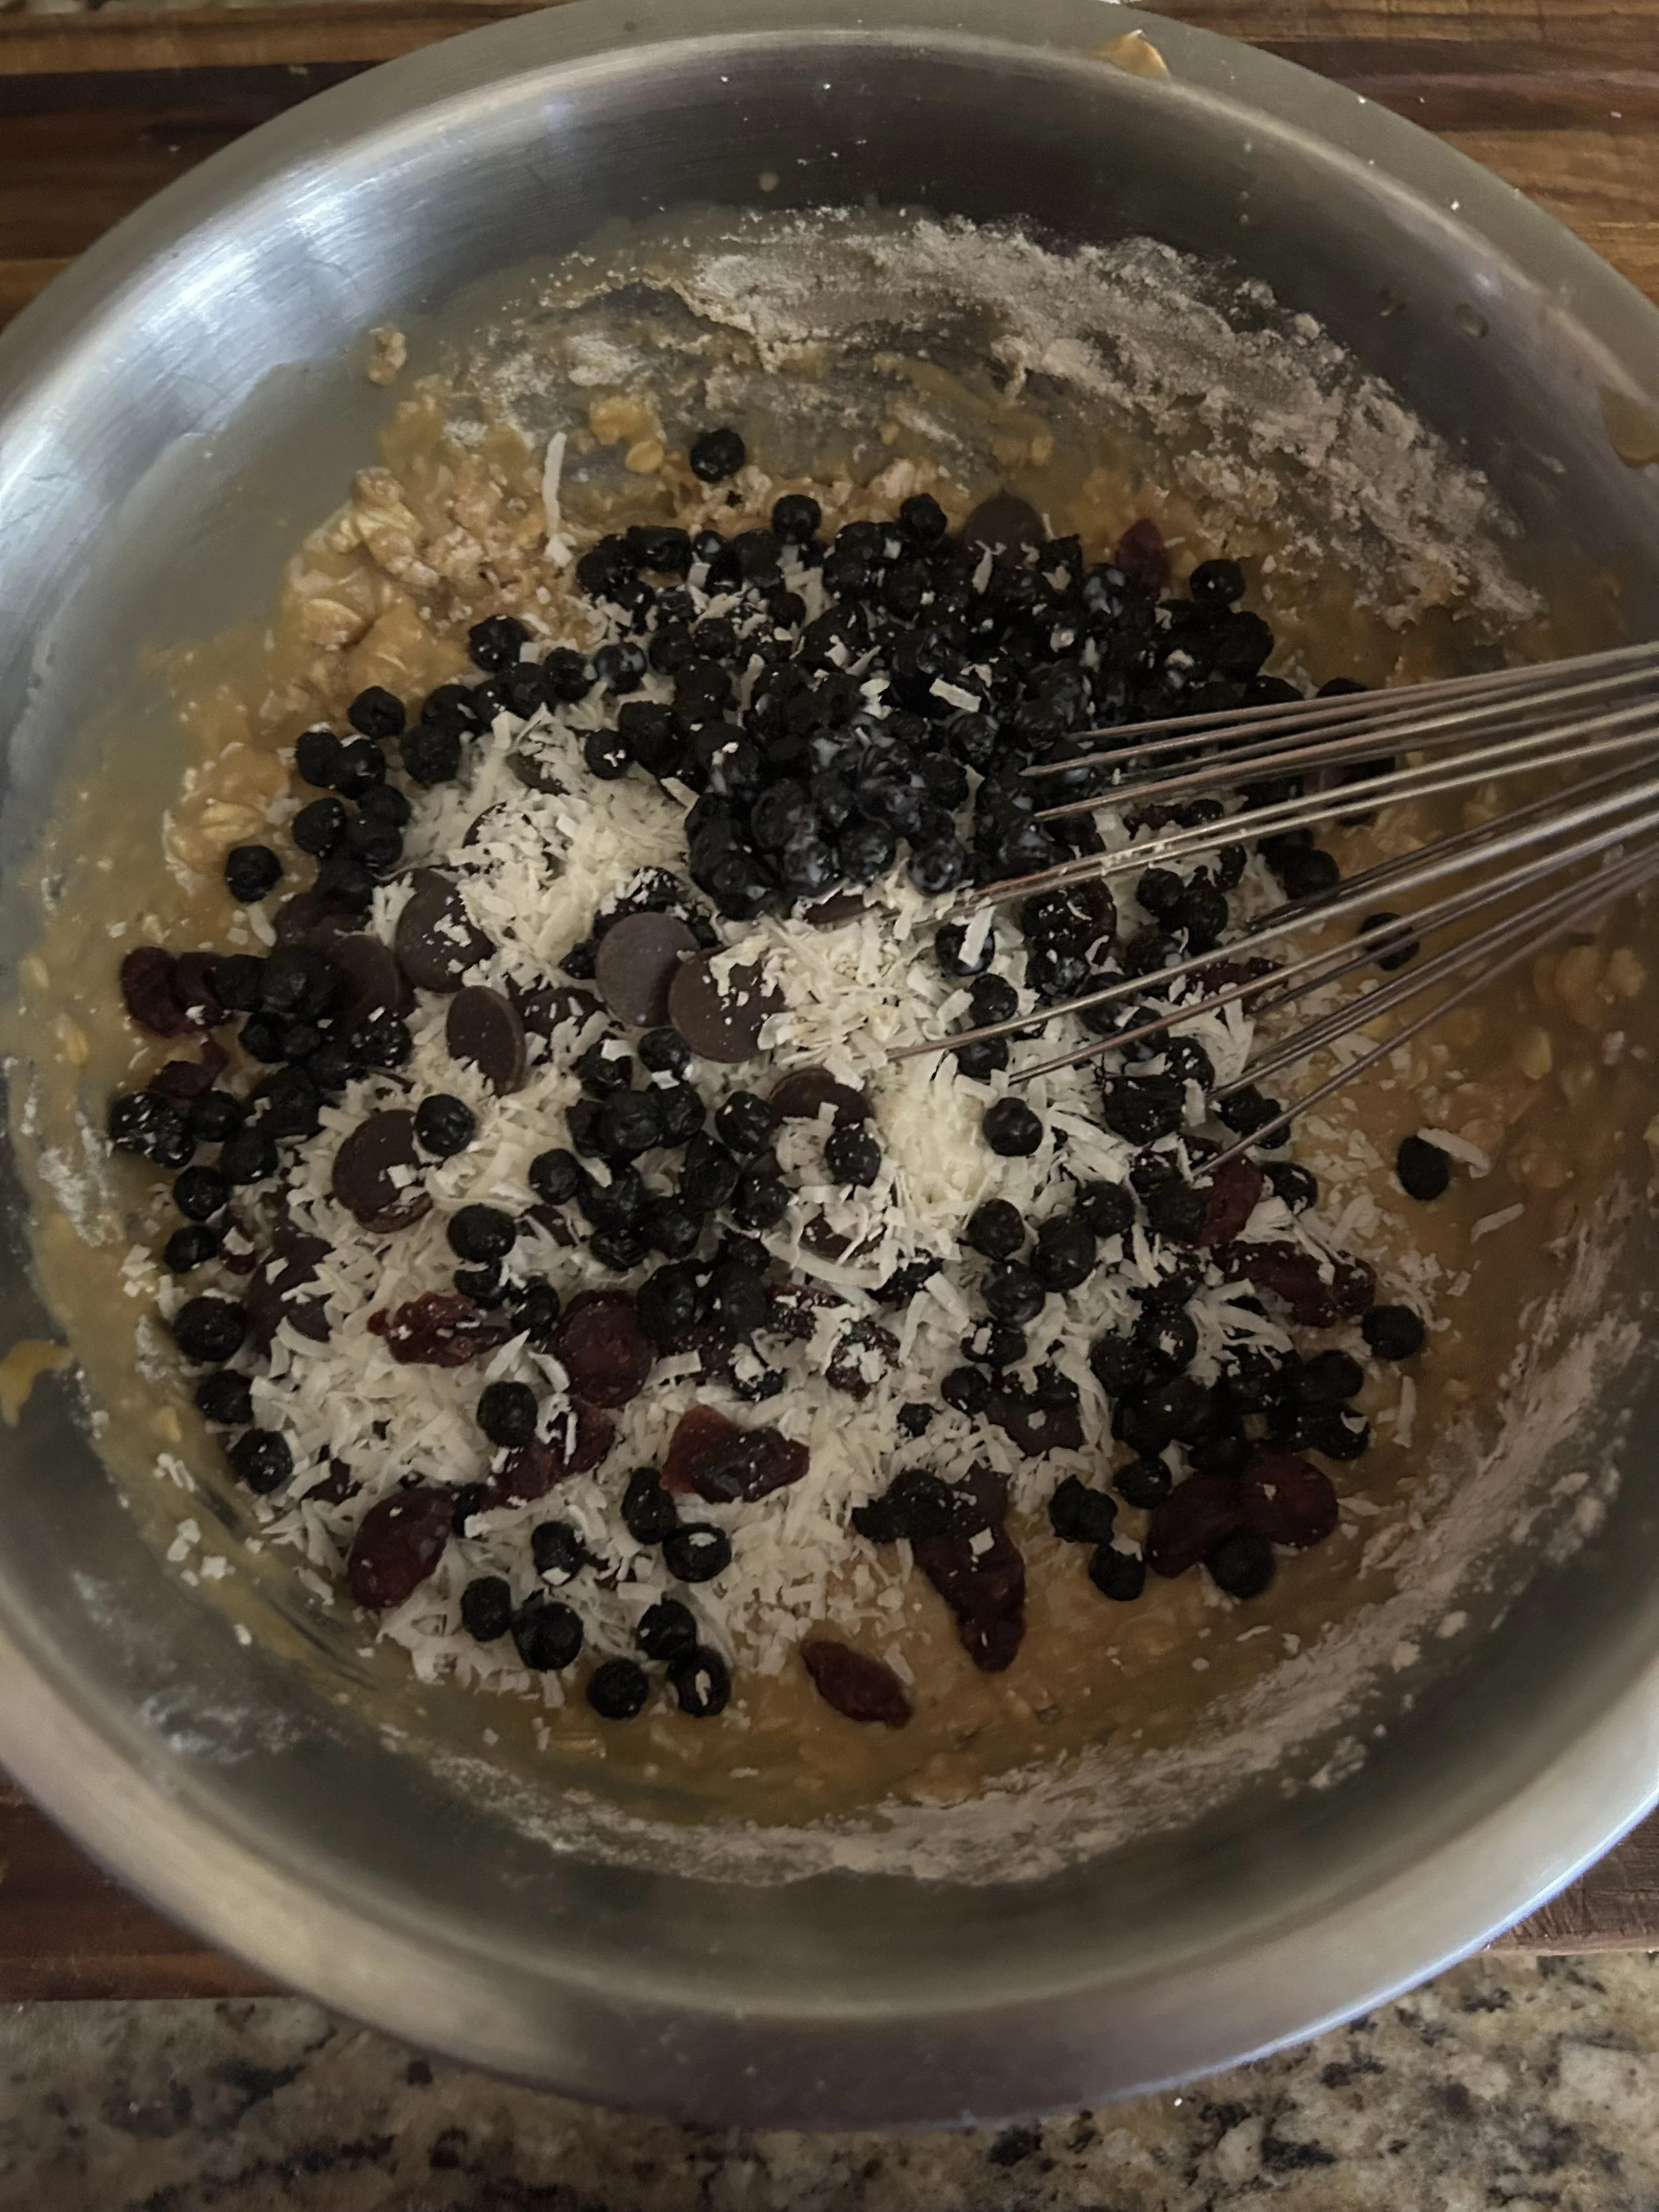
Whisk the flour mixture into the oat-peanut butter mixture until almost combined, then fold in 3/4 cup each of dark chocolate, unsweetened coconut flakes, and dried cherries, blueberries, and/or cranberries.
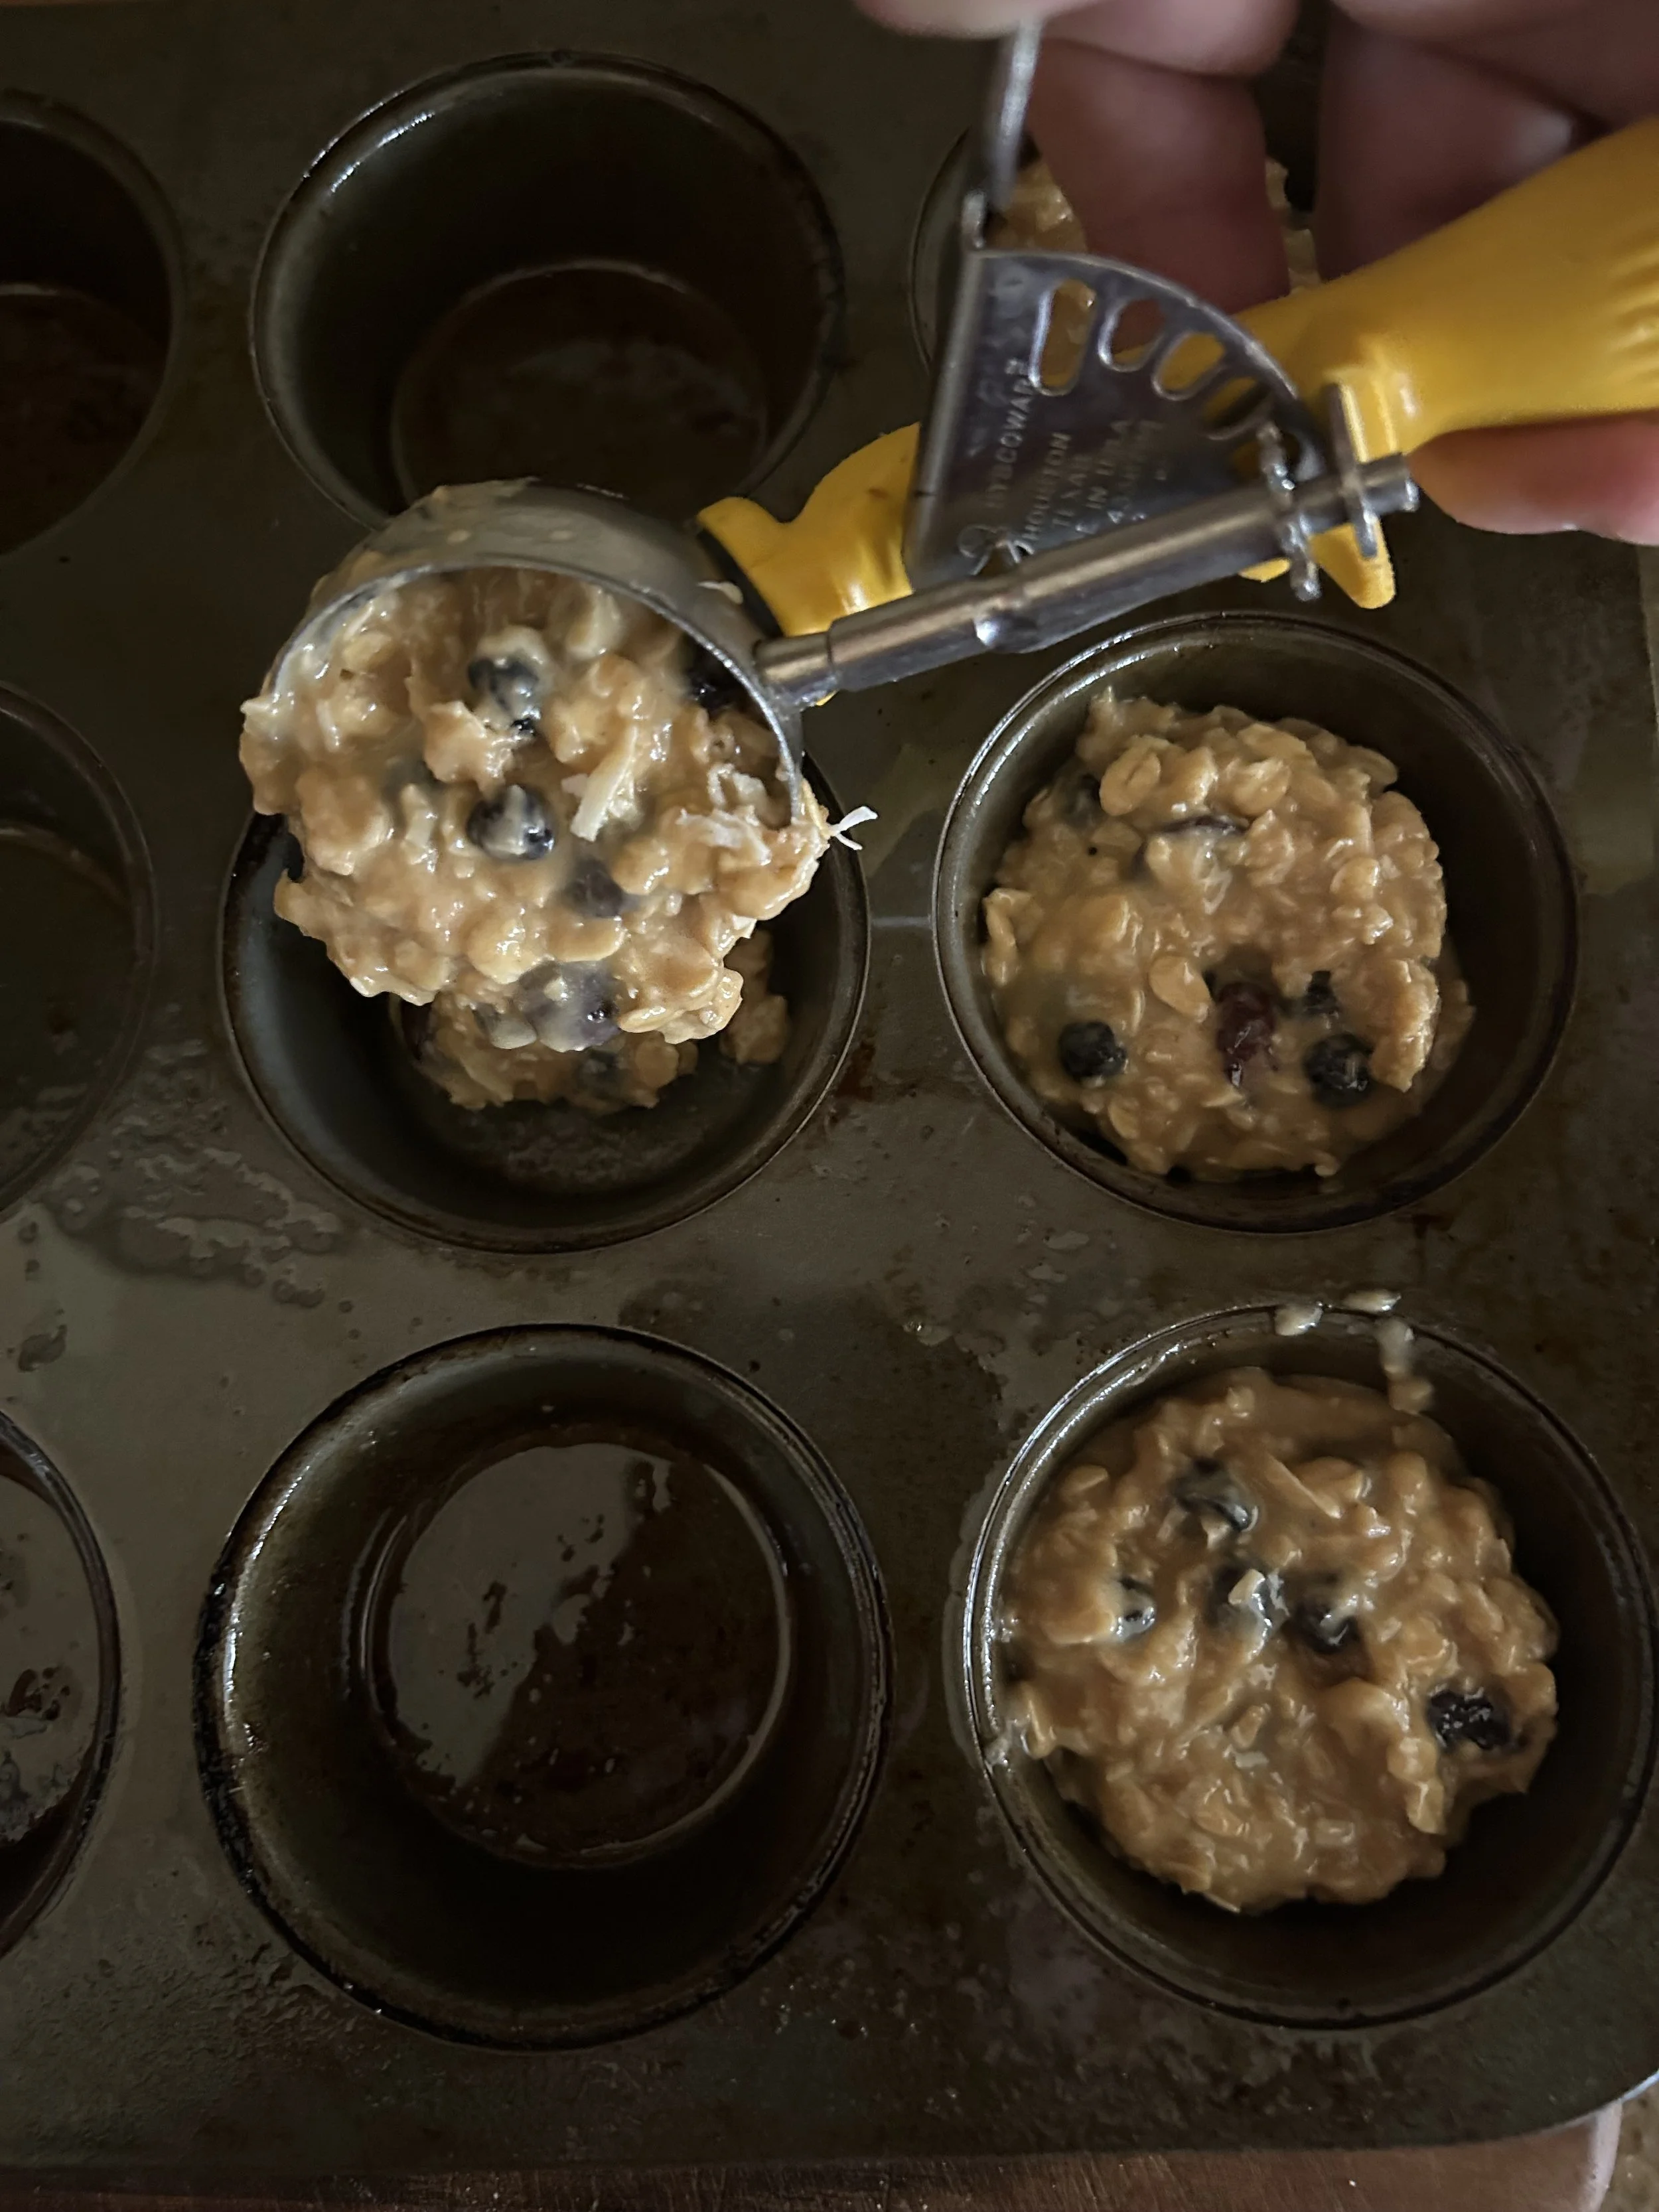
Divide the batter among the prepared pan and top with chia seeds. Bake the muffins for 16-20 minutes, or until a toothpick inserted comes out clean, and let them cool on a wire rack before removing from the pan.
By the way, if you have this little ice cream scoop with the yellow handle, it’s the perfect portion size for these 12-cup muffin pans.
See that? Not only do these muffins contain heart-healthy oats among other nutritious ingredients, but they are also low in sugar and low fat, so you don’t have to feel guilty about having an extra muffin or two.
Plus, these muffins taste great!
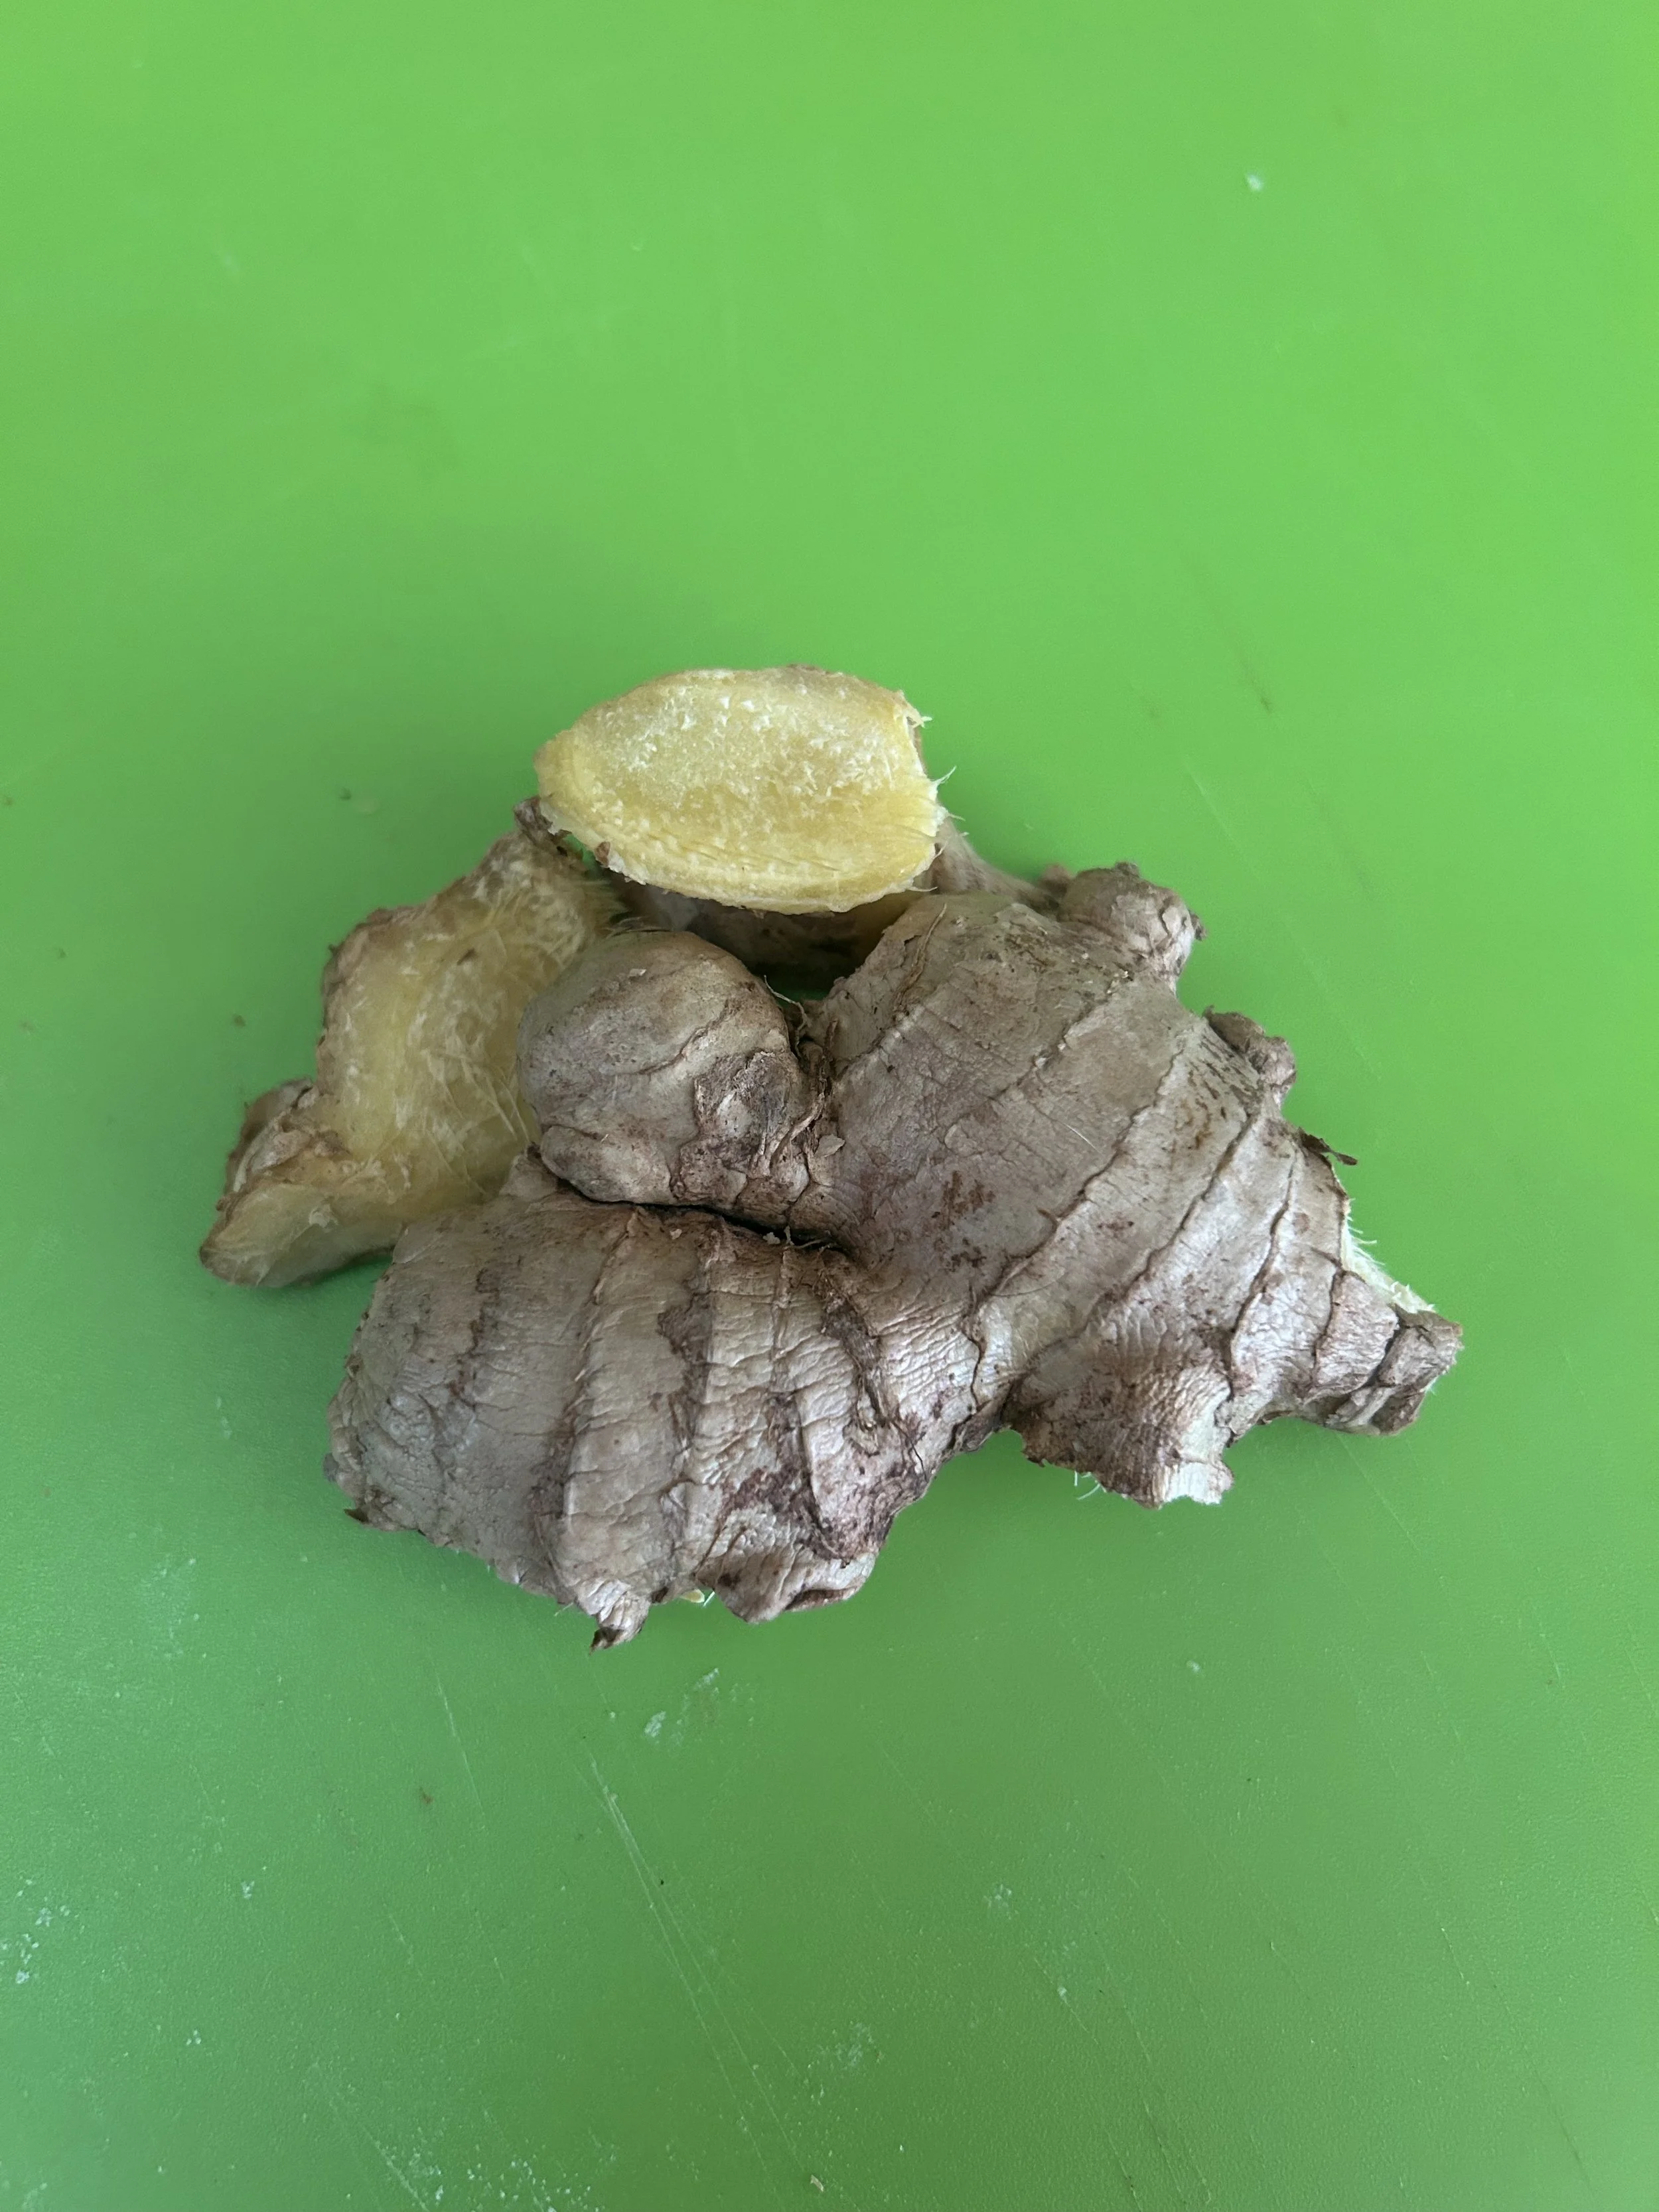
Day 13: Ginger
Just like turmeric, ginger is a great anti-inflammatory agent and can help to relieve stomach aches and sores.
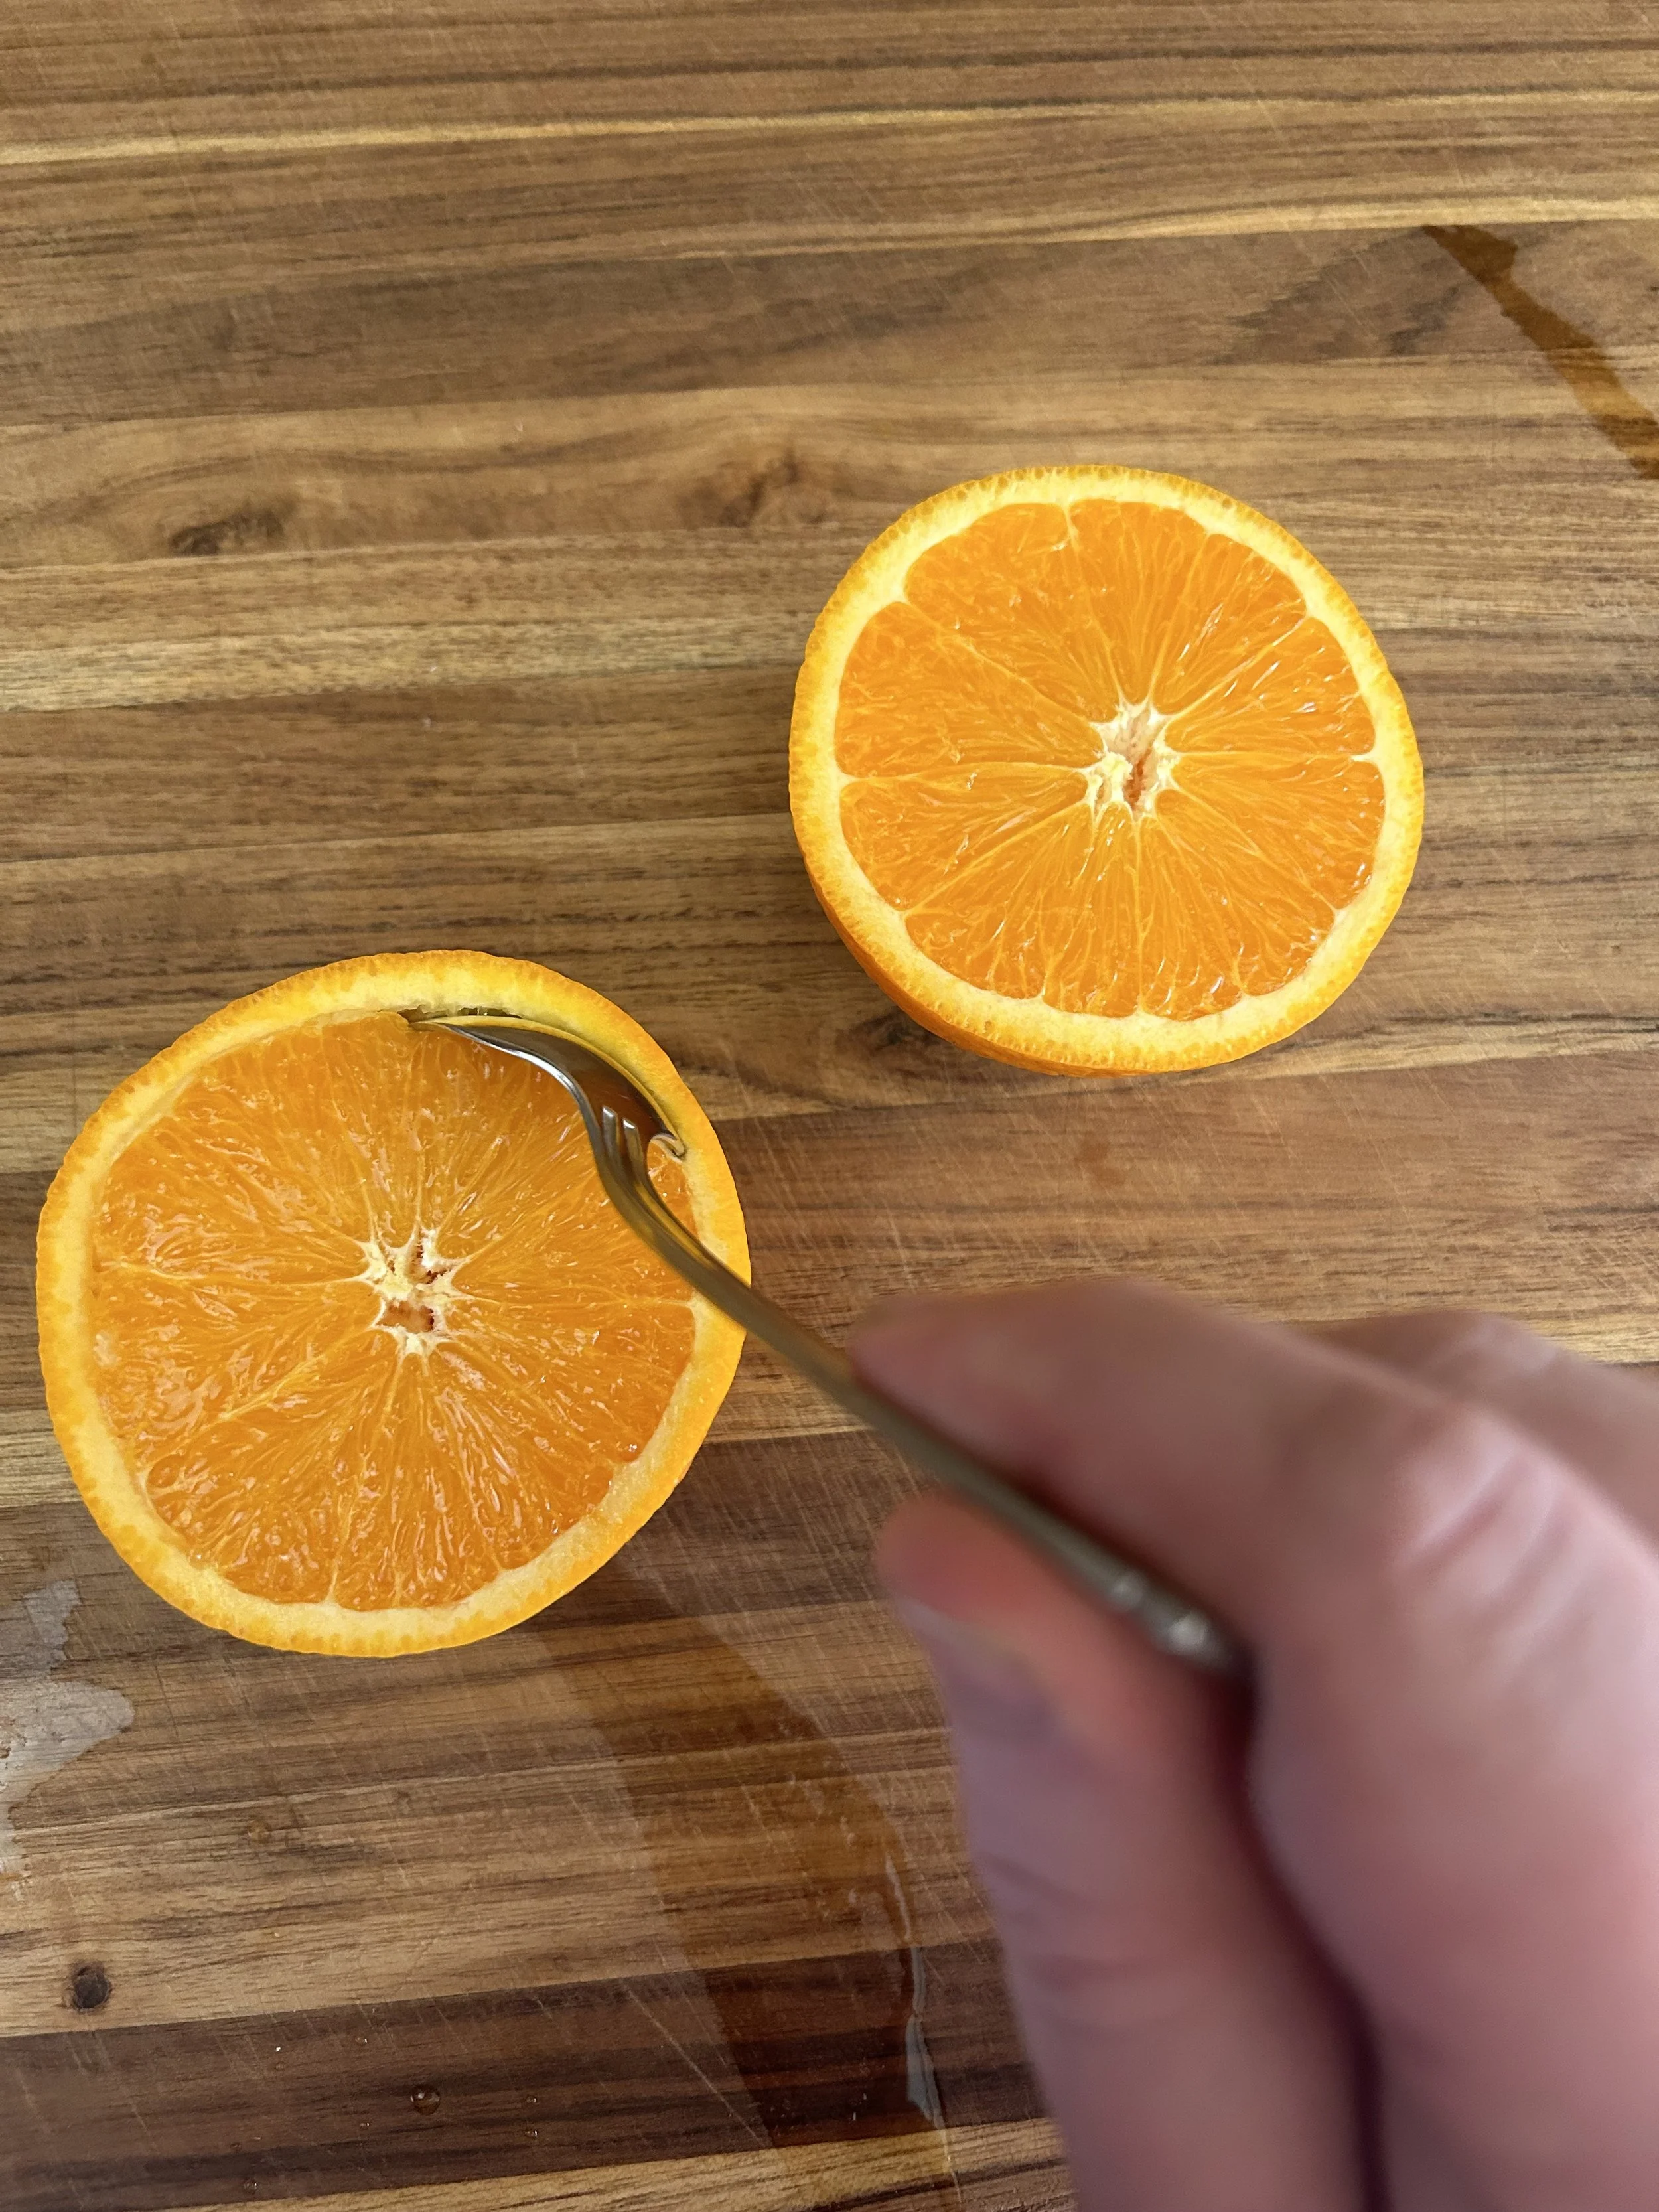
This application that I’ll be using for ginger could not be easier.
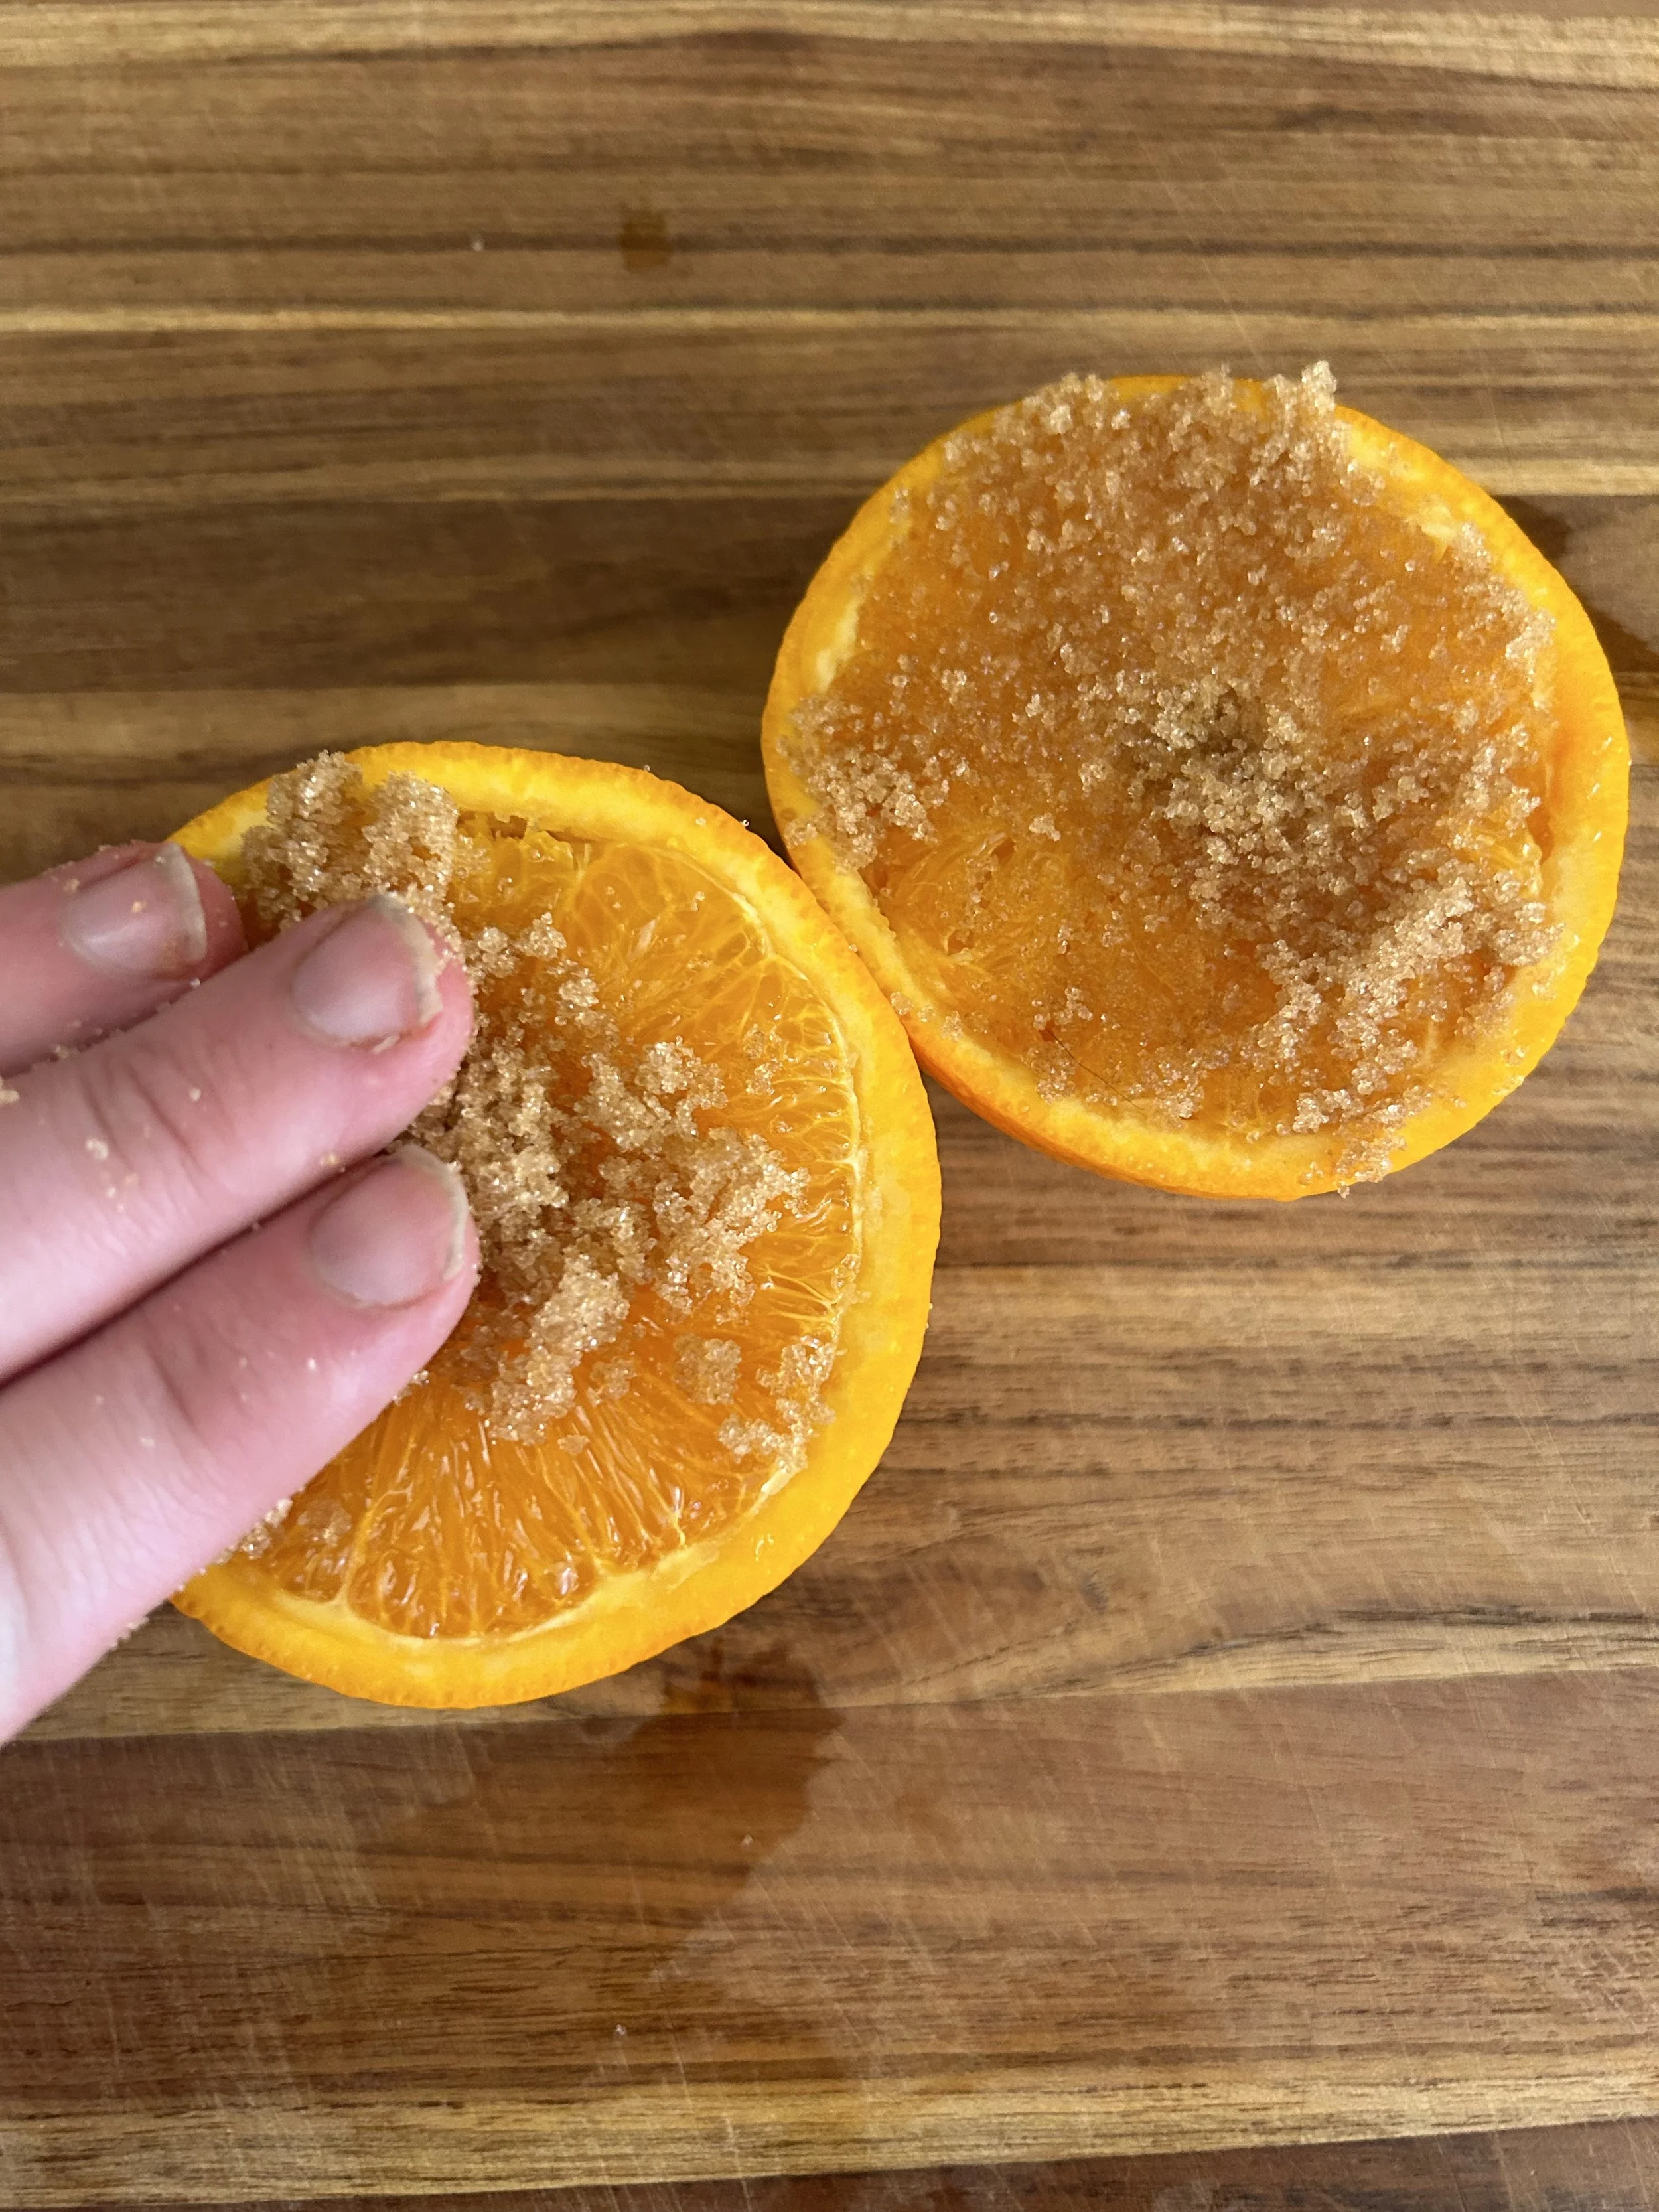
Cut two navel oranges in half, crosswise, and use a spoon or paring knife to separate the segments from the skin. Sprinkle some brown sugar onto the cut side of each orange half.
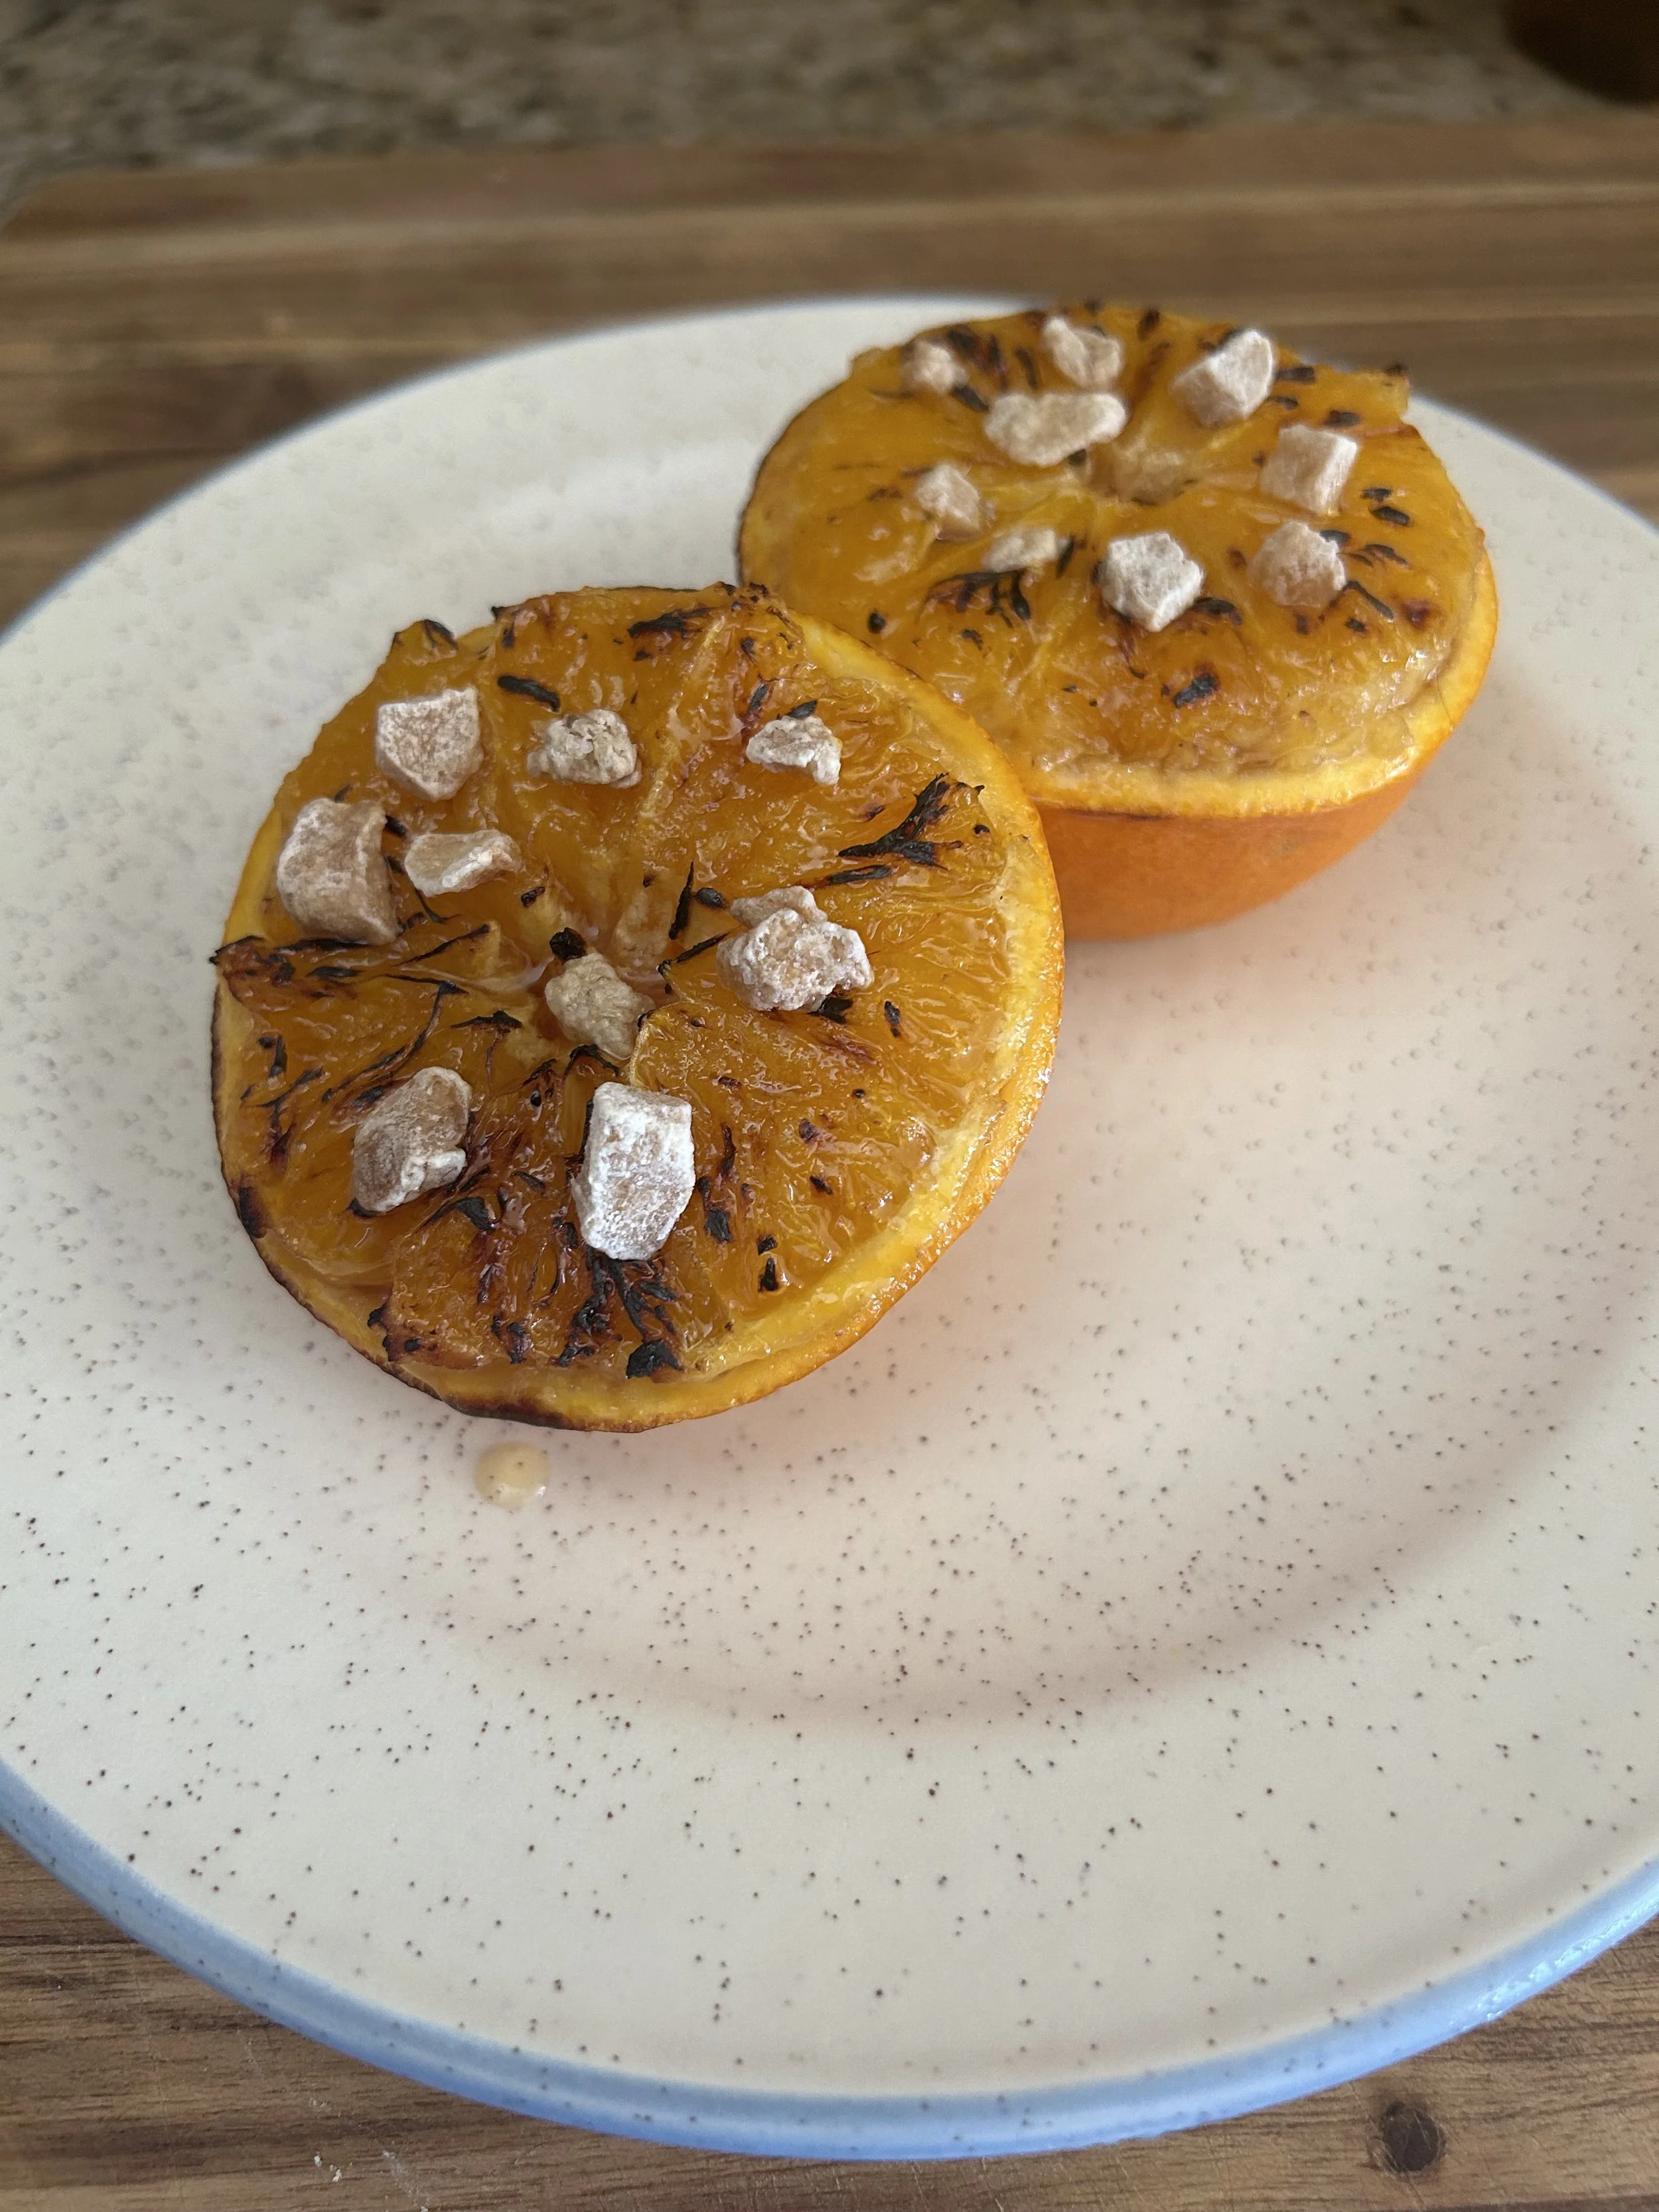
Broil for about 5 minutes, or until the top of the oranges is caramelized, then garnish with chopped crystalized ginger.
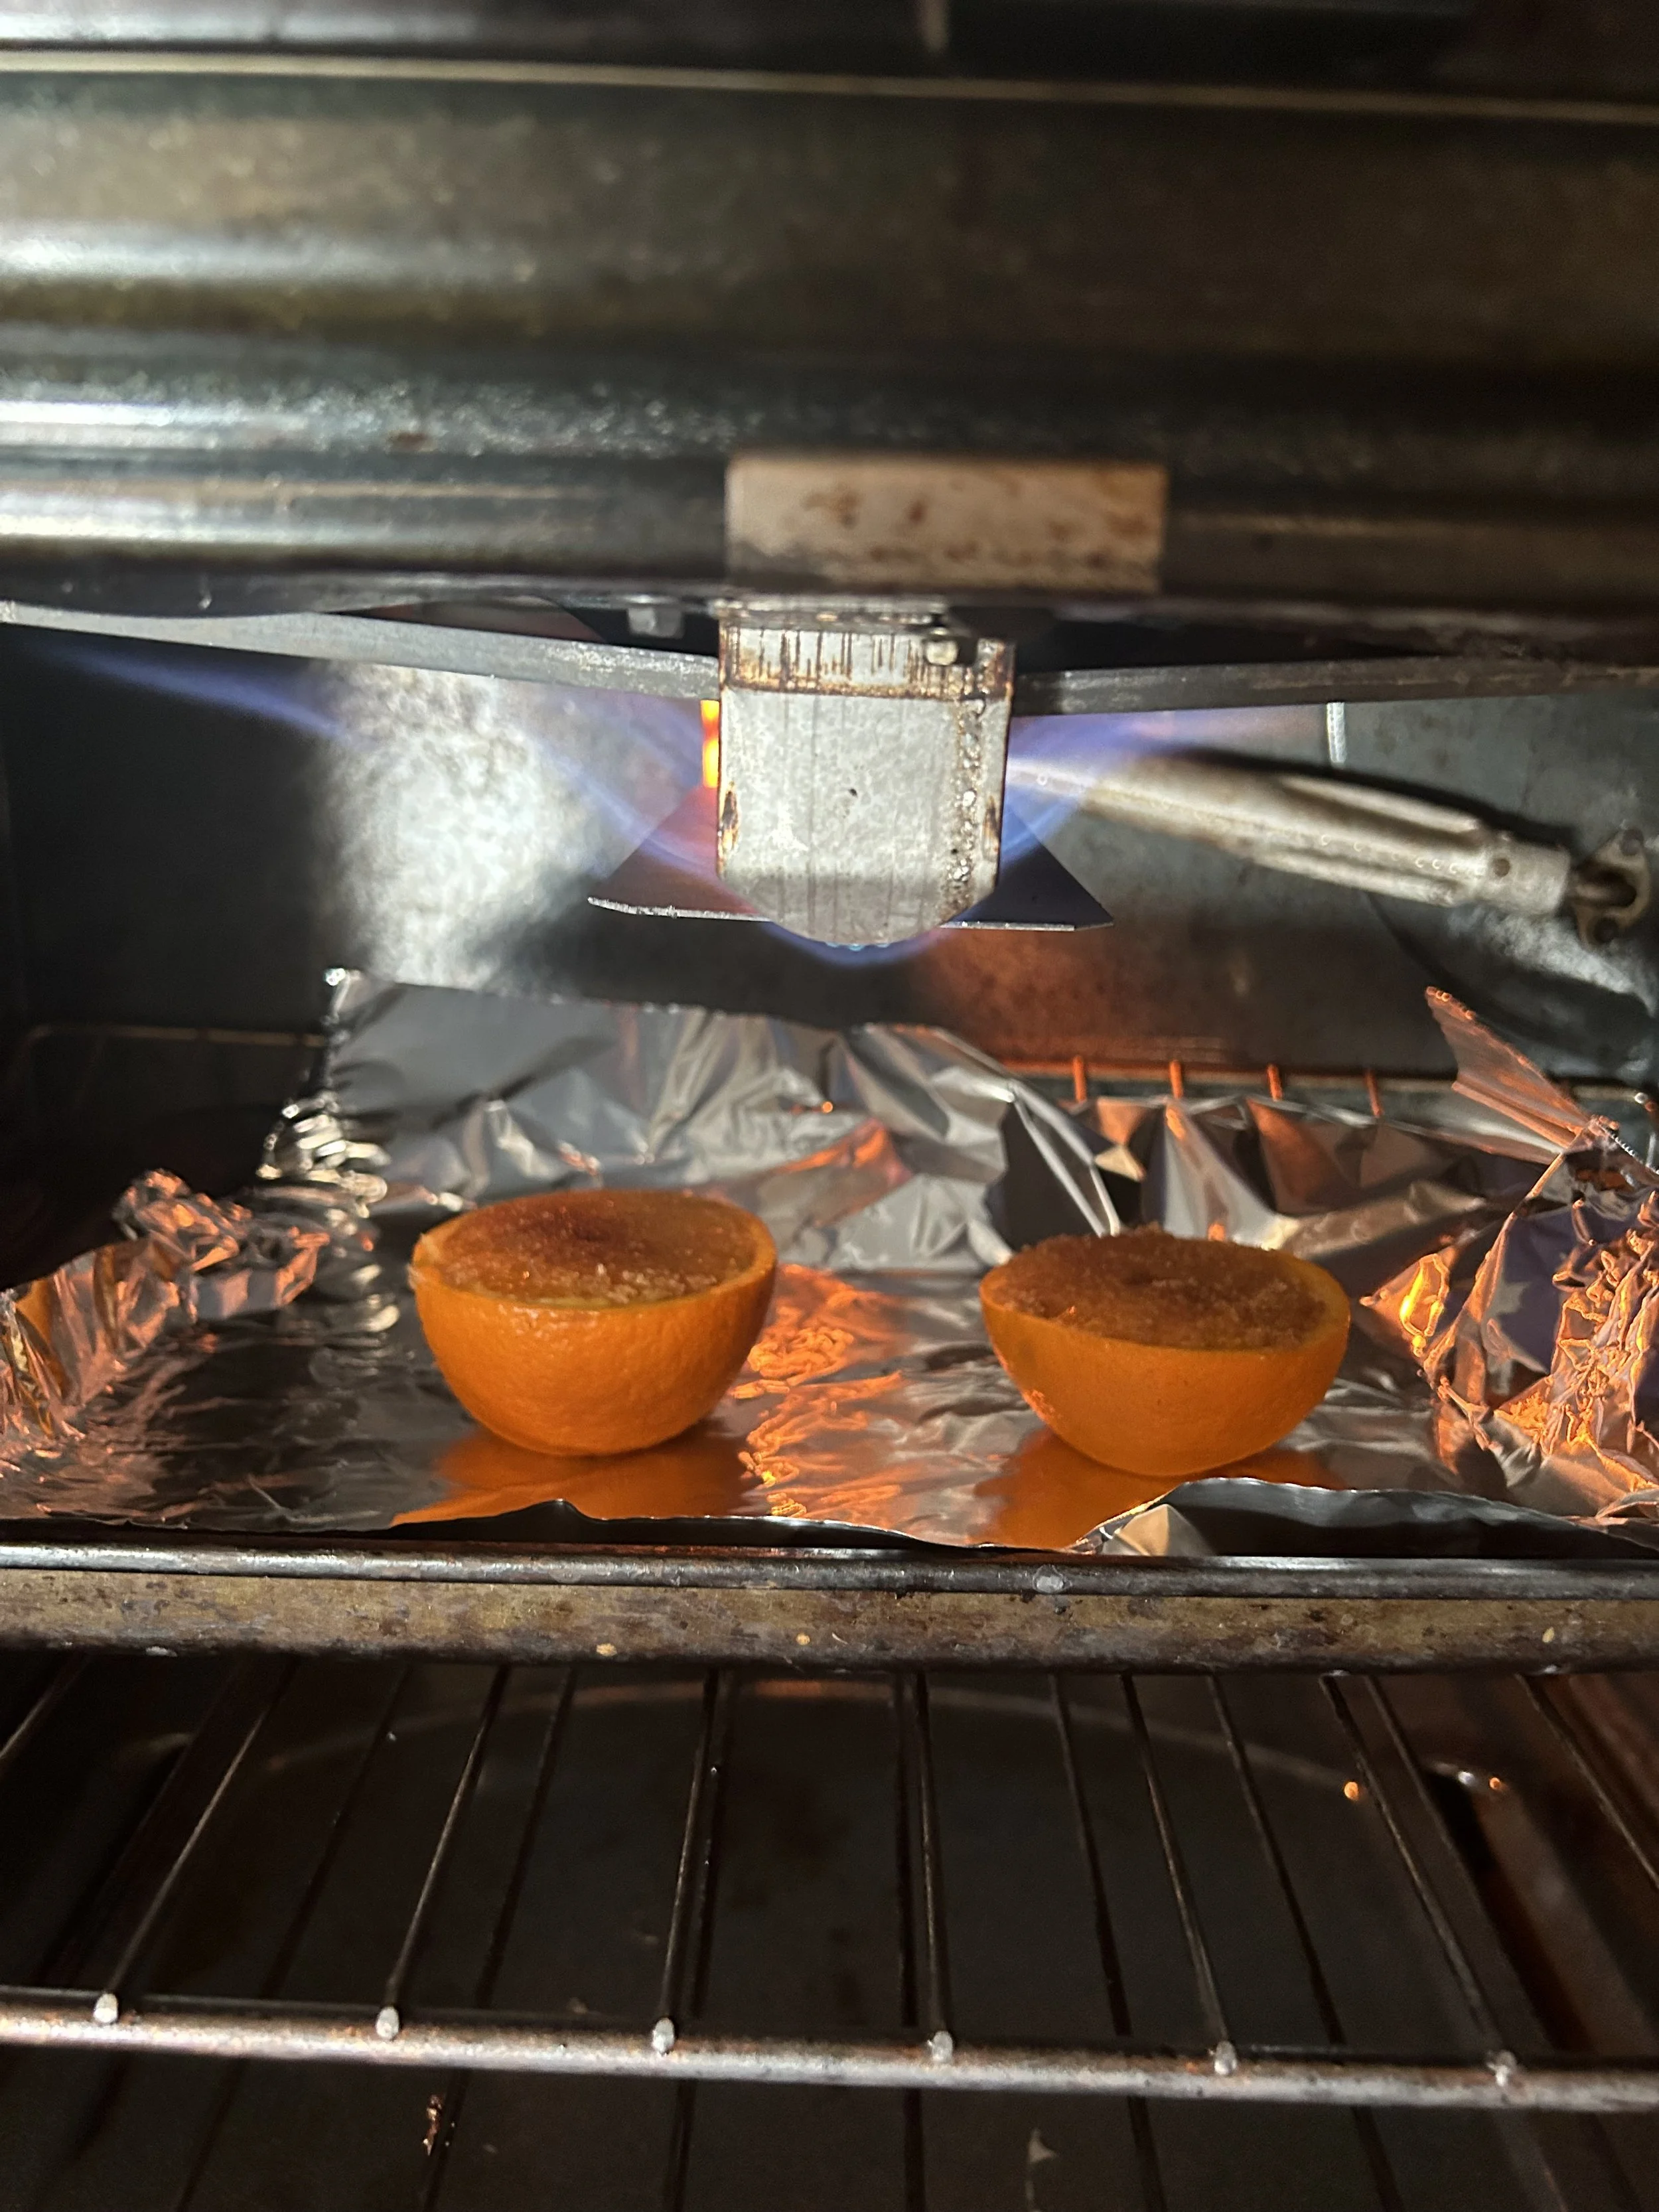
What you get is a bit of a crispy Crème Brulee effect that enhances the sweet-tart flavor of the oranges and is only lifted by the spice and added nutrients of the ginger.
Day 14: Walnuts
Like most tree nuts, walnuts contain a lot of omega-3s, which makes them one of the best superfoods on the market. Omega 3 fatty acids are essential because, like any unsaturated fat, help the body break down and digest other essential nutrients.
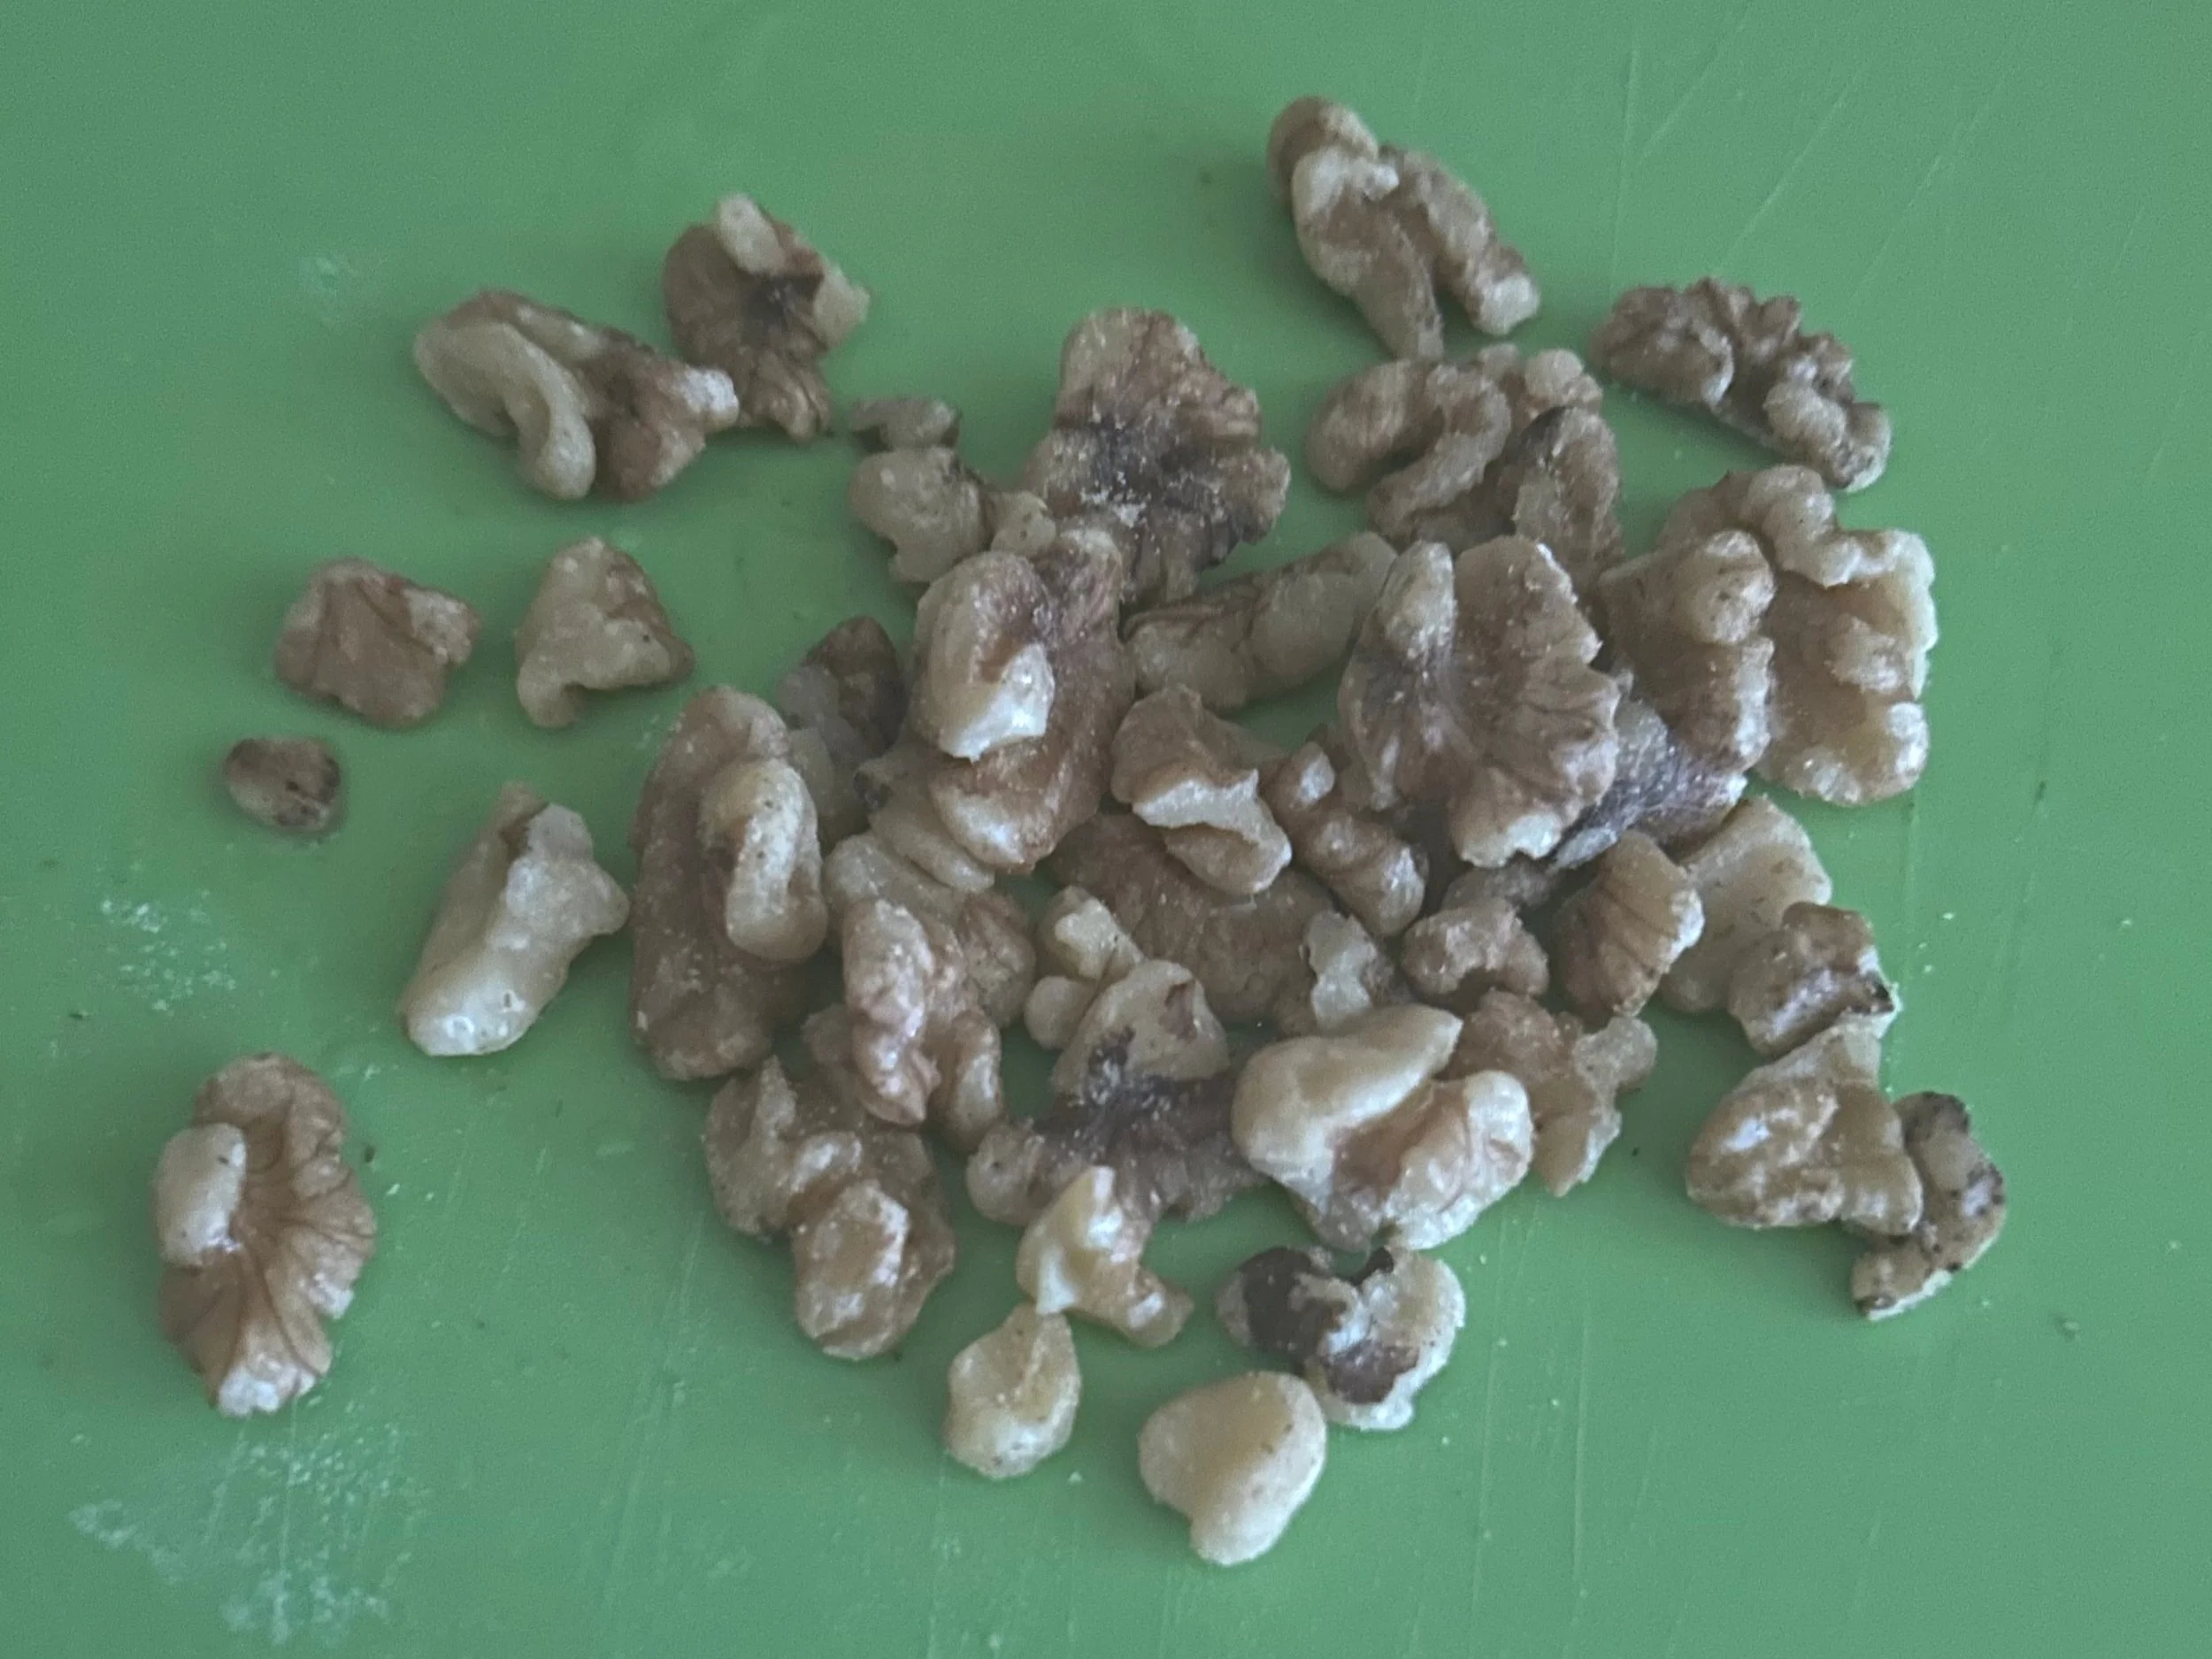
Walnuts are great for baking, but their crunchy texture and mild flavor make them ideal for side dishes like this sauteed Brussels sprout dish.
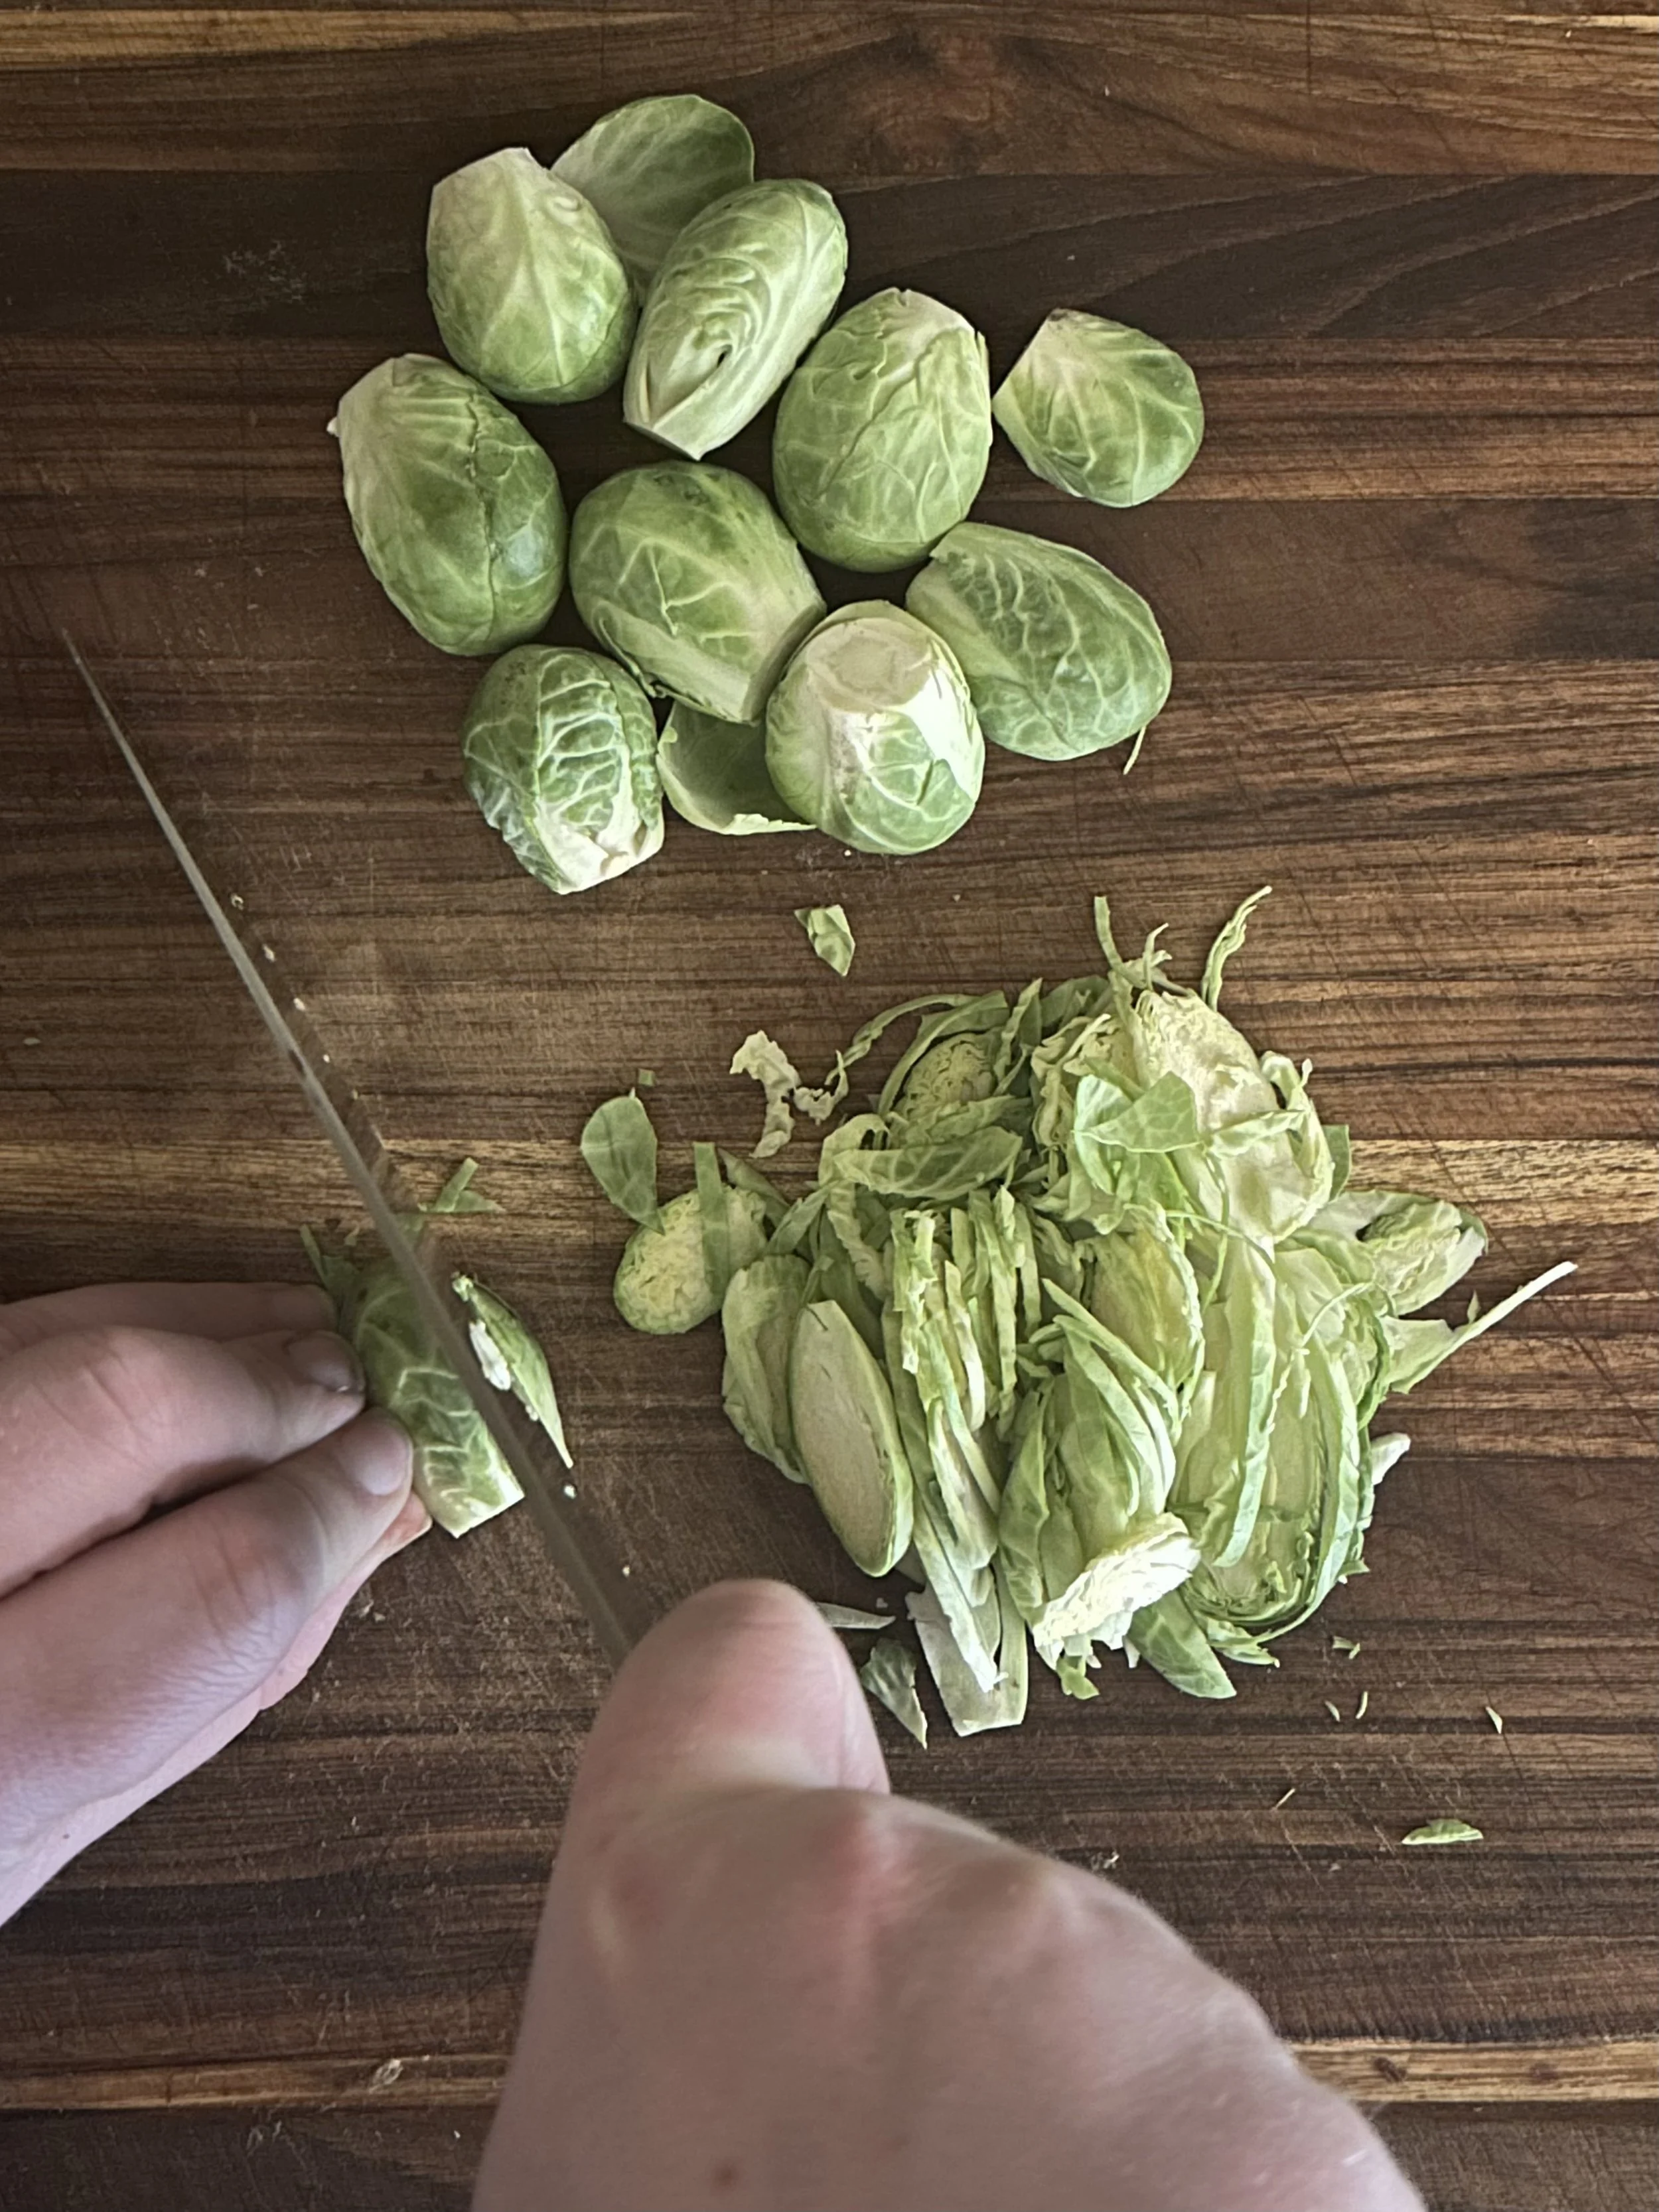
Peel the dark outer leaves off of one pound of Brussels Sprouts, cut off the stems, and slice thinly.
Brussels sprouts are one of those things that people either love or hate, but I believe that those who hate them have only ever had them boiled to mush.
When cooked properly, Brussels sprouts have lots of nutrients and a wonderful crisp tenderness.
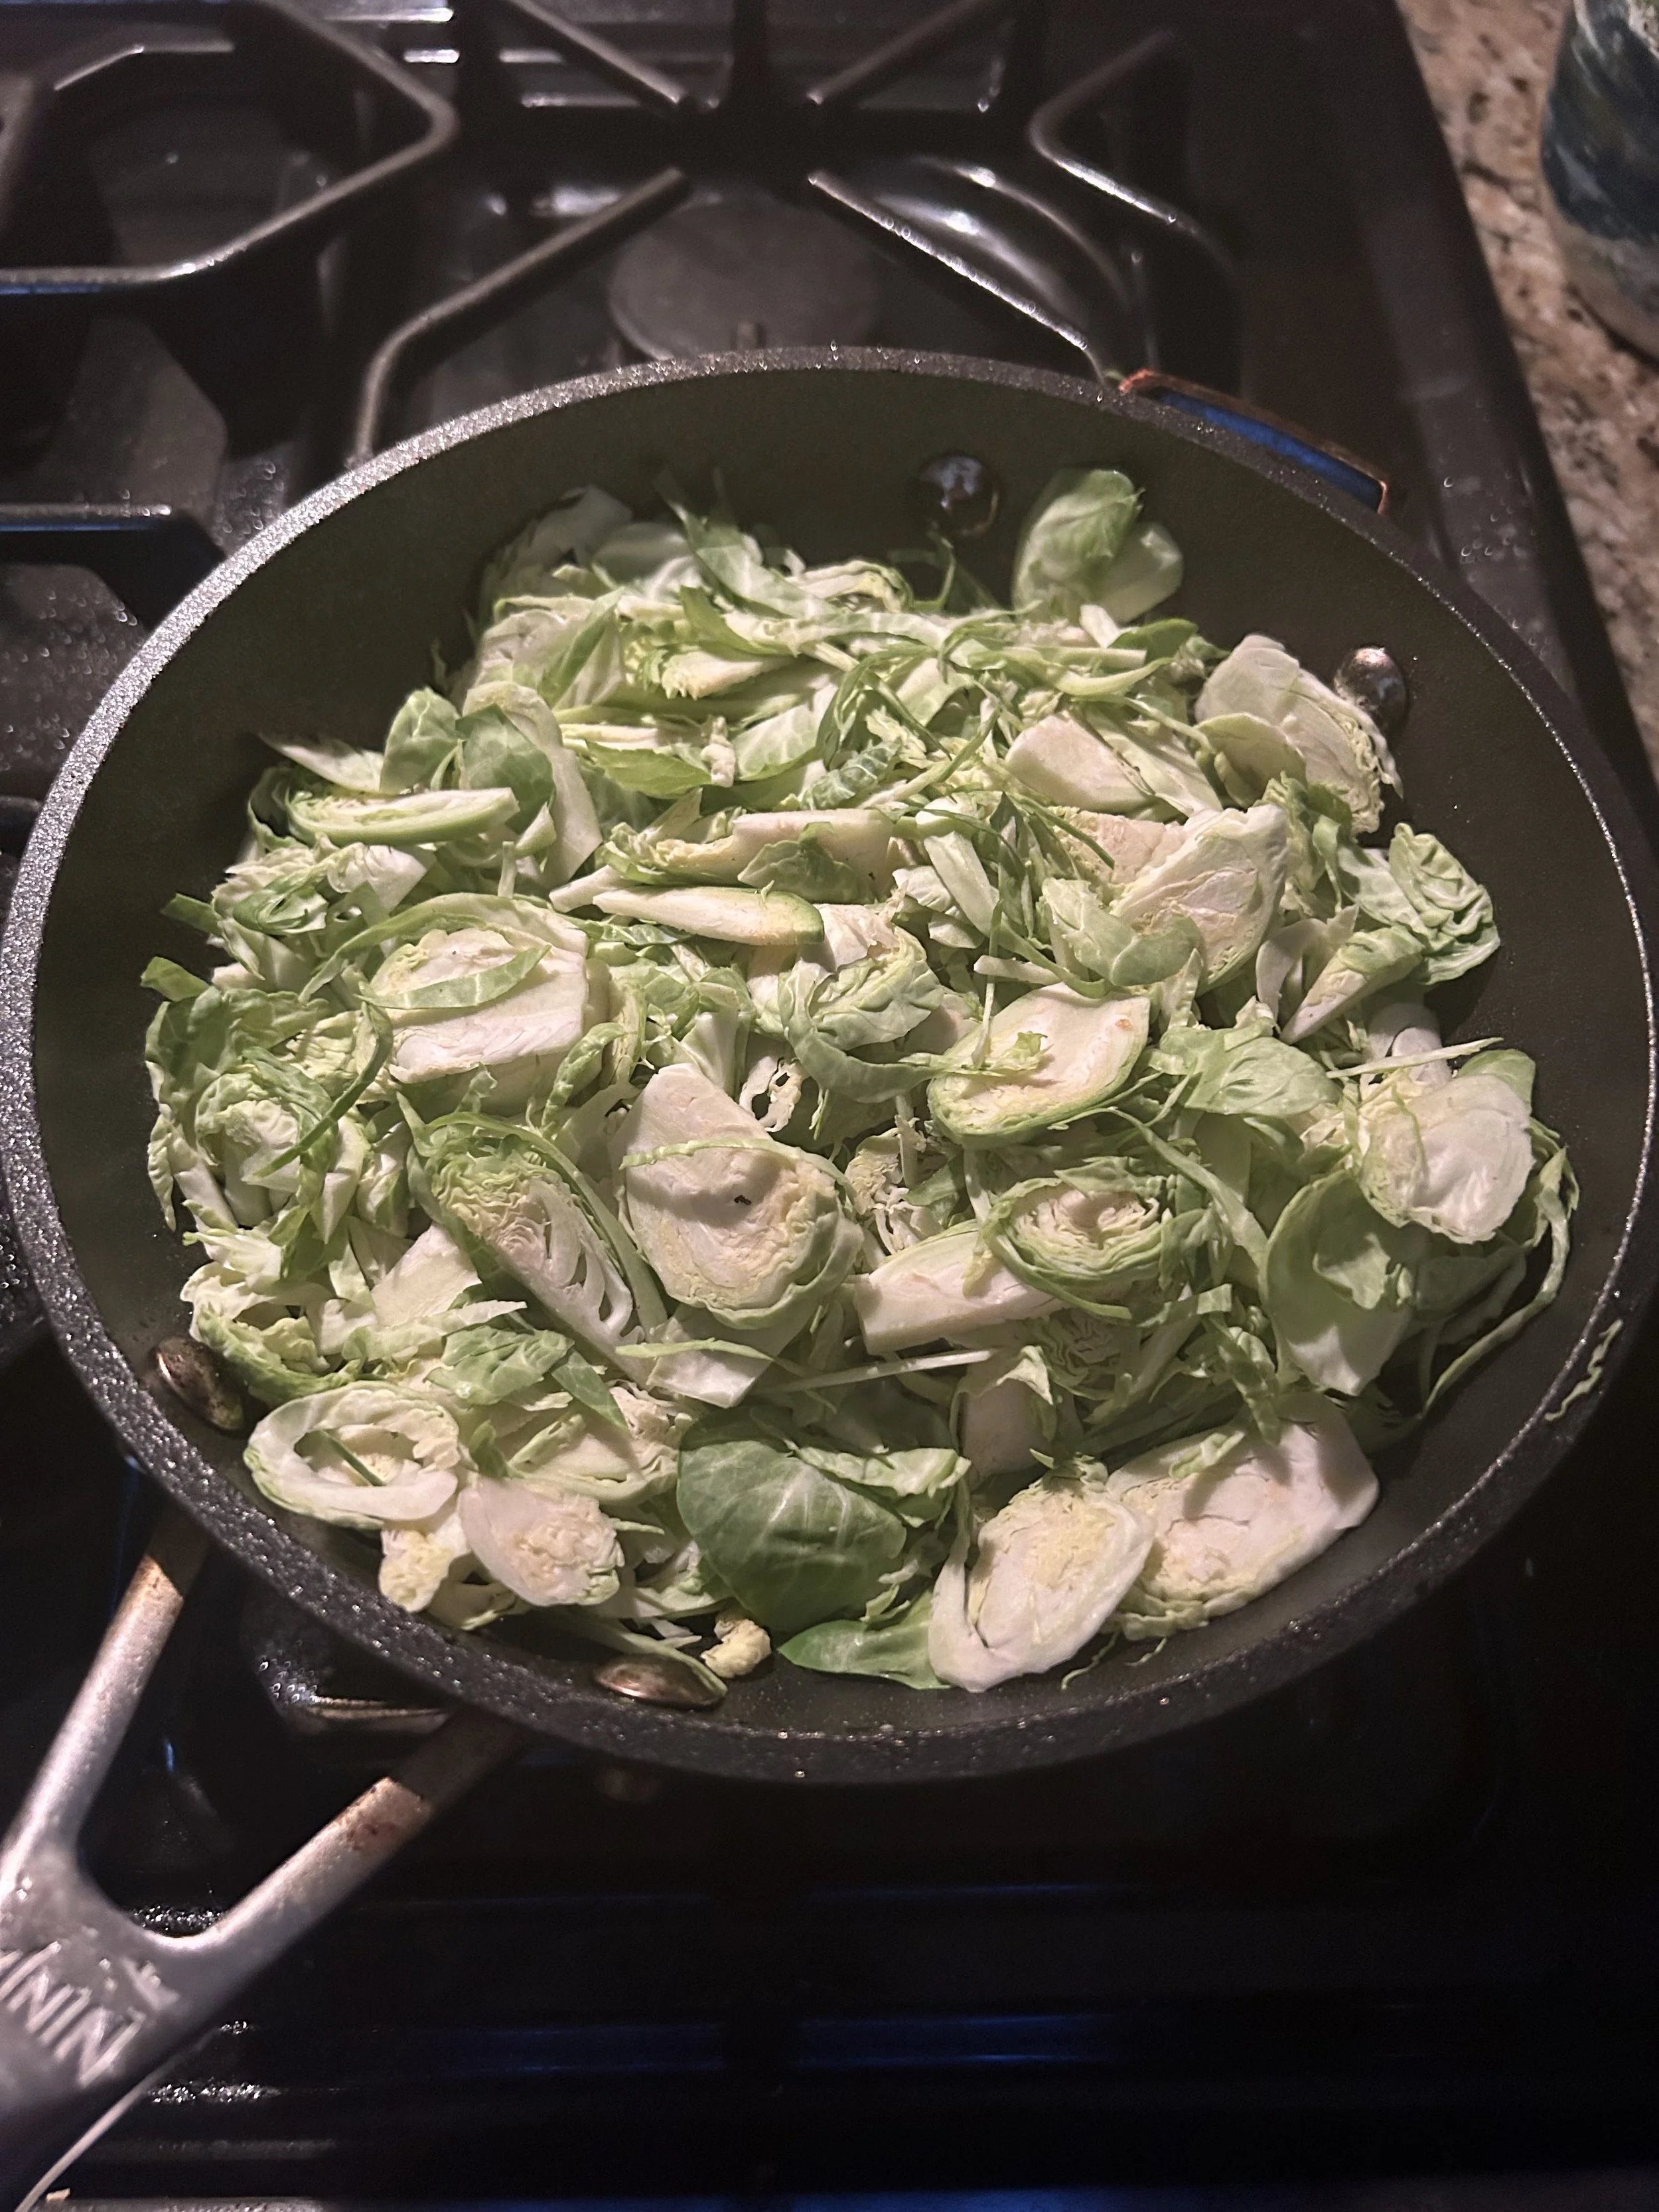
Warm a large pan with some olive oil over medium-high heat, then add the sprouts along with some salt, pepper, and 1/2 teaspoon of ground nutmeg, and cook for 5-7 minutes, or until they’re bright green and wilted.
Ideally, you want to remove the sprouts when they’re wilted, but it’s not the end of the world if you get some browning on them.
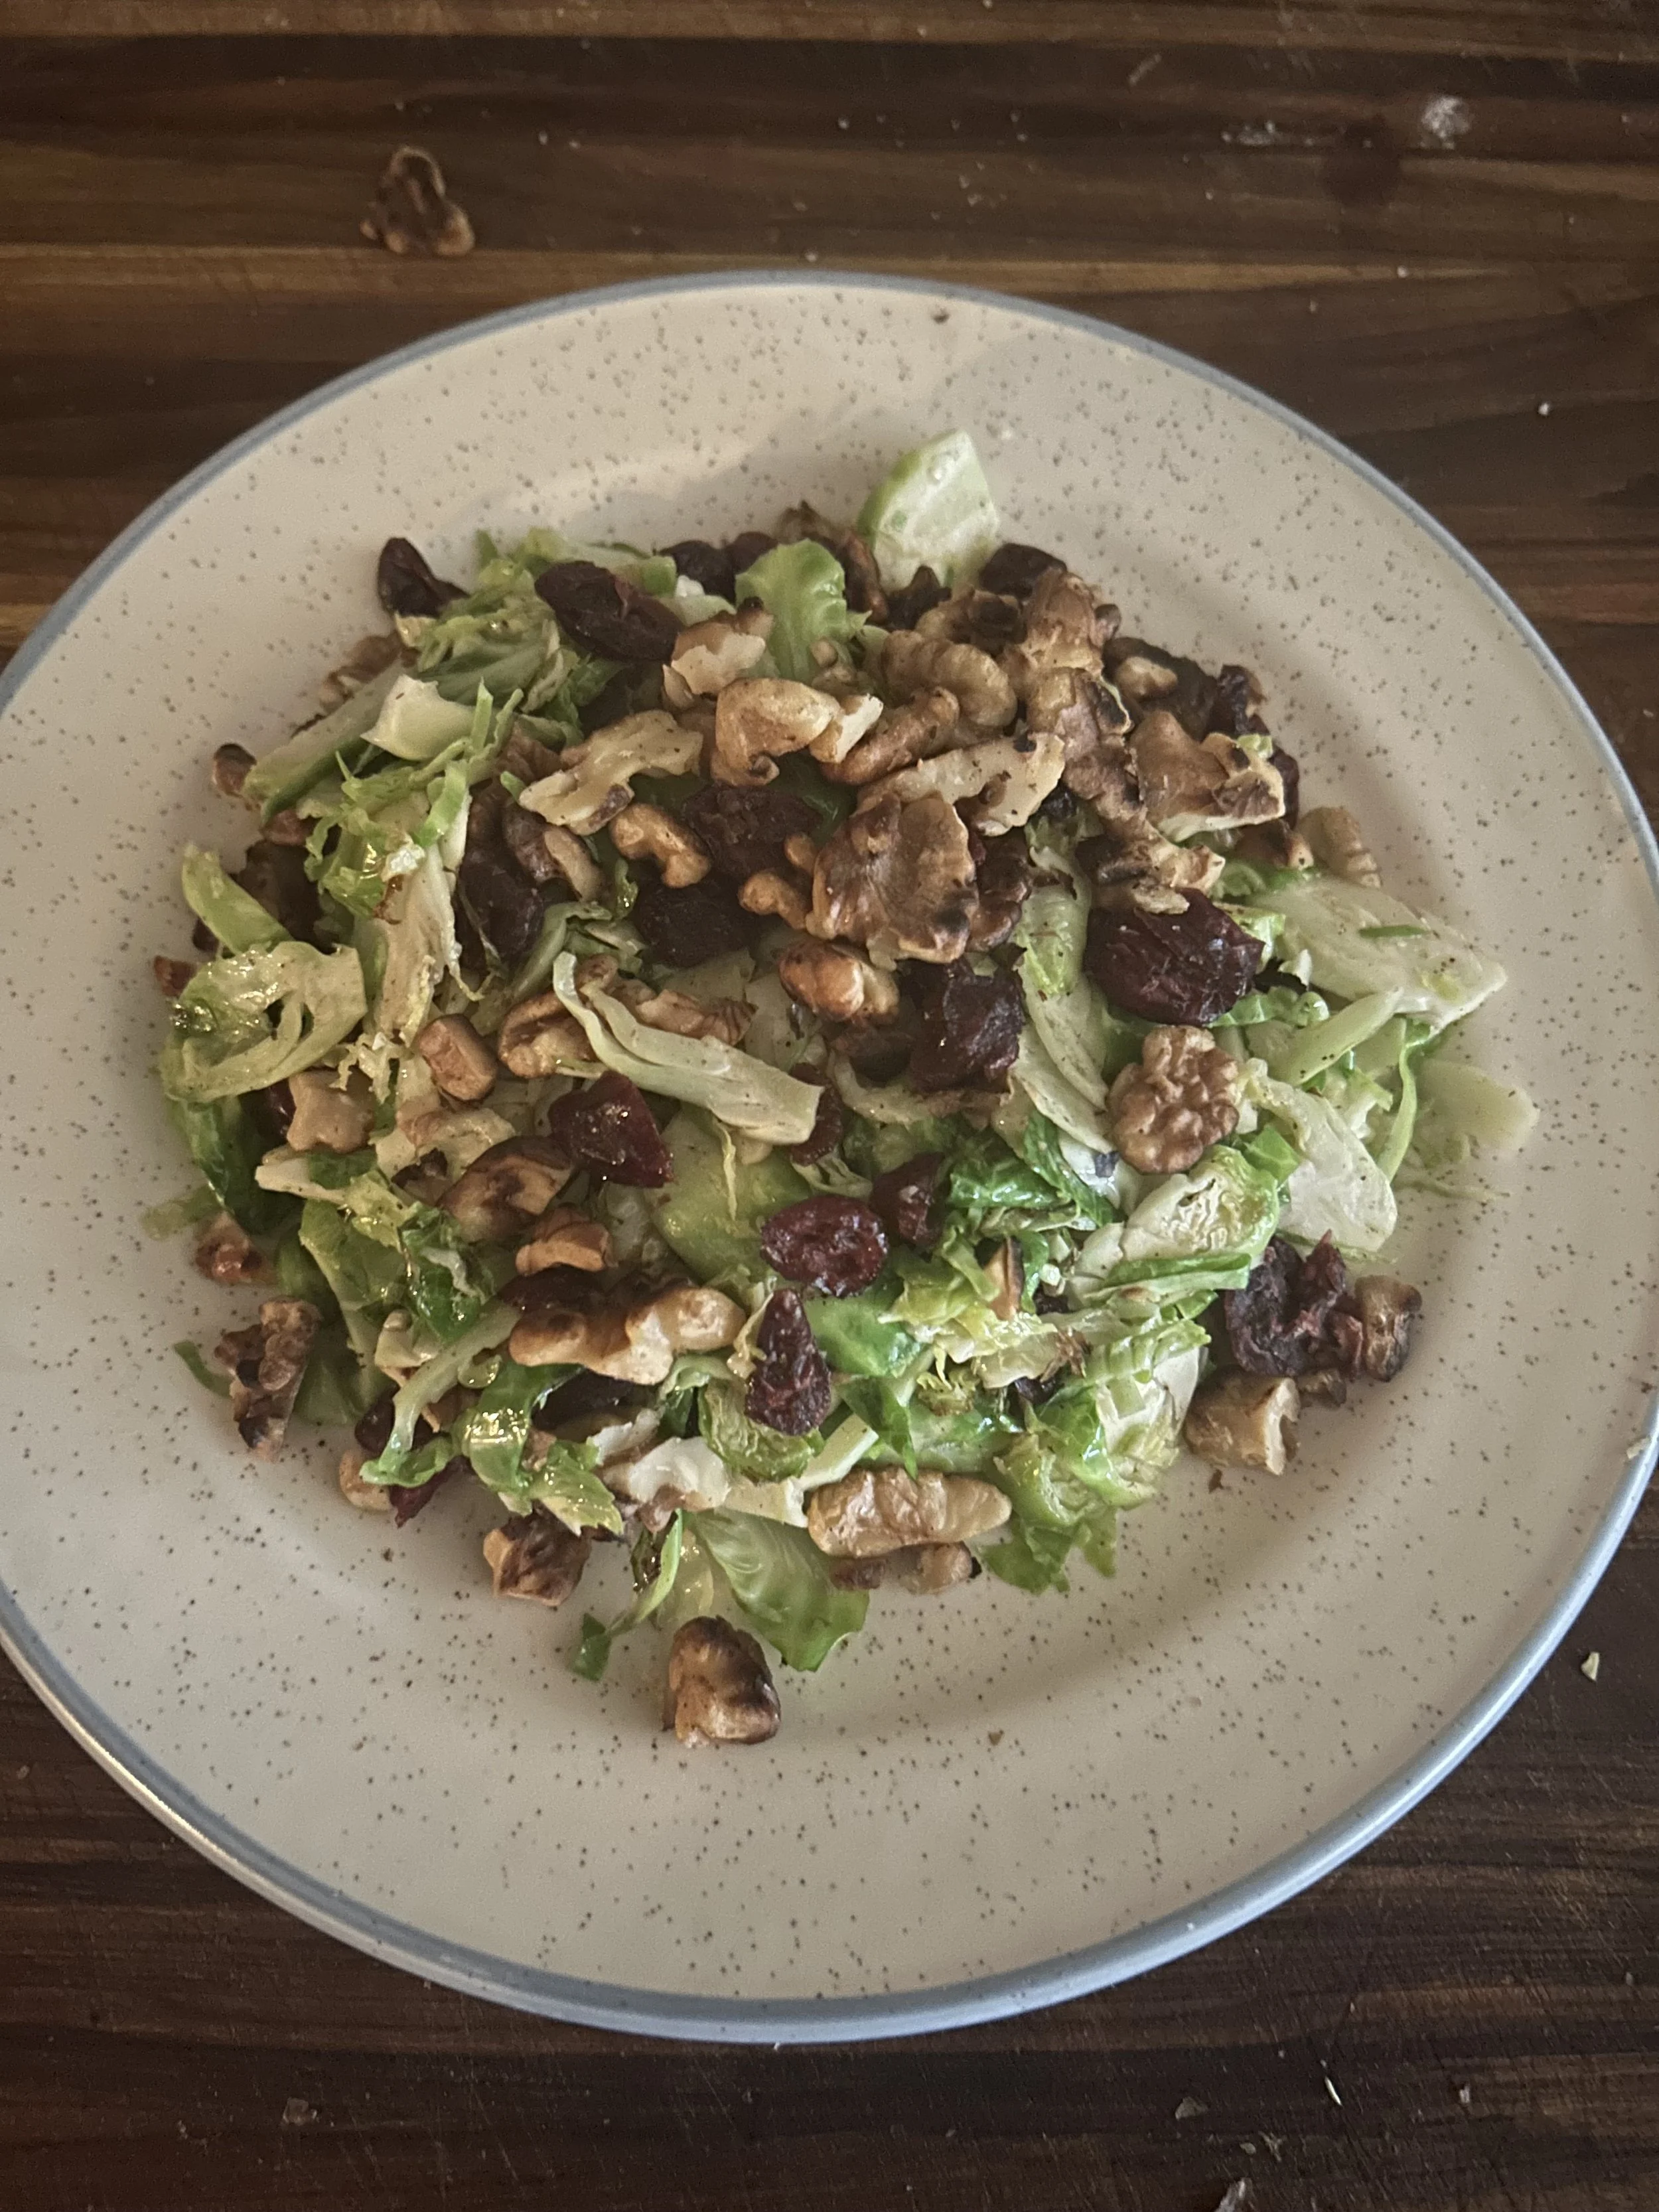
Remove from heat, dump onto a serving platter or plate, then top with dried cranberries and…that’s right! Chopped toasted walnuts!
By the way, when I toast walnuts, I like to do so in a dry pan over medium heat, shaking the pan now and then to prevent them from burning.
The walnuts provide a slight crunch, as well as a nutty flavor, that takes the soft, warm Brussels sprouts to a new level.
Day 15: Garlic
I’m hoping this proves that I’m not a vampire.
Not everyone is a fan of garlic’s strong flavor, but I think those people would love it more if they knew garlic is full of antioxidants and was once prescribed as a medicine to treat the common cold, among other illnesses.
I already use garlic like it’s a religion, but today I’m going to make an easy garlic soup that, don’t worry, won’t leave you unable to kiss anyone for a few days.
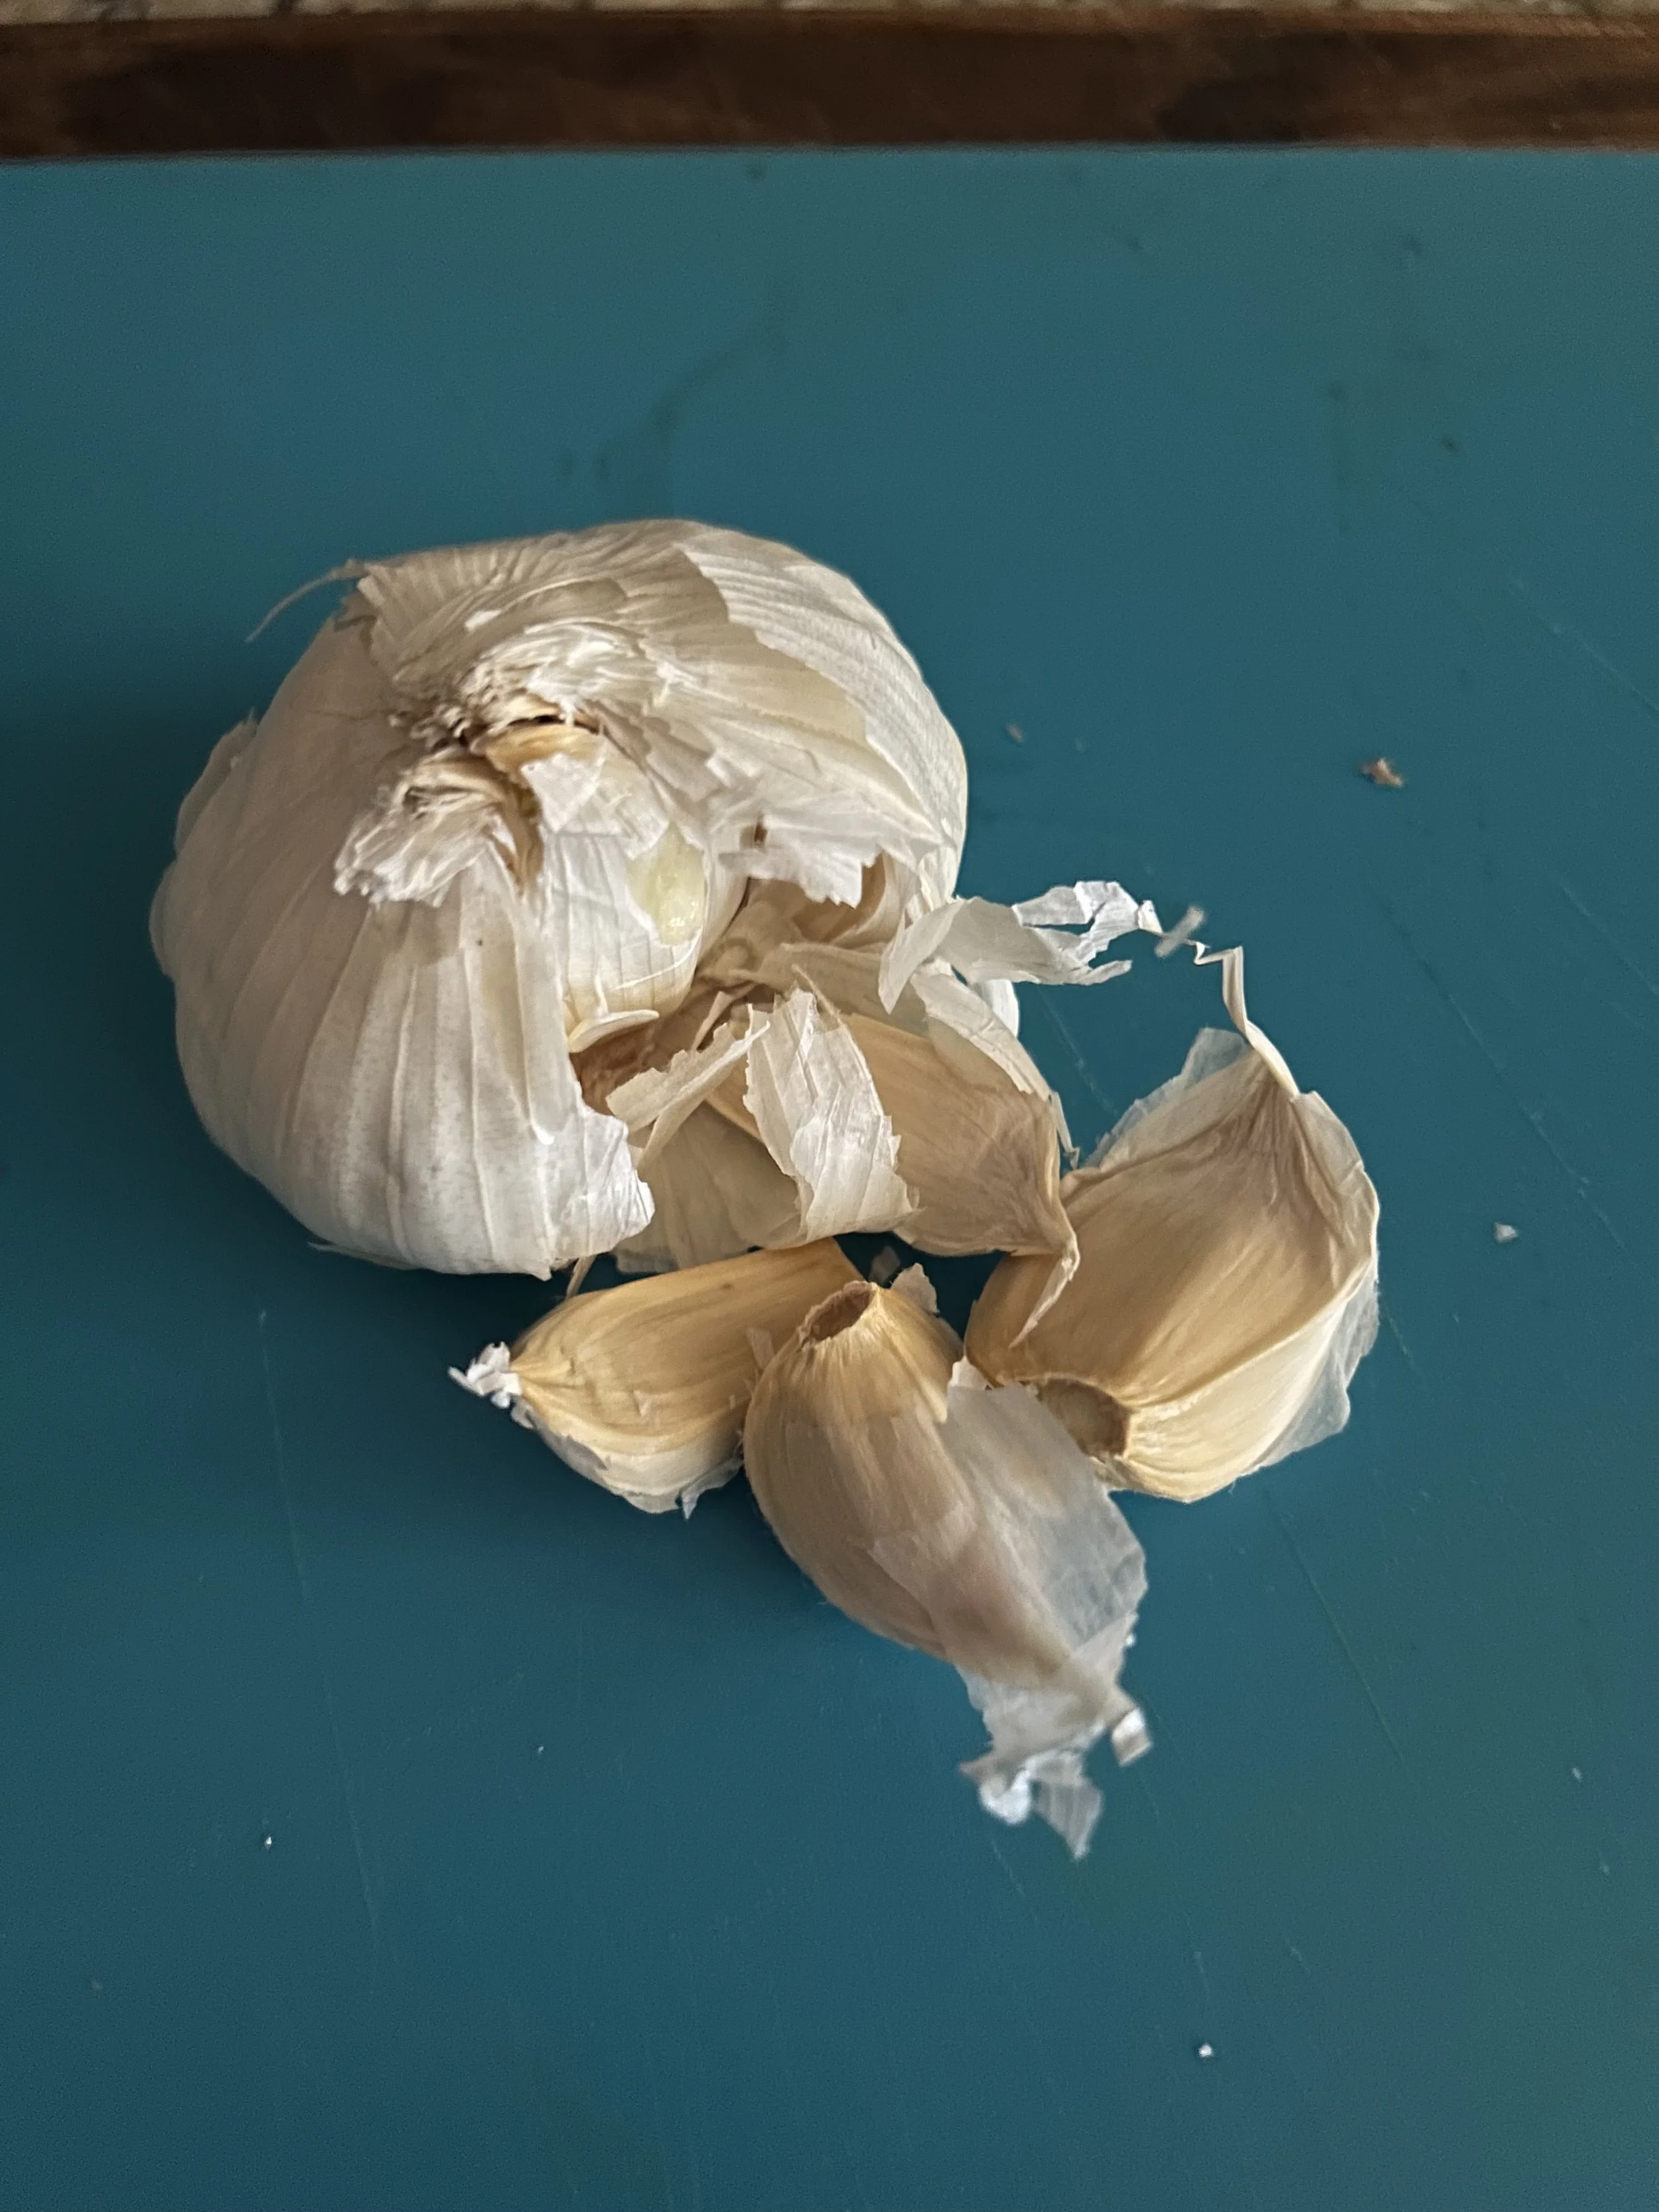
Start by smashing and peeling 2 small heads of garlic. You will need 3 additional garlic cloves for garnish.
A quick way to peel lots of garlic cloves is by putting all of the cloves into a bowl, inverting a larger or equally large bowl on top, then shaking like that garlic owes you money. The skins should pop right off!
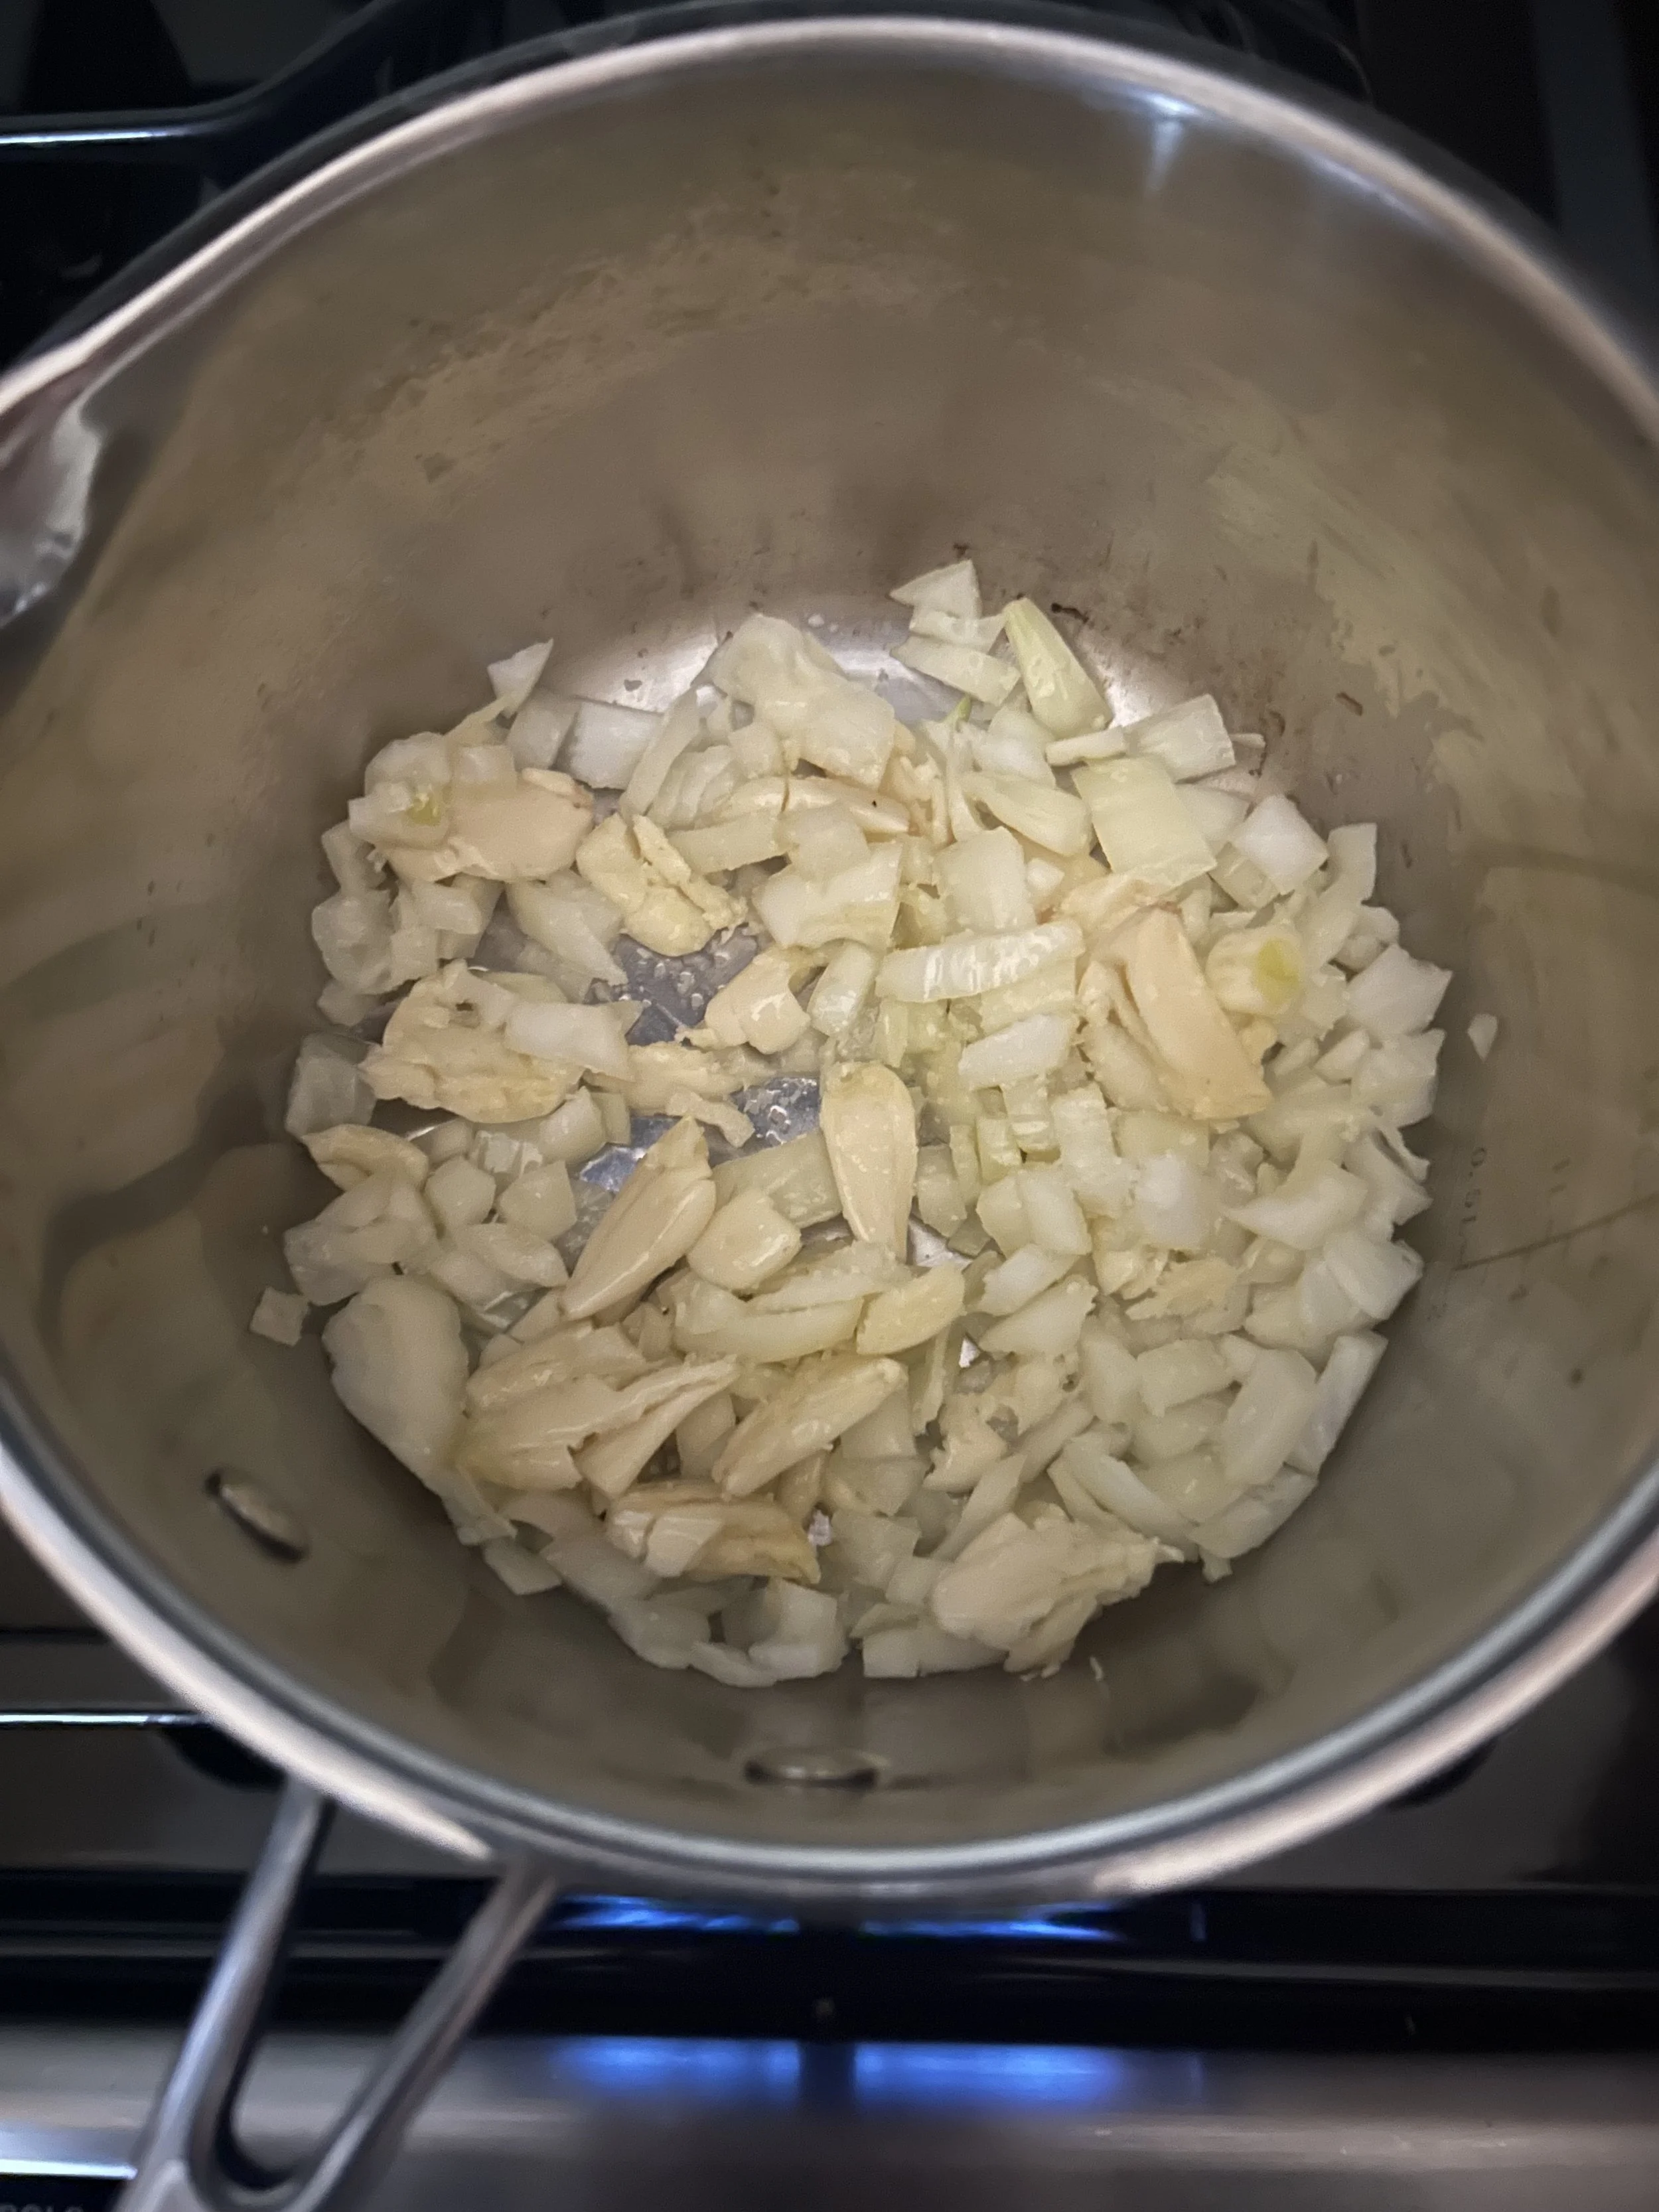
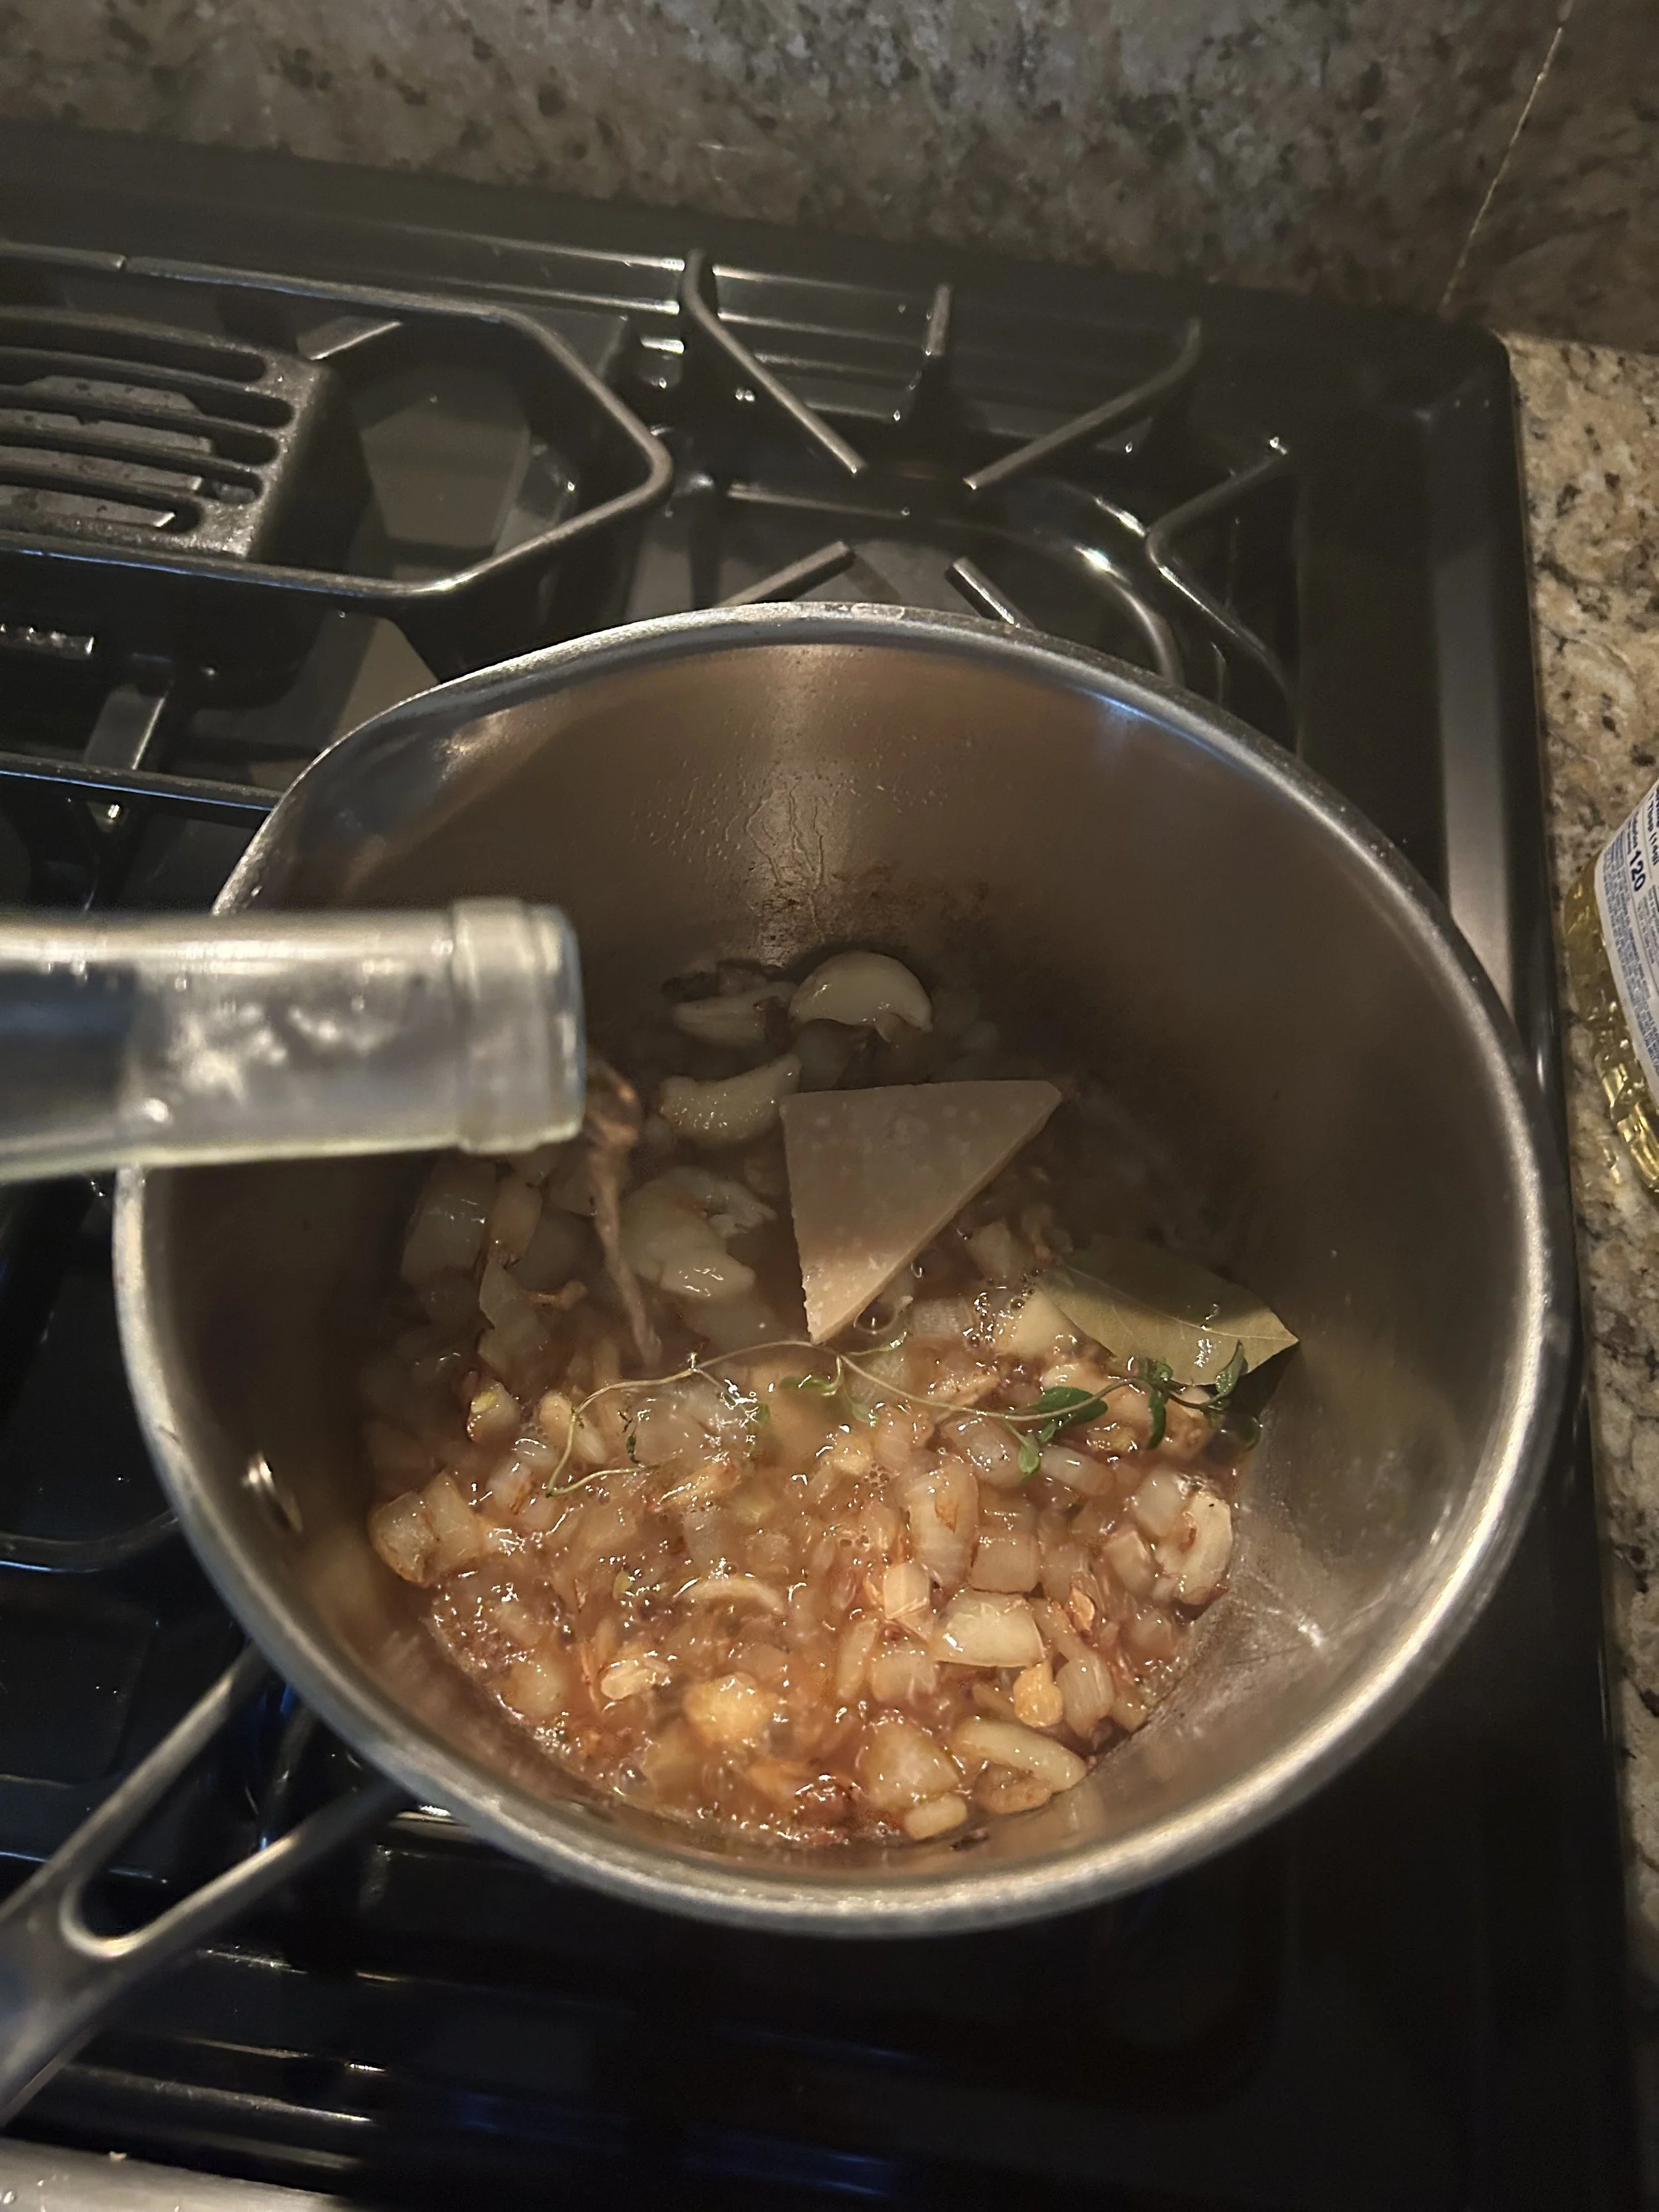
Add those to a medium saucepan with some olive oil and one chopped onion, then cook over medium-low for about 8 minutes, or until the onions and garlic are lightly browned.
Deglaze the pan with one cup of white wine, then add 2 sprigs of thyme, 2 bay leaves, salt and pepper to taste, and one piece of parmesan rind.
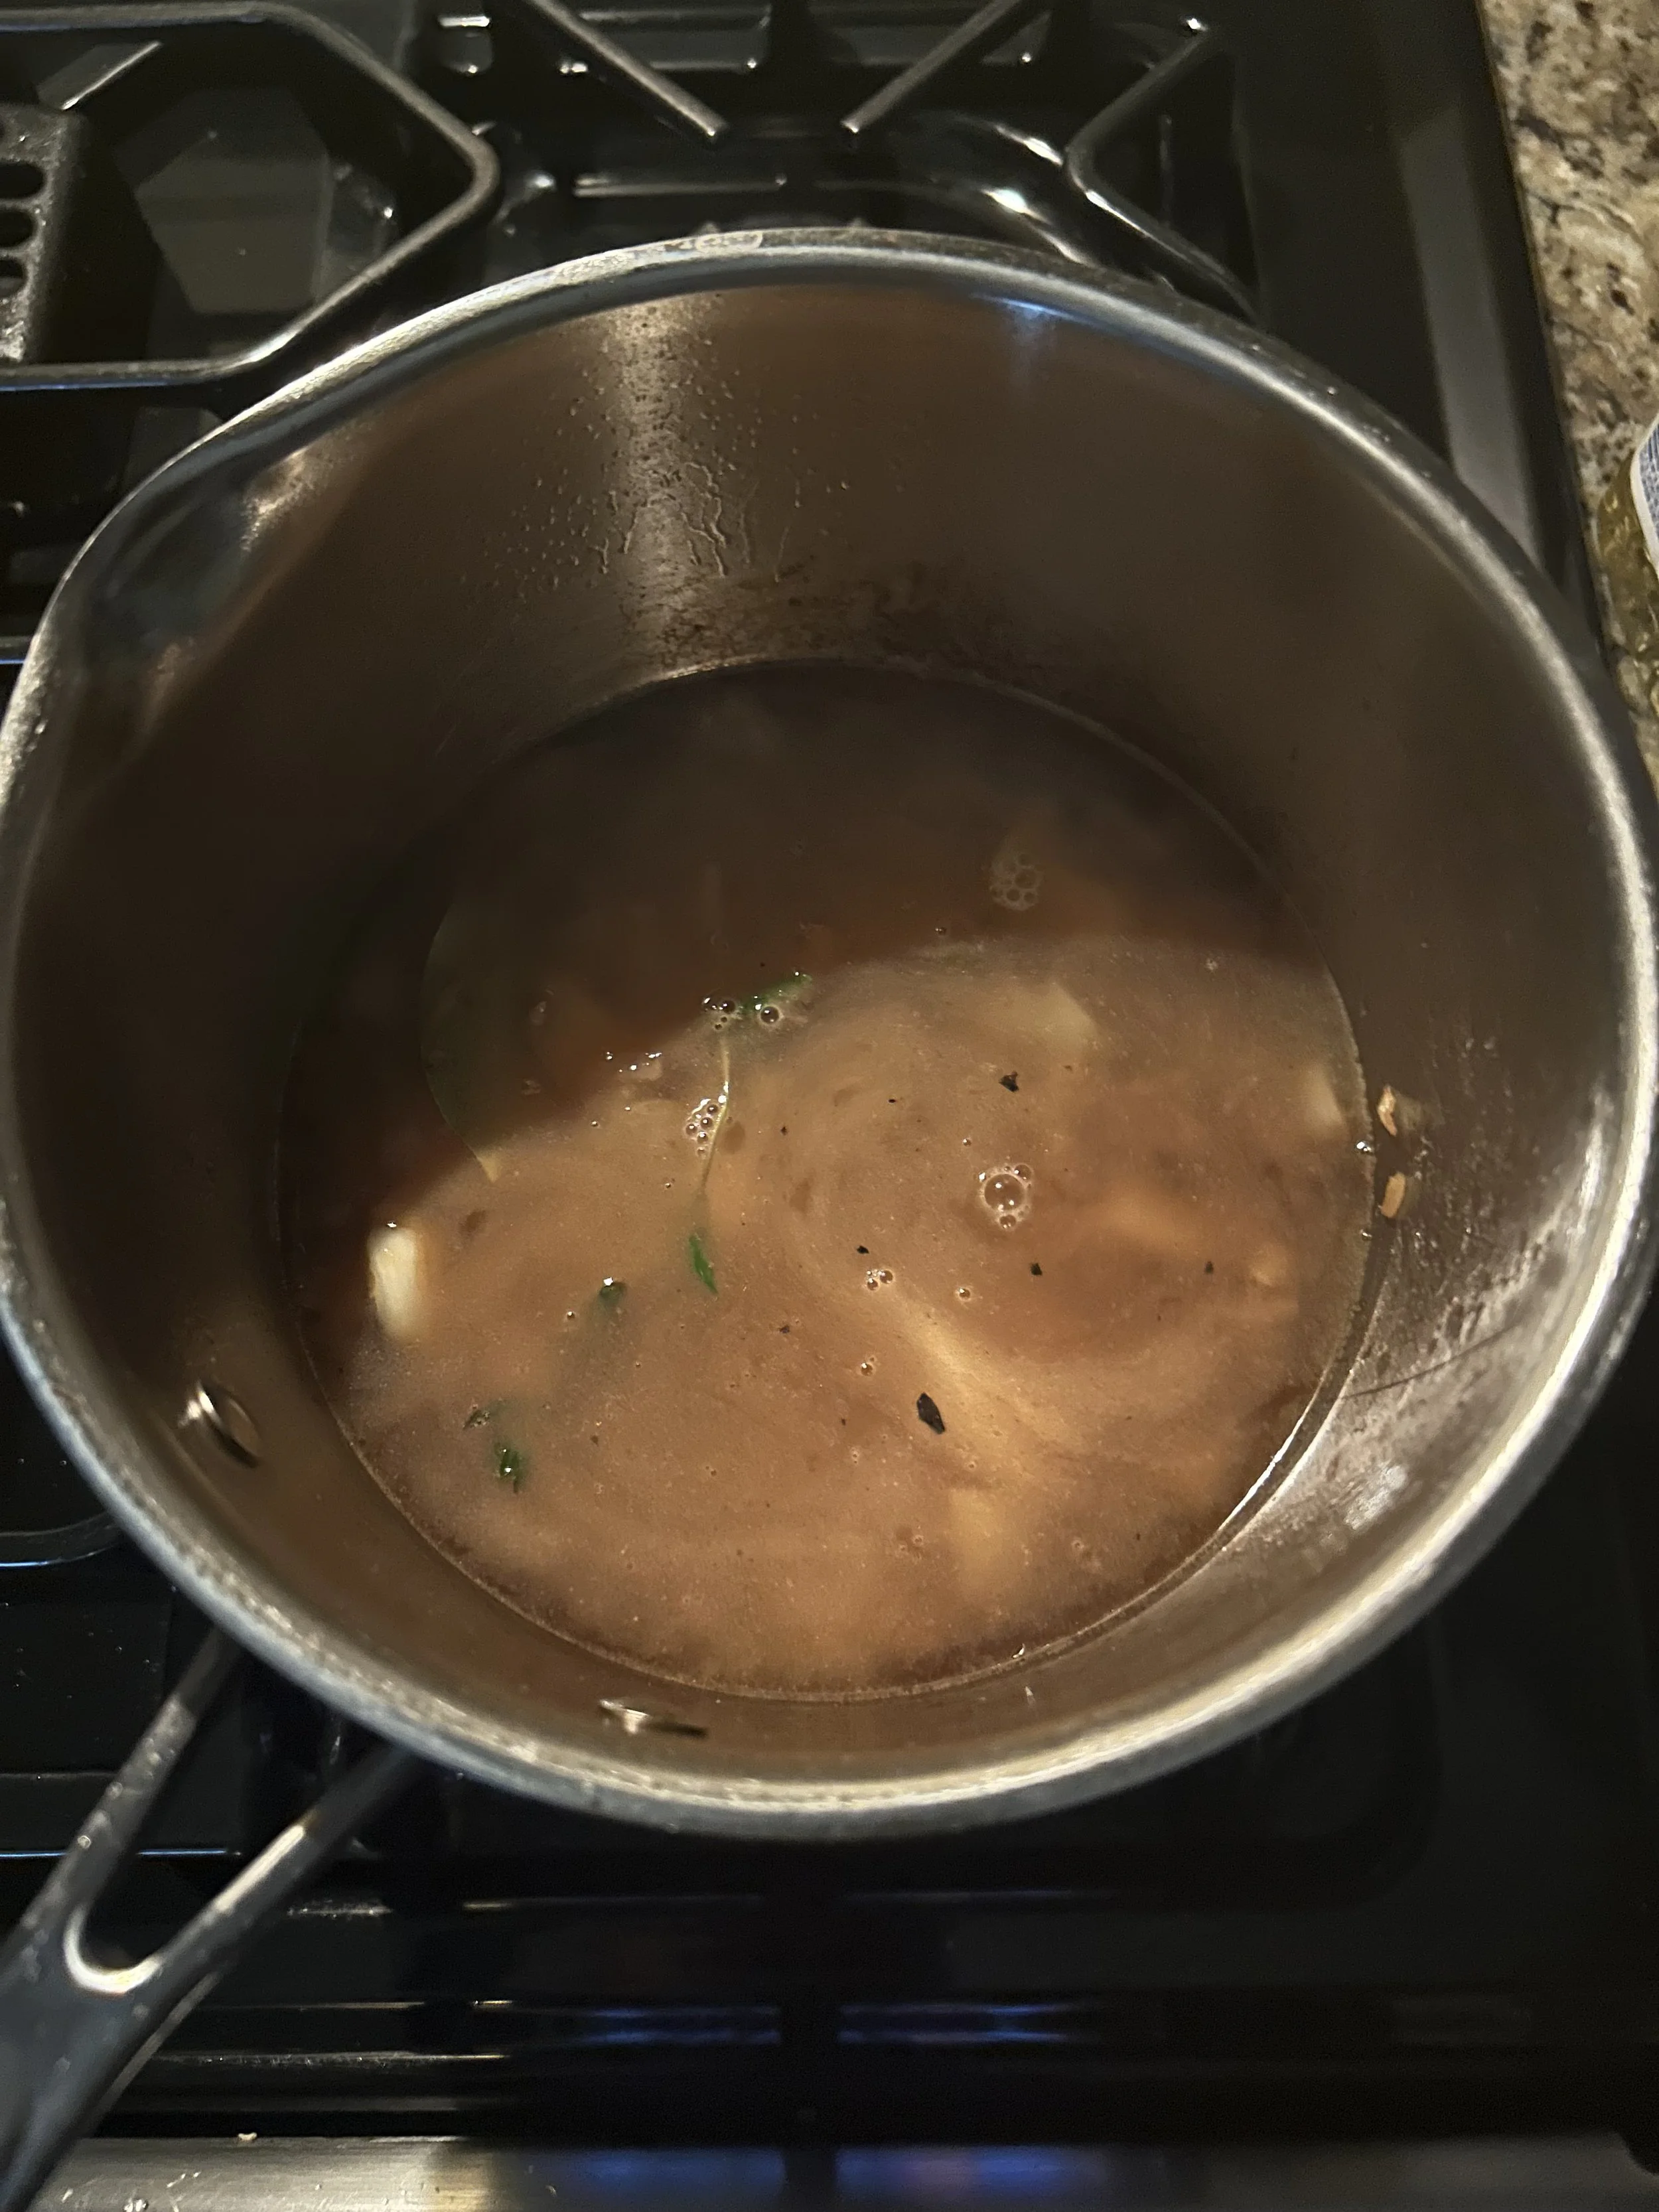
Cook until the wine reduces by half, then add 5 cups of water. Bring to a boil, then let it simmer for 30 minutes, or until the garlic cloves are very soft.
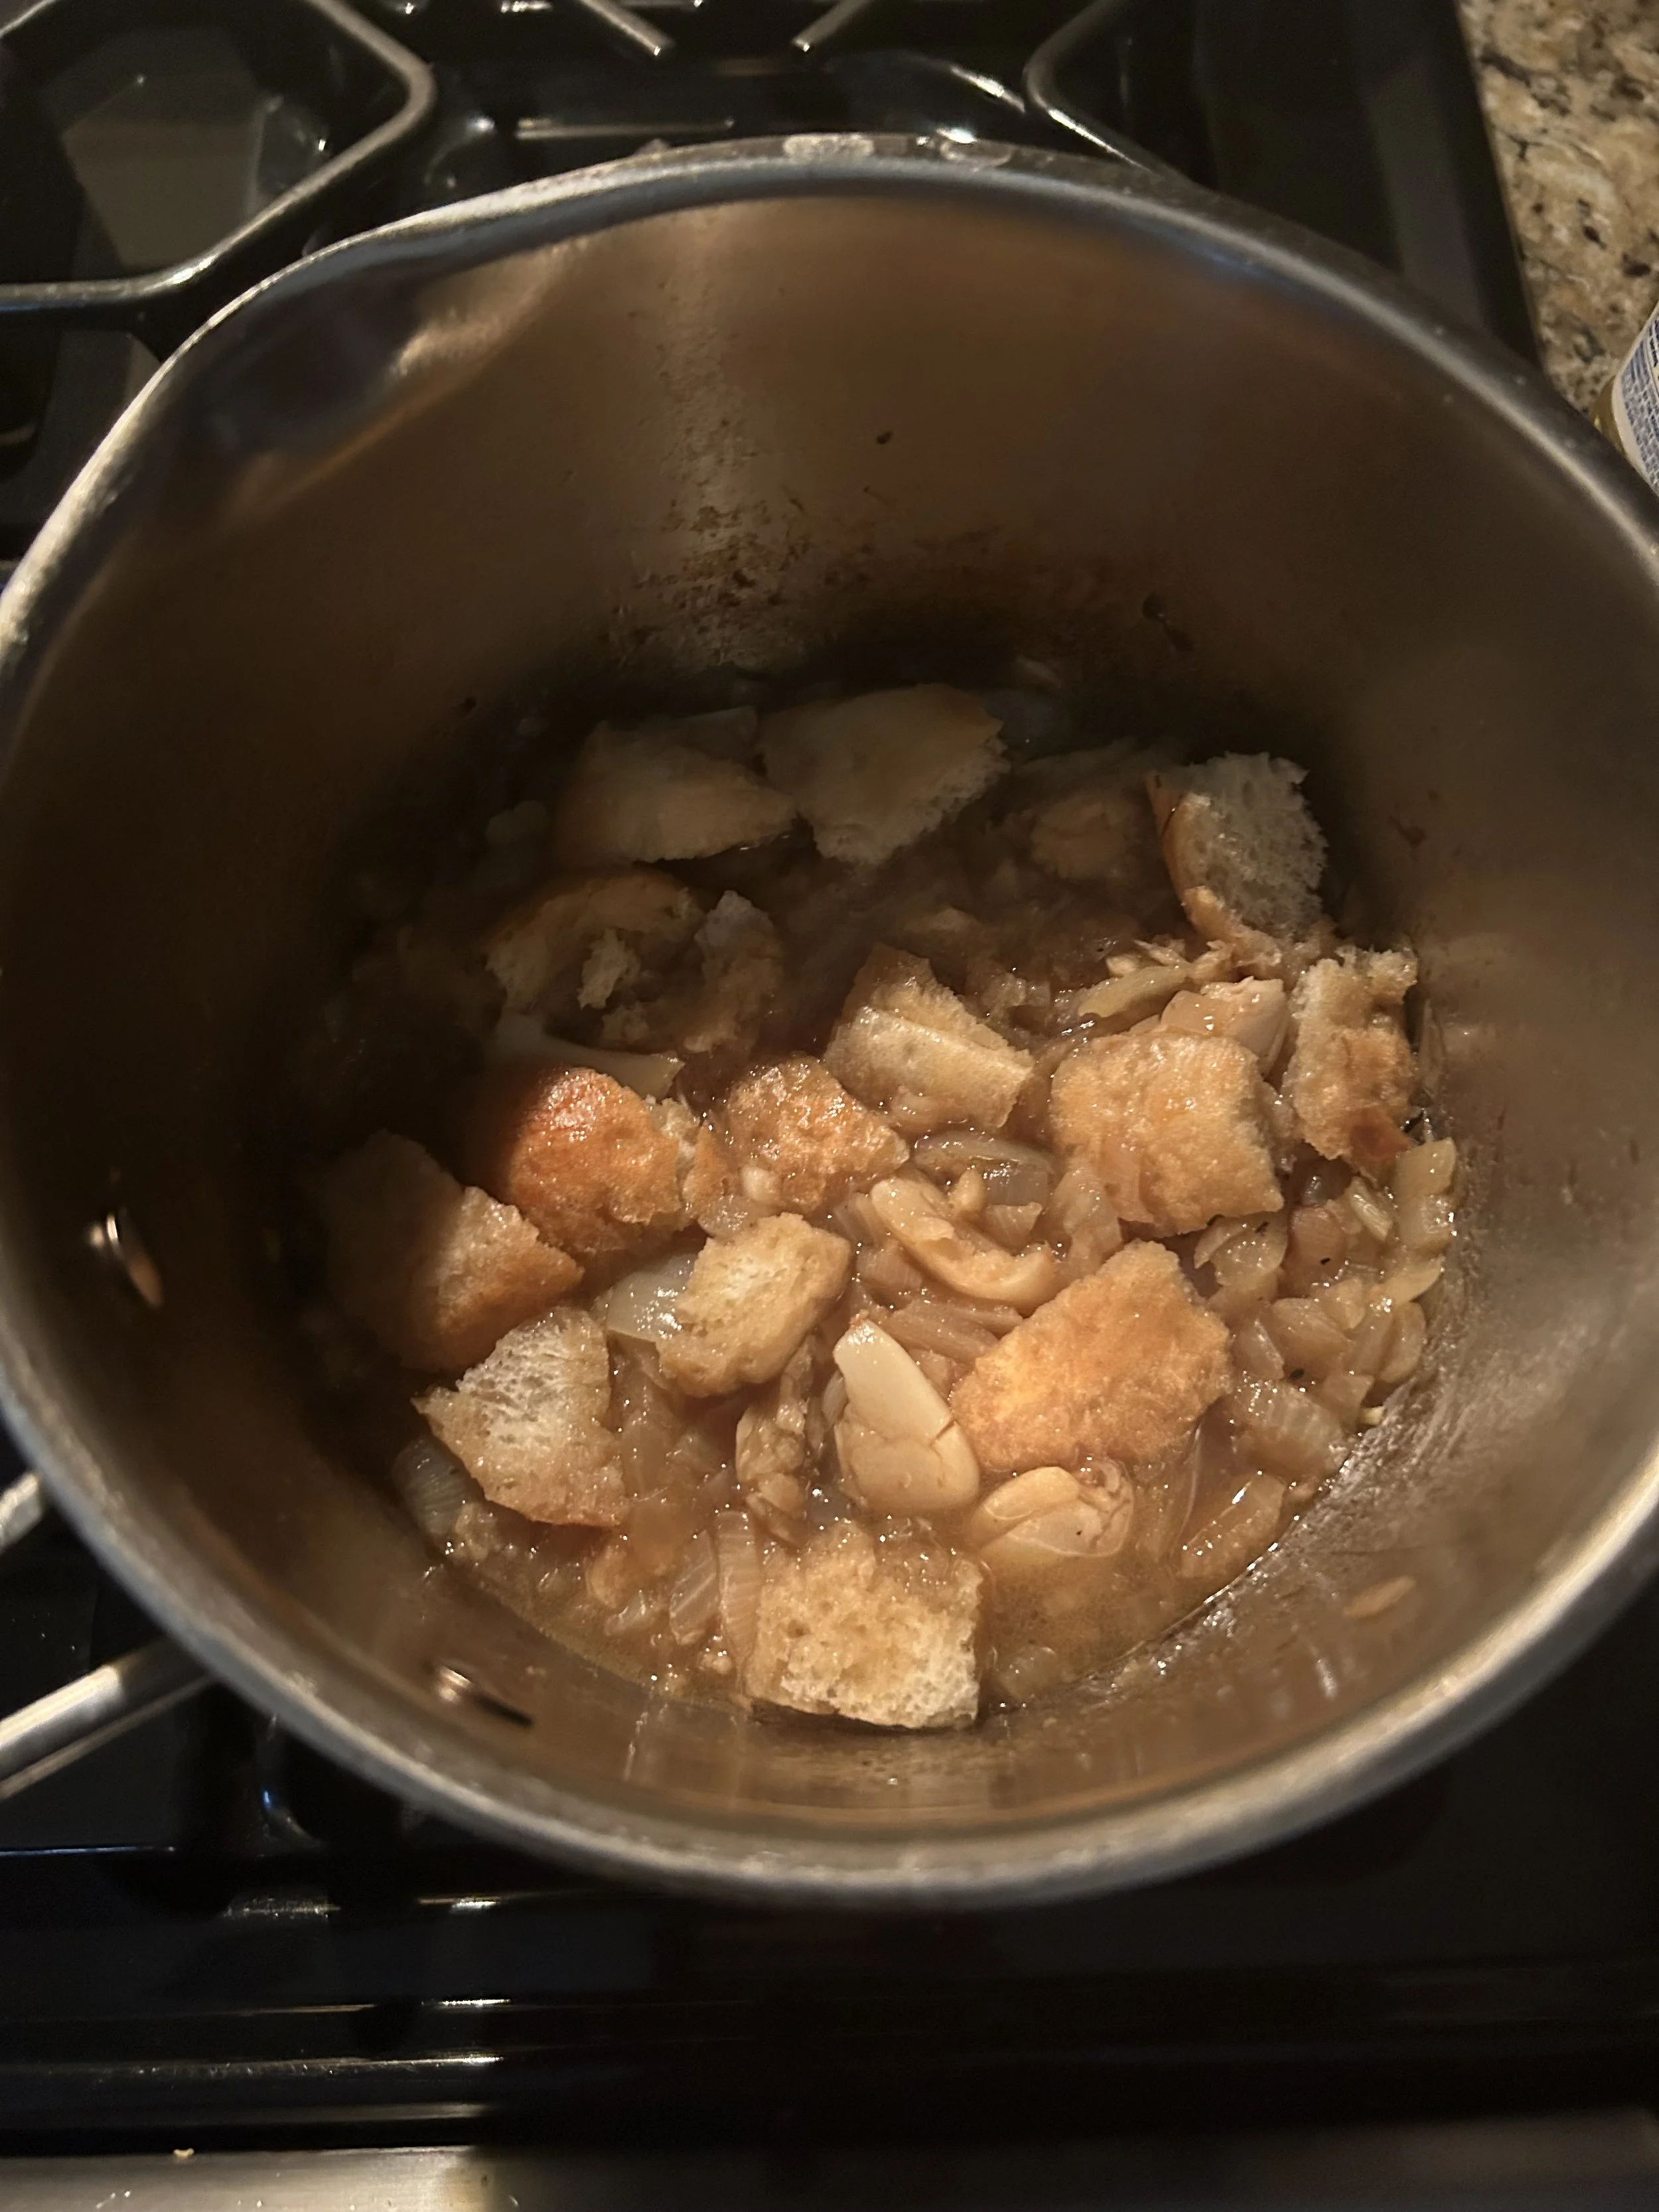
Remove from the heat, then add 2 cups of cubed day-old bread and let that soak for 10 minutes.
The bread is going to help thicken the soup and help achieve a wonderful creamy consistency without the use of lots of cream or butter.
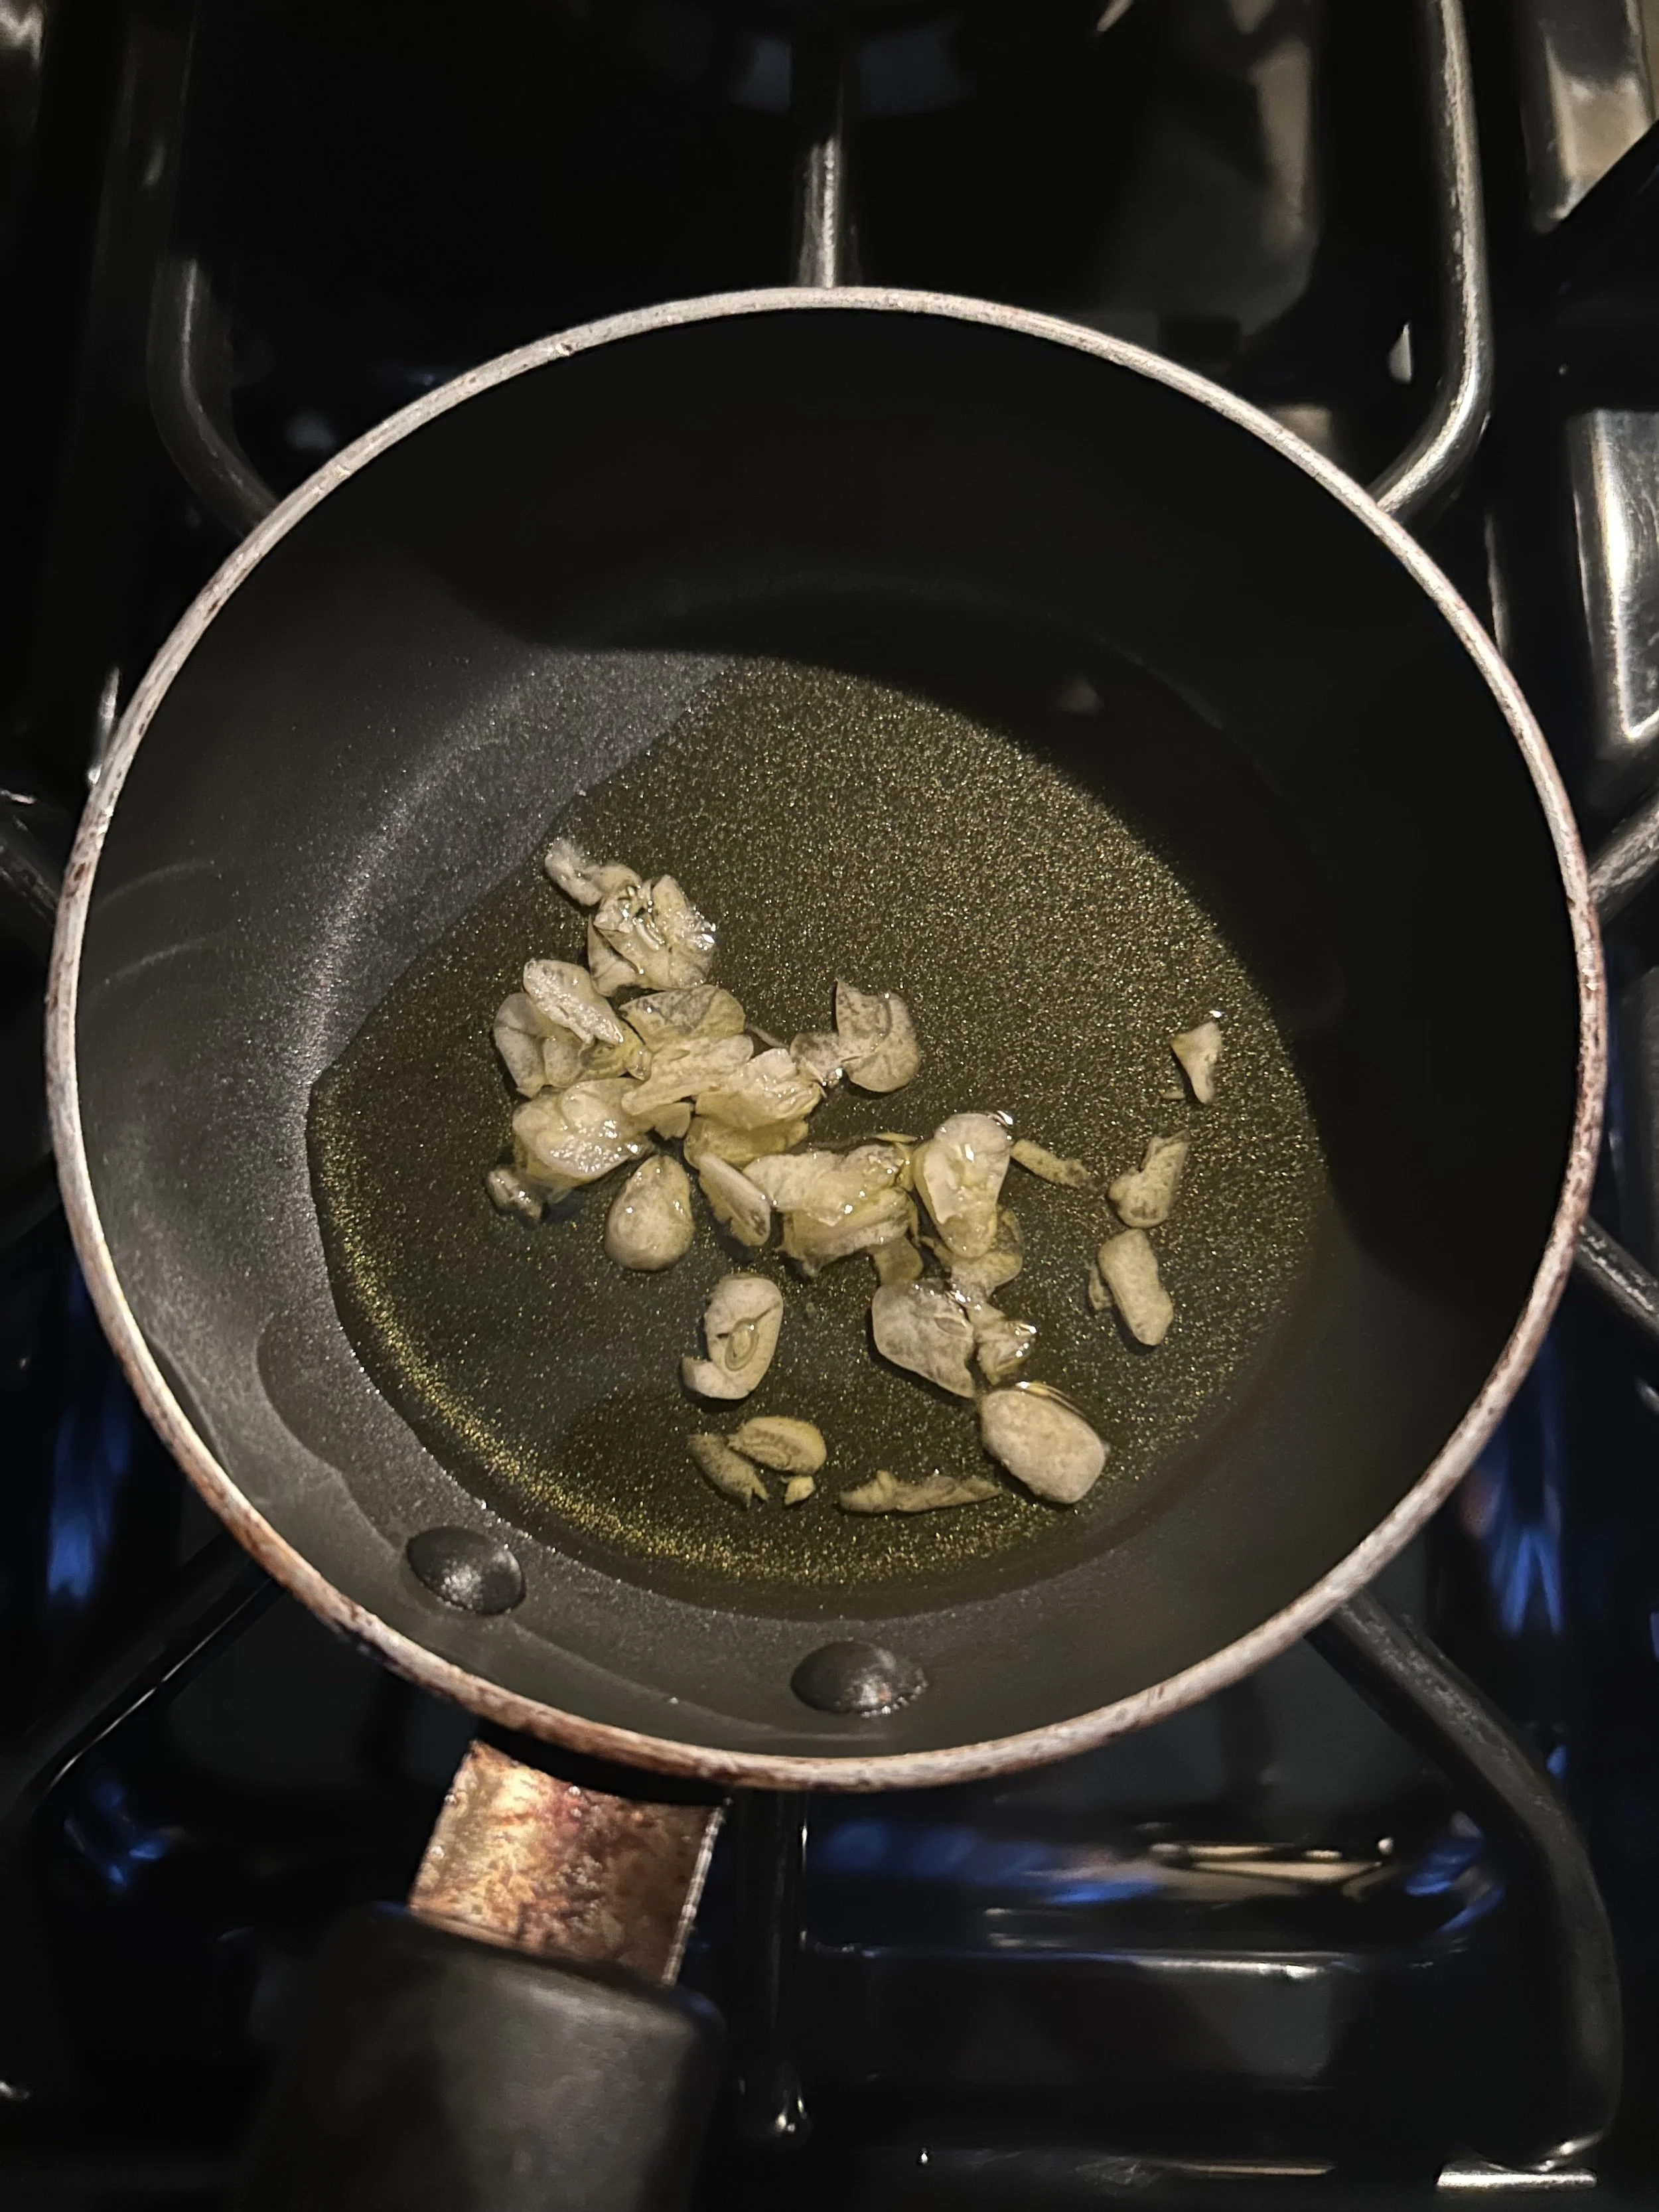
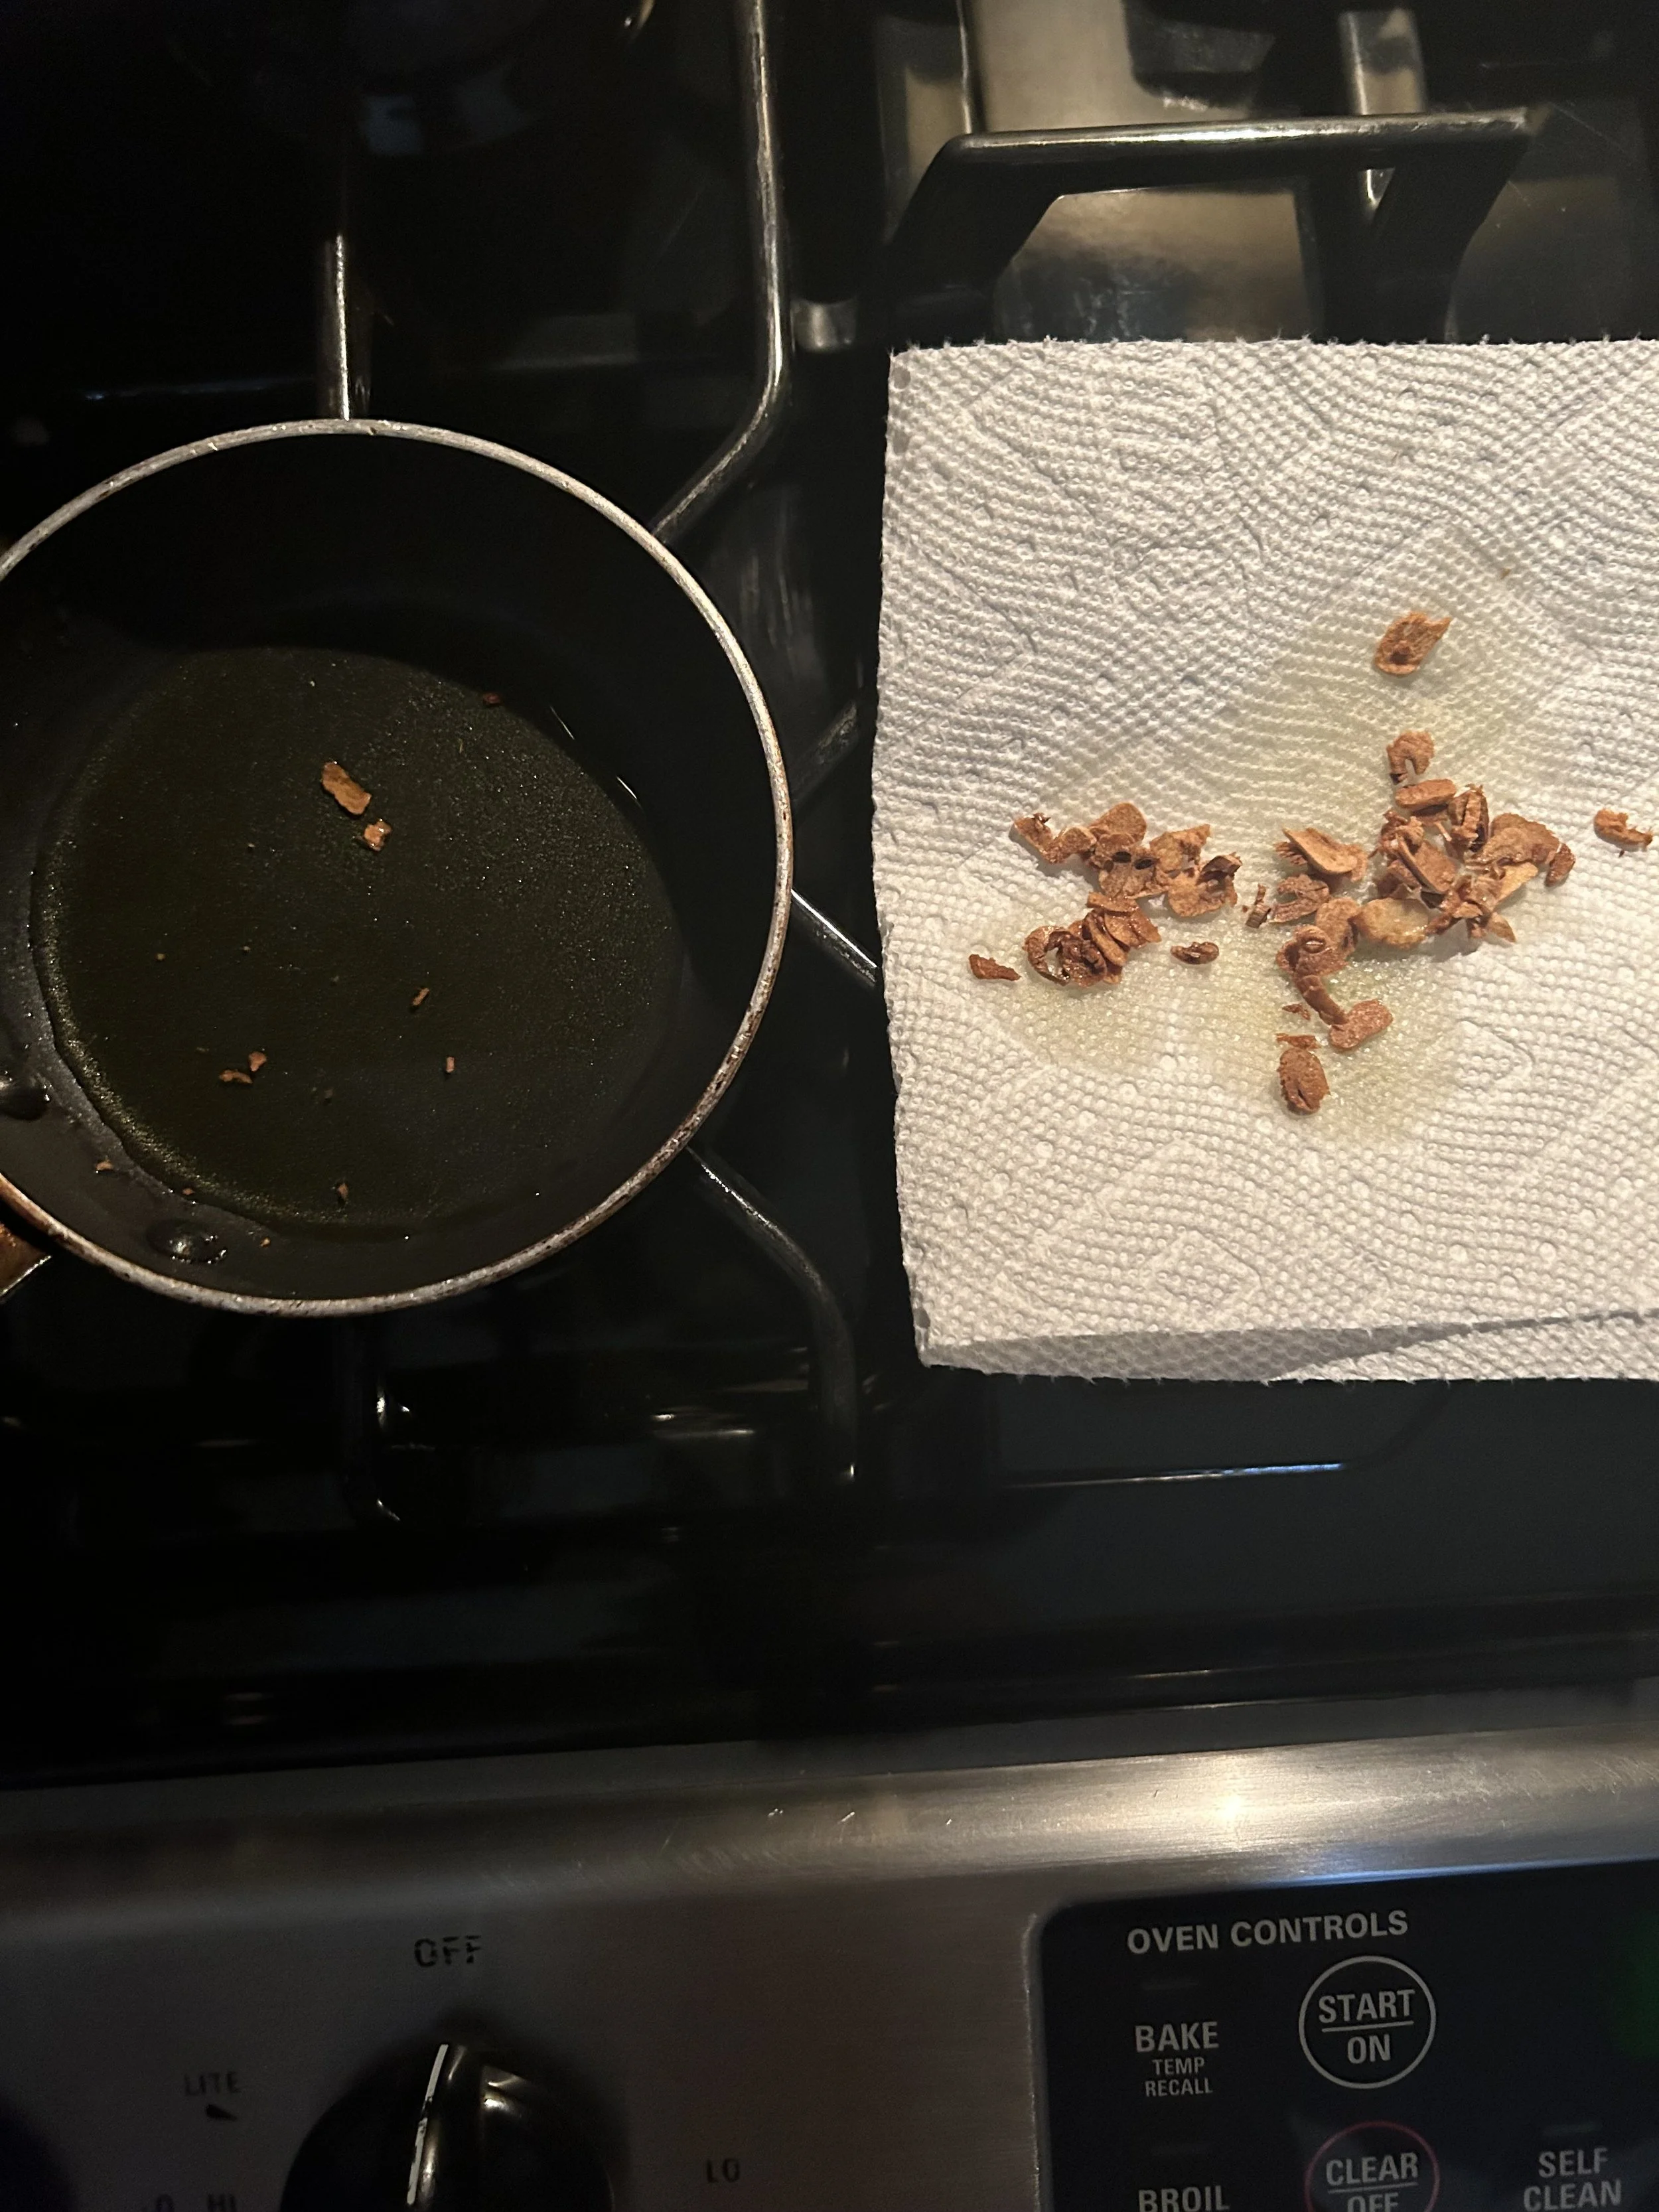
Meanwhile, heat 3 tablespoons of olive oil with 3 thinly sliced garlic cloves in a small saucepan until the garlic is golden and fragrant. Remove with a slotted spoon, but keep that flavorful garlic oil.
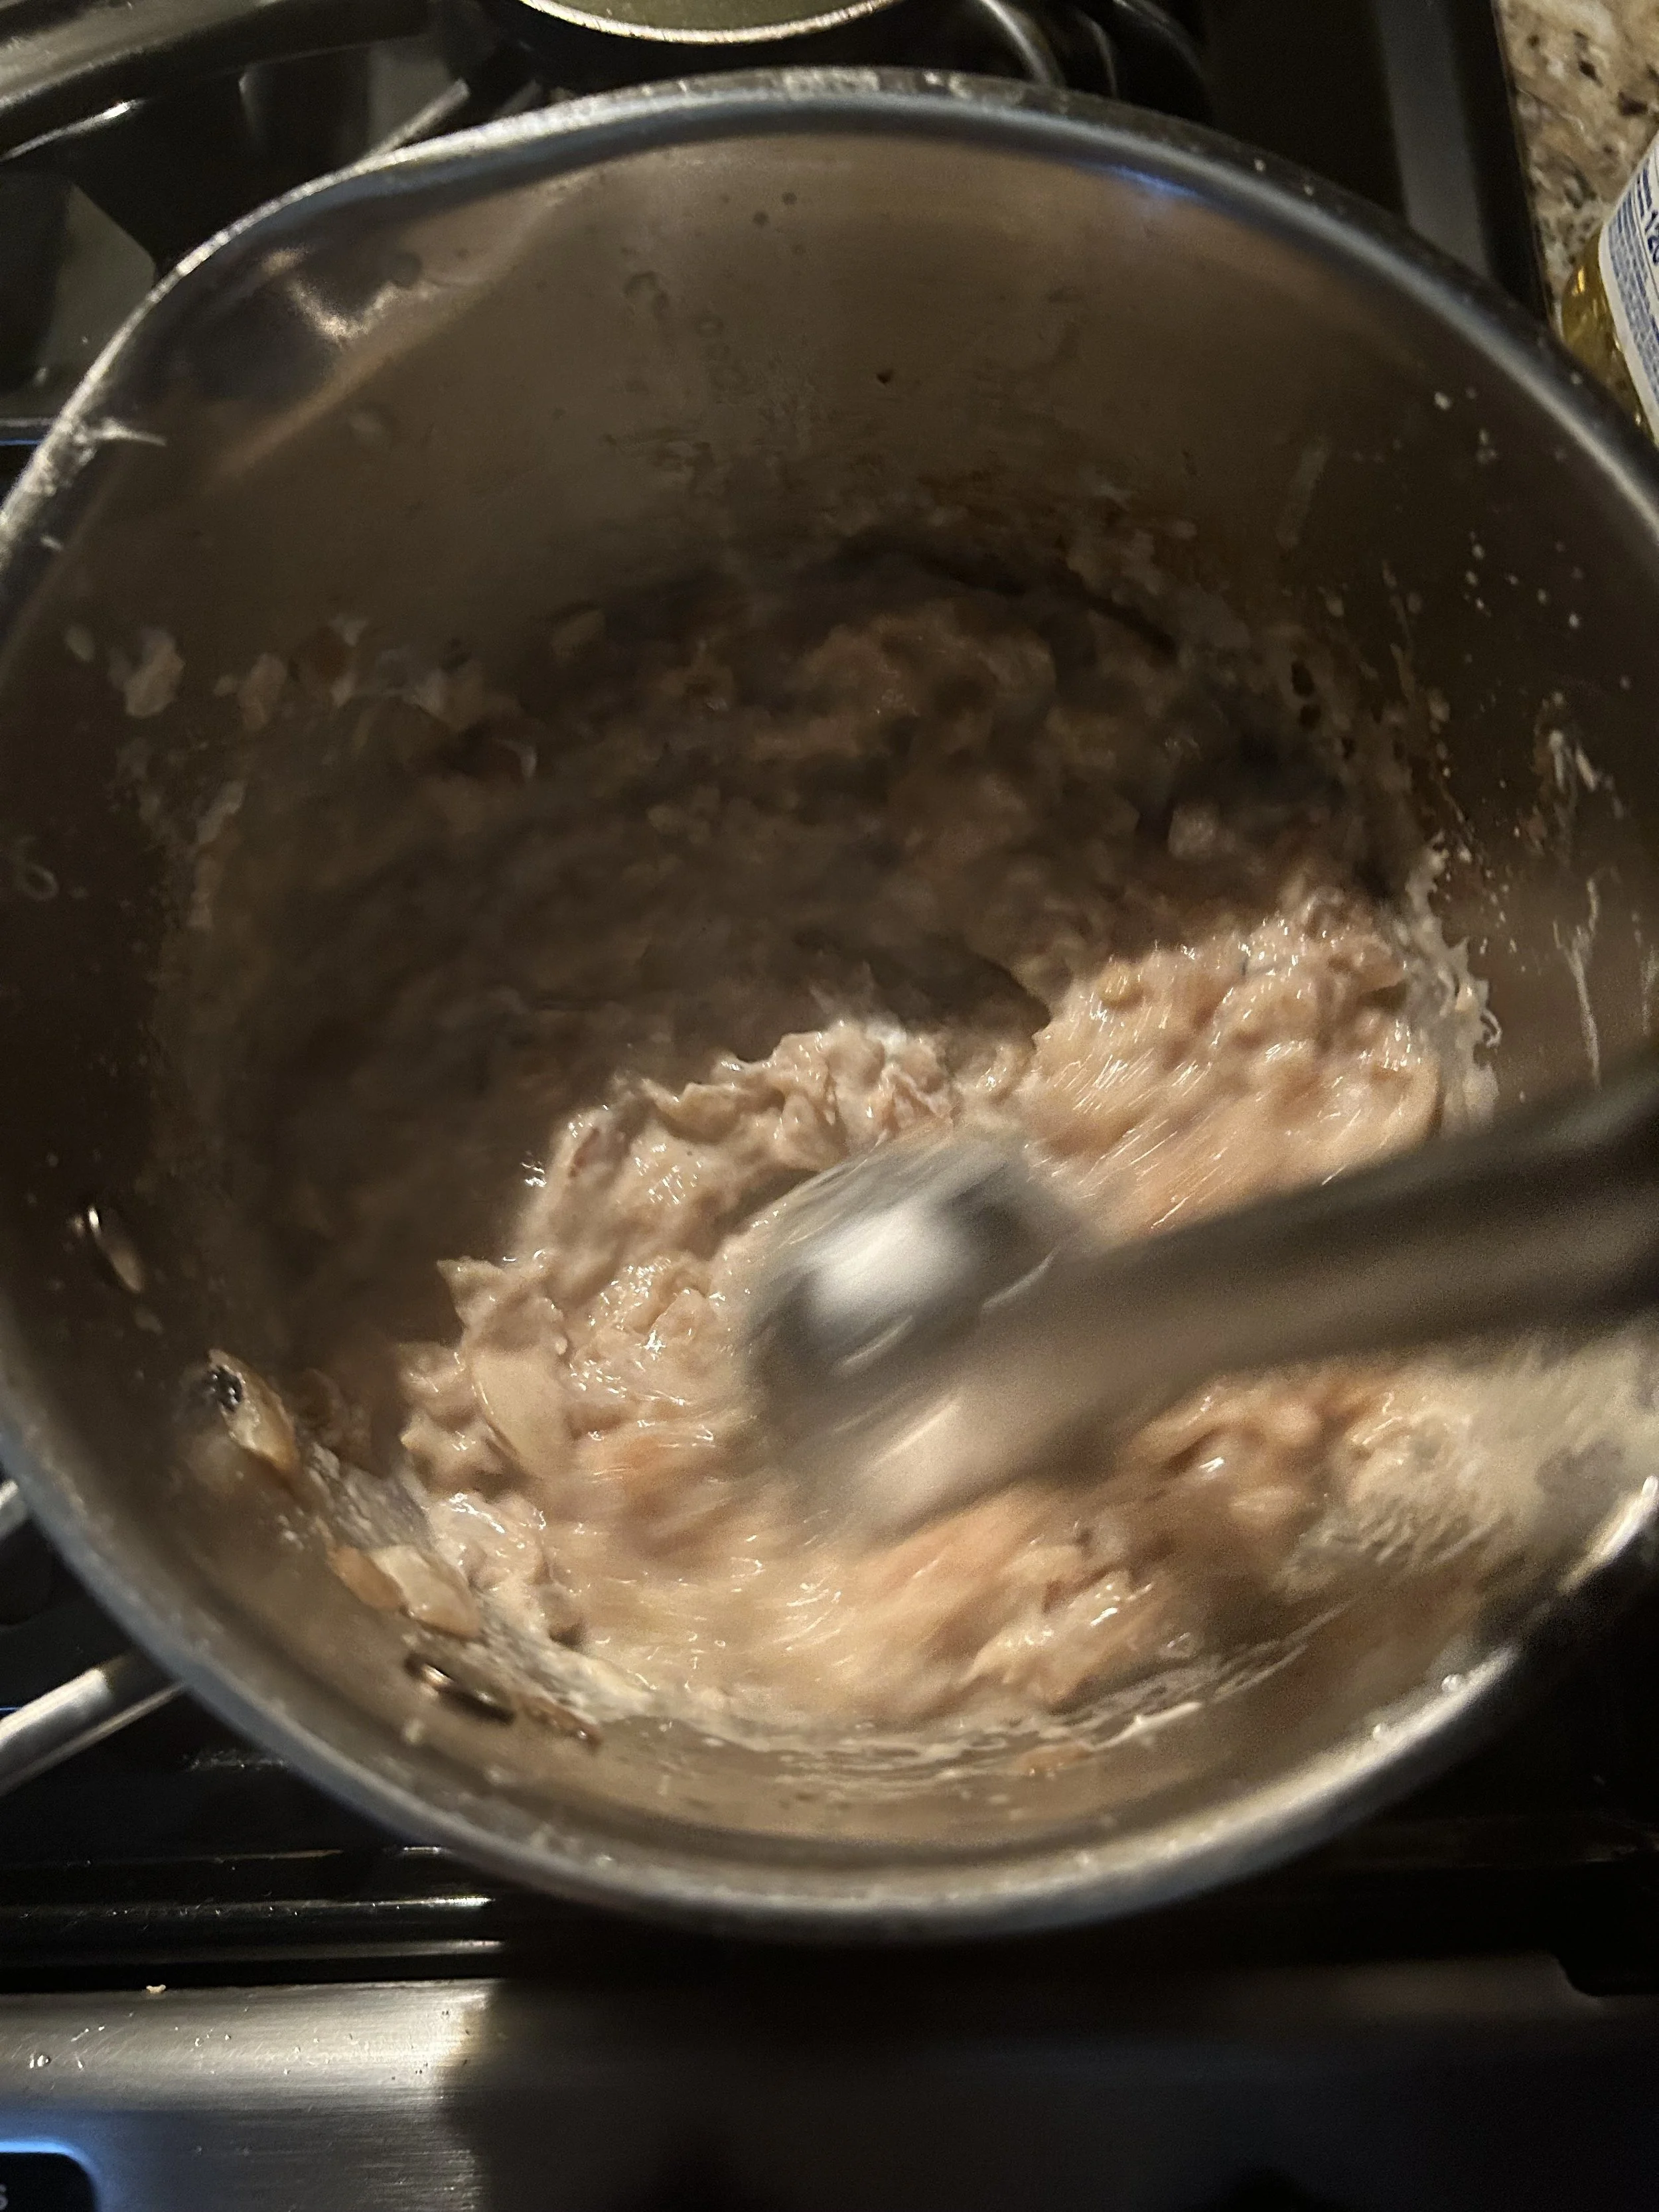
Remove the parmesan rind, bay leaves, and thyme sprigs from the soup. (Don’t worry if a few thyme leaves got in there) Add 1/2 cup of grated parmesan cheese and 1/3 cup of sour cream, then blend the soup with either a blender or immersion blender.
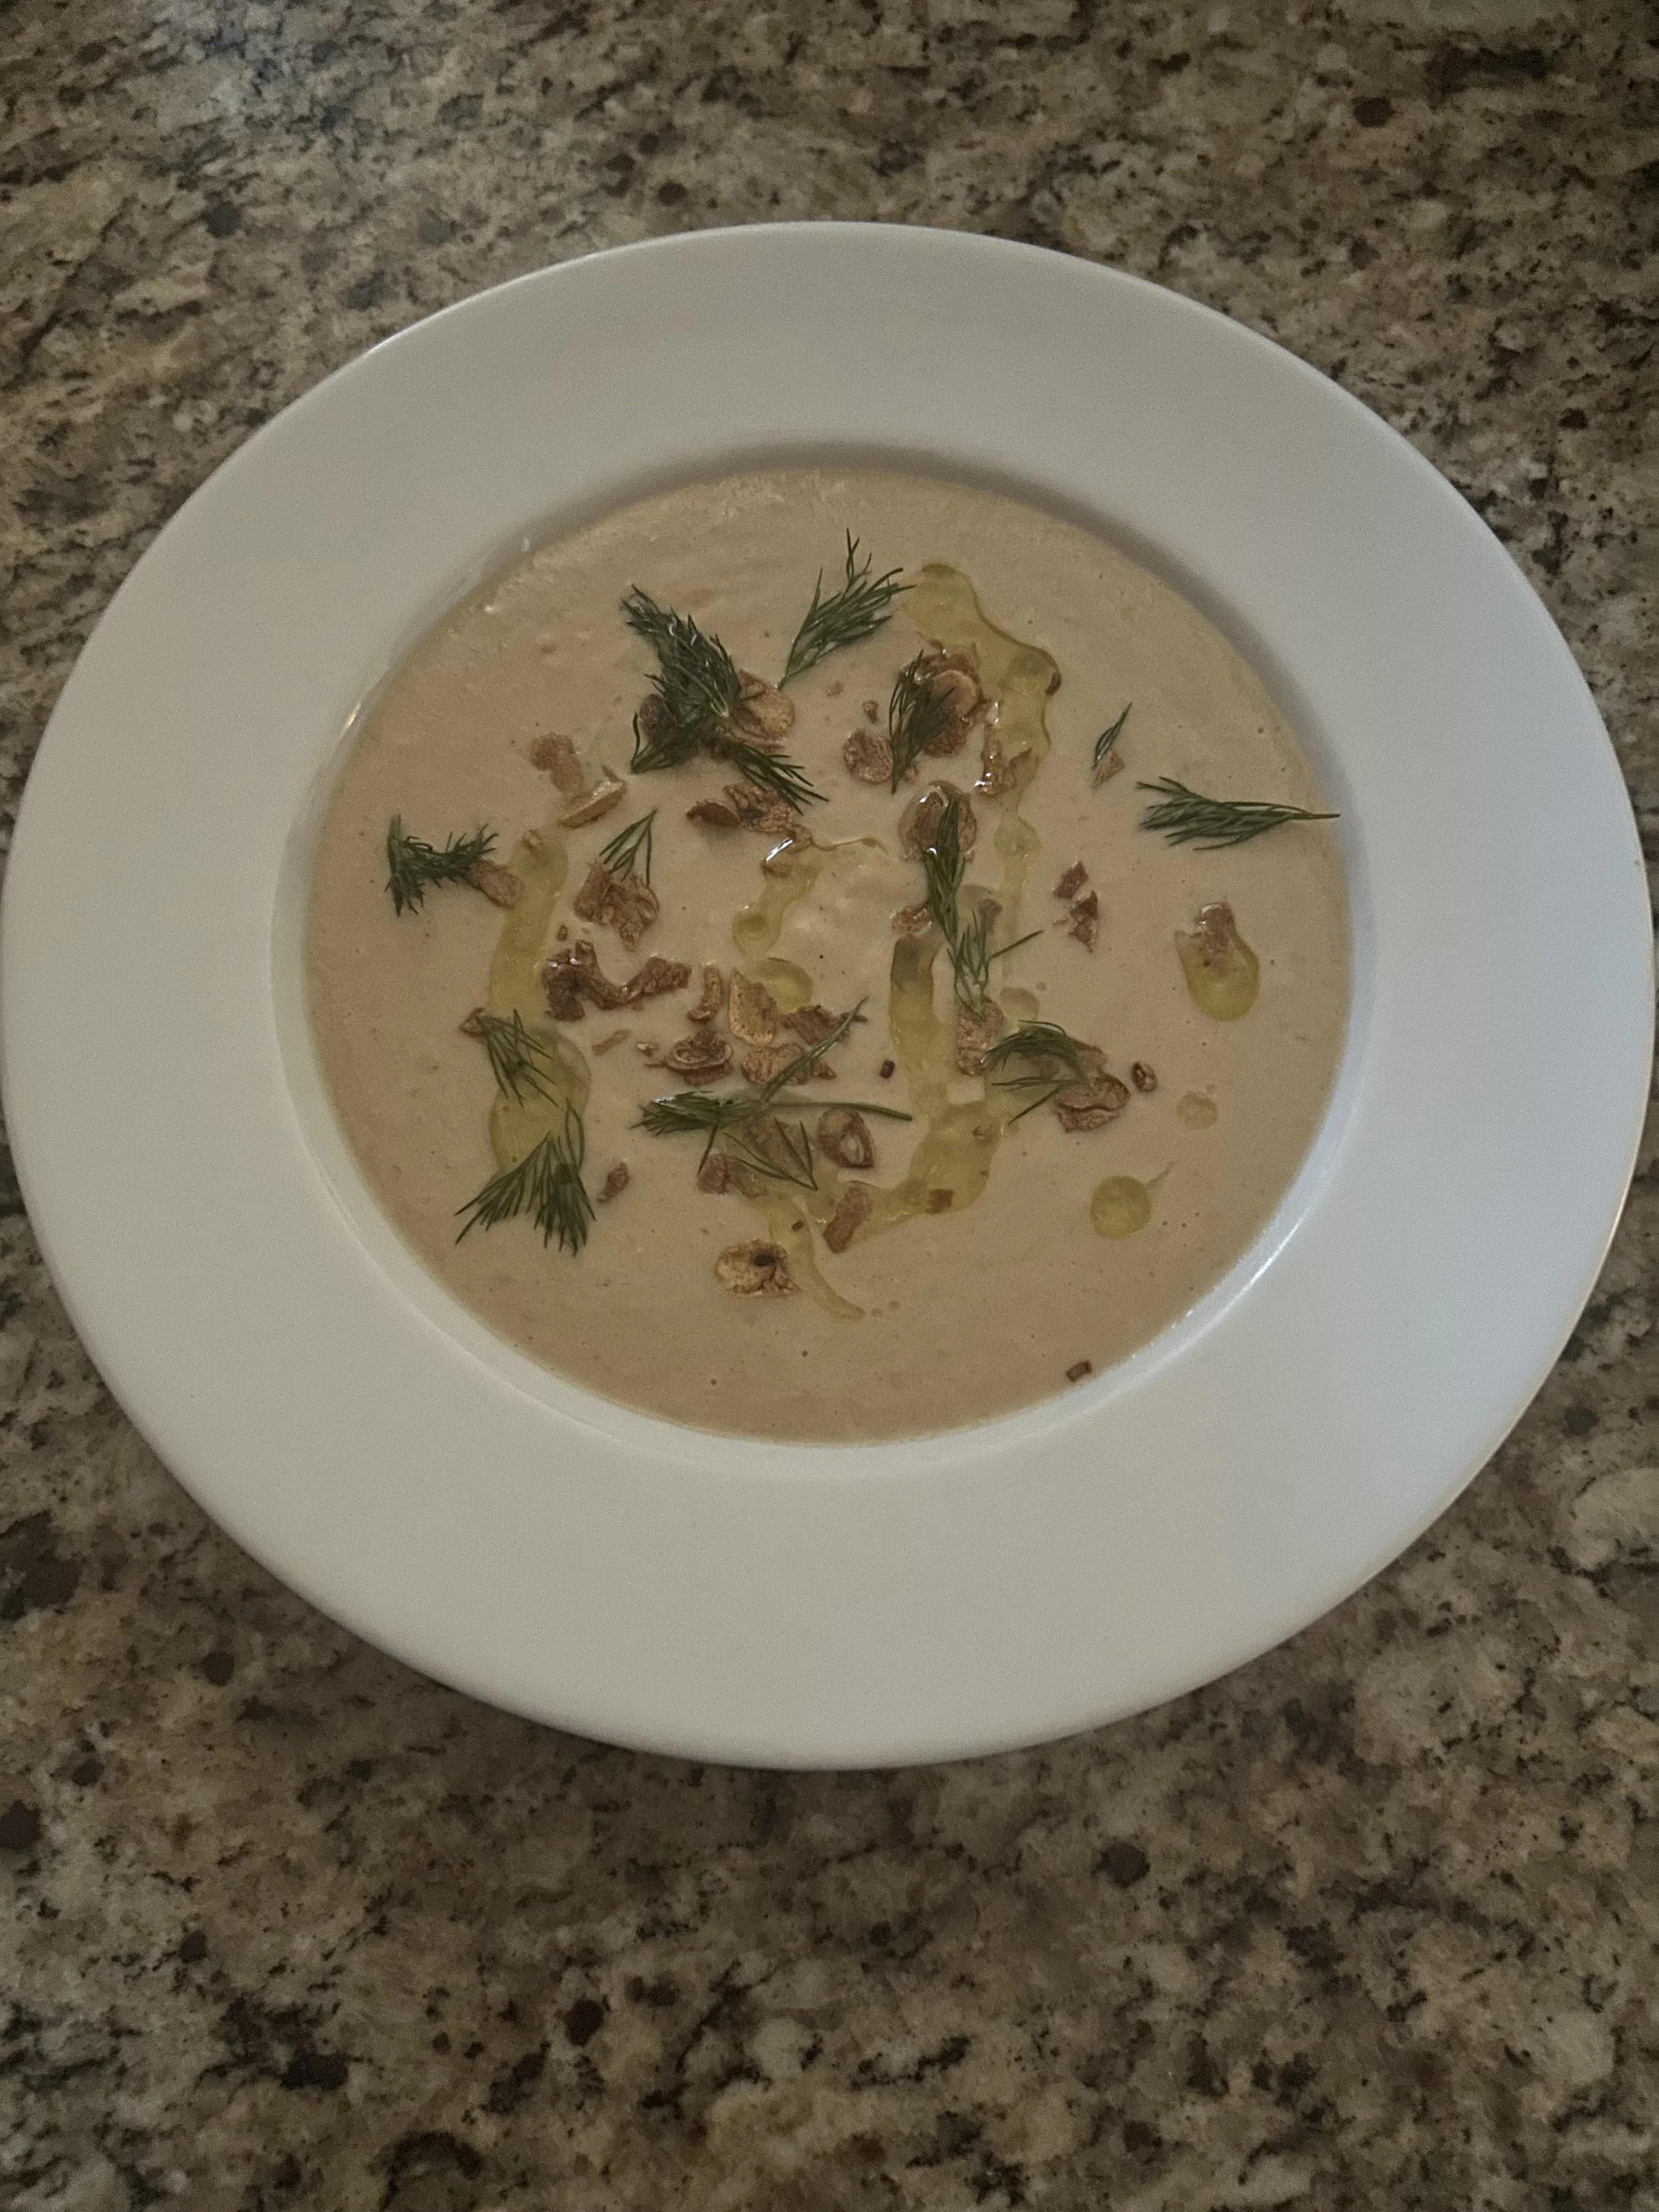
Season to taste, then divide the soup among bowls and top with the crispy sliced garlic, a drizzle of garlic oil, and some chopped fresh dill.
If you’re a garlic lover and have never tried this garlic soup, then you need to give it a go! Rather than tasting intense like raw garlic, it has this sweet, mellow flavor along with the creaminess of the sour cream and the bread, and a bit of nuttiness from the parmesan.
Plus, considering its past uses, all of that garlic might make this soup the ultimate cold medicine.
Day 16: Pumpkin

The list of benefits for pumpkins is about as long as the one for carrots. Lots of iron, Vitamin C, and Vitamin E, and it’s a good source of Beta Carotene, which helps to improve your eyesight.
Sure, you could do a pumpkin pie or dust pumpkin spice (which does not contain any actual pumpkin, btw) onto everything, but I’m going to show you some pumpkin and quinoa cookies that show that a healthy cookie can taste great.
In a bowl, whisk together 1 1/2 cups of flour, 1 1/2 teaspoons of ground cinnamon, 1 1/4 teaspoons of baking powder, and 1 teaspoon of salt until combined.
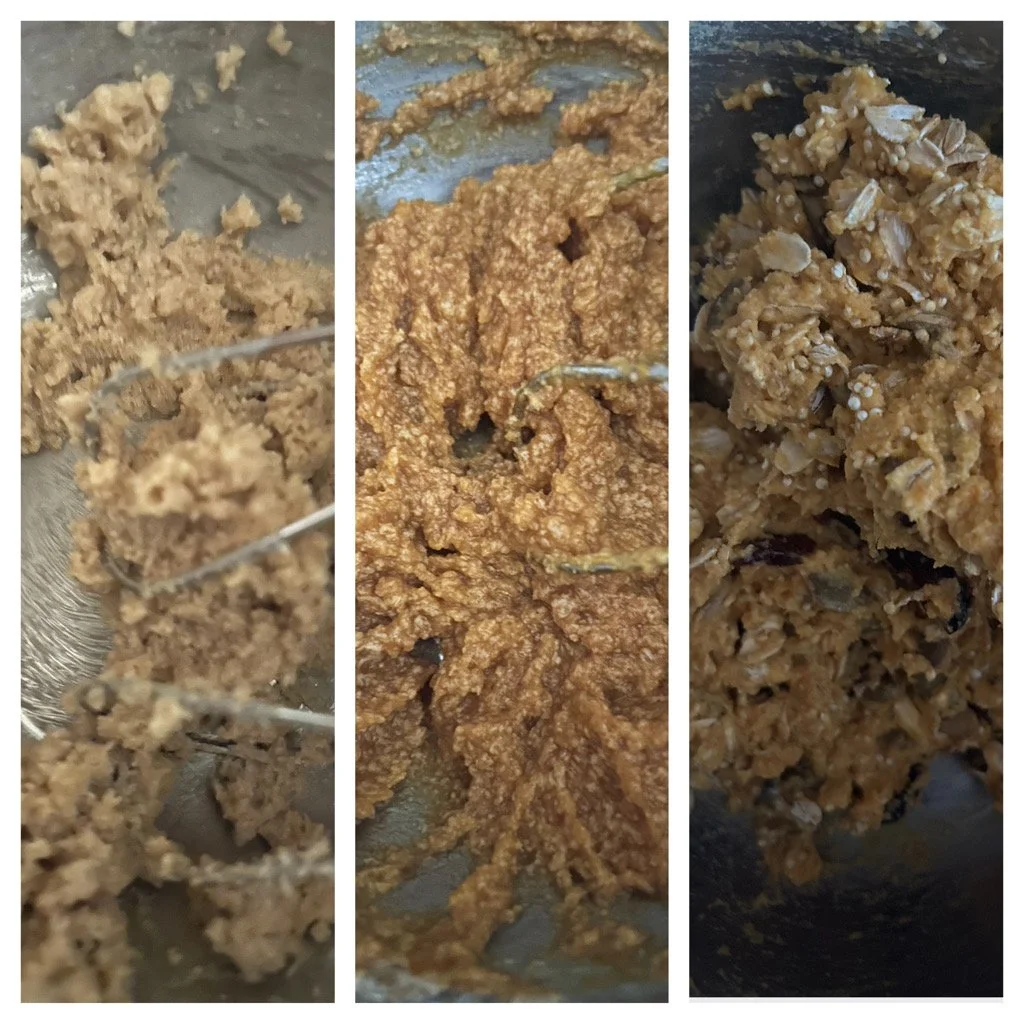
In an electric mixer, beat 1 1/2 sticks of soft unsalted butter with 1 1/4 cups of packed light brown sugar until light, pale, and creamy. Add one egg, a 15-ounce can of pumpkin puree, and 2 teaspoons of vanilla extract, and mix to combine.
Add the flour mixture, and beat until combined. Then comes the fun part!
Fold in 2 1/2 cups of rolled oats, 1 cup of shelled pepitas or pumpkin seeds, 1 cup of dried cranberries, and 3/4 cup of uncooked quinoa. It sounds odd to use raw quinoa but just go with me.
Cover and chill the dough for 1 hour, overnight would be even better.
Preheat the oven to 350 degrees F.
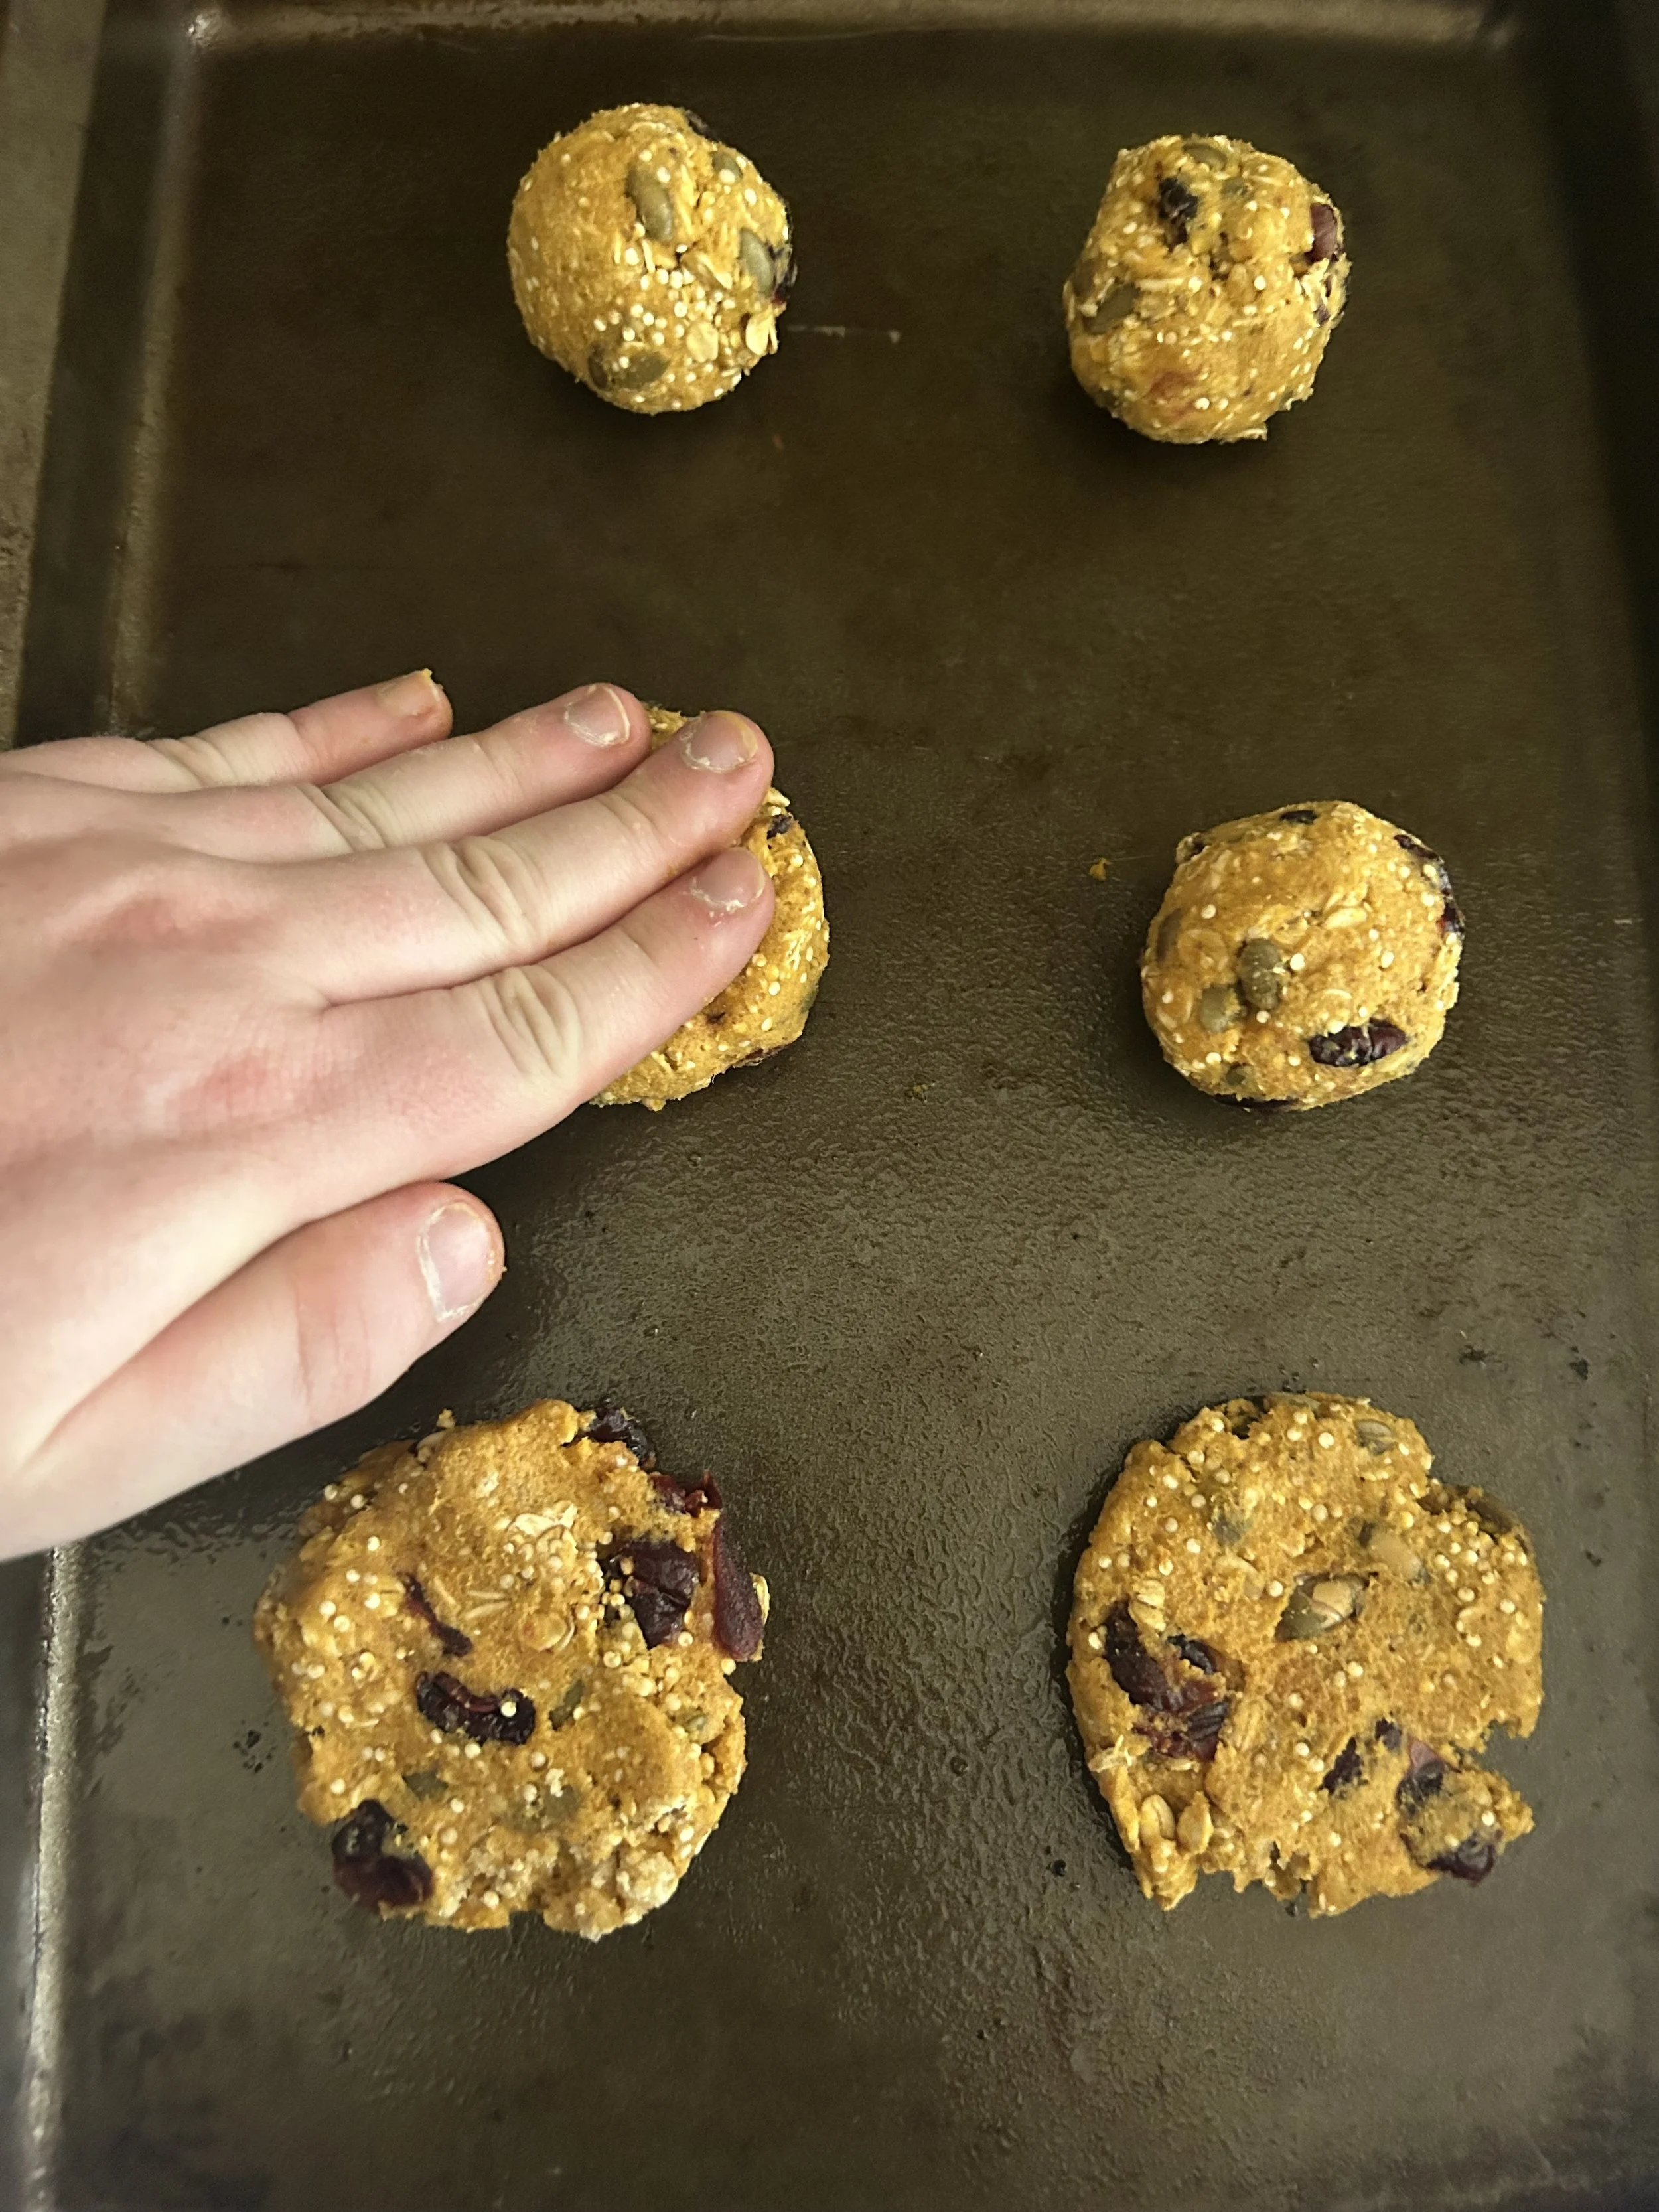
Scoop 2-inch balls of dough onto greased baking sheets and arrange about 2 inches apart. Coat the bottom of a drinking glass with cooking spray, and use that to squish the dough into a 1/2-inch thickness.
(These cookies aren’t going to spread very much in the oven, so it’s ok if you put them a bit close together.)
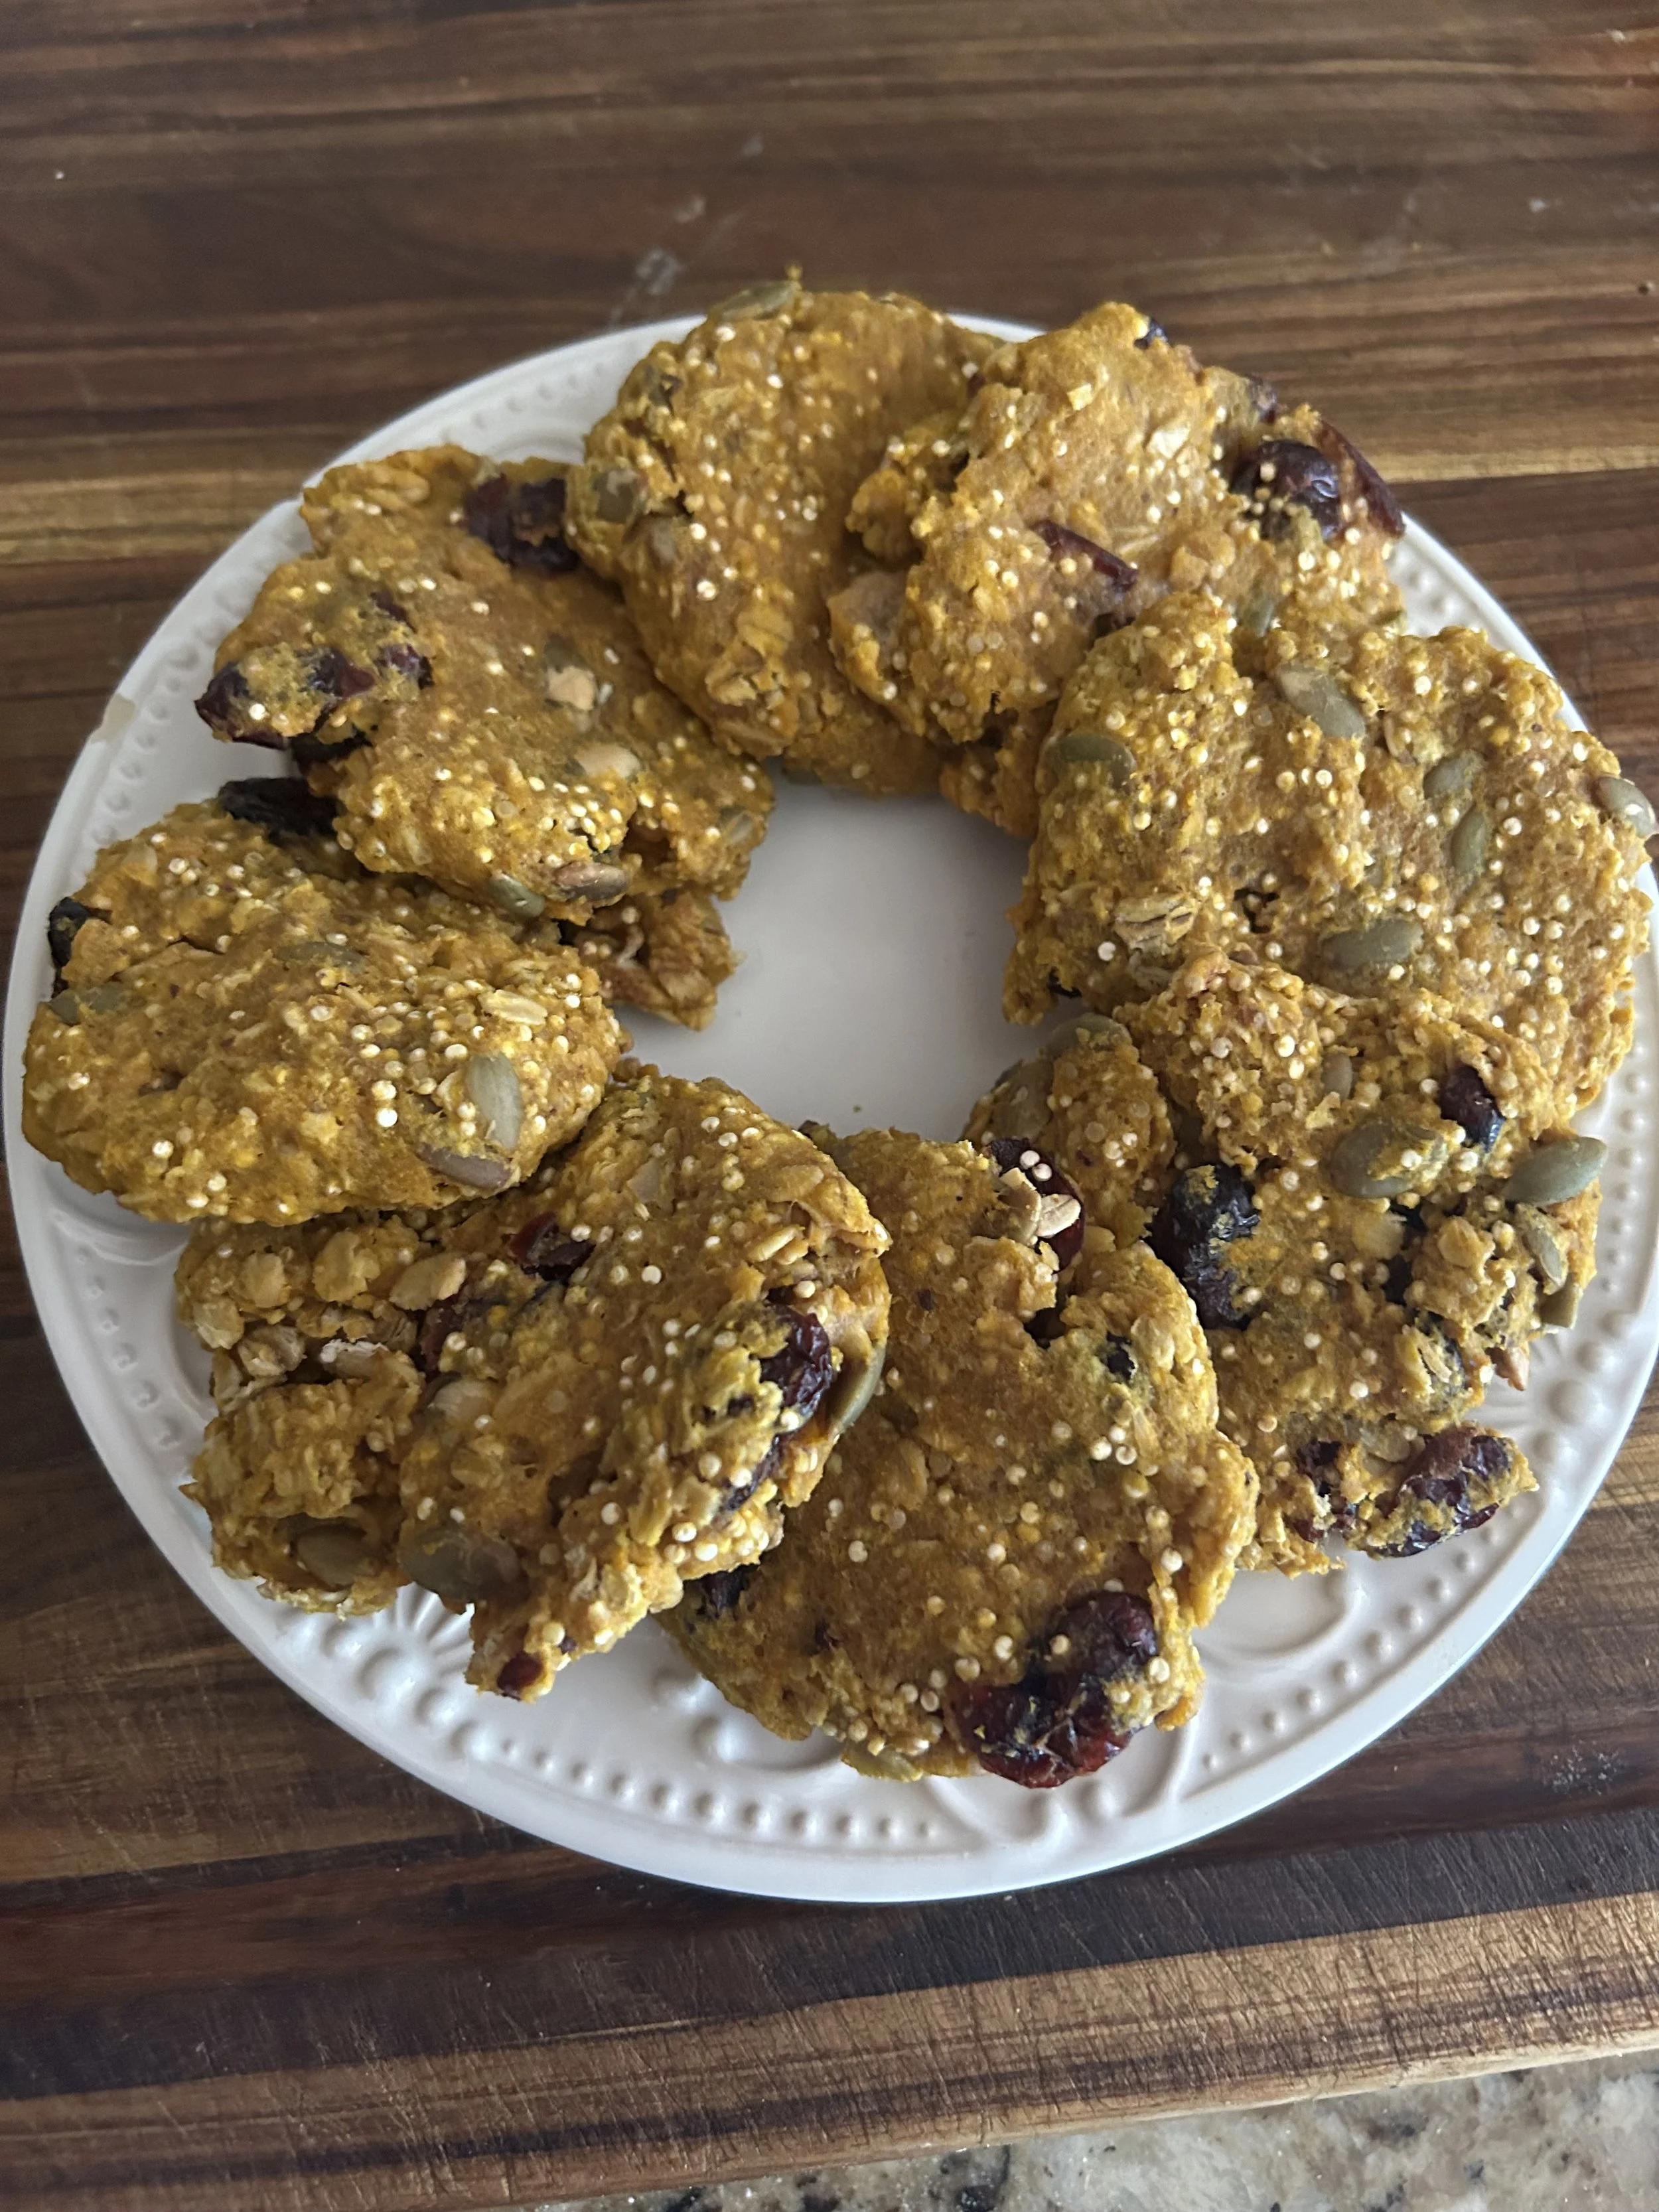
Bake for 12-14 minutes, or until the edges are golden and crisp.
And there you go, amazing pumpkin-quinoa oatmeal cookies! The nutrients of the pumpkin, the oats, and all of the other goodies will make you want to gobble up the whole tray of these cookies, and will help you satisfy your sweet tooth in a much healthier way!
Now, there is sugar in the cookies mentioned above as well as a few other dishes in the series, but that’s perfectly fine! As long as you eat them in moderation.
One of the biggest misconceptions for healthy eating is people think it’s all about cutting out fat, carbs, gluten, dairy, or sugar. While eating excessive amounts of those things can do harm, a small amount is not as bad for you as you think.
In the case of sugar, a bit of sugar now and then is ok to eat, as long as you balance it out with plenty of fruits, vegetables, whole grains, and exercise.
That’s not rocket science, is it? Be mindful of what you’re eating, pay attention to serving sizes on nutrition labels, and do what you can to fight those cravings for fat, salt, and sugar.
Day 17: Spinach
Spinach tends to get a bad reputation for the fact that most people are put off by it’s texture, but I believe it deserves a better chance, especially since it’s packed with potassium, Vitamin C, a little calcium and a bit of iron.
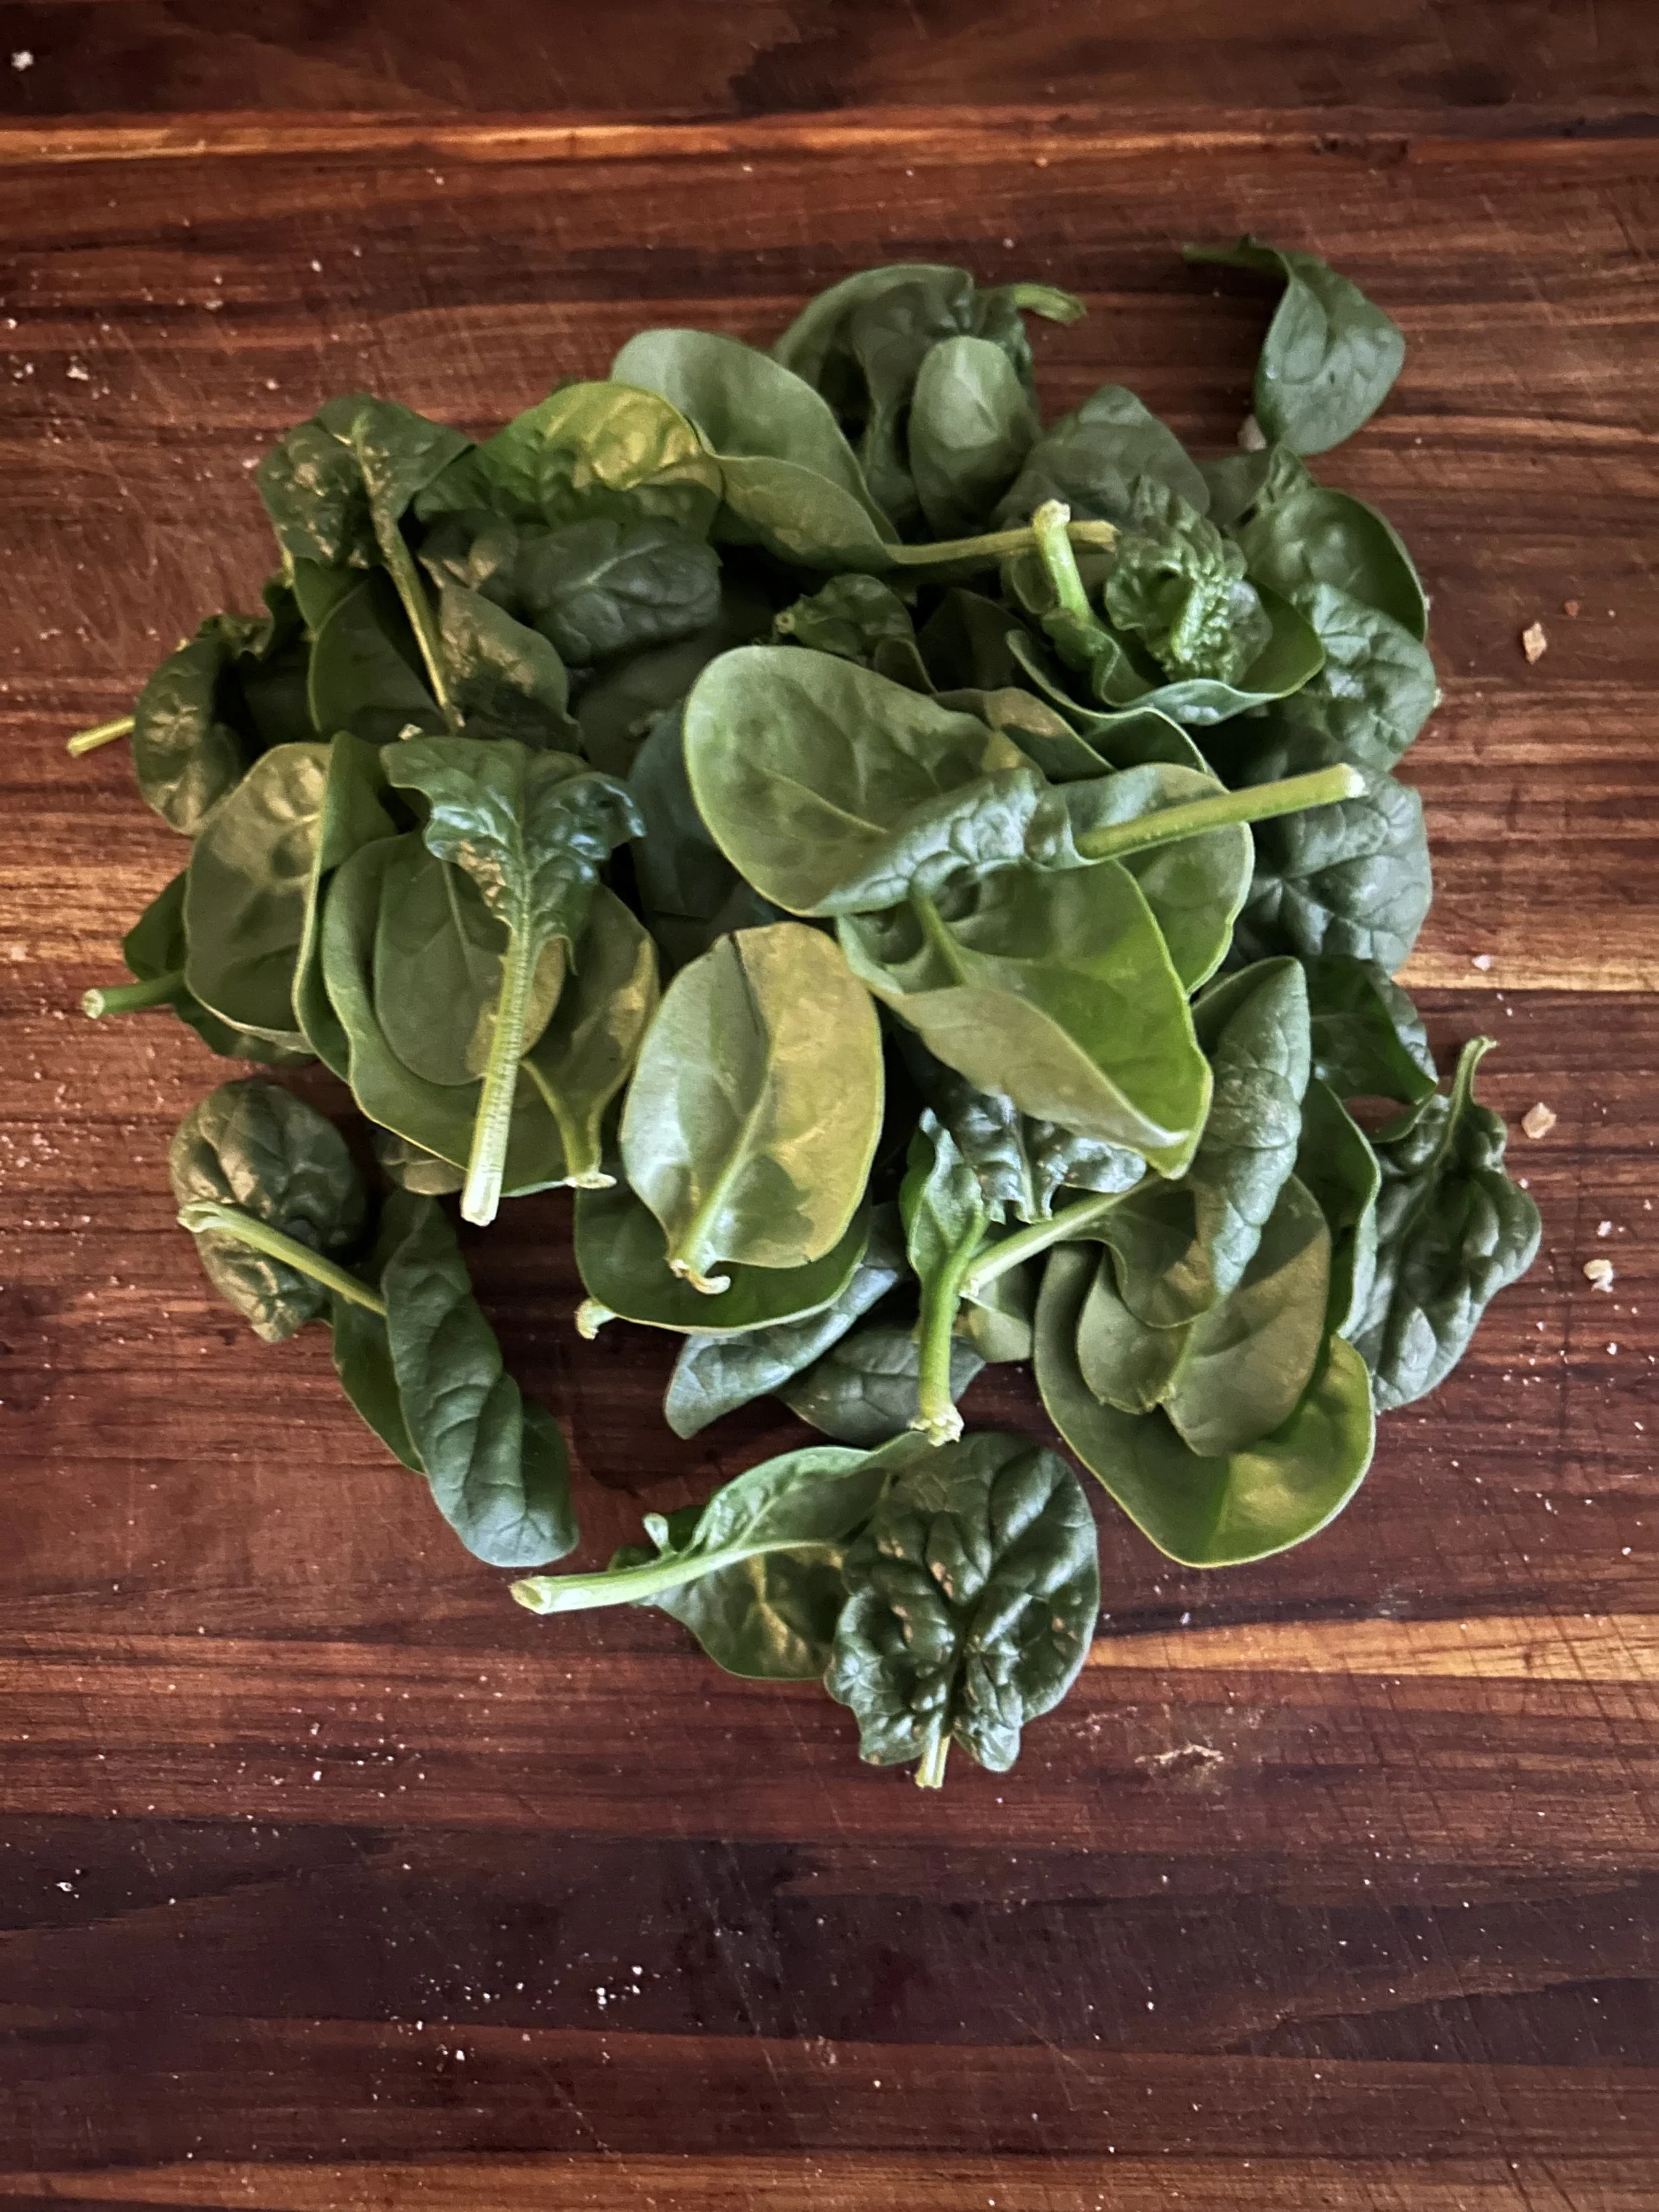
Being a leafy green, spinach can be cooked down for omelets and stuffings or left raw for salads, but today I’ll be tossing it with some lentils for another tasty side dish.
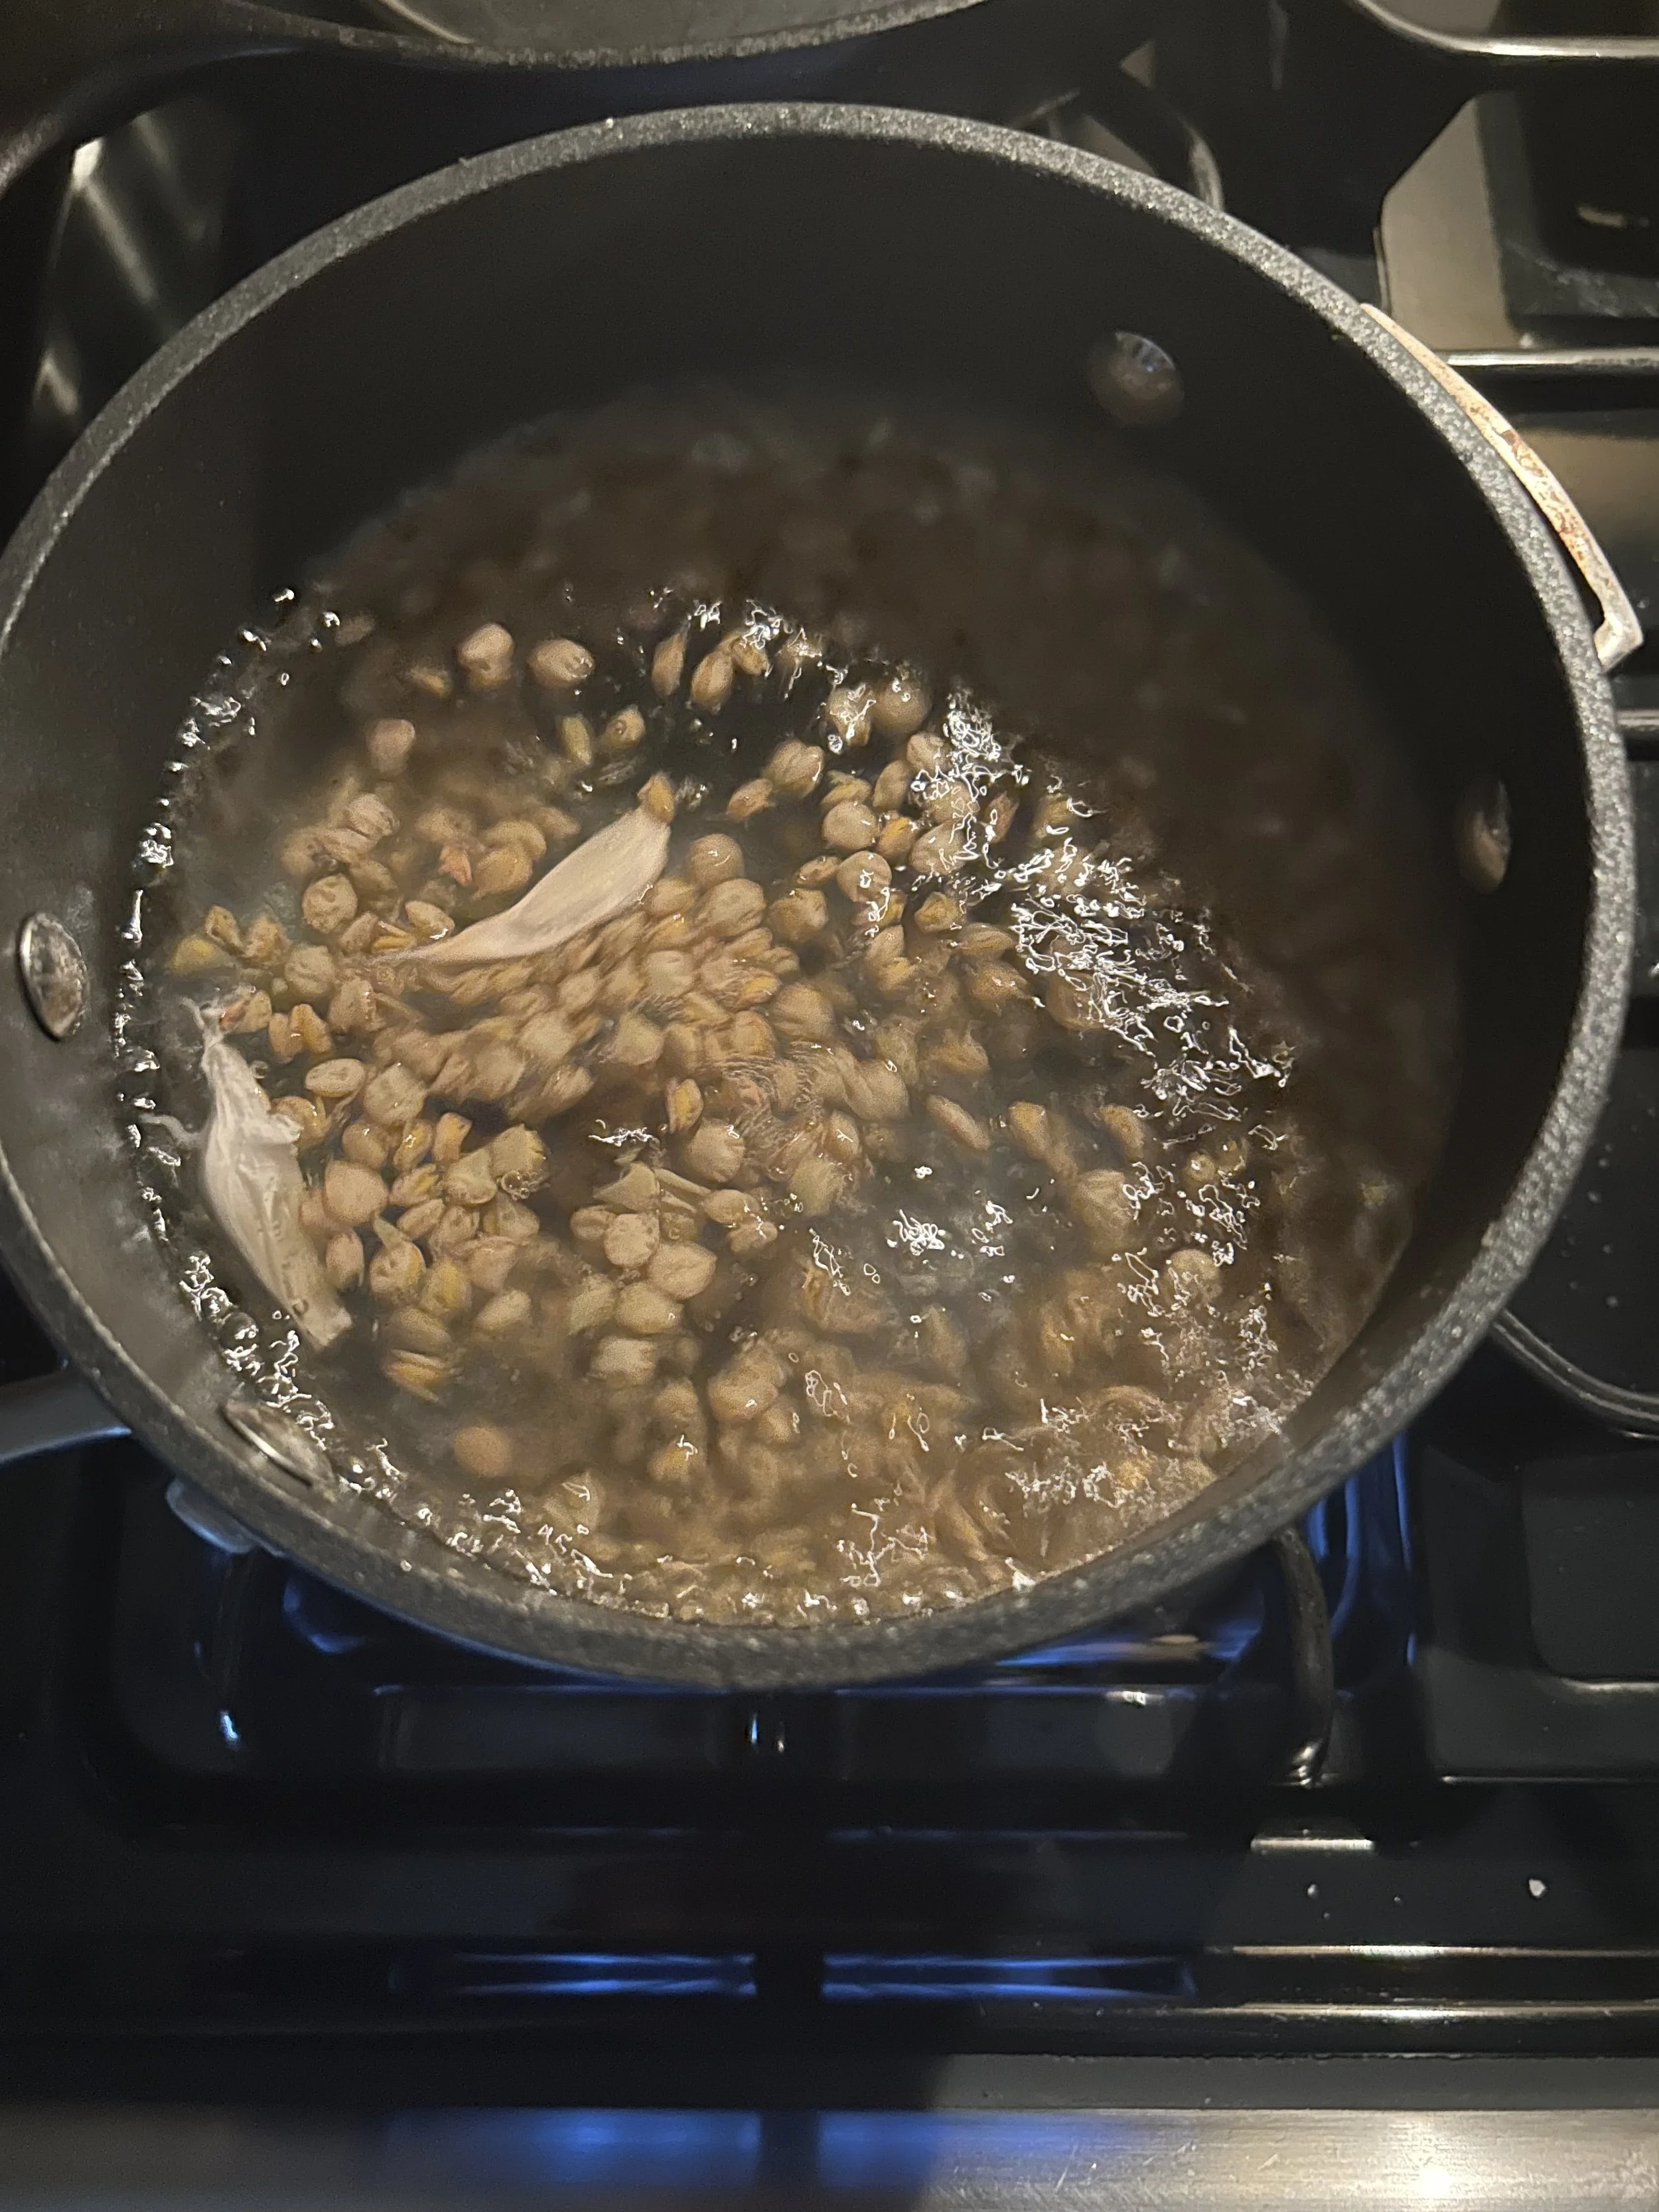
Cook one cup of dry green lentils according to the directions on the package, adding two garlic cloves to the cooking water.
Lentils are great because they have lots of folate, fiber, a bit of potassium, and a plant chemical called polyphenols, which has antioxidant qualities.
Place 2 cups of baby spinach into a colander, then once the lentils are tender, drain them onto the spinach to wilt the spinach slightly.
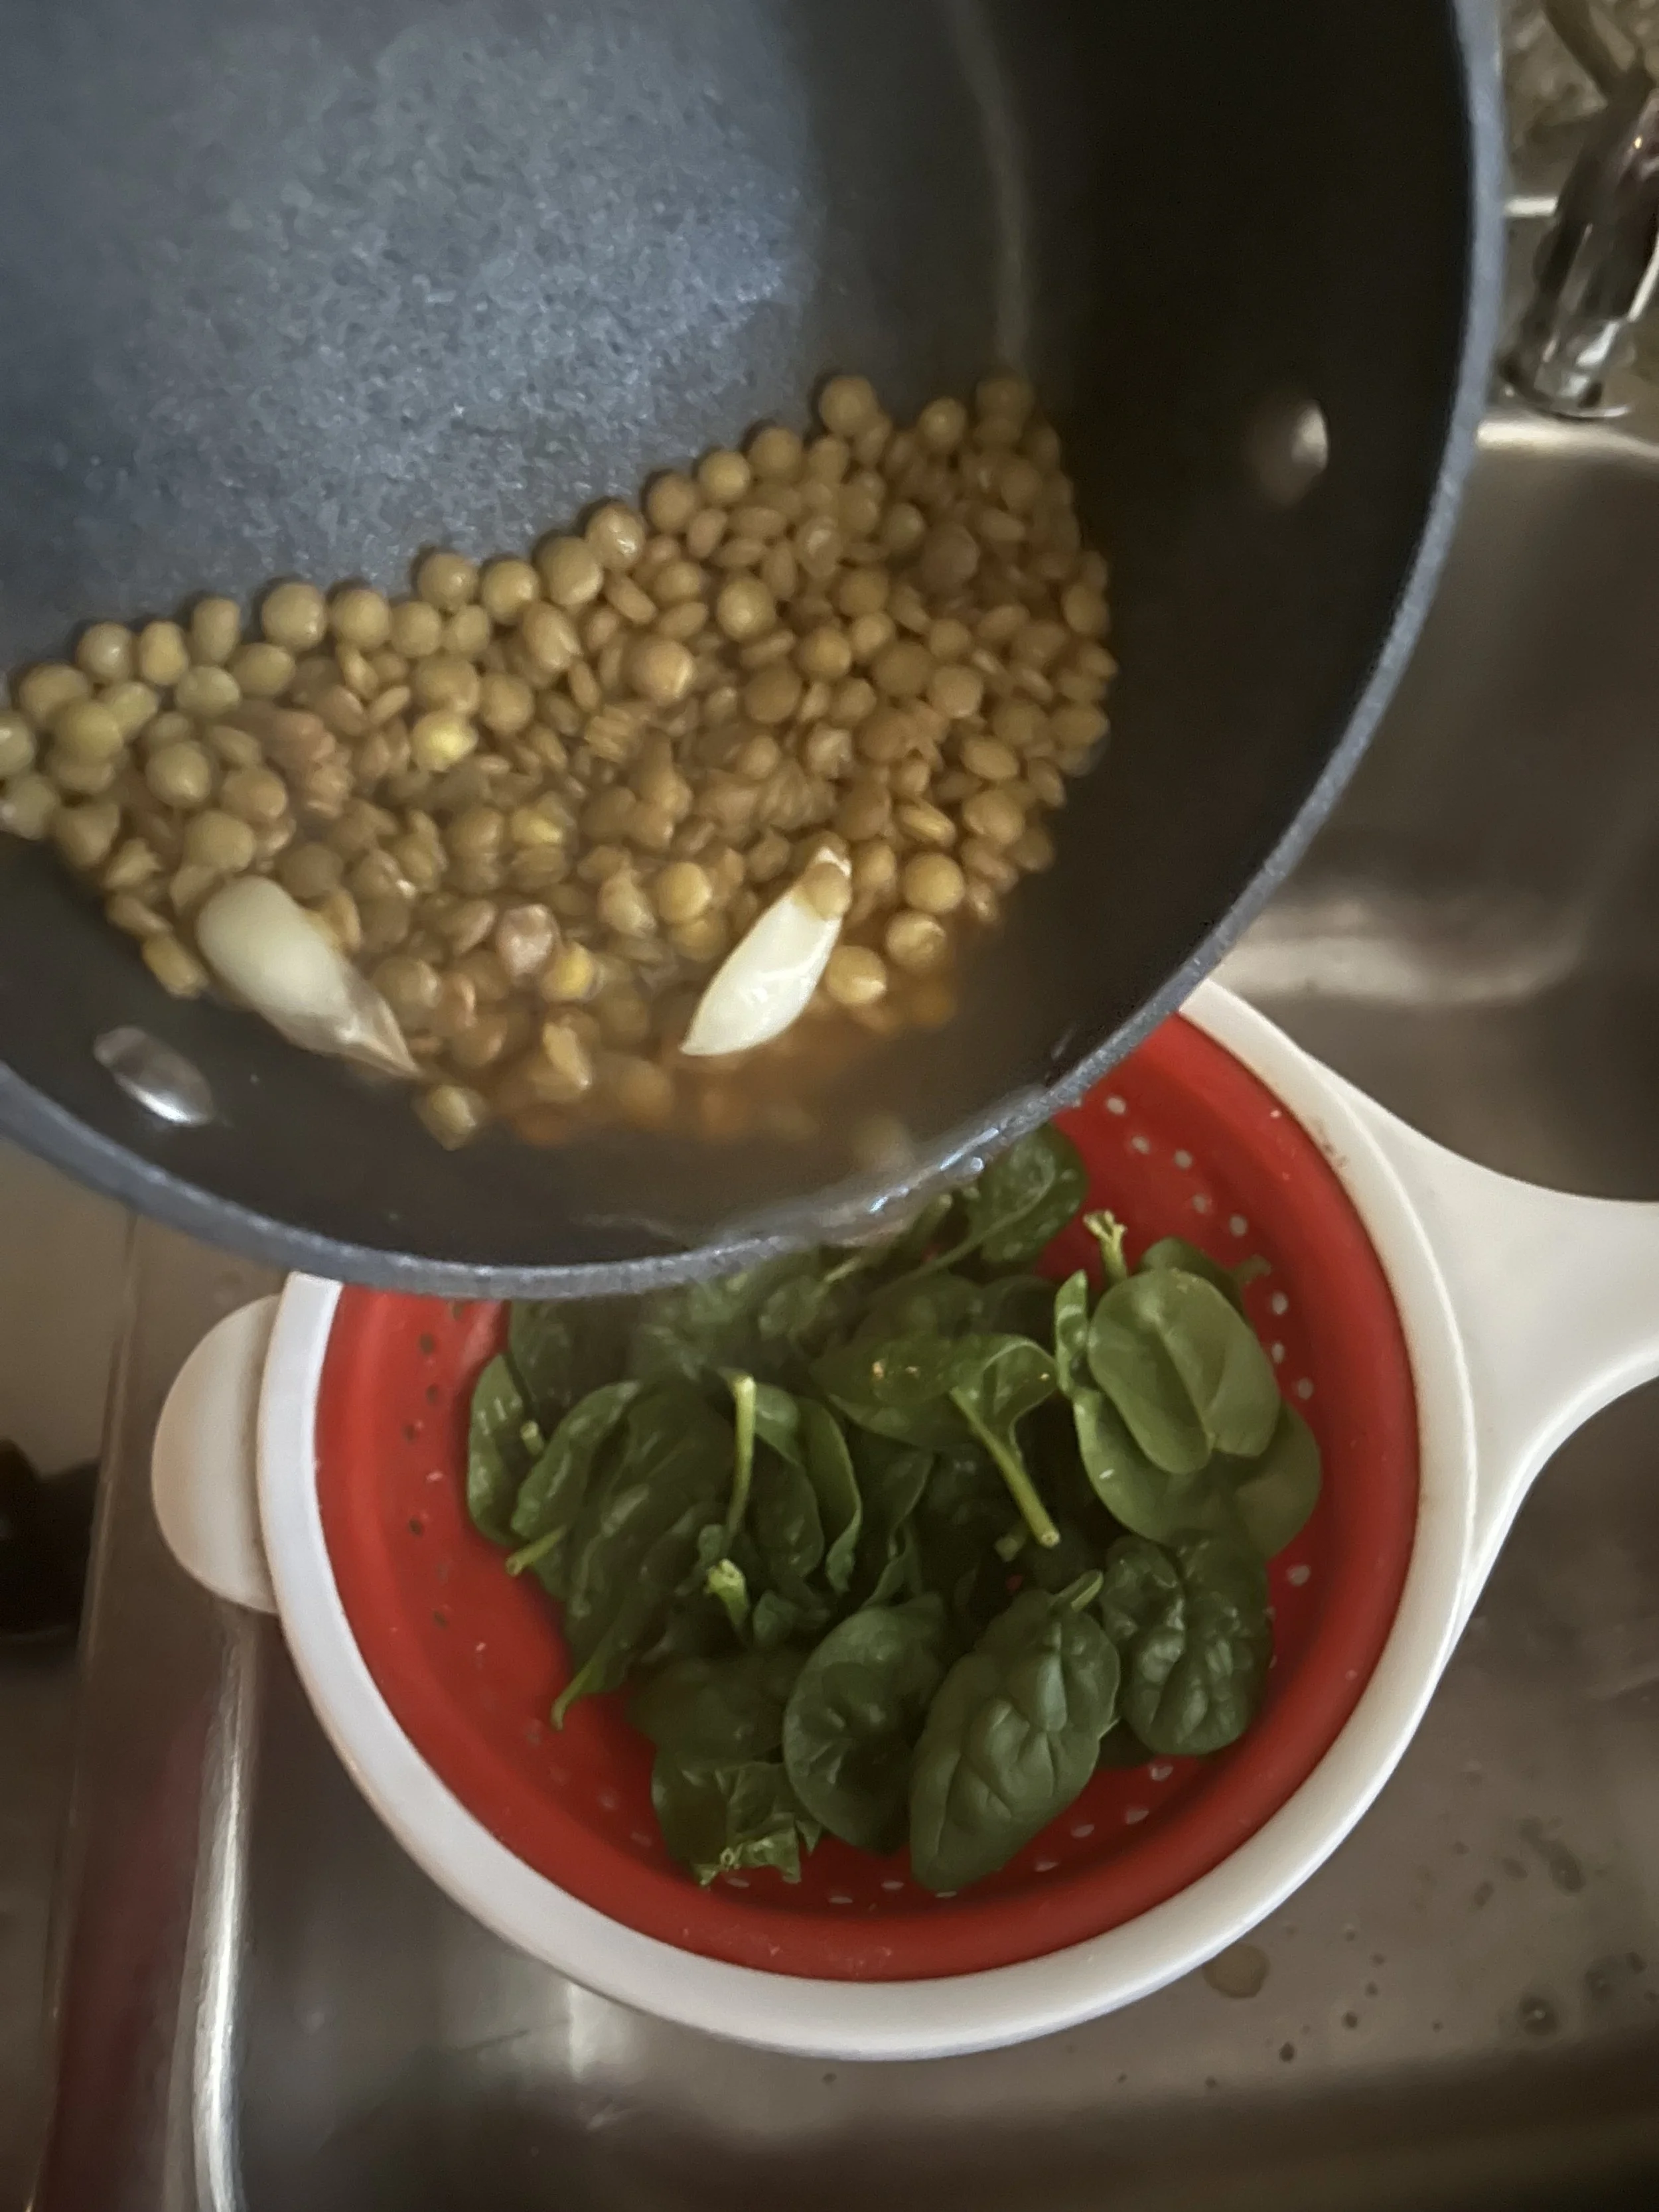
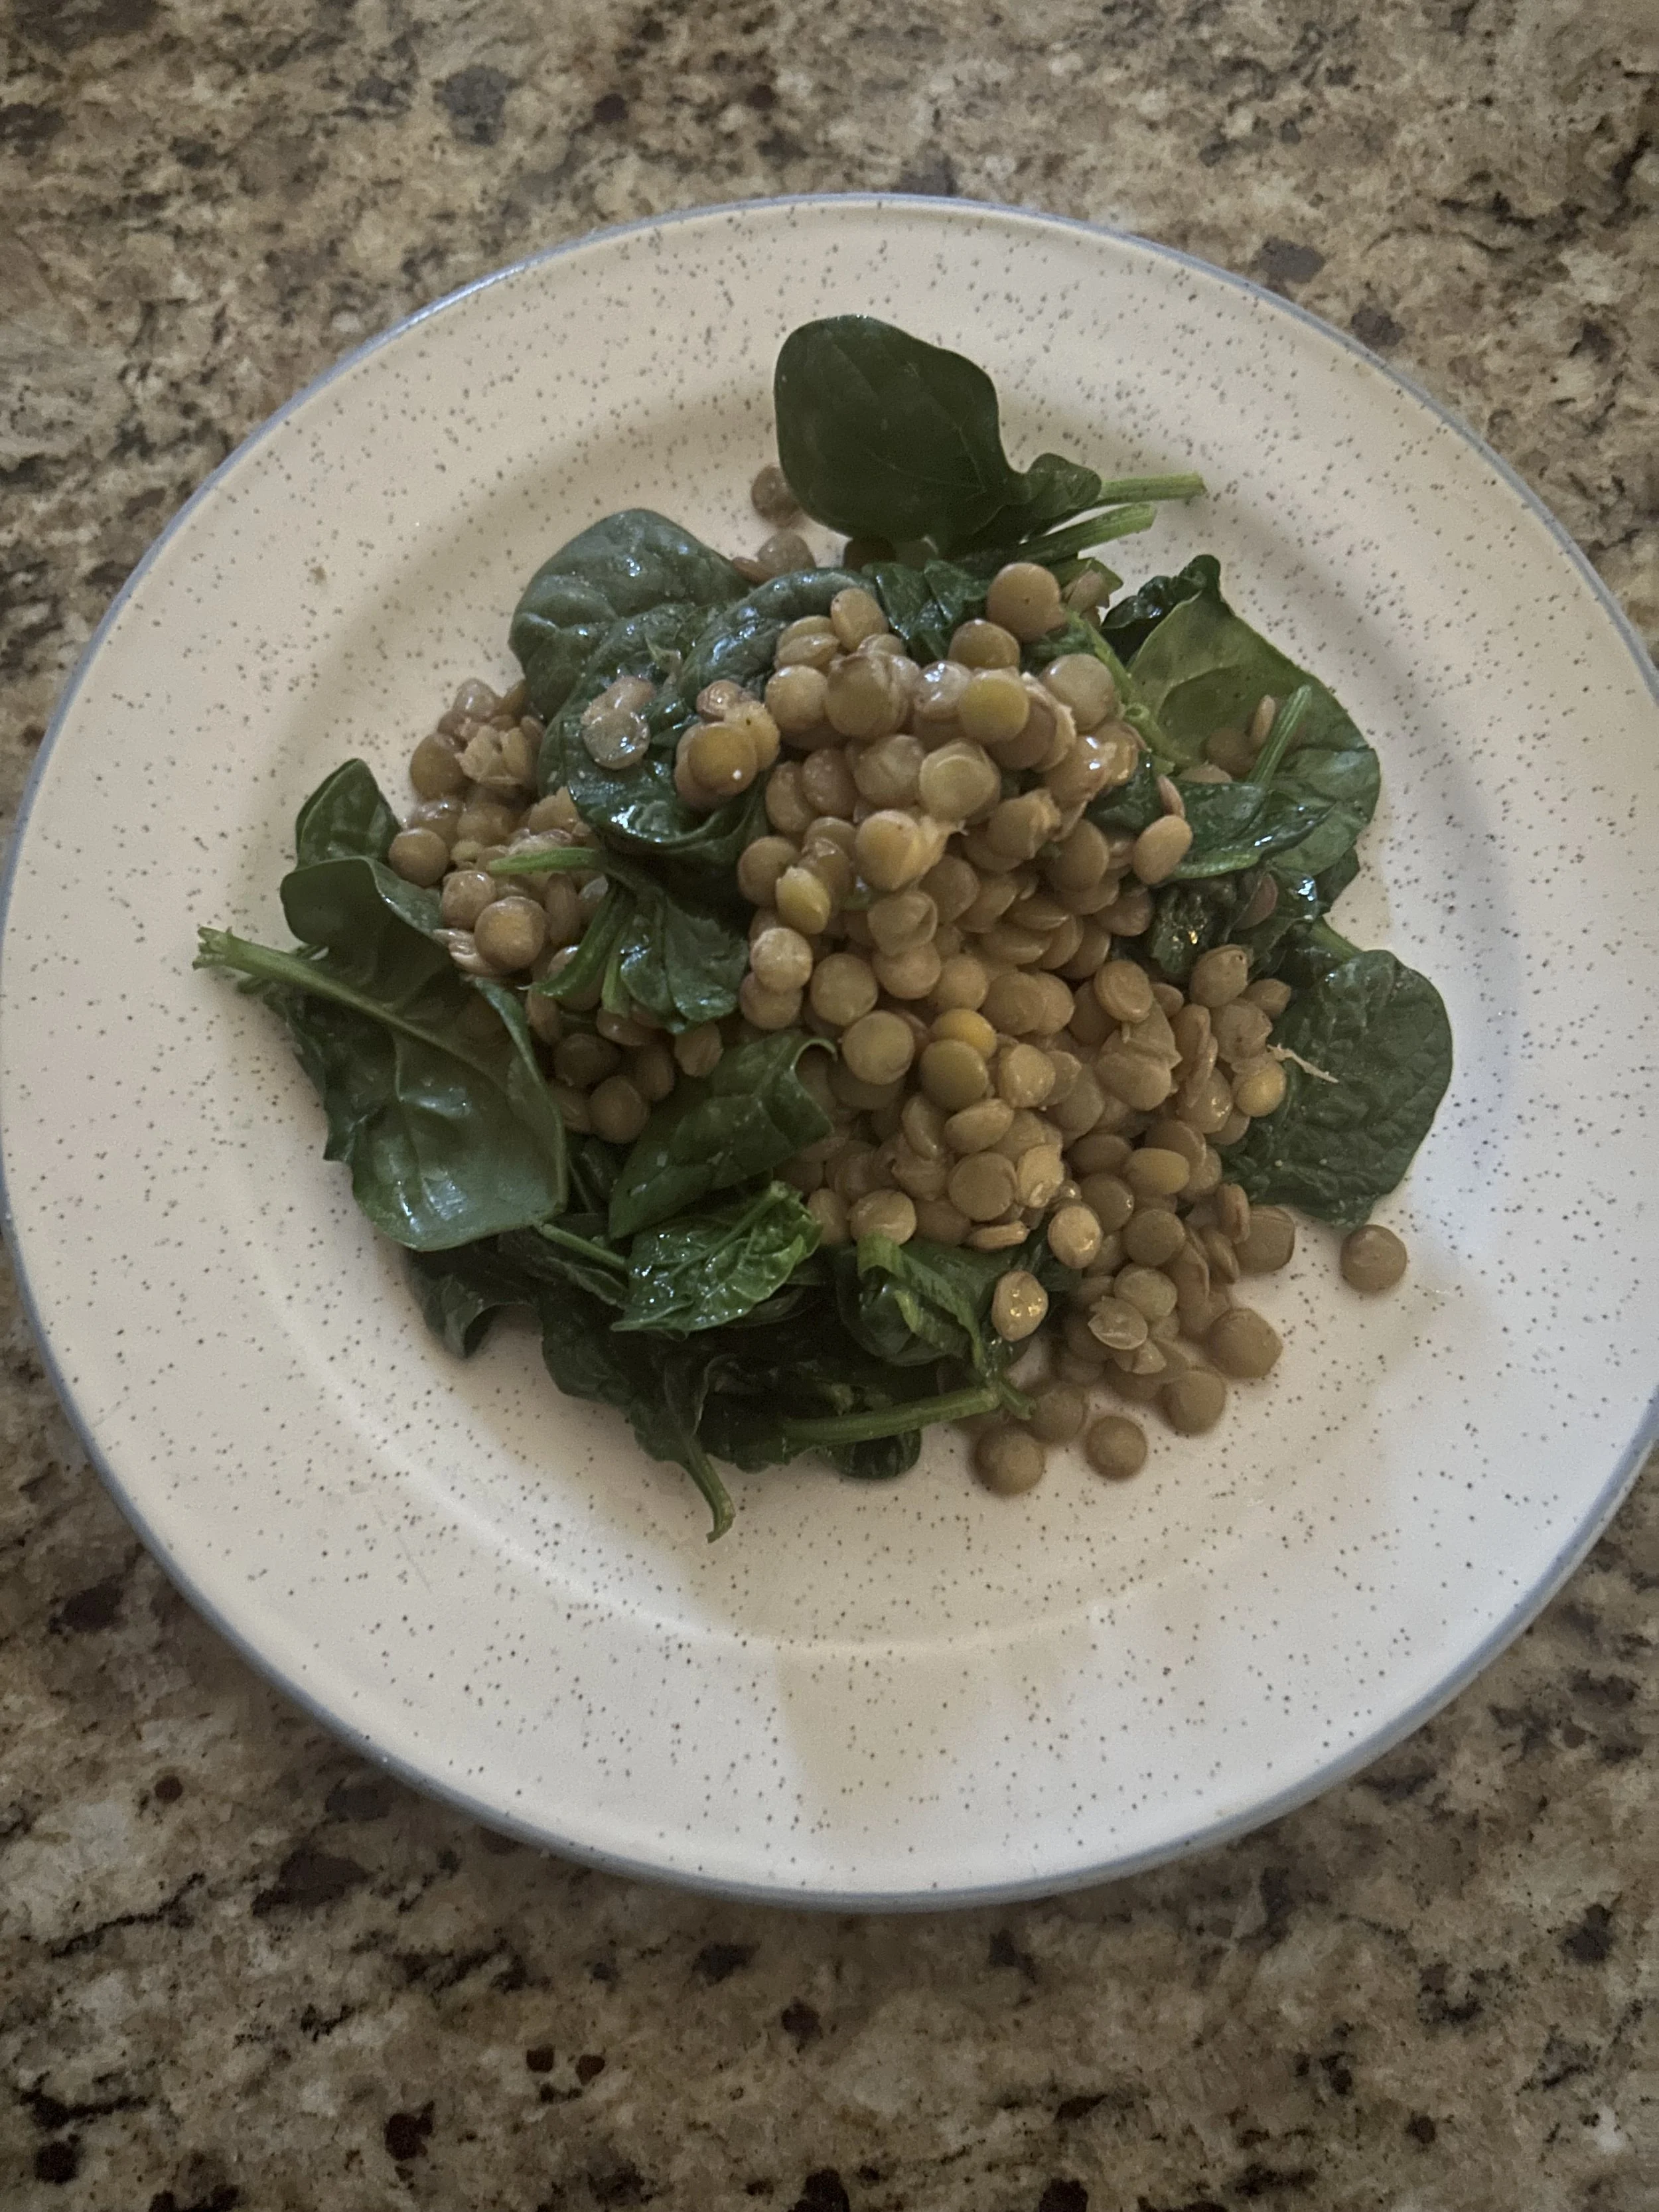
Dump the lentils and spinach into a bowl, then toss with 2 sliced green onions, 2 tablespoons of red wine vinegar, a tablespoon of olive oil, and season with salt and pepper.
Wow, how easy was that?
When paired with the earthy lentils, I think that you will find that spinach is a leafy green that is well-worth the love.
Day 18: Beets
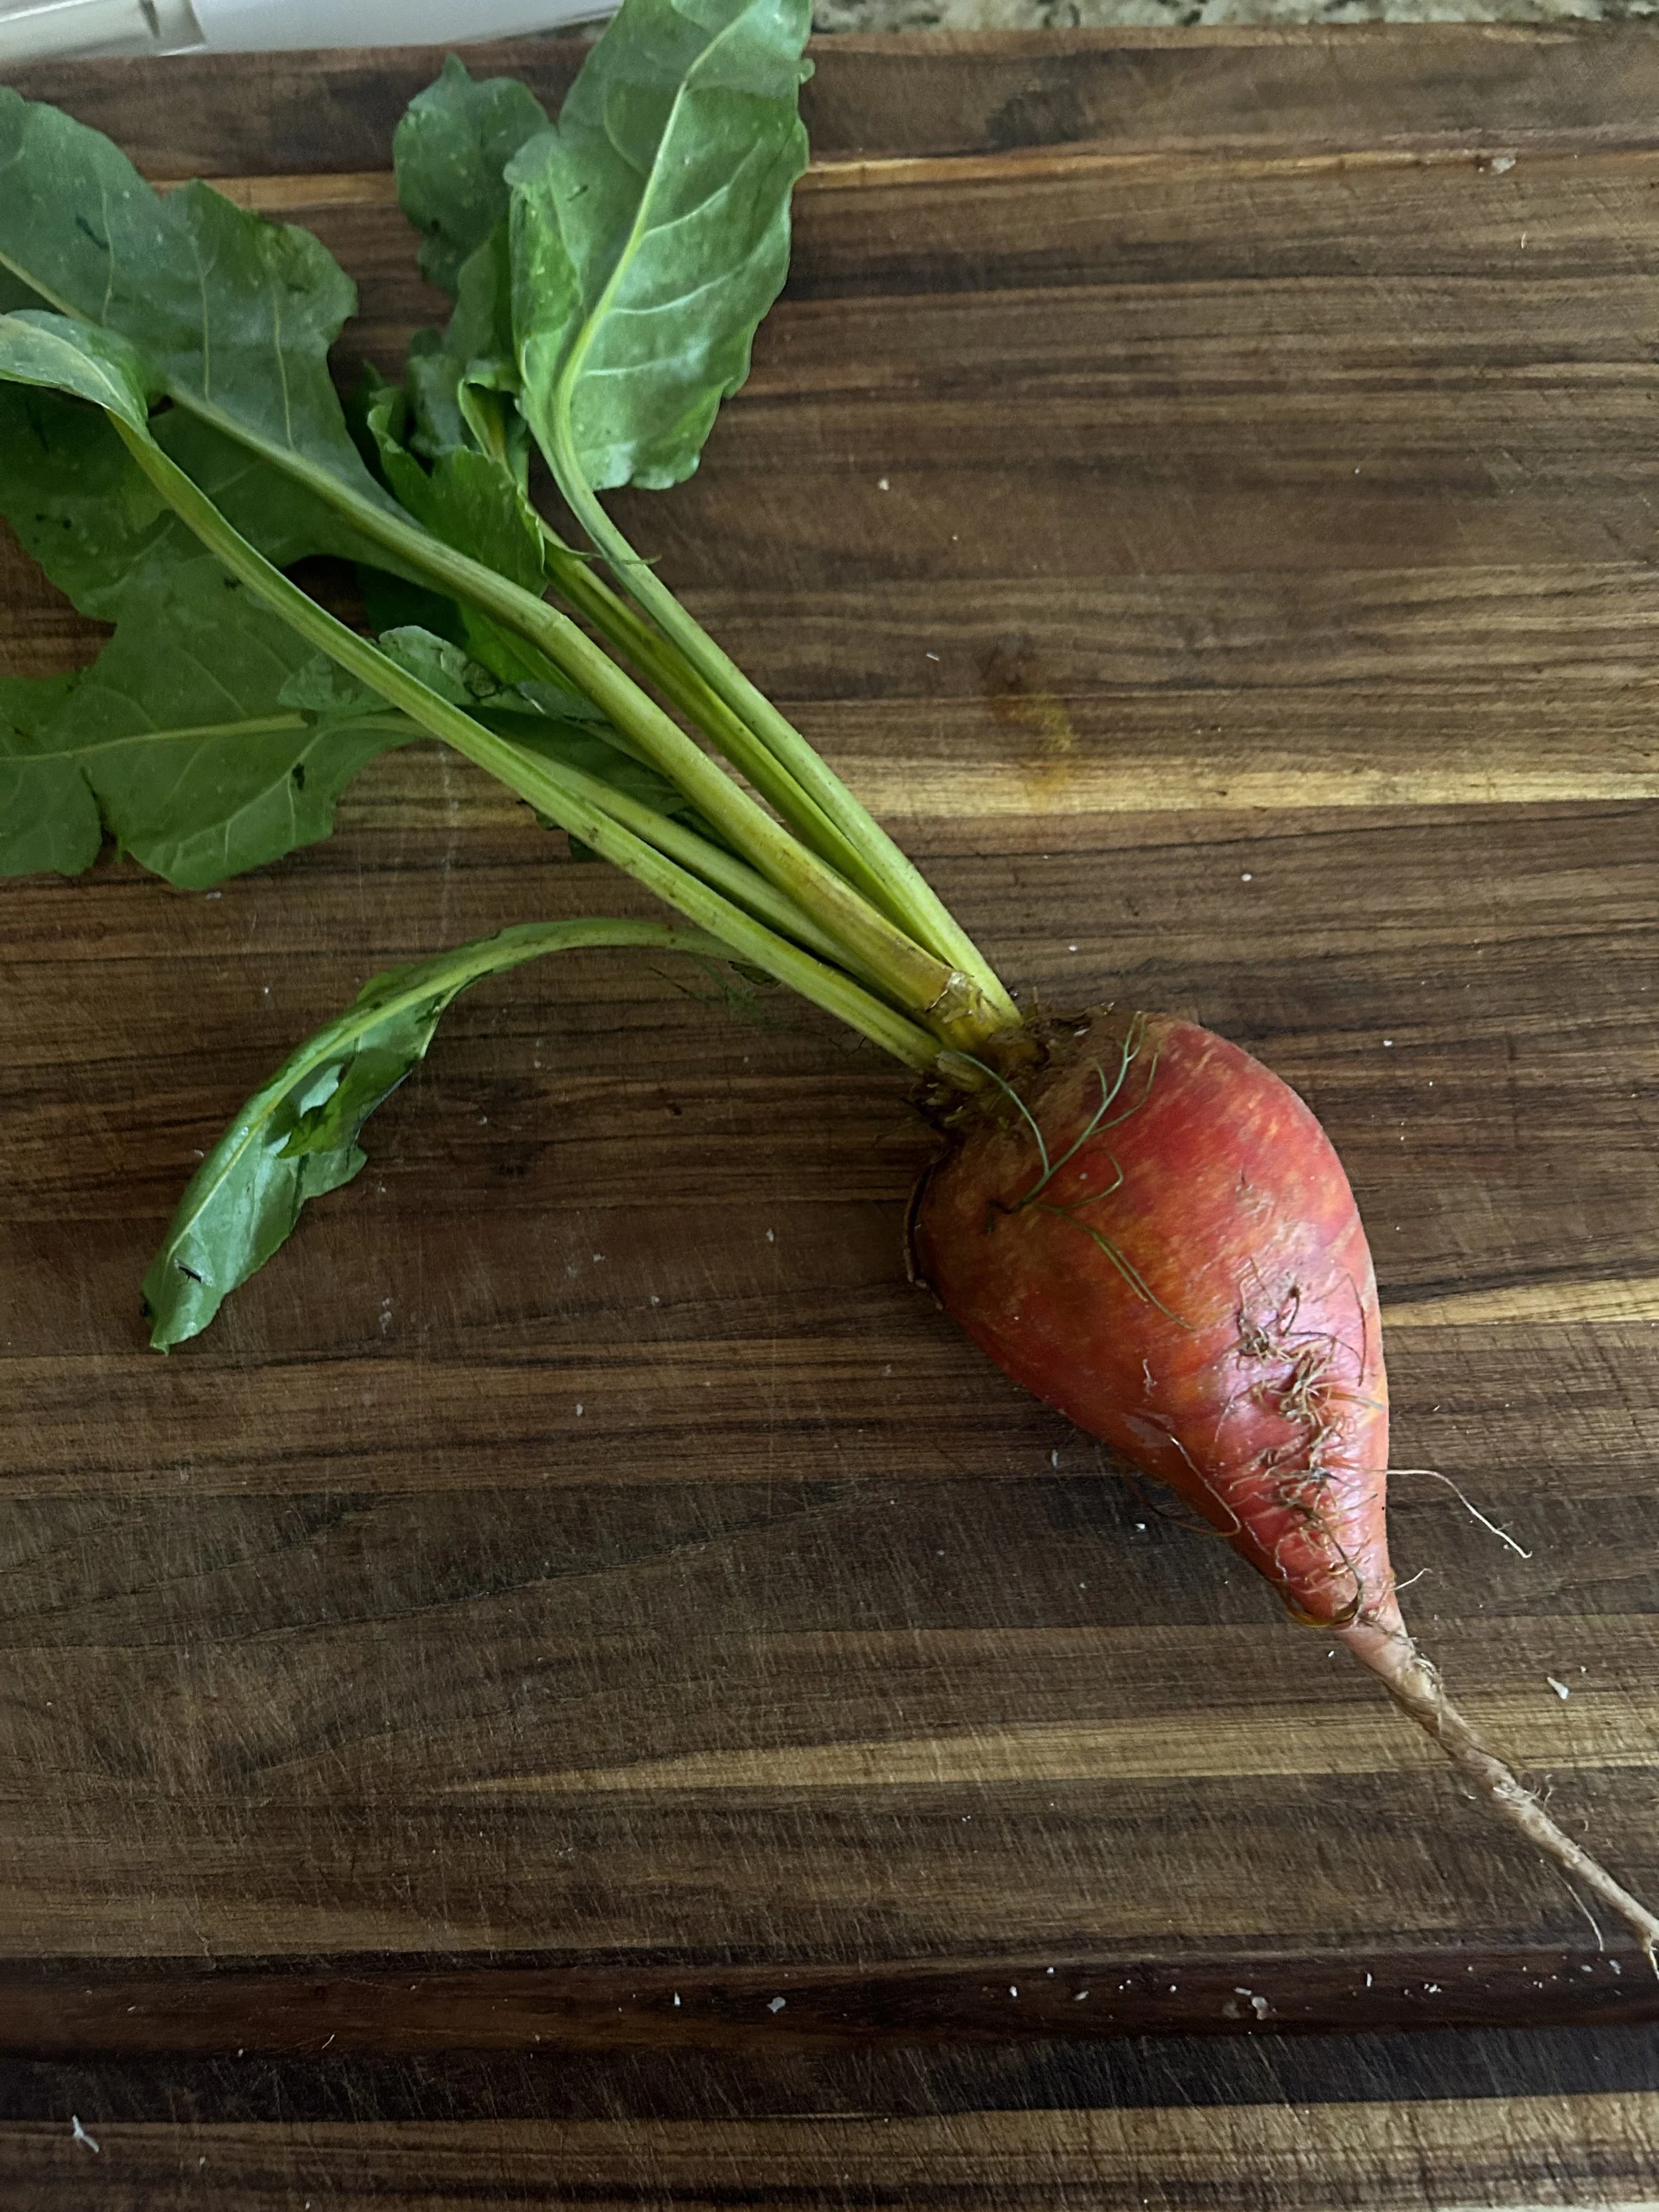
Beets not only taste delicious, but they have many nutritional benefits. For example, they can help keep your blood pressure in check, help balance energy intake, improve digestive health, and can improve on athletic performance.
There are many uses for beetroot, but today I’ll be baking them with Vitamin C-rich sweet potatoes for another tasty side dish.
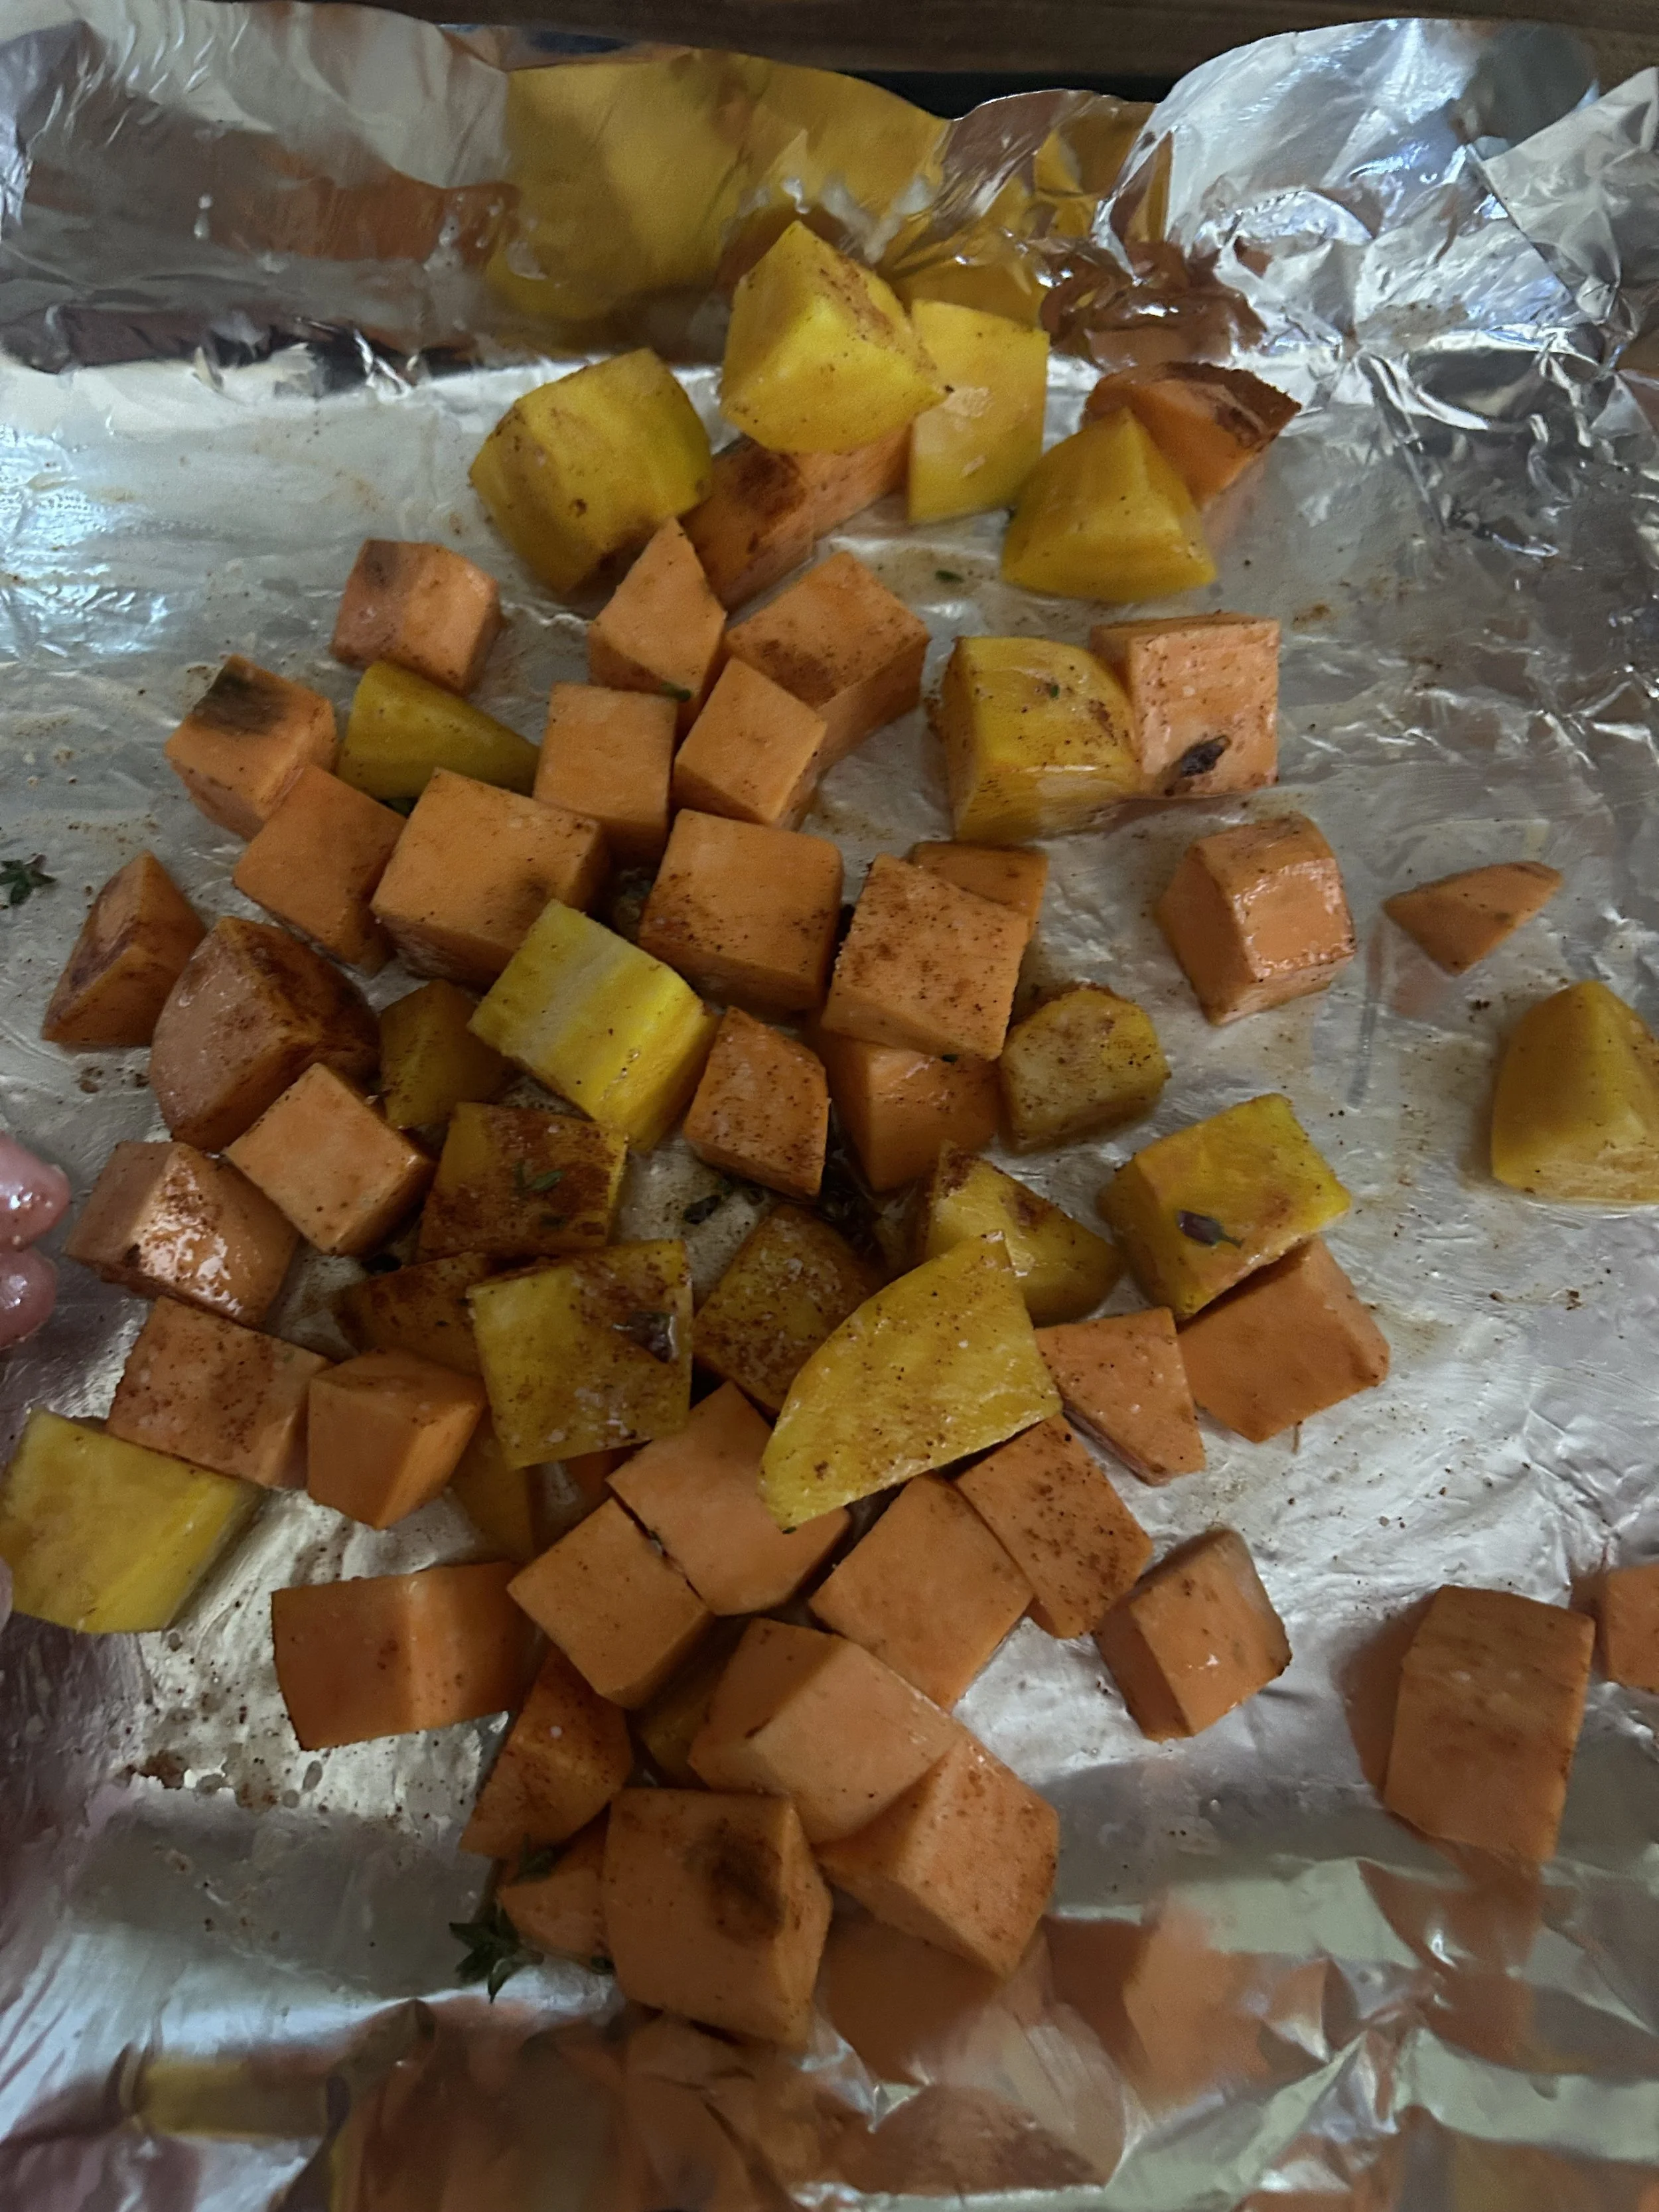
On a large foil-lined baking sheet, toss 1 1/2 pounds each of peeled and diced beetroot (golden or red) and sweet potatoes with 4 tablespoons each of melted butter and maple syrup, 2 teaspoons each of fresh thyme and salt and a teaspoon of ancho chili powder.
Cover the pan with more foil, then bake in a 425-degree oven for 50-60 minutes, or until the veggies are tender and the liquid is syrupy.
And that’s it, beautiful ancho beets and sweet potatoes.
Not only is this dish full of vitamins and other nutrients, but that bit of spice from the ancho powder combined with the sweet earthiness of the veggies makes this a dish that you will want to have with every meal!
(By the way, if you can’t find ancho chili powder, then normal chili powder will be just as good.)

Day 19: Farro
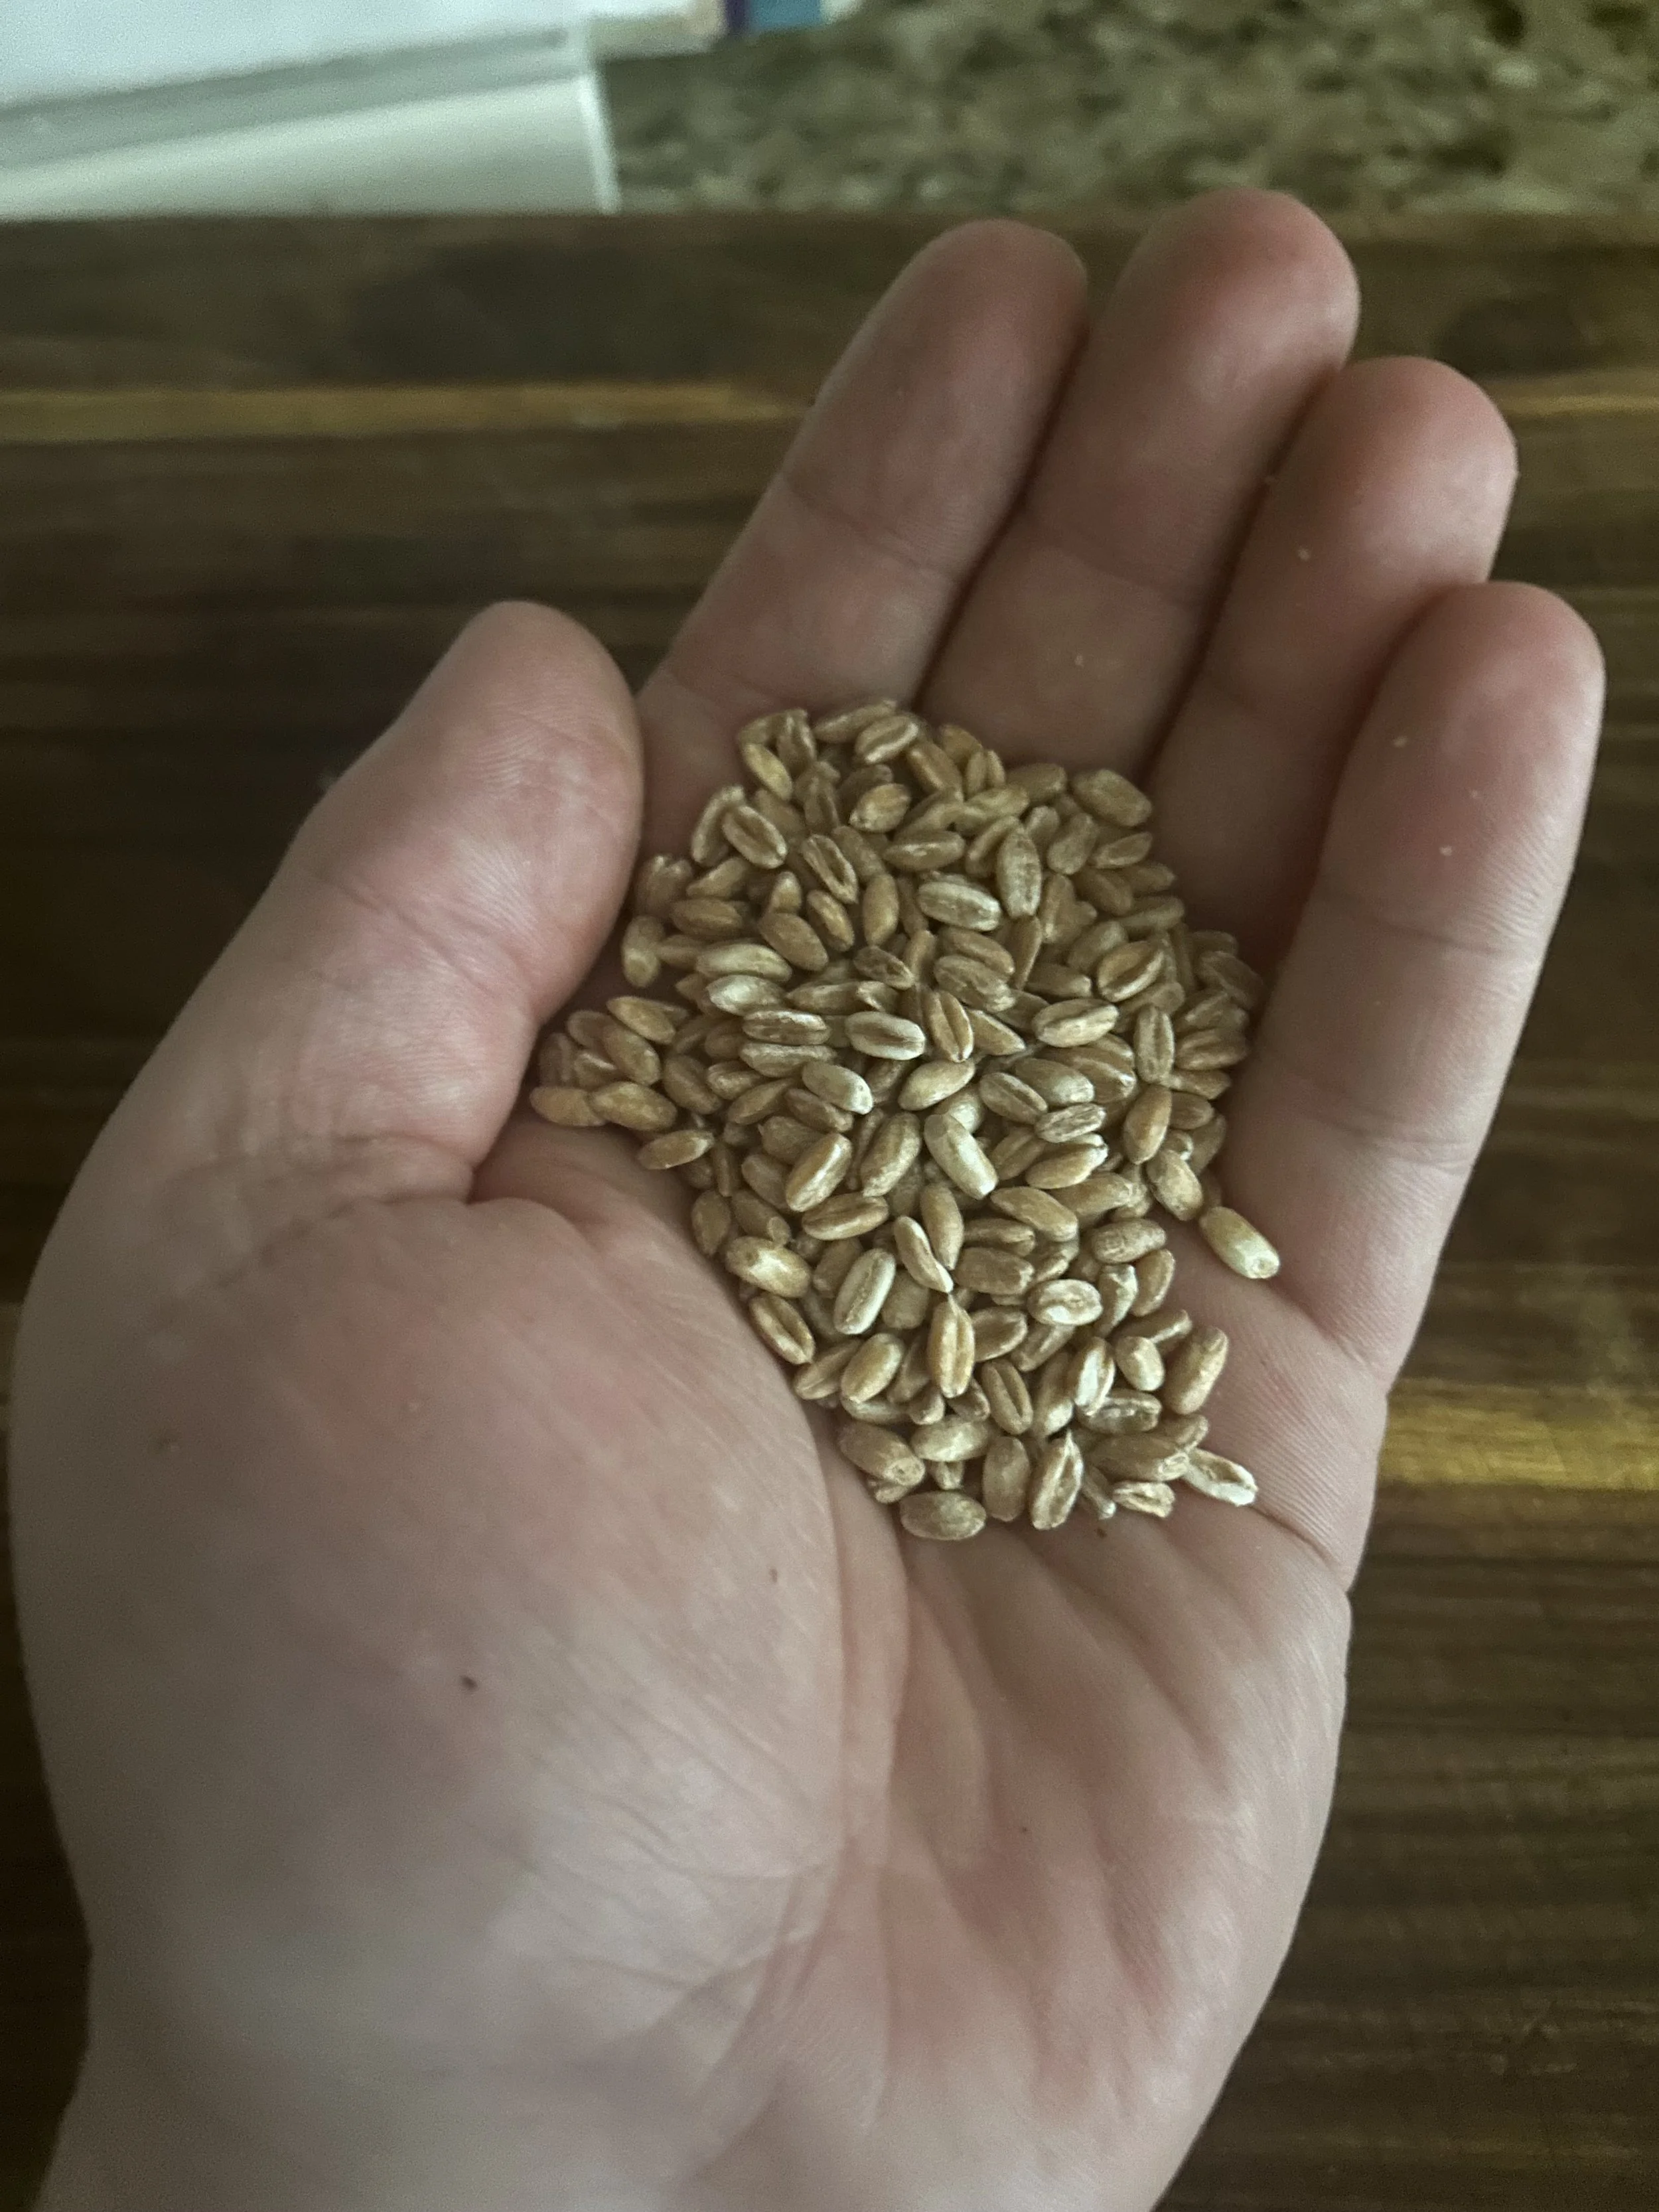
I love farro, I might love it more than I love rice! Not only is it packed with flavor, but it also has lots of fiber, slow-burning carbs, no fat, and more other nutrients than brown rice!
Farro can be cooked up by itself for salads or to be eaten on it’s own, I’ve even seen farrotto, or a risotto made with farro, but today I’ll be combining the farro with some spring vegetables and salty pancetta for another tasty soup!
Don’t worry, because I will also be including a vegetarian version of this soup.
To get started, render 8 ounces of diced pancetta in 2 tablespoons of olive oil until the pancetta is brown and crispy.
Remove the pancetta with a slotted spoon and set aside on some paper towels, then add the sliced whites of 3 spring onions, and 3 diced carrots. Cook until the veggies start to soften and are lightly brown.
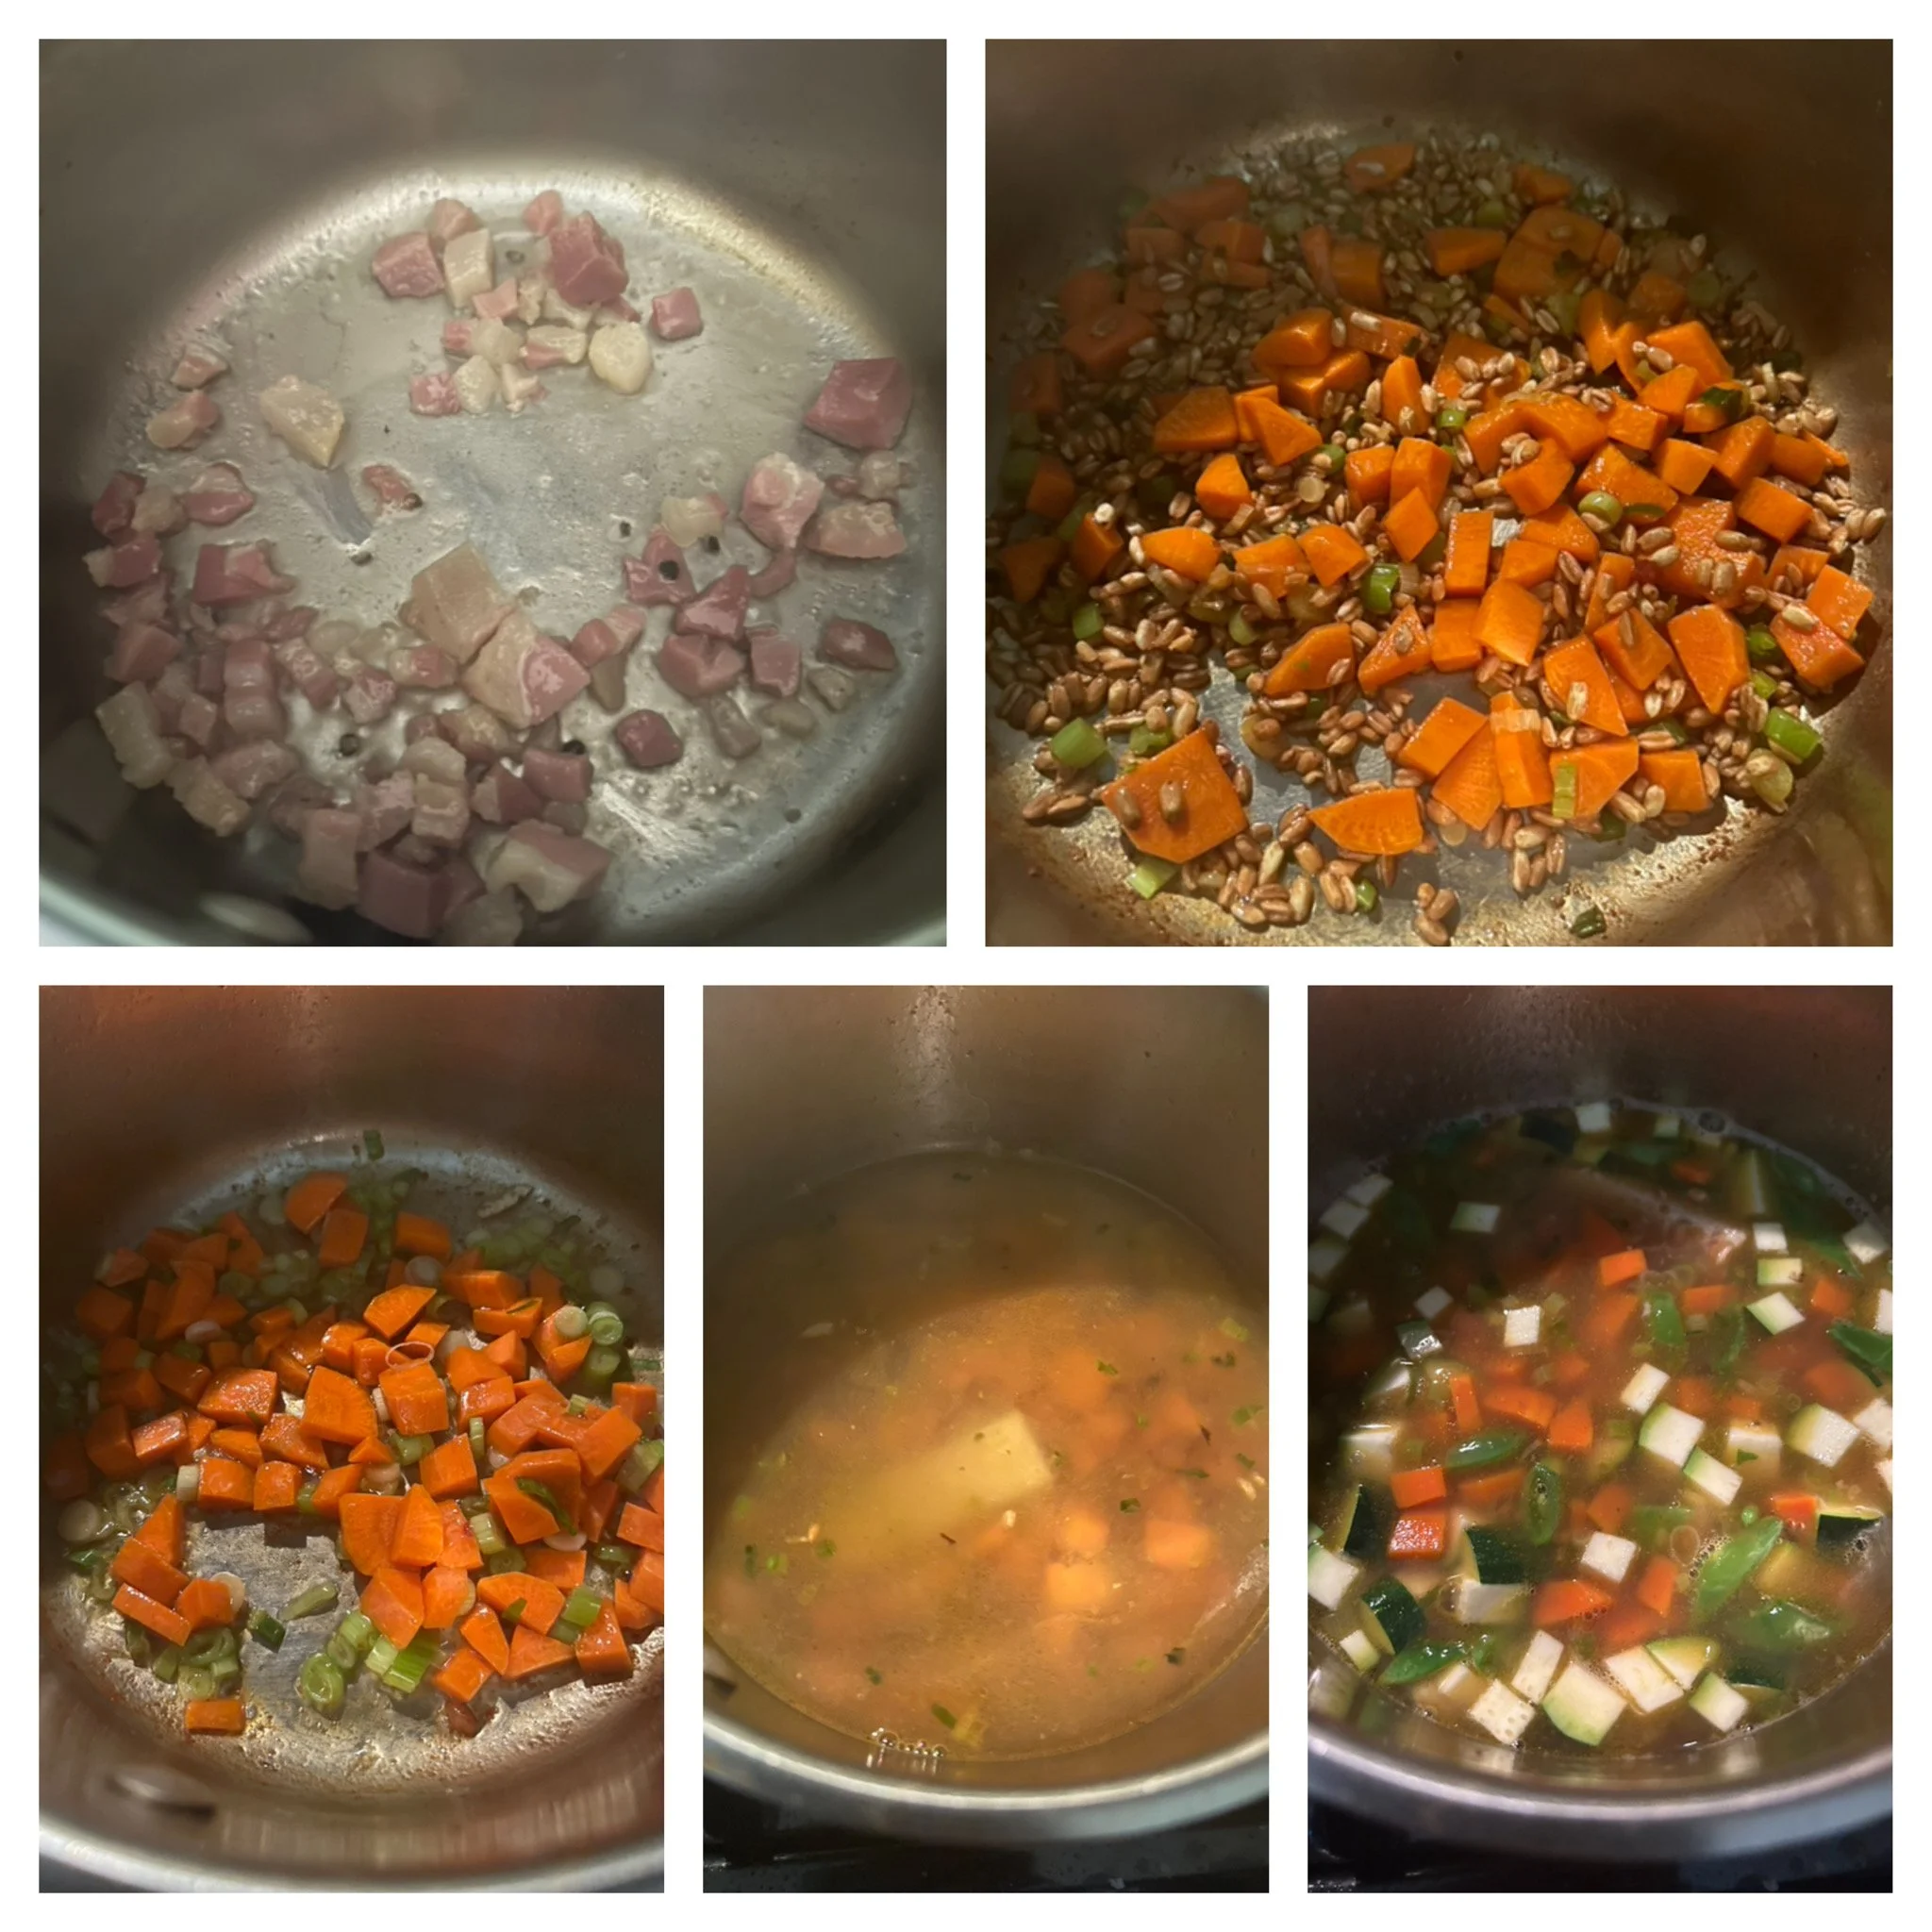
Add 1 cup of dry farro, then cook for another minute, or until the farro is lightly toasted.
Then add 4 cups each of low-sodium chicken broth and water, 1 teaspoon of salt, a few grinds of pepper, and a parmesan rind. Bring the liquid to a boil, then drop to a simmer and cook for 20-25 minutes, or until the farro is tender.
Once the farro is tender, add one diced zucchini (courgette, for you British folks) and 1/2 a pound of sugar snap peas, trimmed and sliced 1/2-inch thick, and cook until the zucchini is tender.
If you are doing this for a vegetarian, then you can certainly use veggie broth instead of chicken broth (or even use all water), and instead of the pancetta, add a splash of soy sauce at the end of cooking for that salty/umami complexity.
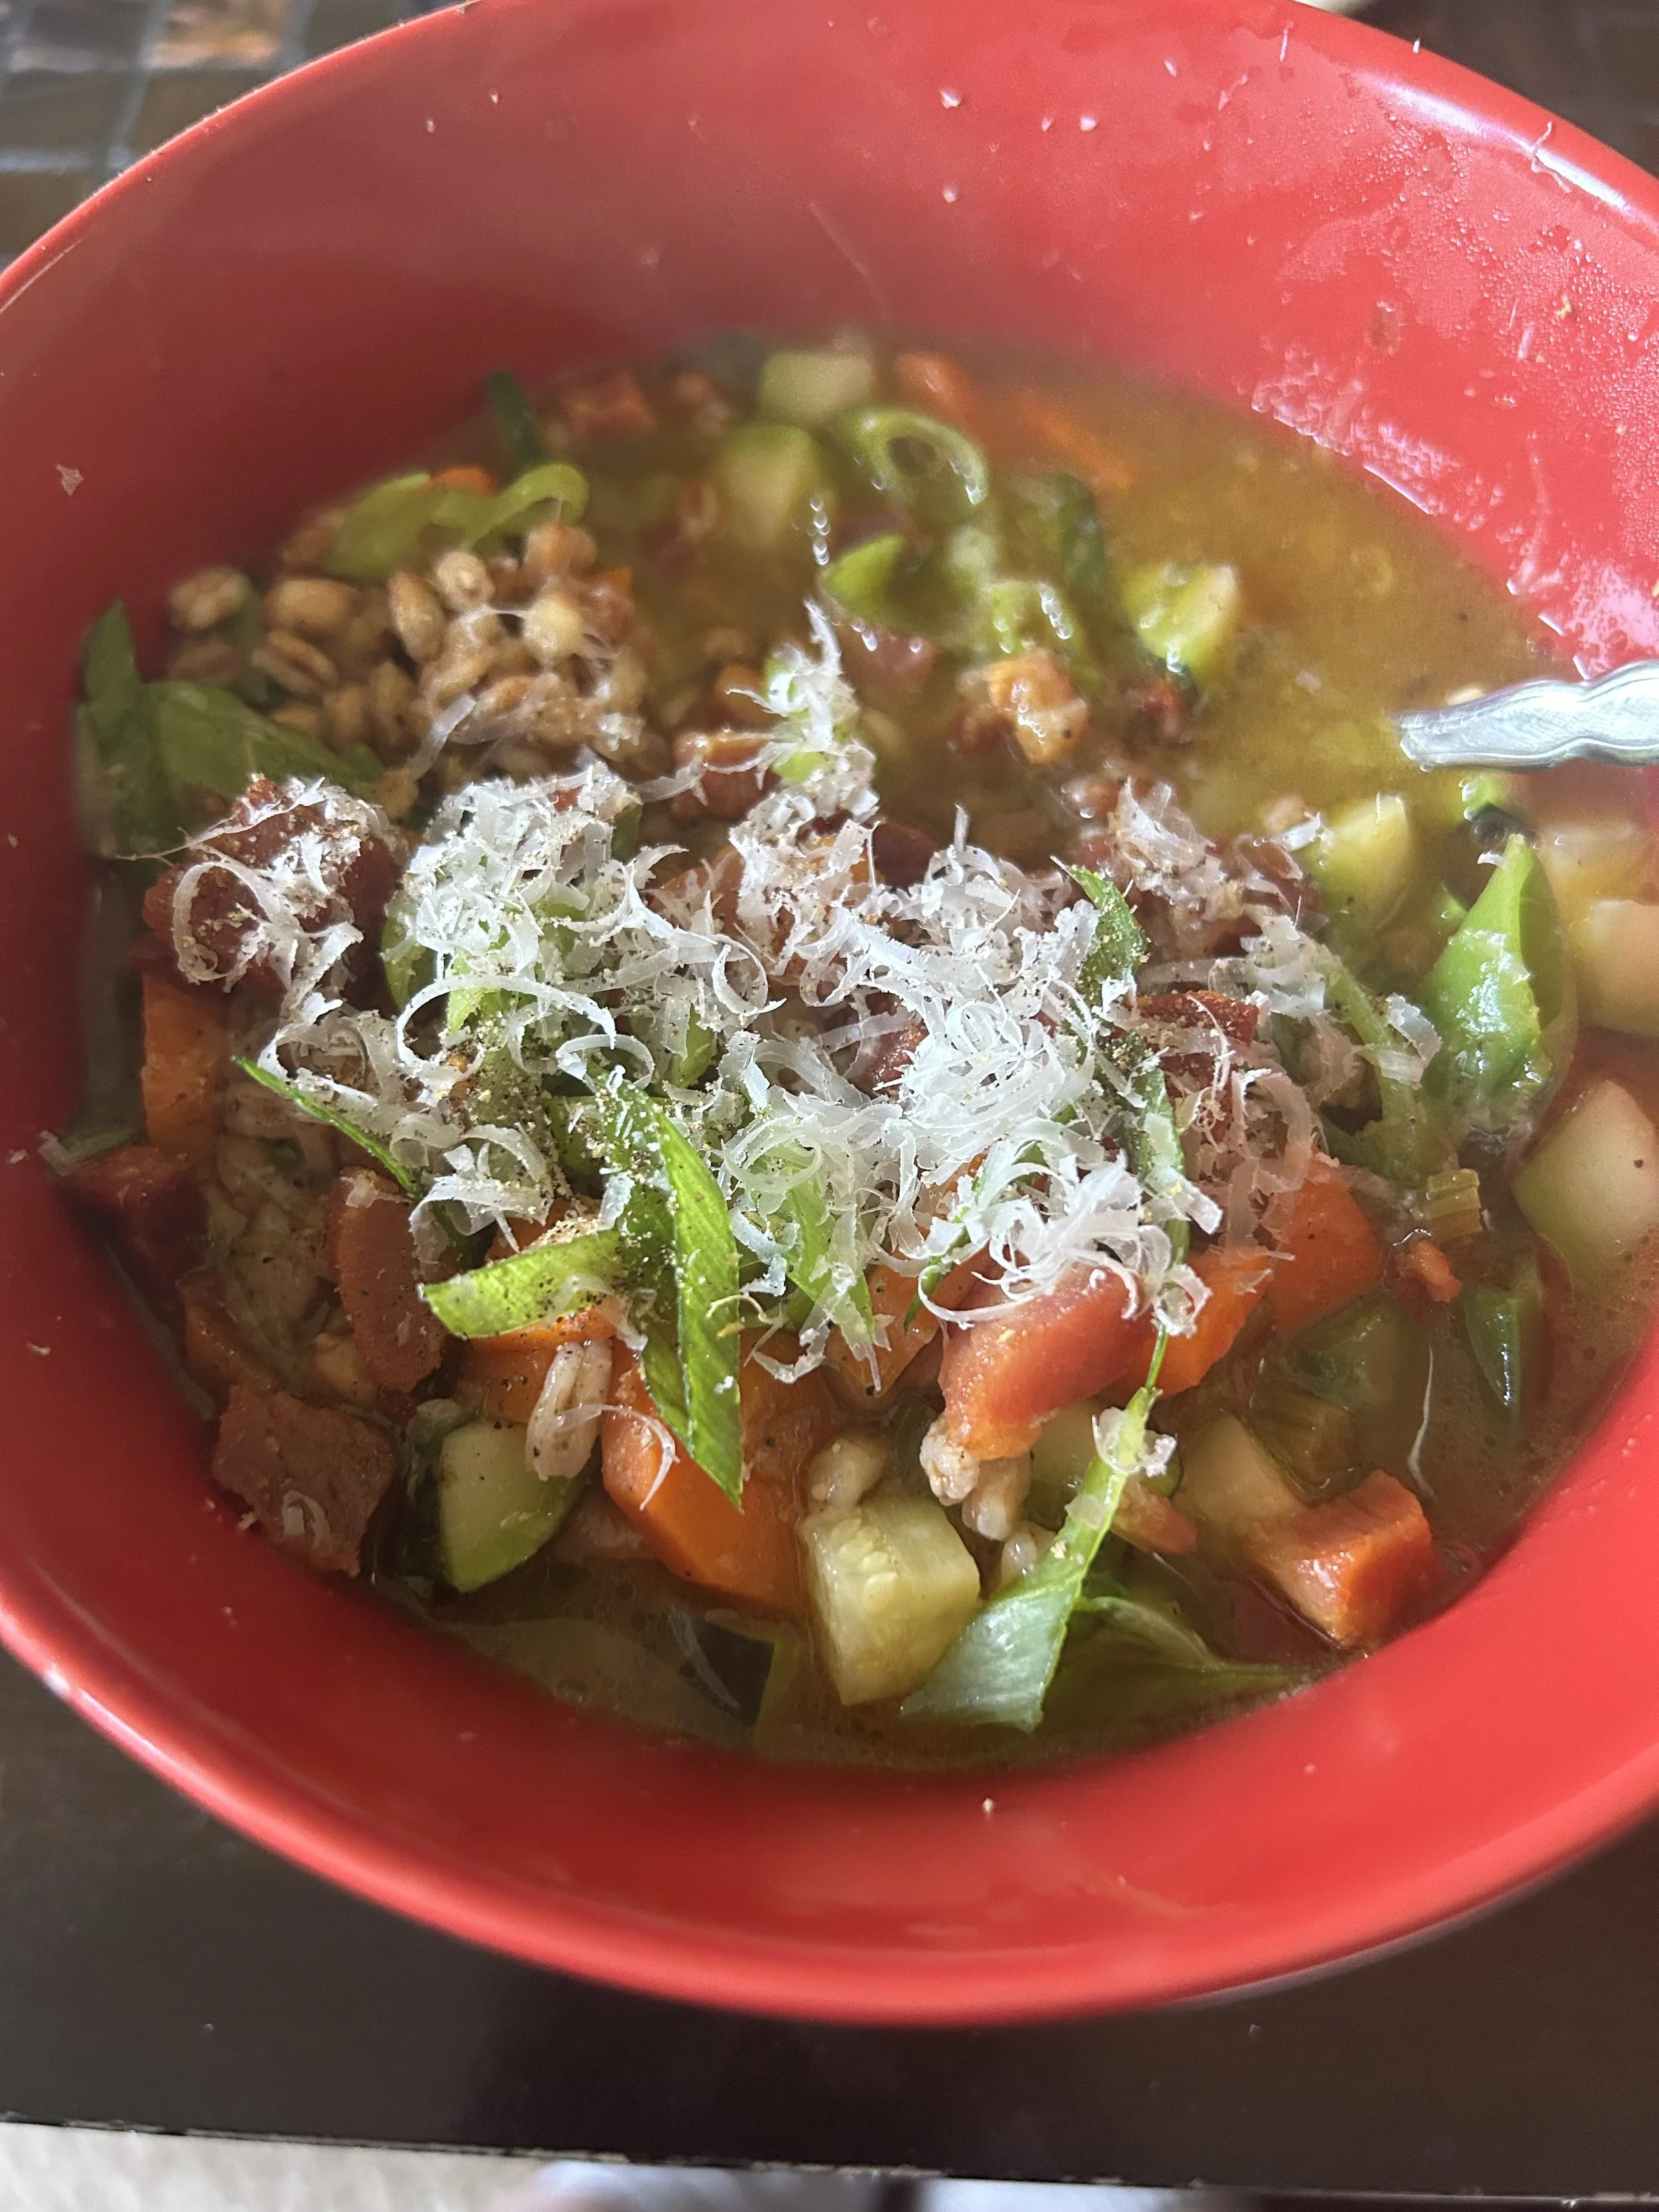
Once the soup is done, remove the parmesan rind, then stir in the zest of 1/2 a lemon and 1/2 cup of torn fresh basil. Season with salt and pepper to taste.
Divide the soup amongst bowls and top with the crispy pancetta, the sliced greens from those spring onions, a grating of parmesan, a drizzle of olive oil, and a few grinds of pepper.
This is not your average soup, this is a soup that is full of flavor and nutrients from all of the veggies, a bit of fat from the oil and pancetta to help you digest all of those nutrients, but we can’t forget to thank the nutty, tender farro for making this soup as good as it is!
Day 20: Dark Chocolate
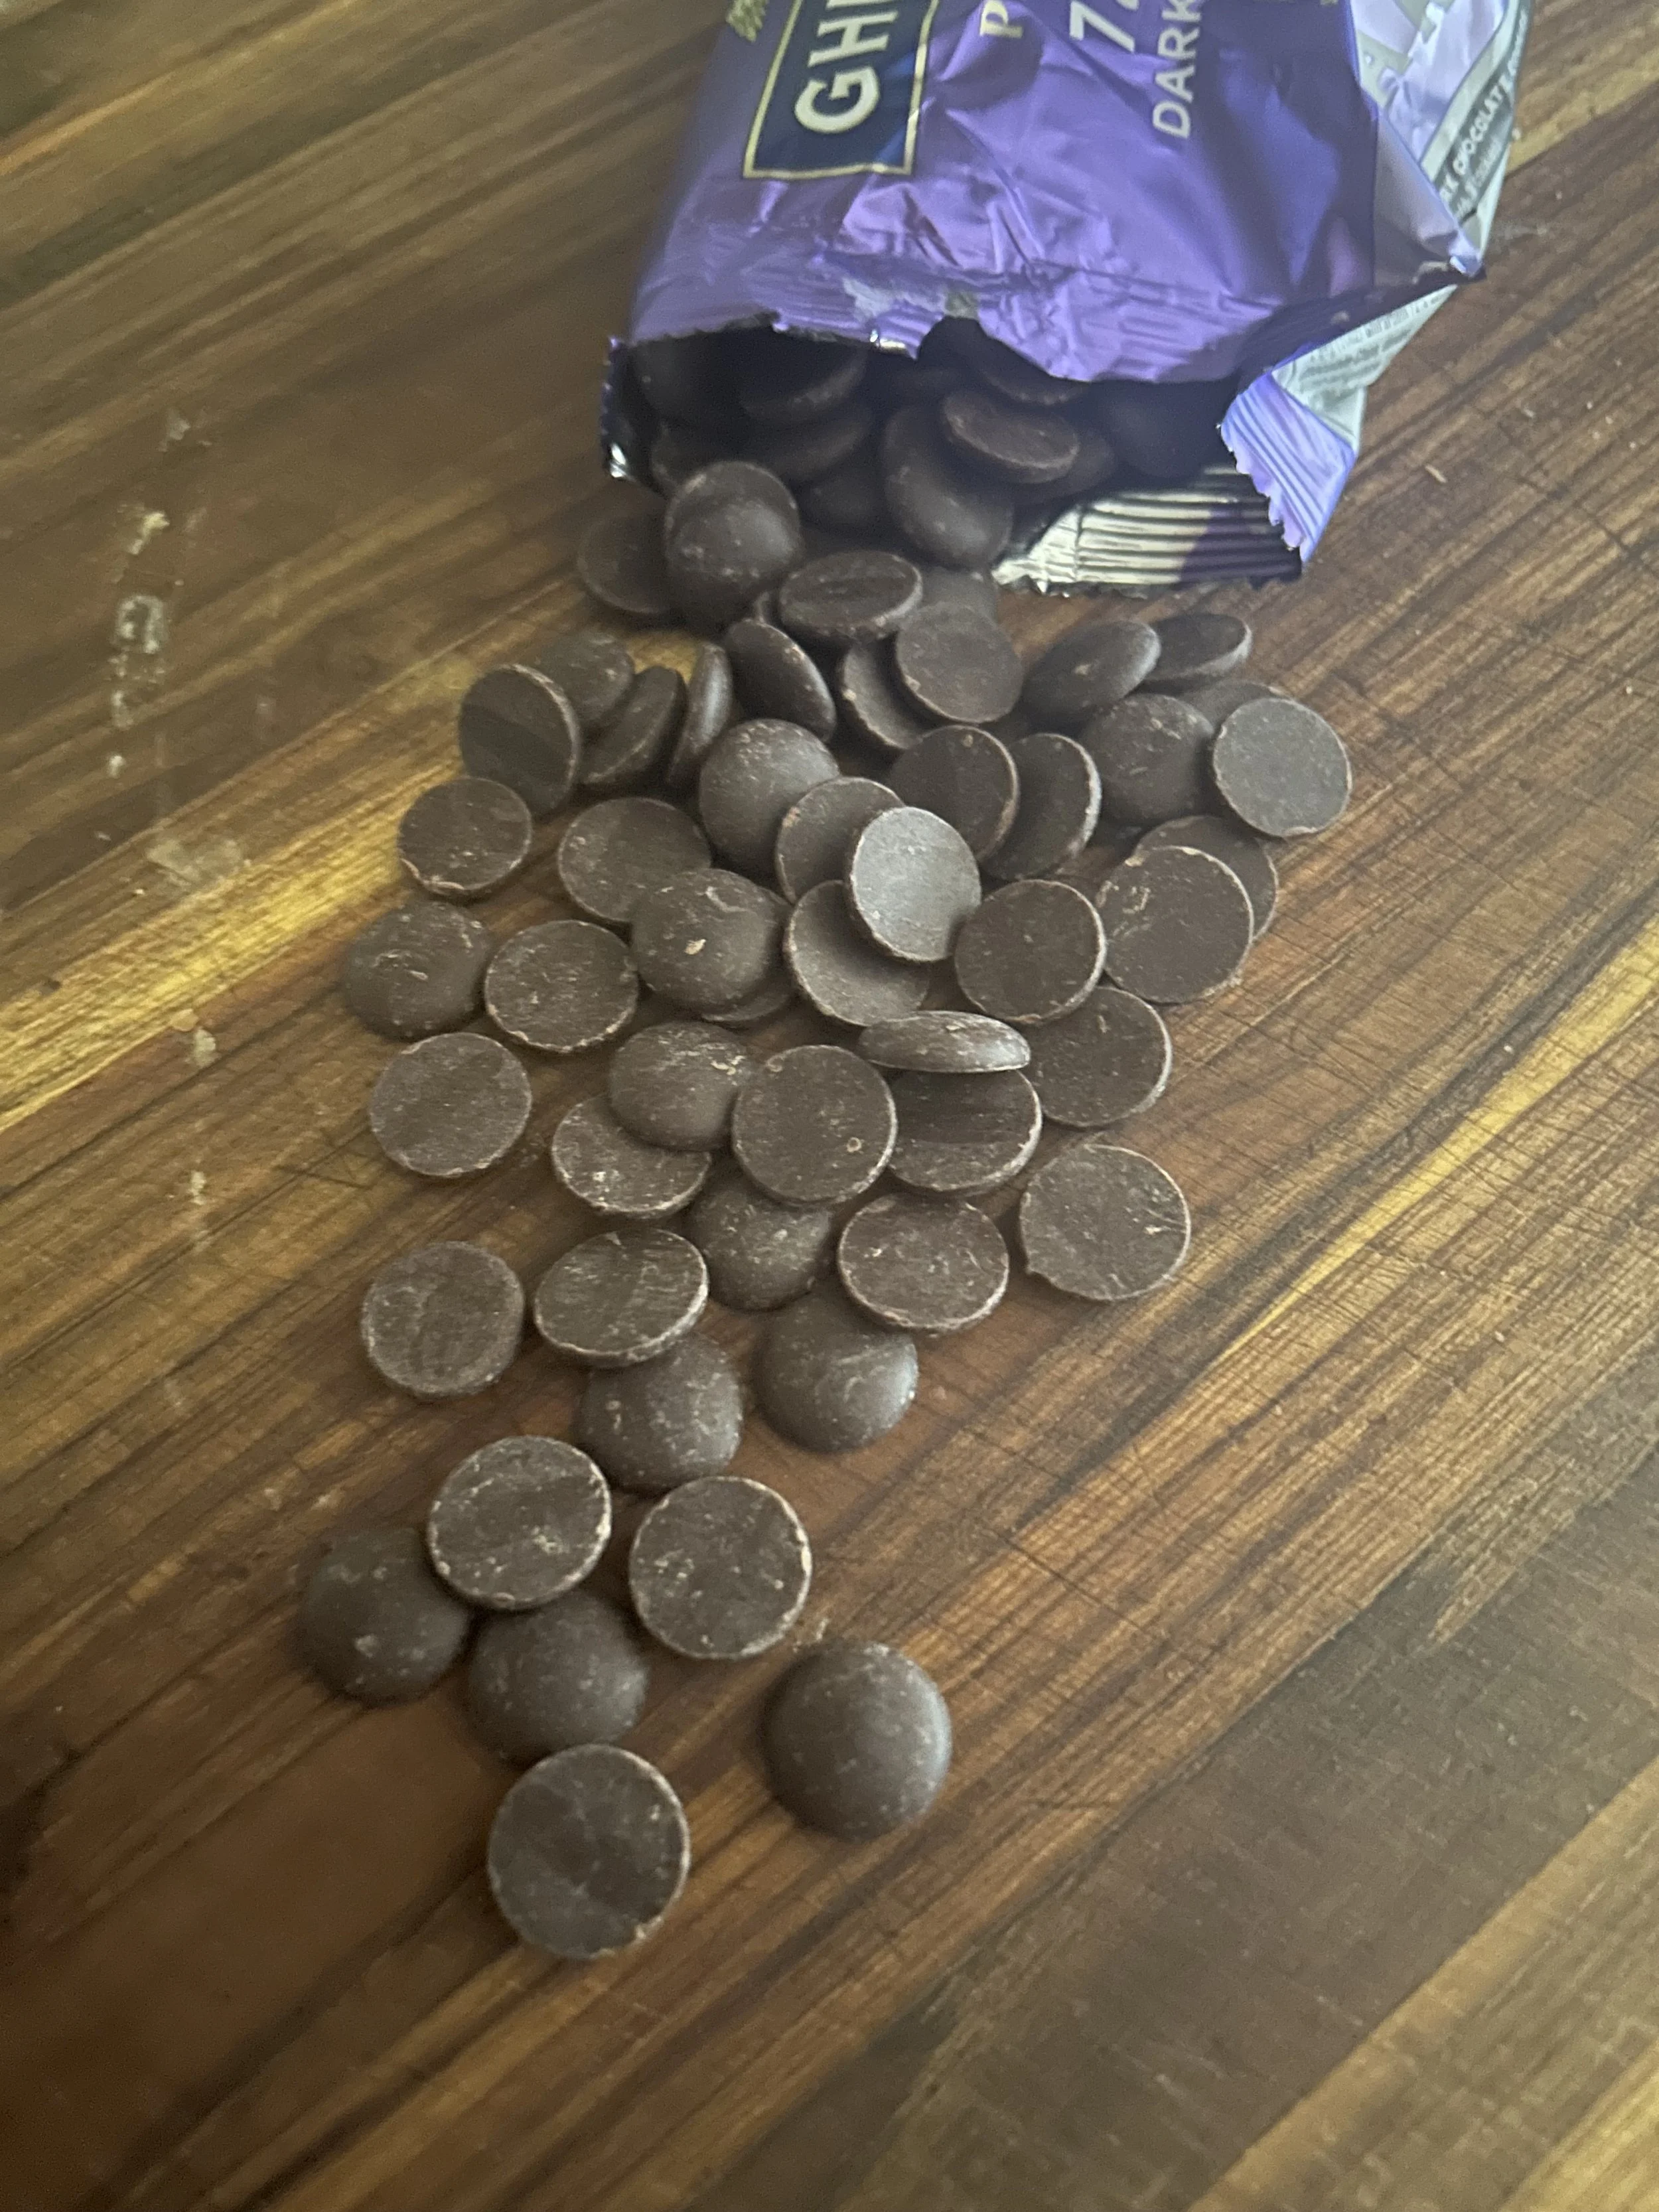
I’m guessing you did not expect chocolate to appear on this list of superfoods, but the truth is that dark chocolate has been recognized as a heart-healthy snack for centuries.
It contains disease-fighting antioxidants, can help lower blood pressure, and has a lot less of the sugar and fat that’s found in sweeter chocolates.
Ok, this application I’m about to show you is a bit complicated, so you will need to pay attention!
Finely chop 1/2 pound of dark chocolate, then place about 3/4 of that into a microwave-safe bowl with 1 teaspoon of coconut oil. Microwave the chocolate at 15-second intervals, stirring between intervals until the chocolate and coconut oil has melted.


Add the remaining chocolate and stir until melted.
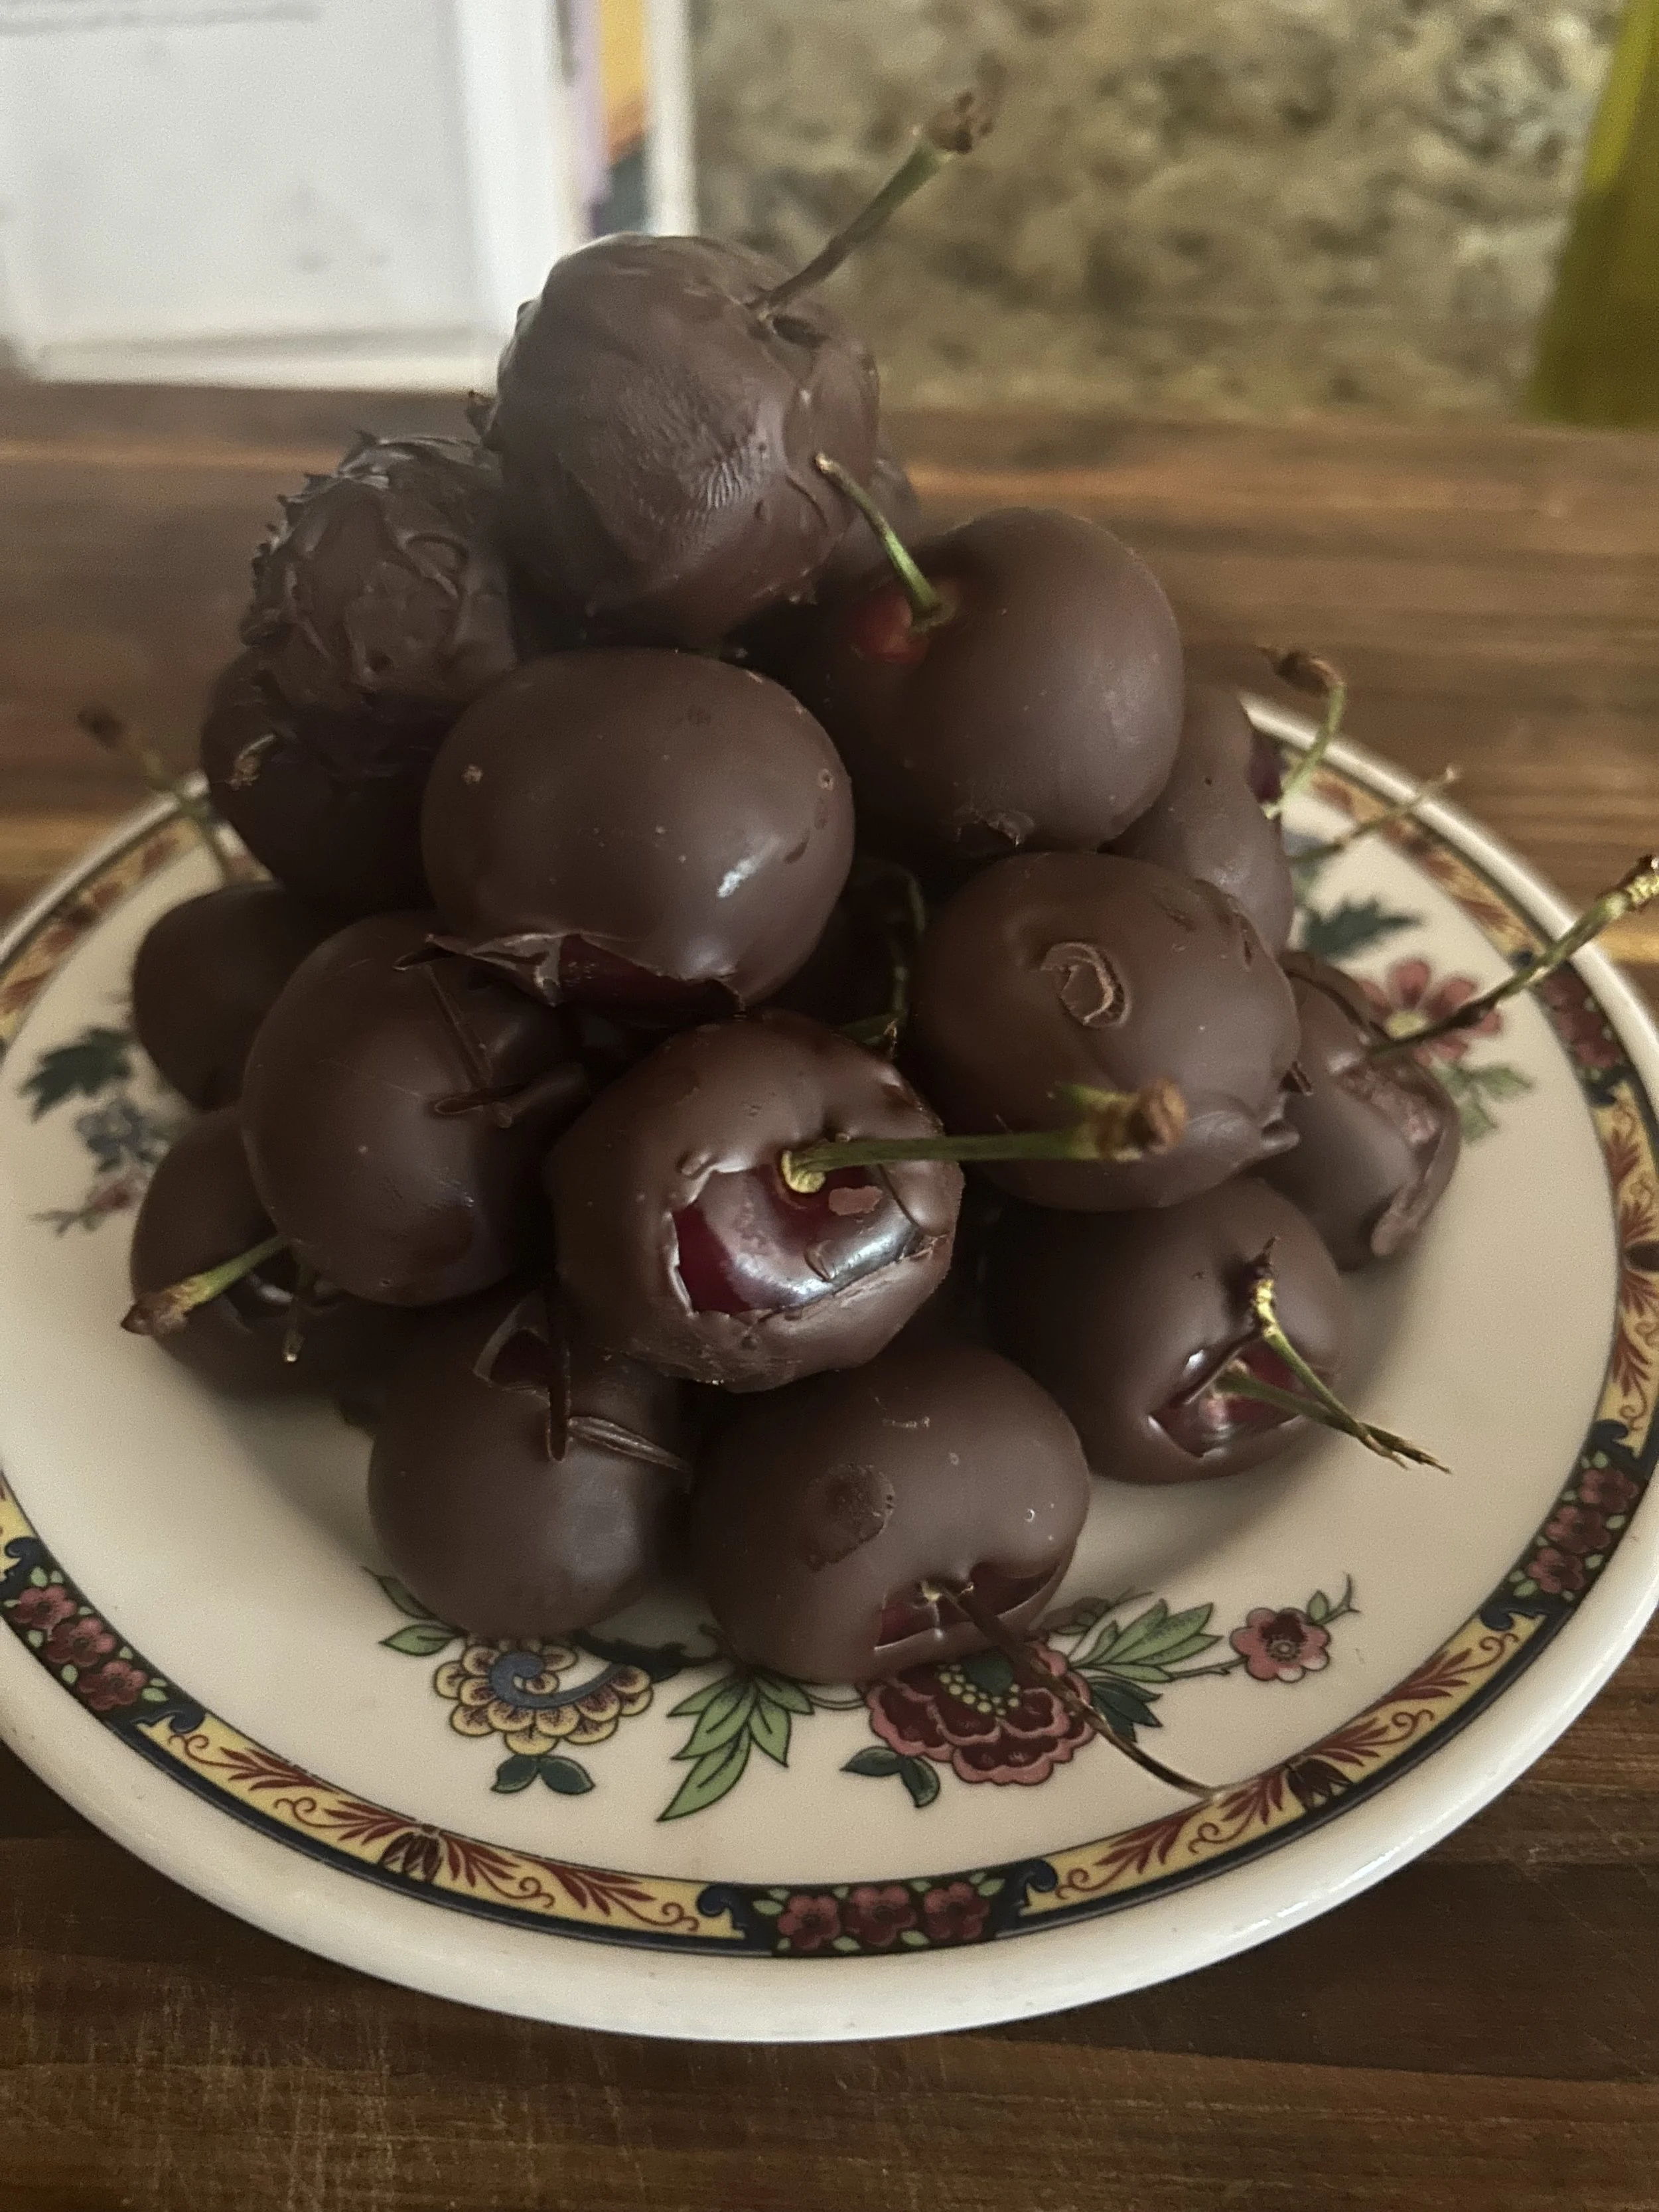
Then, take some dark cherries, dip them into the hot melted chocolate to fully coat, then set them onto a sheet of parchment paper and leave to set.
From there…that’s it. You’re done! It’s just dark chocolate-dipped cherries. It is such a simple thing to make, yet so delicious!
The coconut oil plus adding 1/4 of the chocolate later combine to temper the chocolate, leading to a magical shell around the tart cherries that doesn’t melt on your fingers easily.
You can use any fruit you like for this application, but the advantage of the cherries is that they can use their stems as a handle to keep the chocolate from getting on your fingers…not that it isn’t fun to lick chocolate off of your fingers. Hey, what happens in your kitchen stays in your kitchen.
Bonus recipe! For a cute presentation, you can do the same method with 2 ounces of white chocolate, then dip a toothpick or wooden skewer in and dot that around the cherries for a cute polka-dot look.
Thank you for reading this article, and keep a lookout for the final part of the Superfood series in the following weeks!