
30-day Superfood Challenge (Part 1)

Throughout the month of April, I will be taking on the 30-day Superfood Challenge set by Food Network Magazine. It’s a challenge that was issued 2 years ago but…I’m doing it now.
I did struggle with my weight growing up. I didn’t like going outside or exercising, and as a result, I weighed over 200 pounds by the time I was 16.
Since then I have slimmed down to a comfortable weight, but have always remembered the delicious dishes that I enjoy eating to this day.
I am not calling myself a health nut, I don’t spend most of my hours concerned about what I eat or developing a specific body type, but I do understand the benefits of eating healthier and exercising and am ready to share how to do that with you!
I will be preparing dishes using 30 different superfoods and see how many of them I enjoy. There will be some breakfast items, side dishes, snacks, entrees, and even a few treats, but these superfoods will deliver both nutrition and flavor.
To keep this article from dragging on too long, I’ll be dividing it into 3 parts.


Before I begin, I must answer a simple question: What are superfoods?
Superfood is a relatively recent term that describes food that is really good for you. It is food that is low in calories, low in saturated/trans fats and full of nutrients that can make you feel good after eating them.
I will highlight 30 of these delicious superfoods, describe how they are good for you, and show you a unique dish you can easily make with them at home. But don’t worry, I will not be sacrificing taste for all of those nutrients.
Disclaimer: Eating these 30 superfoods is a good start for living a healthy lifestyle, but there is more to it.
I still suggest exercising regularly, maintaining hygiene, and tracking what you eat.
I say there’s nothing to it but to get right to it, starting with…
Day 1: Blueberries
Blueberries are high in antioxidants and full of fiber, manganese, Vitamin C, Vitamin K, and potassium. They are also good at preventing memory loss and helping keep your brain active.
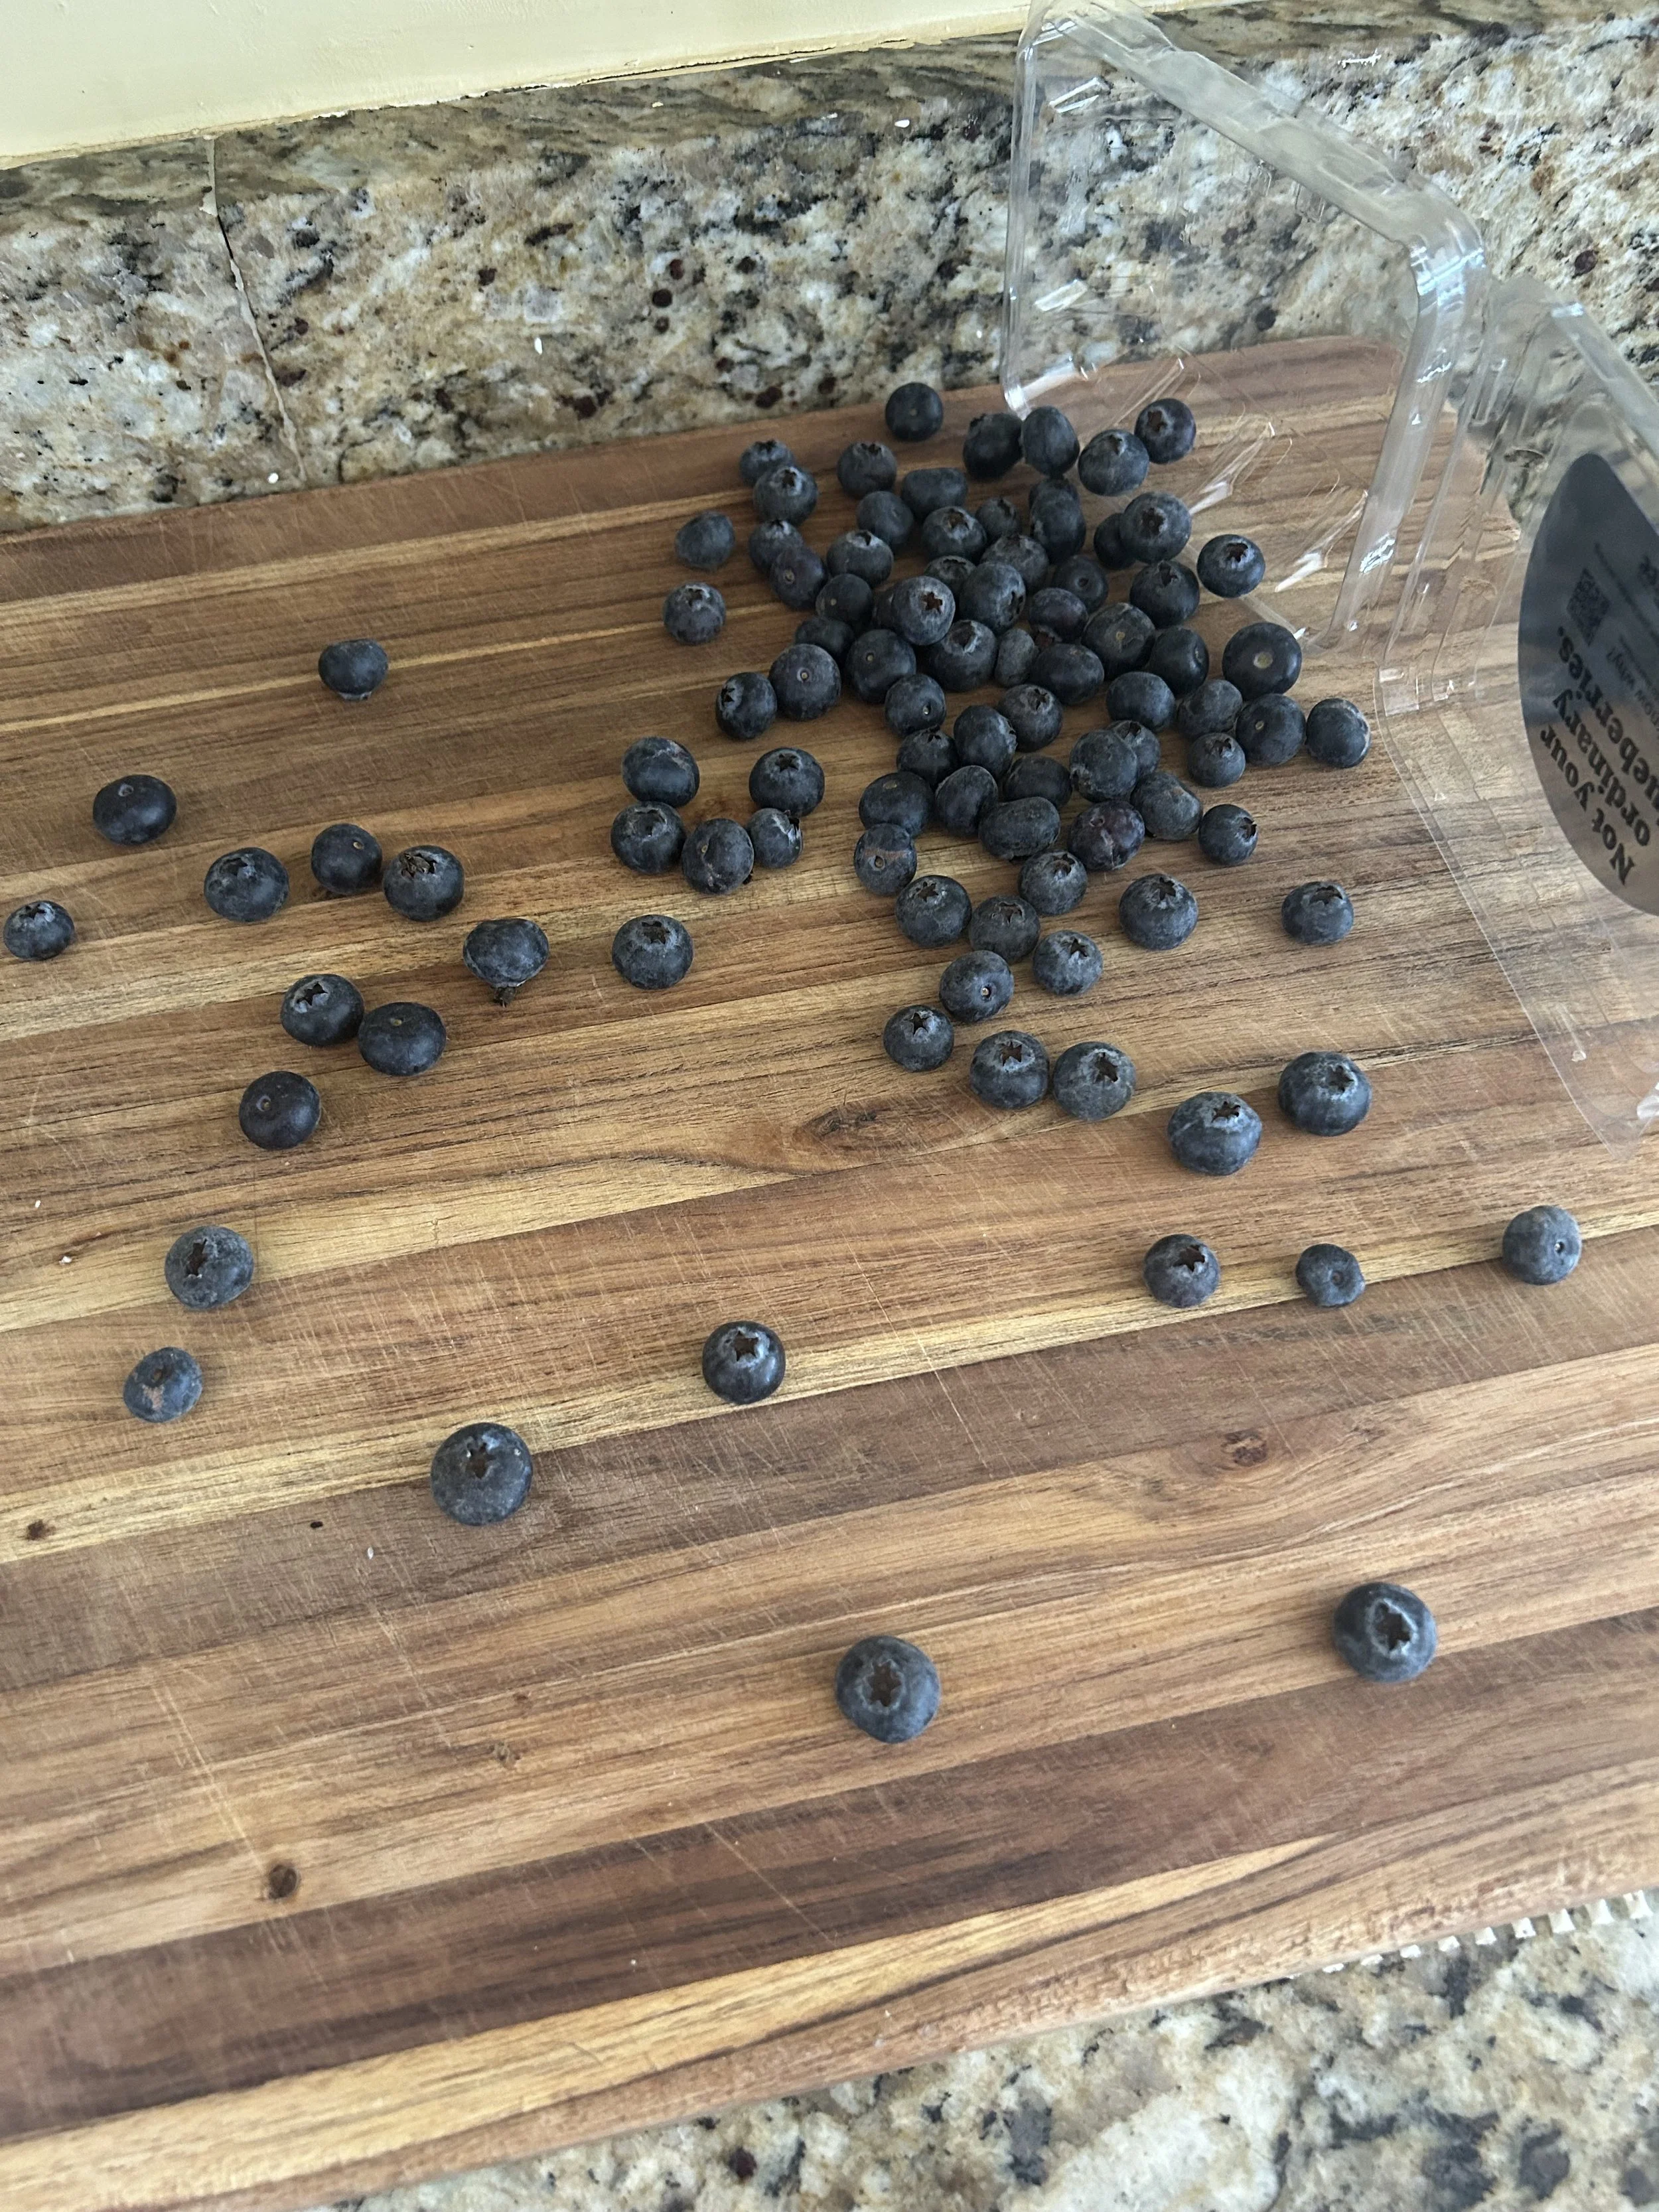
Today, I’ll be turning these little berries into a simple toast that’s great for breakfast, lunch, as a post-workout snack or any time of the day.
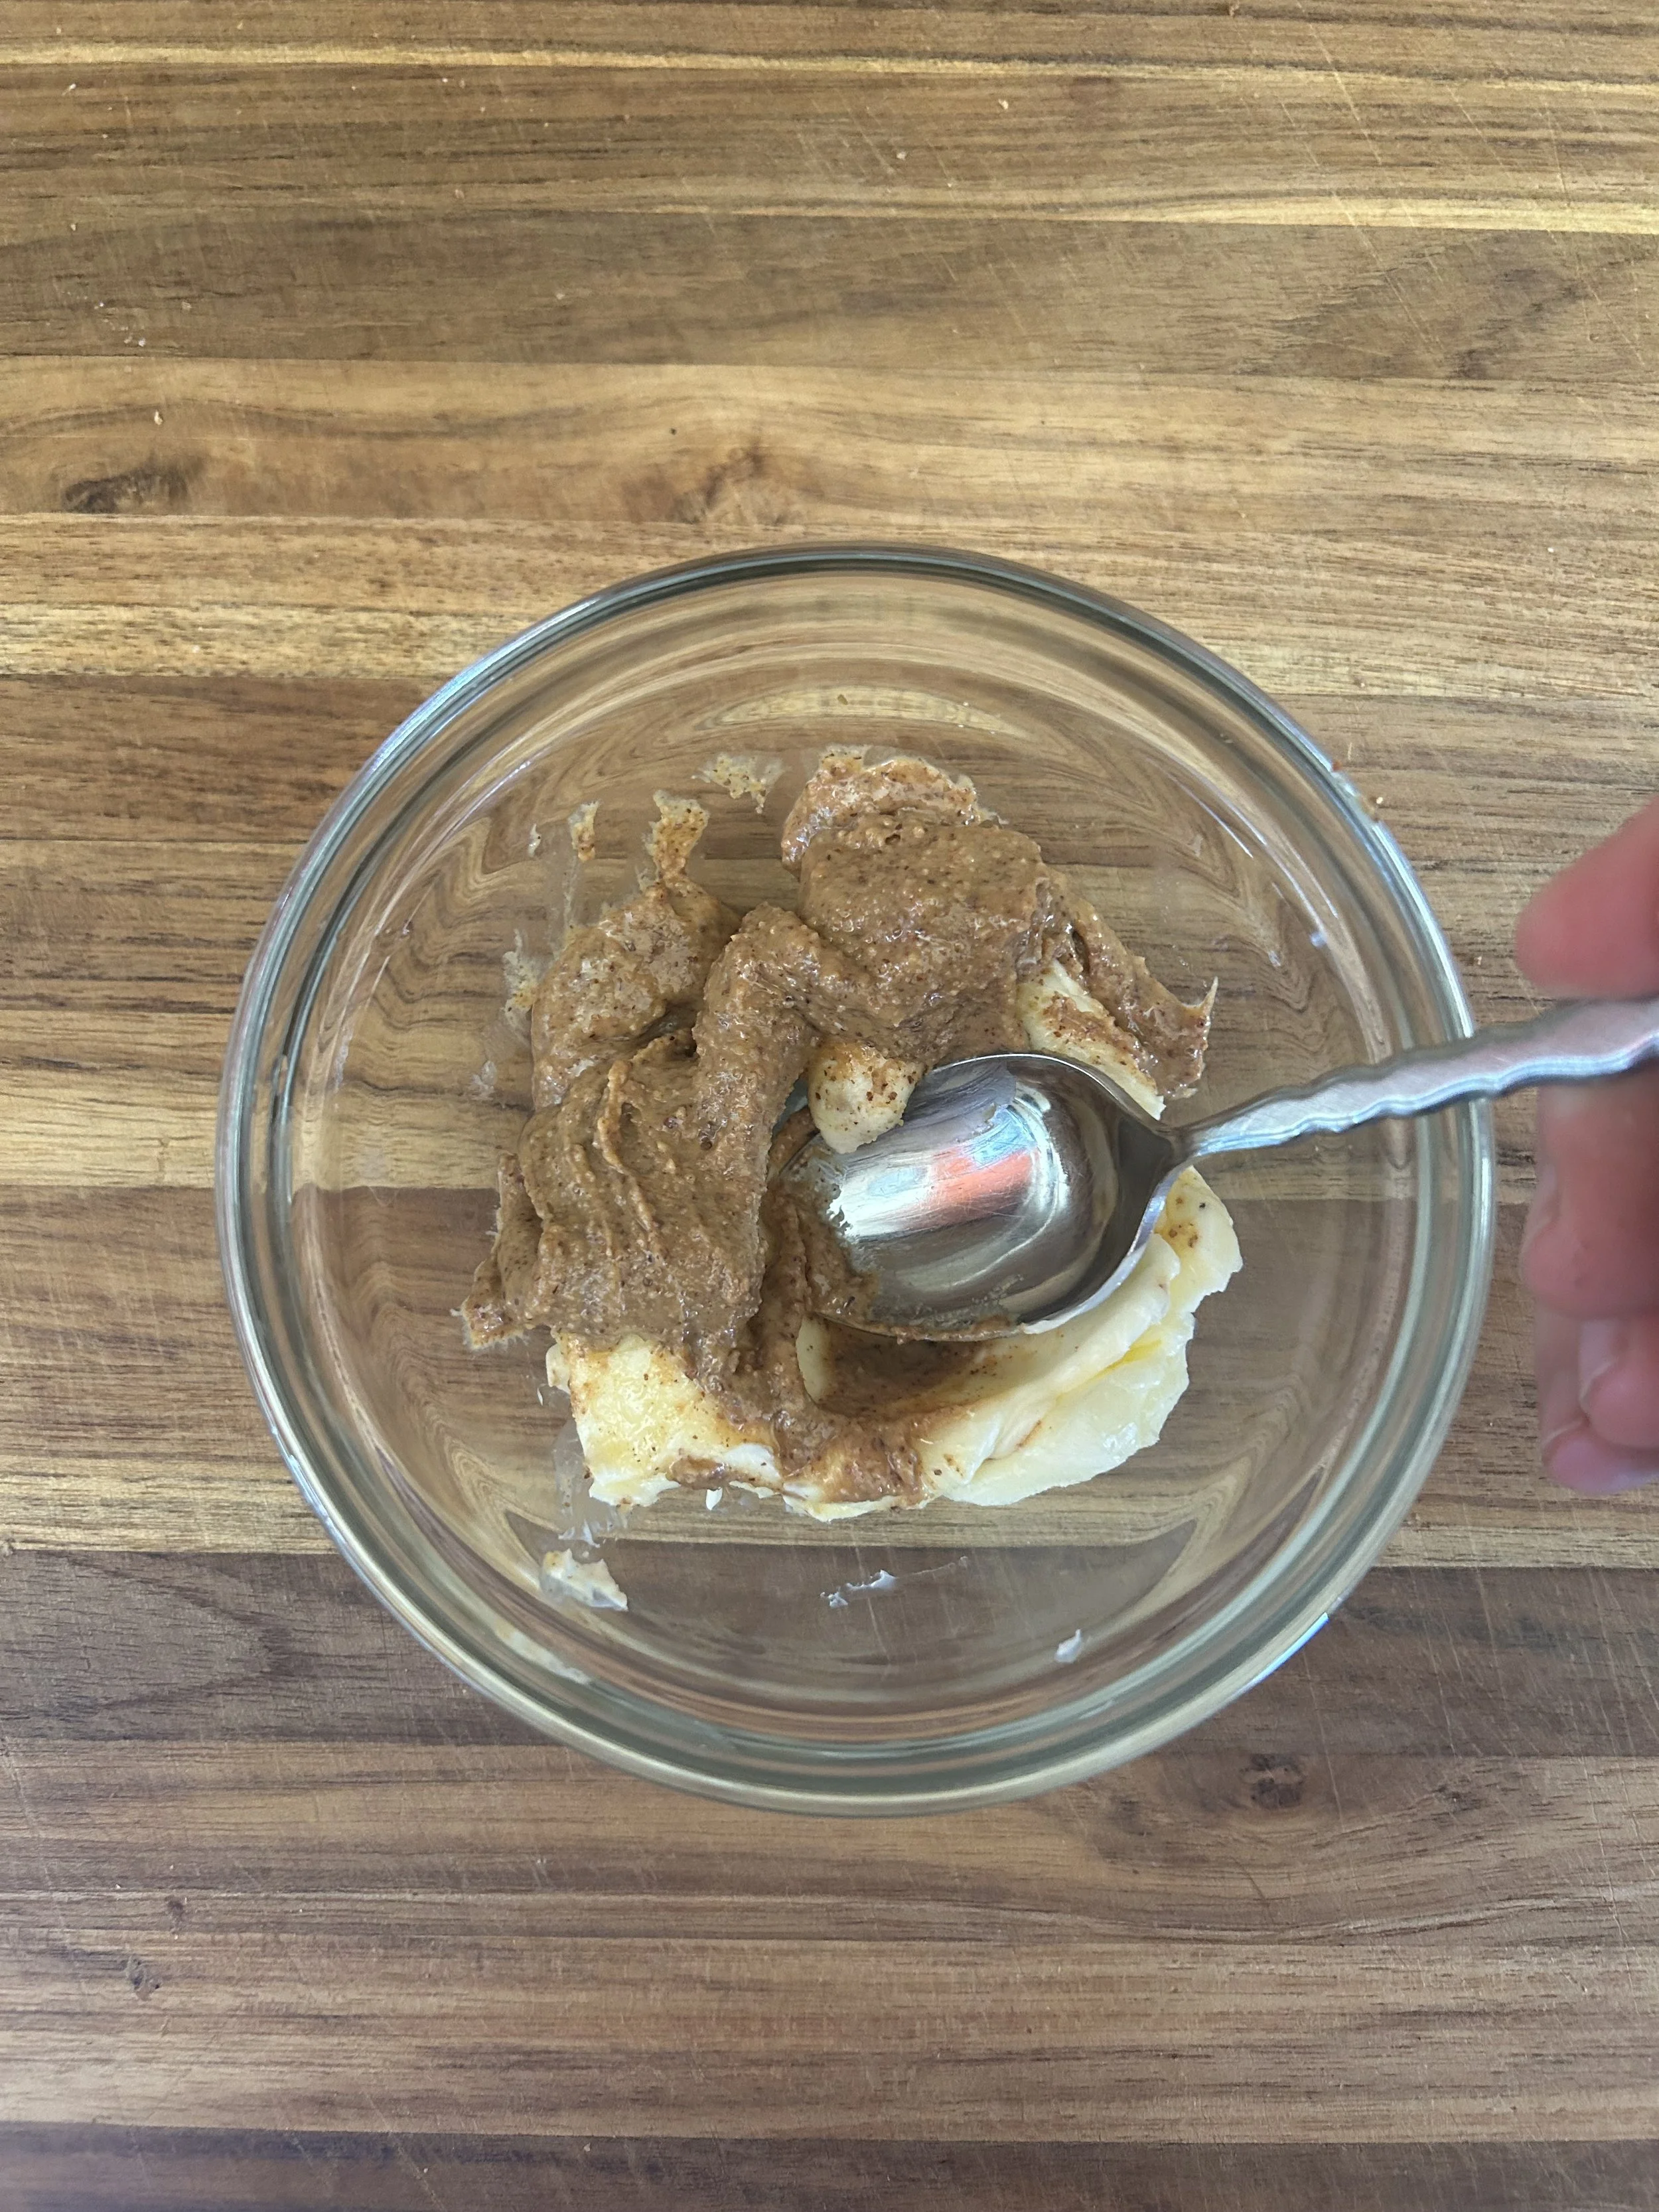
In a small bowl, whisk together 2 tablespoons of softened butter, 2 tablespoons of almond butter, and 1/8 of a teaspoon of almond extract until combined.
Almond butter is great because, while it doesn’t have as much protein as peanut butter, it has the same heart-healthy unsaturated fats with a few extra vitamins and minerals.
If you’re not a fan of almond butter, then peanut or any other nut butter that you like will work as well.
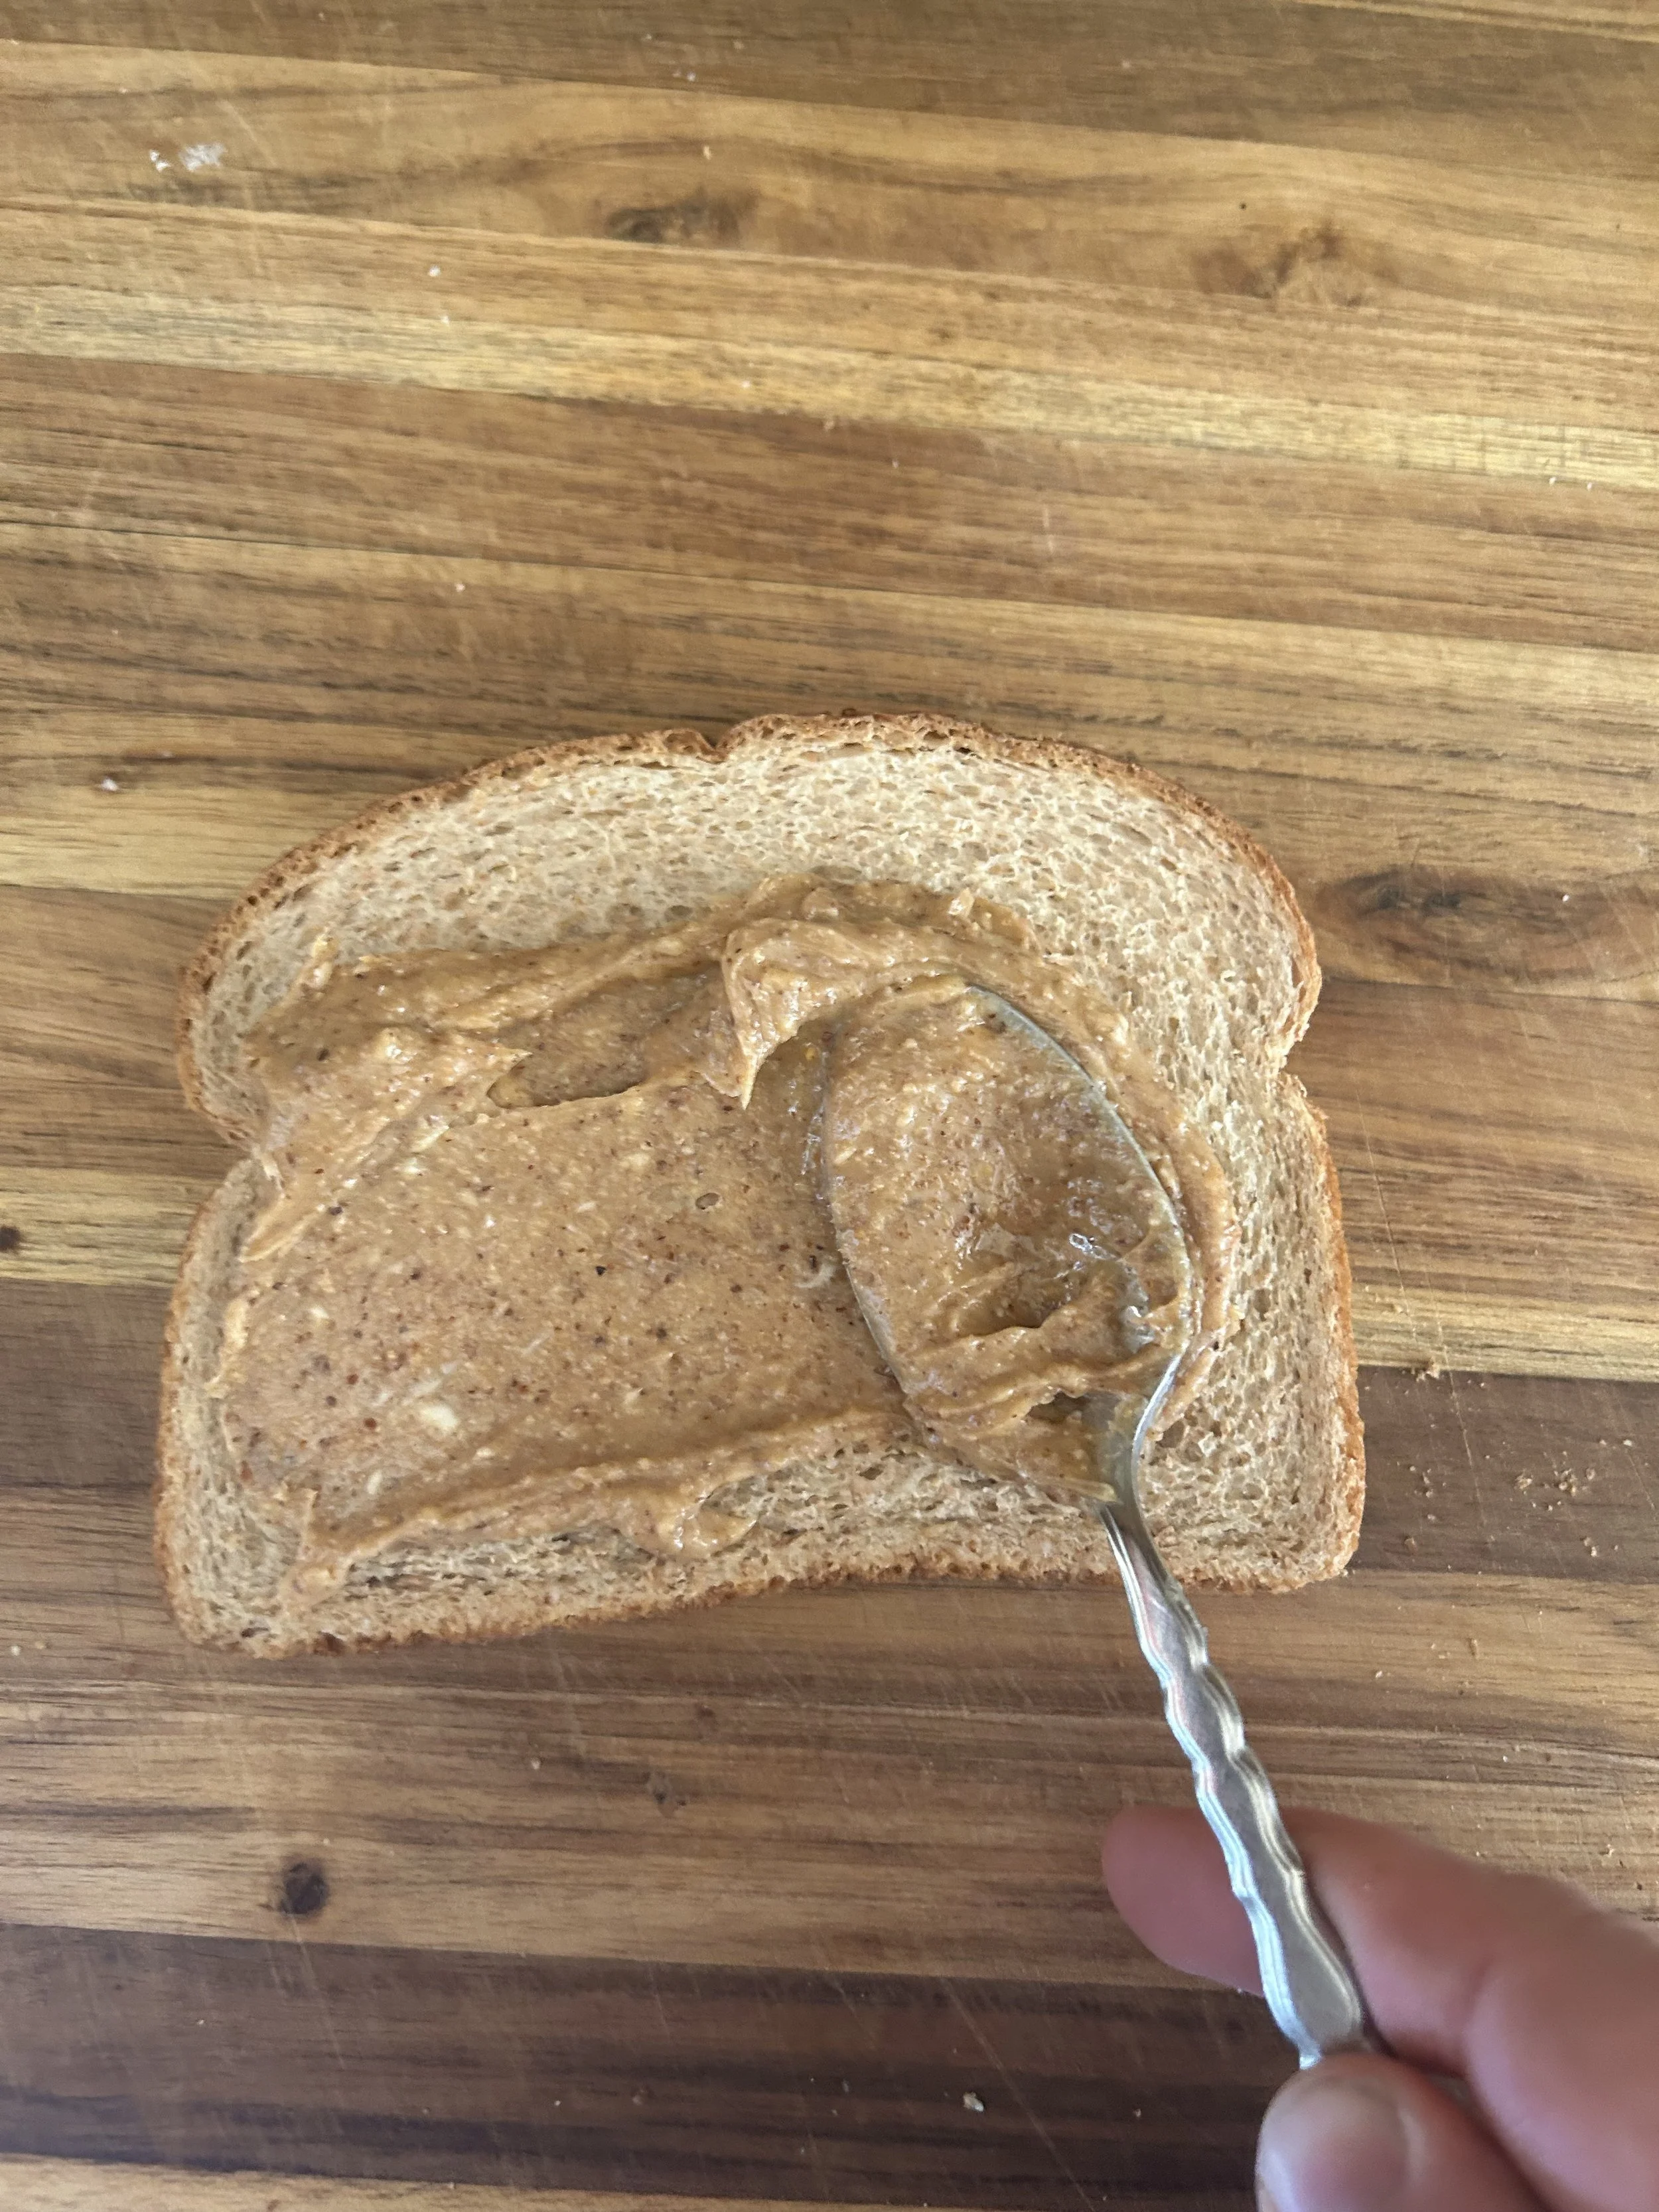
Spread this almond butter mixture onto two slices of bread, I’m using sugar-free bread, but any bread that you like is fine, and place it into a 400-degree oven for 7 minutes, or until the bread is toasty and golden.
This also works great in a toaster oven.
Top each piece of toast with some blueberries, you can’t have too many, and a dusting of powdered sugar.
And there you have it, a delicious blueberry-almond toast!
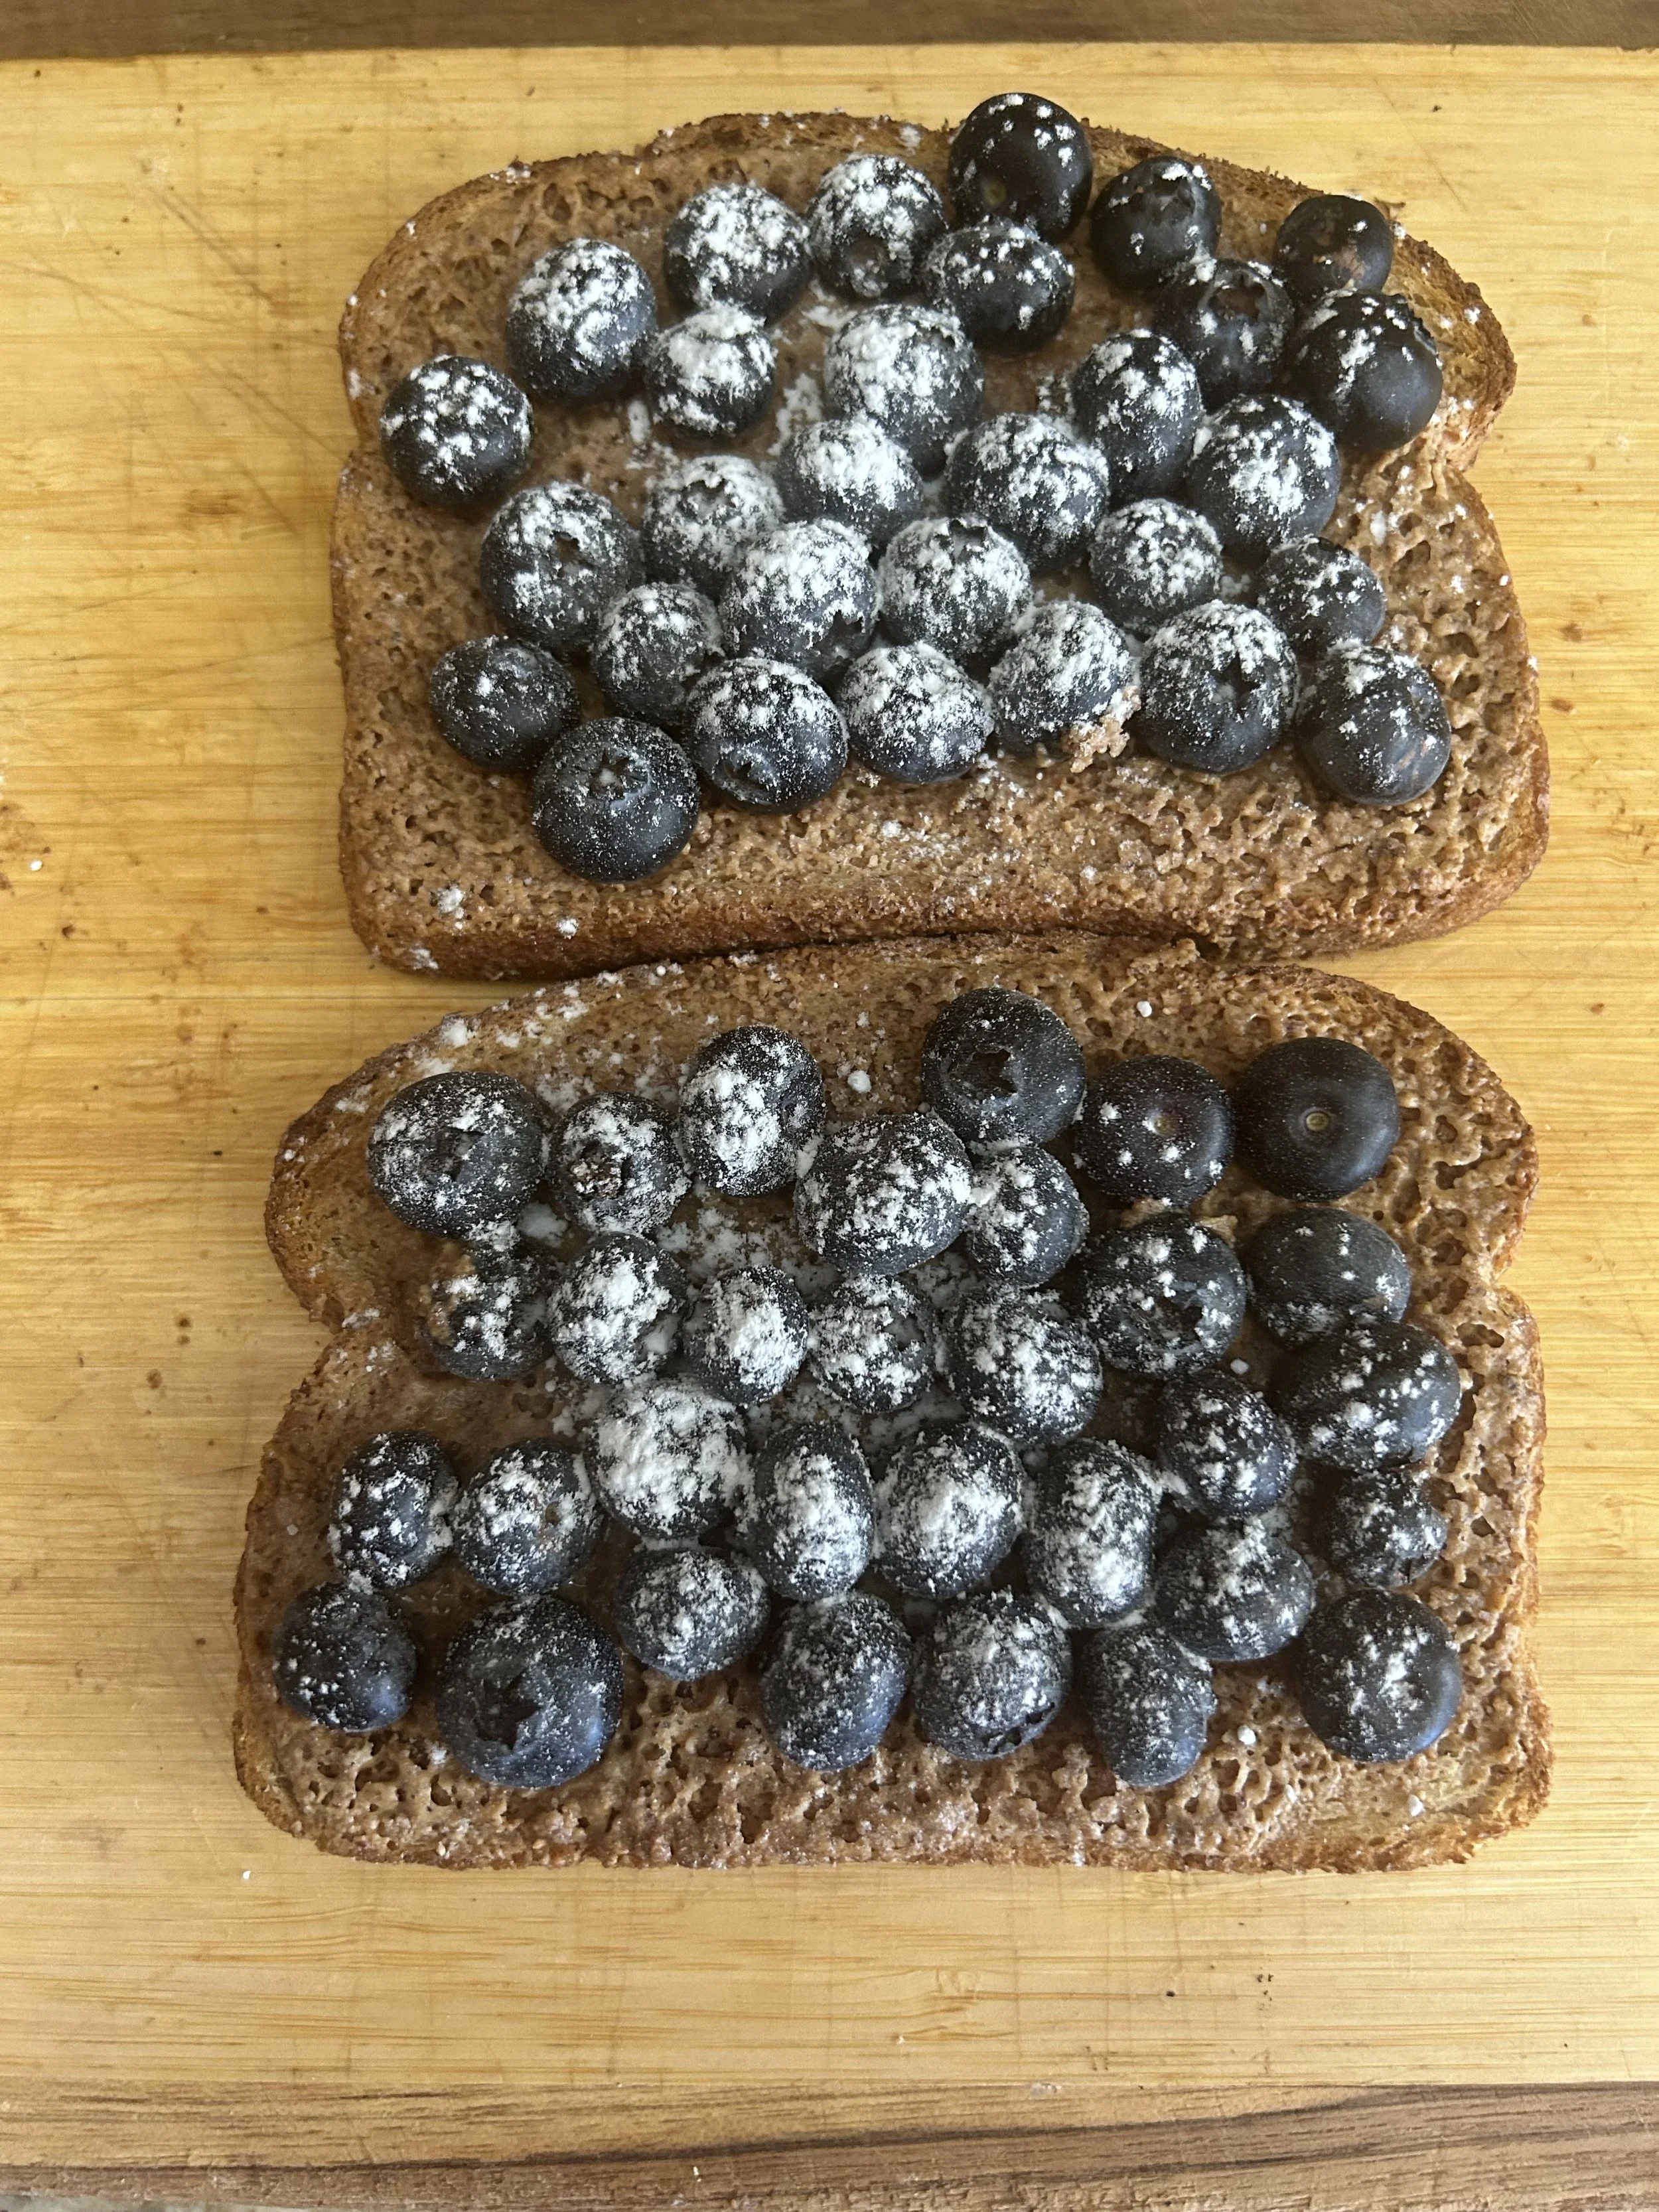
You get a pop of sweet and tart juicy goodness from the berries plus the creamy almond butter, all being lifted by the crunchy toast. it’s also so packed with nutrition that you will not feel guilty about eating more than your fair share.
Day 2: Chickpeas
There are many benefits to eating chickpeas, or garbanzo beans. They support heart health, and have lots of potassium, iron, Vitamin B, and fiber, which decreases the risk of heart disease by fighting off bad cholesterol in the blood.
The obvious application for chickpeas has to be hummus, and while I love hummus, I’m going to show you another application that might make you think about a particular chocolate and hazelnut spread but will be much healthier.
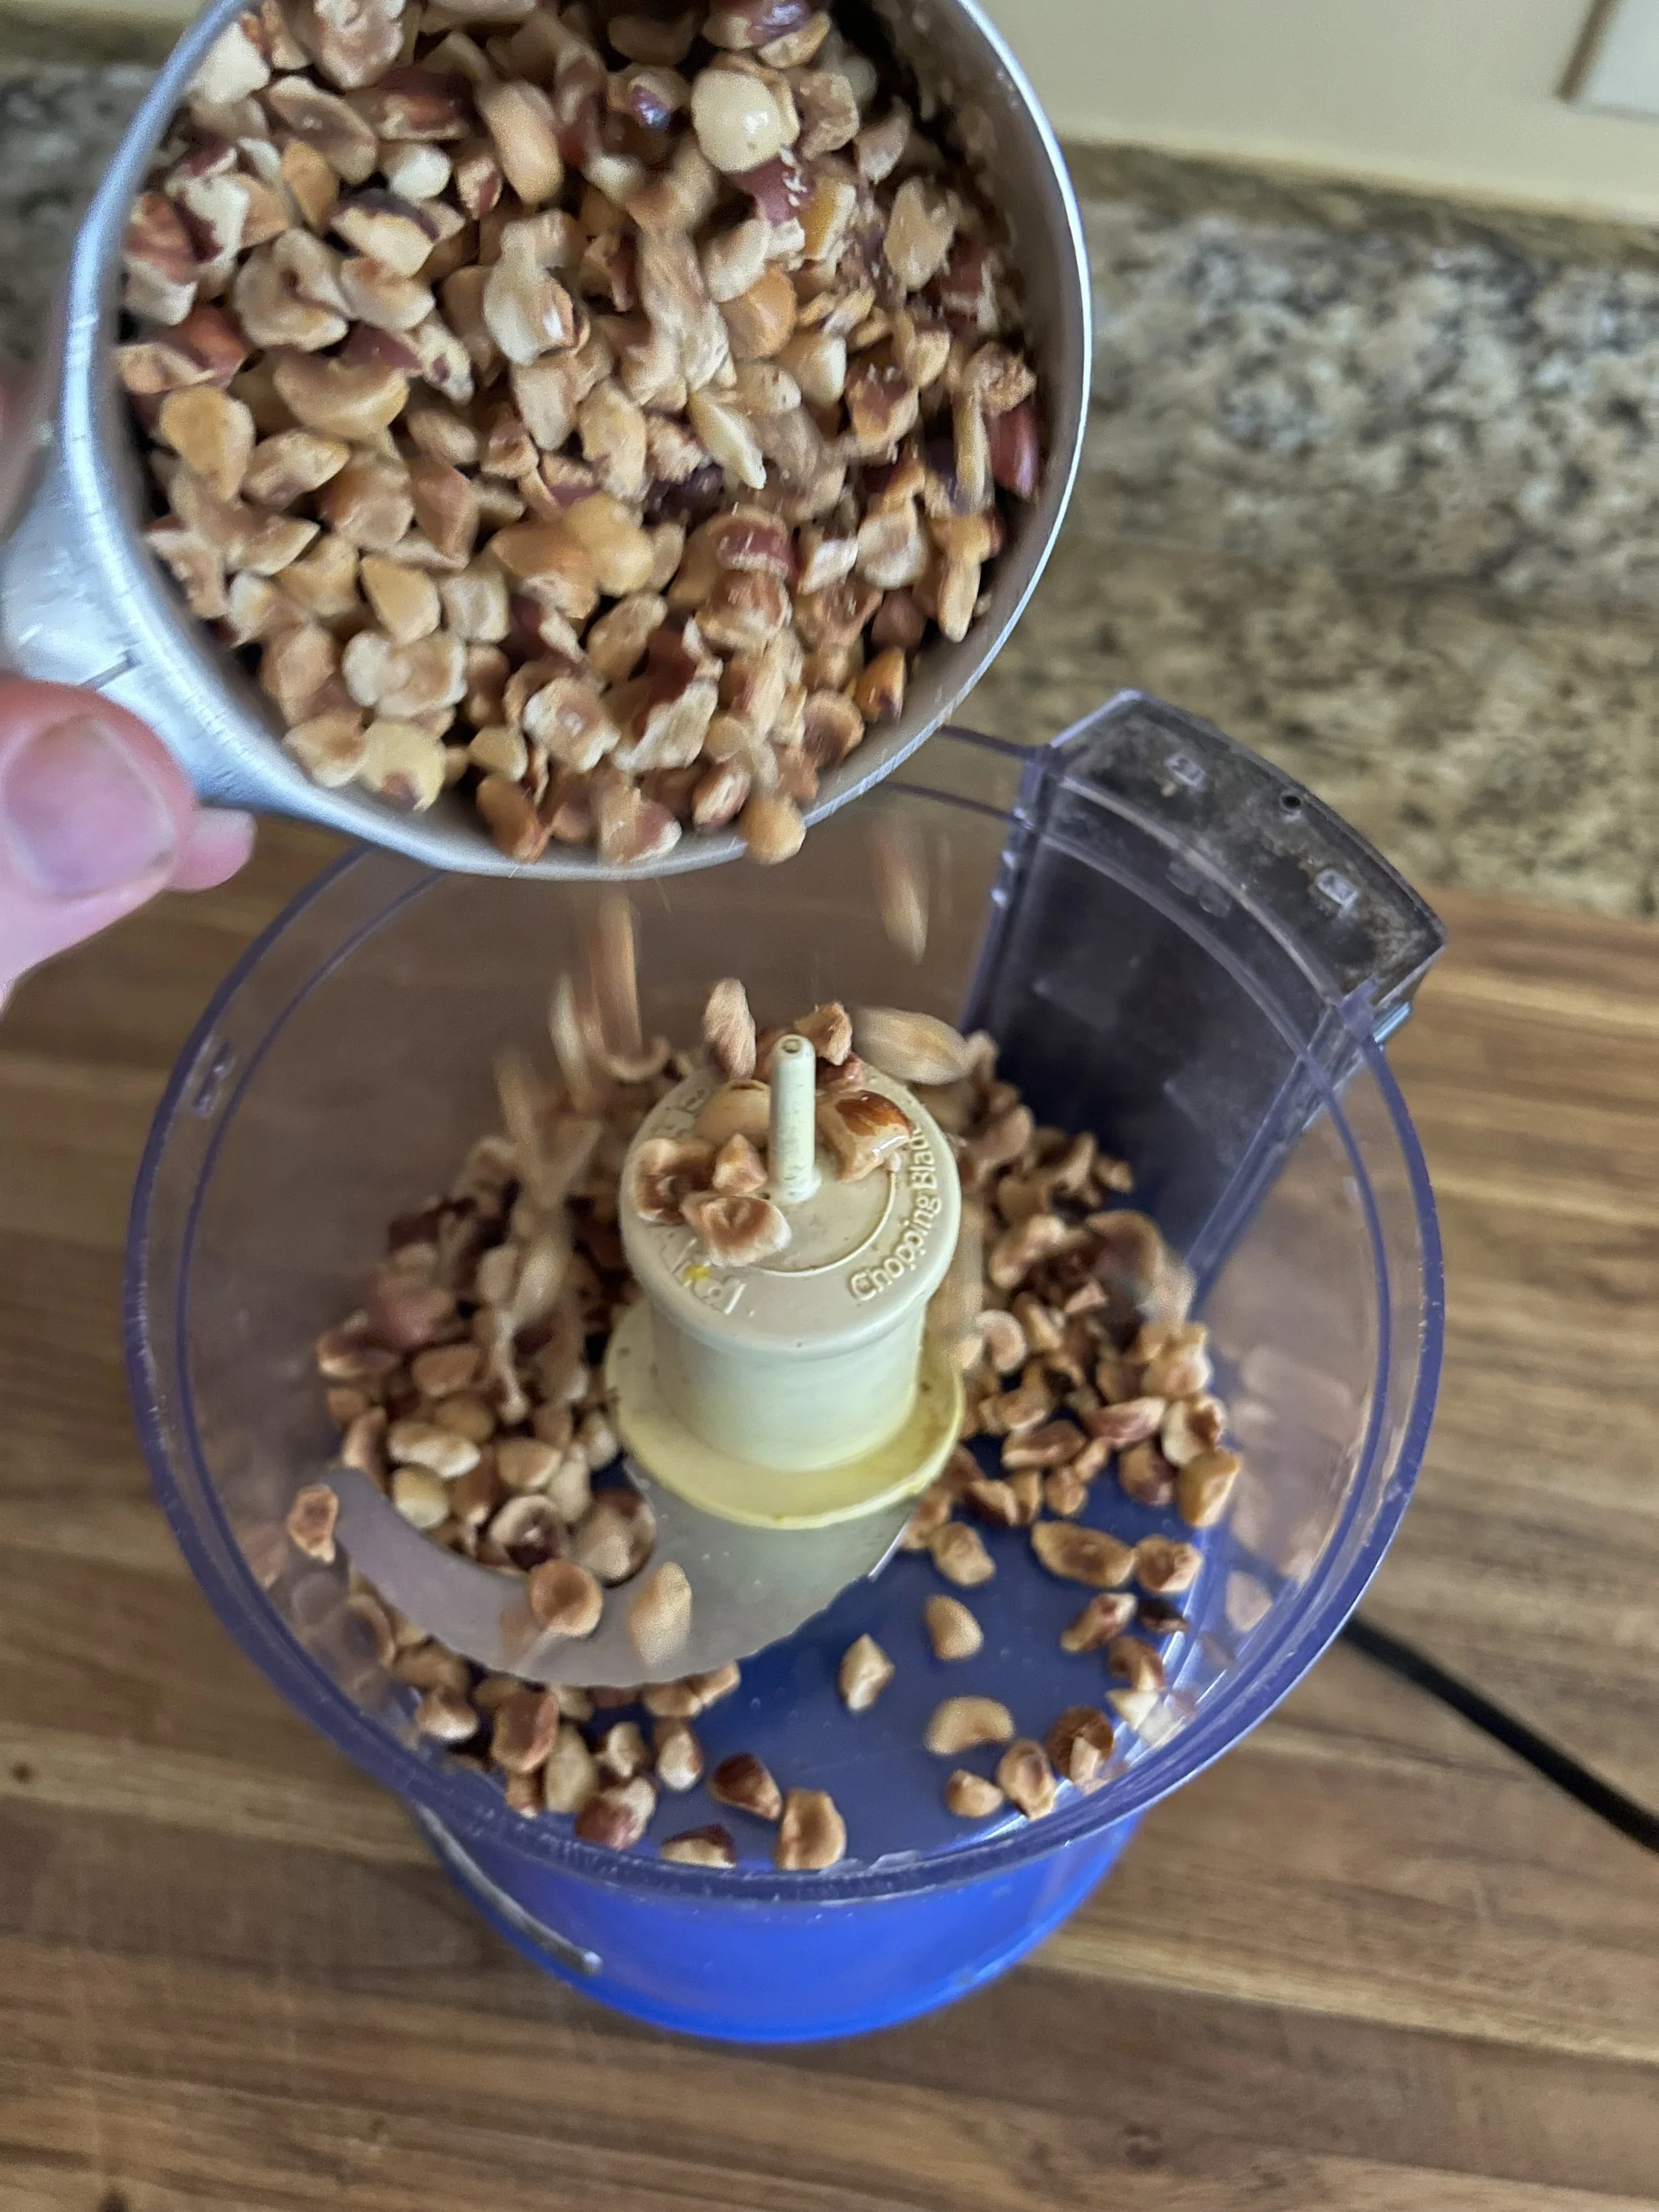
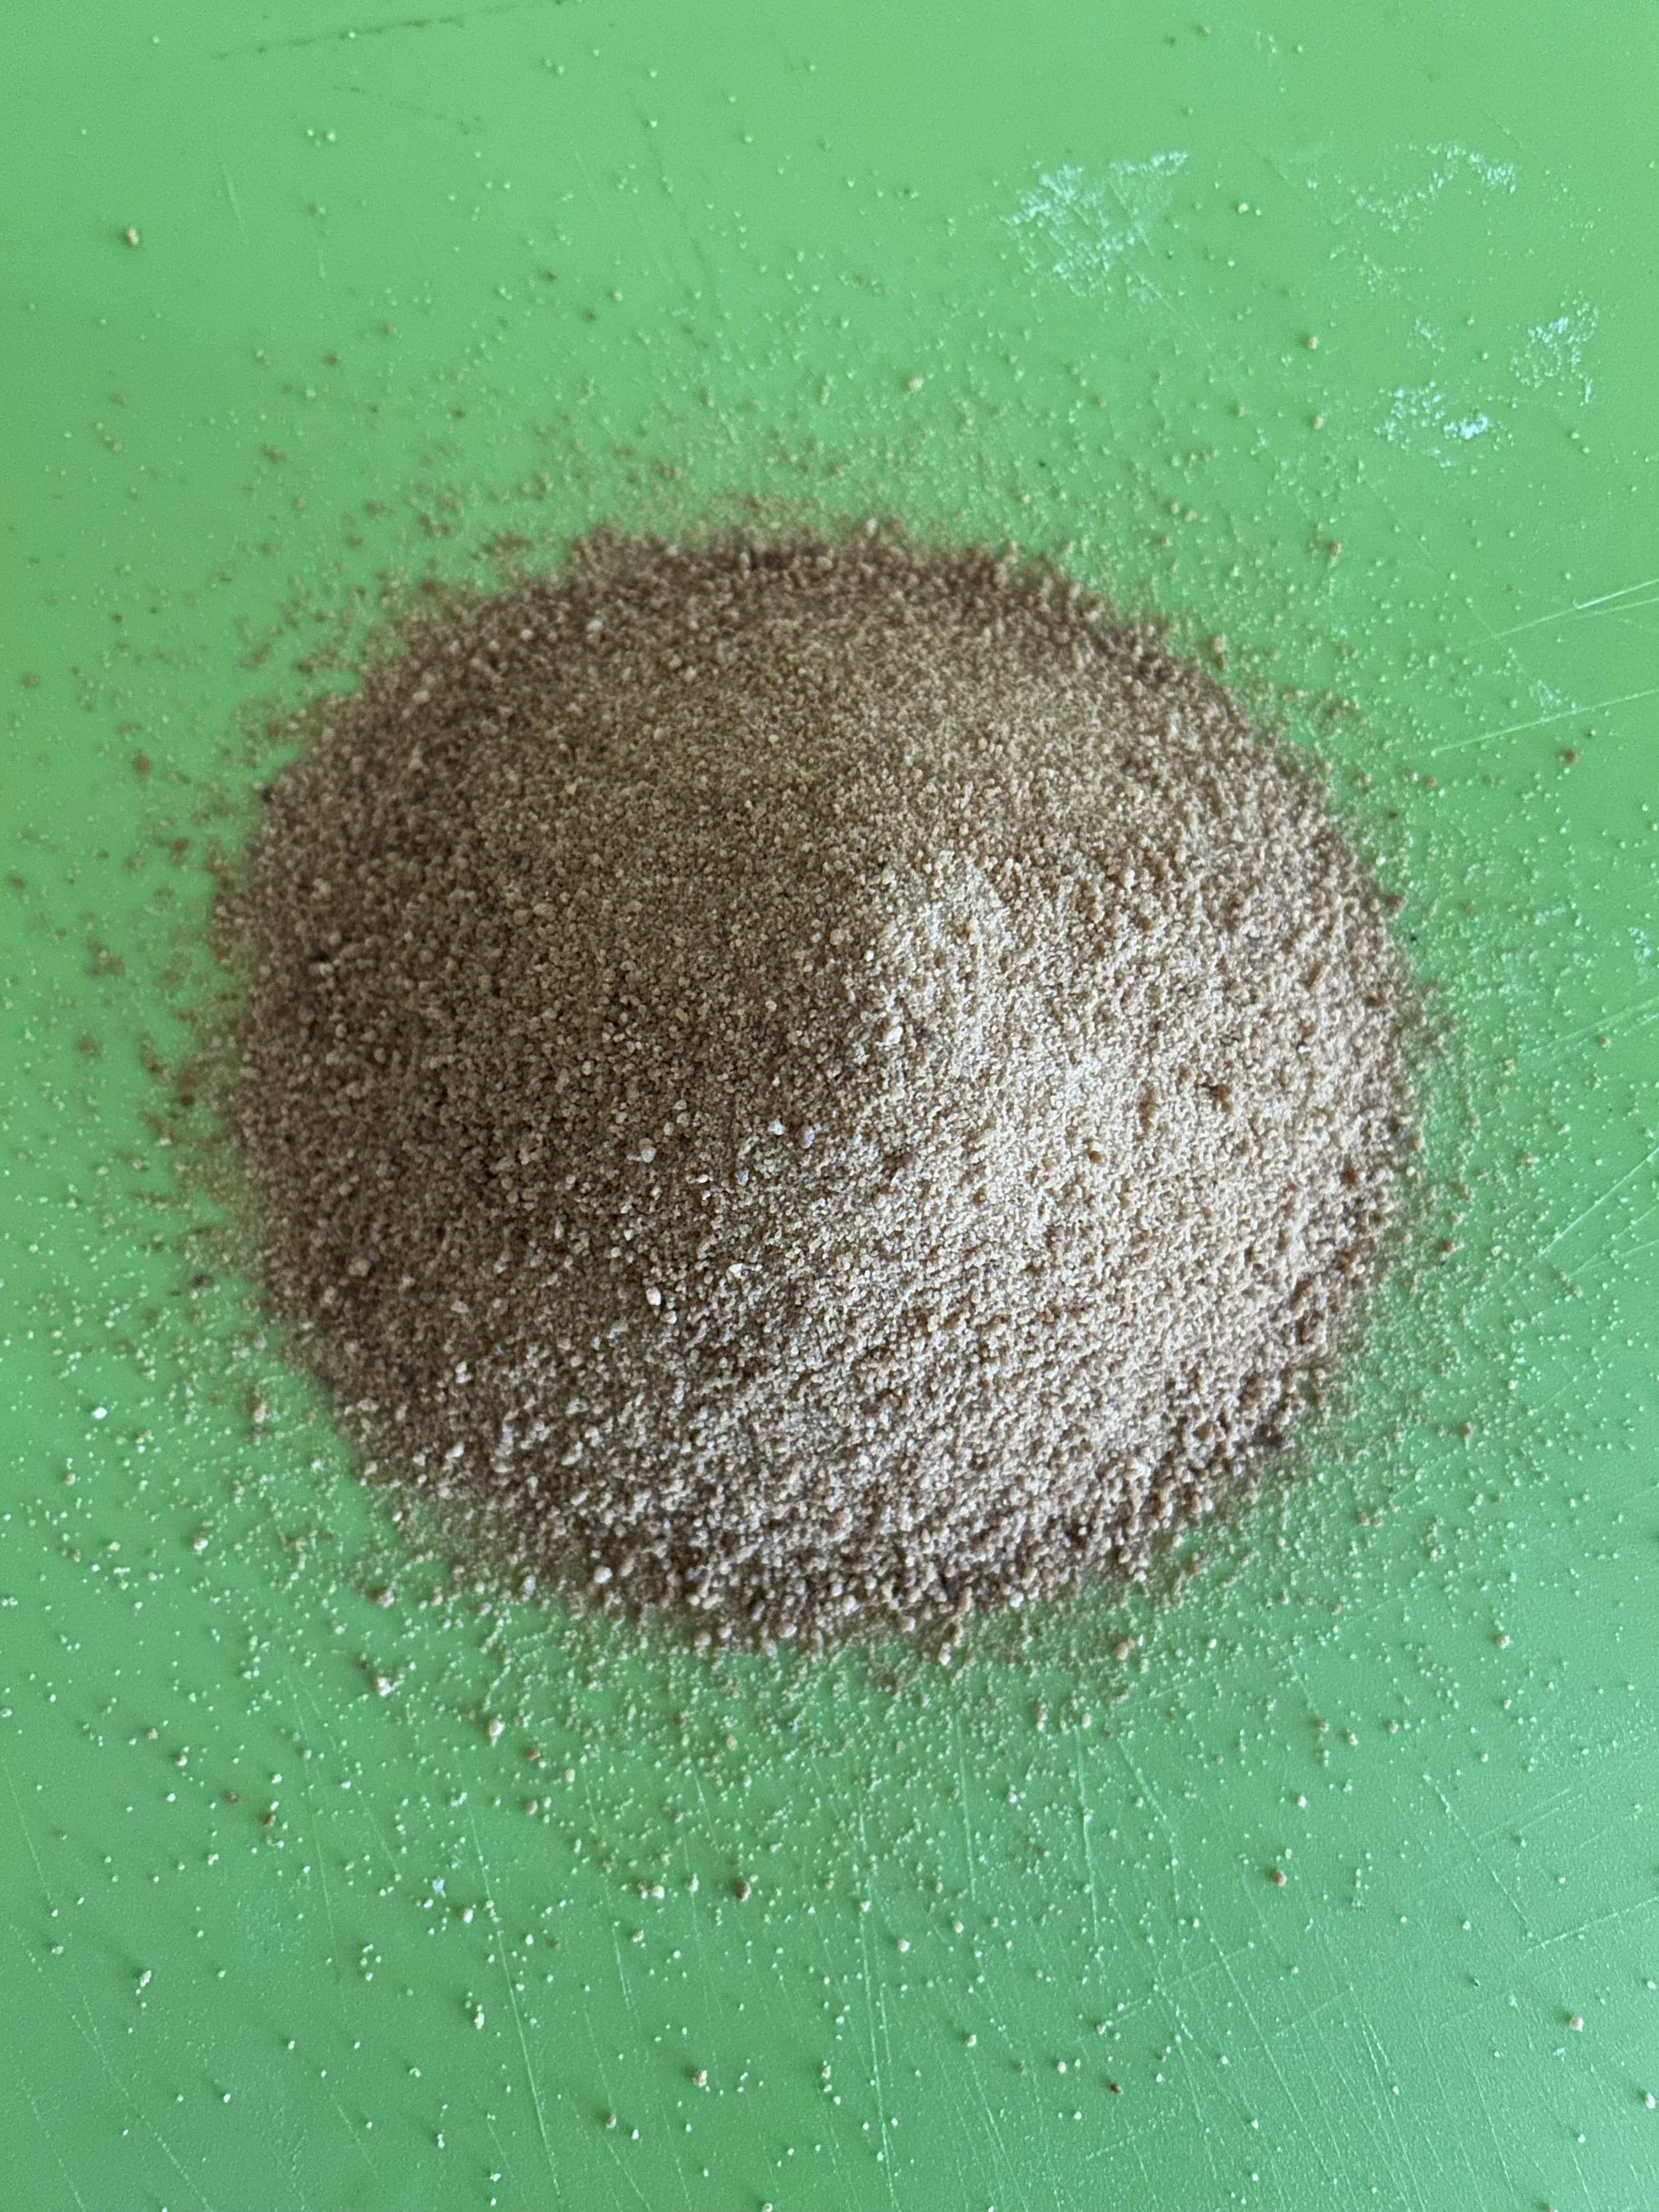
In a food processor, pulse 1 cup of roasted hazelnuts until finely ground.
You don’t have to completely pulverize the nuts into a powder, you just want them to be ground up into tiny bits, the consistency should almost resemble wet sand.
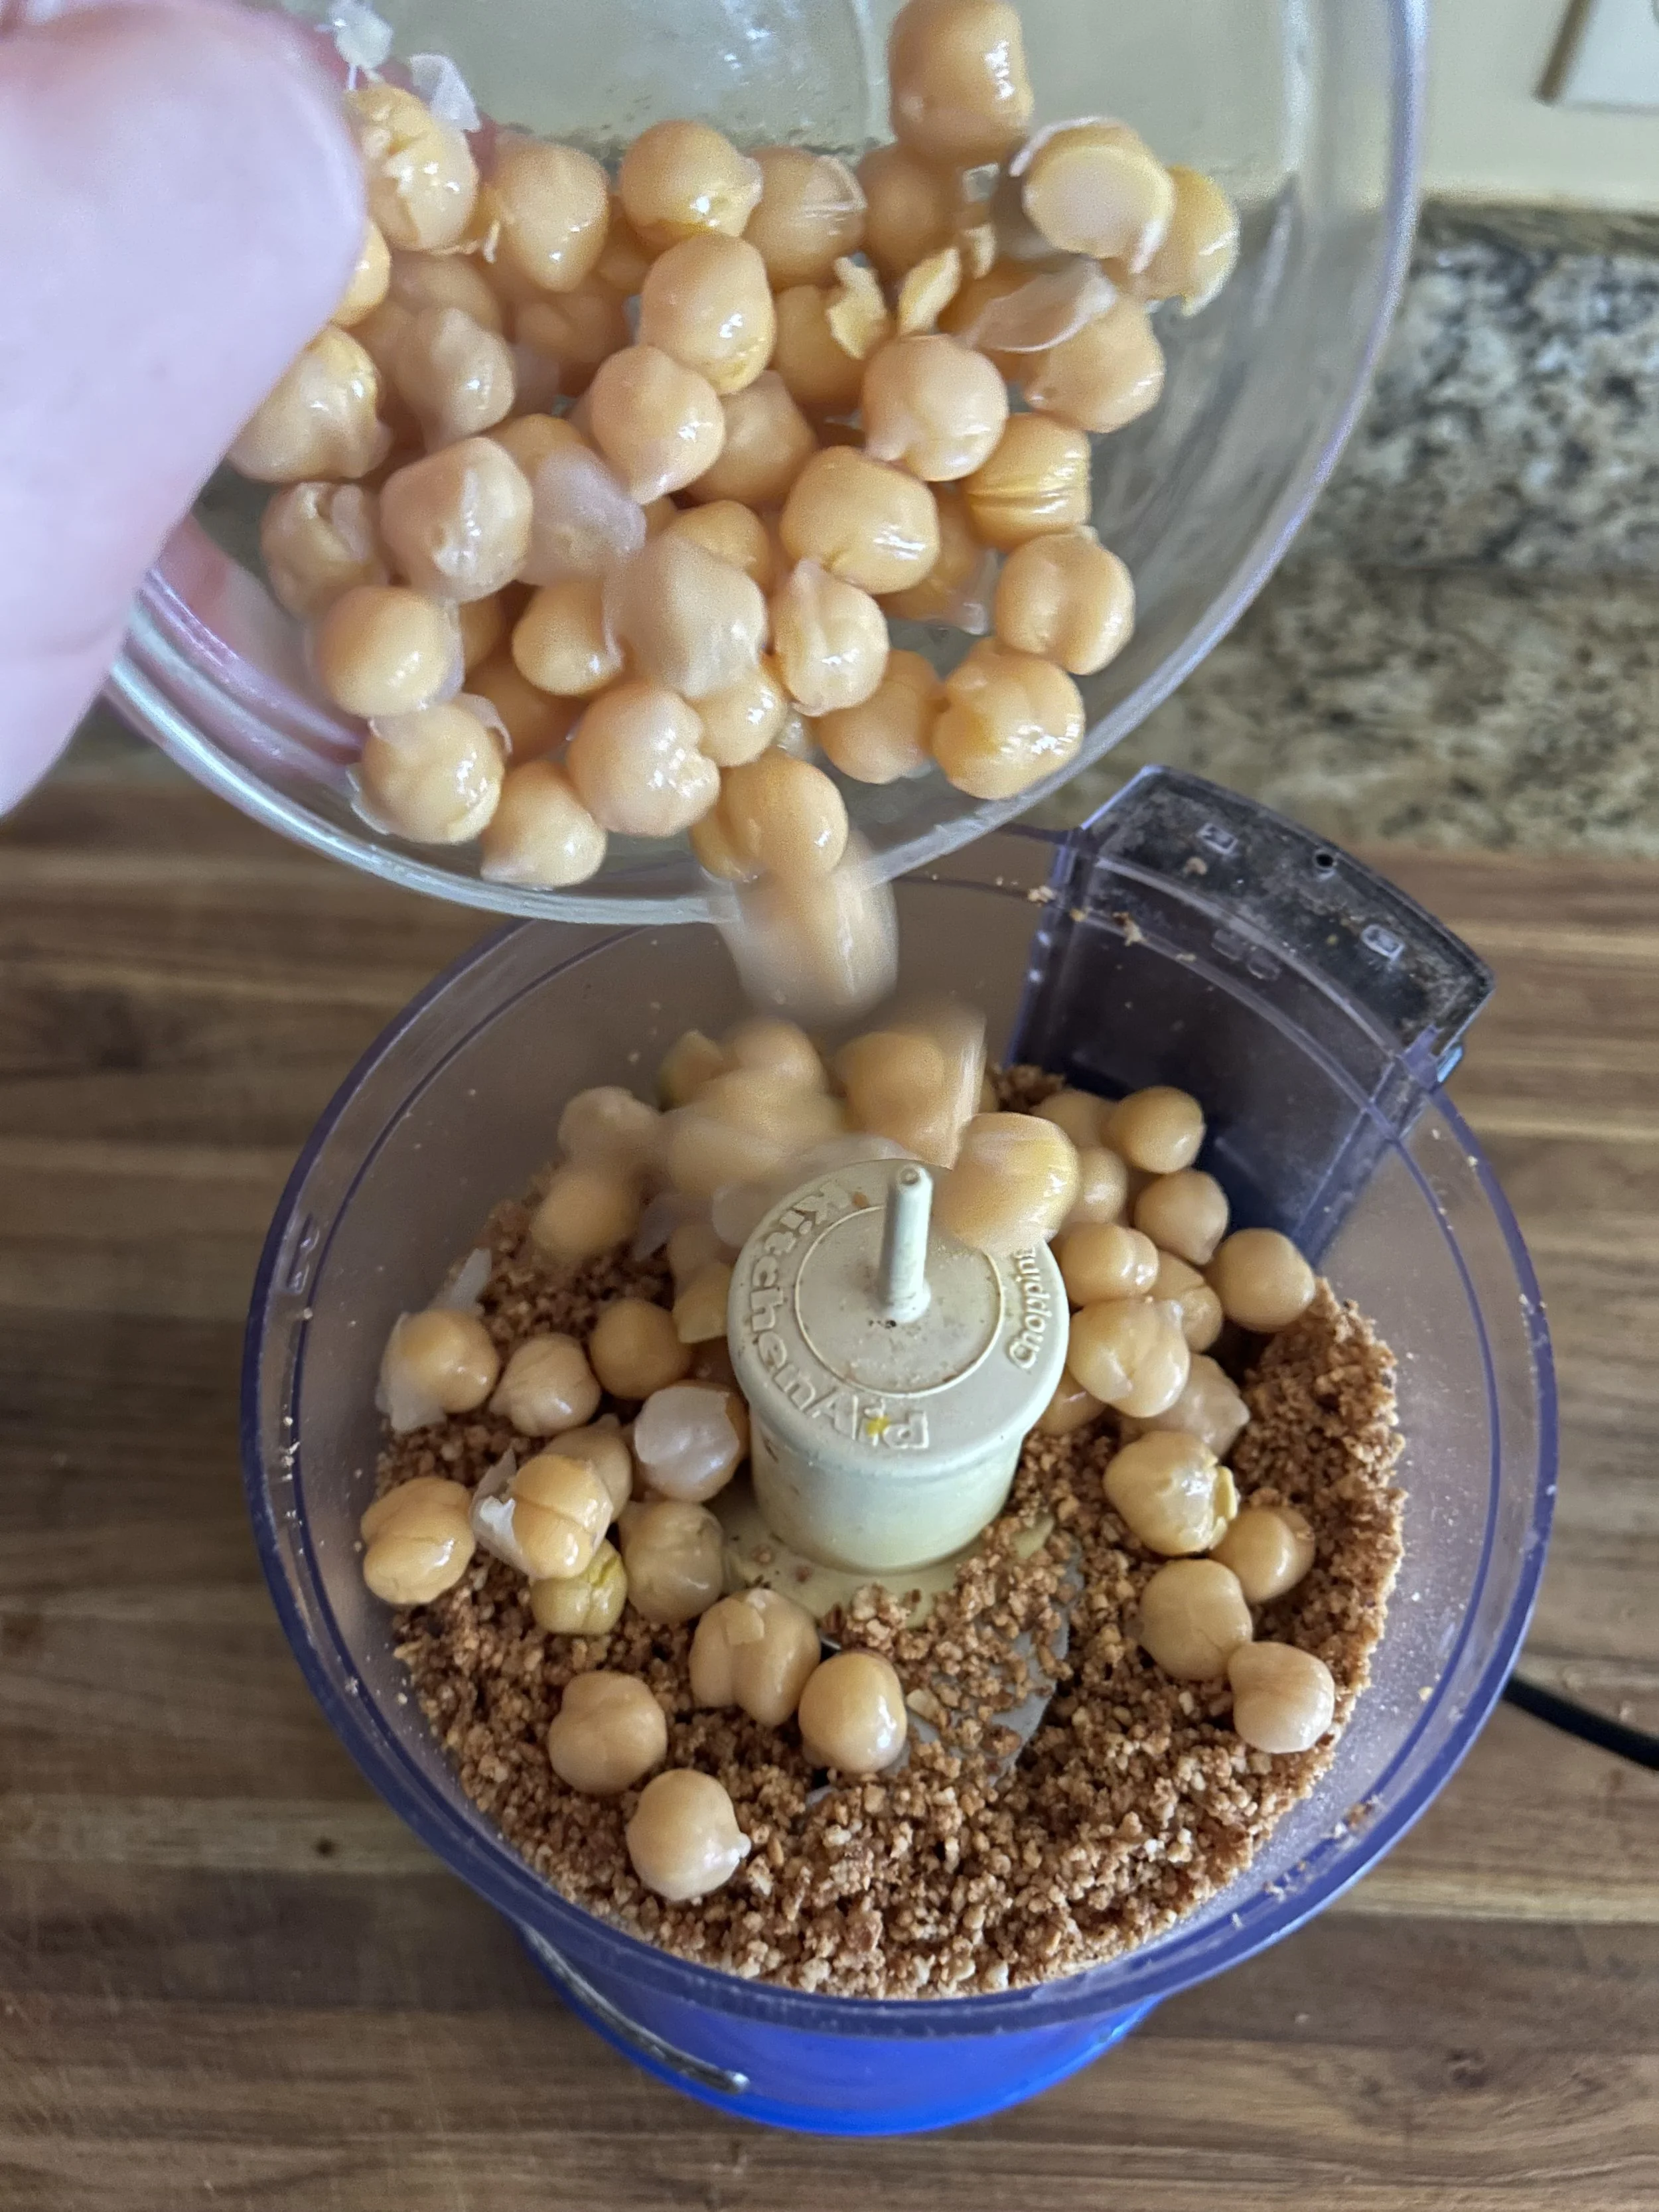
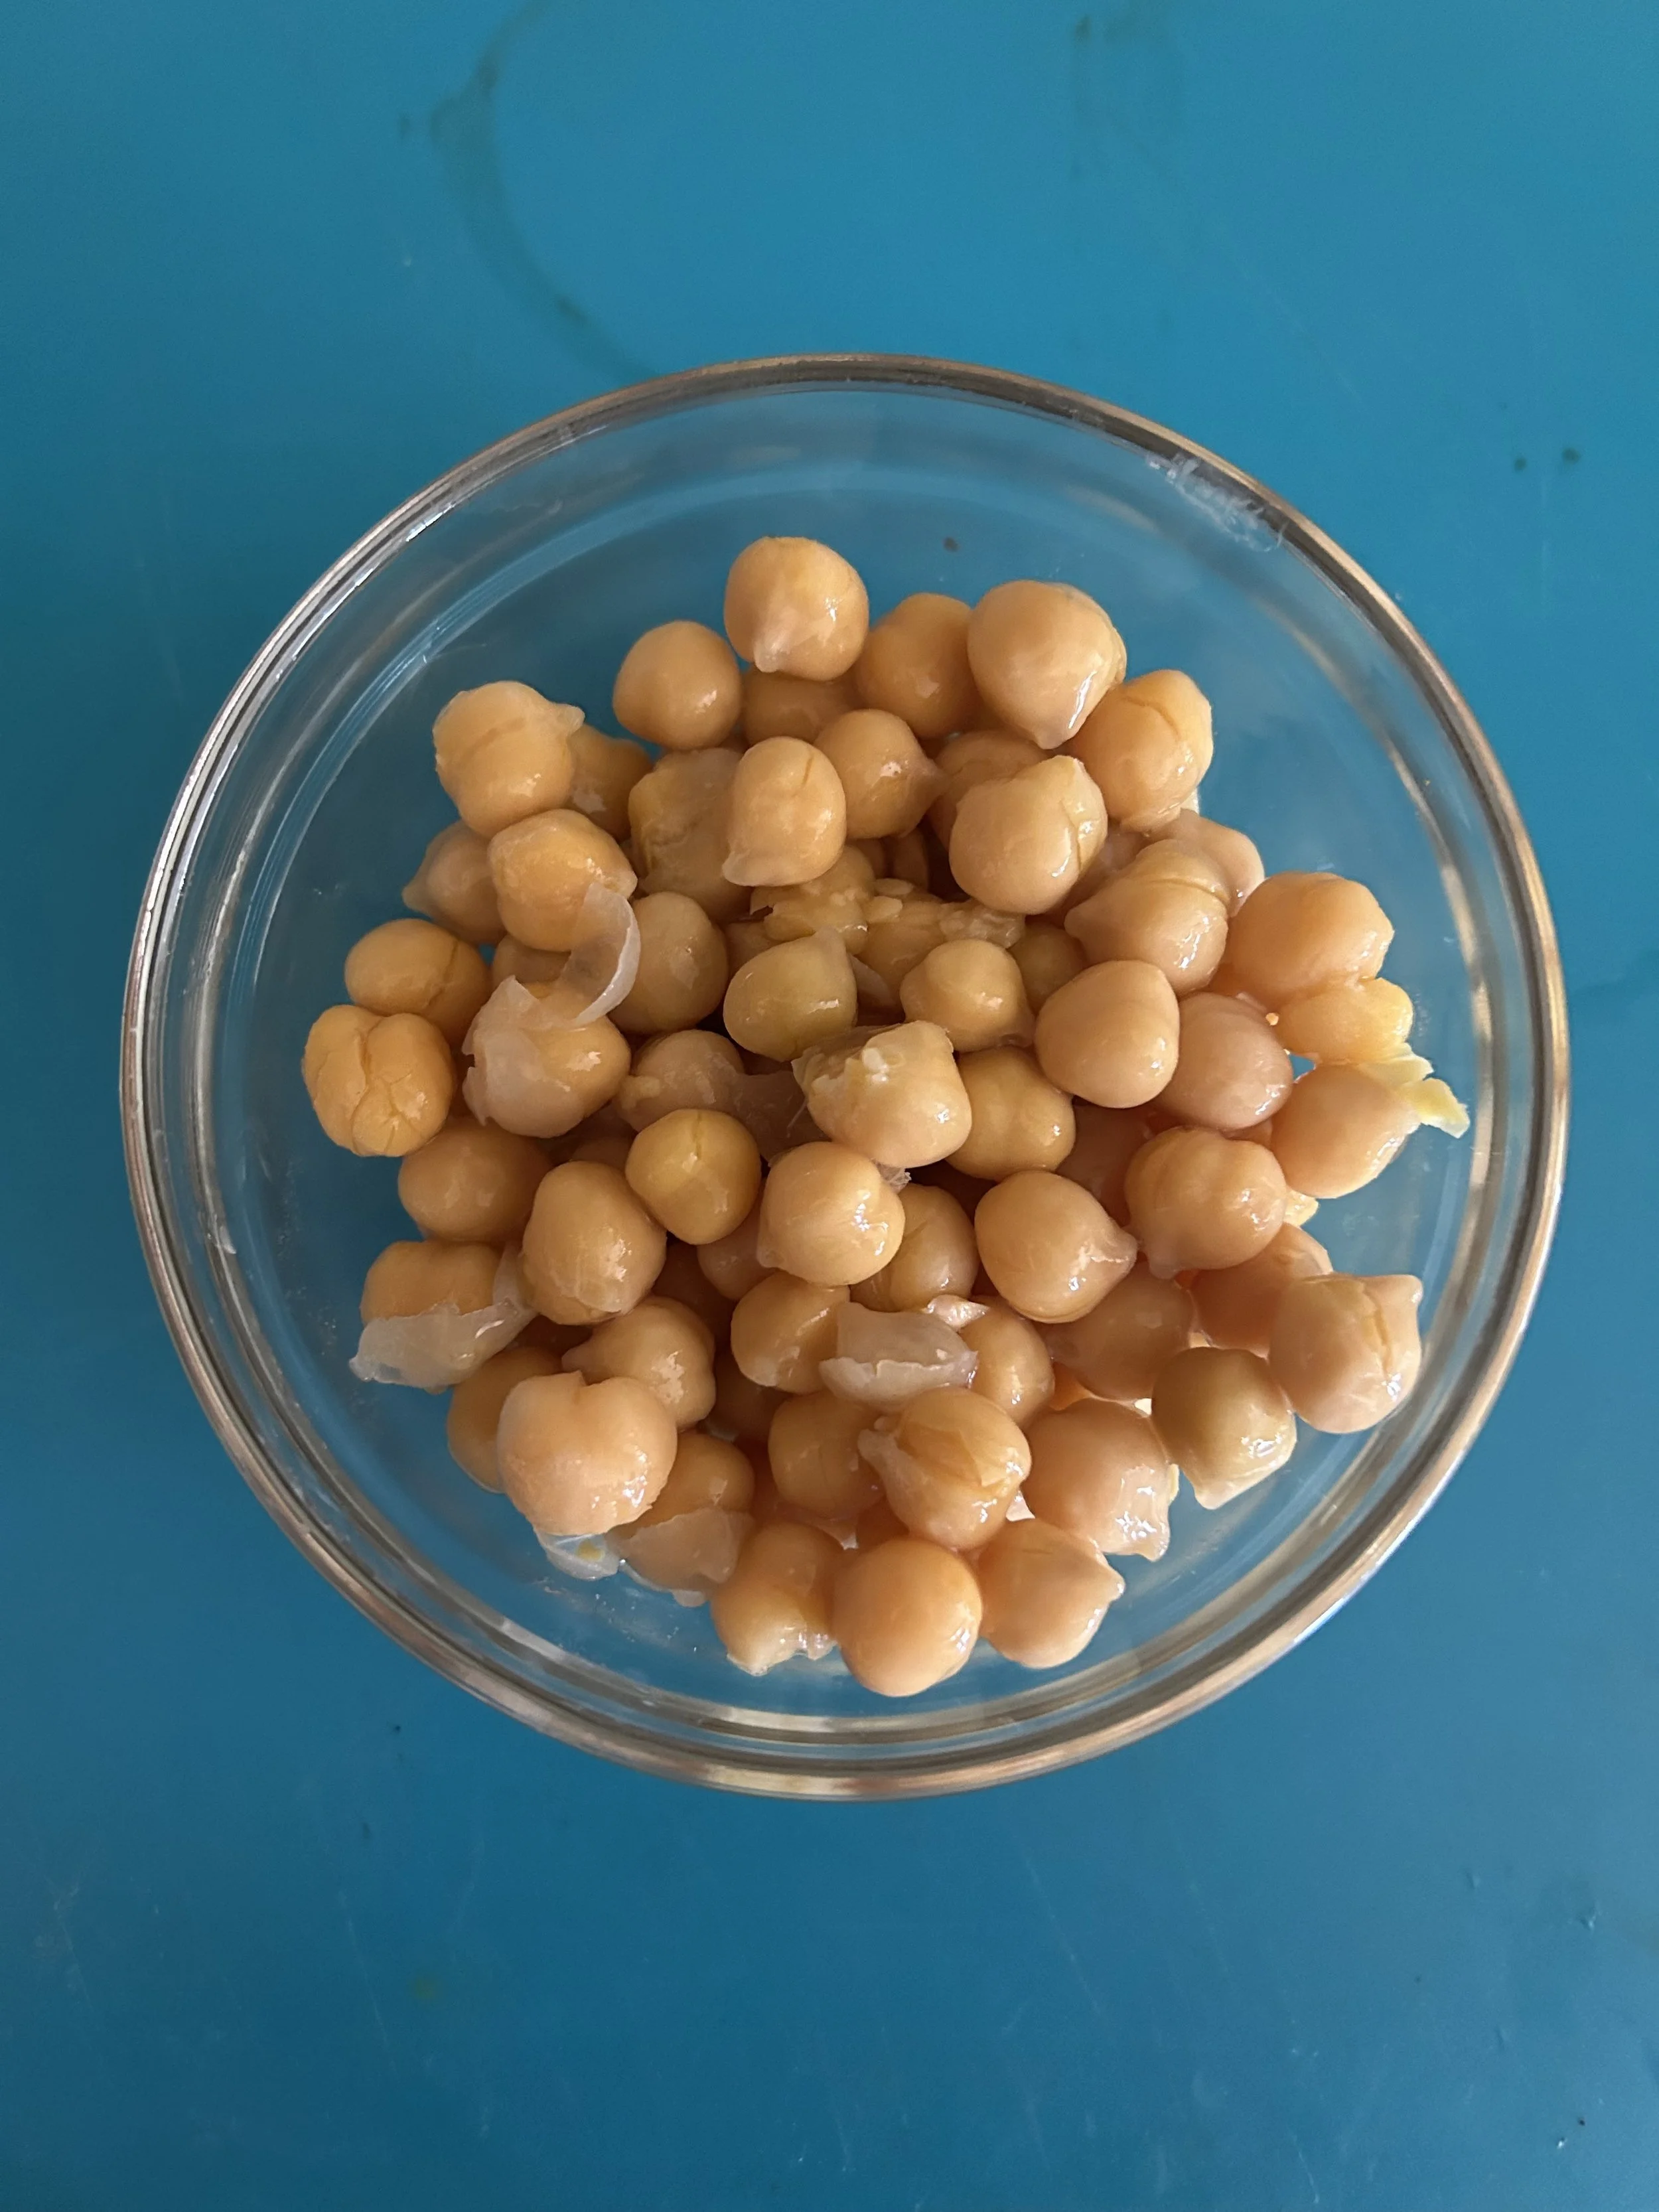
Add 1 cup of canned chickpeas, drained and rinsed, and pulse again until the chickpeas are finely chopped.
Dried beans are good, but I generally prefer to use canned chickpeas as they’re a lot more convenient and, when stored properly, can last a long time in the pantry!
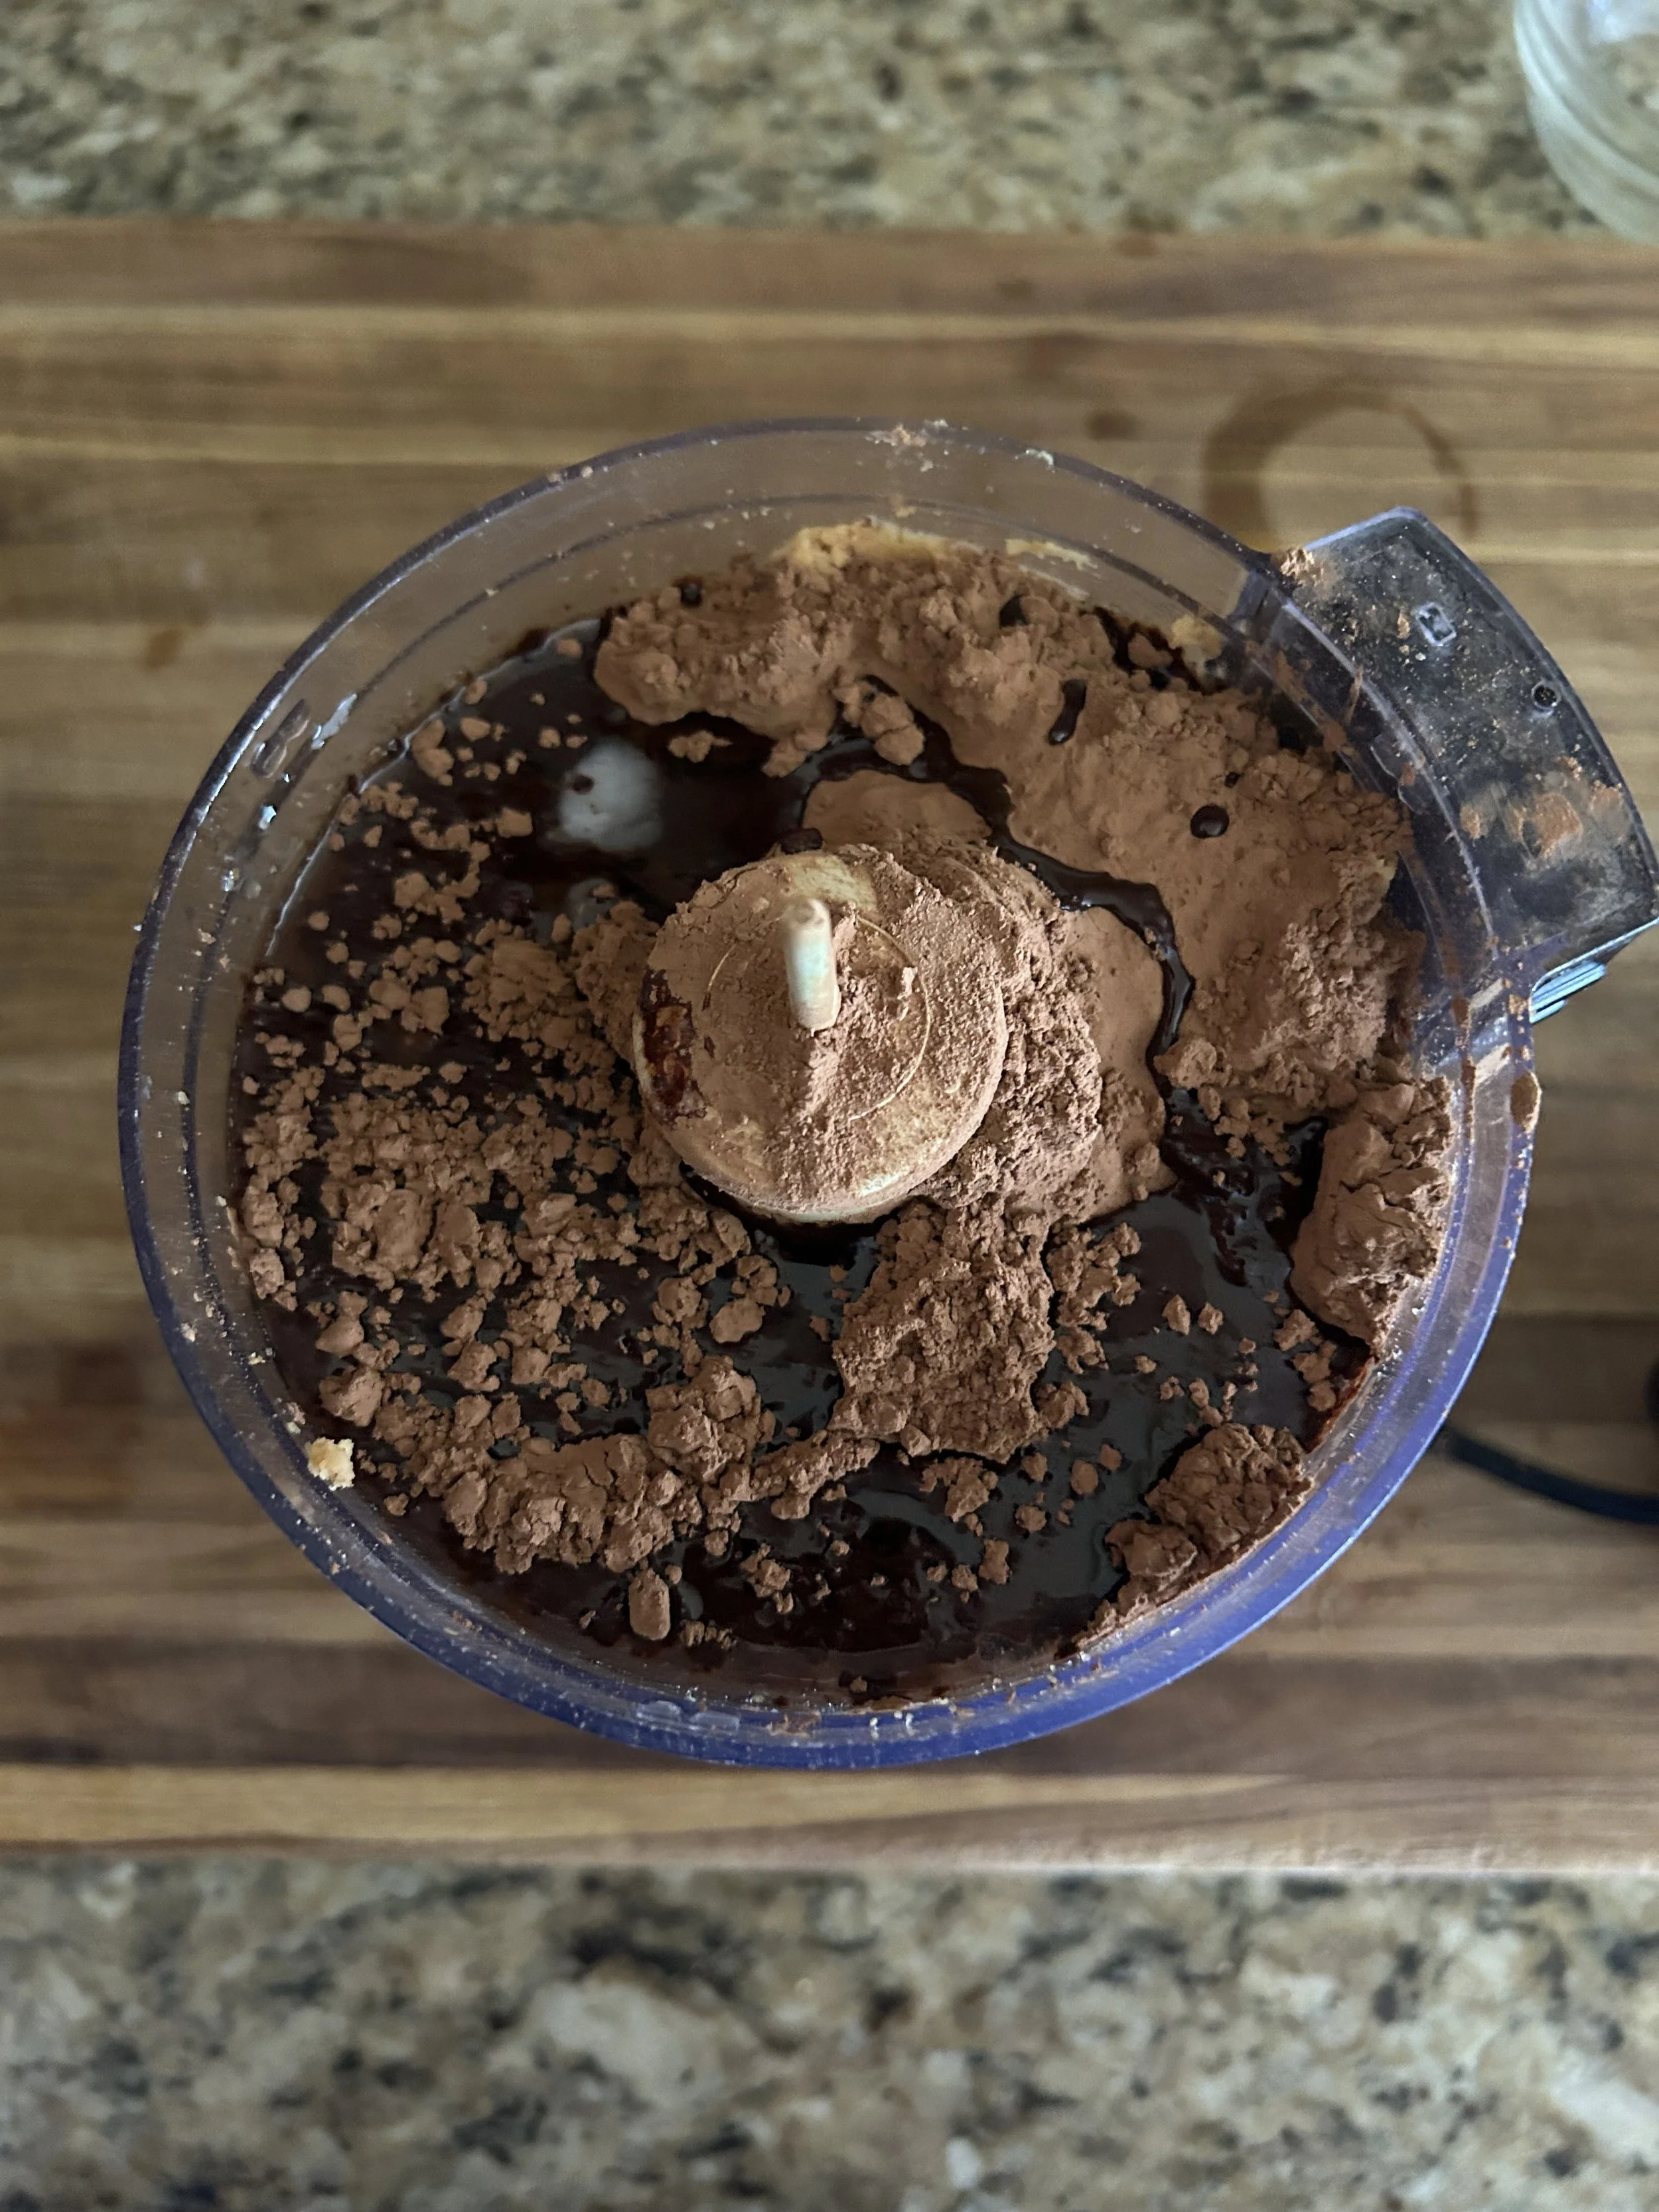
Then add 1/2 cup of coconut sugar, 1/3 cup of cocoa powder, 1/3 cup of olive oil or melted coconut oil, and one teaspoon of vanilla extract, and blend until smooth.
Coconut sugar is great because it has a lower glycemic level than brown sugar, which can help to moderate blood sugar.
You can find coconut sugar in the baking isle of any grocery store, However, if you can’t find coconut sugar or don’t have it, then raw natural sugar works as well.
Once the mix is smooth, spoon it into a small bowl, and serve with some pretzel sticks, strawberries, and graham crackers.
What you have is a chickpea chocolate-hazelnut spread that has little saturated fat, but has a bit of protein and other nutrients that’ll make you feel great!
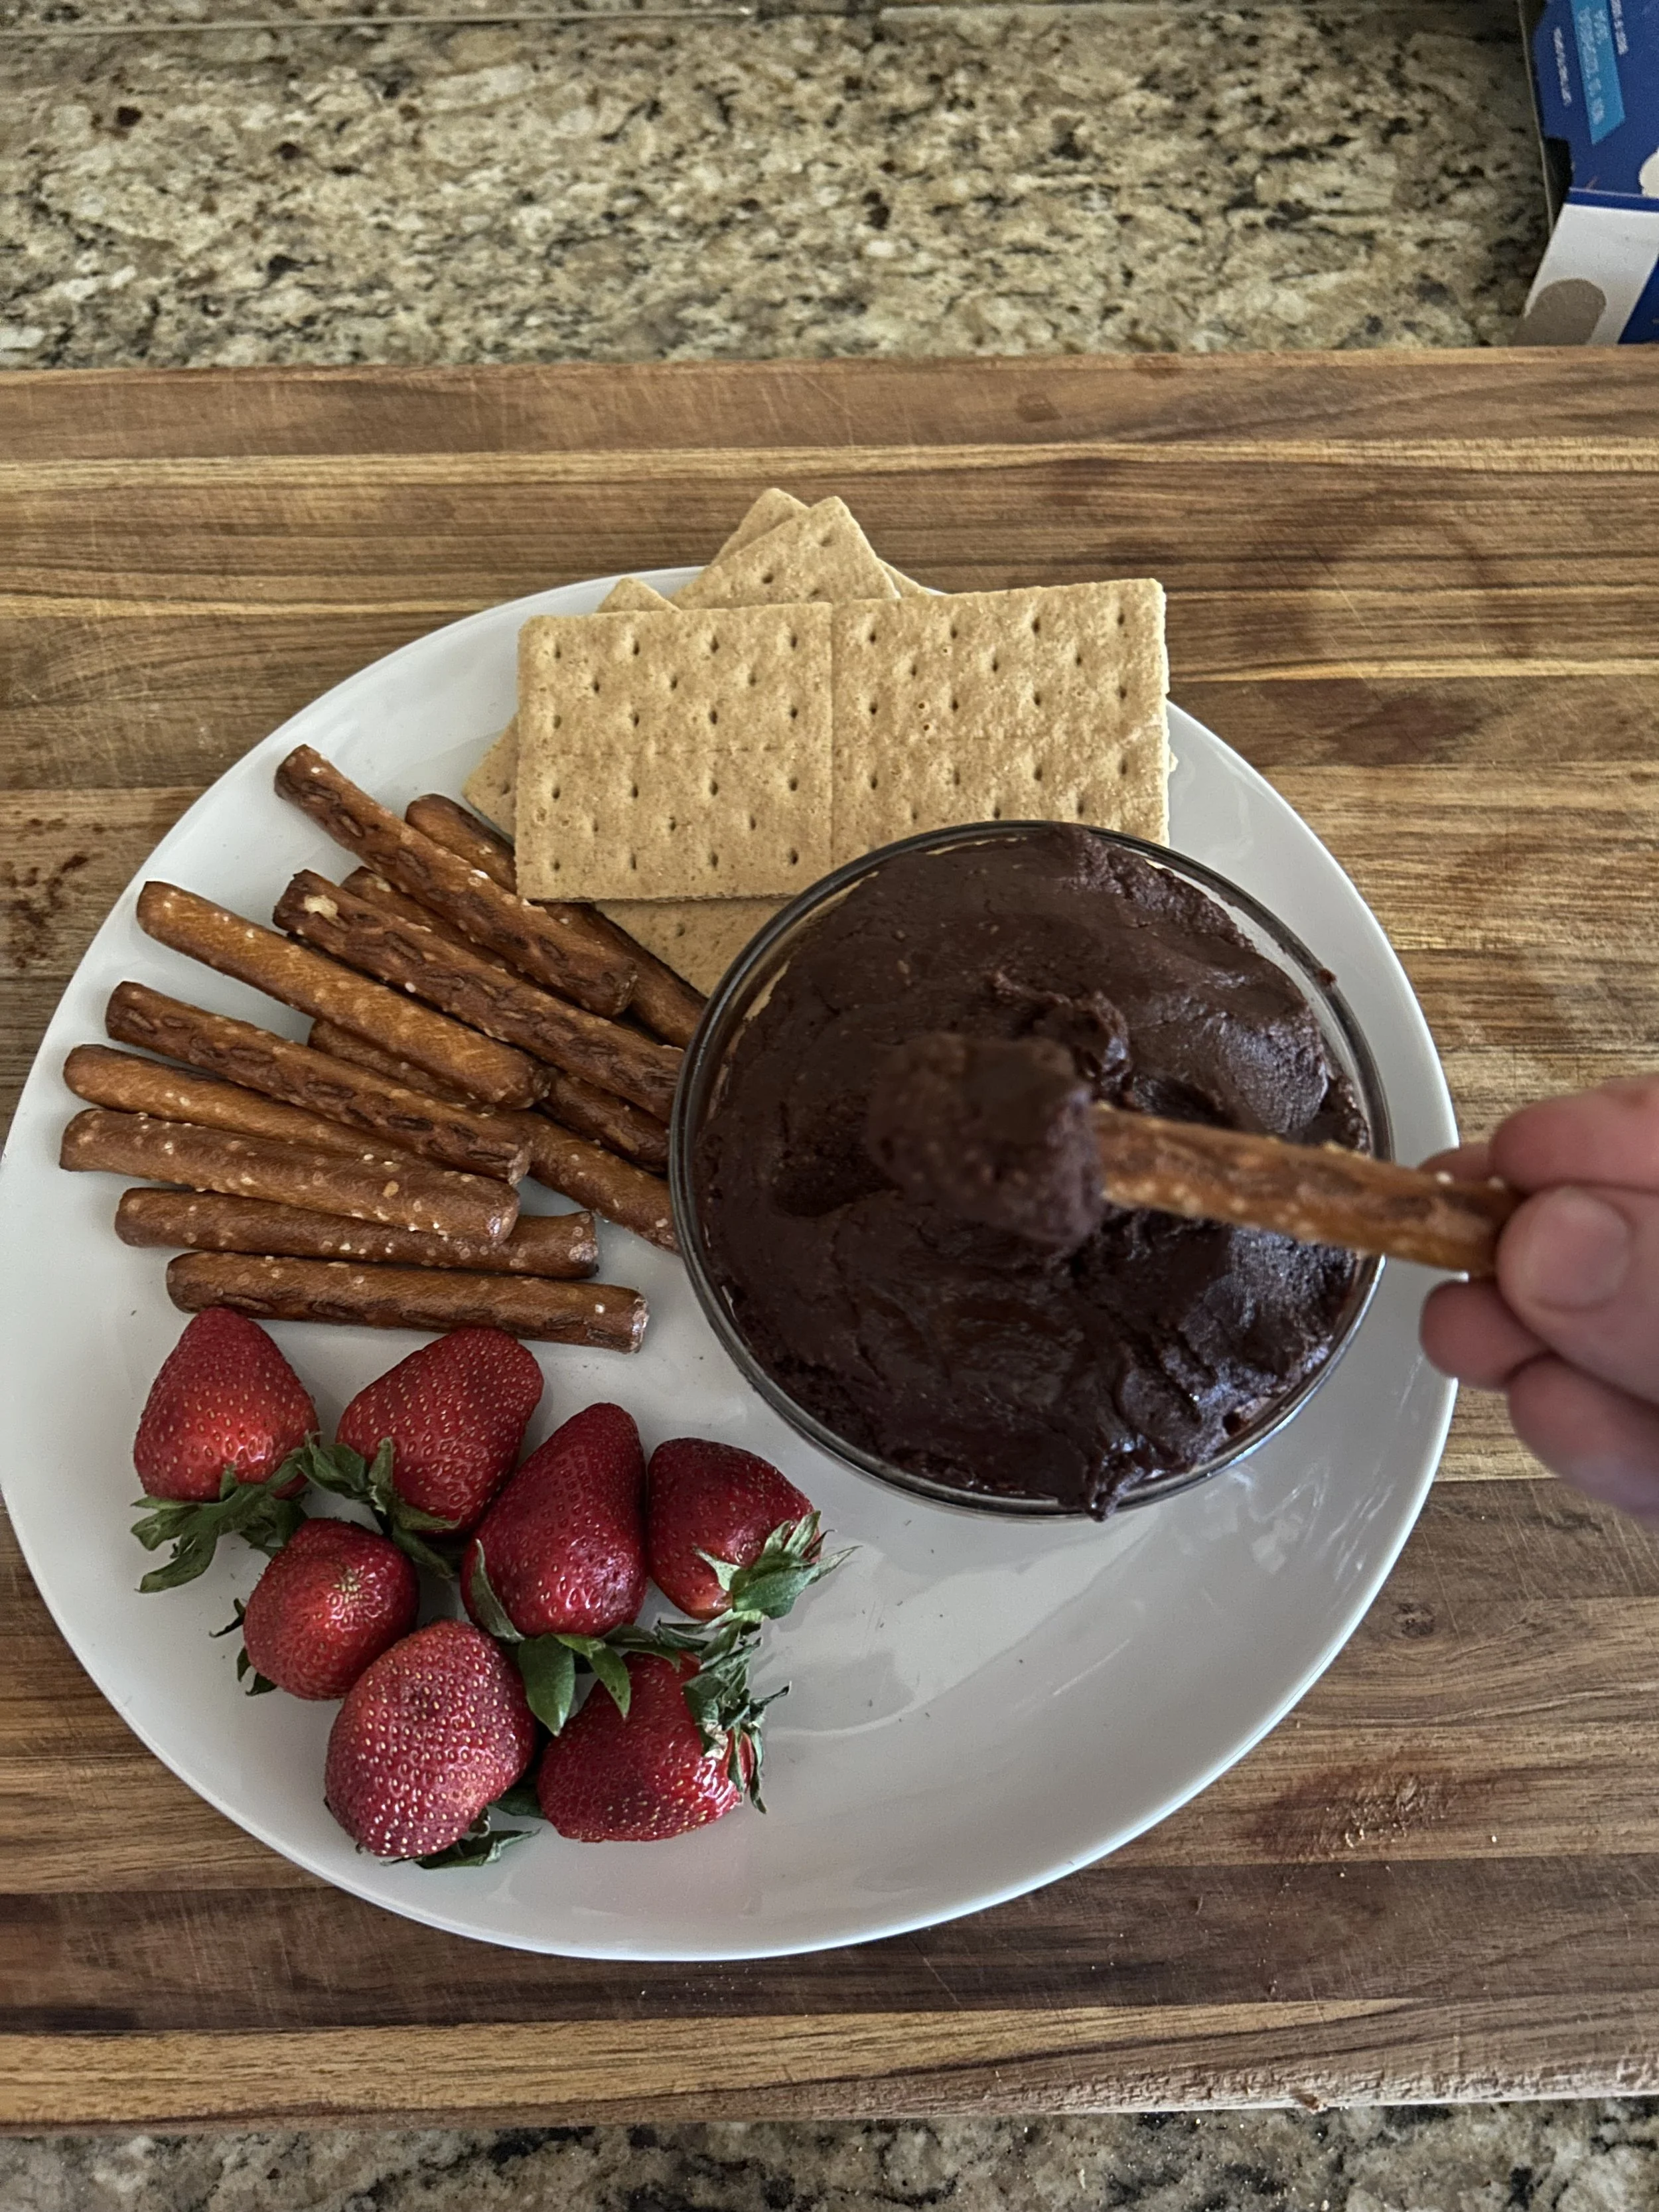
Is it Nutella? Is it hummus? Do I care? No!
What I do care about is that it’s creamy, has lots of chocolate and hazelnut flavor, and the beauty is that the darkness of the cocoa powder masks the flavor of the chickpeas, so your kids will have no clue that’s what they’re eating!
…Unless they have a nut allergy…or end up seeing this article…
Day 3: Matcha
Matcha green tea might be relatively new to American kitchens, but it’s something that I feel like more people should give a try as it helps to boost brain function, increases heart health and includes catechins, which can help prevent cell damage and lower your risk of chronic diseases.
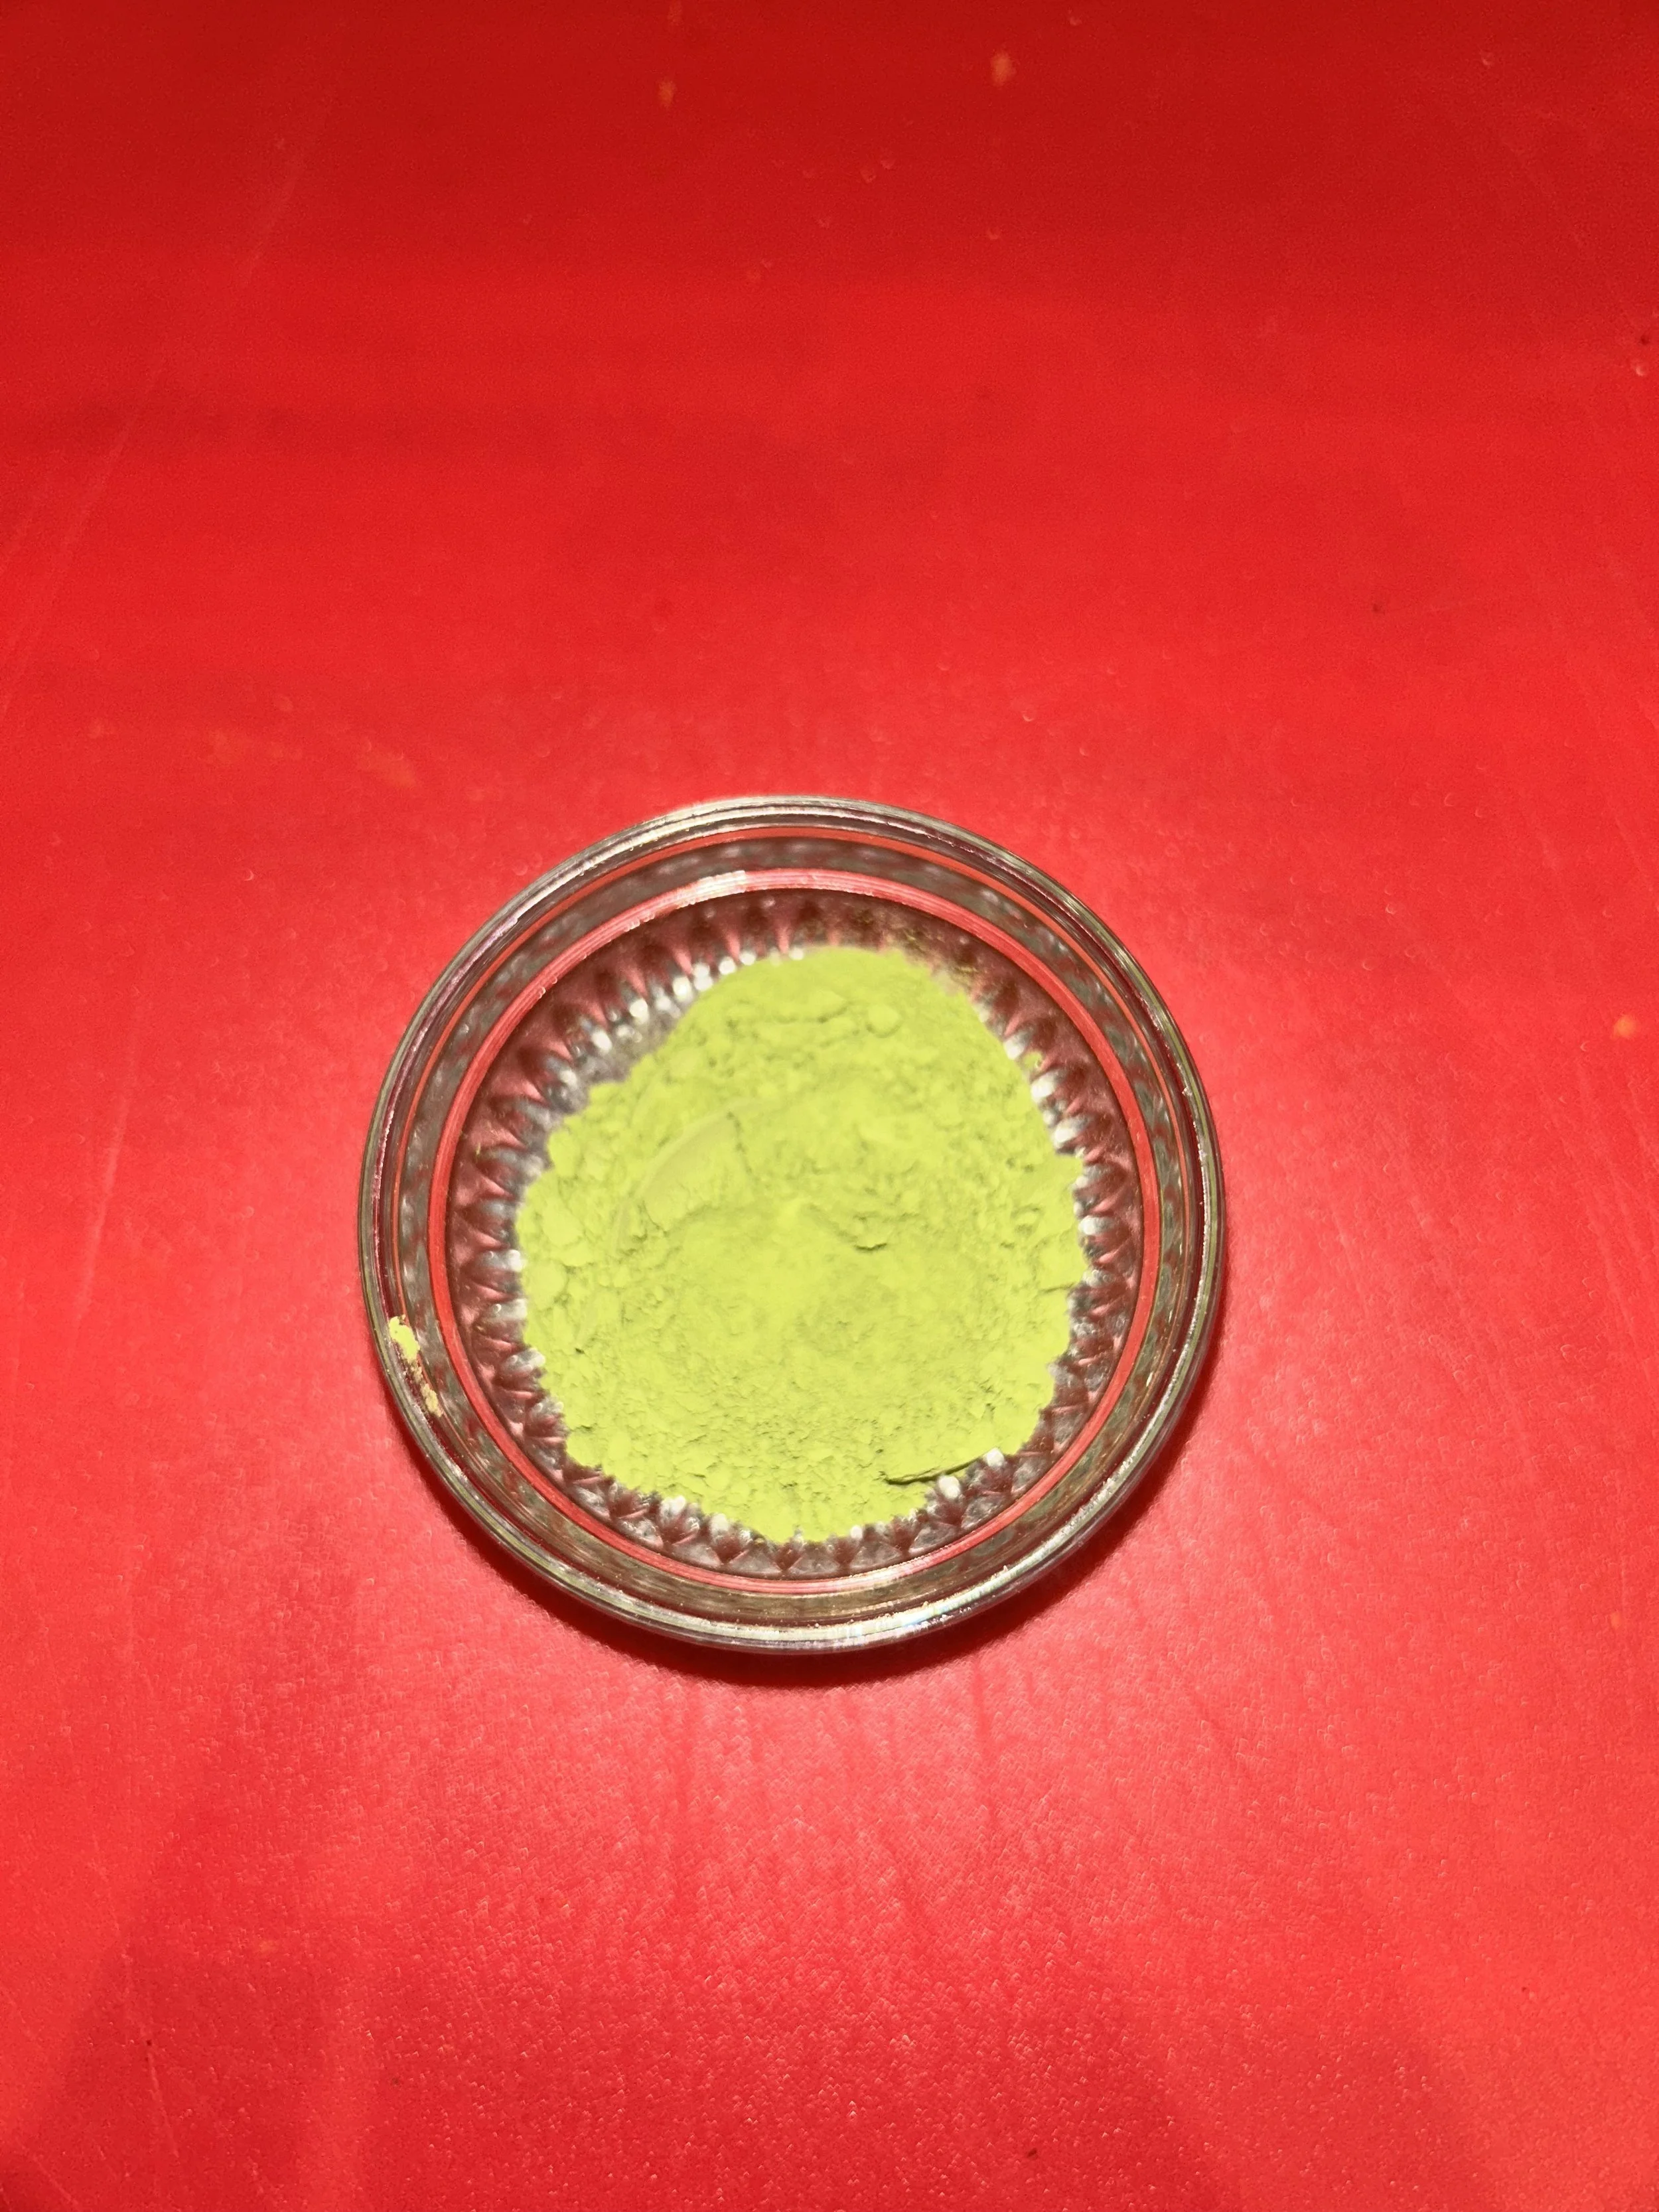
Matcha tea powder has become somewhat popular in baking, but today I will be using it for a slightly unusual snack that you’ll have to trust me on.
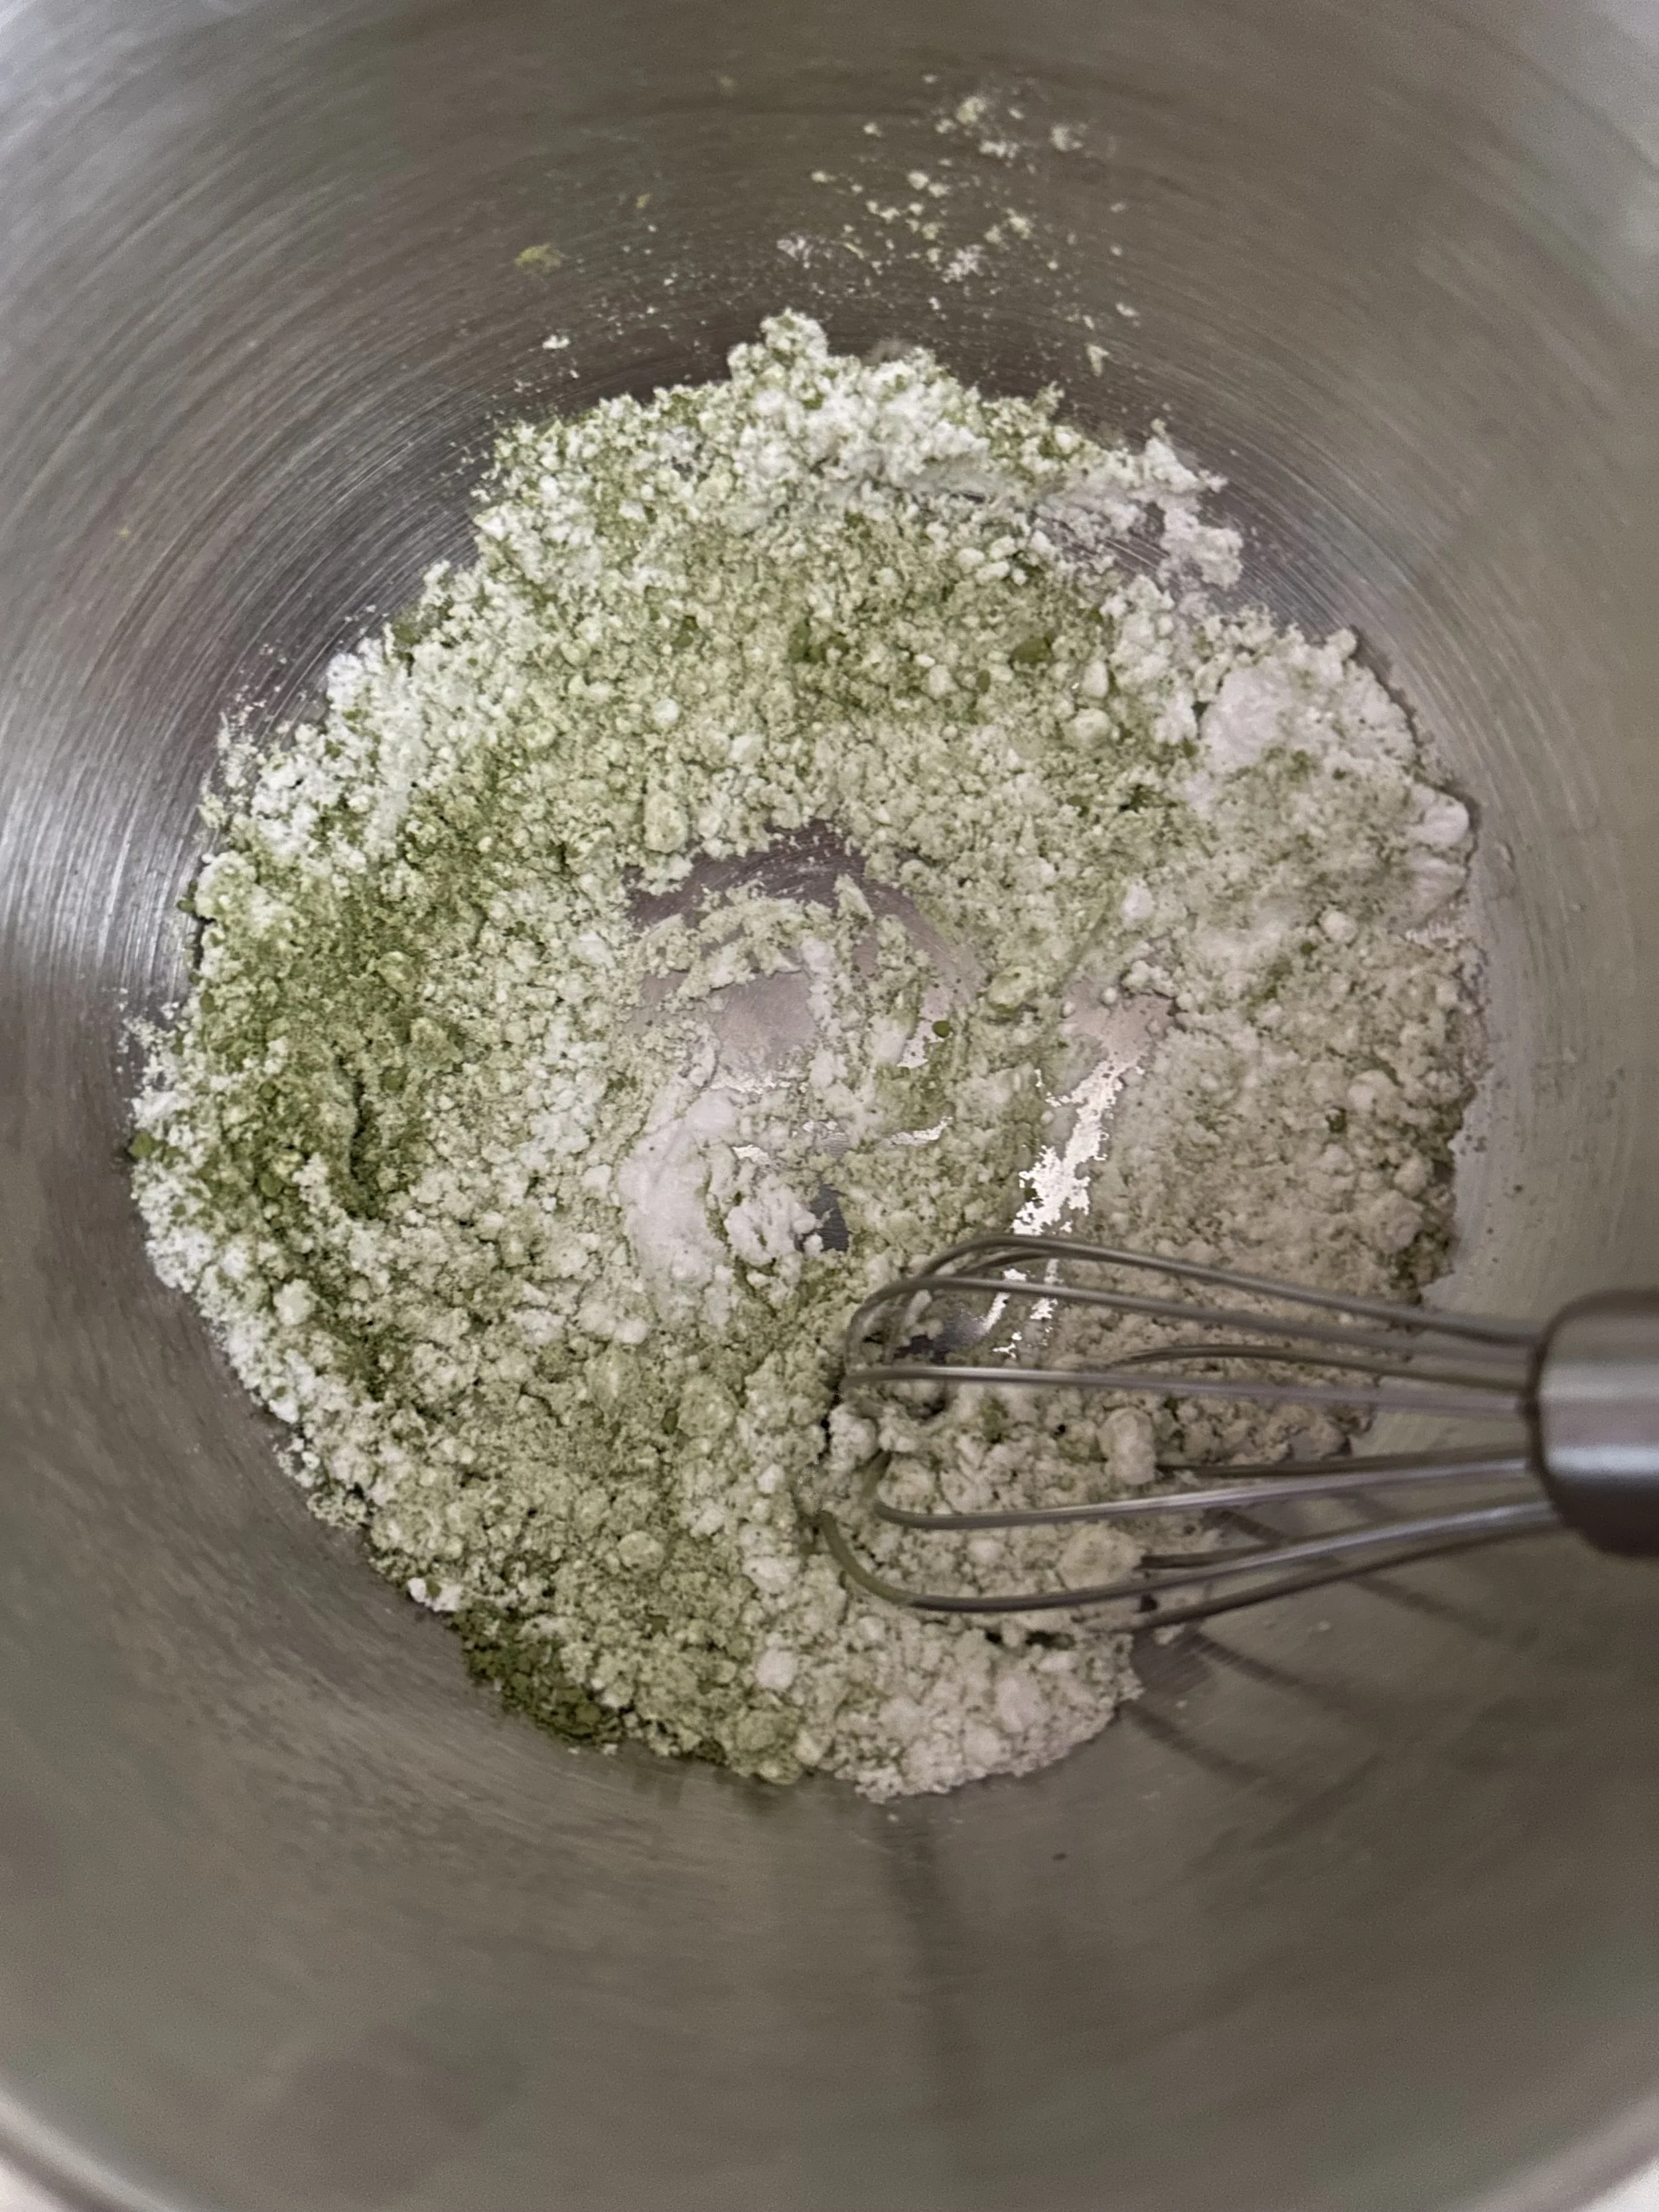
In a large bowl, whisk together 1/3 cup of powdered sugar, with two tablespoons of matcha powder and one teaspoon of salt. Set that aside.
Actually, I did say sugar, but I do use Stevia powdered sugar as it’s healthier.

In a small pot, heat 1/4 cup of vegetable oil with three popcorn kernels until those kernels pop.
I prefer to use kernels like this versus those microwavable popcorn bags, because have you ever cut into one of those?
Add another 1/2 cup of popcorn kernels, immediately cover, and cook, shaking occasionally, until all the kernels have popped. (It helps if you have pots with a clear glass lids)
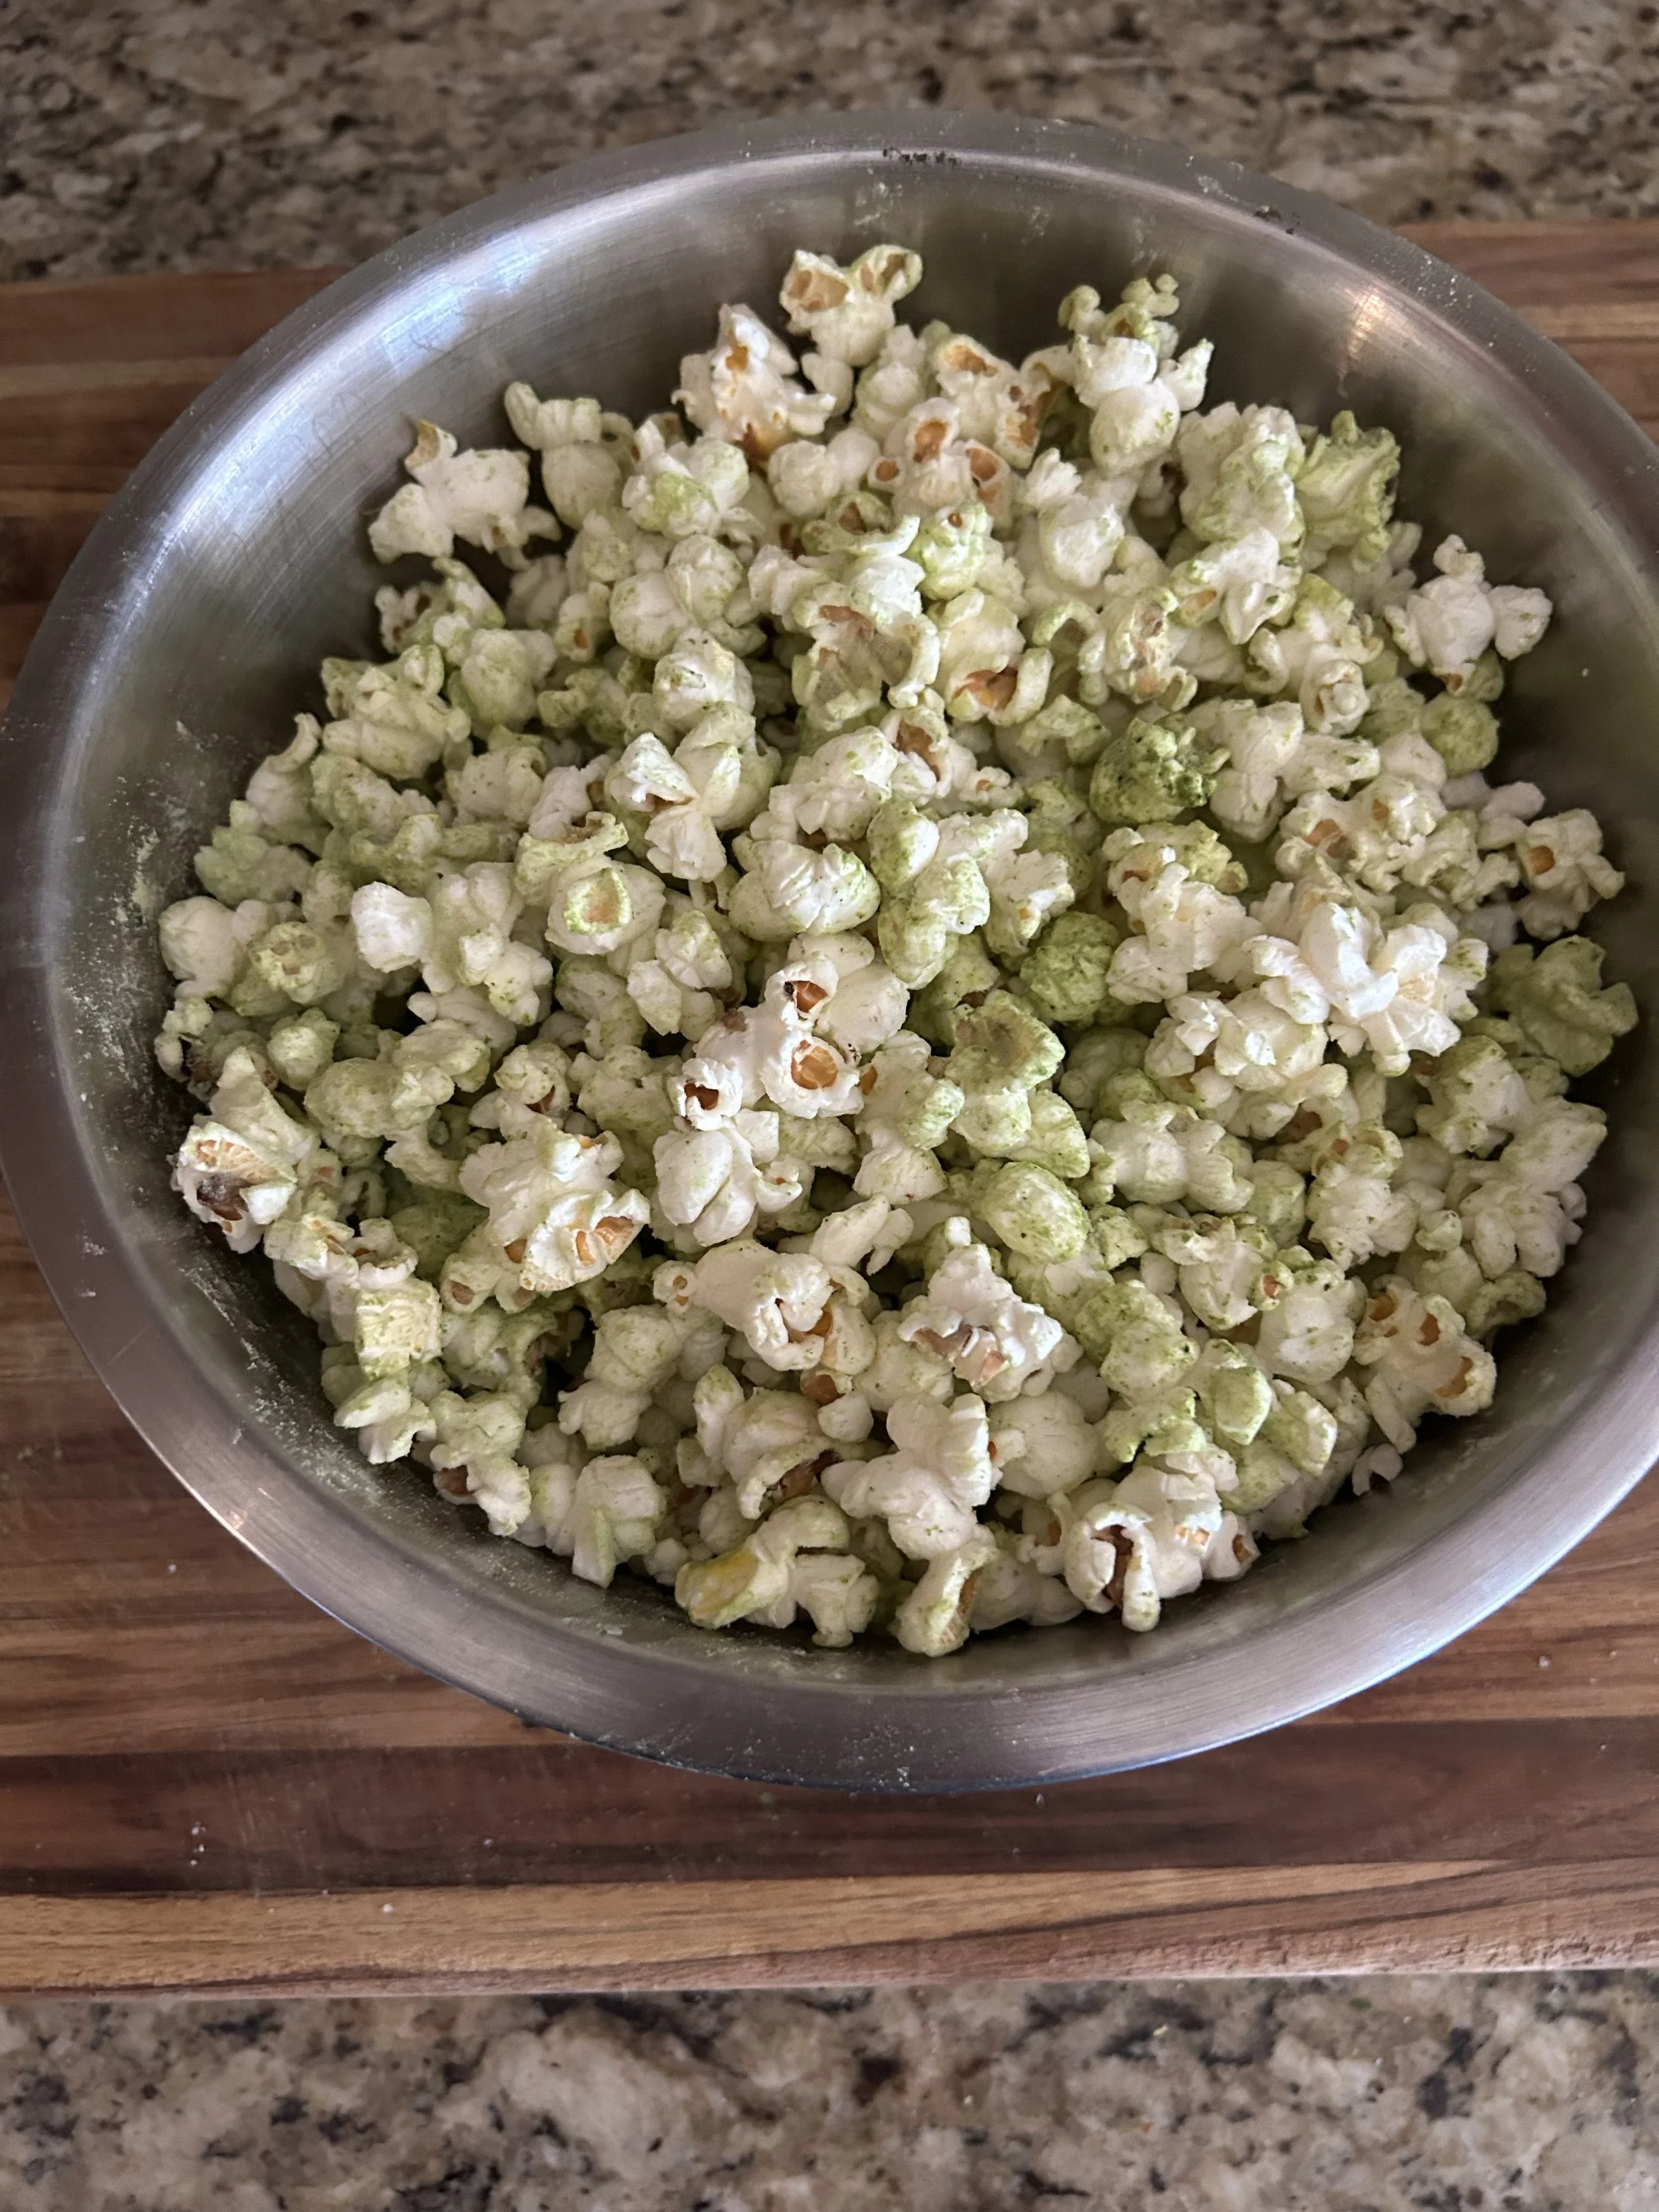
Once the popcorn is popped, dump it into the powdered sugar-matcha mixture, toss to coat, and serve.
What you have is a unique matcha popcorn that is the perfect marriage of sweet and savory. Yes, the sugar is there, but powdered sugar substitutes do exist, although it’s ok to give yourself a little treat now and then, especially one loaded with heart-healthy matcha and fiber-loaded popcorn.
And it’s a great way to spice up your next movie night.
Day 4: Mushrooms
I used to not like mushrooms that much, I couldn’t quite get over the texture, but now mushrooms and I are on good terms, which is great because they have lots of Vitamin D, promote lower cholesterol, and support a healthy immune system.
Mushrooms are often tossed in as an addition to things like chicken marsala or beef stroganoff, but today I’m going to show you that mushrooms are great on their own! Especially when roasted and tossed in a smoky garlic butter.

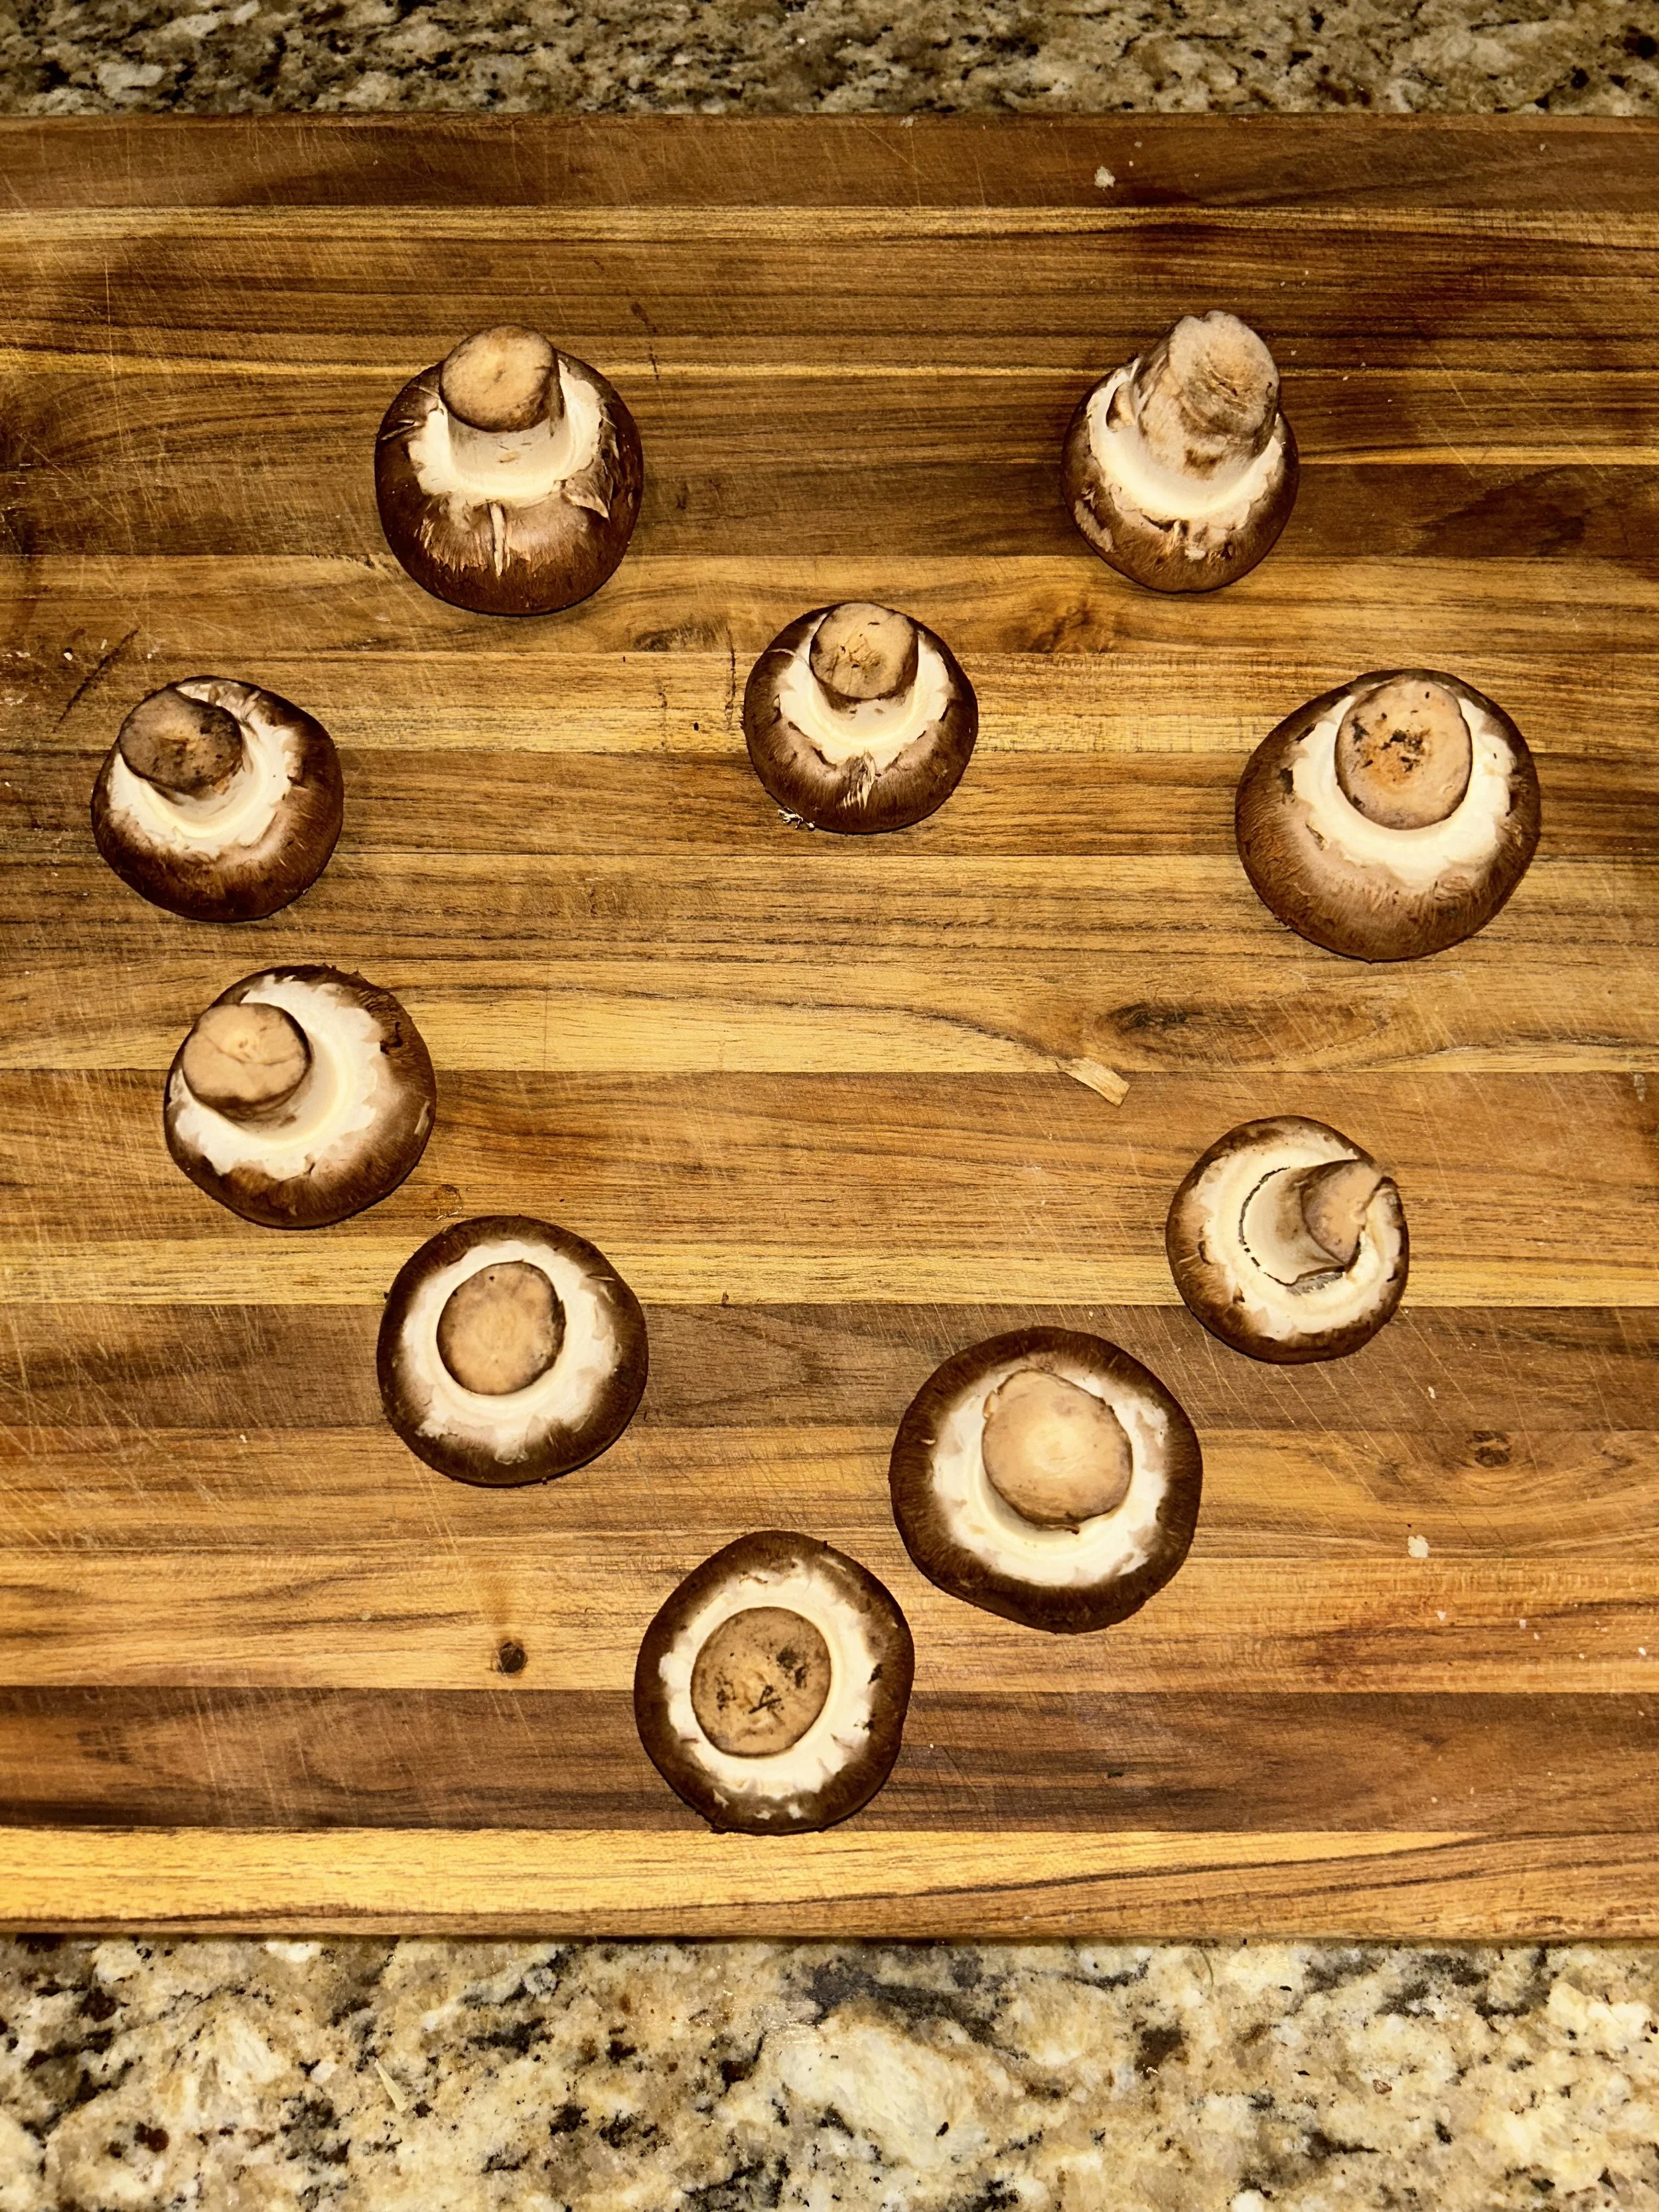
On a baking sheet, lay on 2 pounds of whole mushrooms.
I used cremini/baby bellas, but other mushrooms like white buttons, shitake, or a mix will work great too. You’ll want to toss those mushrooms in a bit of olive oil, salt, and pepper to fully coat.
Place the mushrooms into a 425-degree oven and roast for about 30-35 minutes, or until soft and browned.
Fun fact, it is nearly impossible to overcook mushrooms. The cell walls of mushrooms are coated in chitin, which is very heat resistant and makes it so that the mushrooms retain their texture, even after a long cooking period.
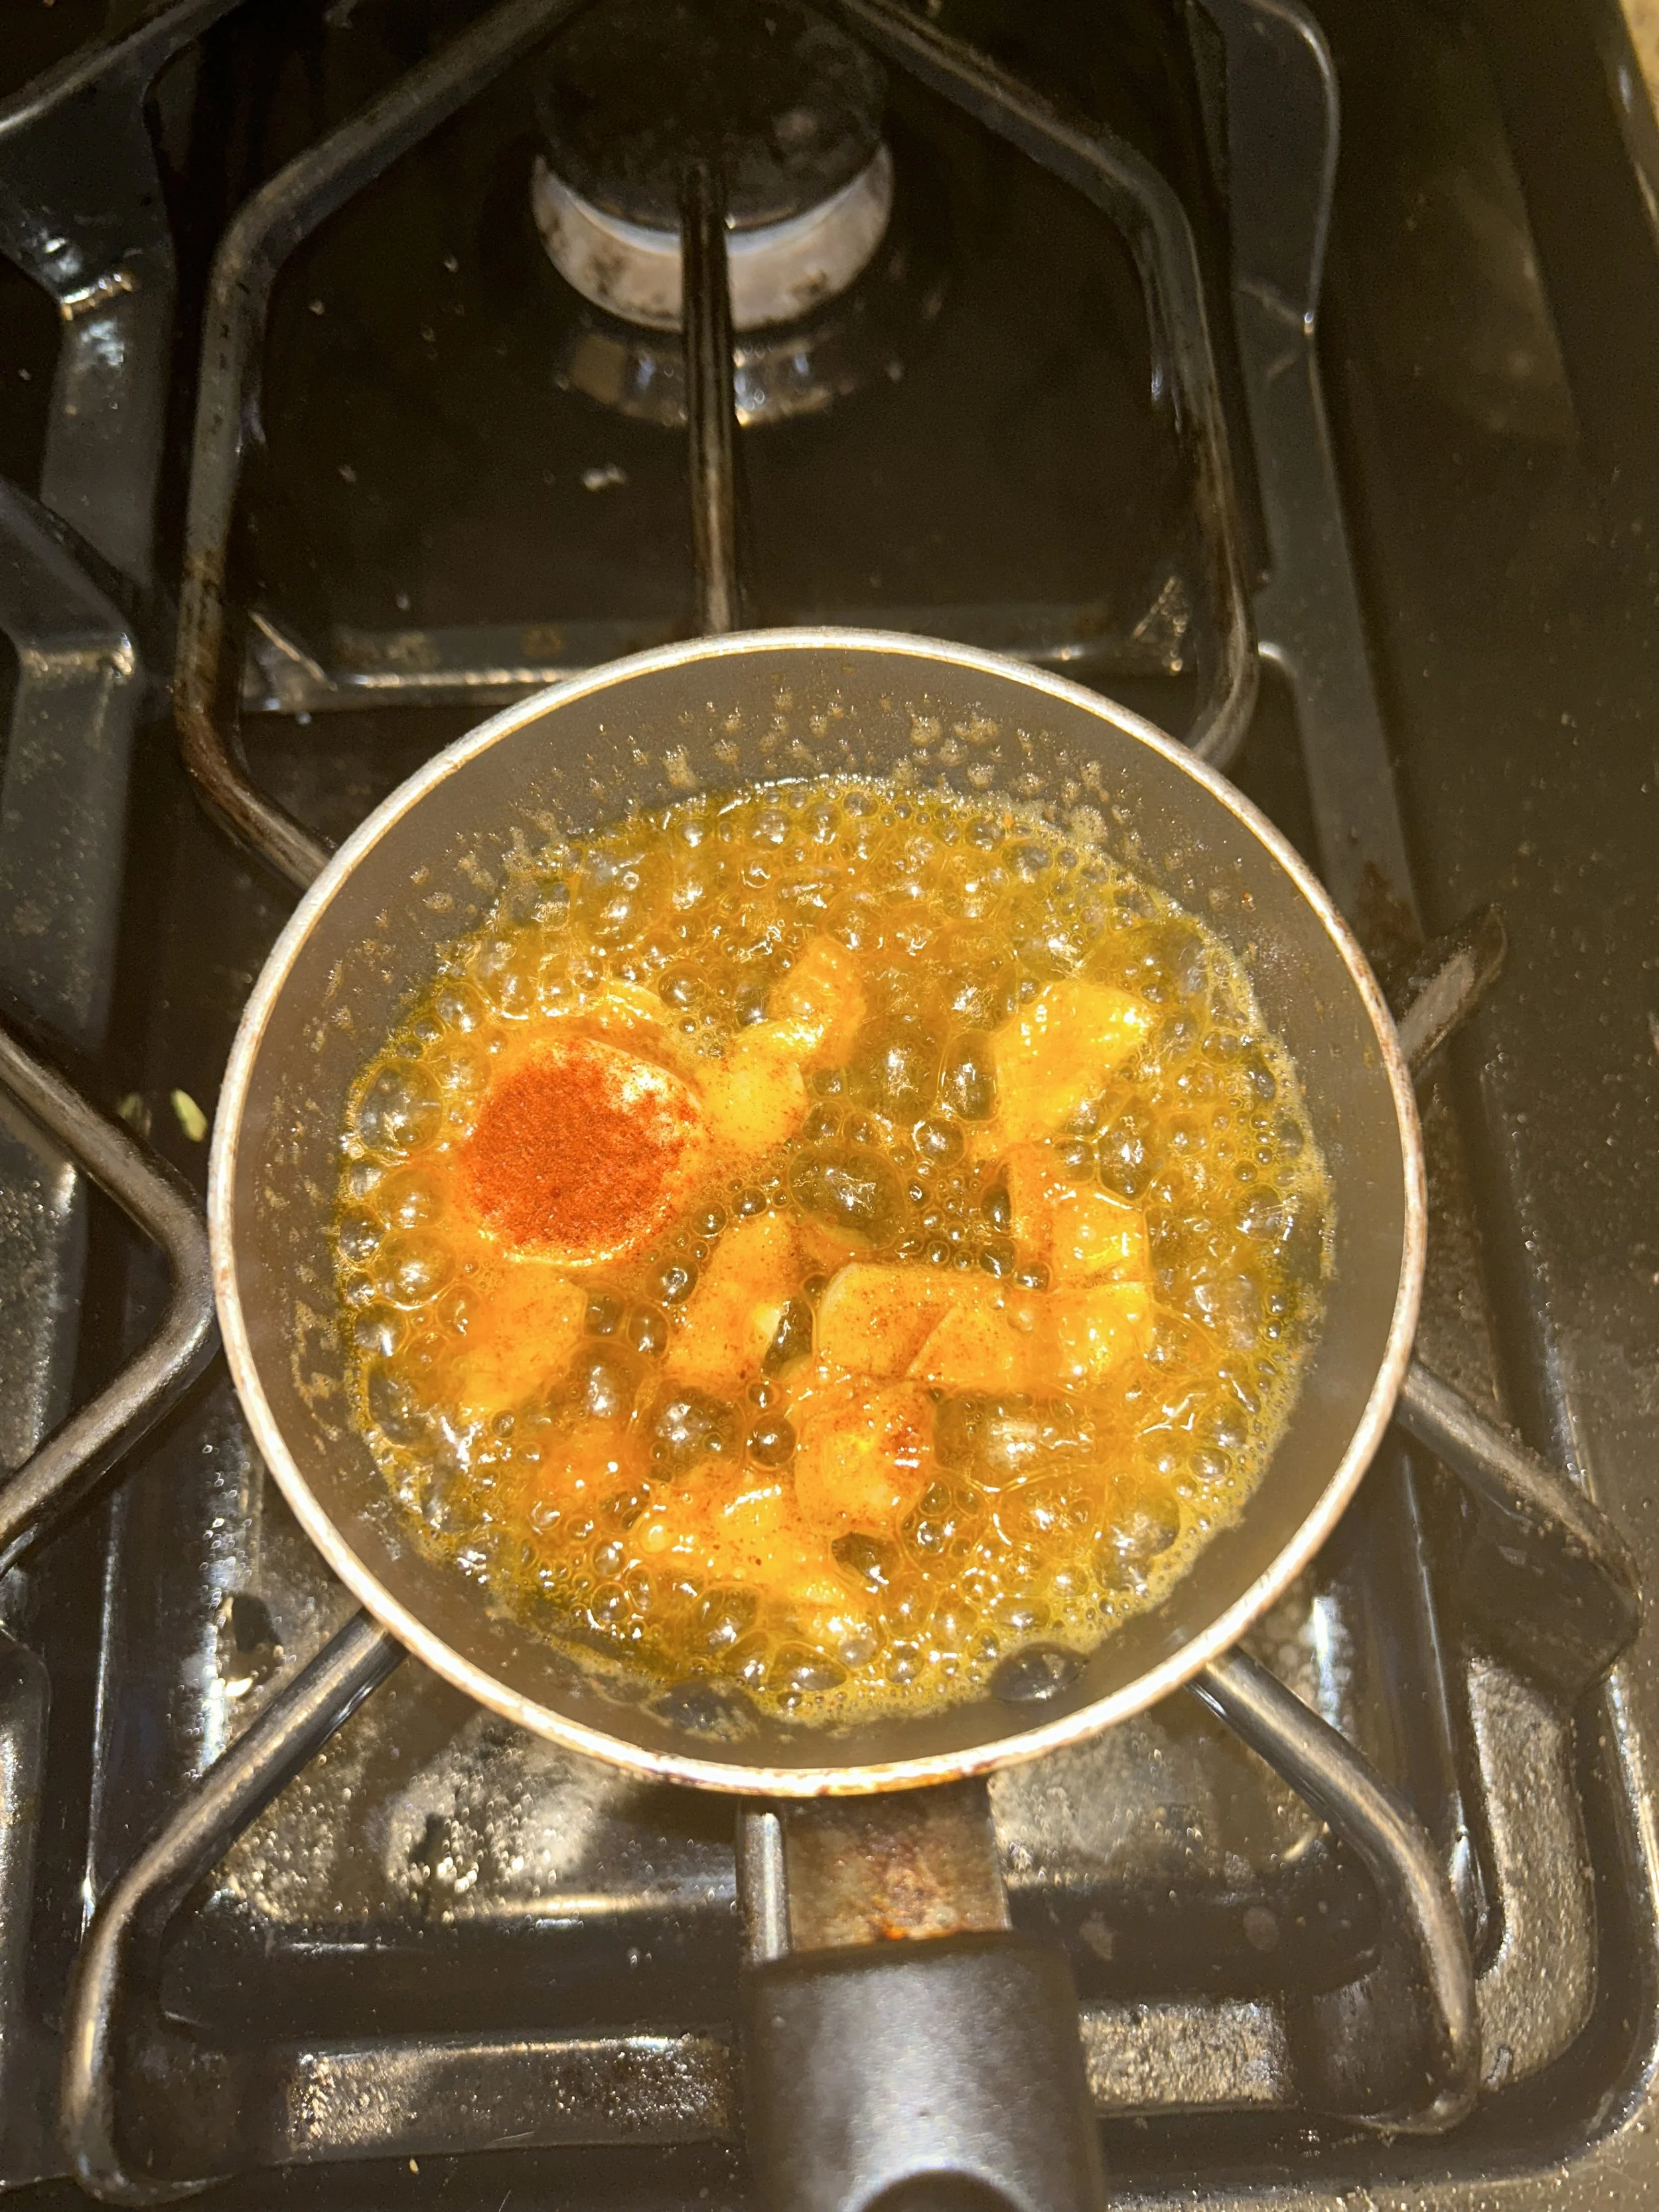
When the mushrooms are close to being done, melt 4 tablespoons of butter in a small saucepan, then add 3 thinly sliced garlic cloves and 1/2 teaspoon of smoked paprika. Cook until fragrant.
I ended up browning my garlic and butter, and that ended up tasting great!
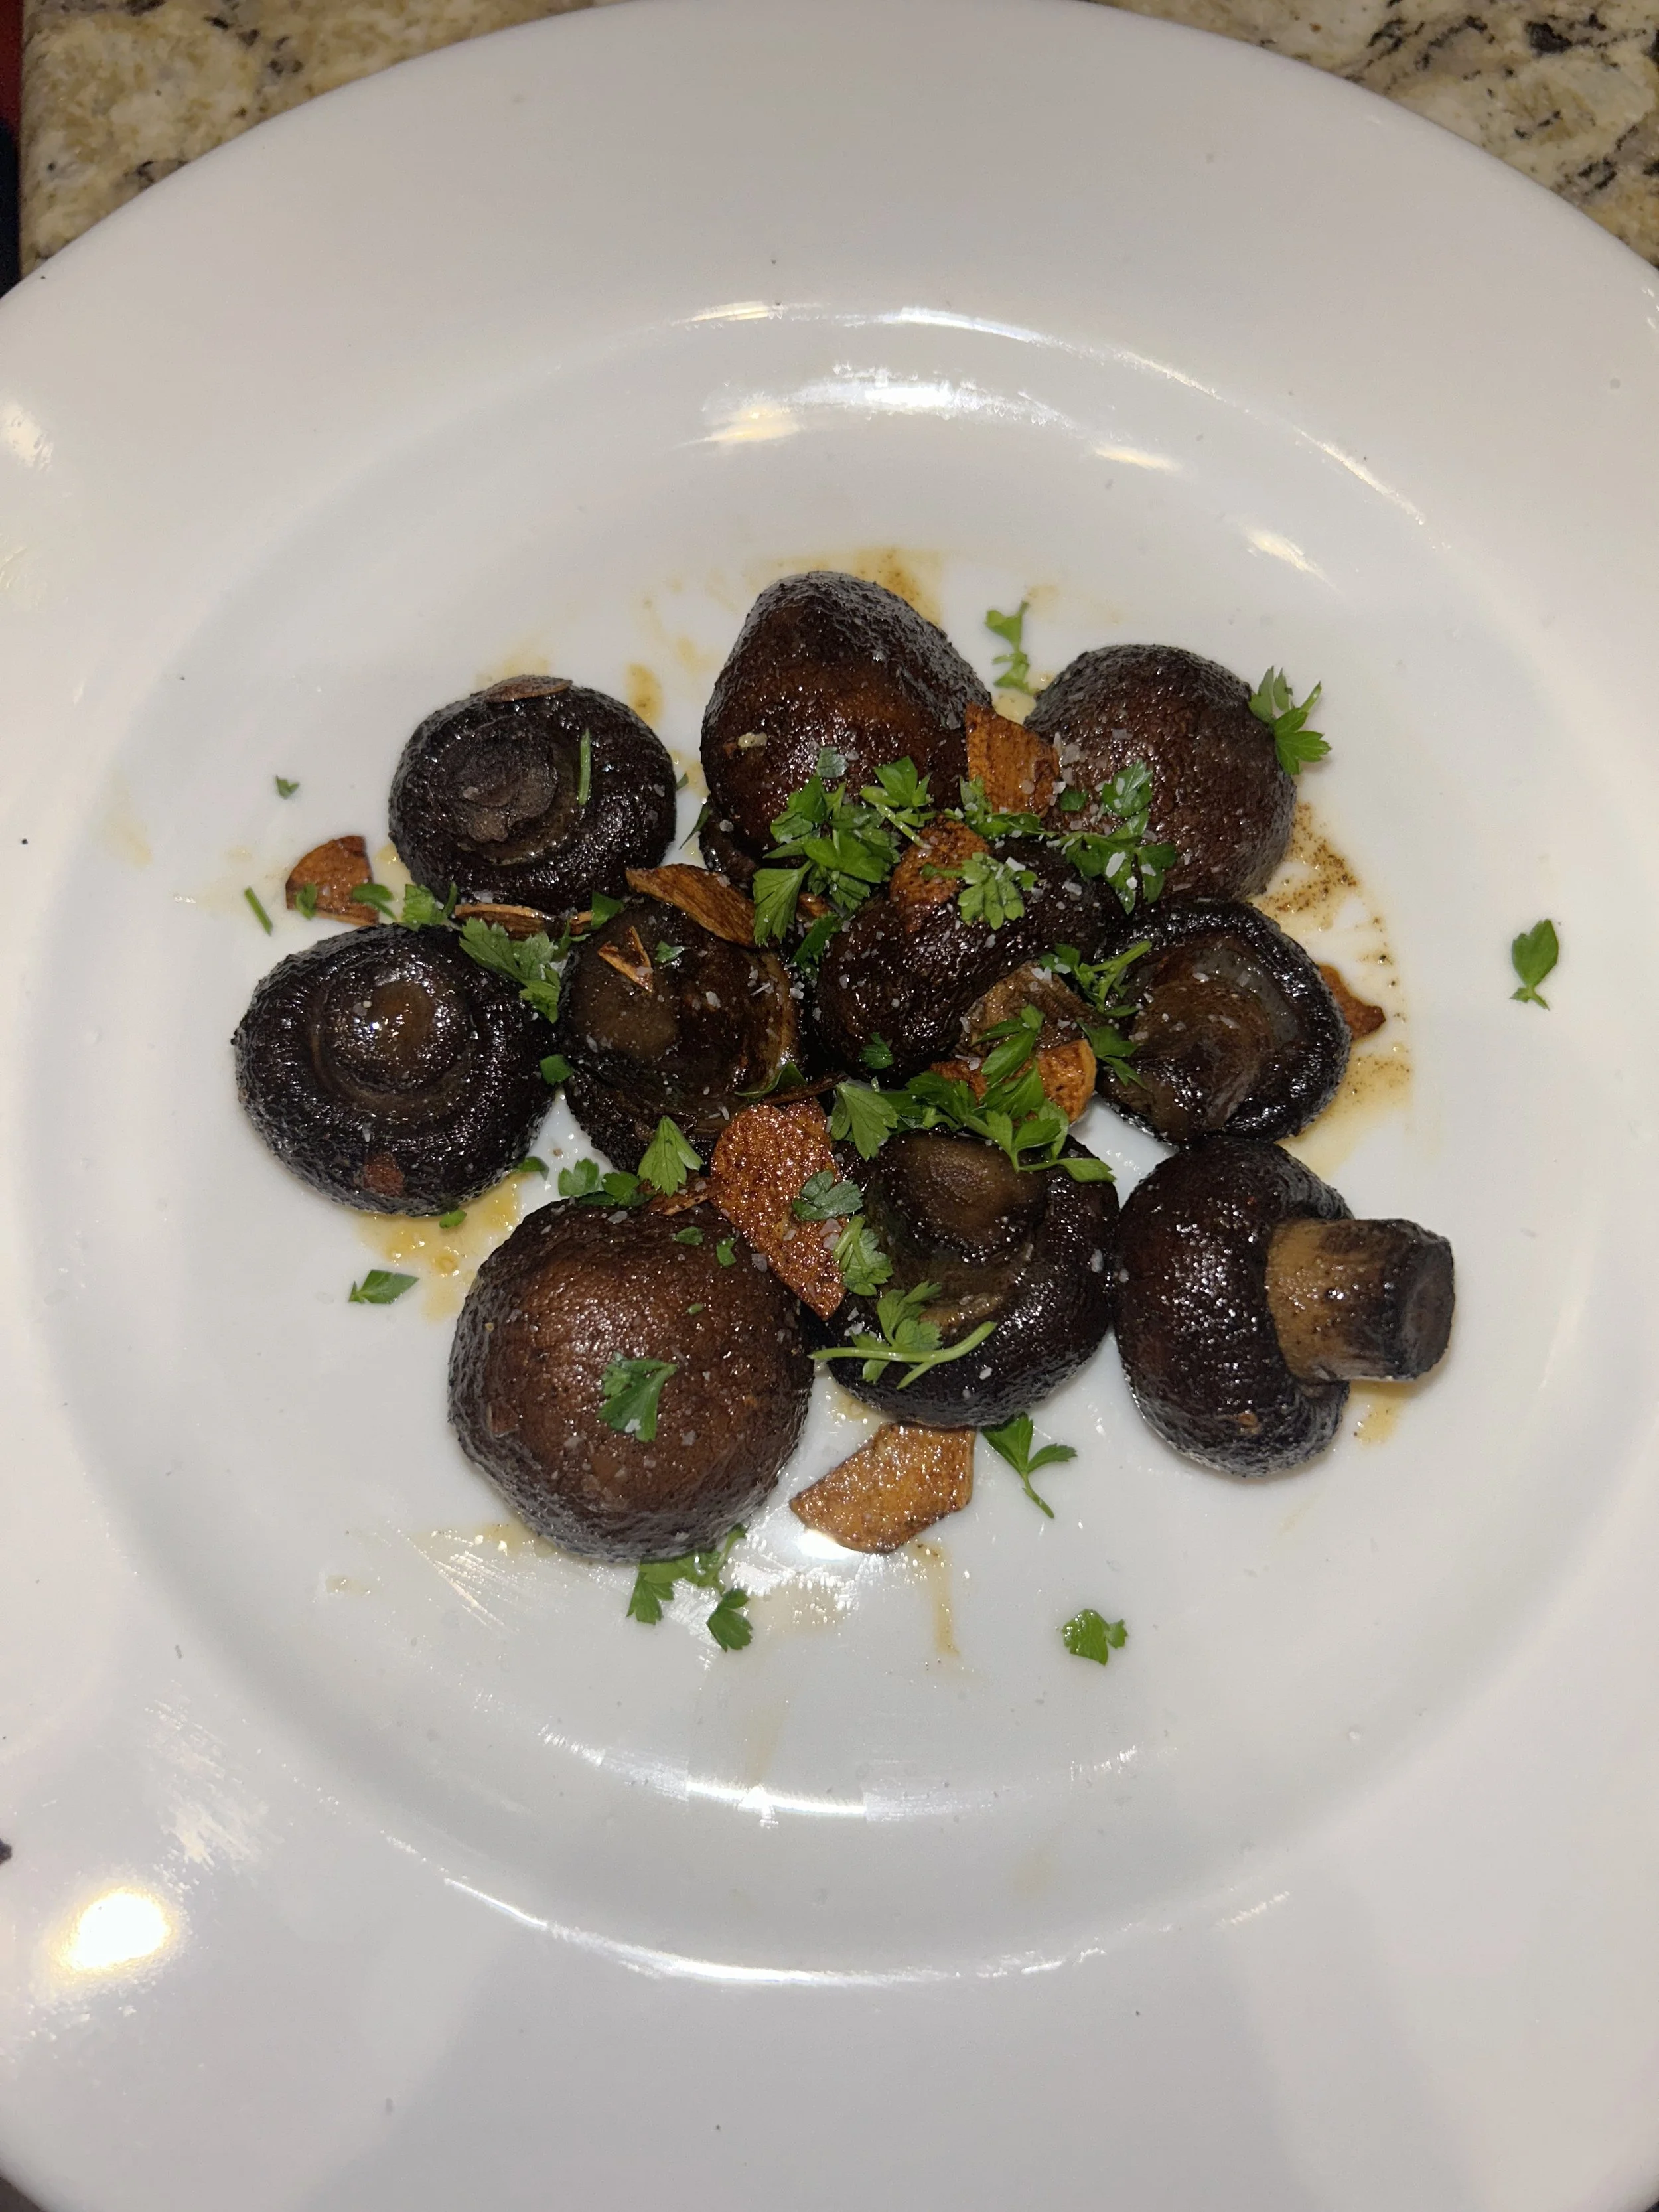
Once the mushrooms are done, toss them in the smoky garlic butter, top with chopped parsley and salt, and serve.
What you will find is that the smoky, garlicky butter lifts the subtle earthy flavor of the mushrooms, and is a great side dish for a steak, chicken, or fish, or even to serve on its own!
Plus, the crispy garlic chips added a nice texture.
Day 5: Avocados
The list of benefits of eating avocados can go on and on. They have lots of healthy unsaturated fats, which help your body digest your vitamins, and have more potassium than bananas!
There are lots of ways to do avocados, not just guacamole, but I’m going to blend them up and place them in some cucumber cups for a quick party snack.
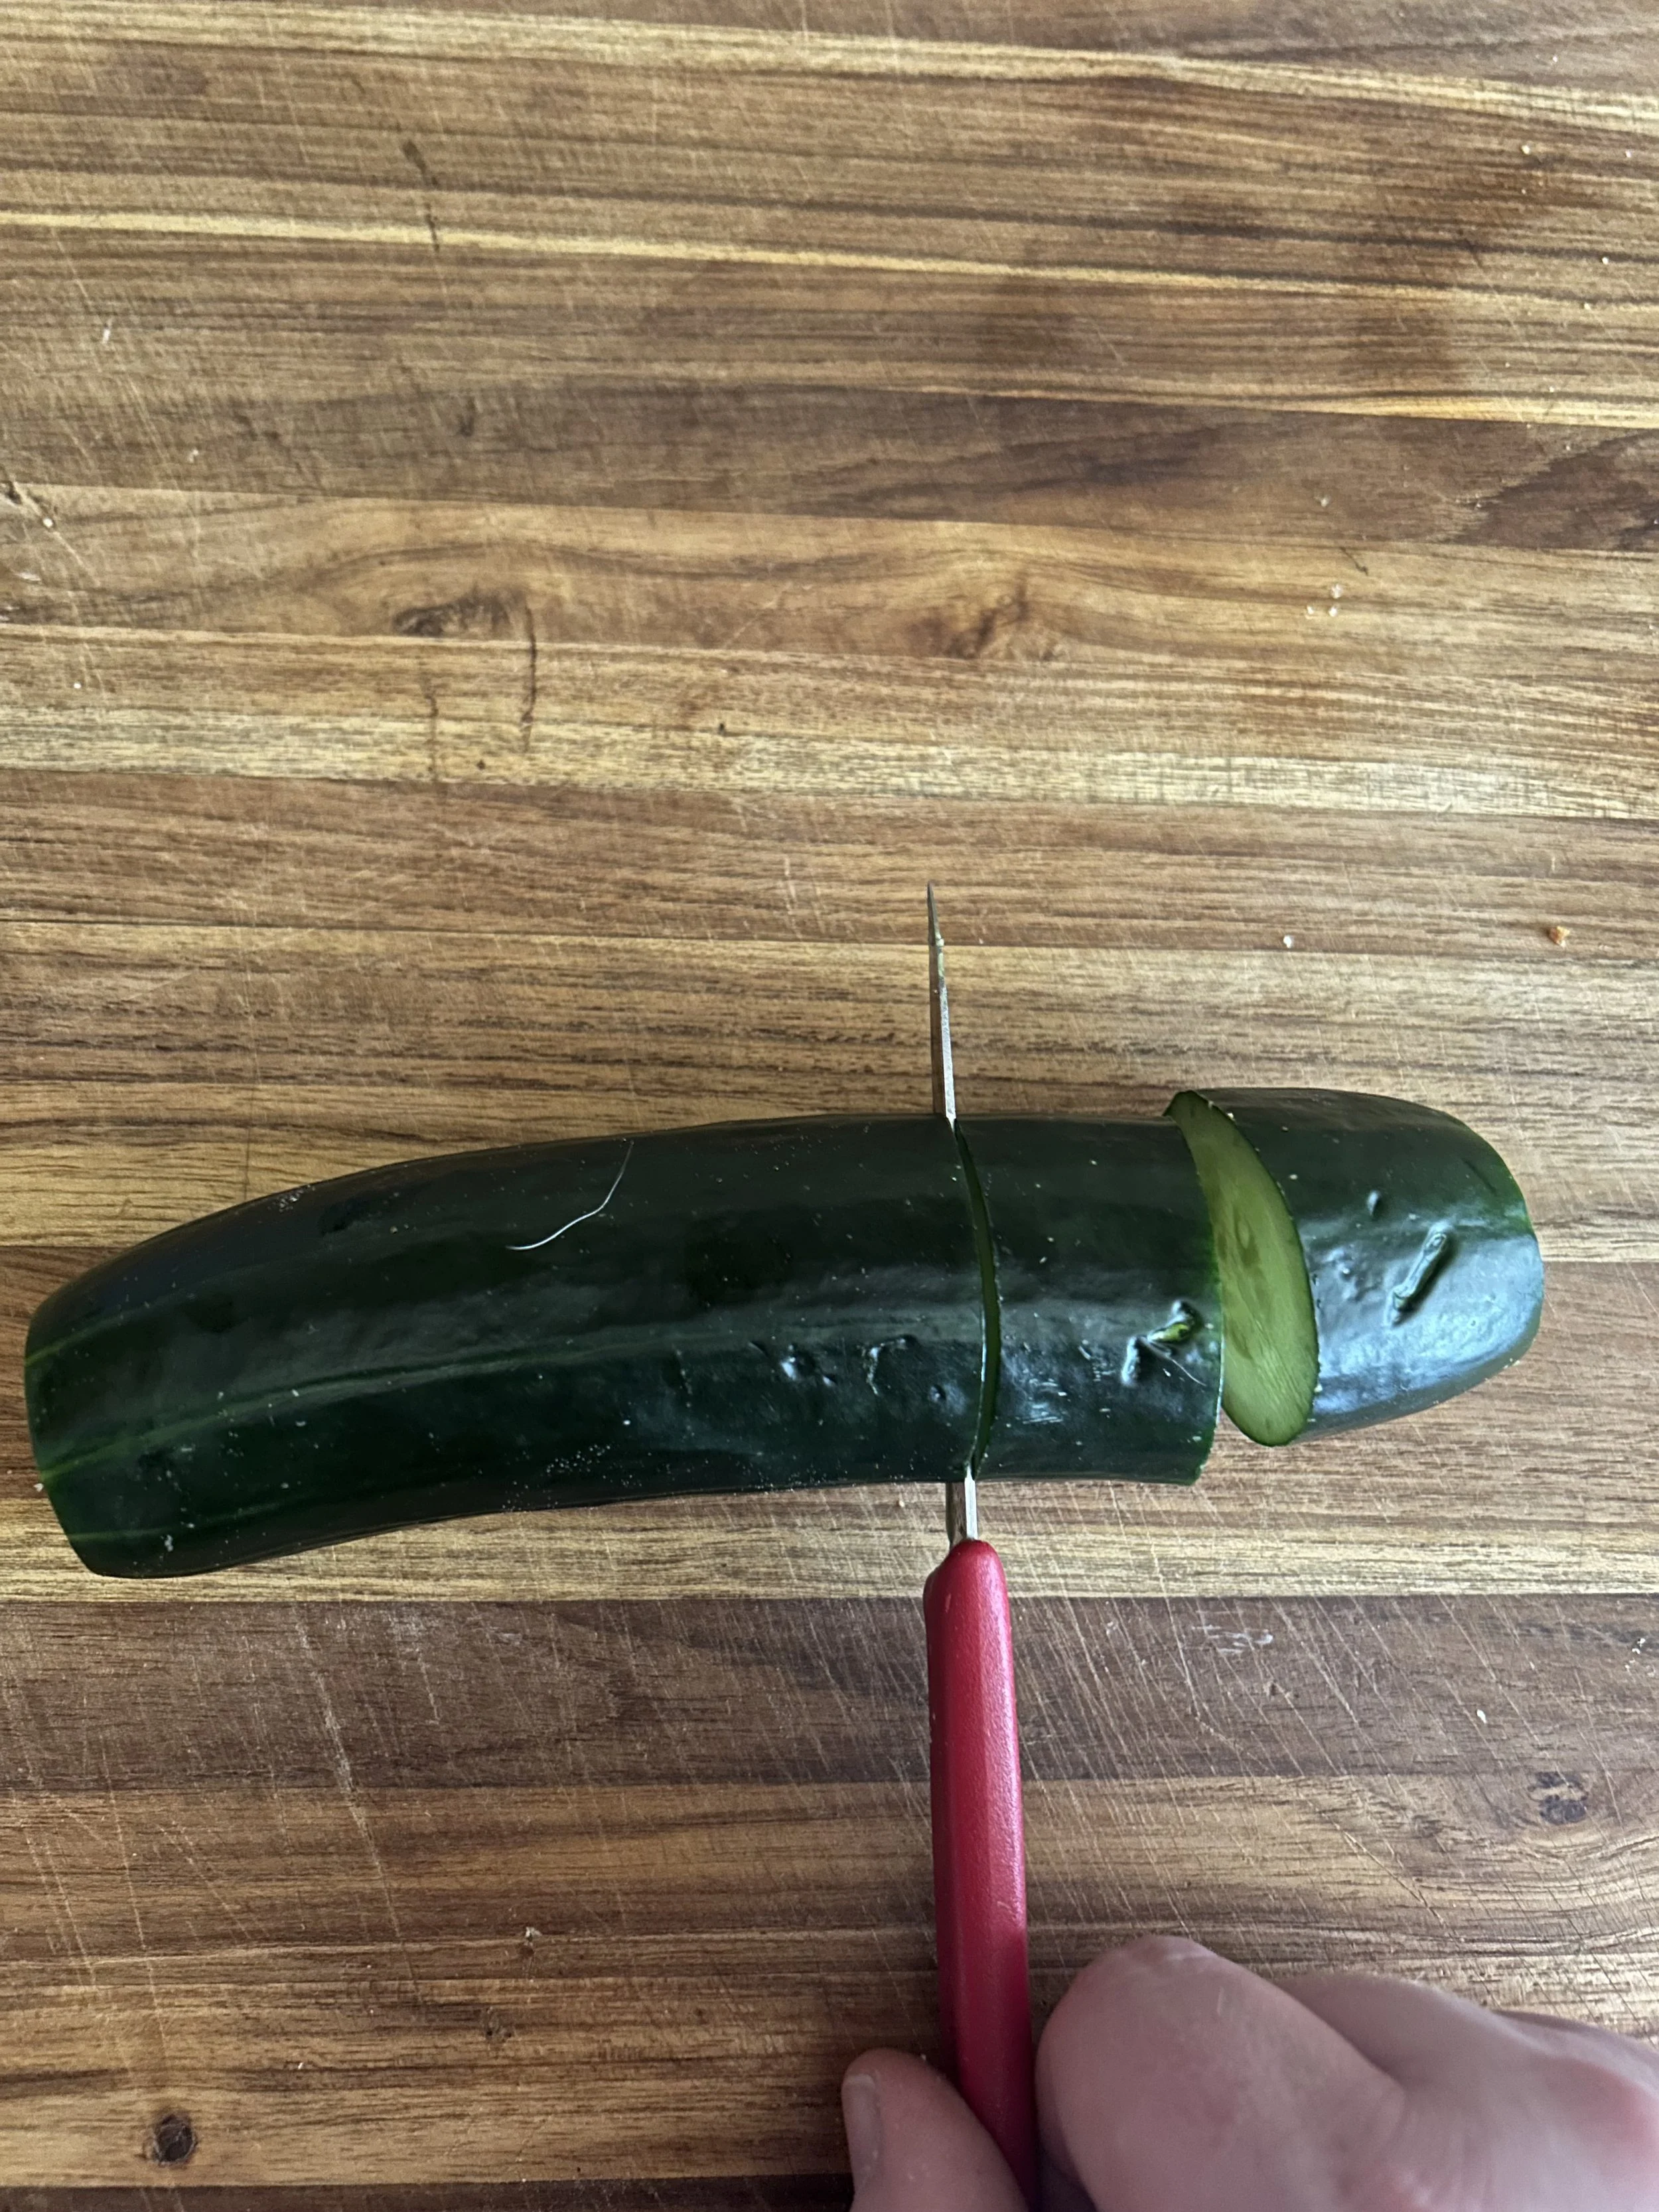
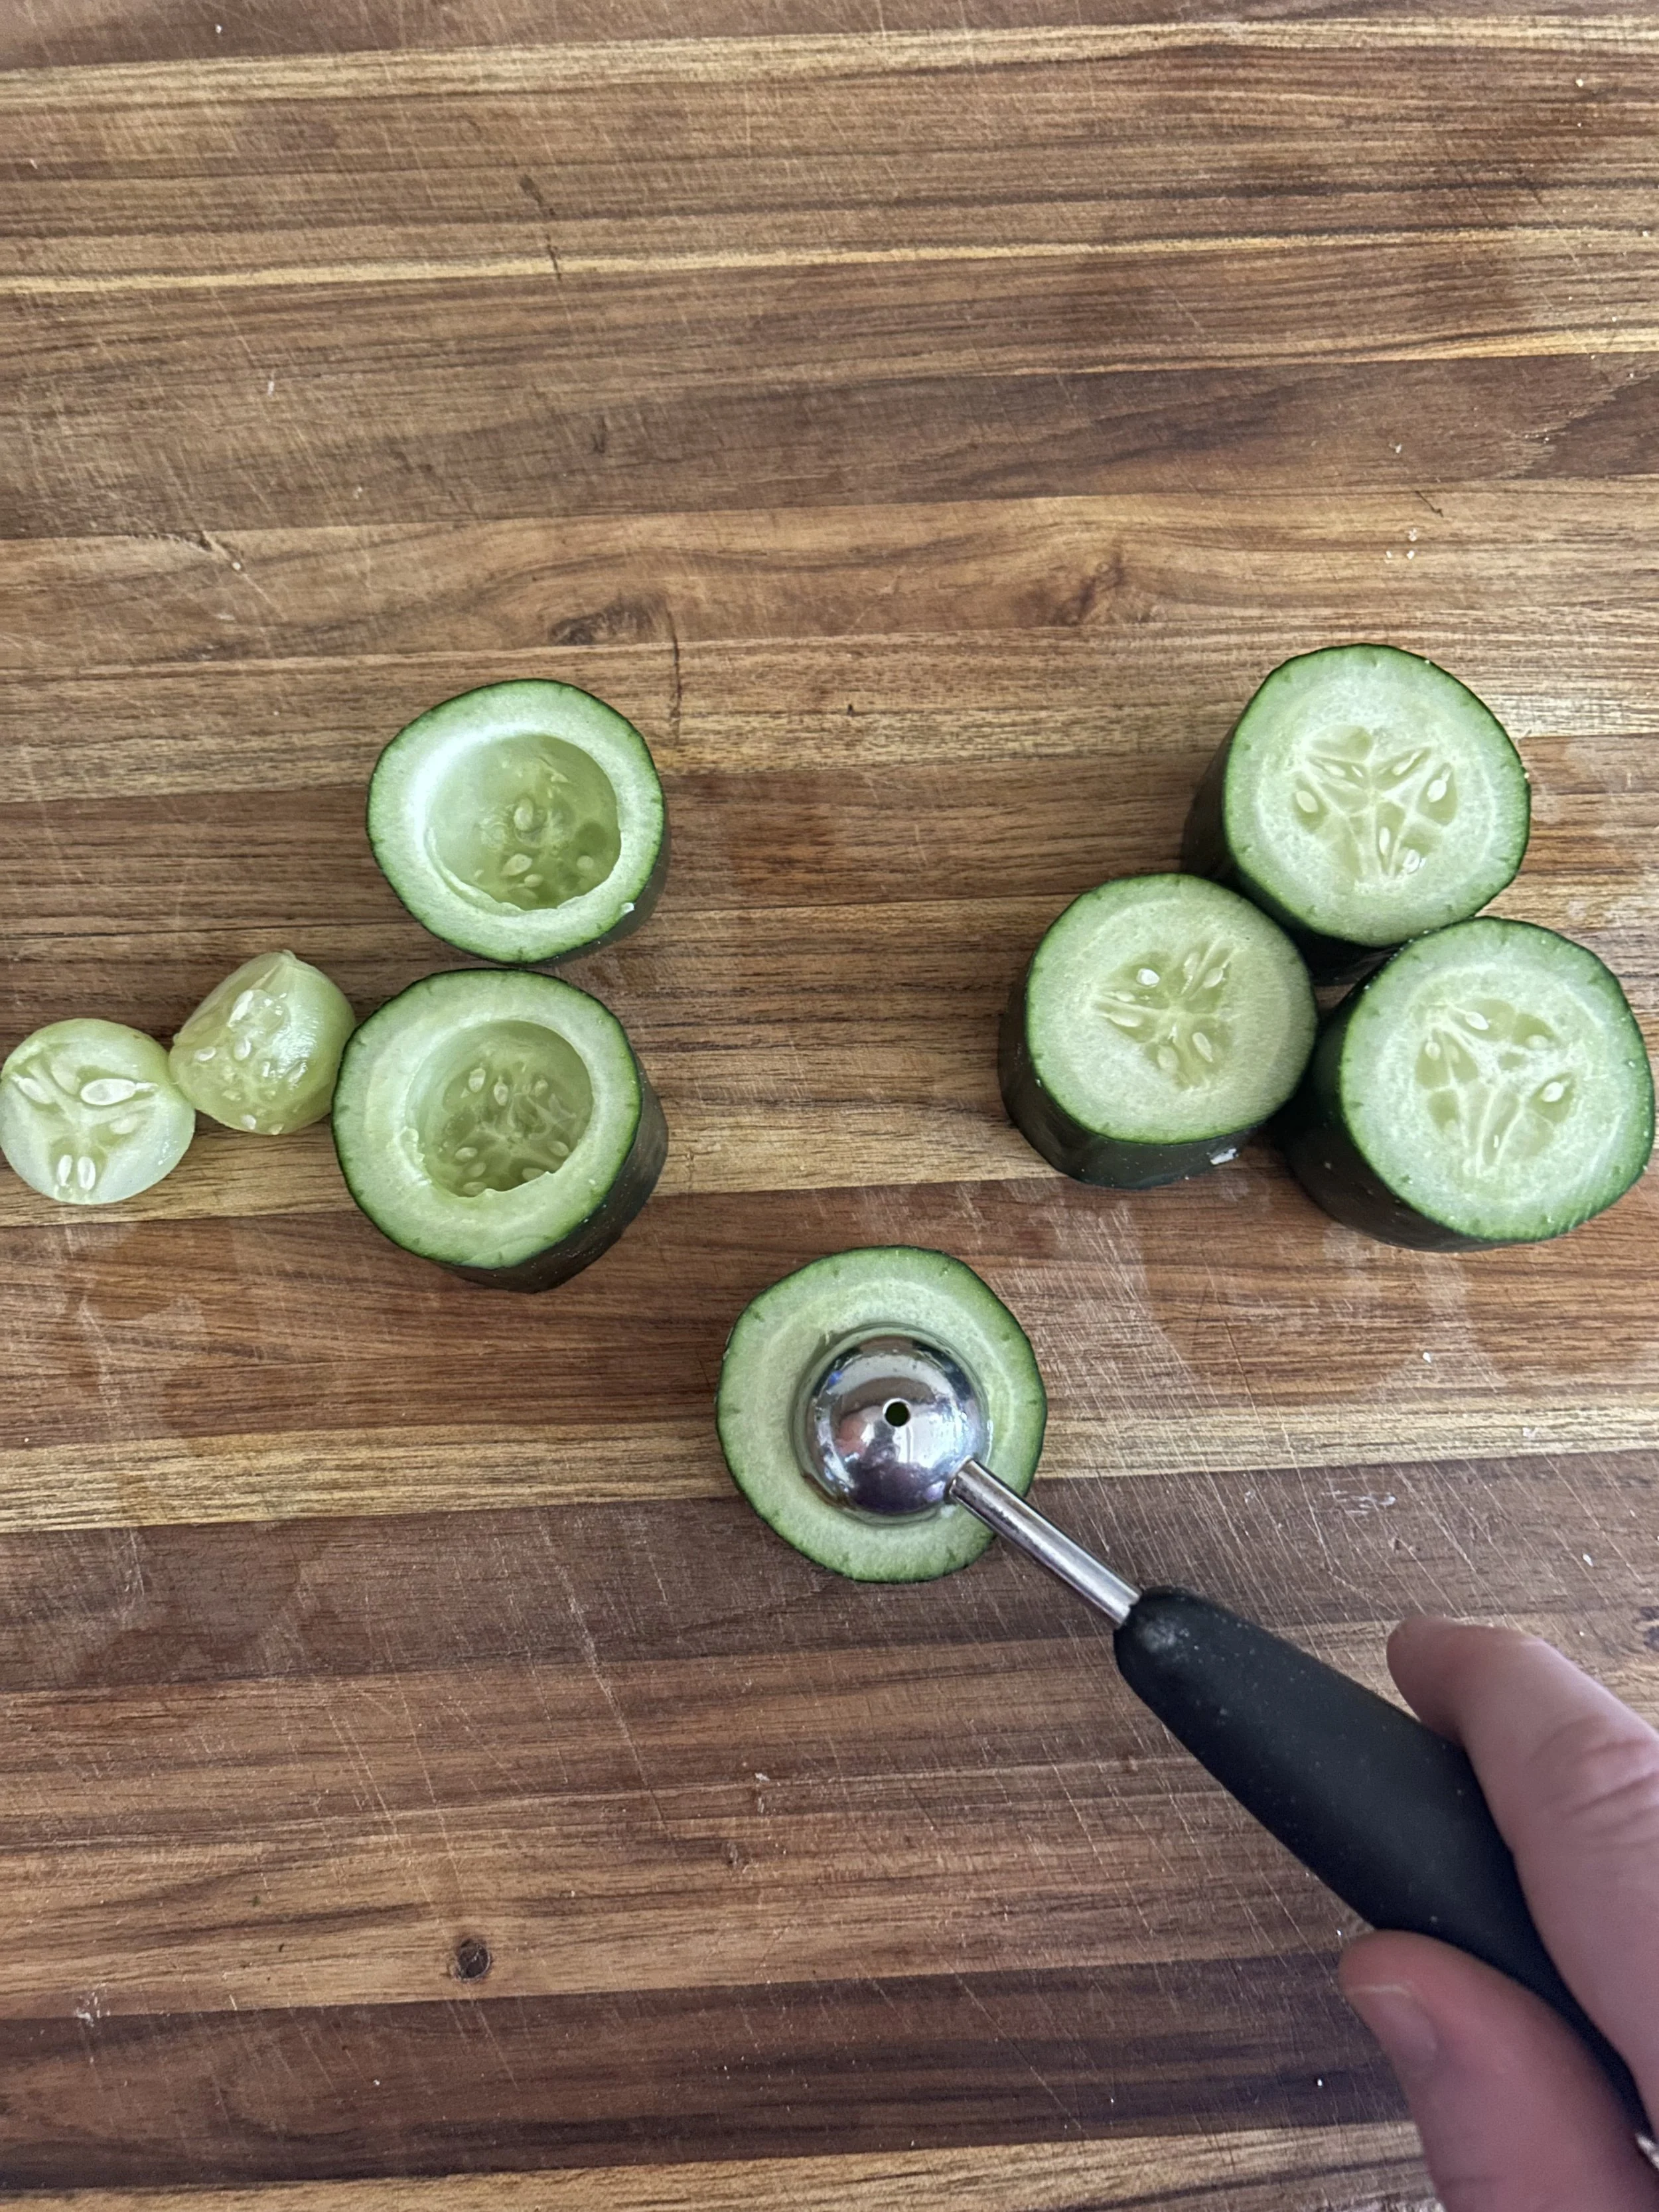
To start, trim the ends off one English cucumber, which have lots of magnesium, potassium, and Vitamin K, and cut it into 1-inch pieces. Use a melon baller or a small spoon to scoop out a hole about halfway down each slice.
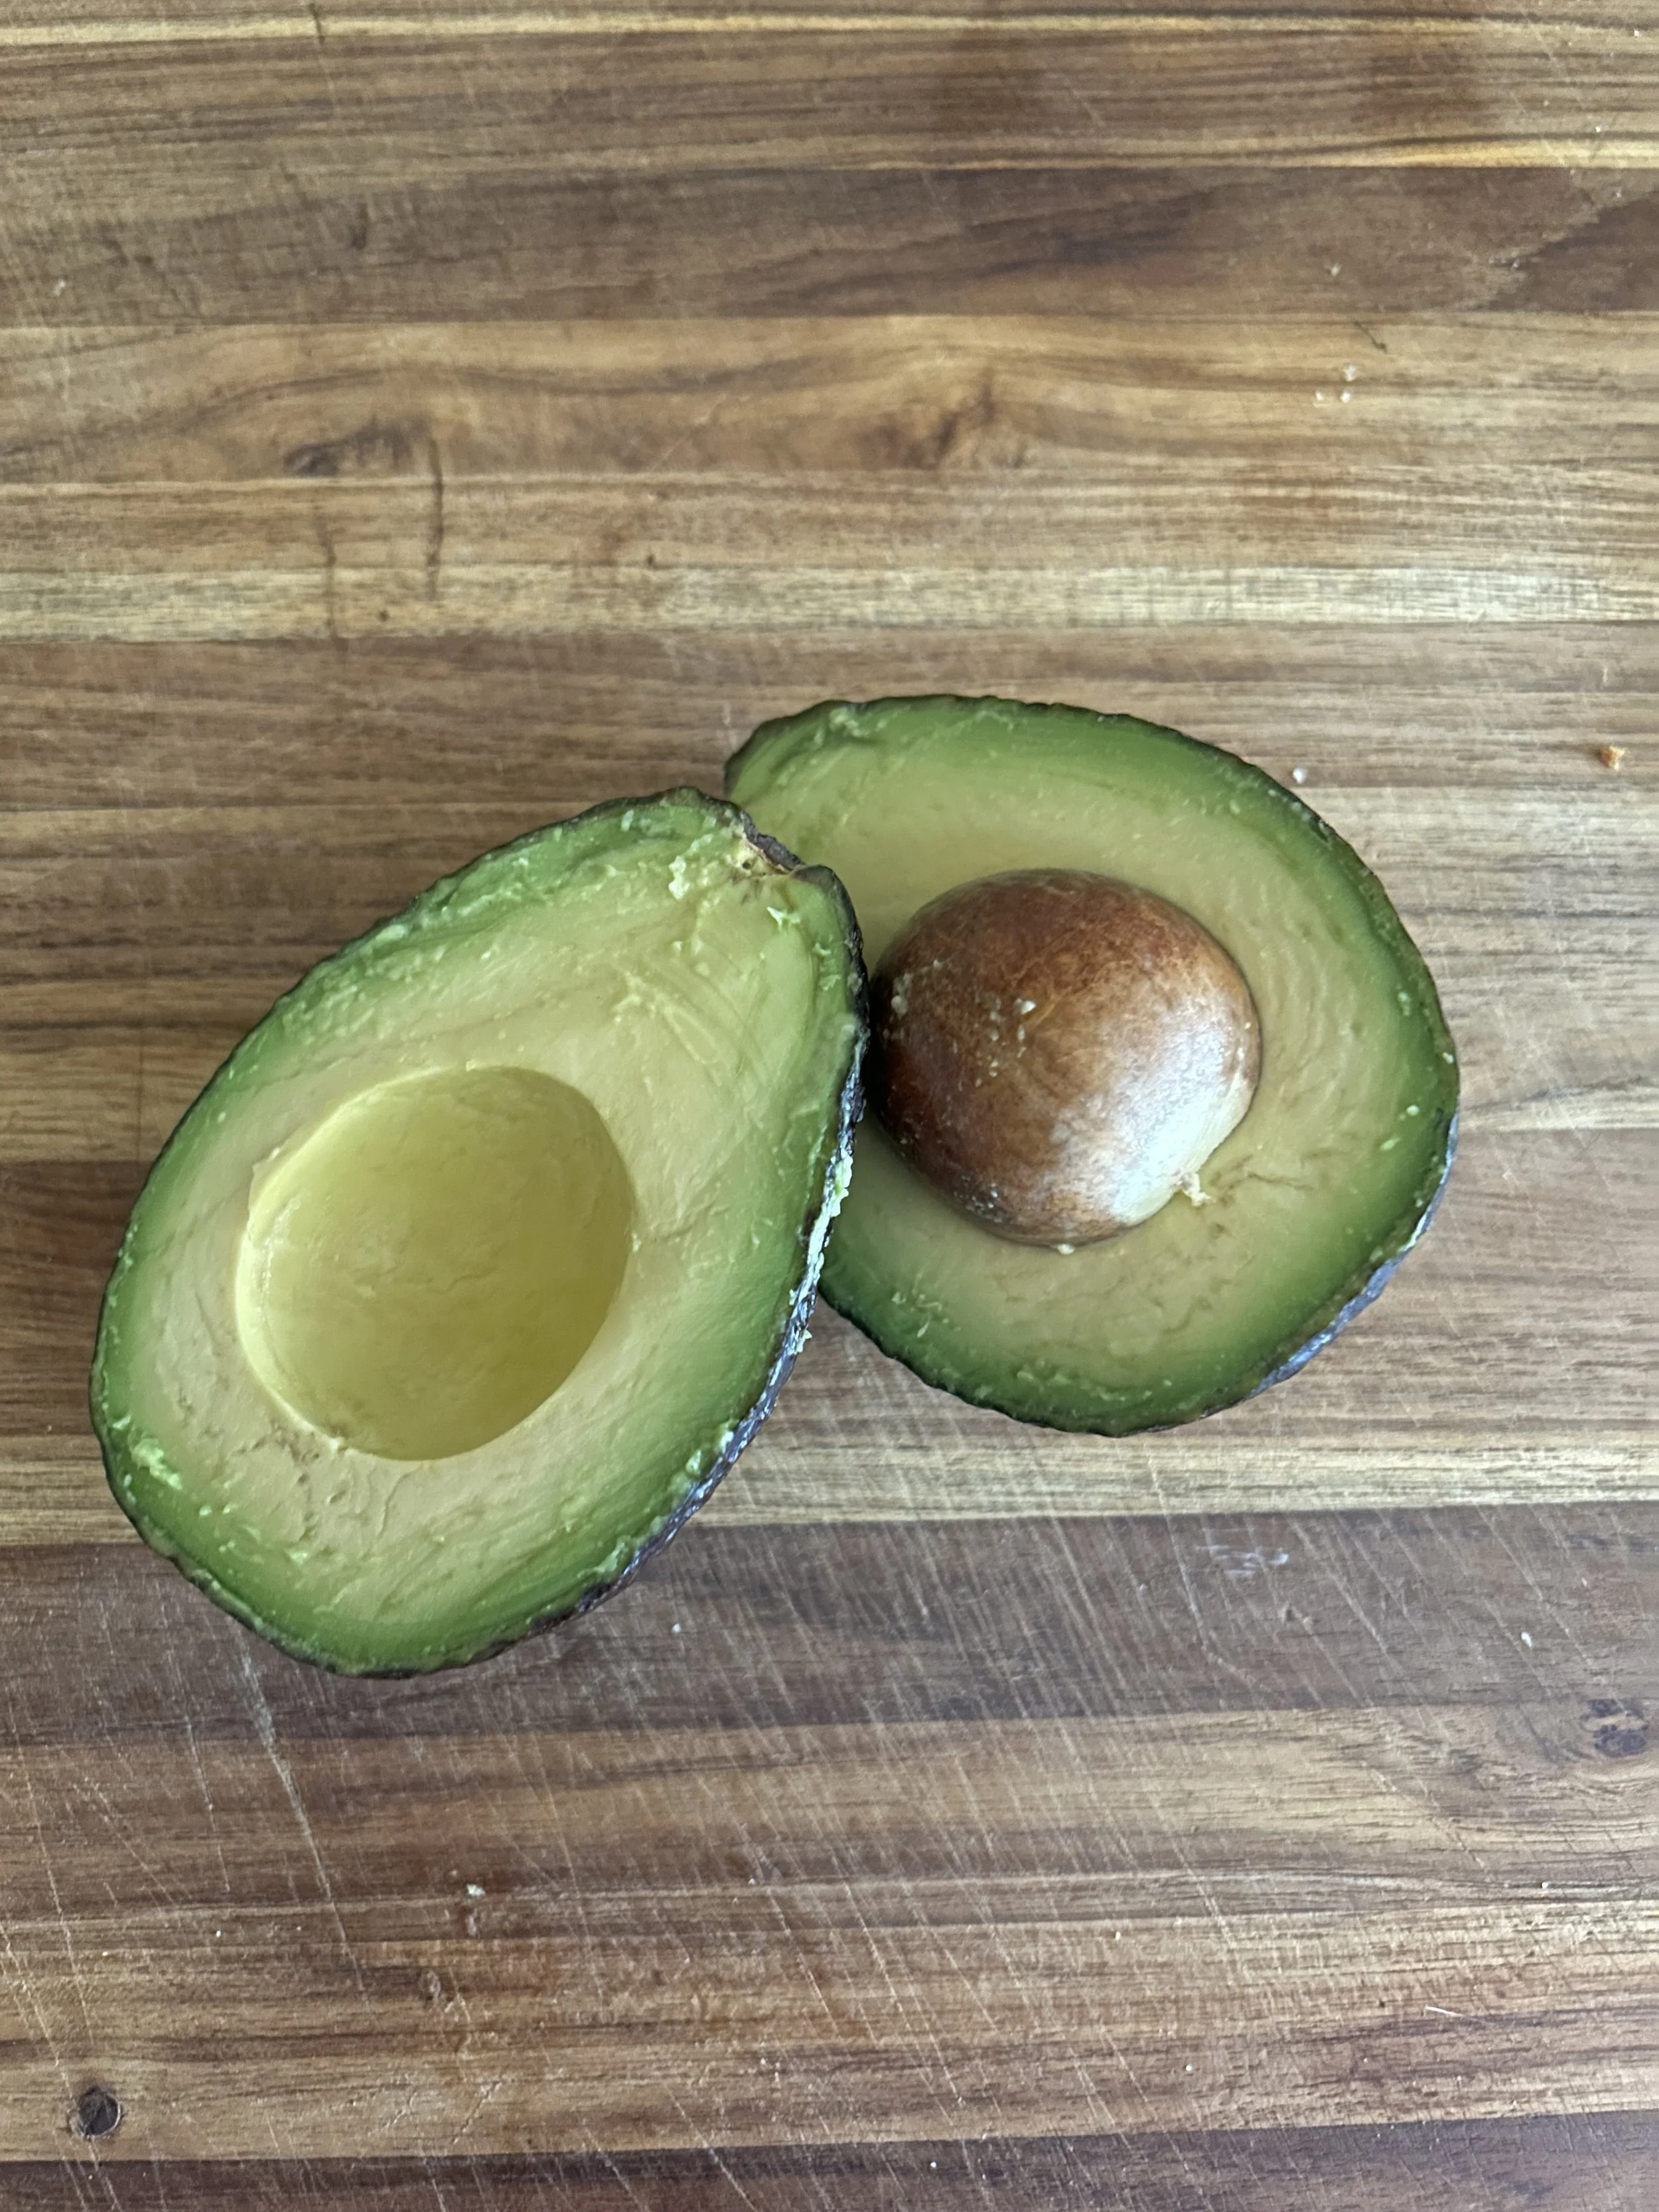
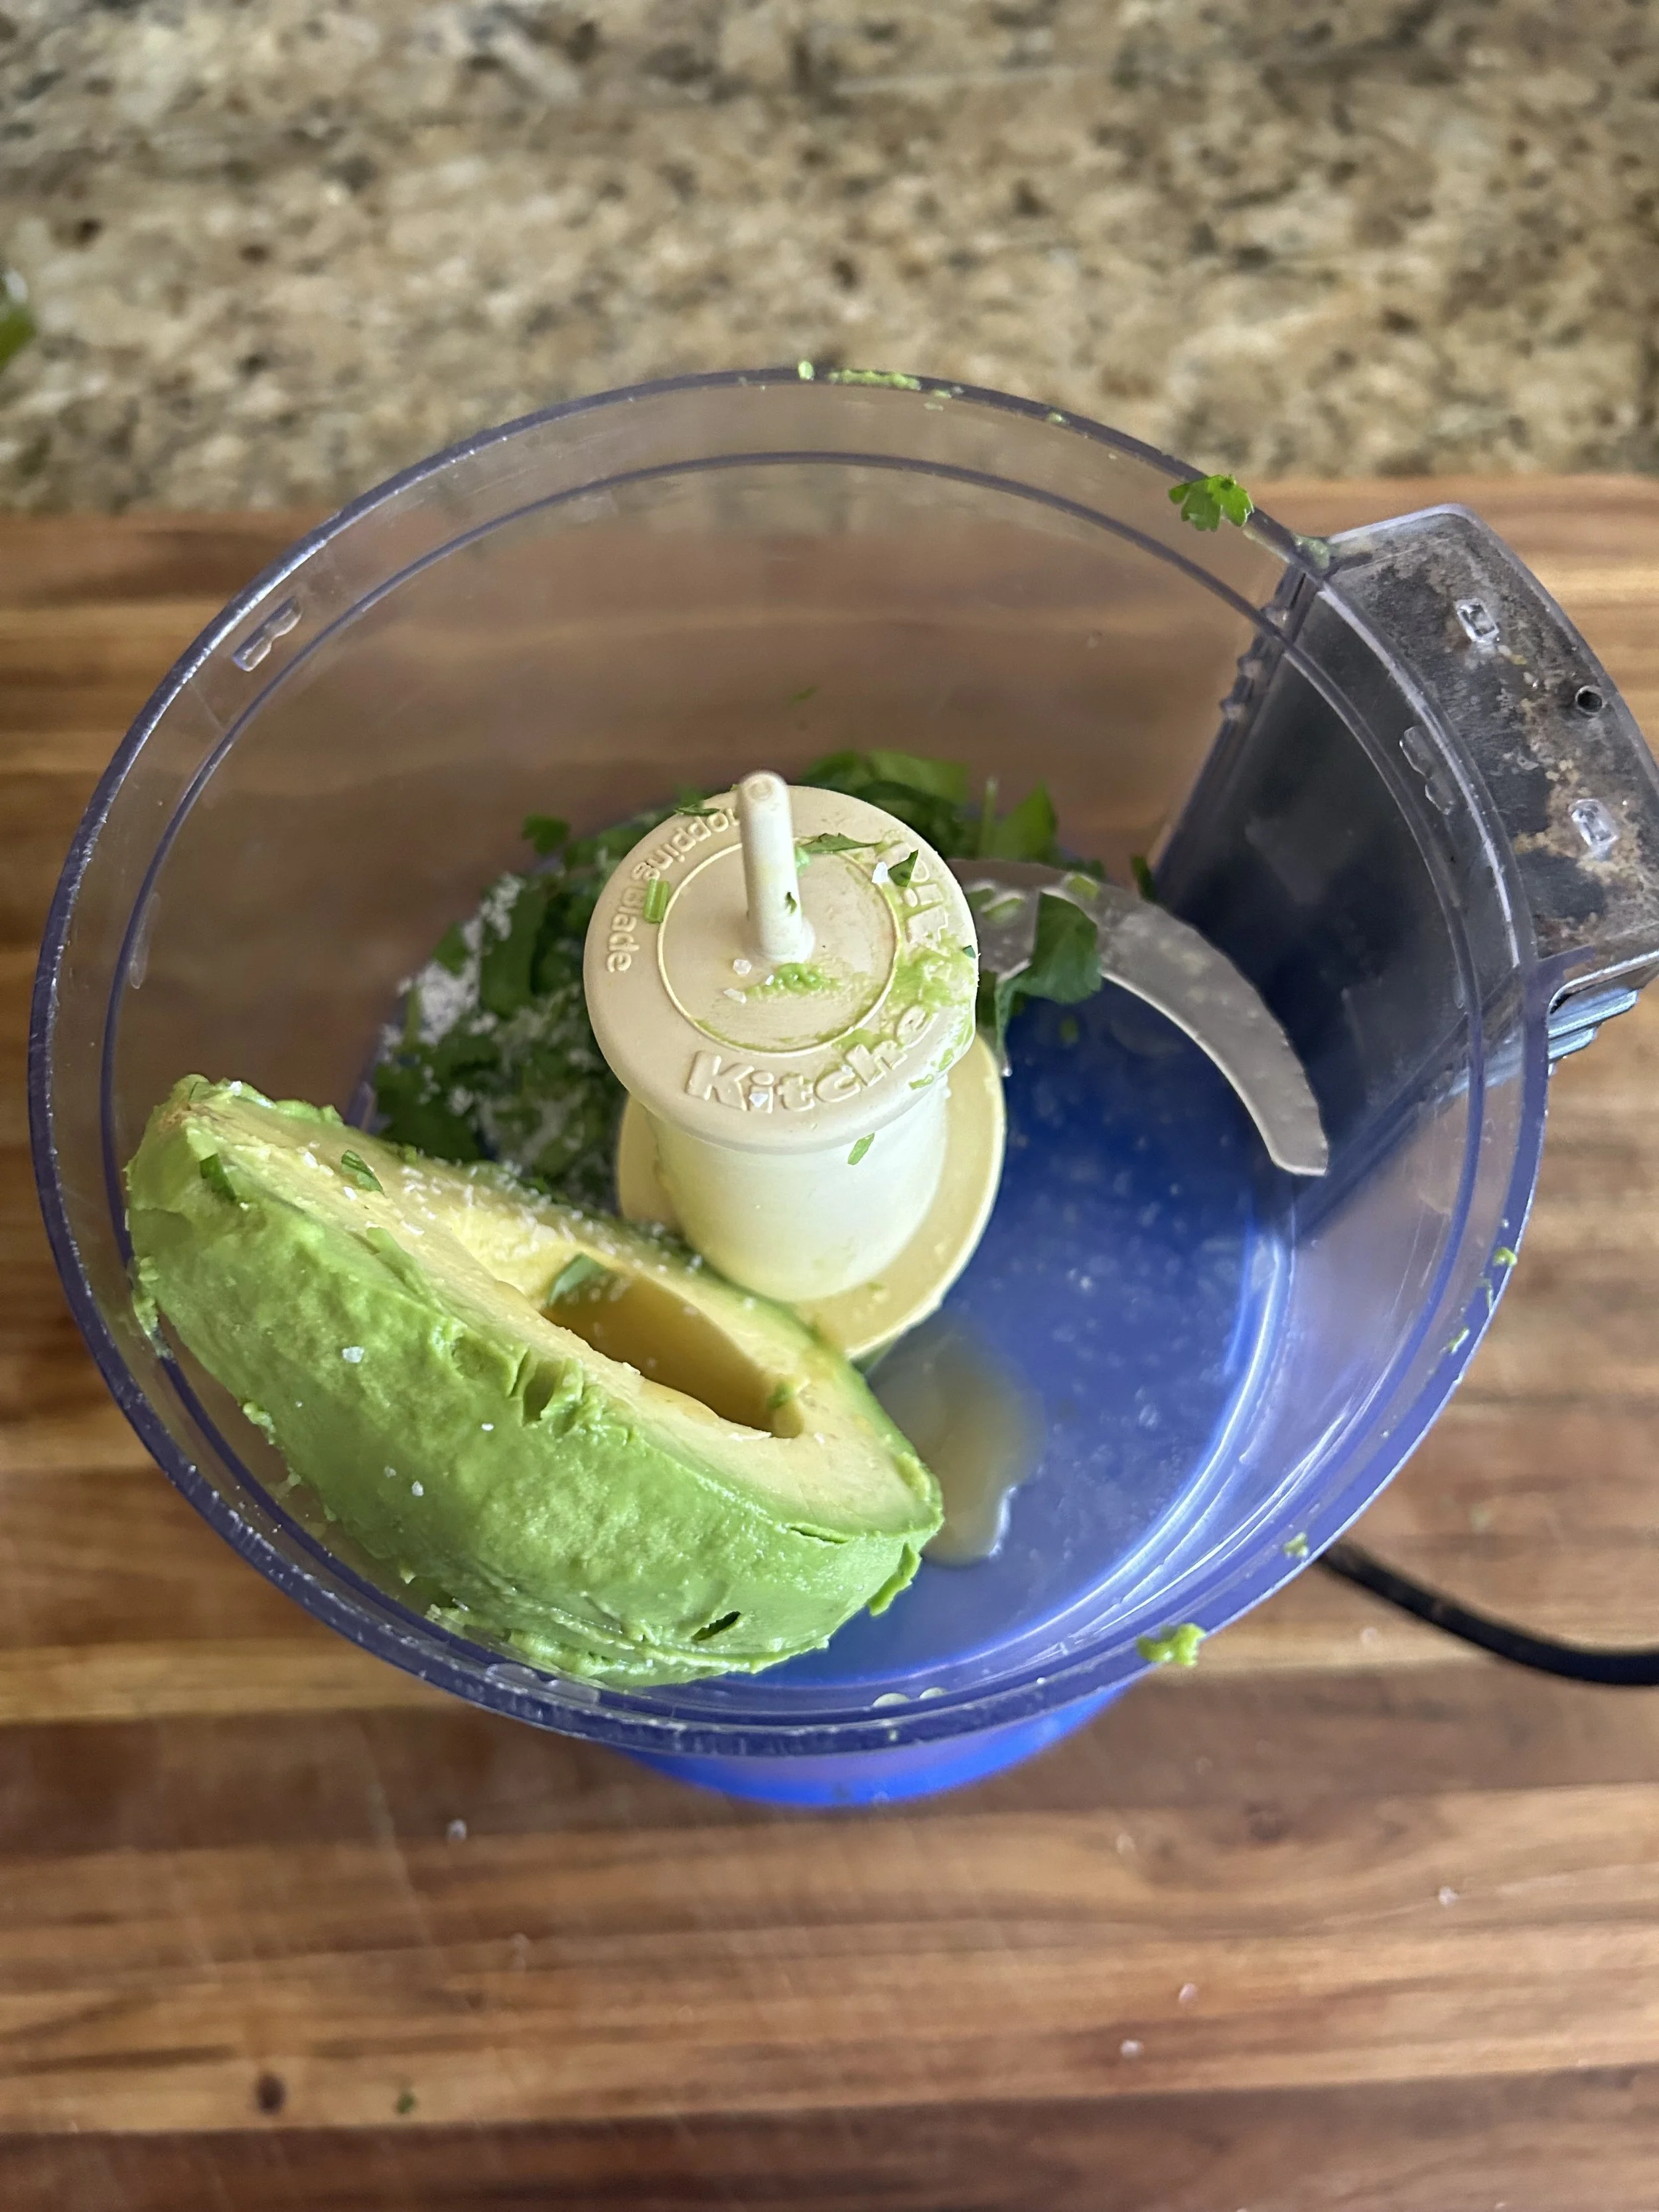
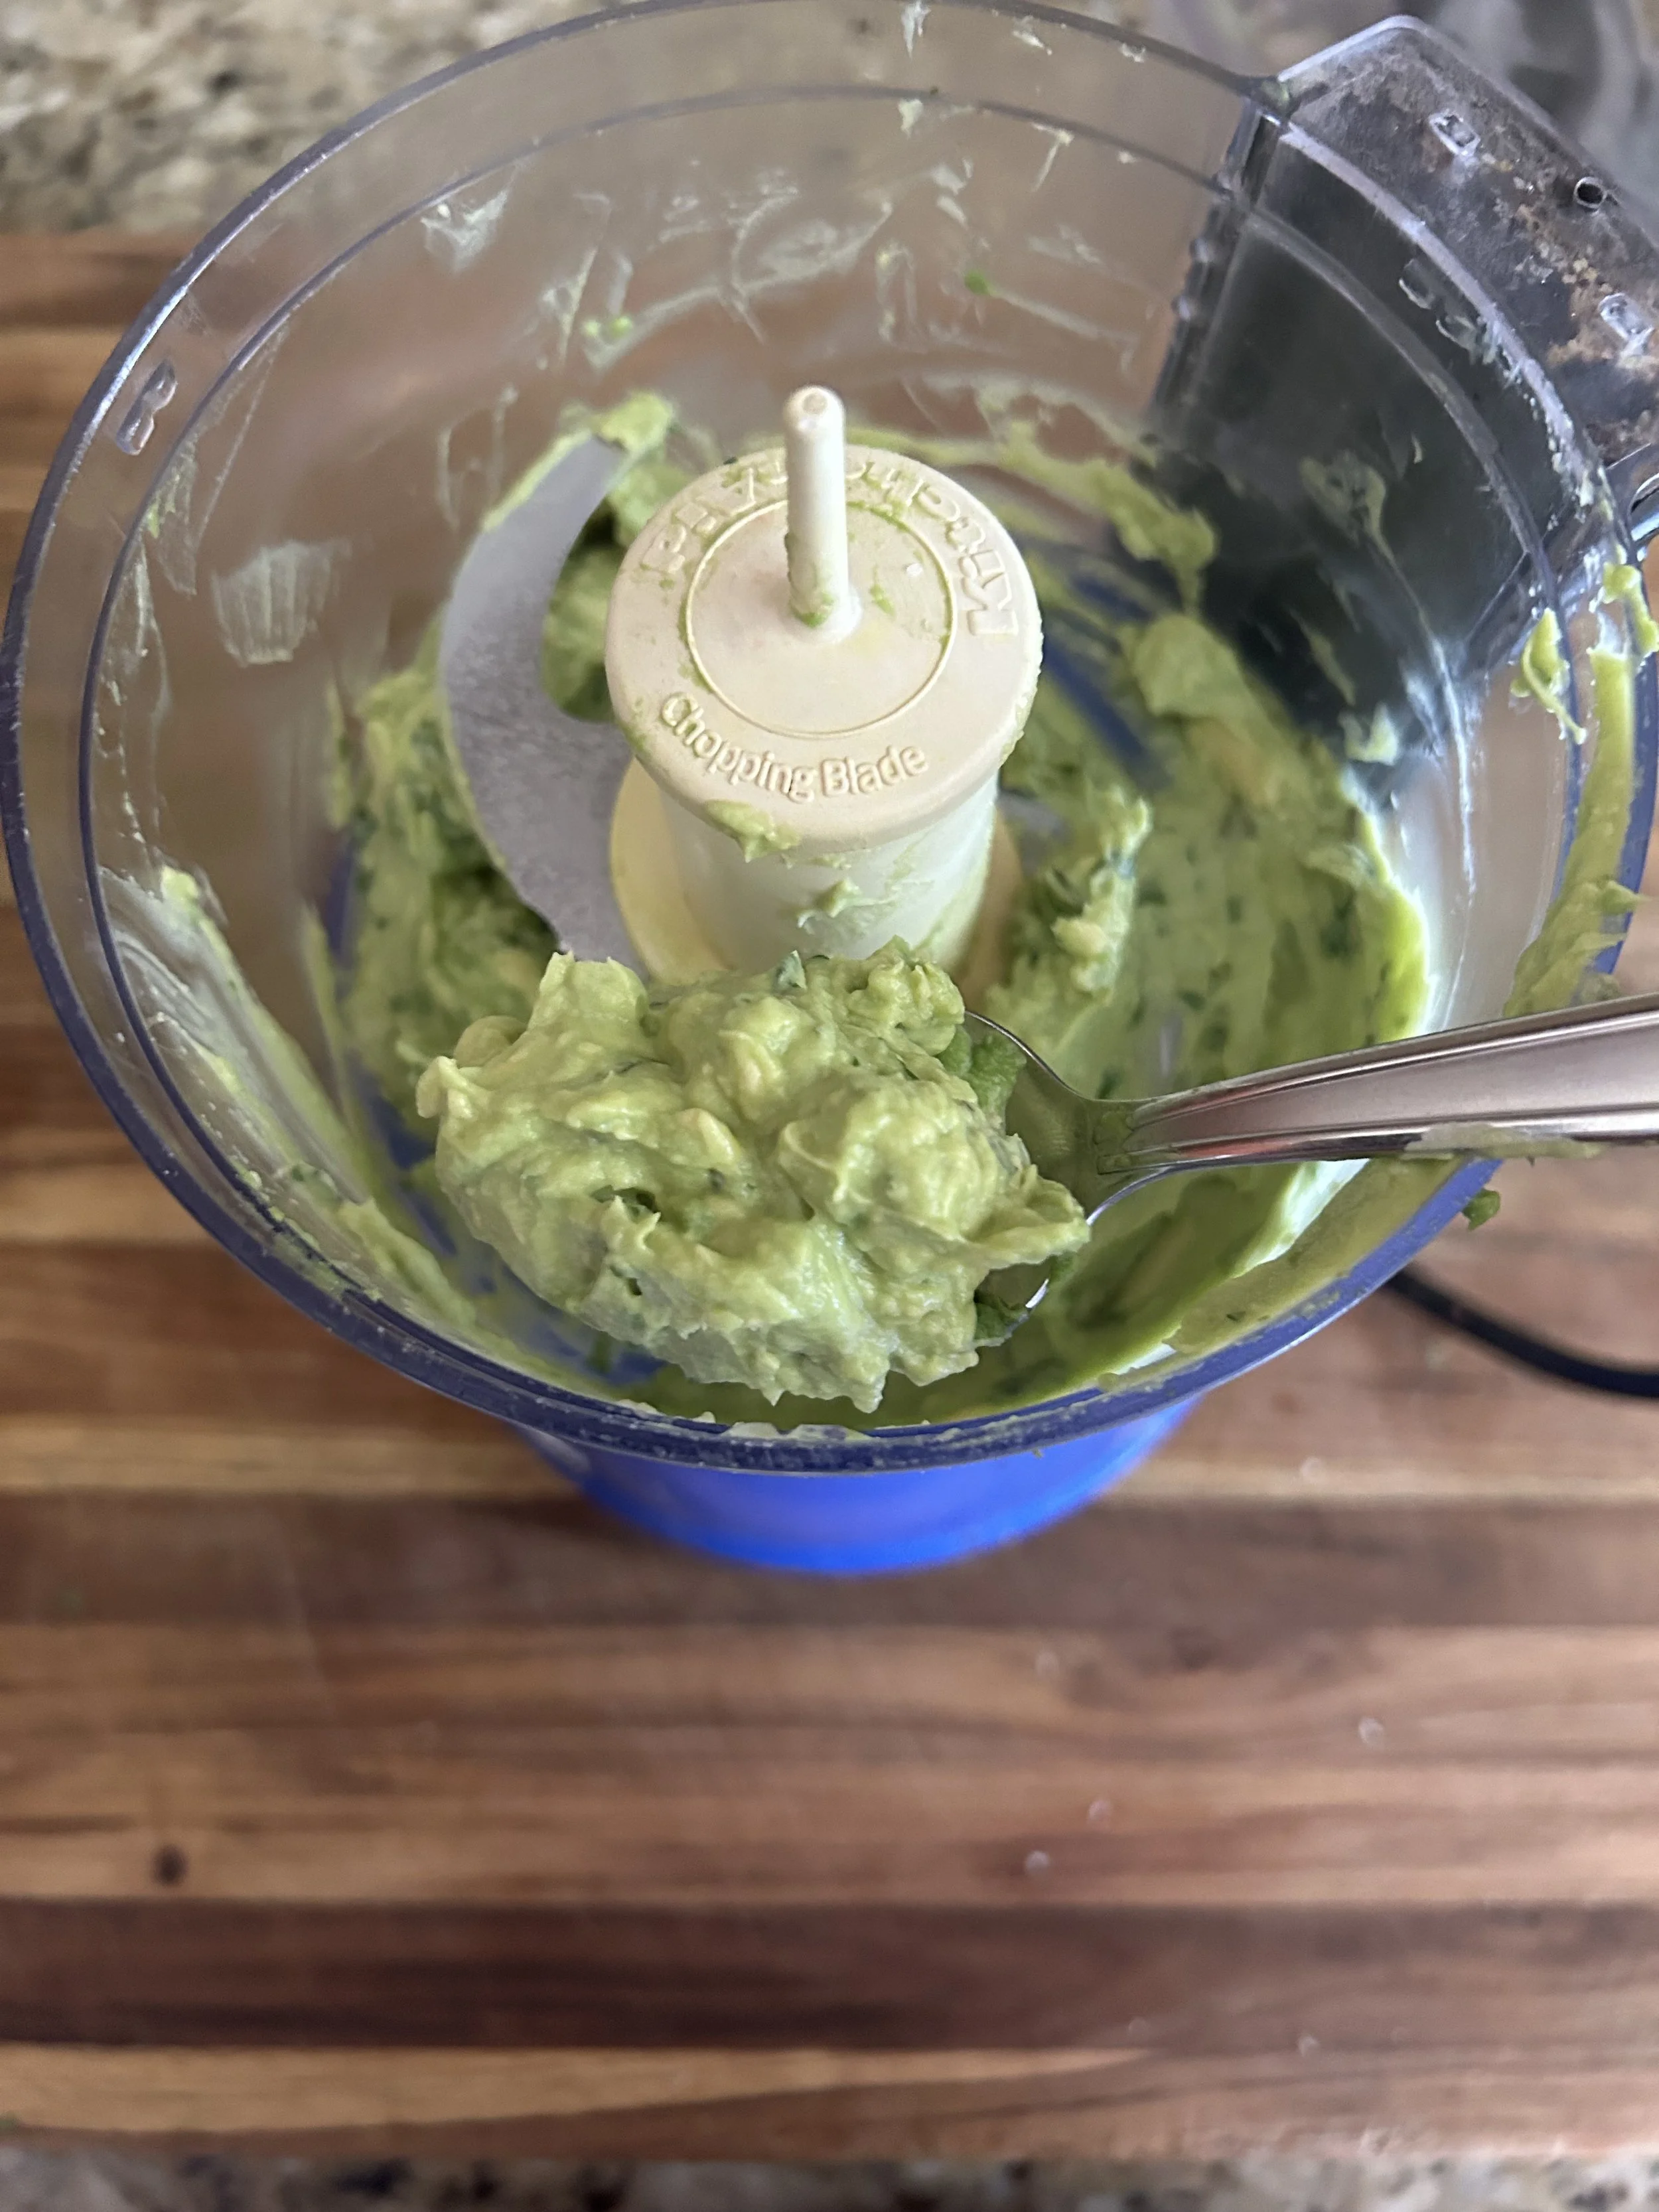
Then, in a blender or food processor, combine the flesh of one small ripe avocado, 1 tablespoon each of lime juice and chopped cilantro, 1 1/2 teaspoons of green hot sauce, and 1 teaspoon of salt until combined.
You can use any hot sauce that you like, and as much of it as you can handle, but I chose the green sauce because it matches the green theme of this dish.
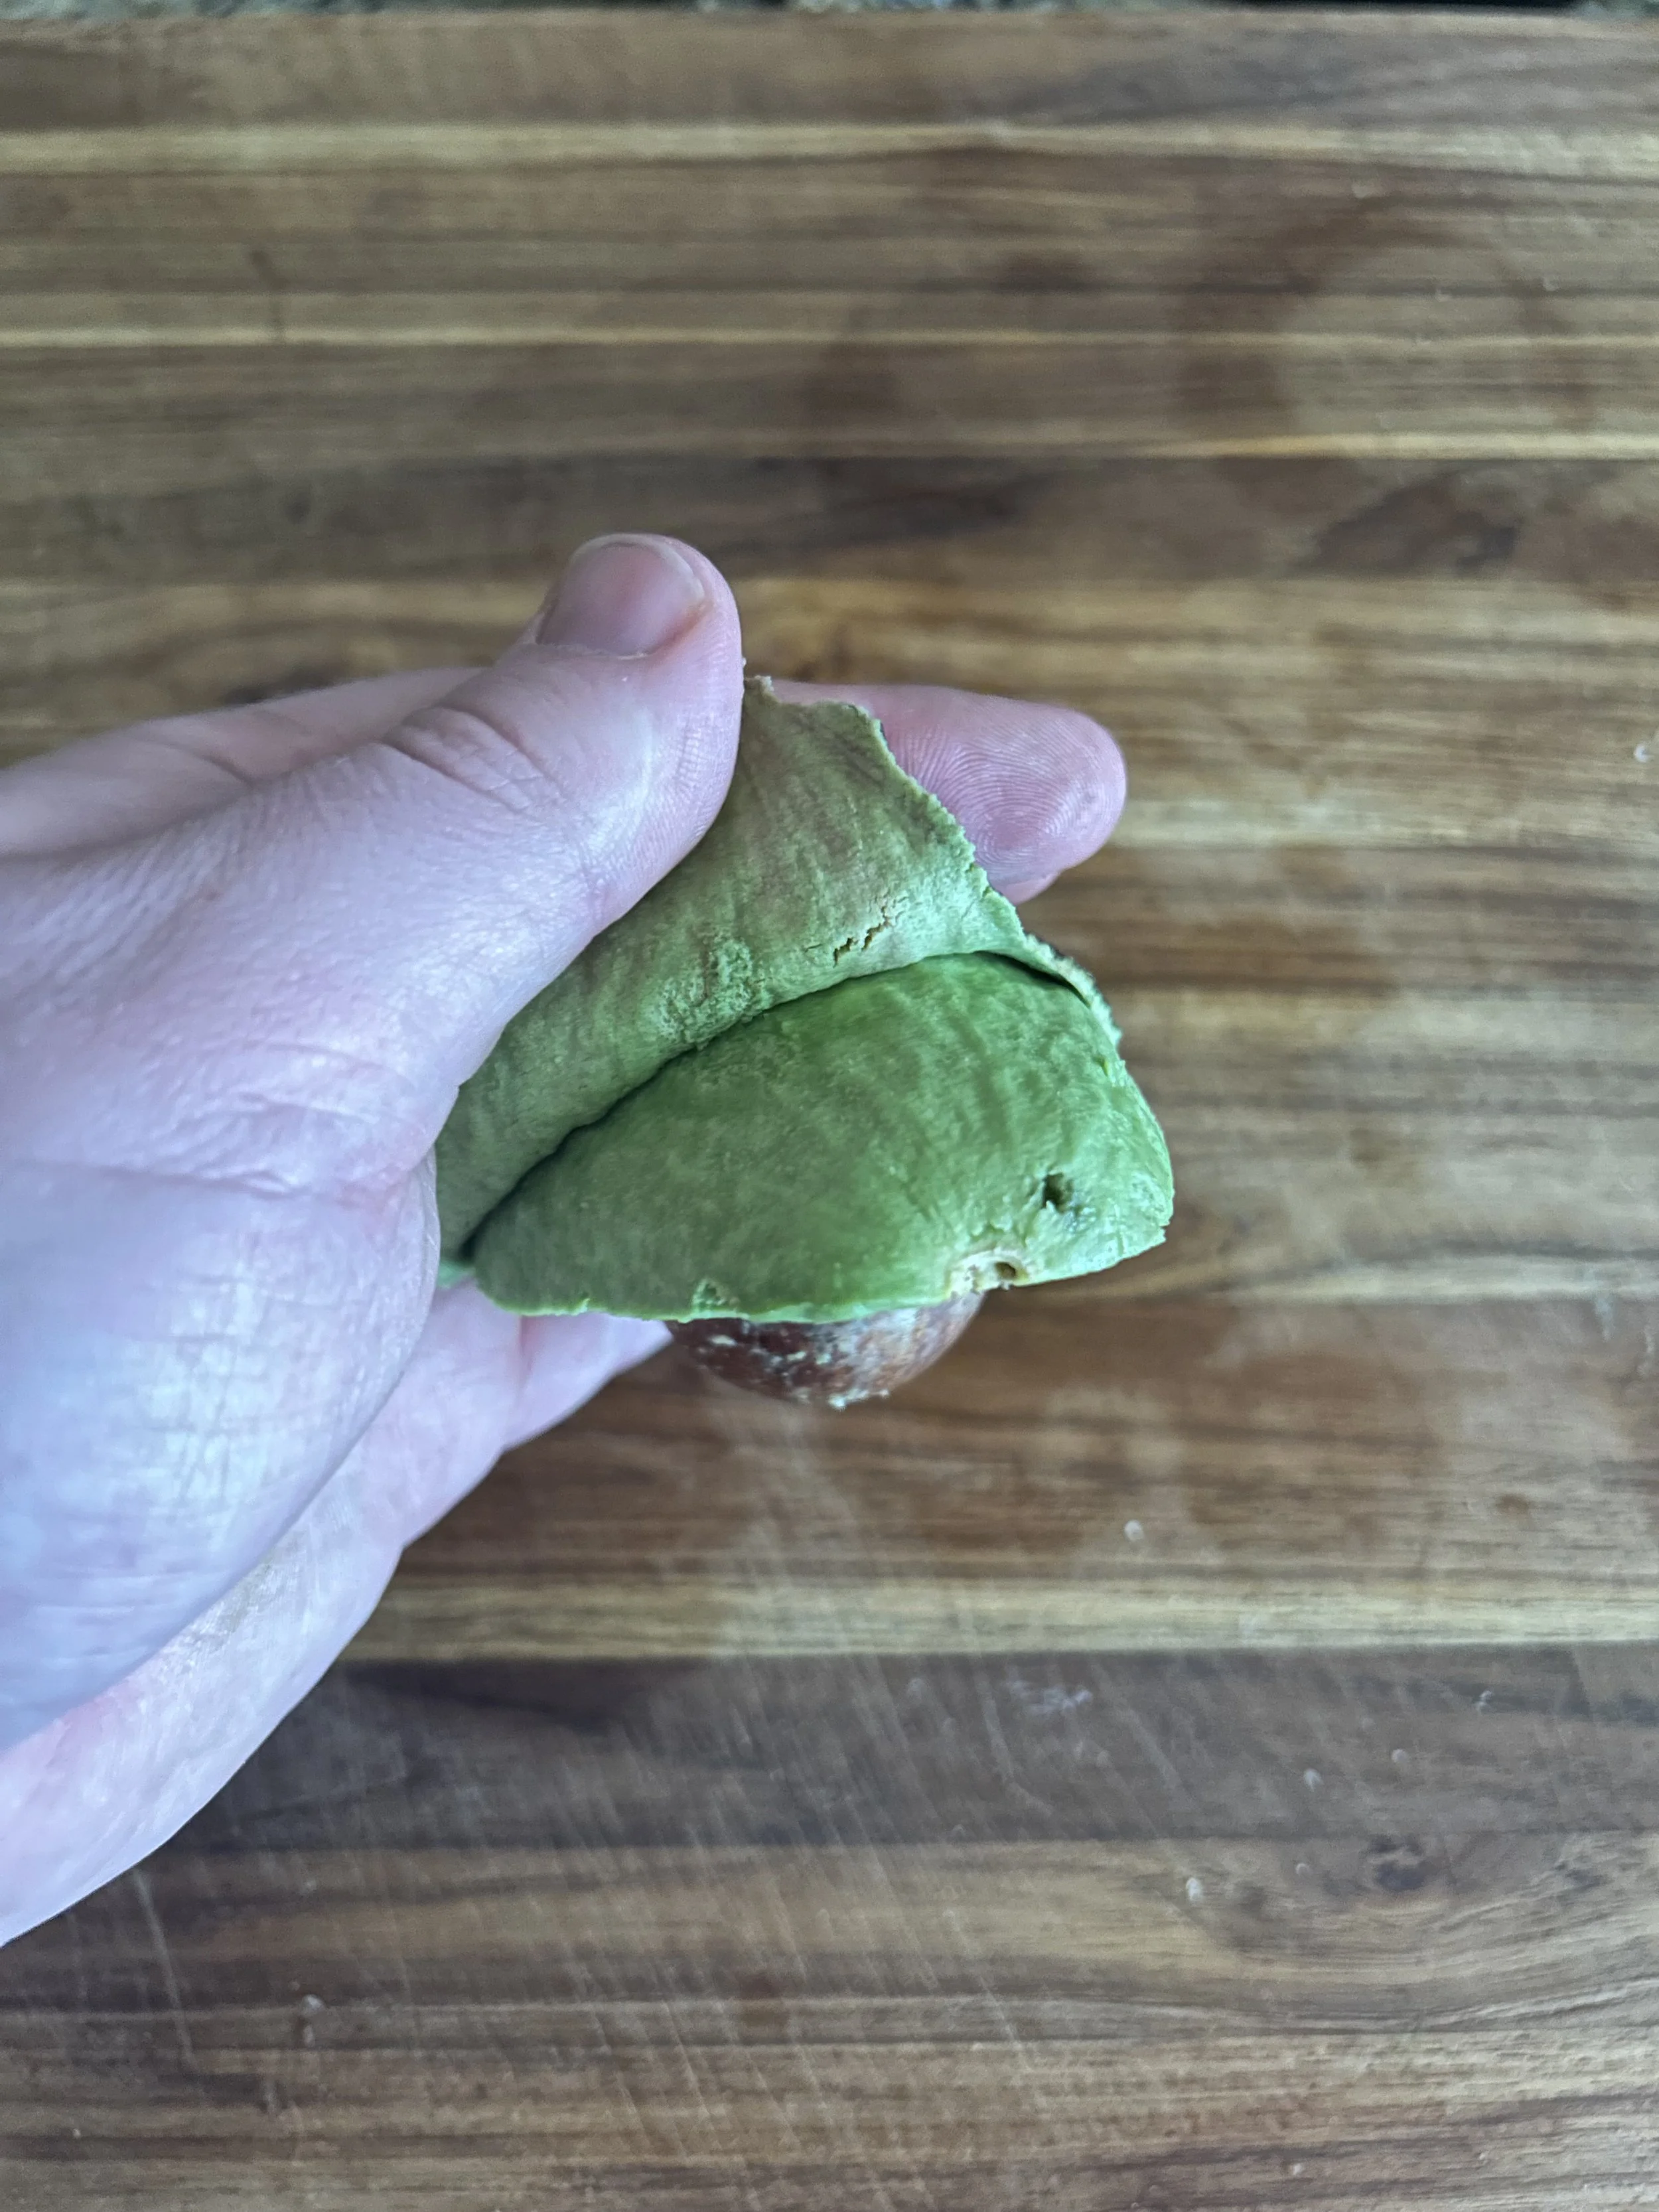
By the way, a good way to test the ripeness of your avocado is, if you can easily peel the skin away from the flesh, you’re good to go!
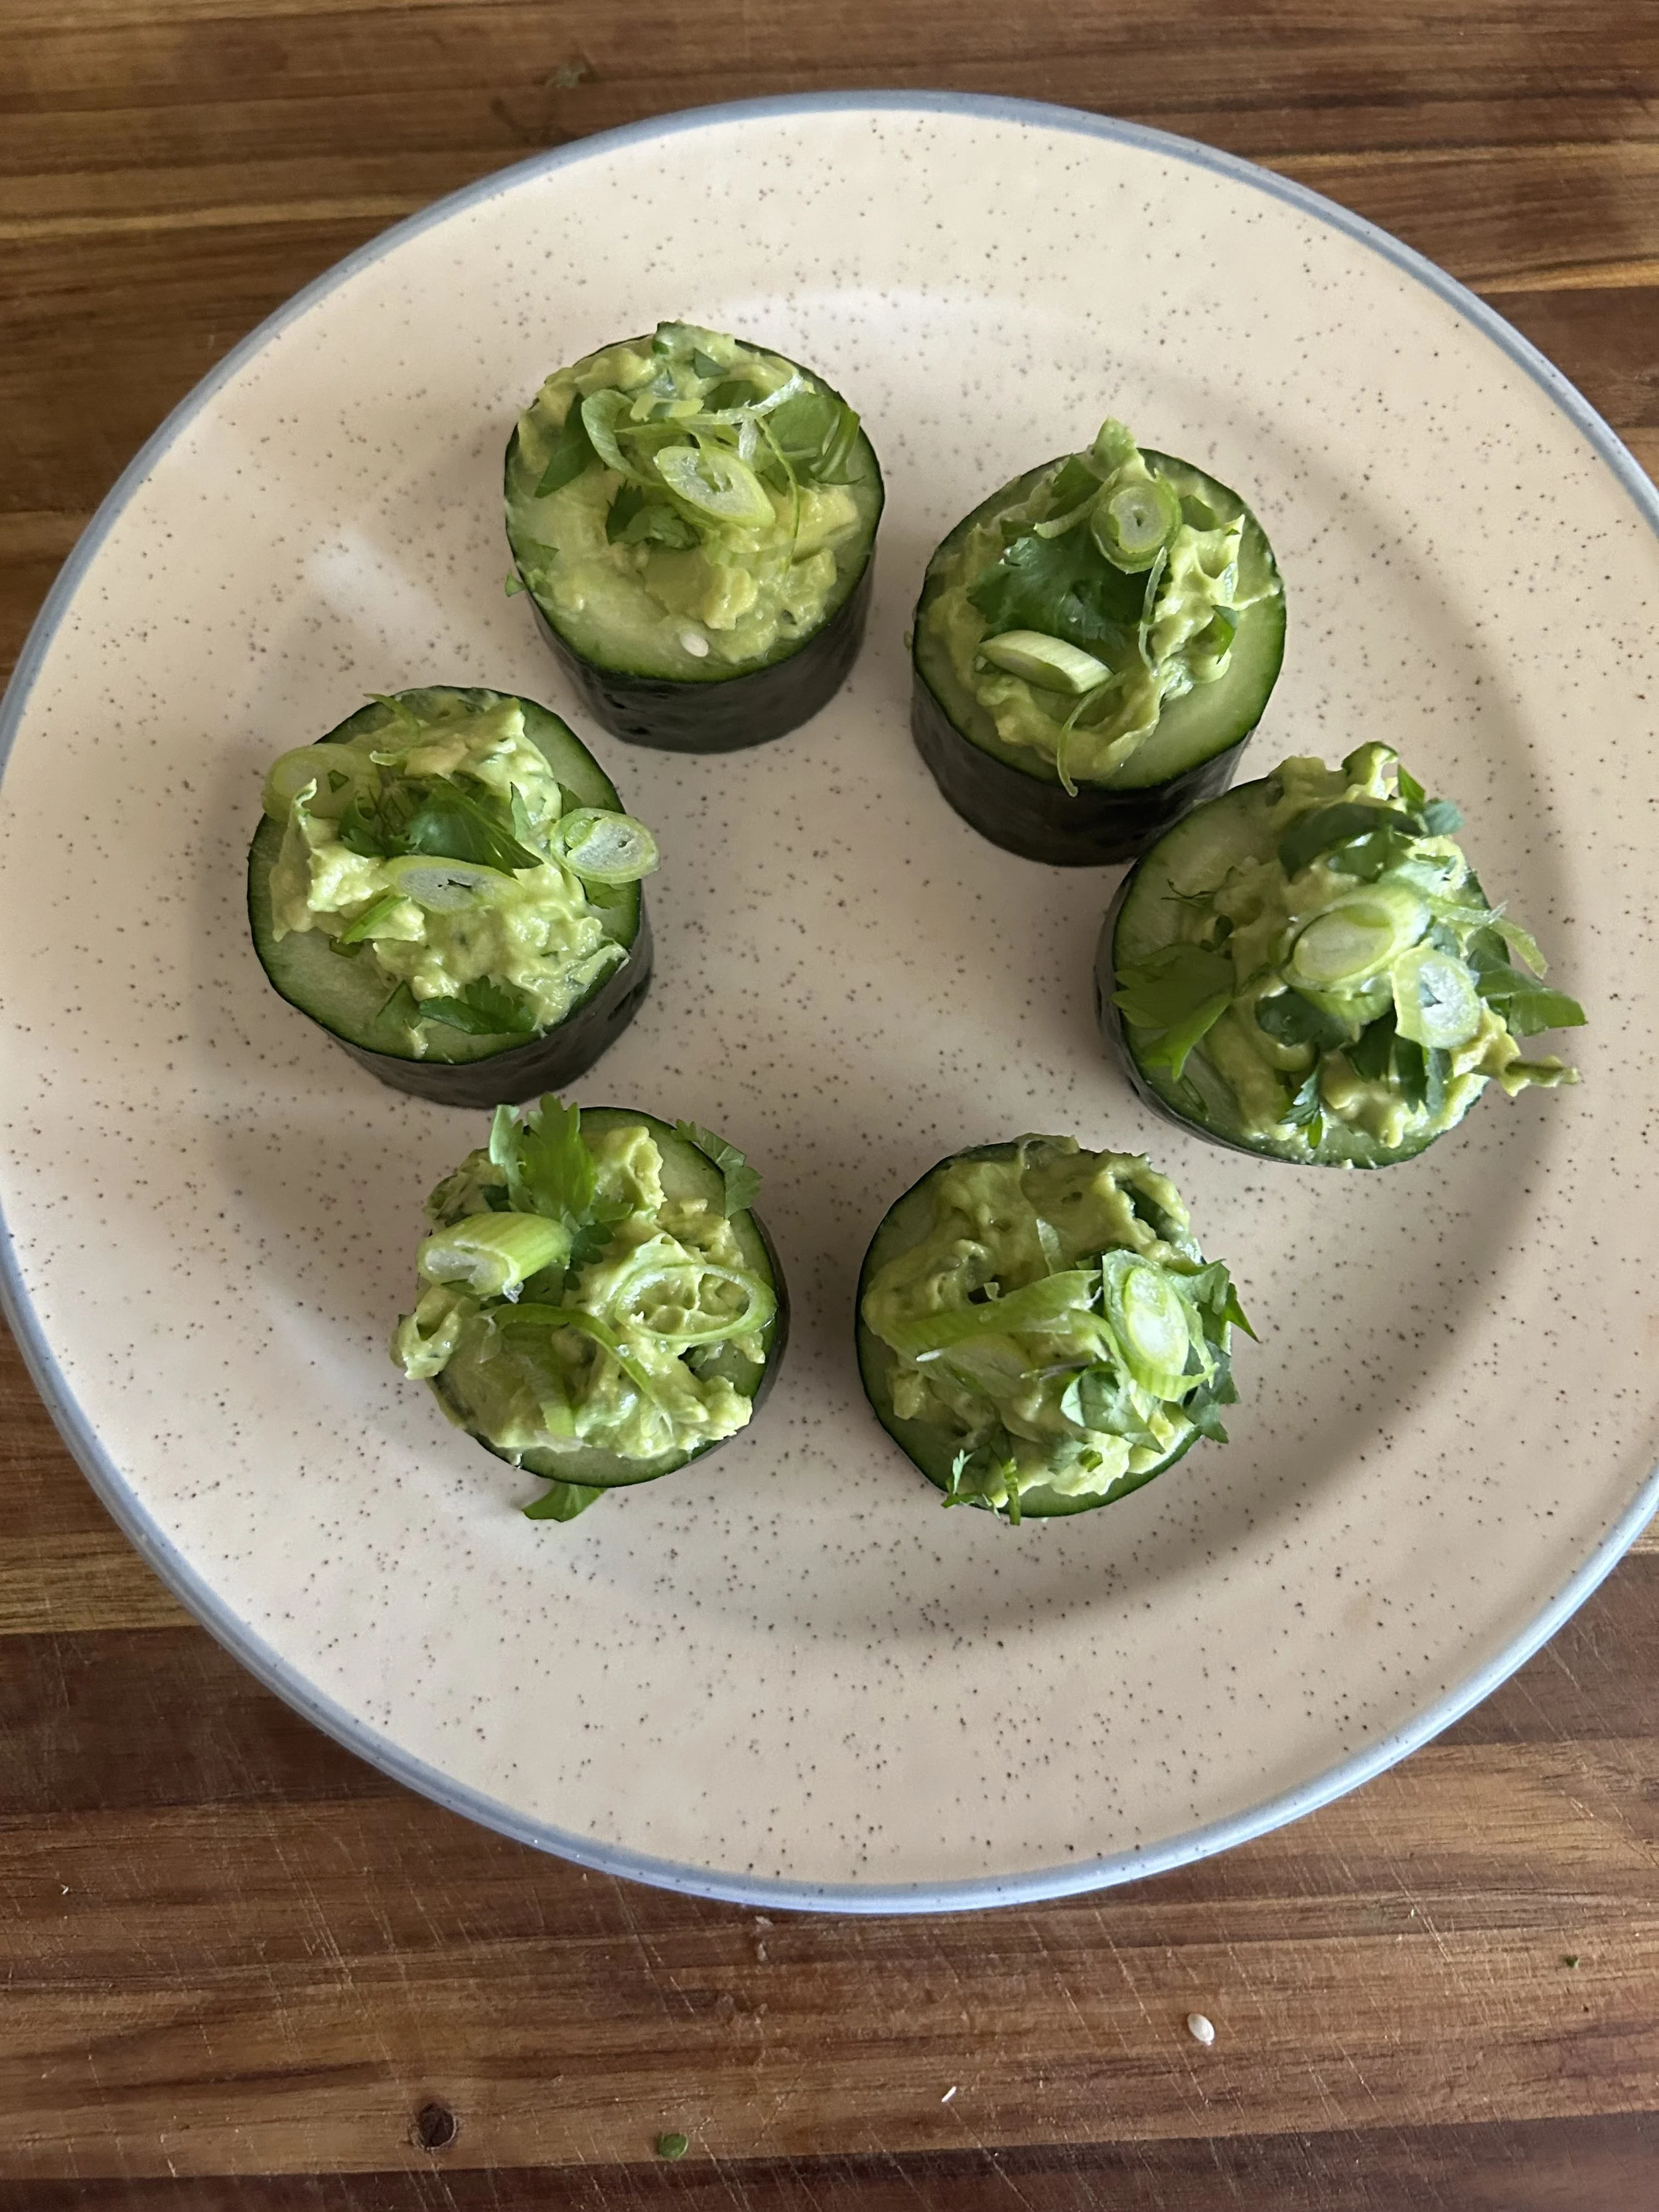
Spoon the blended avocado mixture into the cucumber cups and garnish with more cilantro and sliced green onions.
Voila! Little avocado cucumber cups that are packed with vitamins, nutrients, and taste. You get a little crunch from the cucumber, the creamy avocado, and a bit of spice from the hot sauce, all leading to one powerful bite of food!
It’s great as a party snack, for a fiesta platter, or to simply have as a quick, healthy snack.
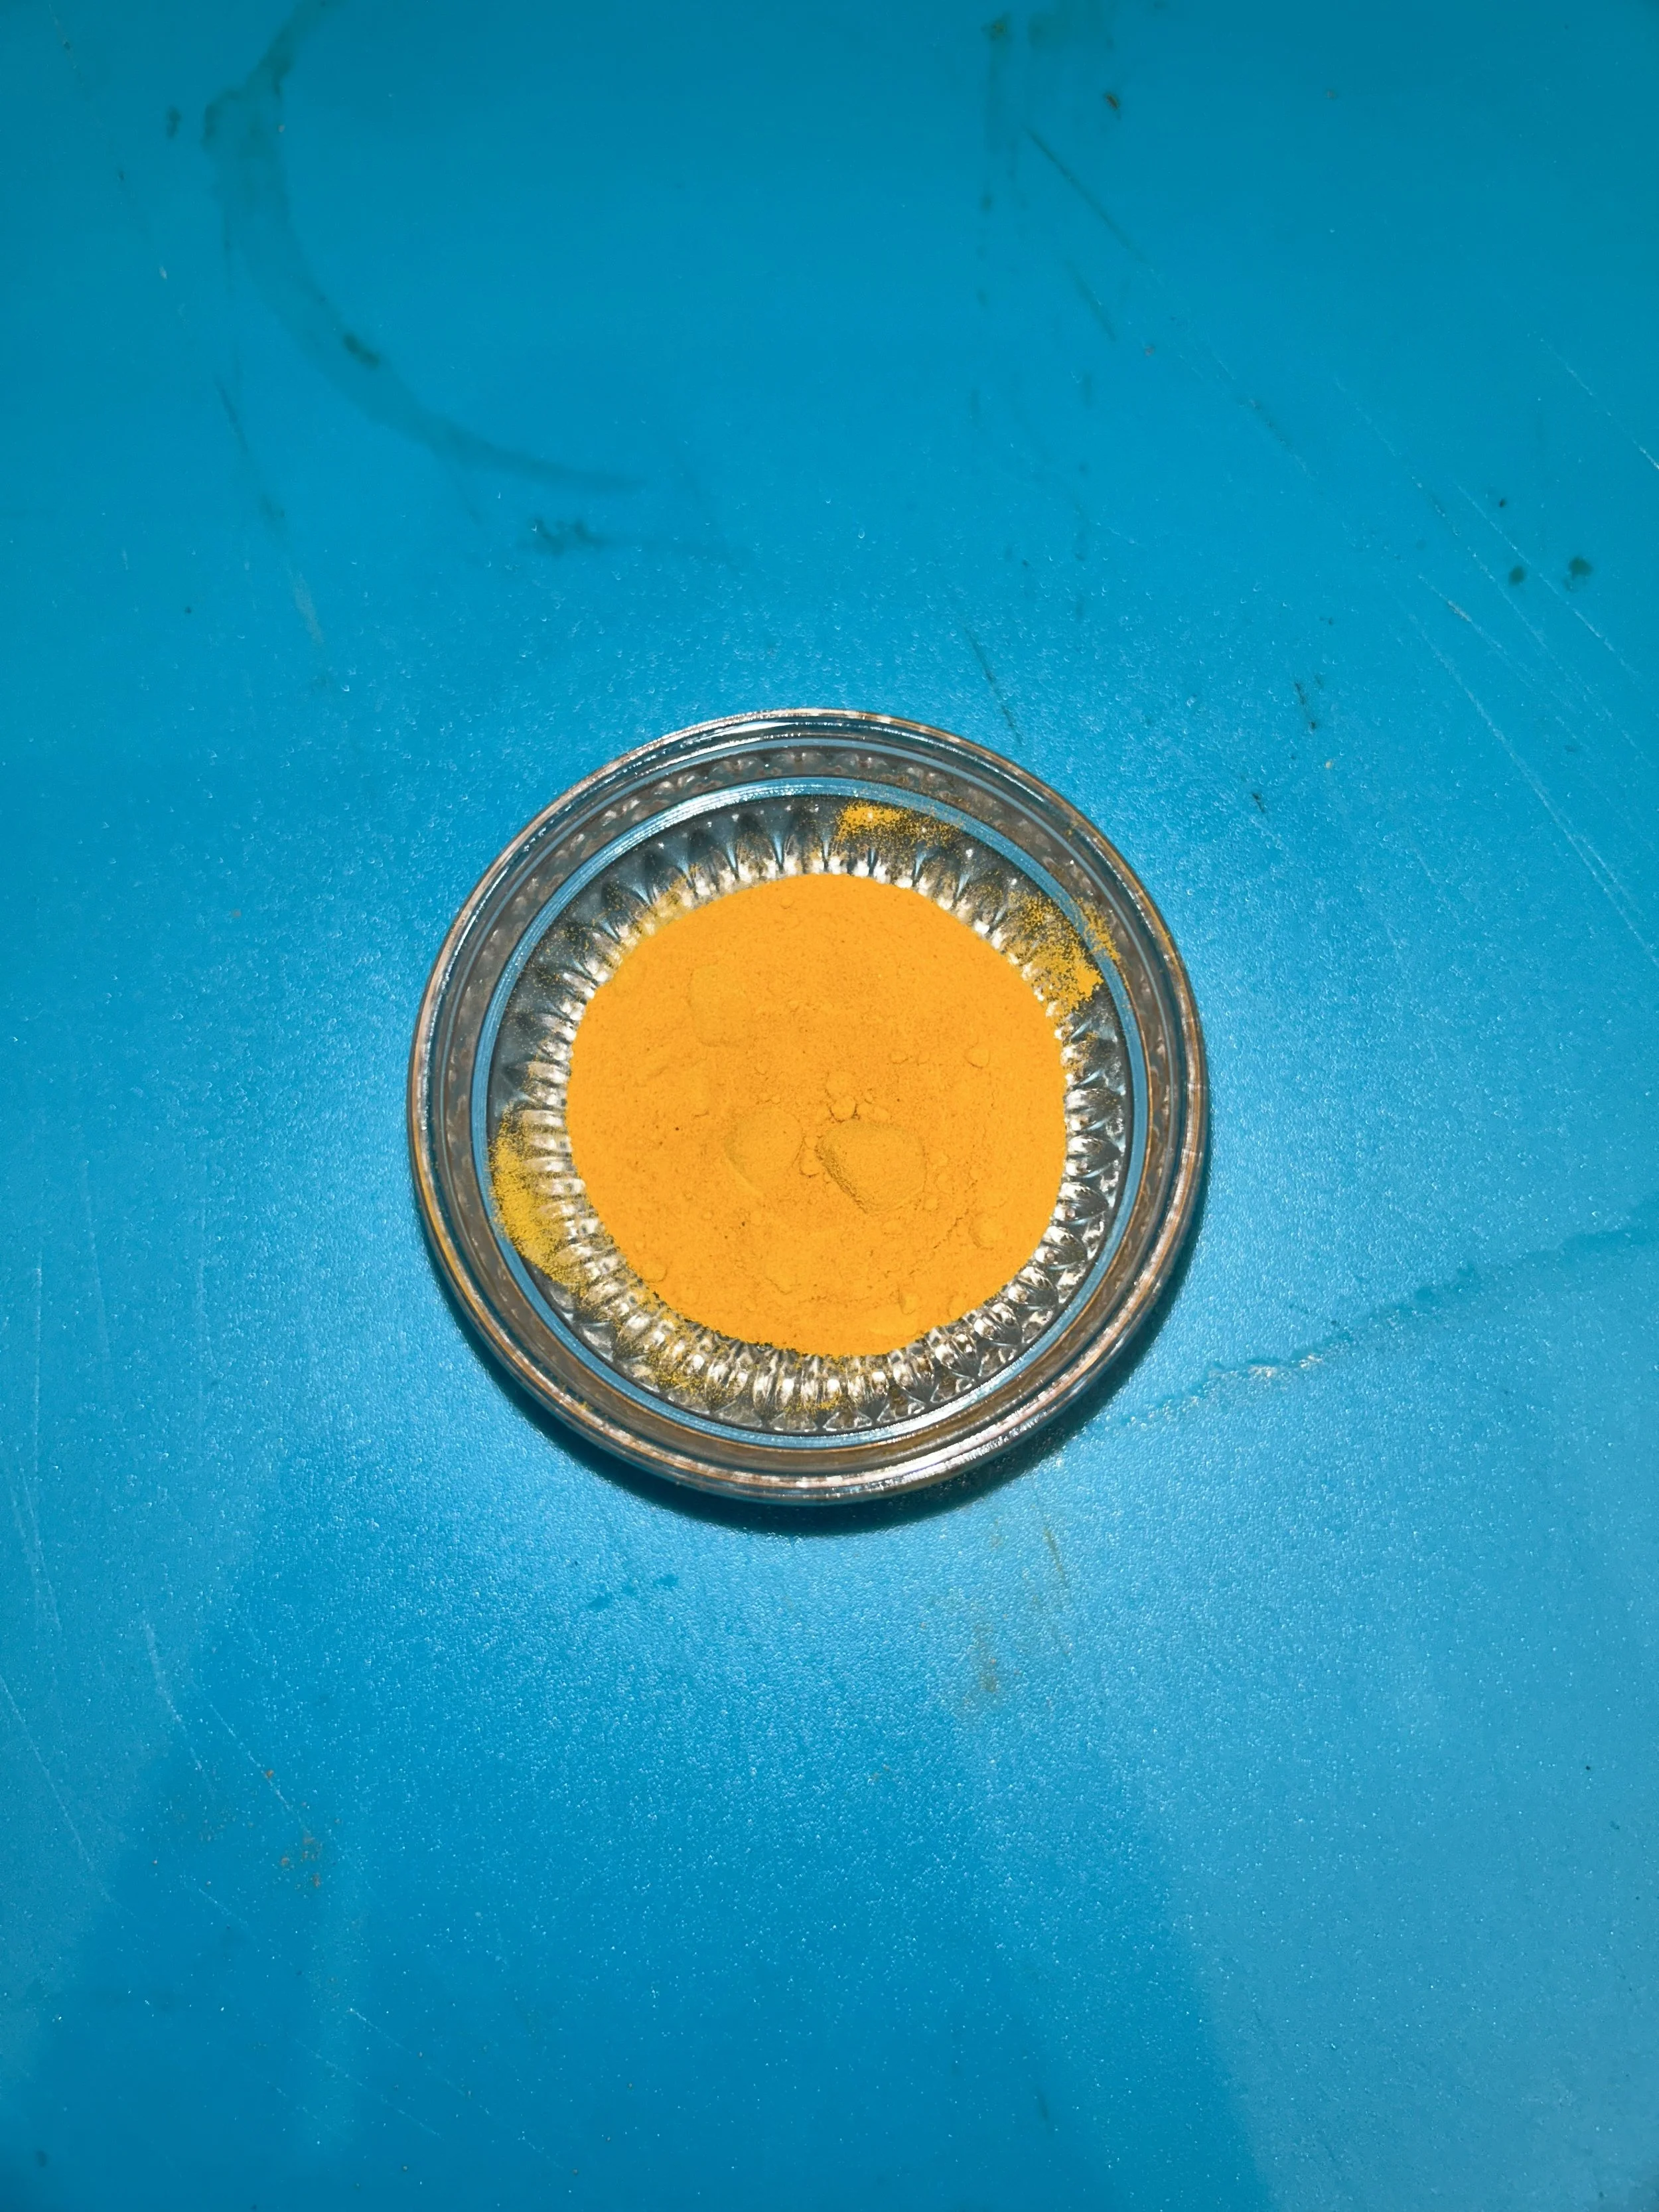
Day 6: Turmeric
I talked about this in an article about spices, but it’s worth re-mentioning that turmeric is a member of the ginger family and is a great anti-inflammatory agent to reduce itching and prevent rashes.
It has a similar sweet, earthy, spicy flavor as ginger but also has a signature golden-yellow color that, while it does stain, makes it one of the most easily identifiable spices in the world.

Turmeric is commonly used in Indian and Moroccan cuisine to achieve that golden color and earthy flavor, but I’ll put it into a simple flatbread that is as easy to make as it’s tasty to eat!
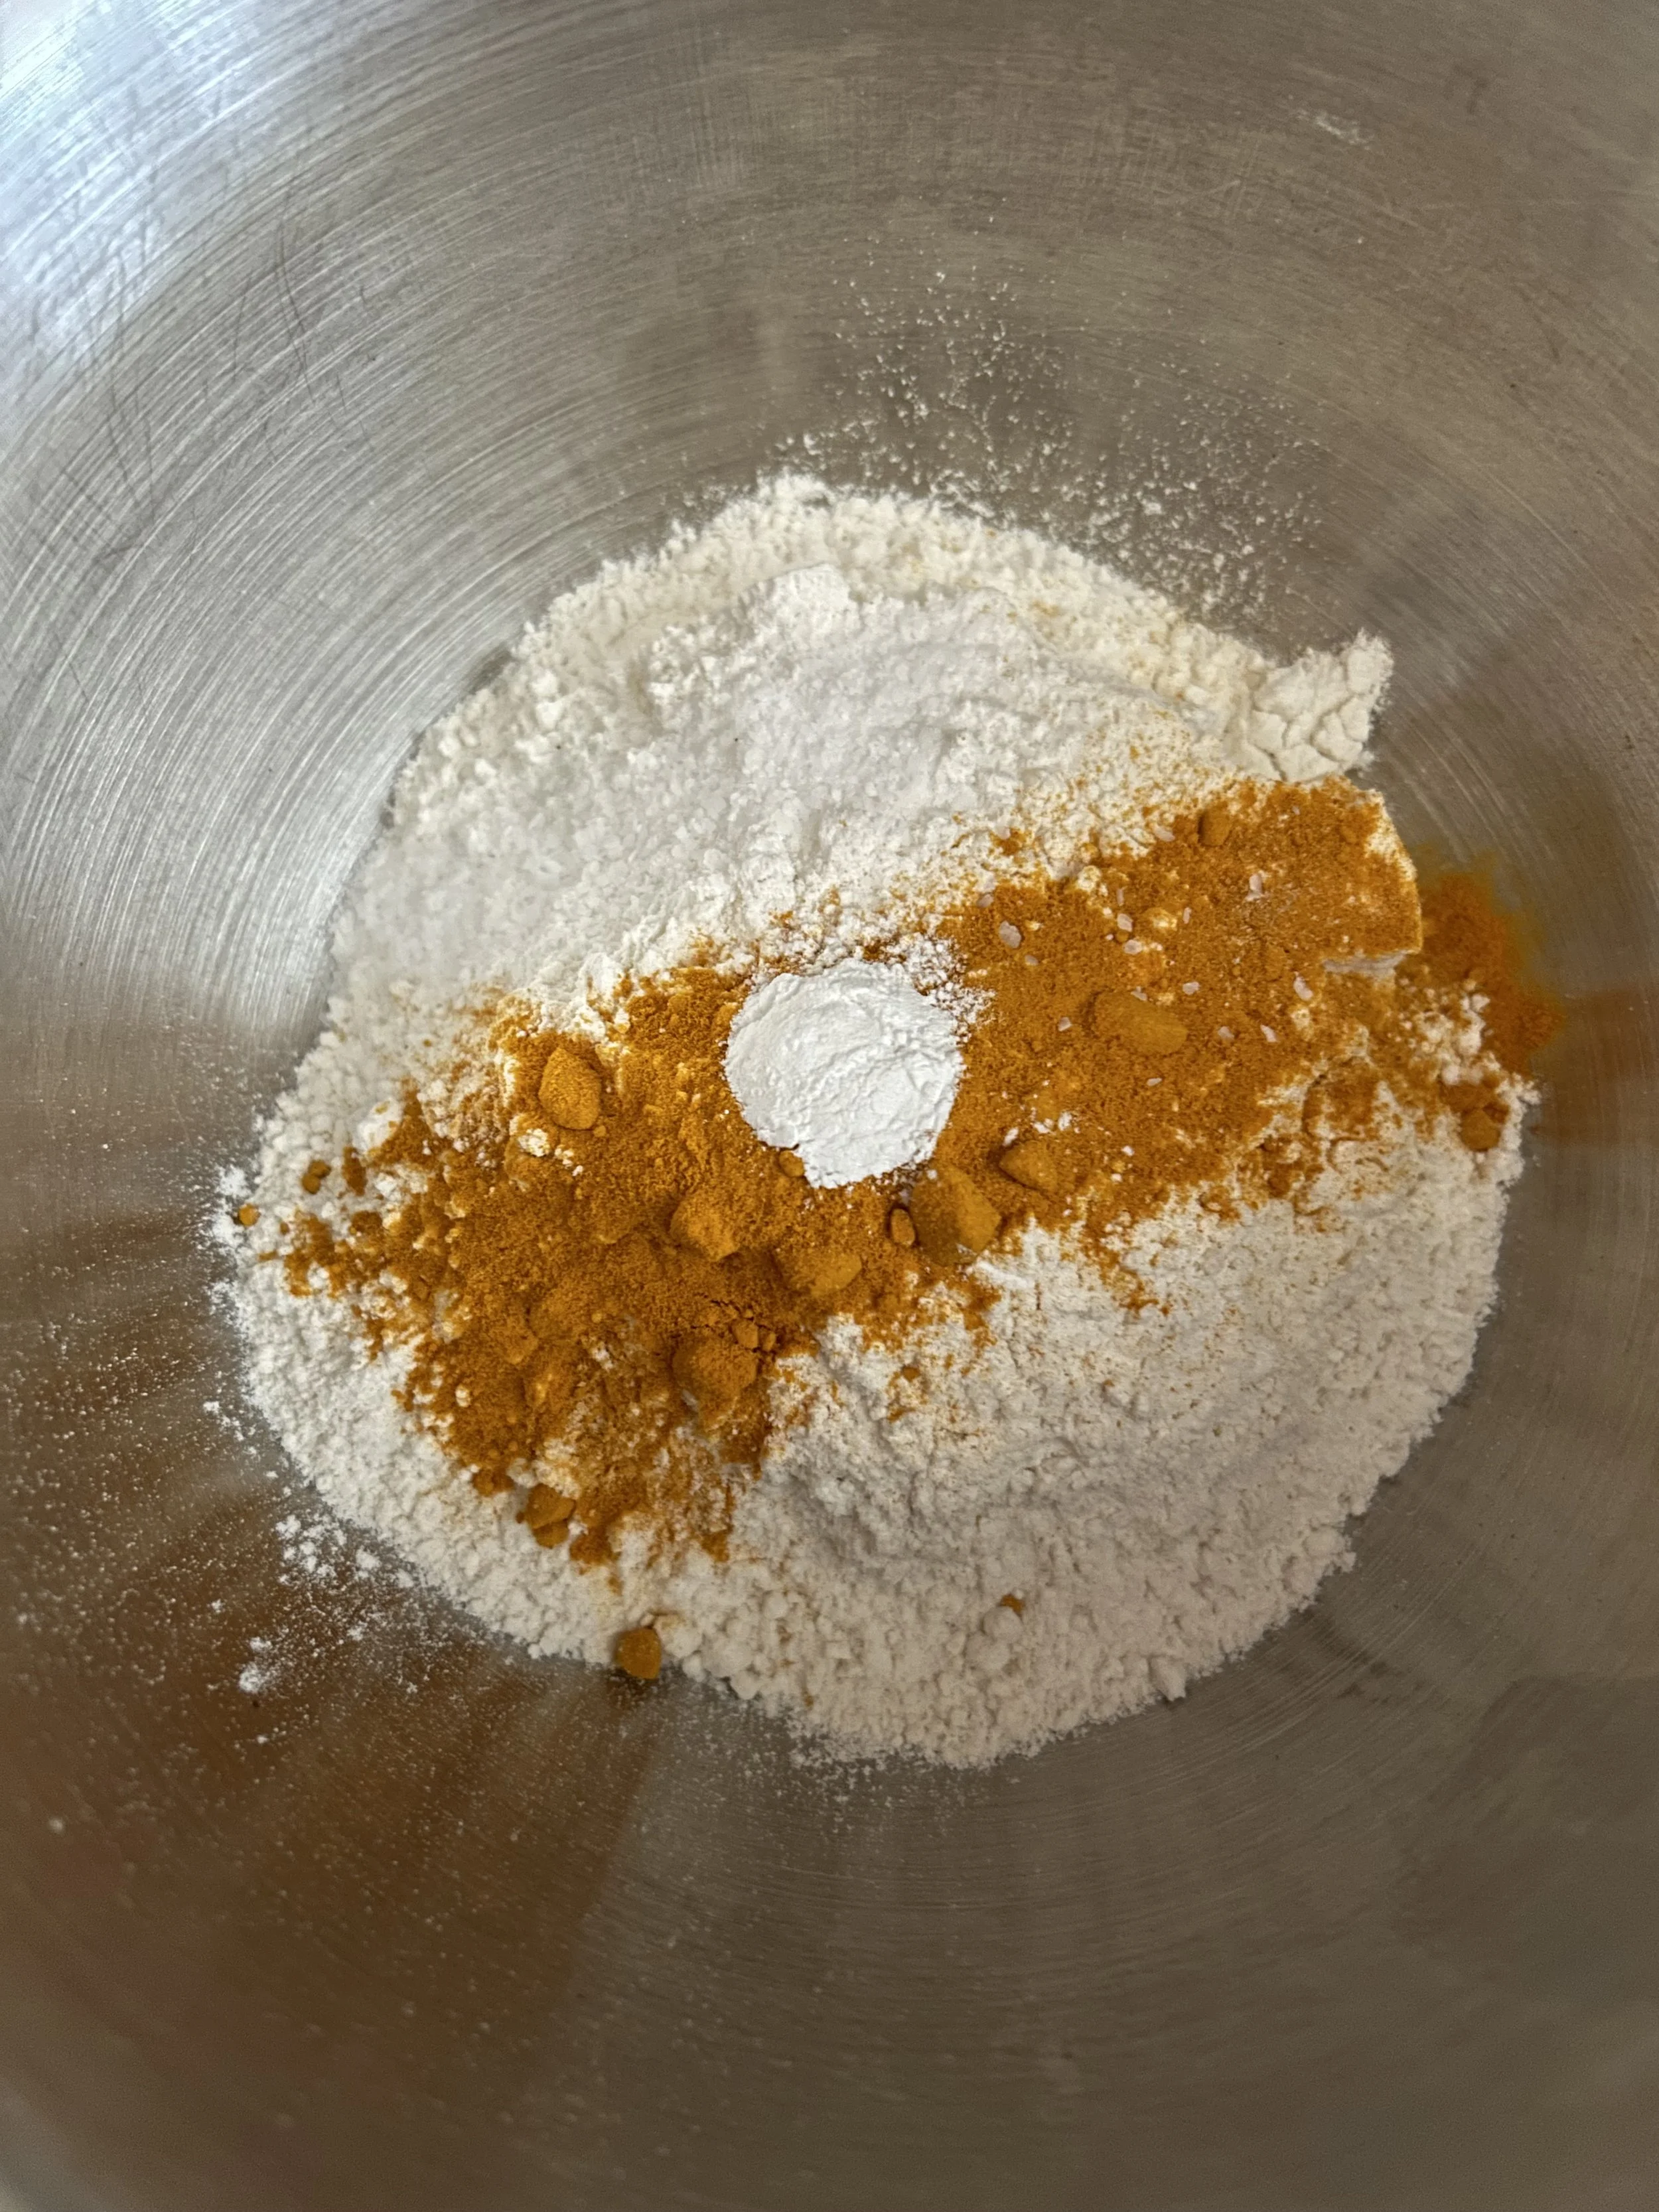
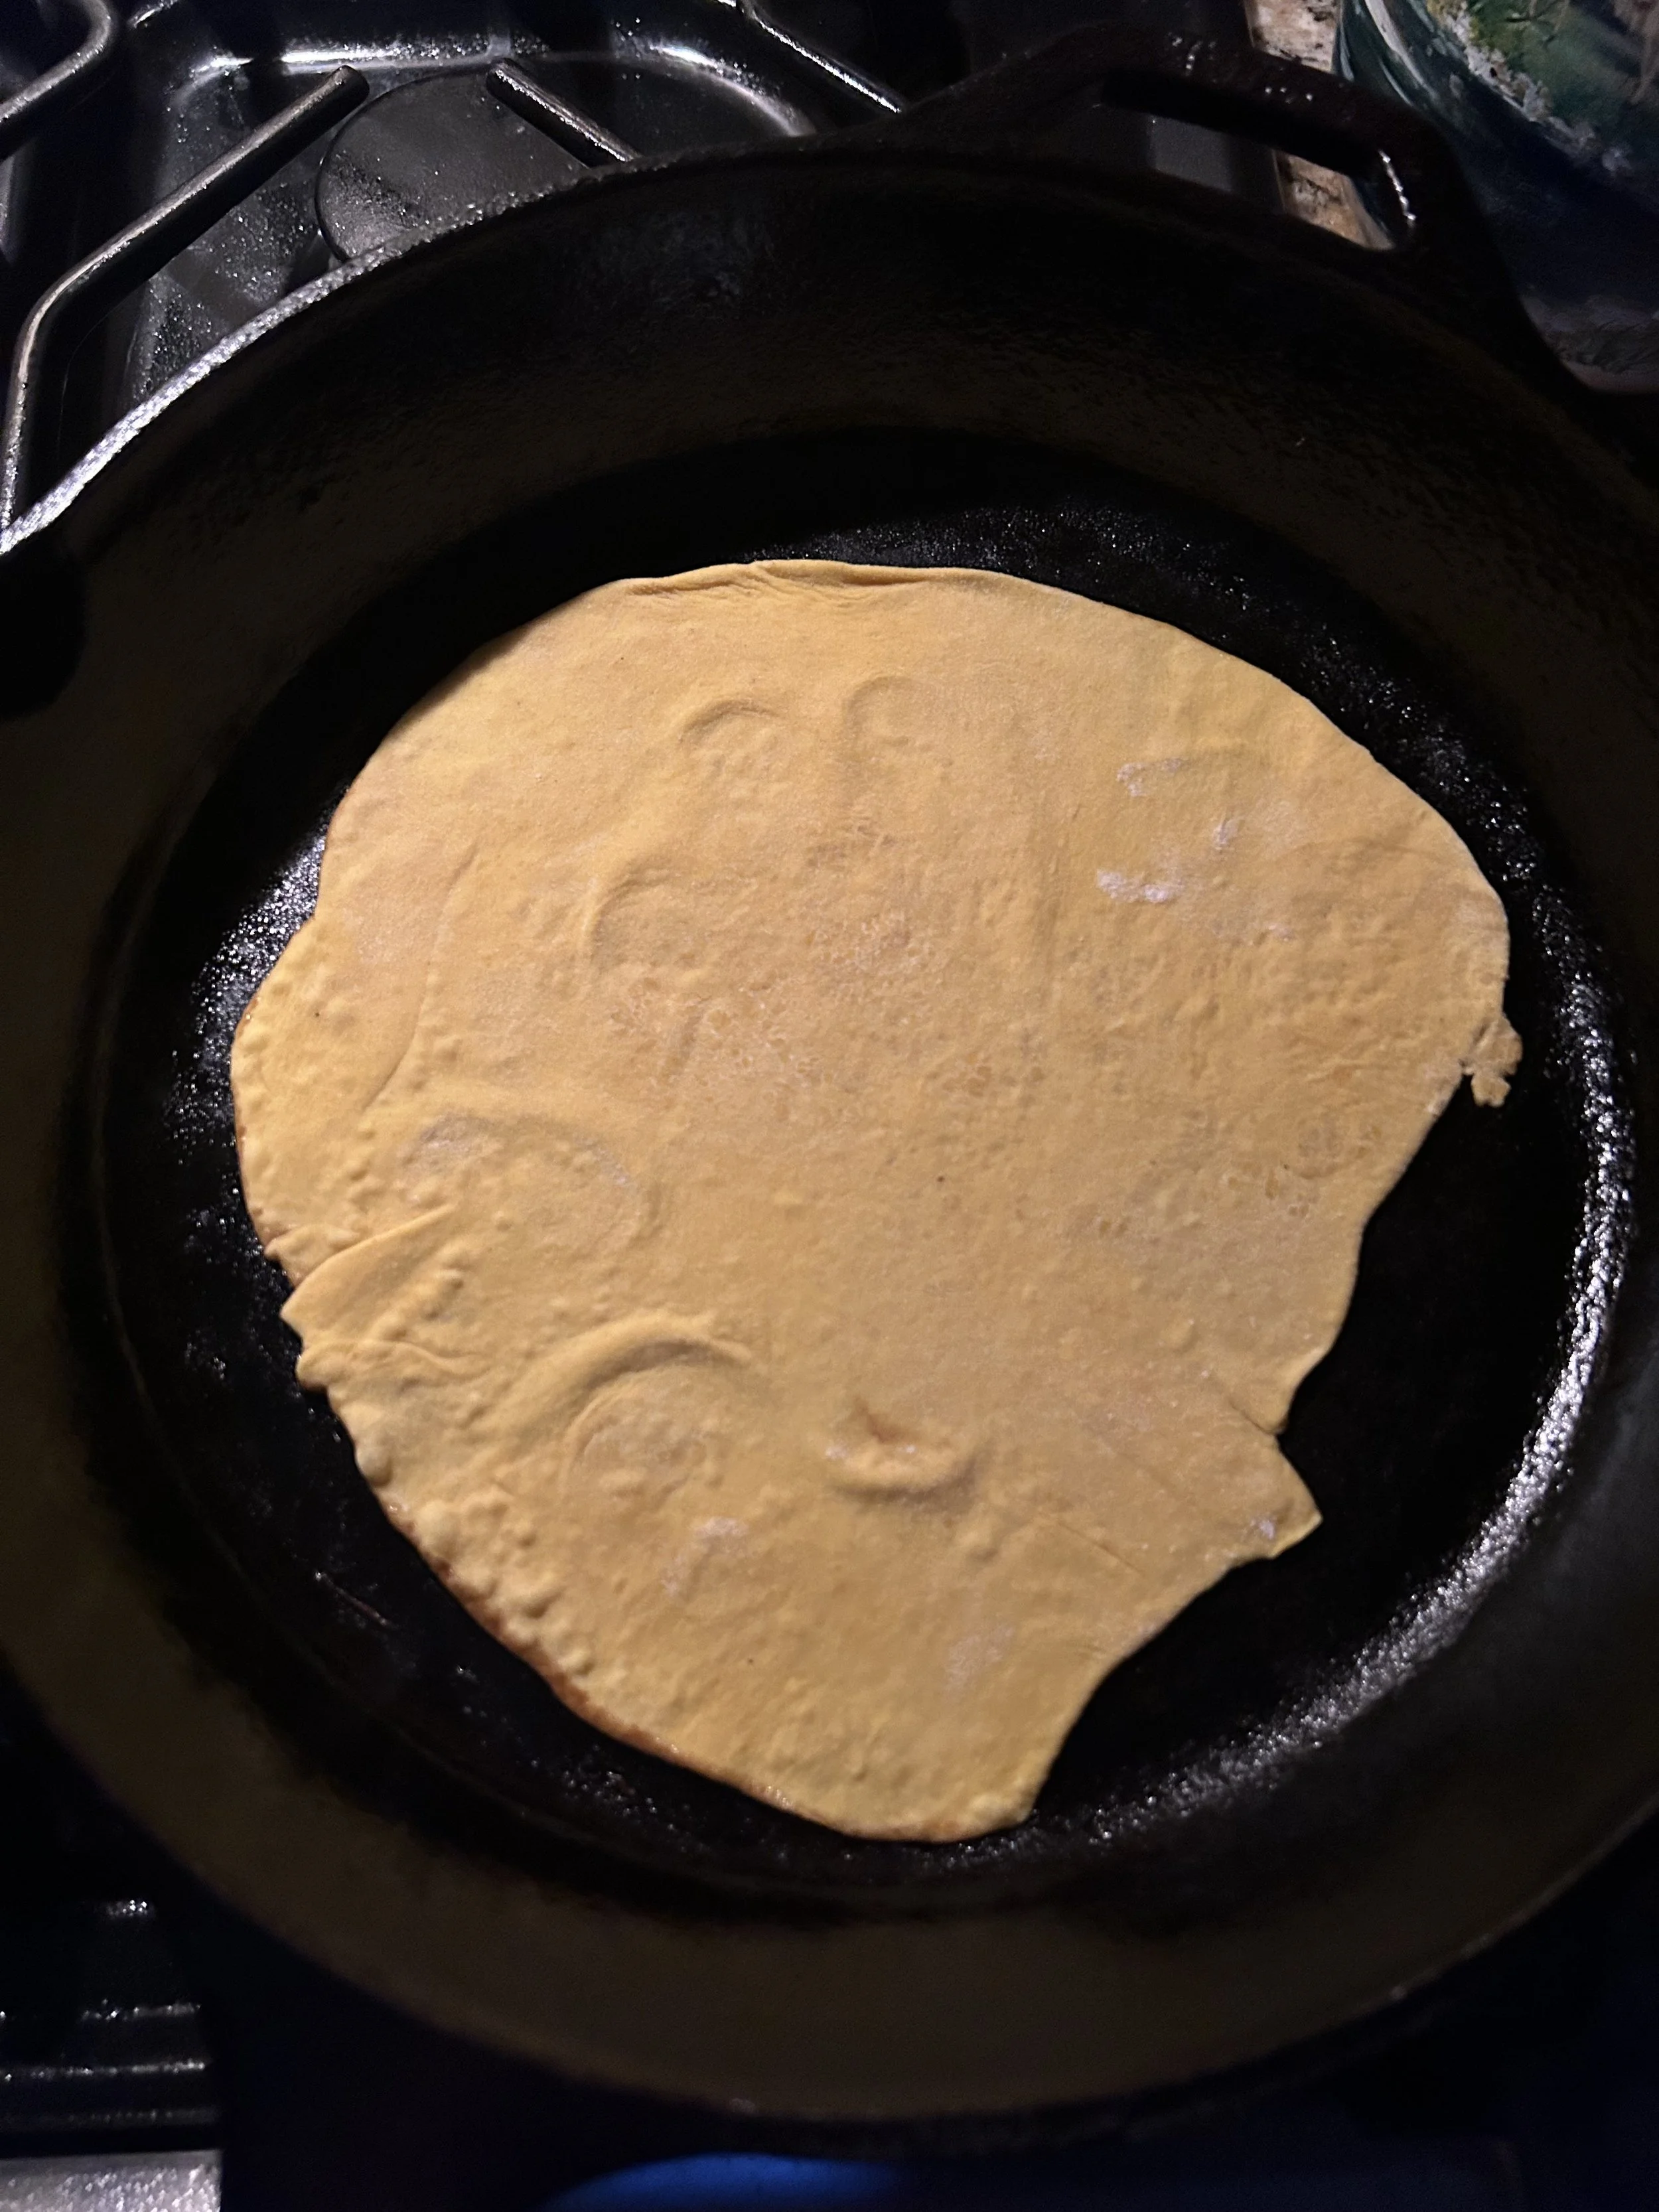
Combine 1 cup of flour, 1 1/2 teaspoons of ground turmeric, 1/2 teaspoon of salt.
And looking at this photo now, it resembles the Starkiller Base from Star Wars: The Force Awakens. Not my intention.
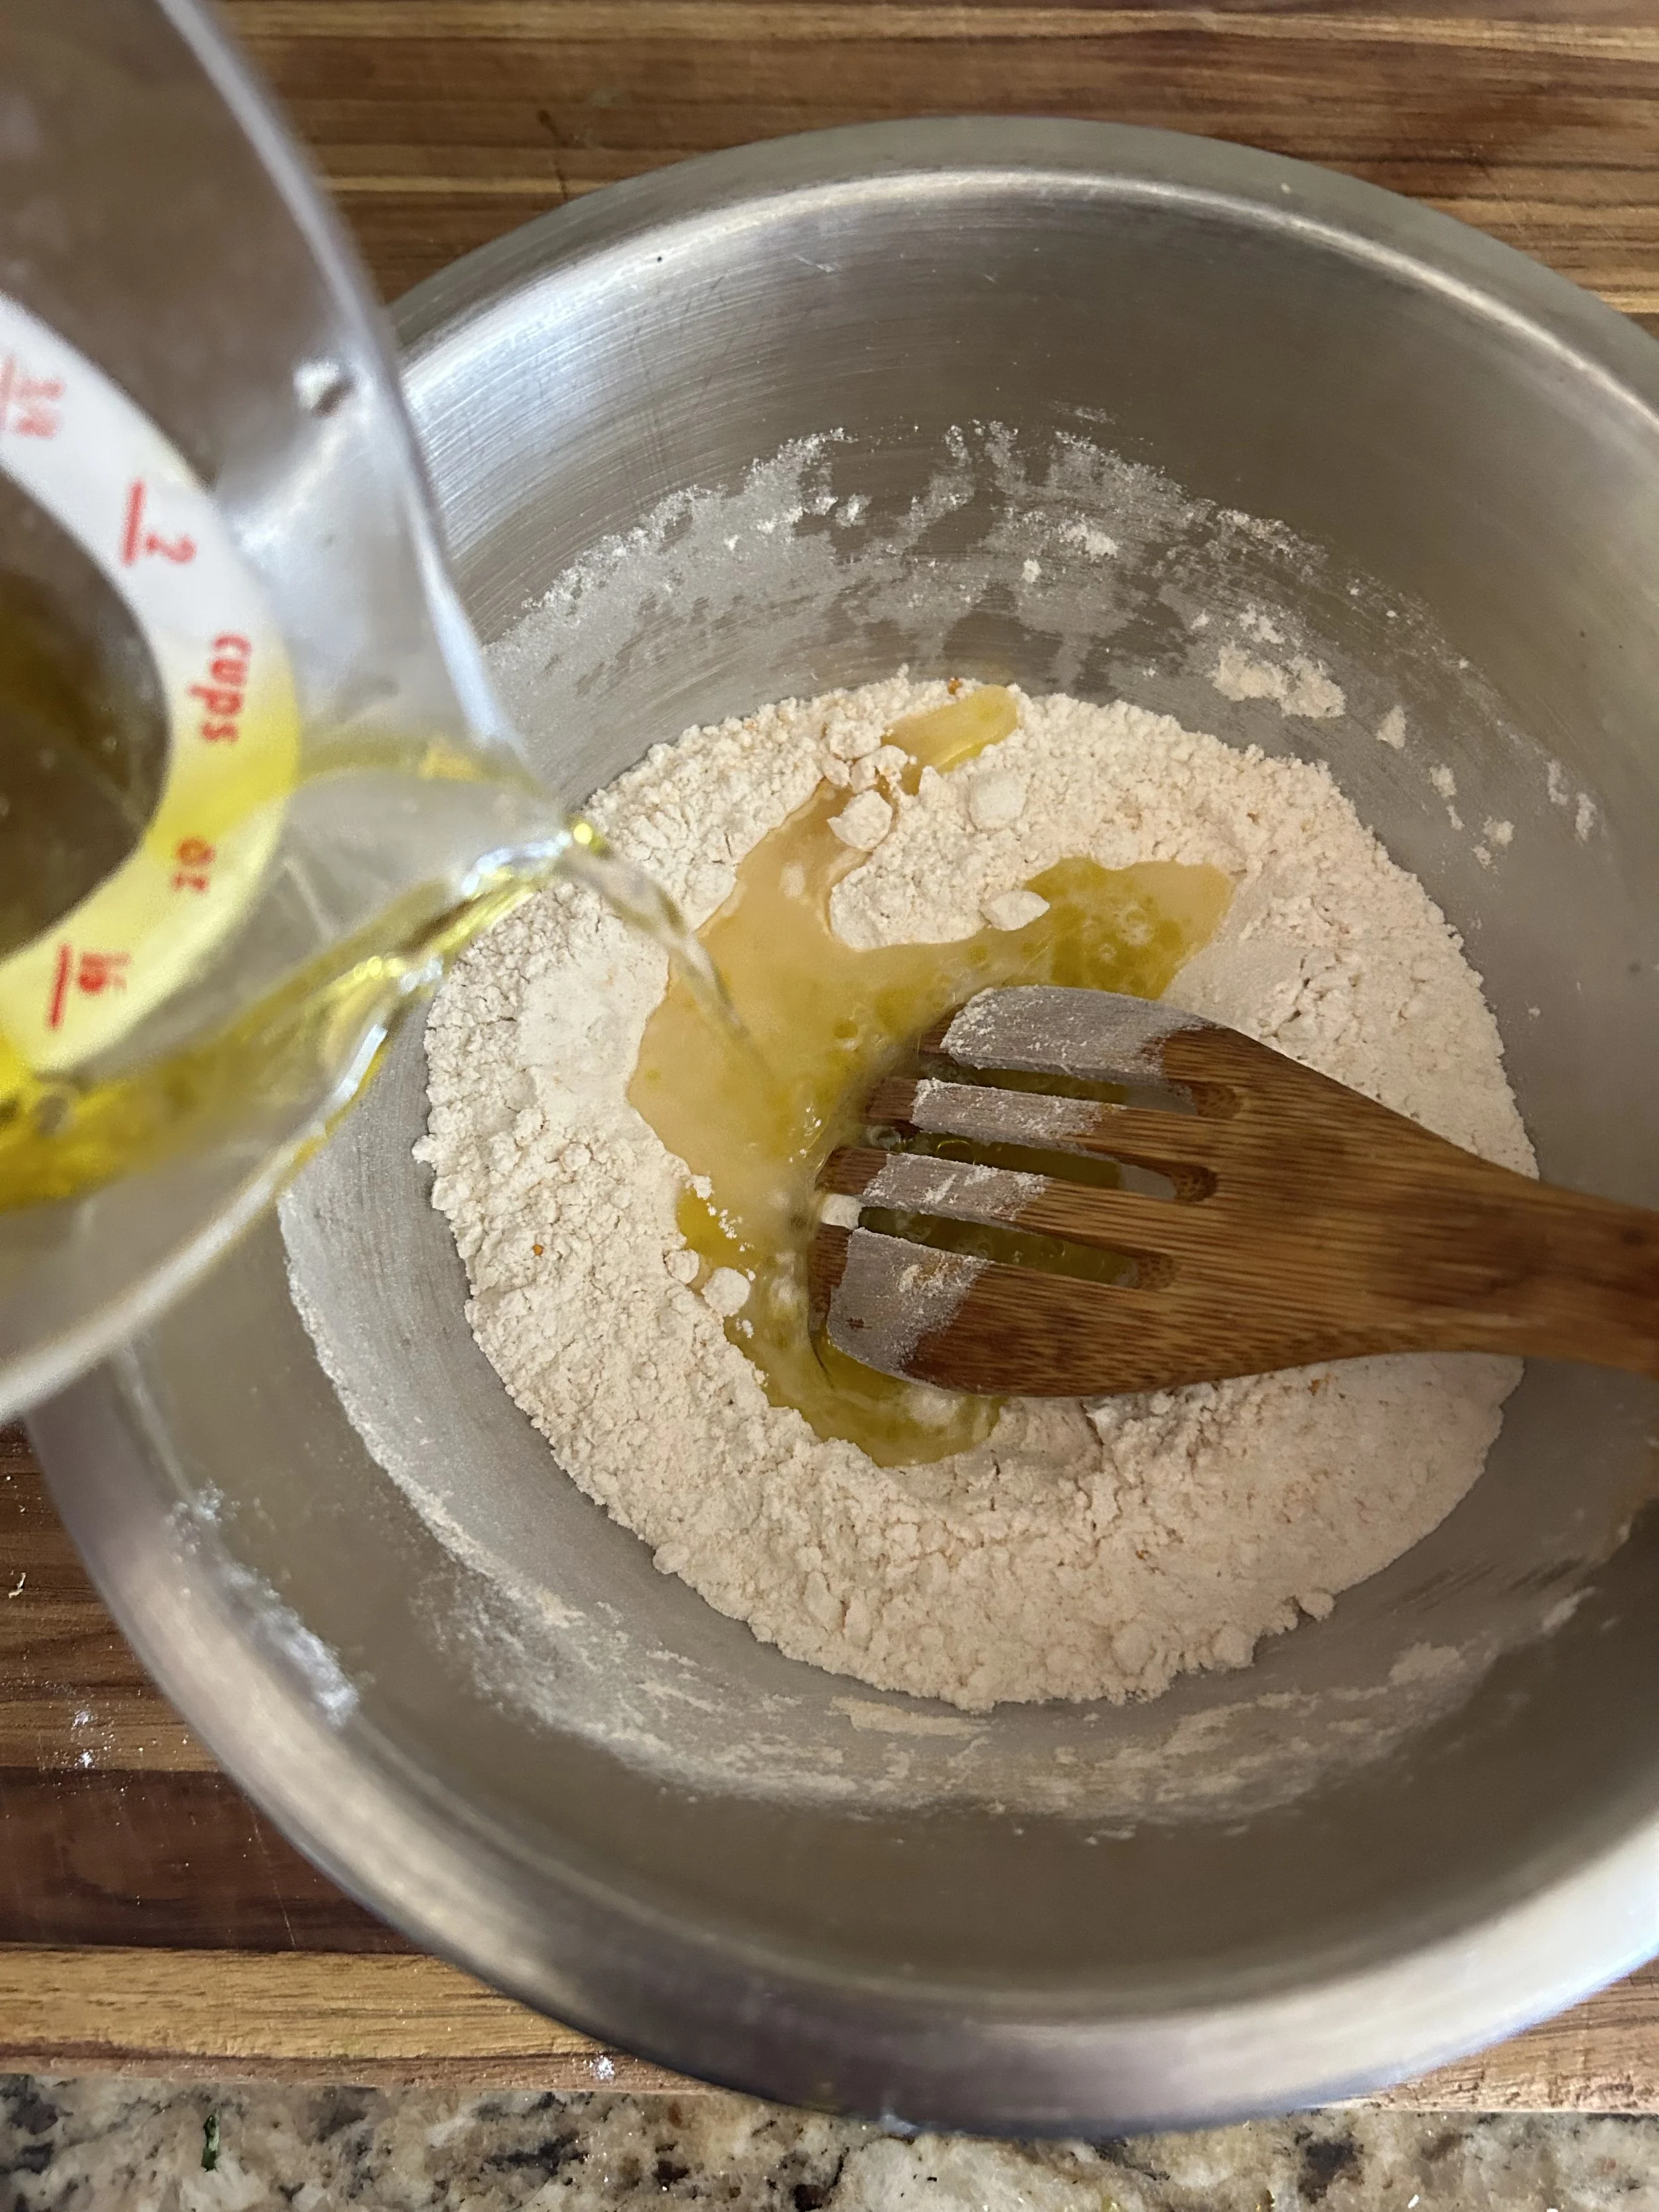
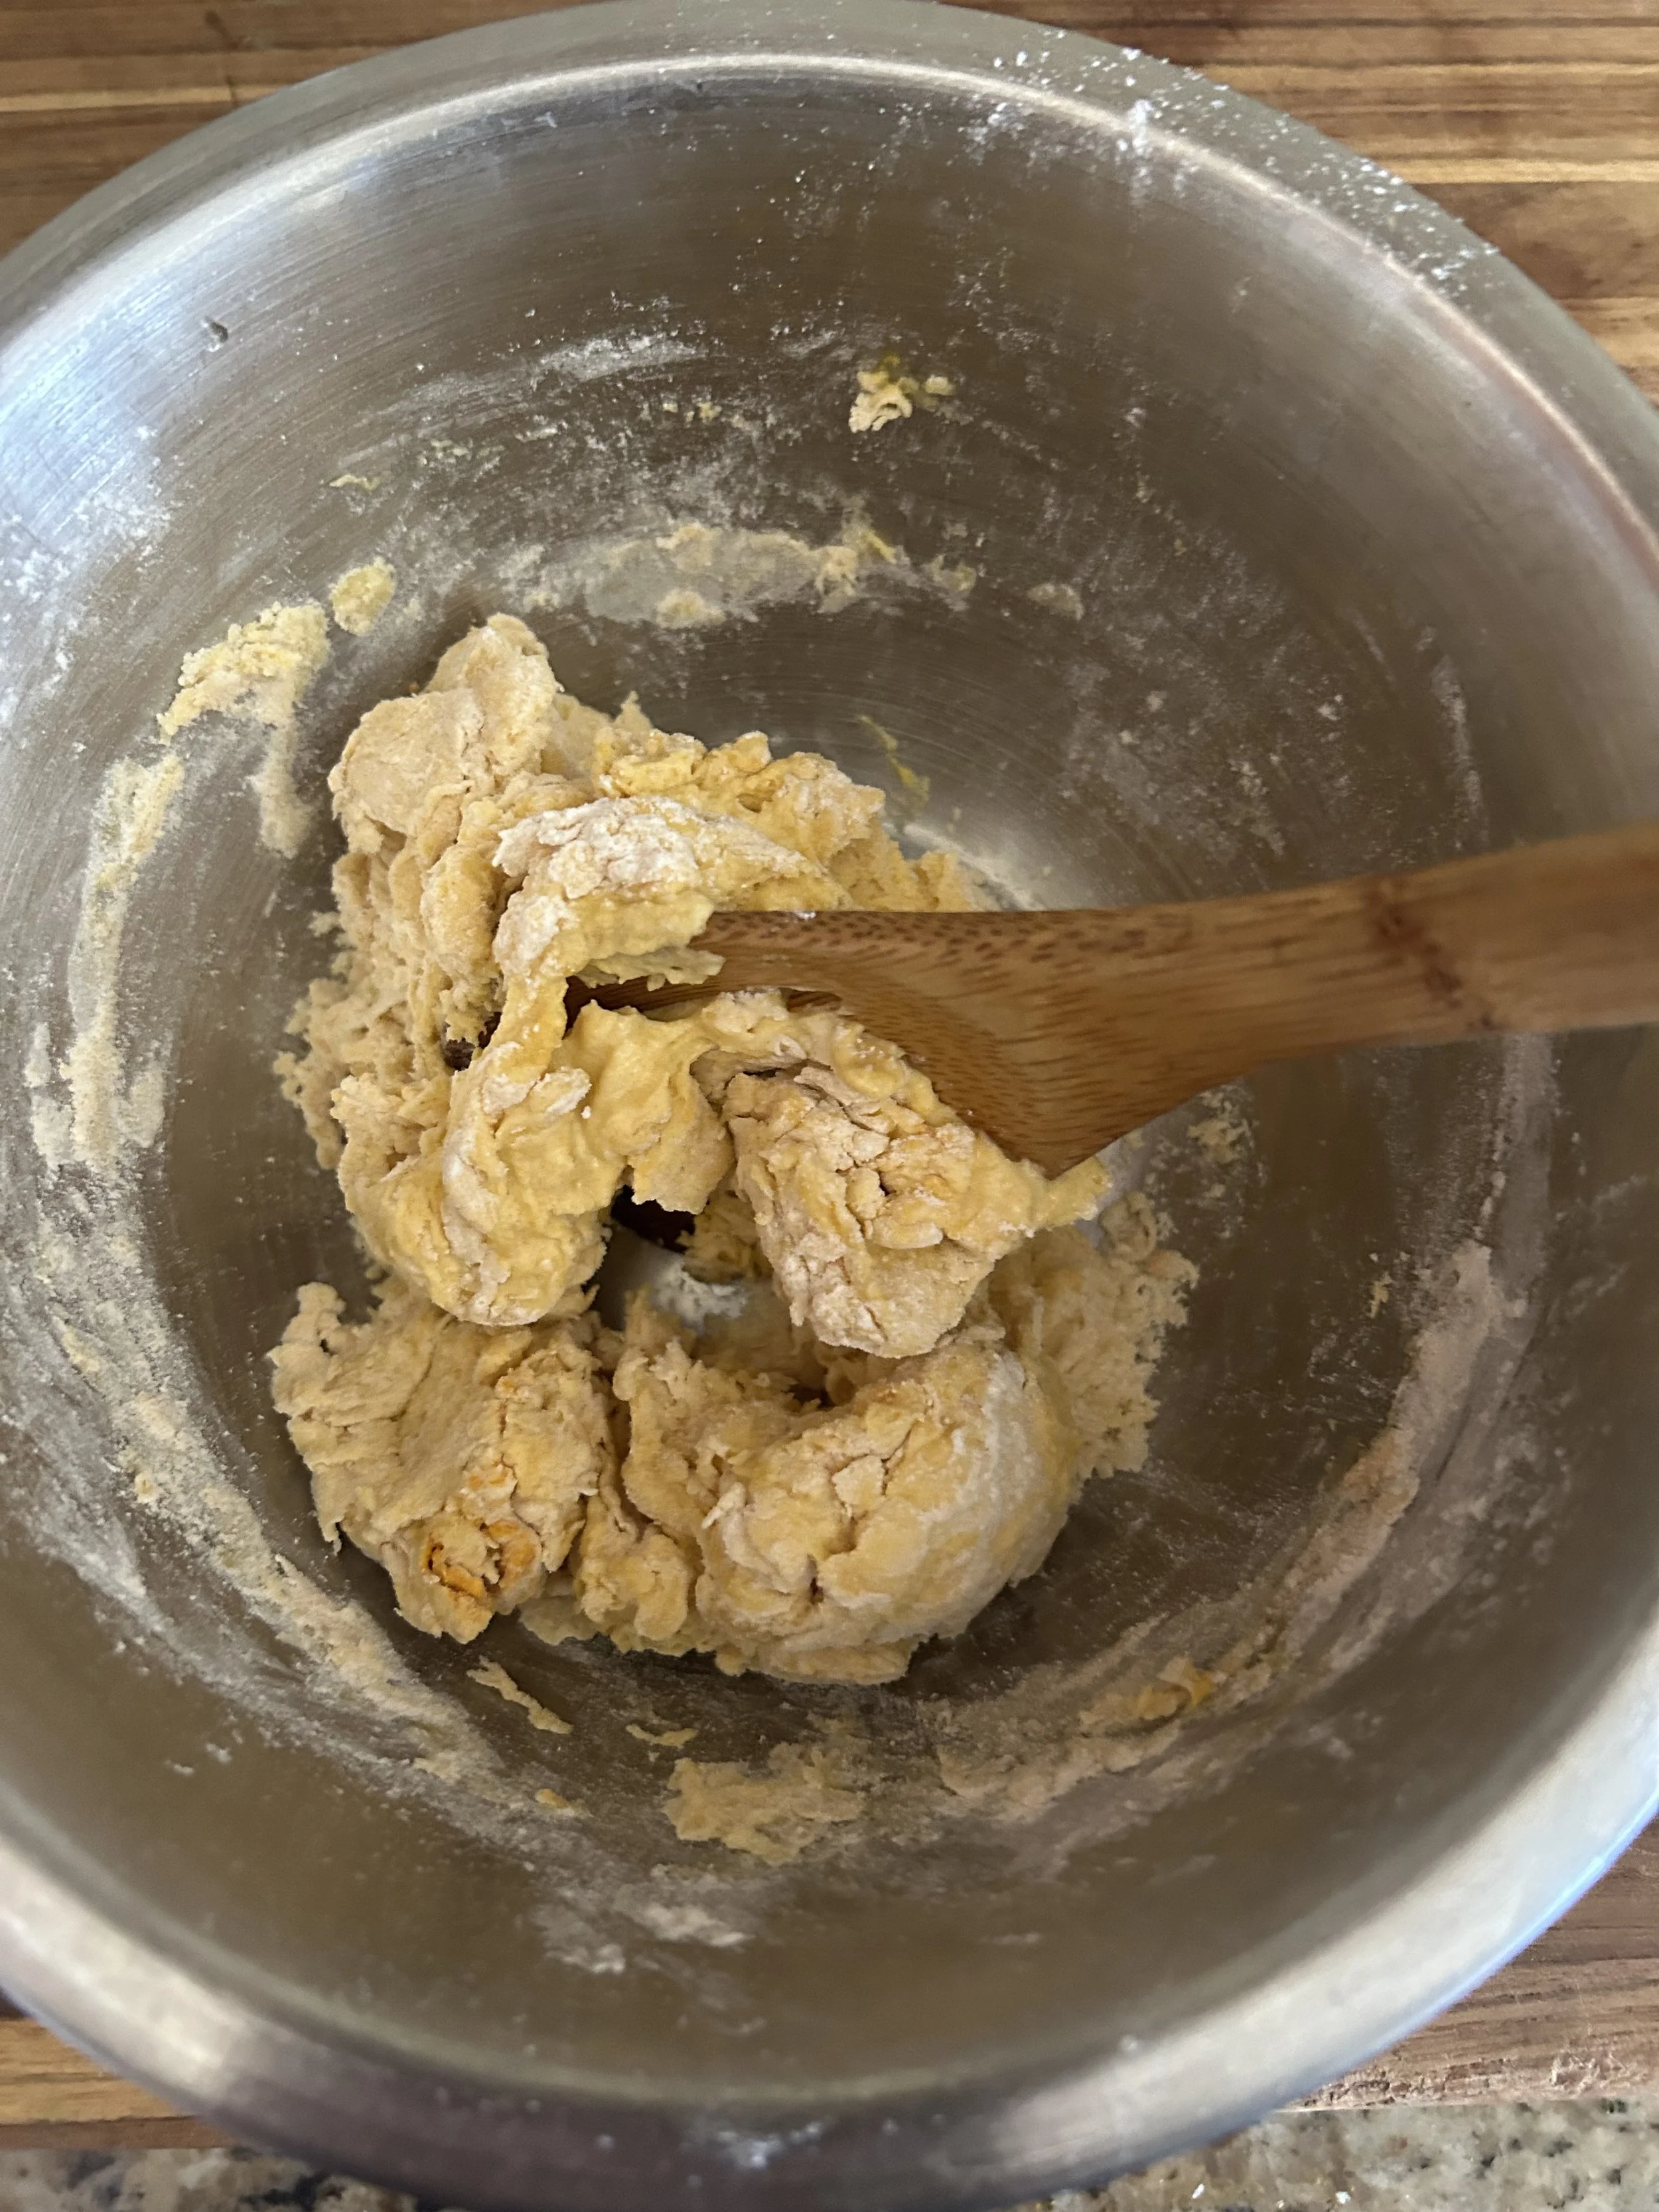
Add 1/3 cup of water and 2 tablespoons of olive oil, and mix until a shaggy dough forms. Since there is no yeast in this dough, it is perfectly acceptable to use cold water.
Pretty quickly, you’ll start to notice the yellow color that the turmeric gives, a color that will only intensify as the dough rests.

Turn the dough out onto a floured surface, then knead it for about 5 minutes, or until smooth. Shape the dough into a ball, cover it with a clean towel, and leave it to rest for at least 15 minutes.
Again, there’s no yeast in this dough, so it’s not going to rise like a classic bread dough, but allowing the dough to relax will allow the flour molecules to hydrate and will relax the gluten strands, leading to a tender flatbread.
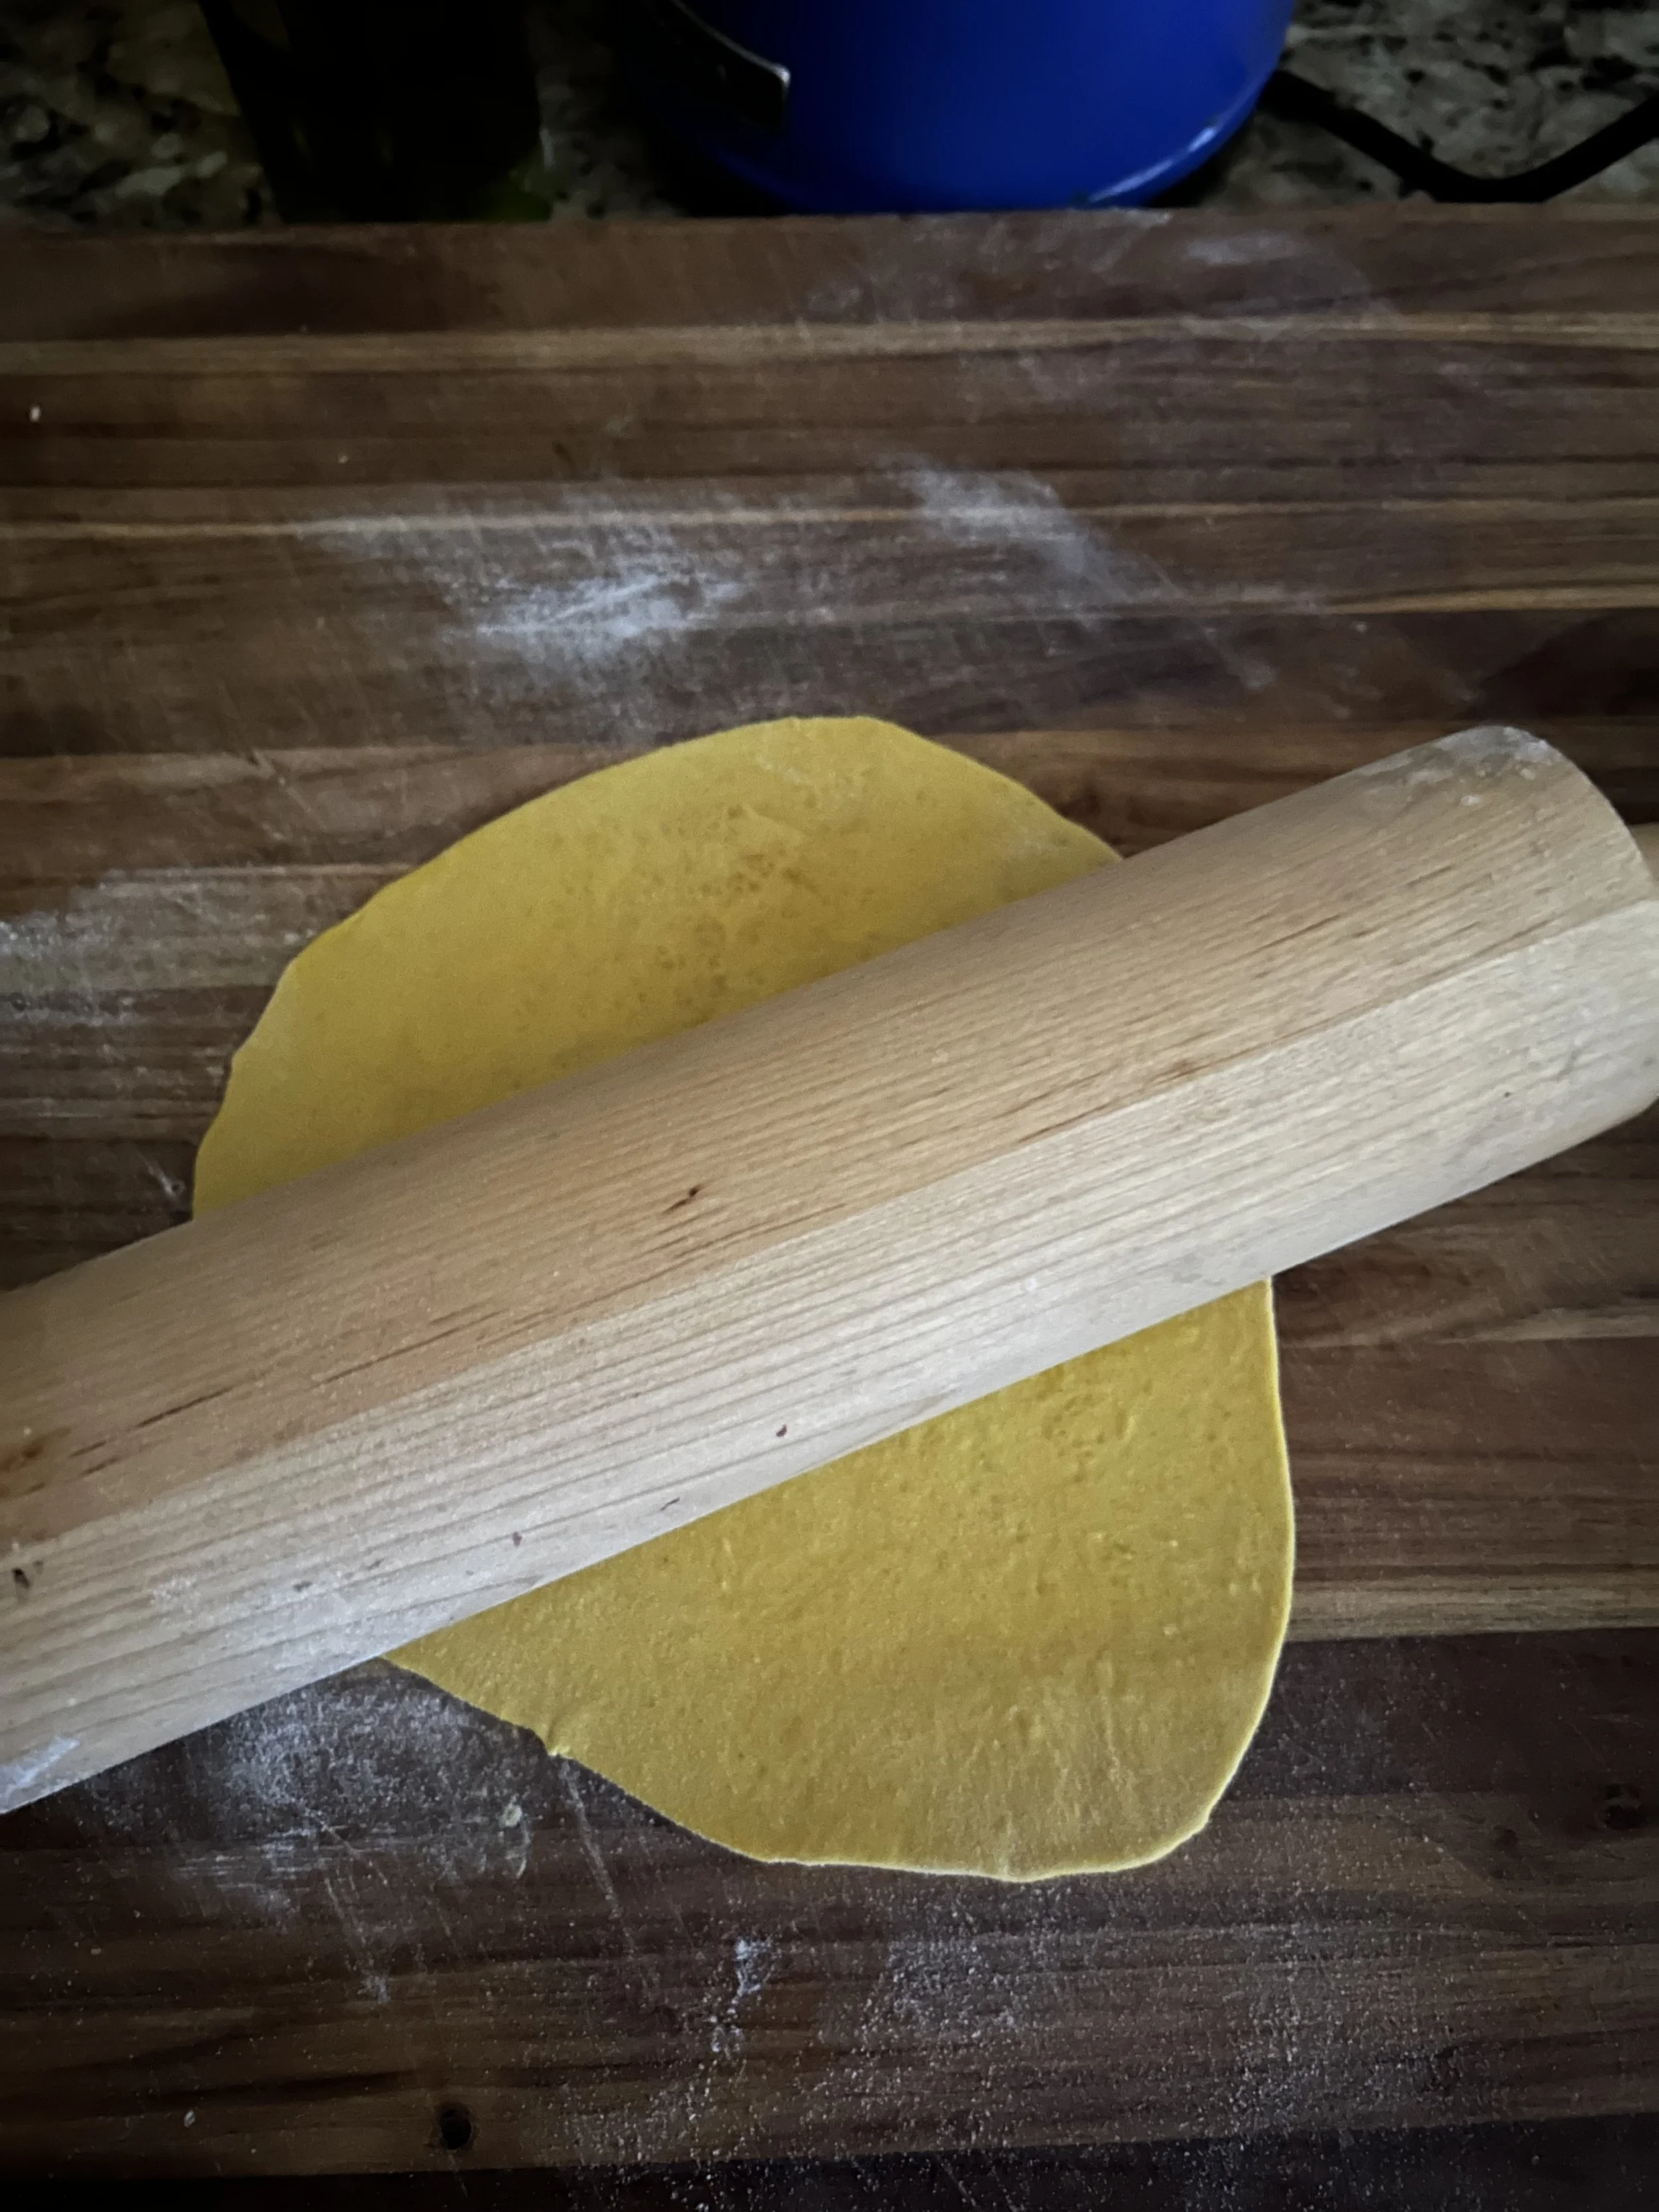
Once rested, Divide the dough into 4 pieces, then roll each piece into a 6-inch wide disc.
It does not have to be rolled into a perfect circle, but it does need to be an even thickness.
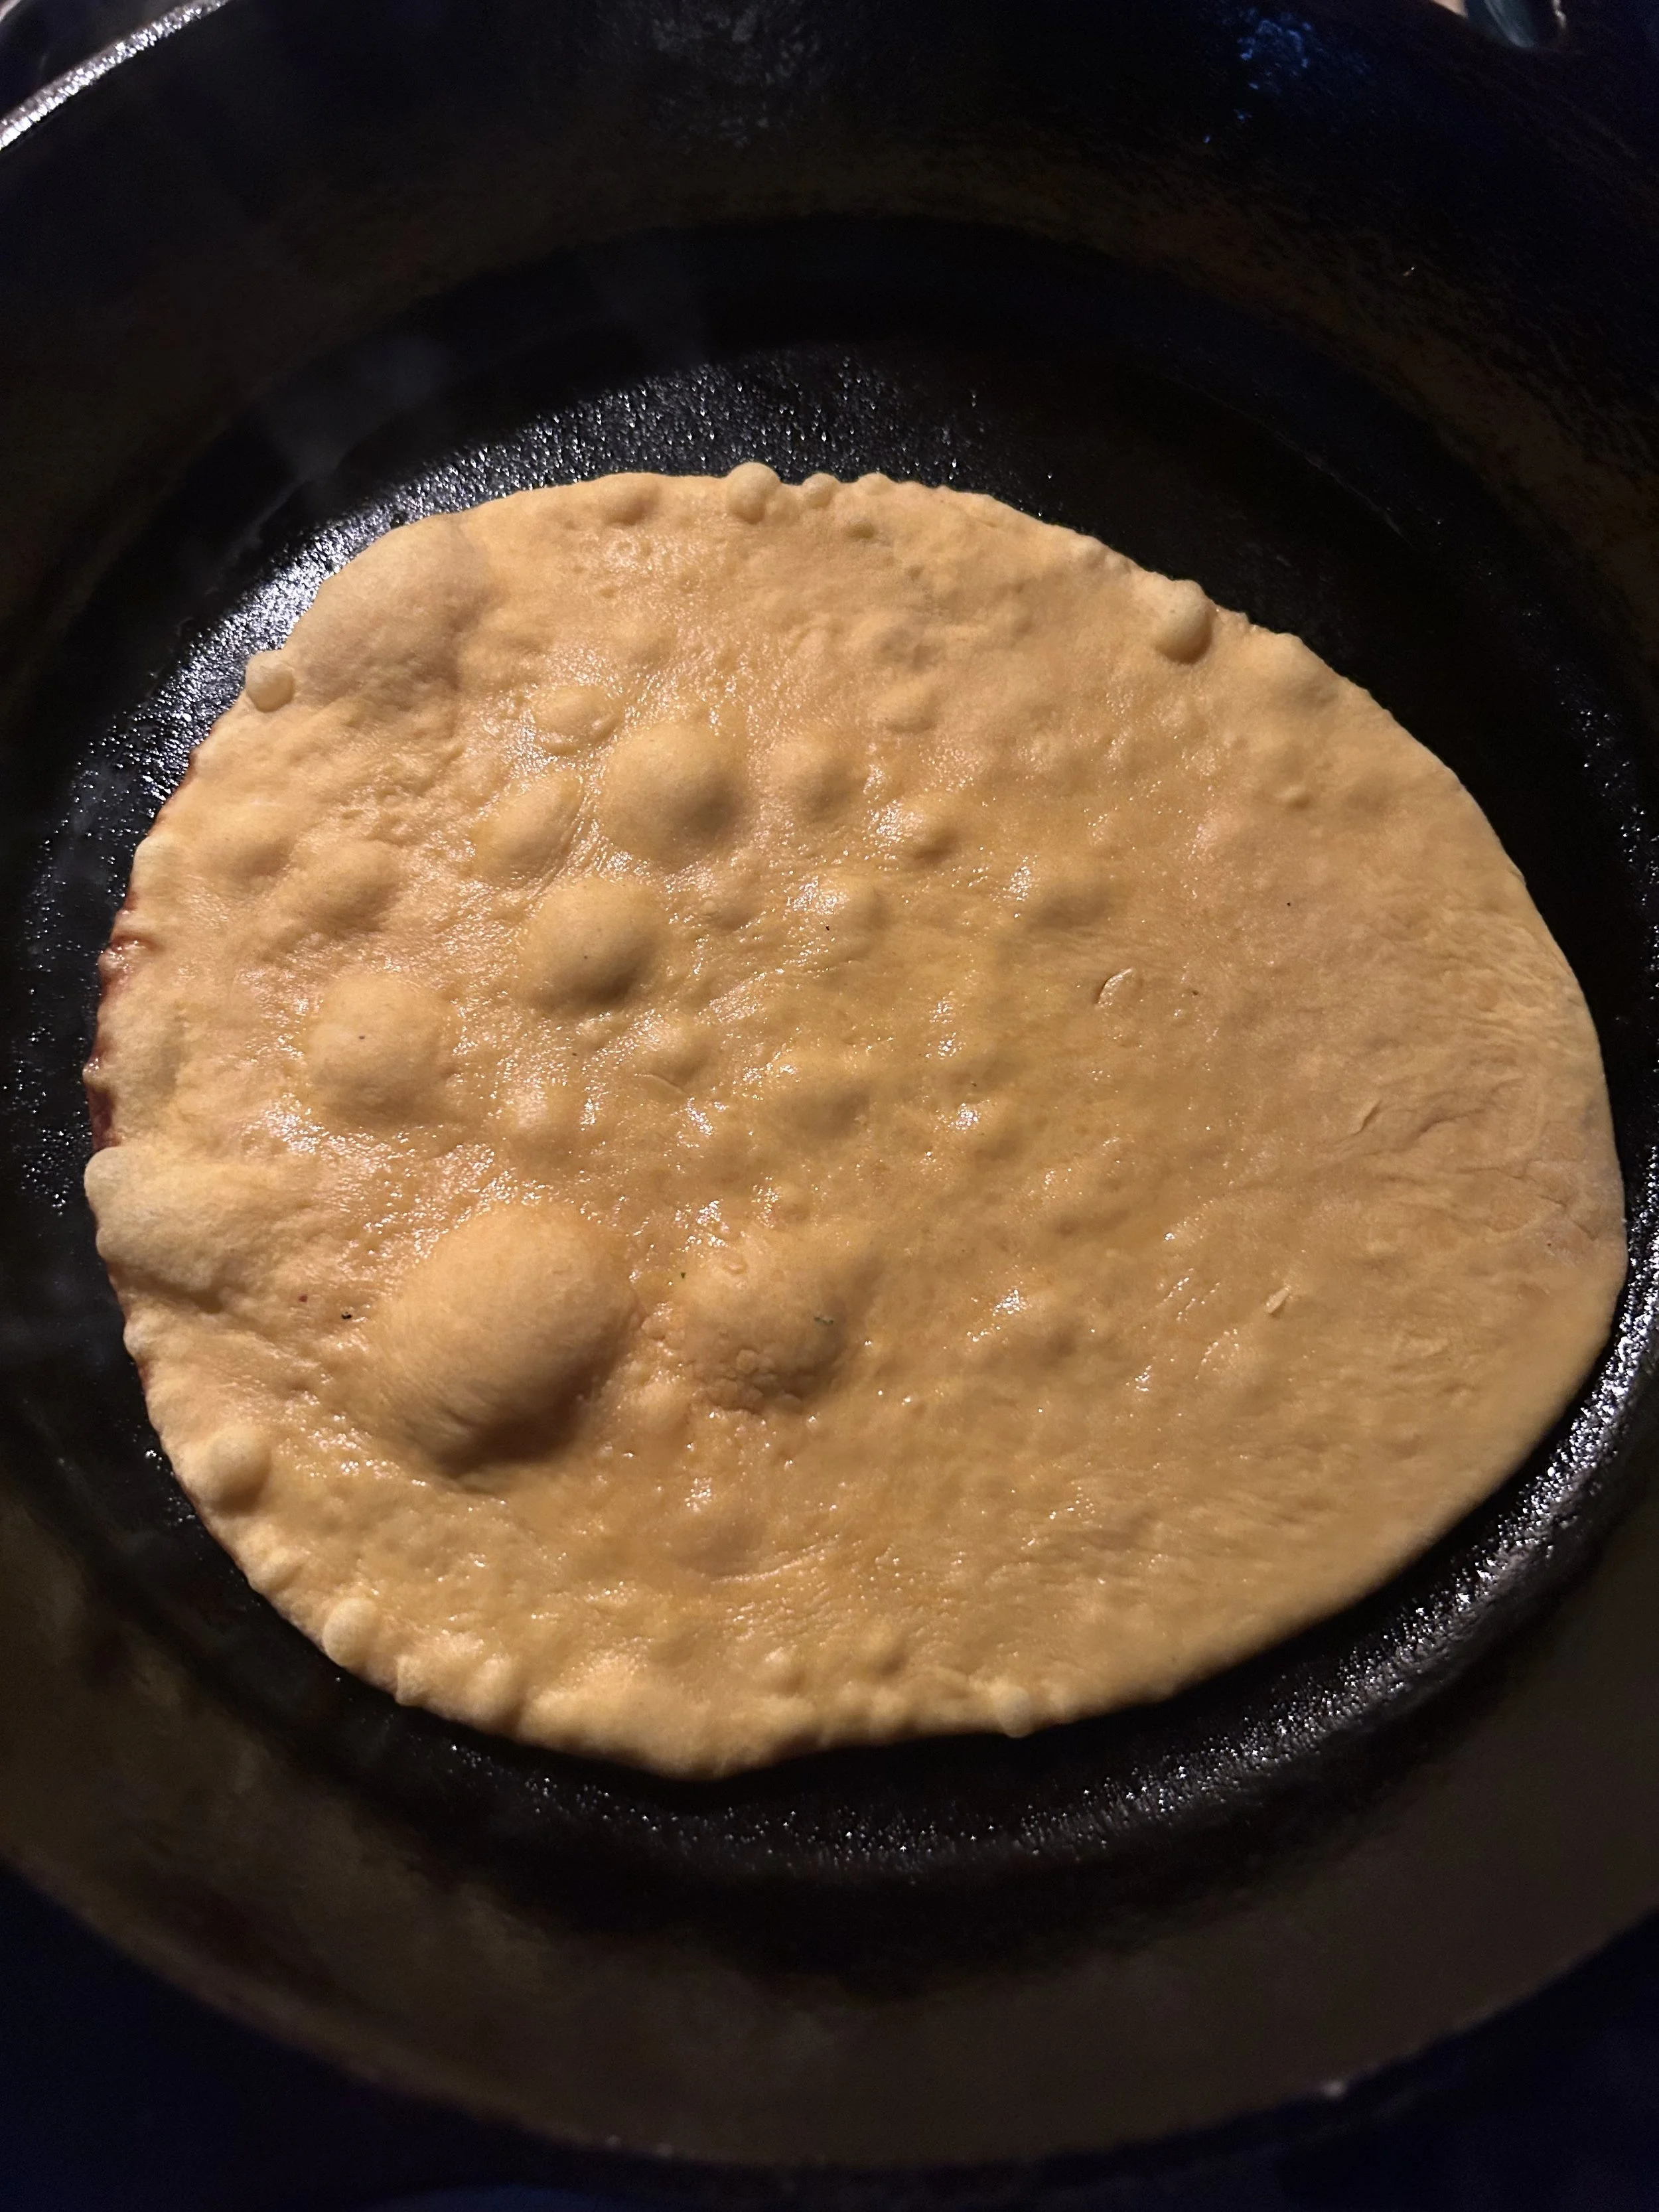
To cook, slap each dough disc into a hot, oiled cast iron skillet and cook for one minute, or until the dough starts to puff up in spots and is slightly browned.
Flip the dough, then cook for another 1-2 minutes. You do not want to walk away, as this flatbread can burn in seconds.
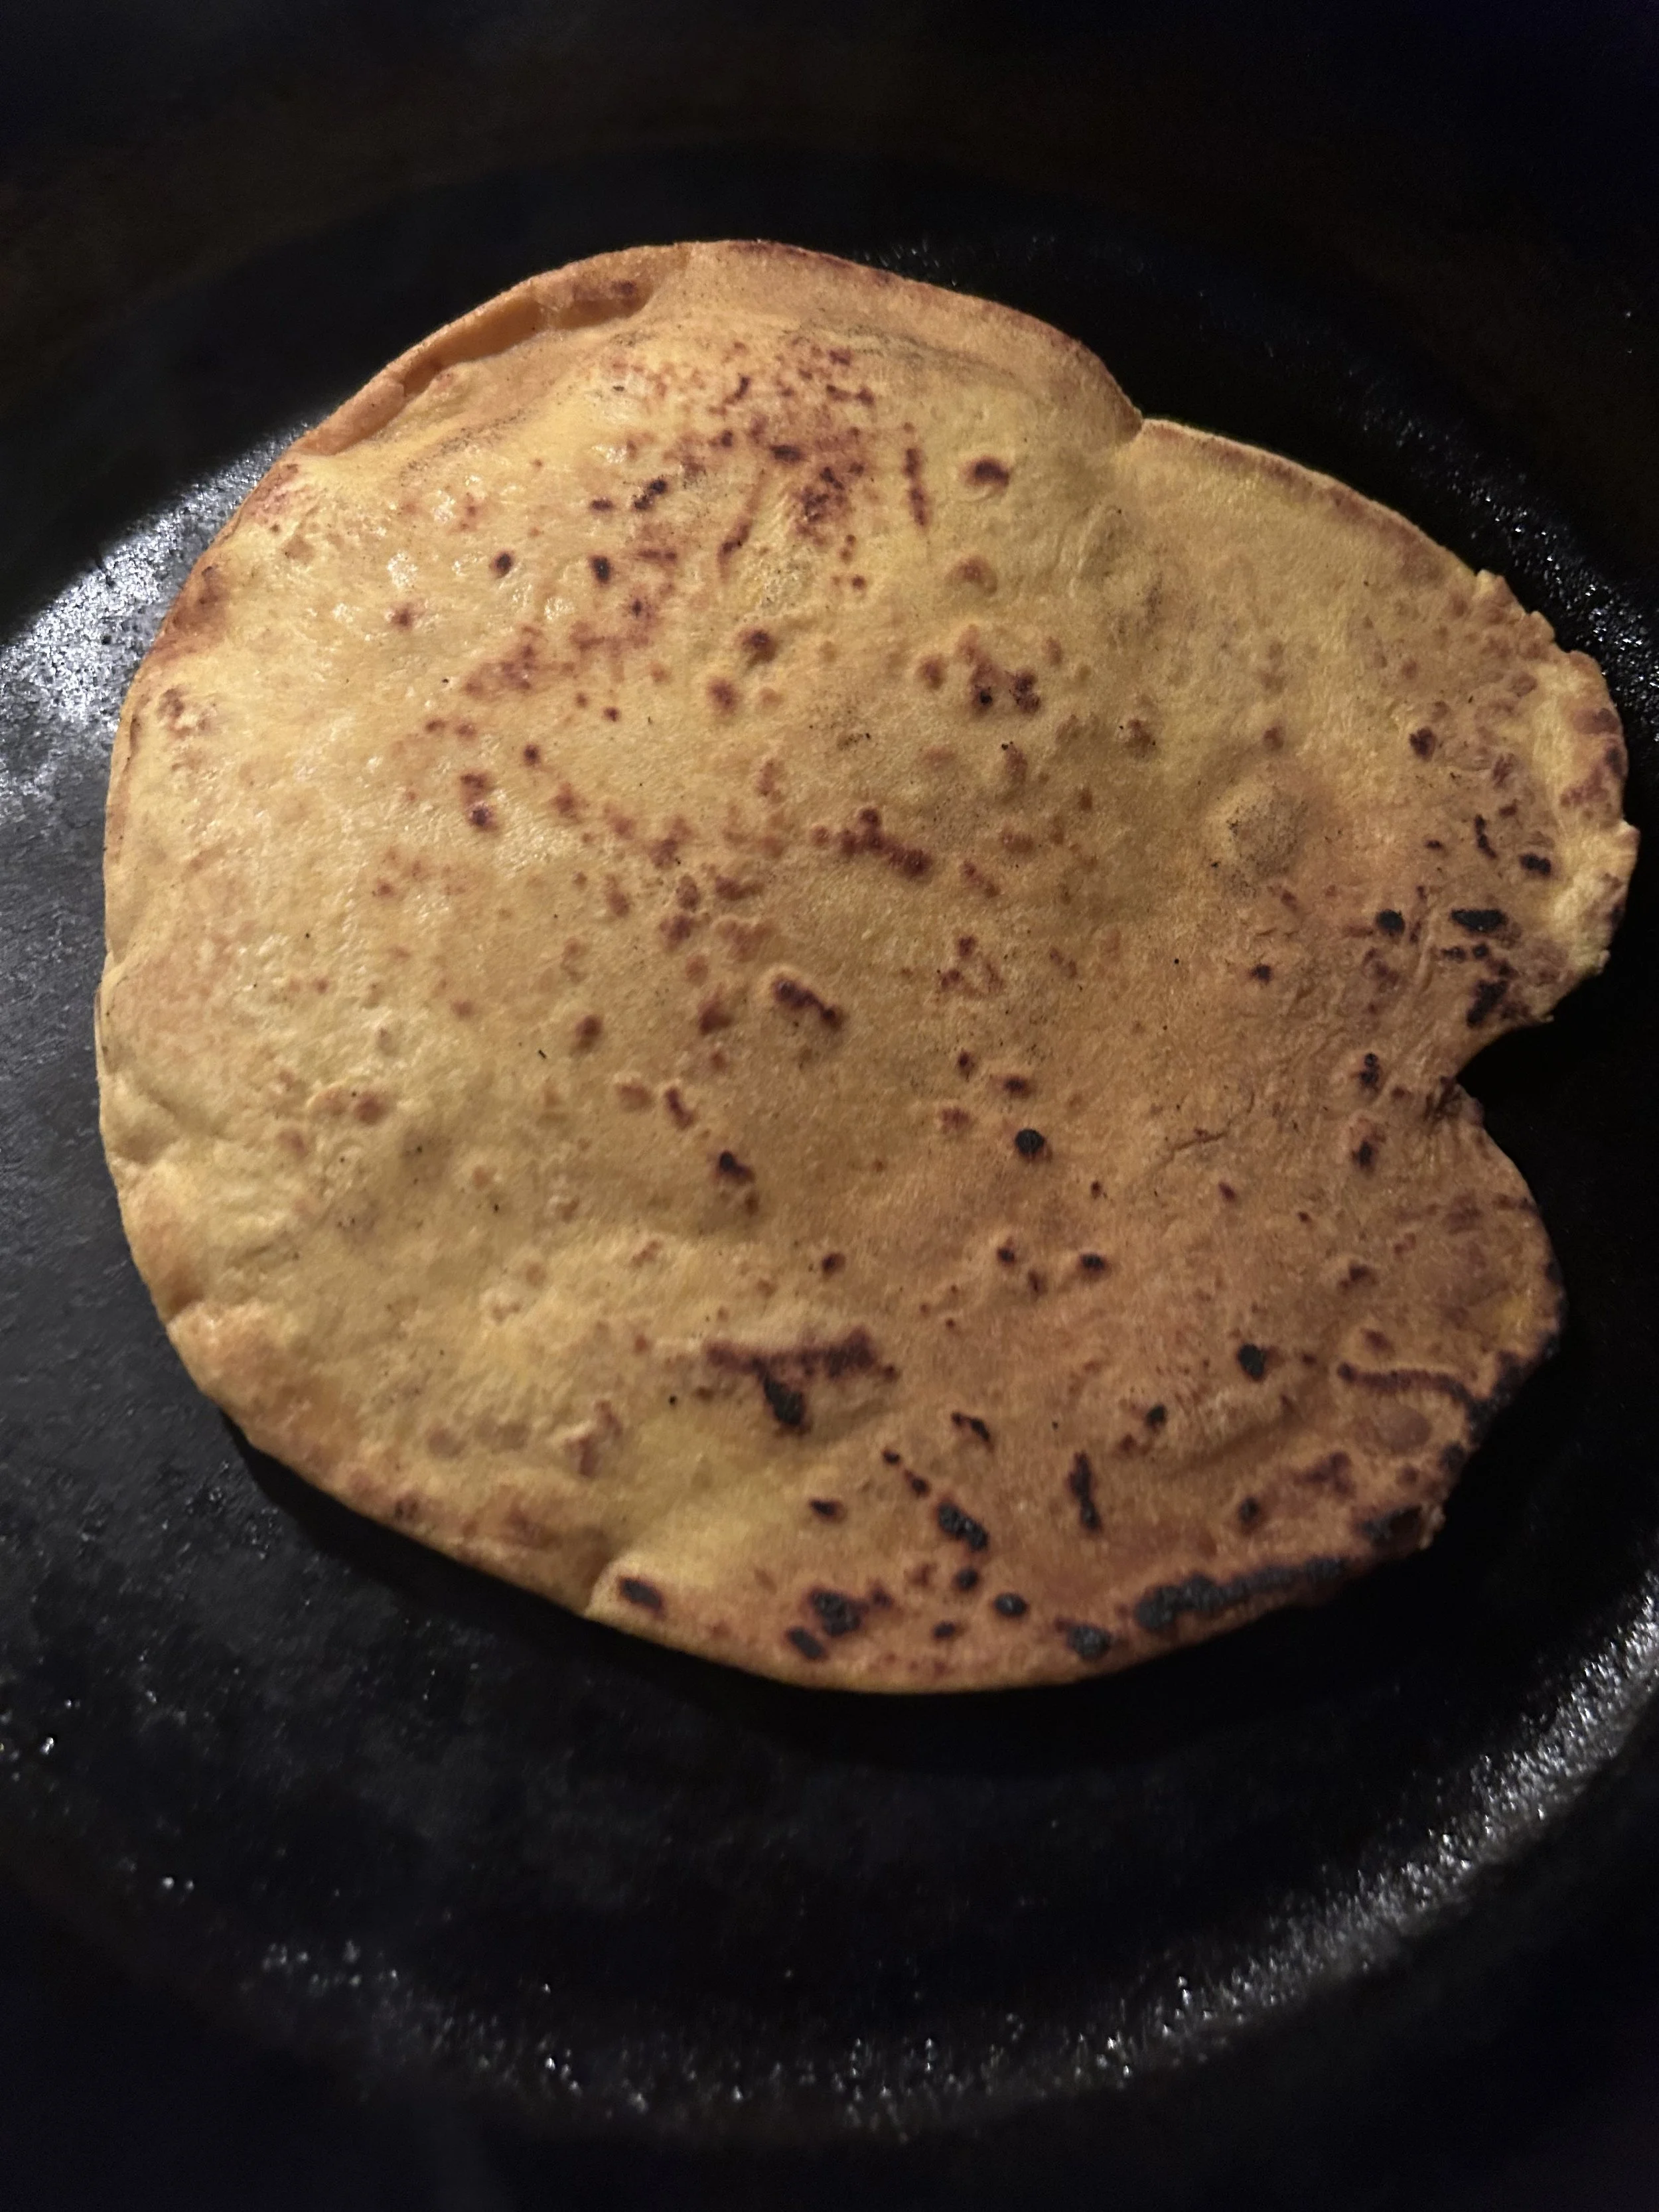
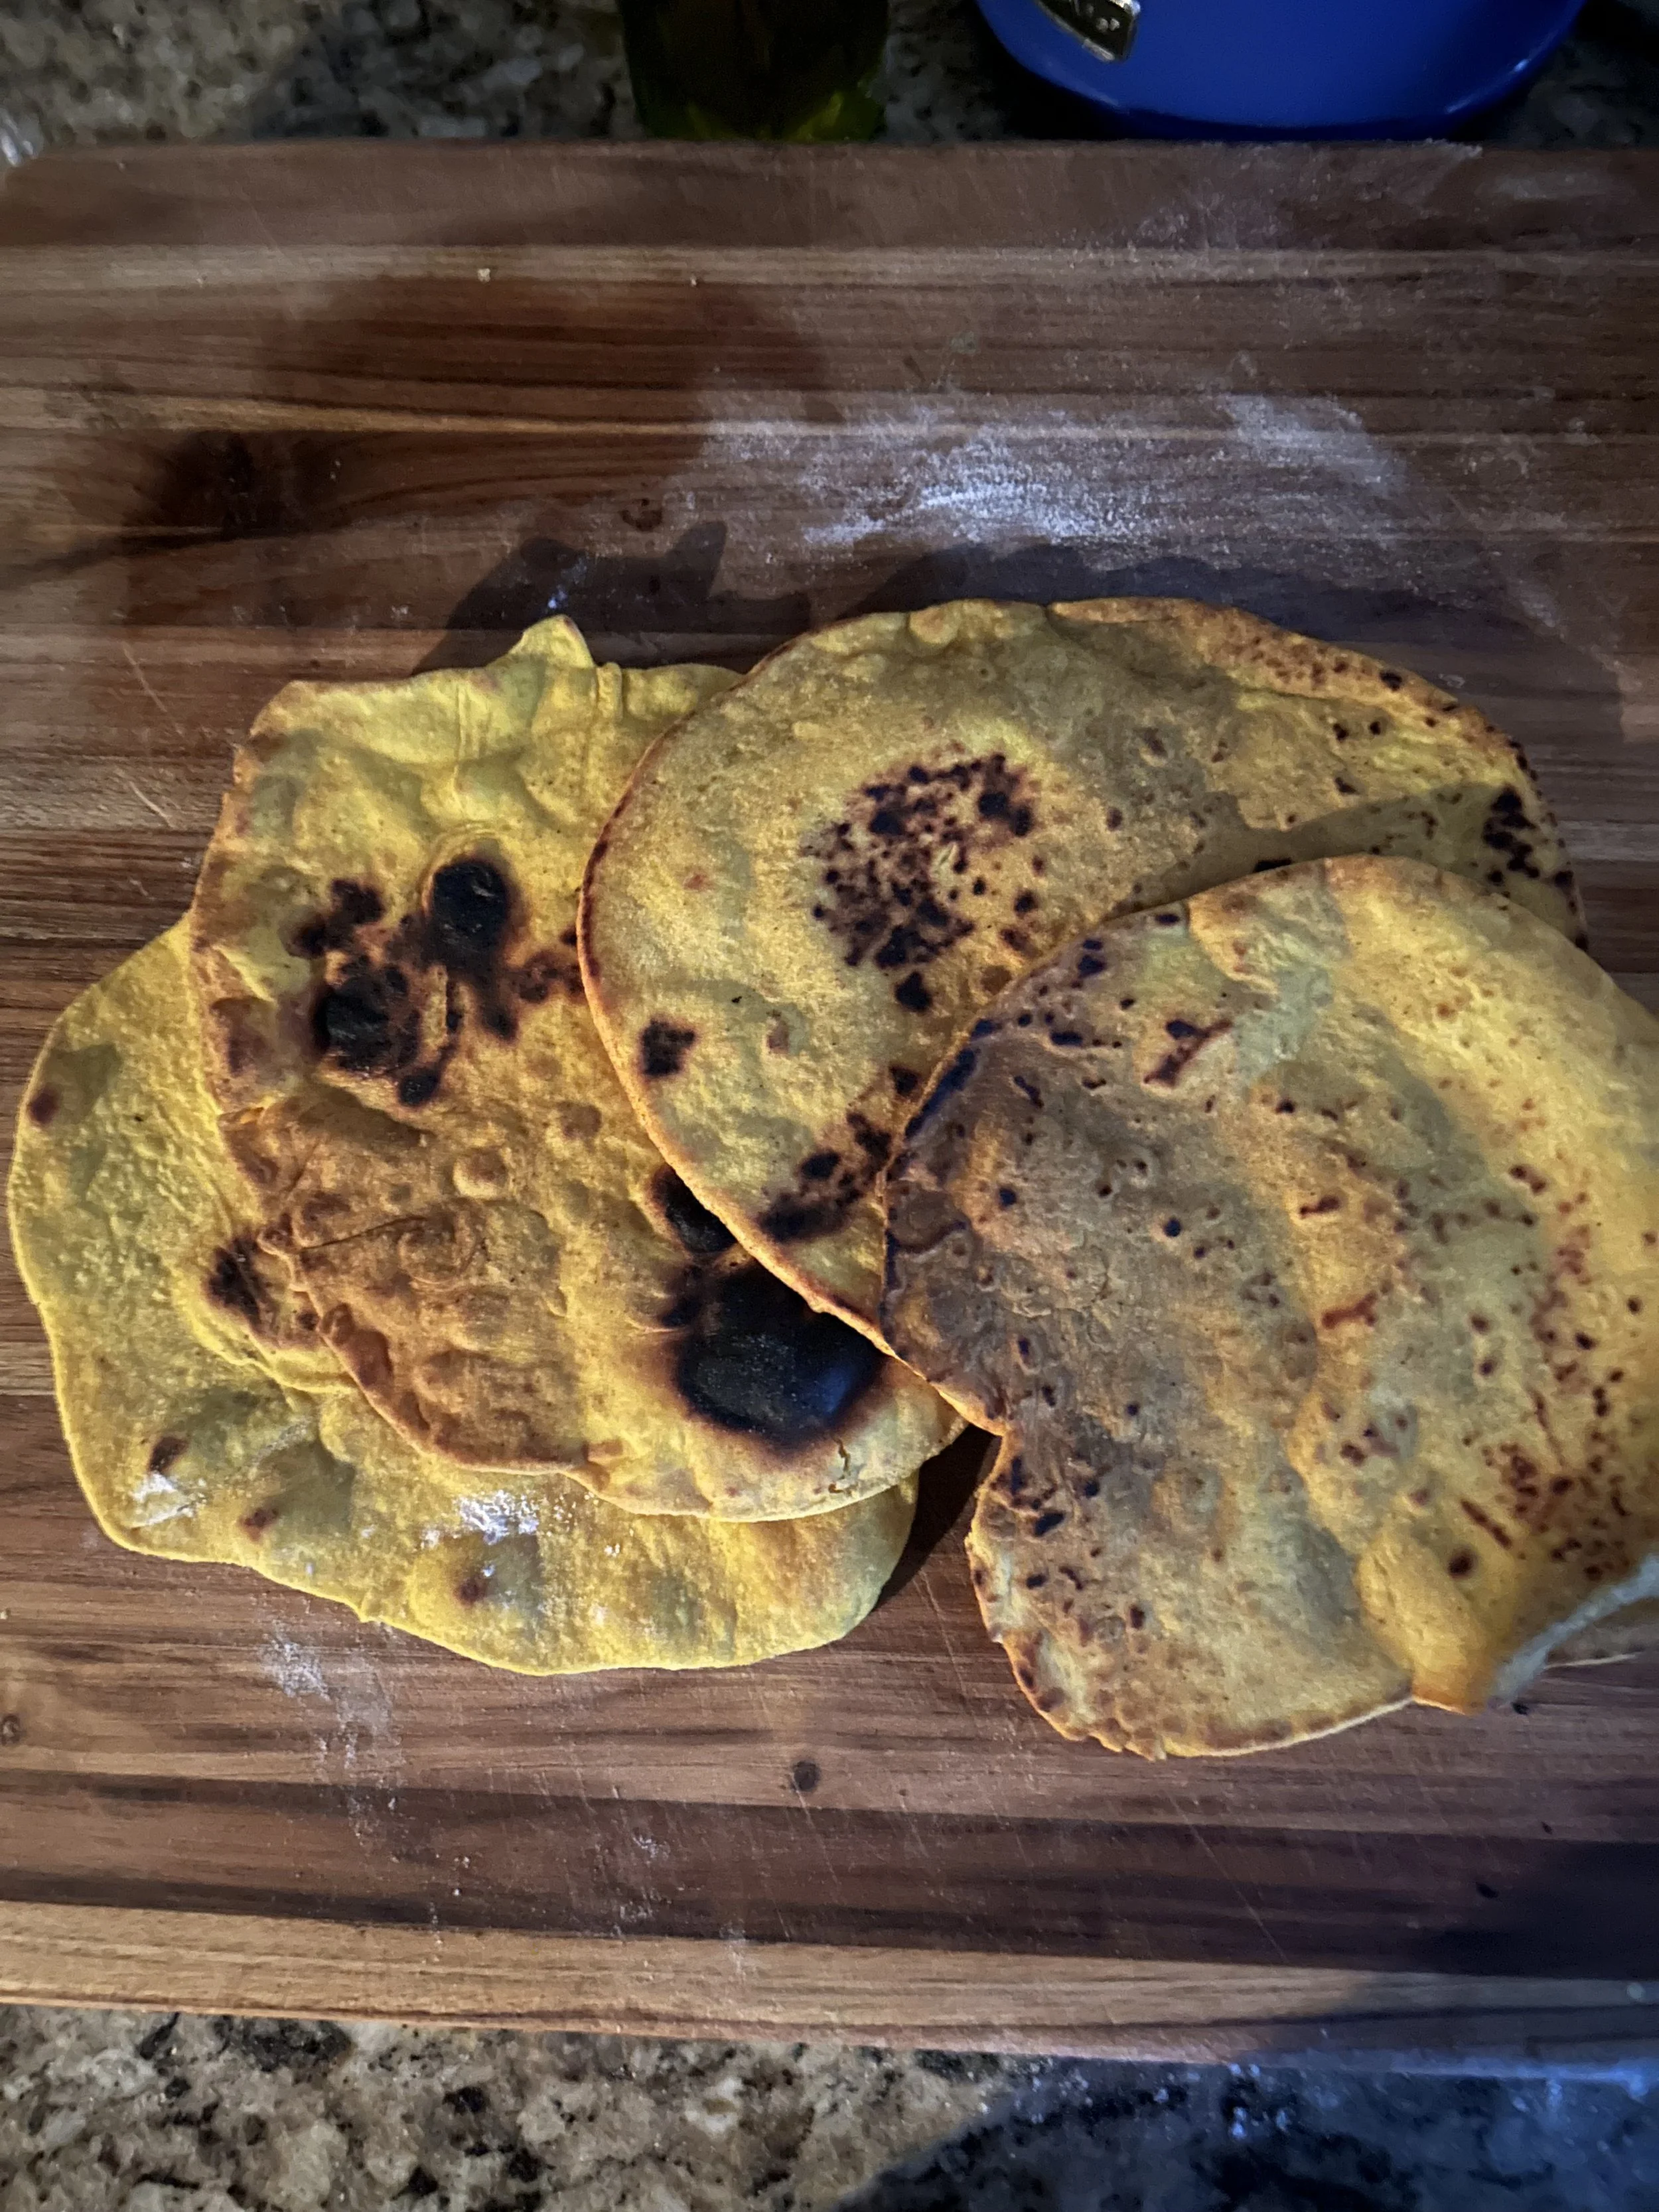
And there you go! An incredibly easy turmeric flatbread that took less than 30 minutes to make!
You can serve that with a dip, a curry, a stew, or even eat it on it’s own, as that earthy, anti-inflammatory turmeric will help you feel good about getting your bread fix.
You may notice that I’m not putting any nutrition information for the dishes that I’m making for this series. Well, there is a reason for that.
Generally speaking, the food that you cook at home is going to be healthier than the food you get from a restaurant or takeout. When you get food from a restaurant, you don’t really know what they’re putting into your food.
Some restaurants do offer a calorie count on their menu, but you still don’t know how much salt, saturated fat, or processed sugar they are putting into their food.
When you cook at home, you are using ingredients that you select, prepared your way, and you generally know exactly what’s going into each dish that you make.
If you still want to research nutrition info or read the package labels, that’s fine, but remember that cooking at home is generally healthy.
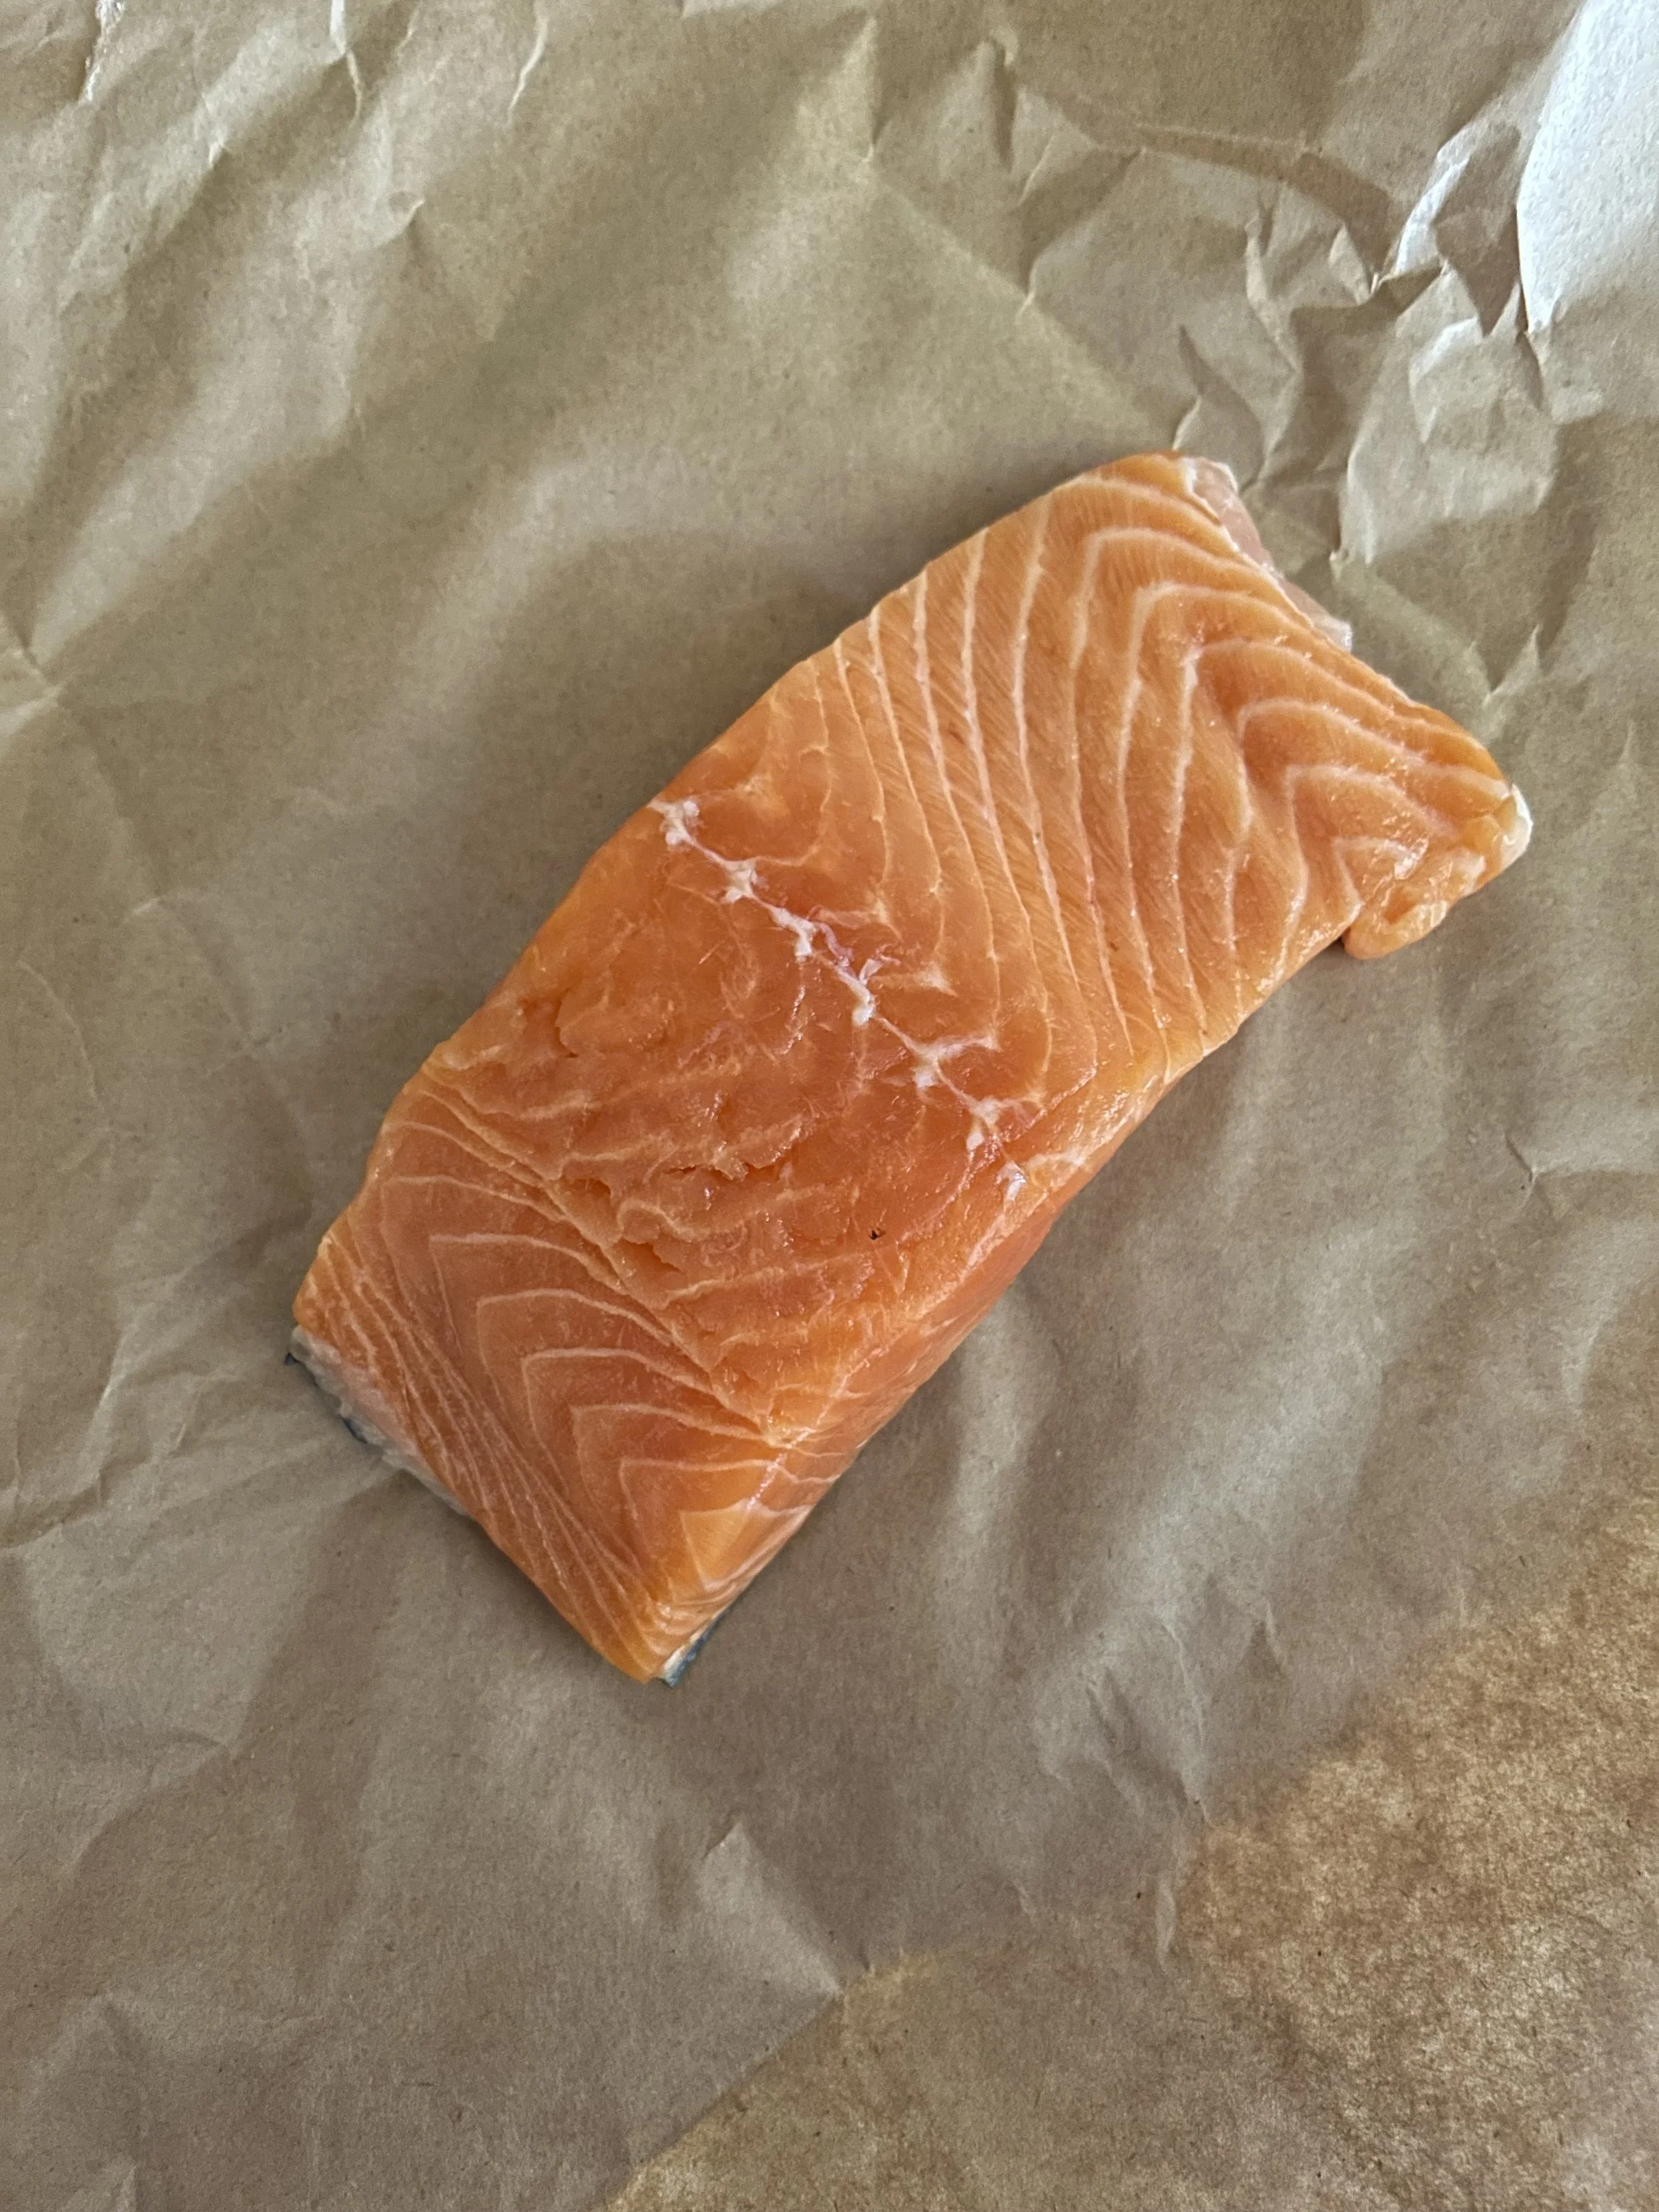
Day 7: Salmon
Salmon is one of the most popular fish in the world, and there’s no reason it shouldn’t be. It has a good amount of protein, healthy Omega 3 fatty acids, and tastes delicious.
There are a million things you can do with salmon, but today I’m going to do some incredibly easy salmon foil packets that will make for a healthy weeknight dinner.
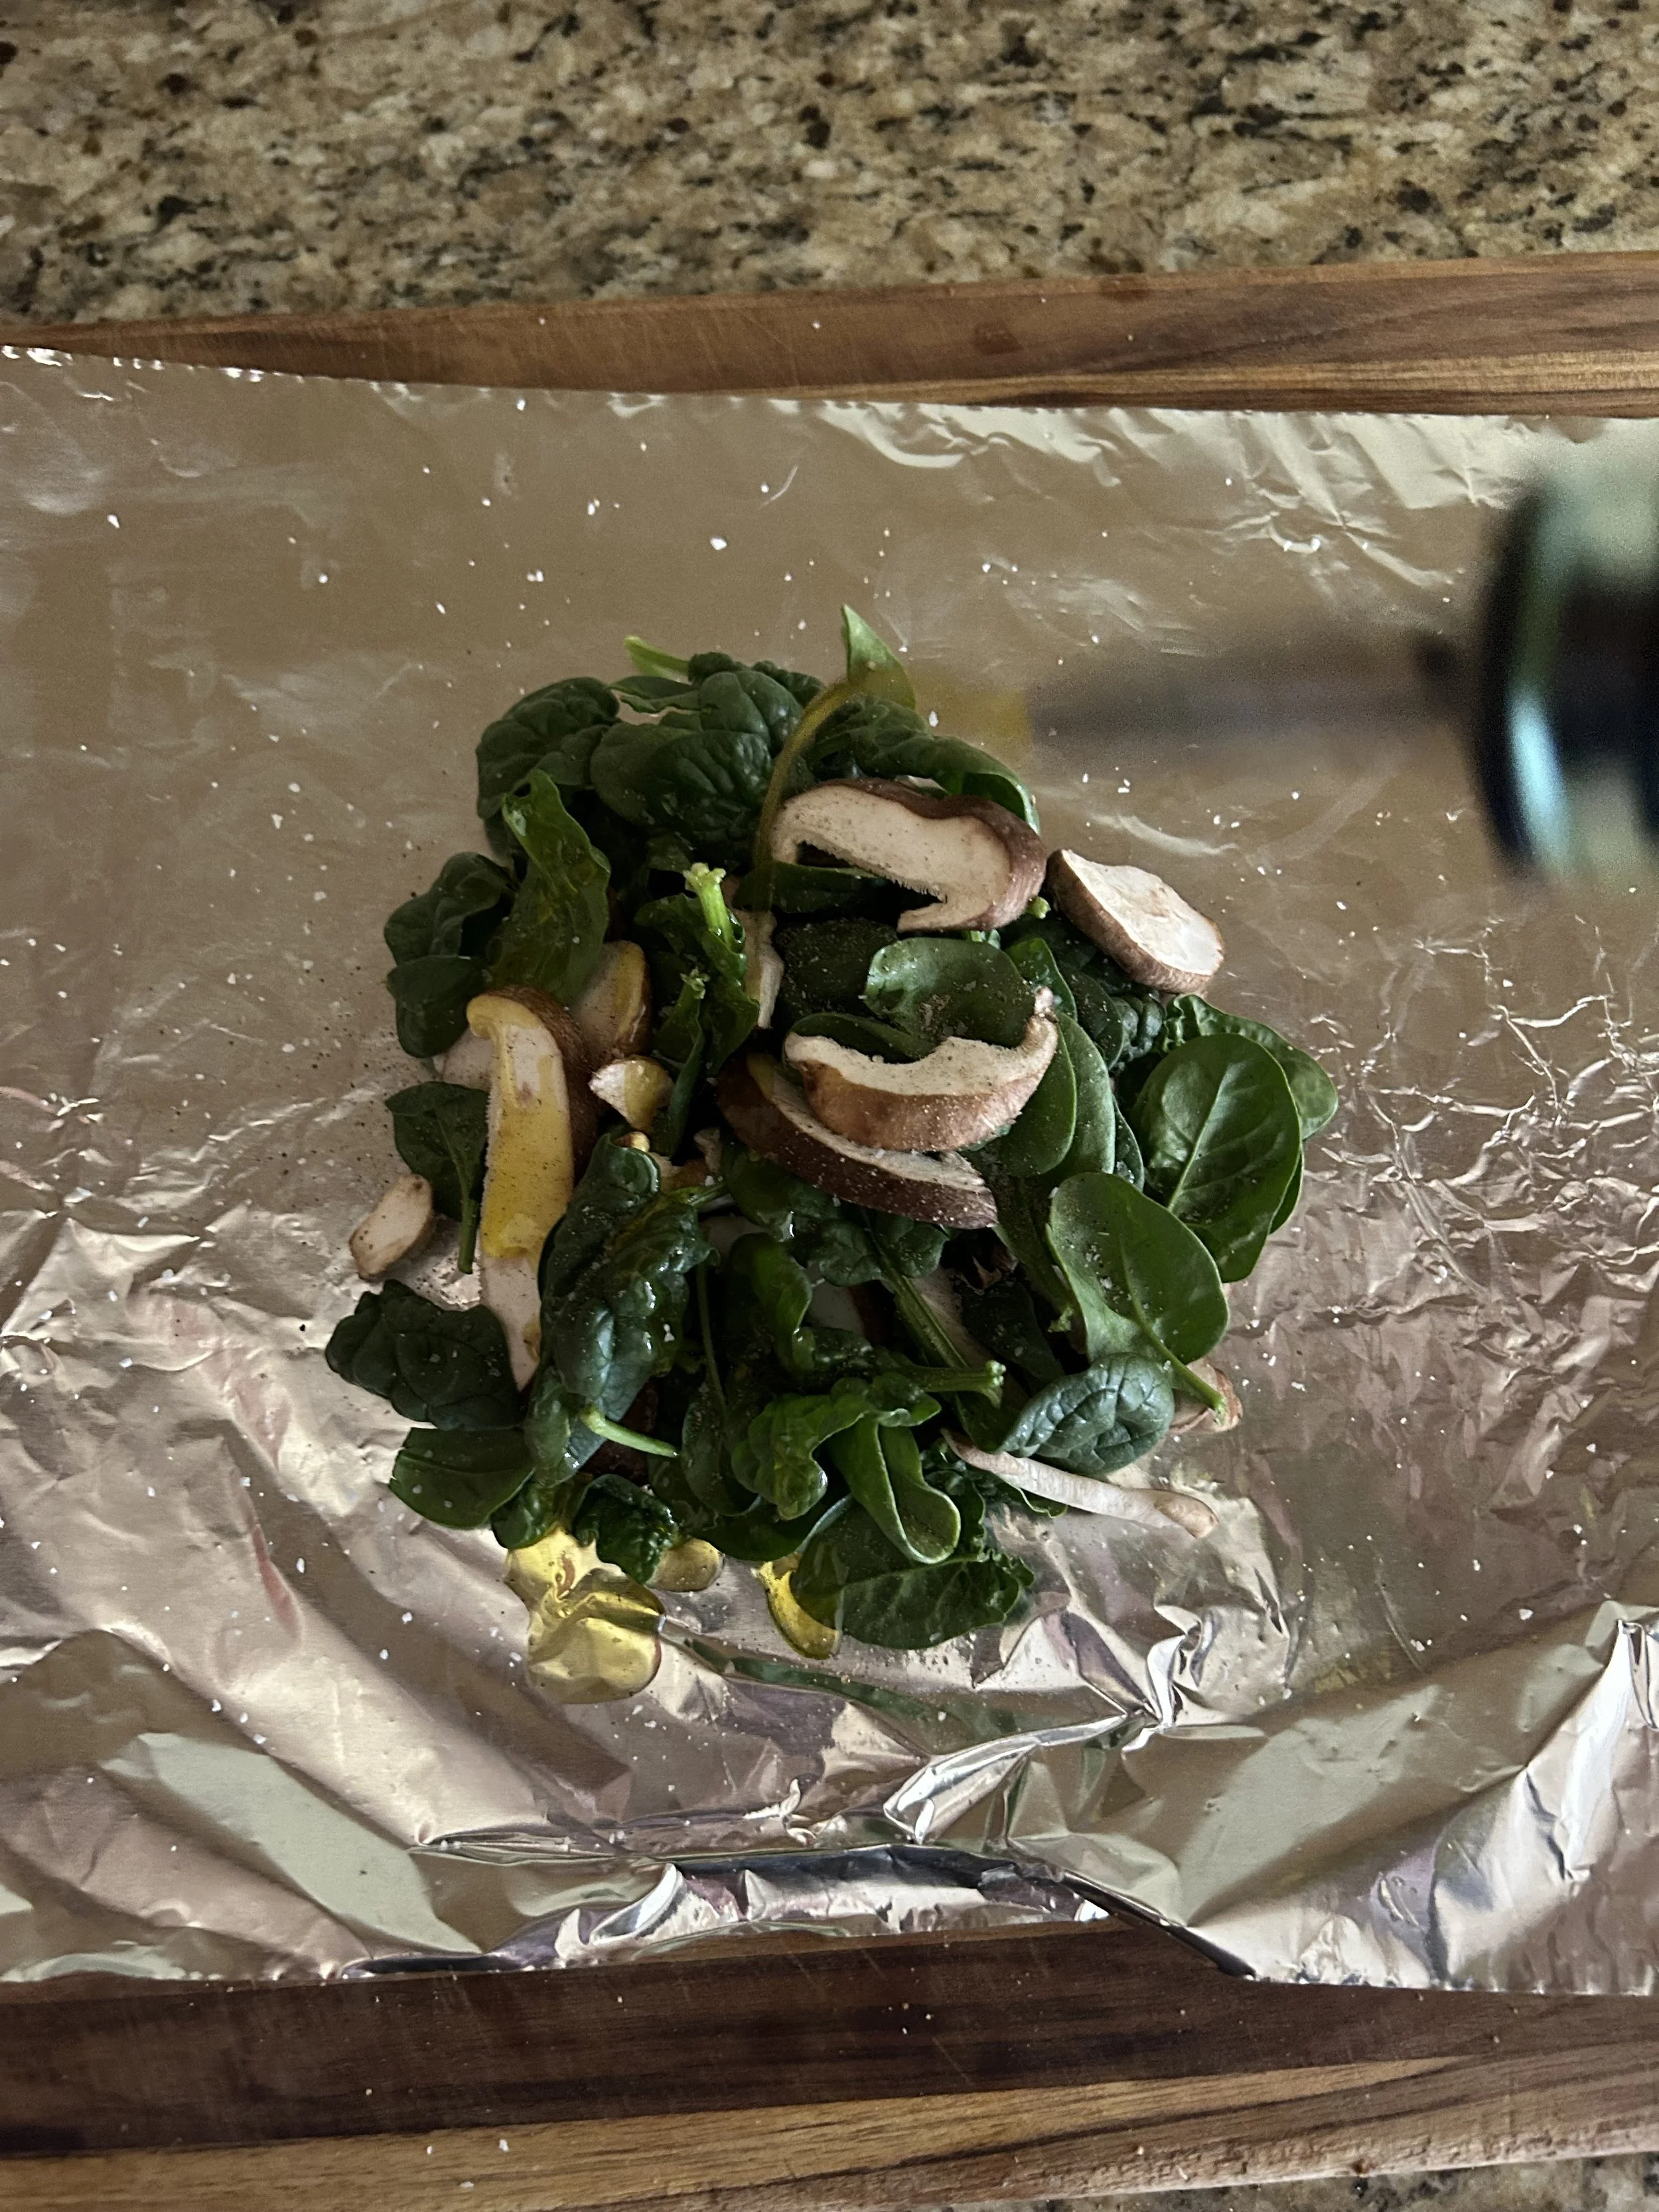
Lay out 4 18-inch sheets of aluminum foil. On each foil piece, mound up 1/2 cup of stemmed and sliced shiitake mushrooms and 1 cup of baby spinach.
Any mushrooms will work for this, but the shiitakes work for the Asian theme I’m going for here.
Season with salt and pepper, and add a drizzle of olive oil.
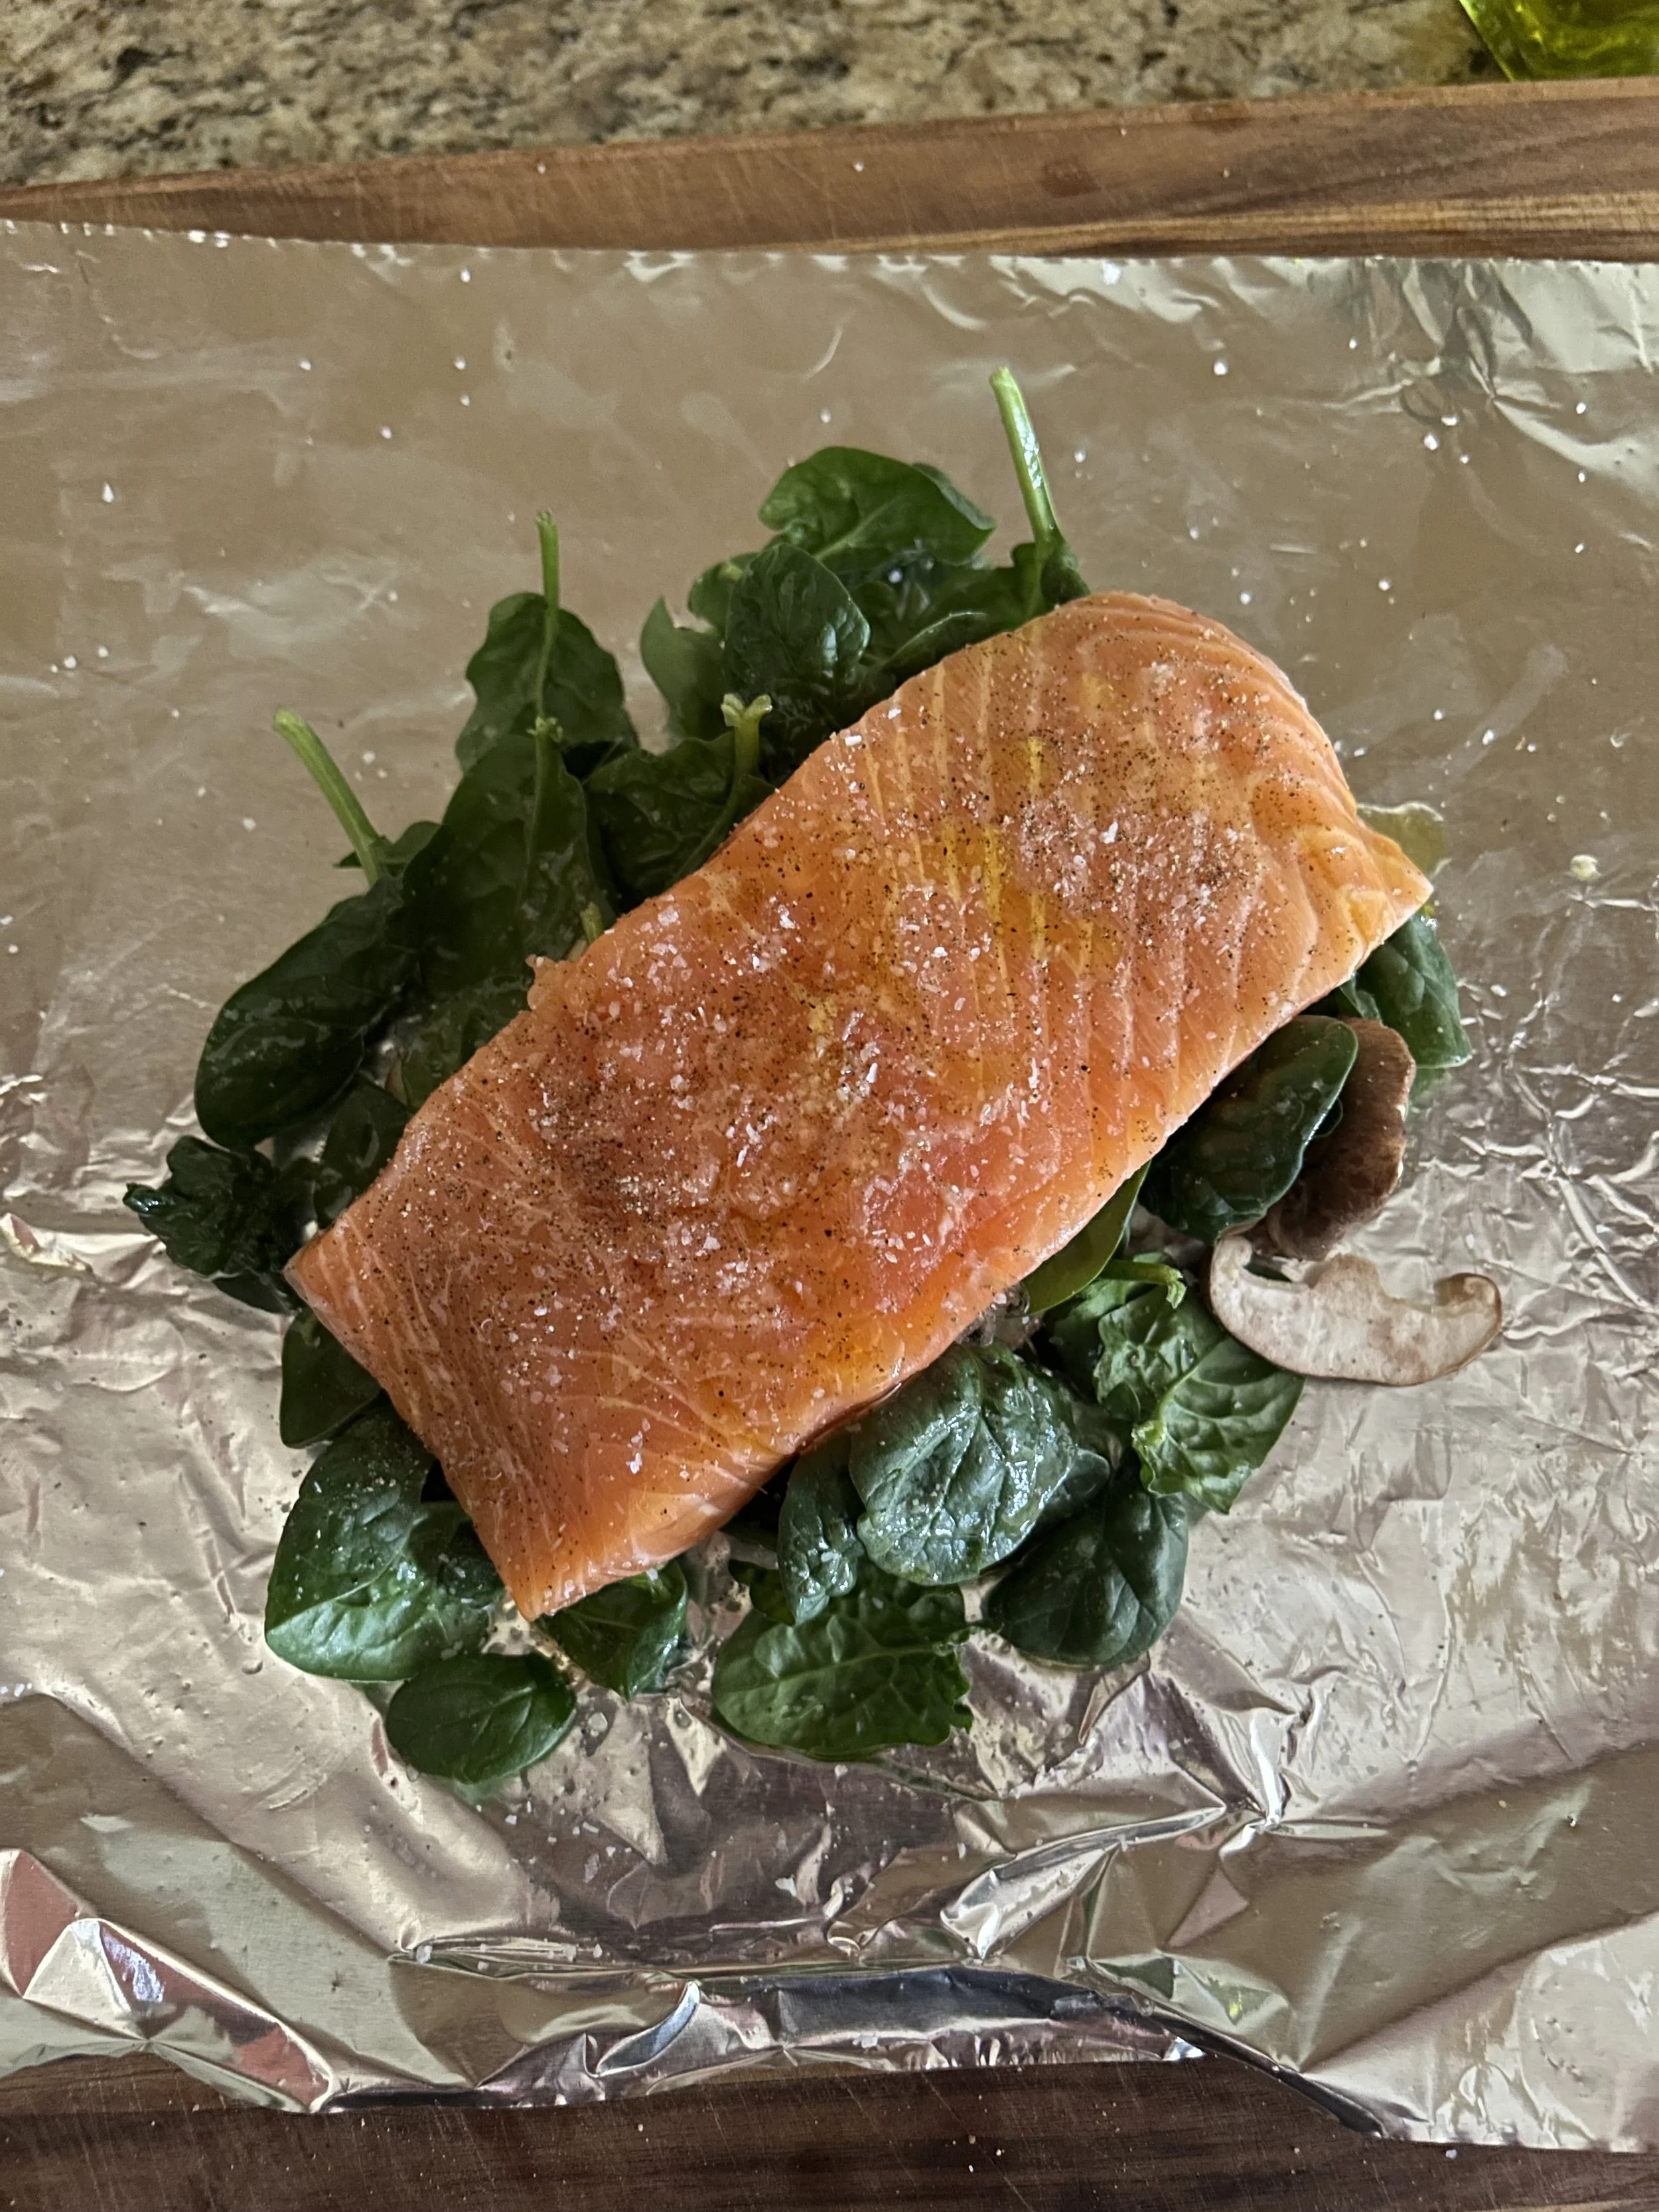
Lay a 6-ounce skinless salmon filet on the veggies, season with salt and pepper, and top with a drizzle of olive oil.

Normally I love skin-on salmon, especially when said skin gets crispy, but considering this salmon will be steamed, it’s best to go skinless.
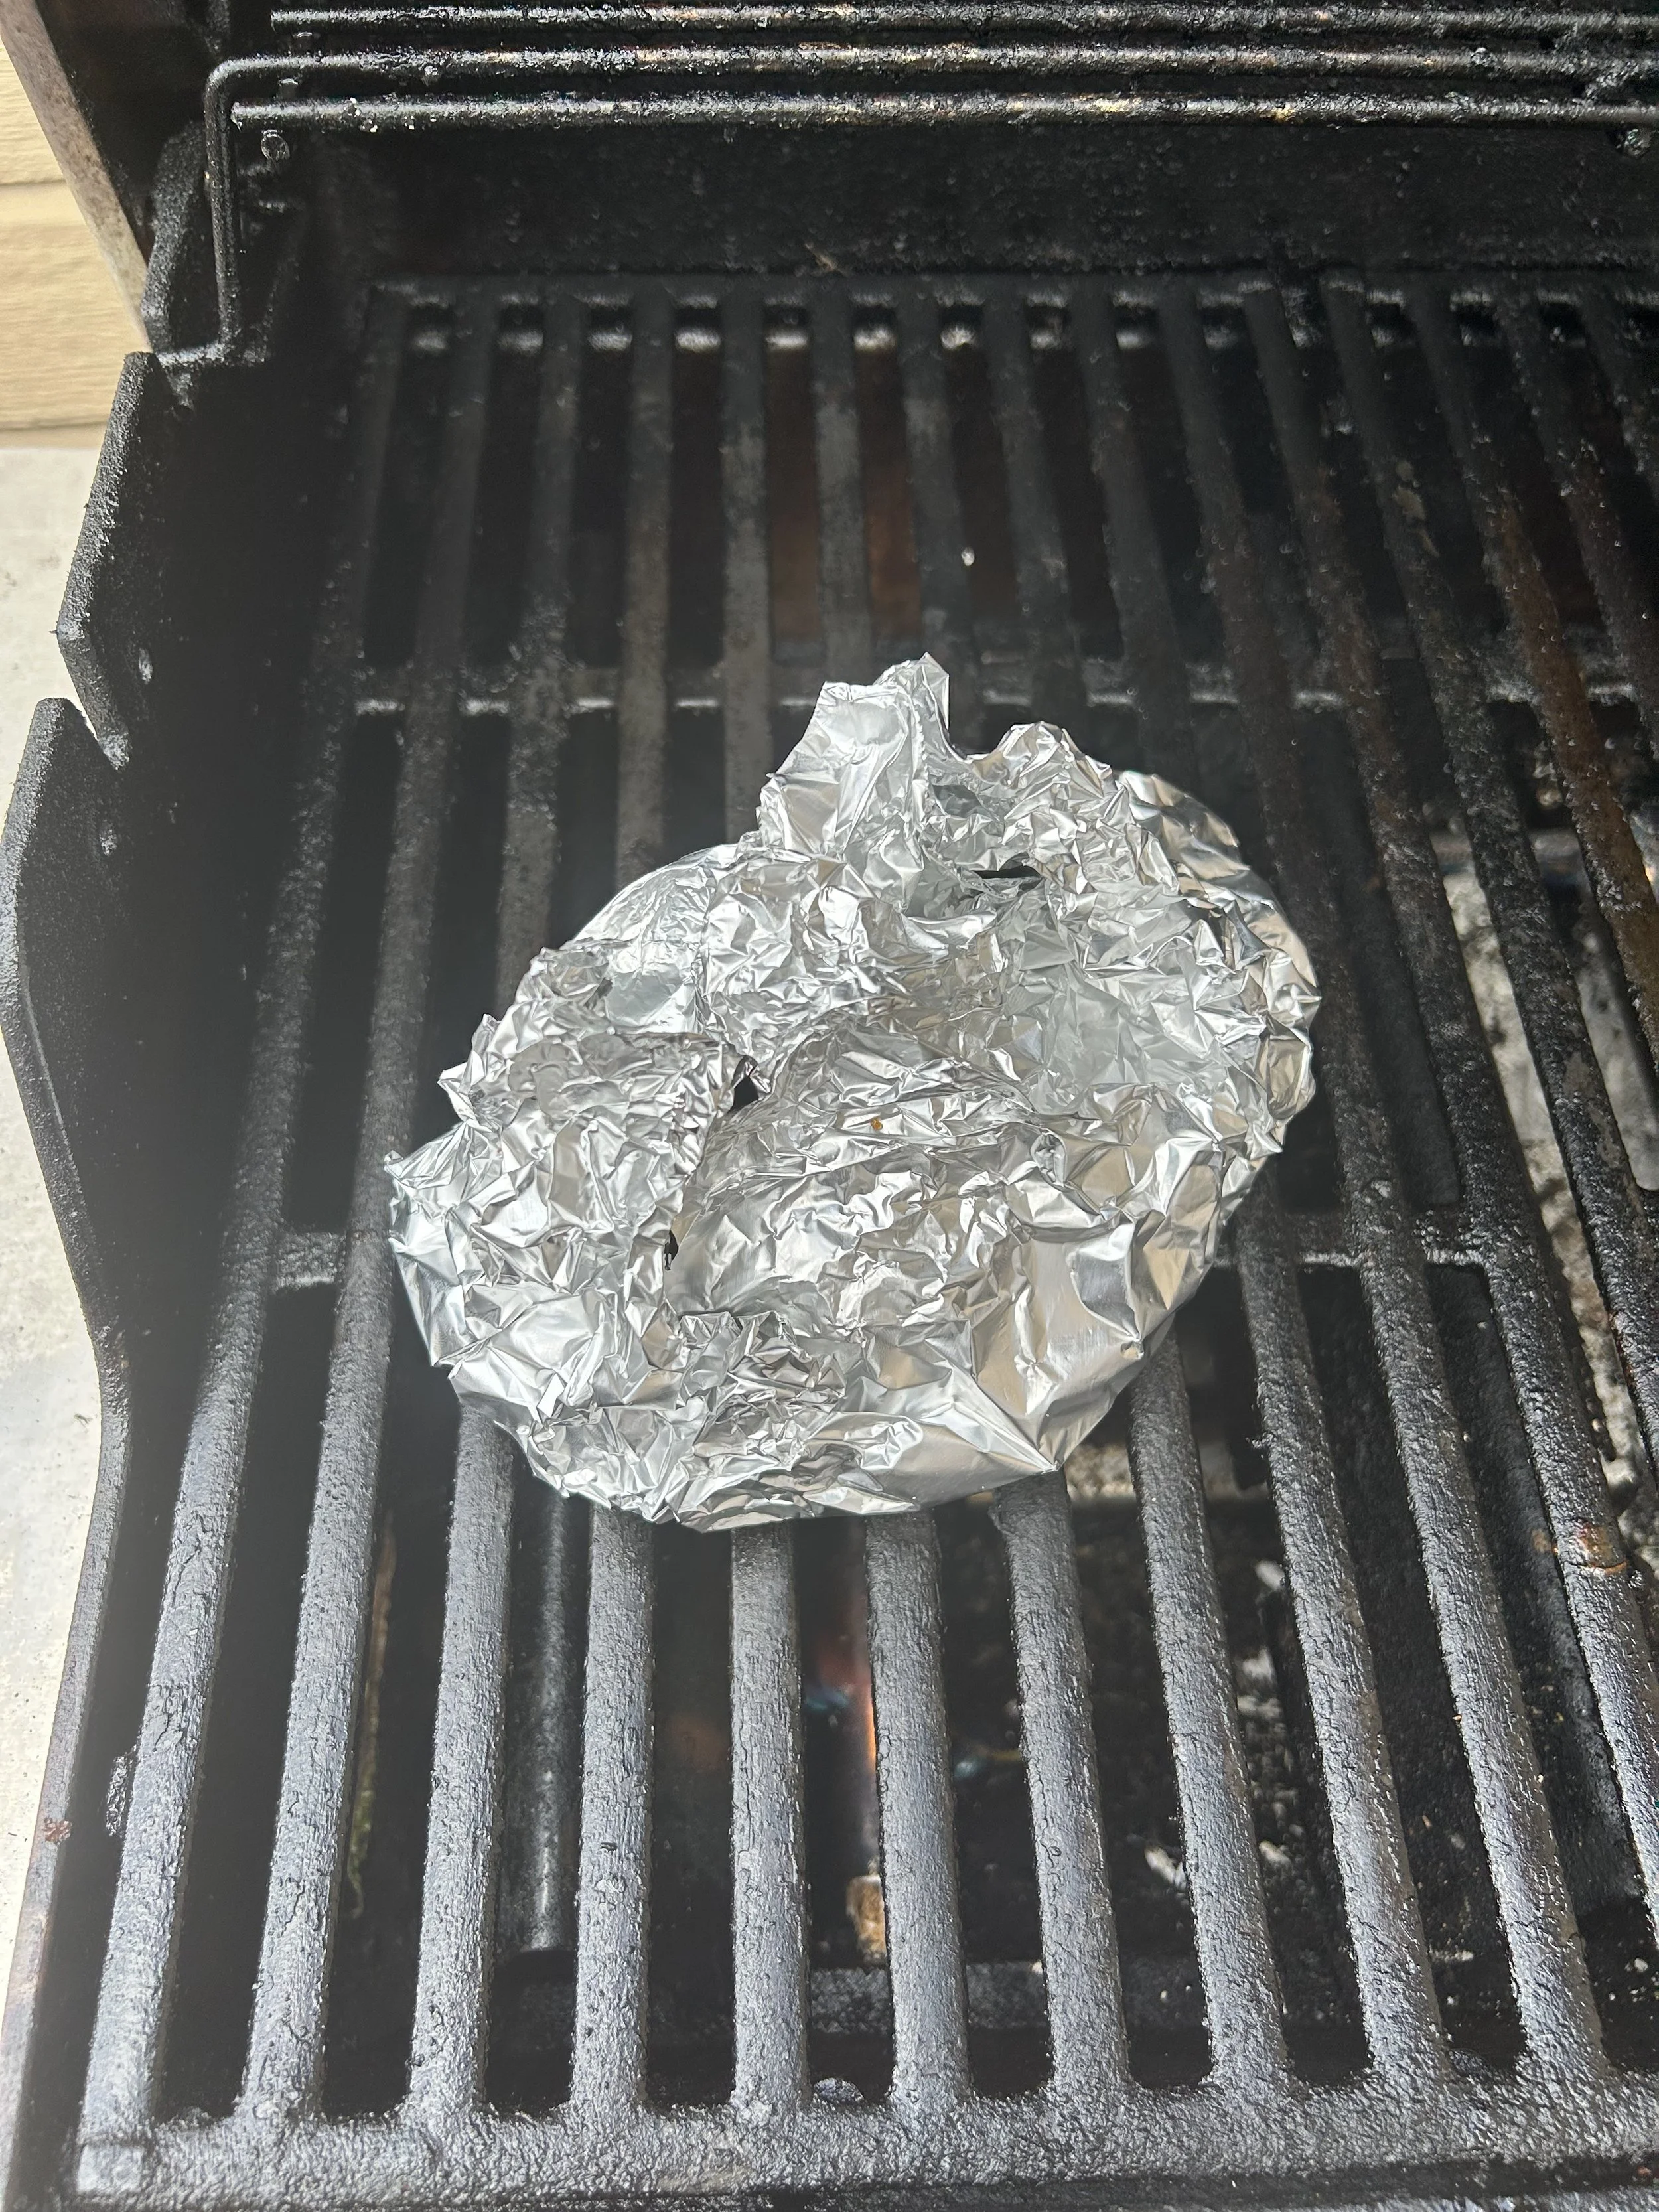
Bring the corners of the foil sheets together, and add 1 tablespoon of white wine or water before sealing the edges, leaving some room at the top of the packets to allow steam to escape.
The wine/water will create steam to help cook the salmon and veggies all the way through.
By the way, this can be done the night before. Leave the packets in the fridge, then pop them onto the grill when you’re ready!
Heat the grill to medium-high heat, then place the foil packets on and grill for 10-12 minutes, or until the salmon is fully cooked. (Alternatively, you could bake the packets in a 450-degree oven for 12-15 minutes.)
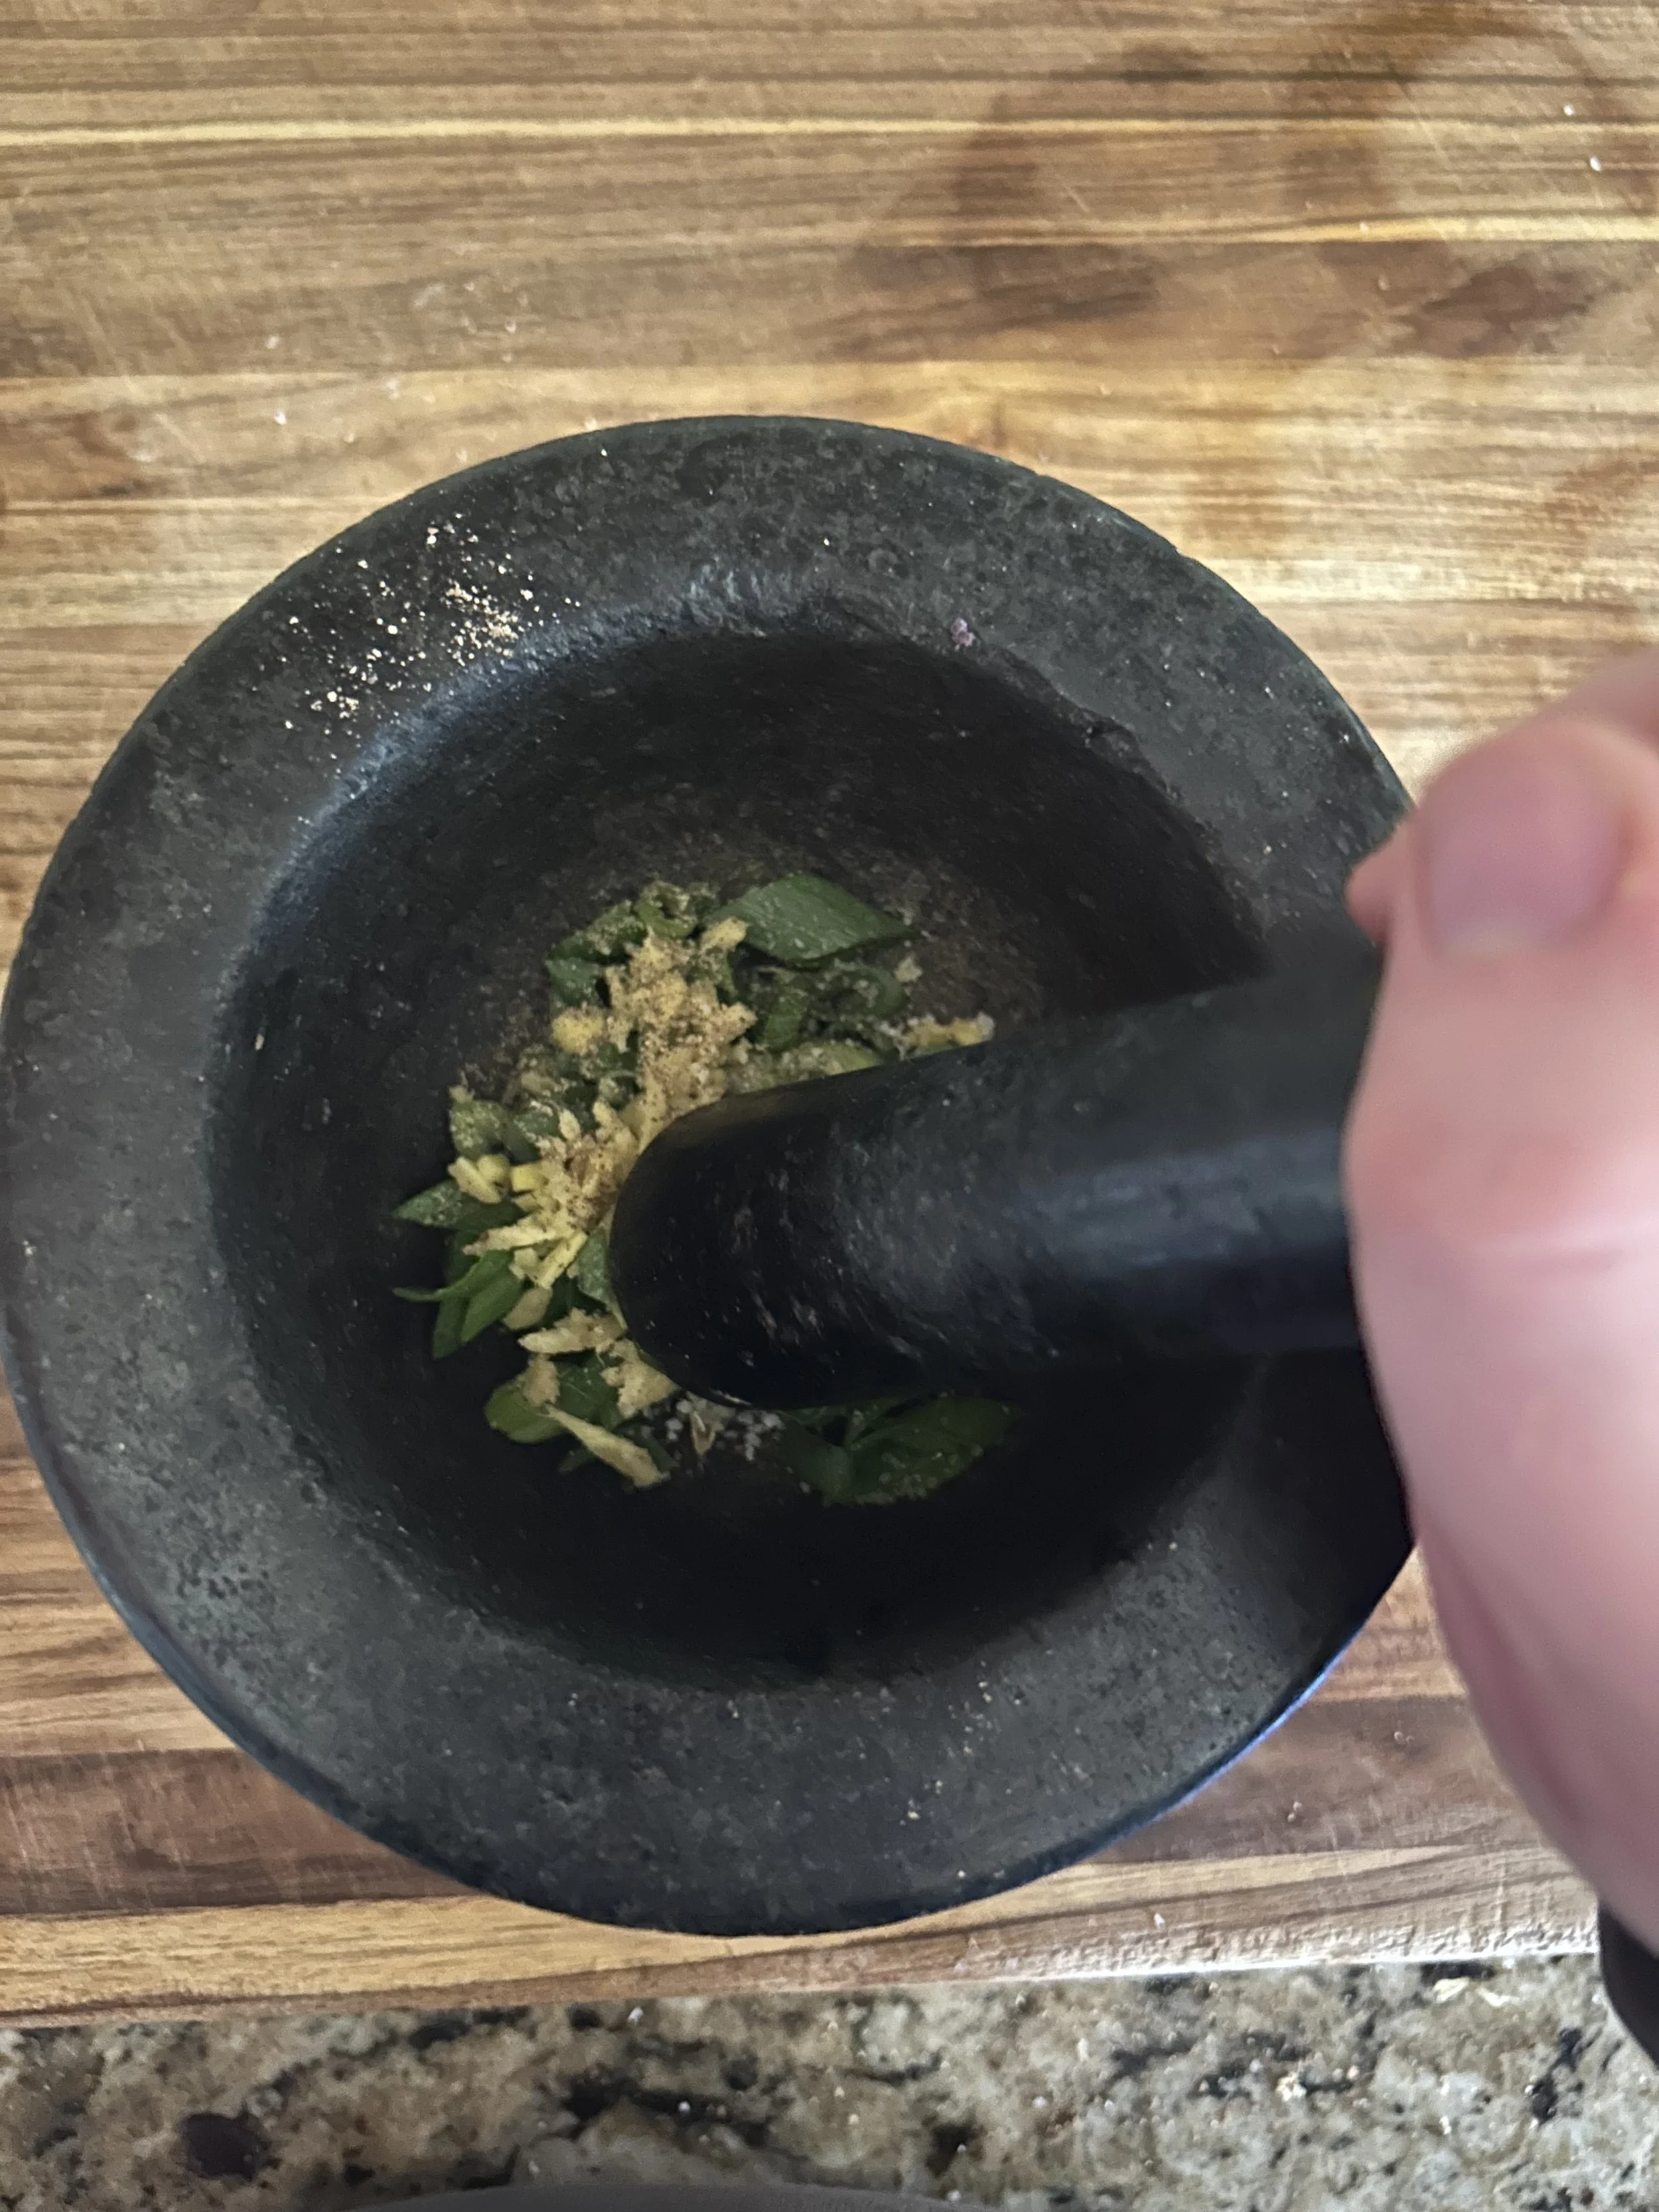
While the salmon is cooking, smash 3 sliced scallions, 2 teaspoons of grated fresh ginger, and 1/2 teaspoon of sesame oil in a mortar and pestle until it forms a paste. You could do this in a food processor but…mine was dirty, so I went with this.
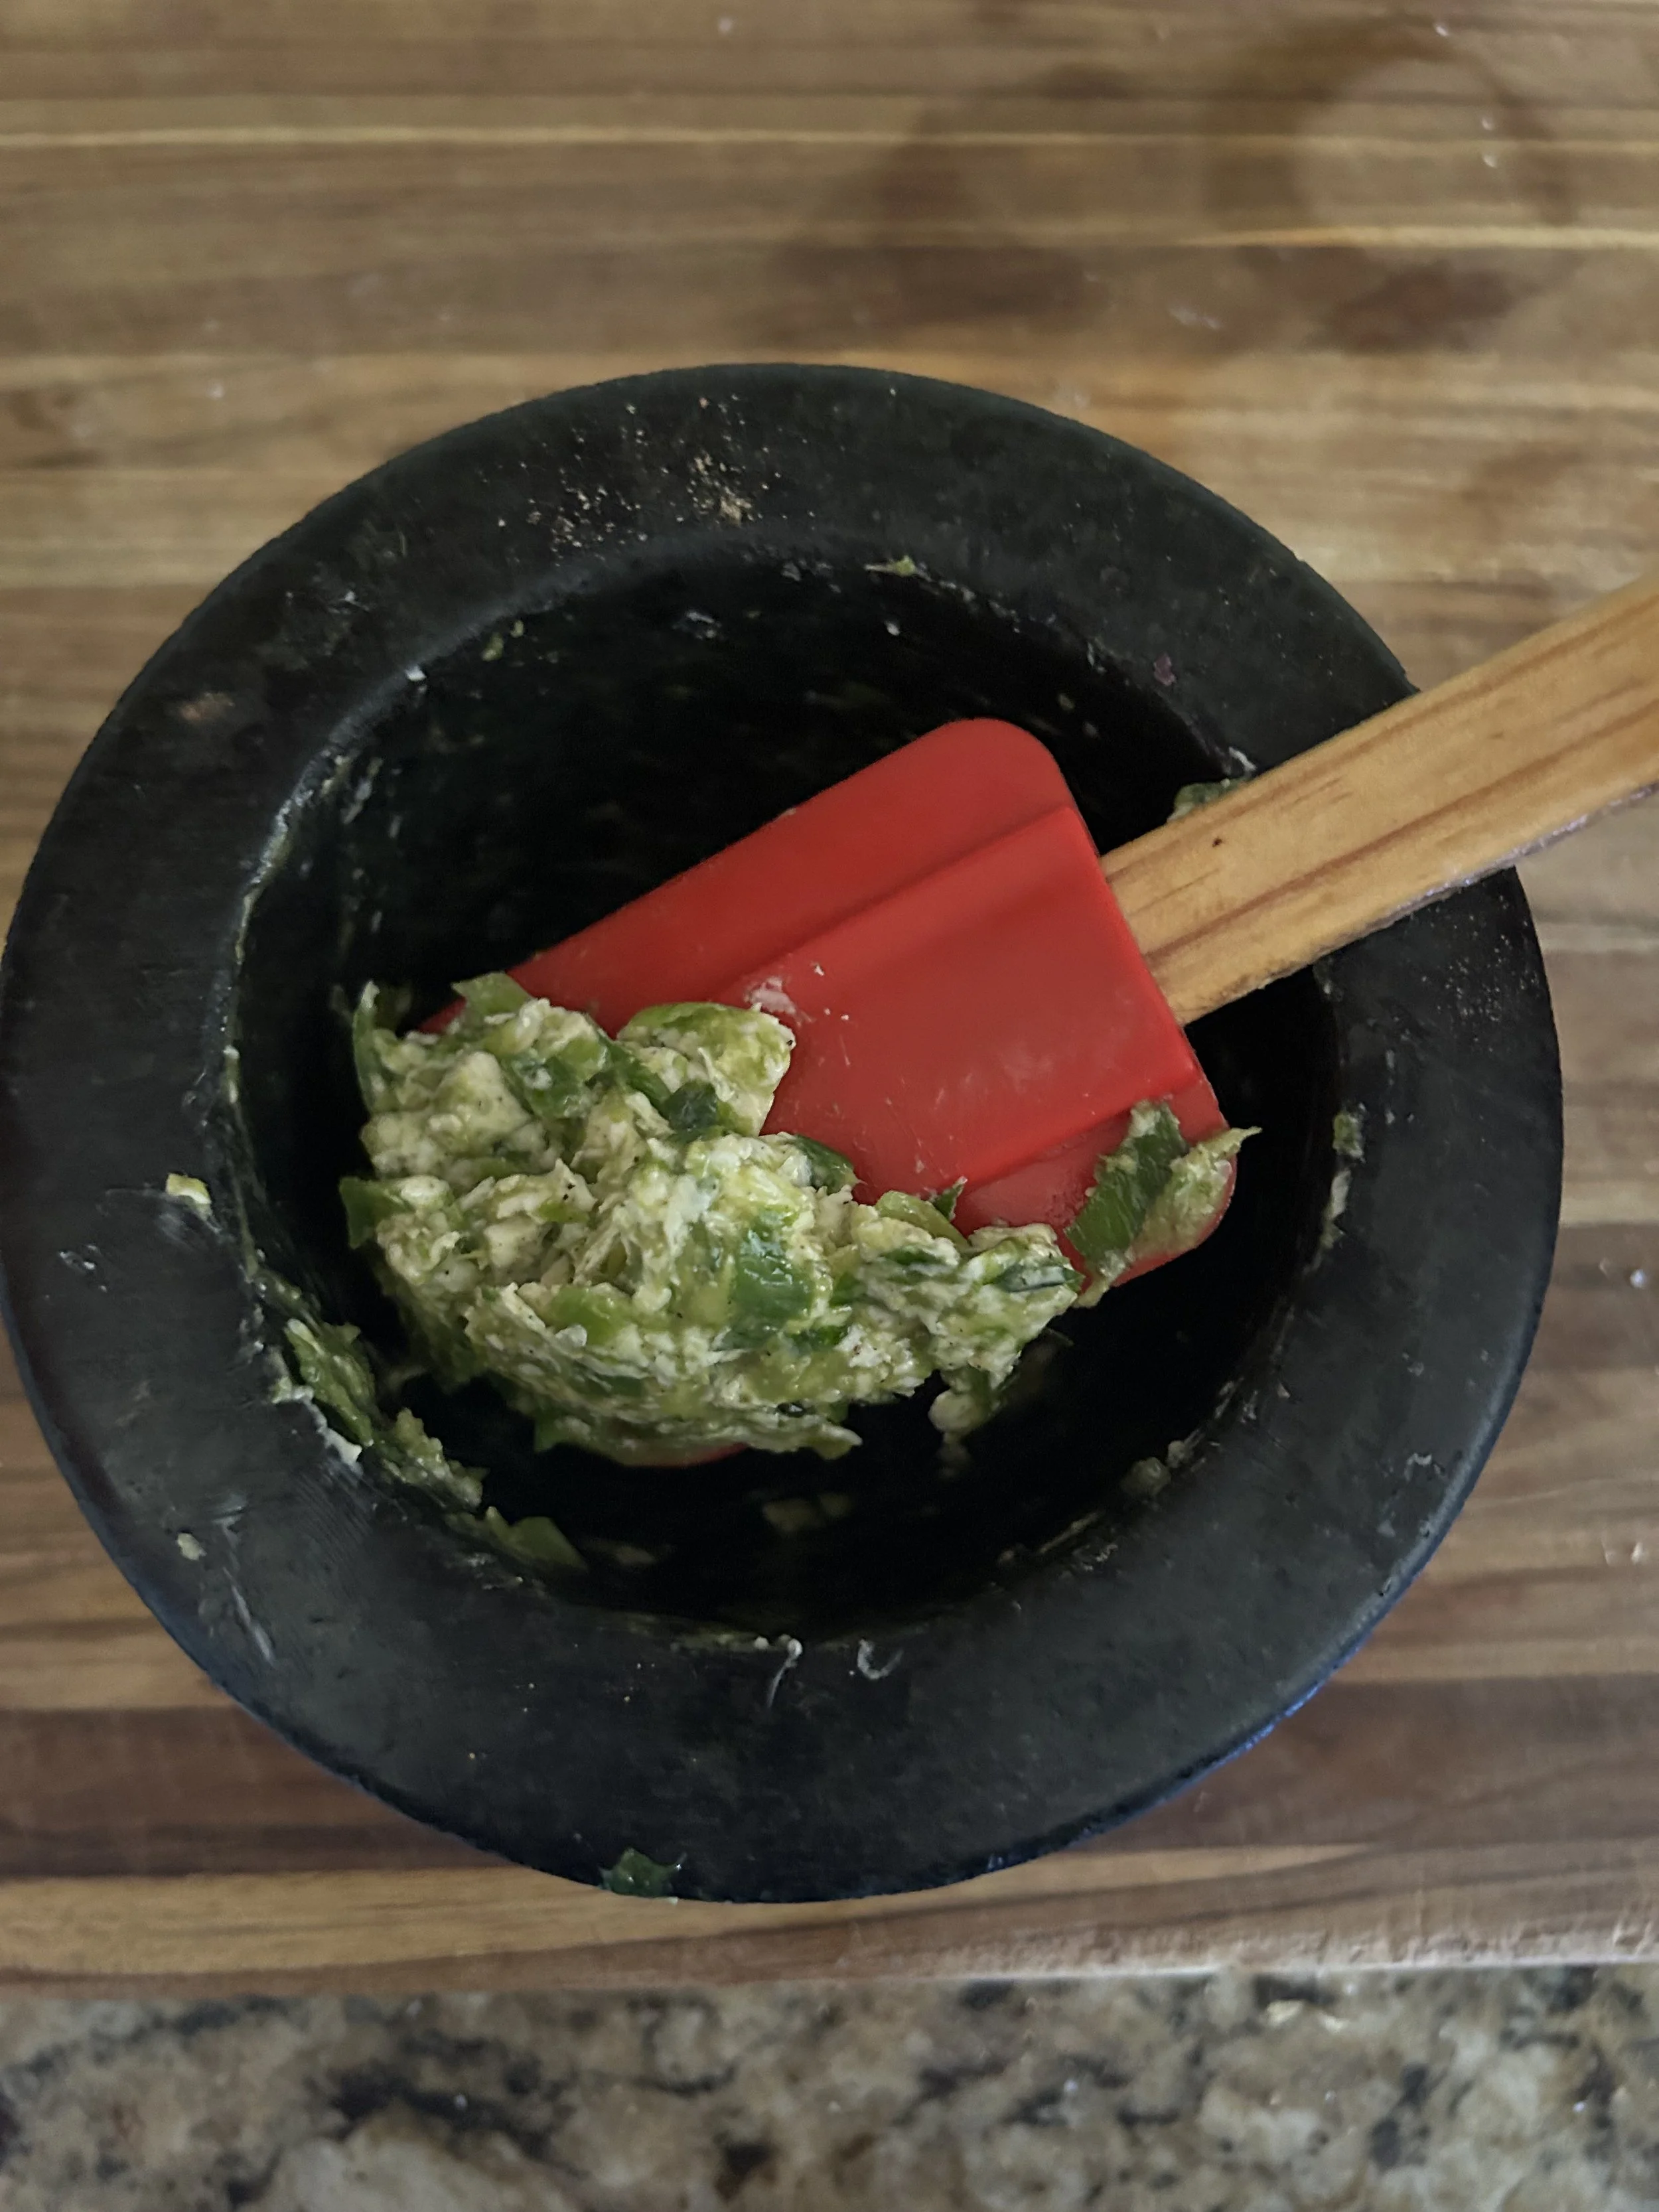
Add 4 tablespoons of soft unsalted butter and smash until fully combined, then season with salt and pepper to taste.
You might not have known this, but a compound butter like this is a great way to finish fish, chicken, or a steak.
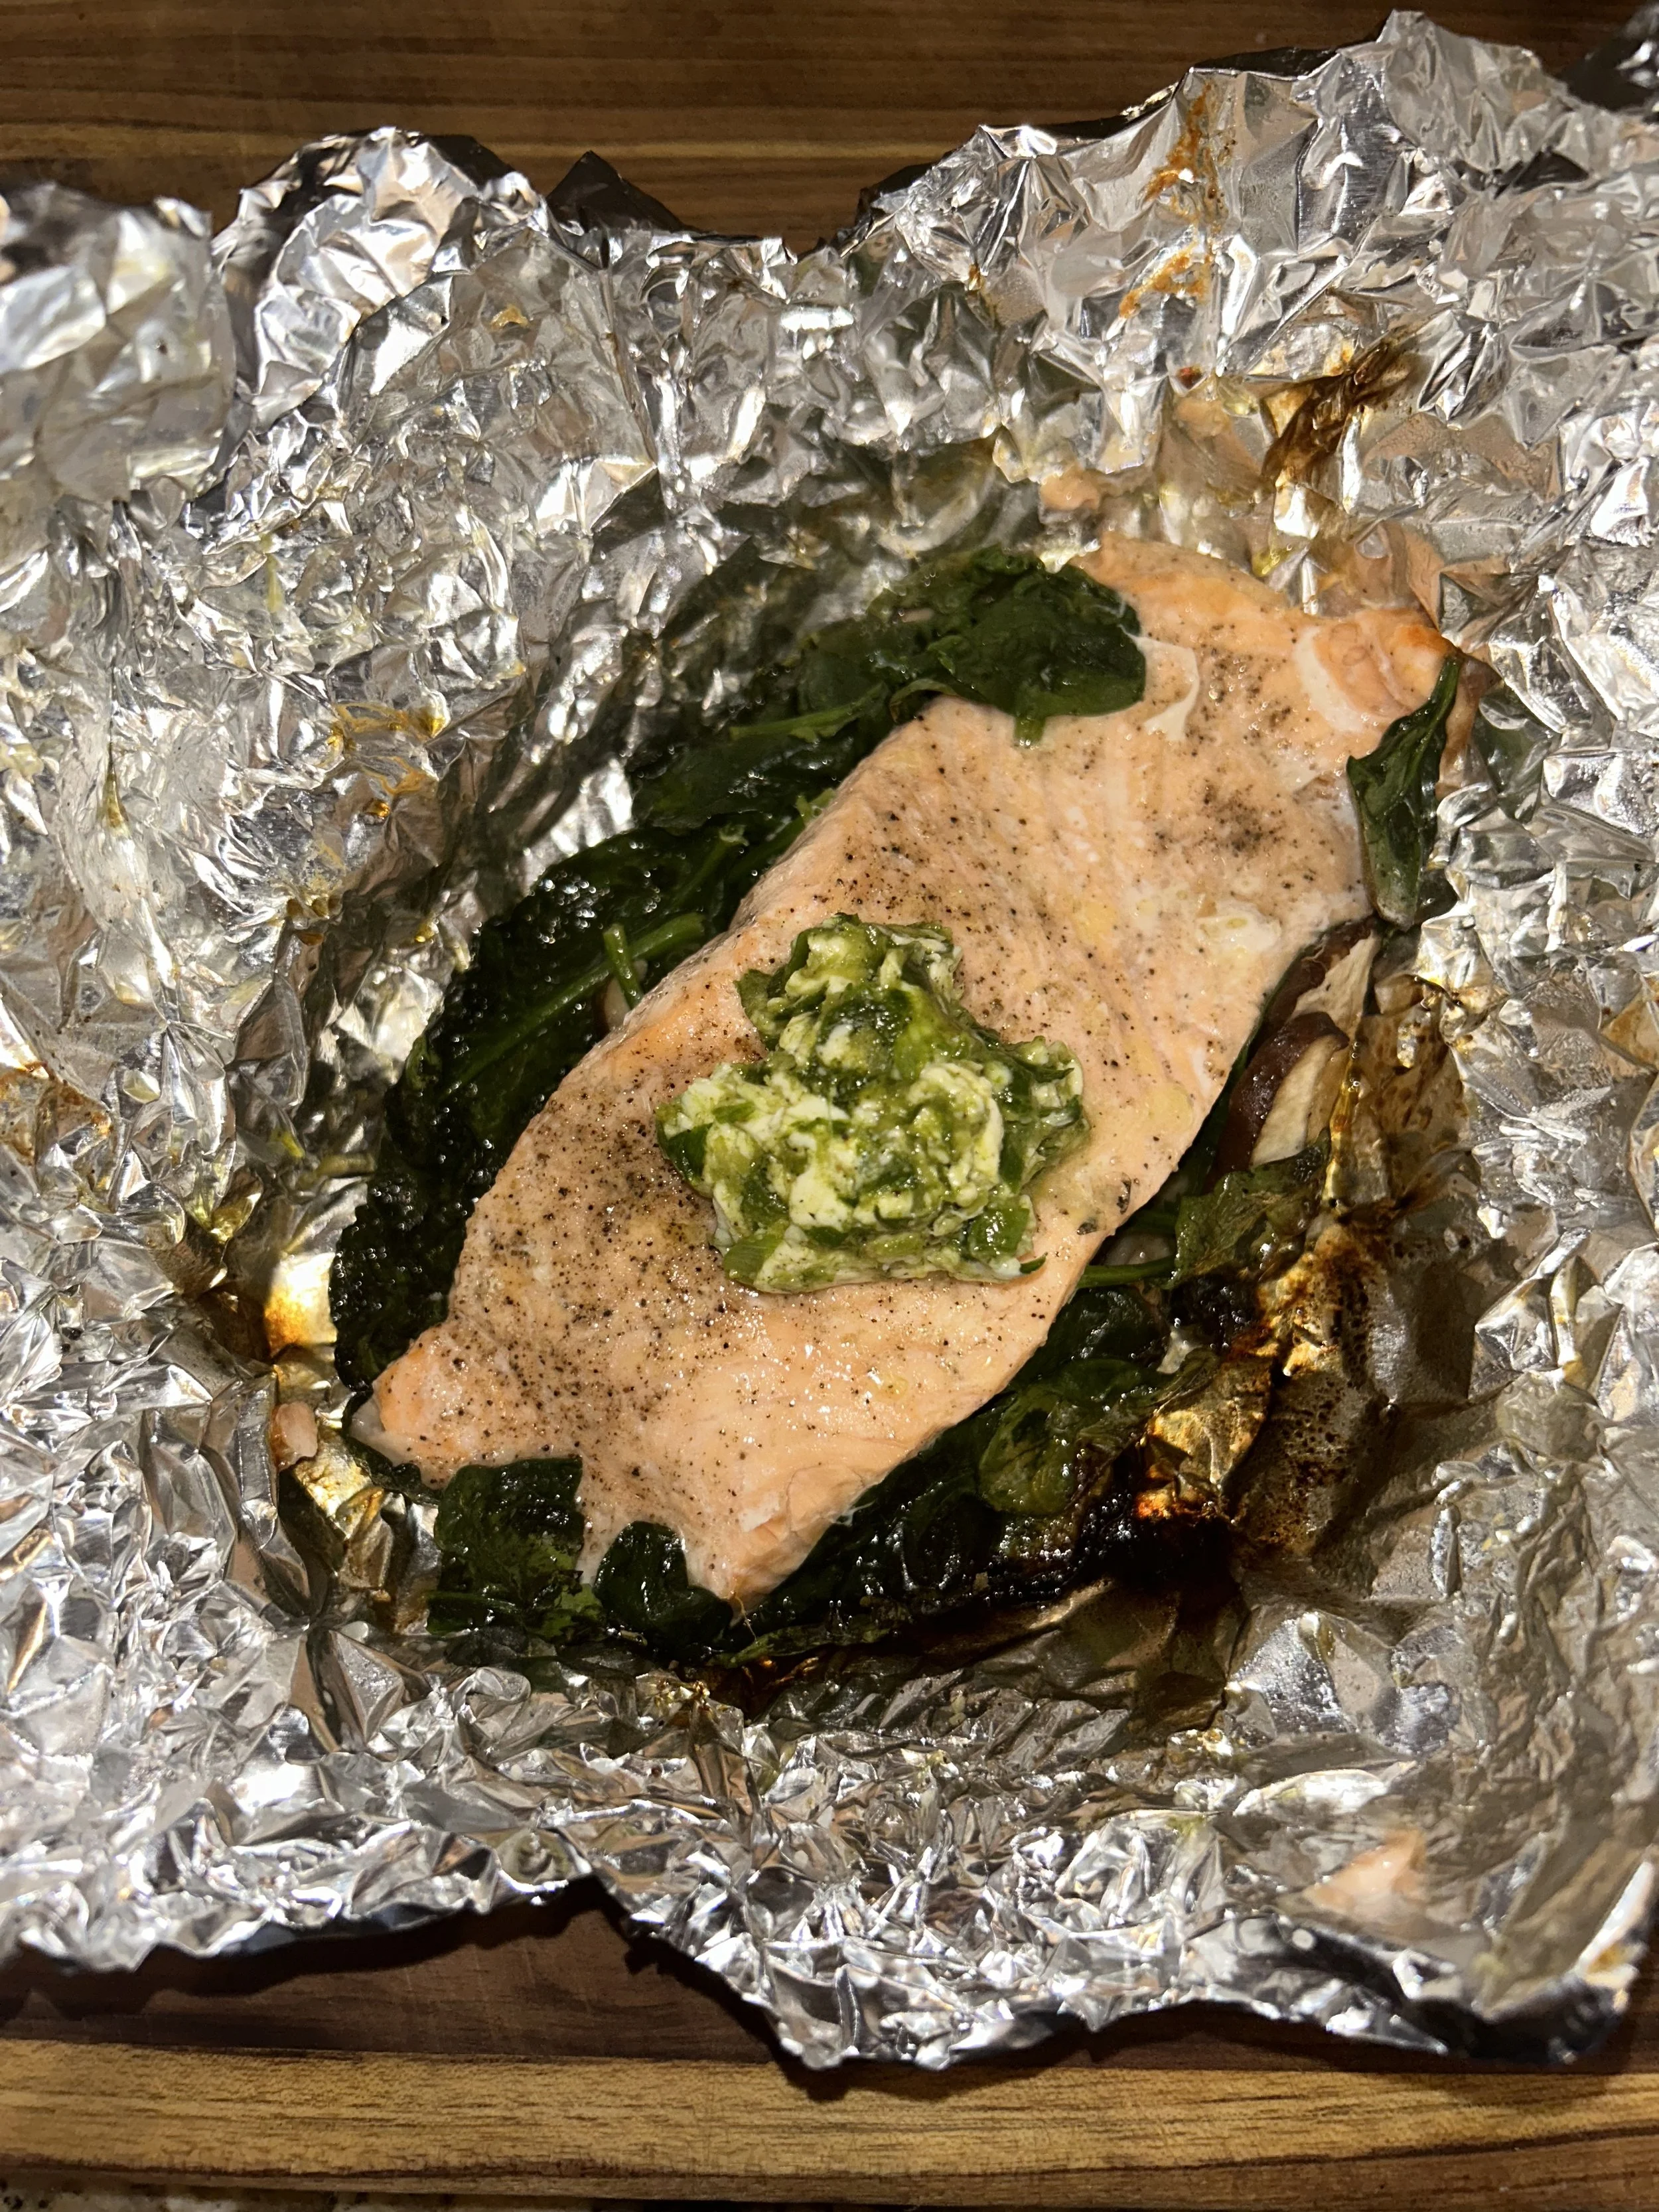
When the salmon is cooked, carefully open up the foil packets and top each salmon filet with the scallion butter.
Well, would you look at that? Salmon and veggie foil packets loaded with vitamins and took no time to make! Serve these packets with some rice or other starch, and you’ve got a full meal that came together in 30 minutes!
This is also a great dish to make if you’re camping!
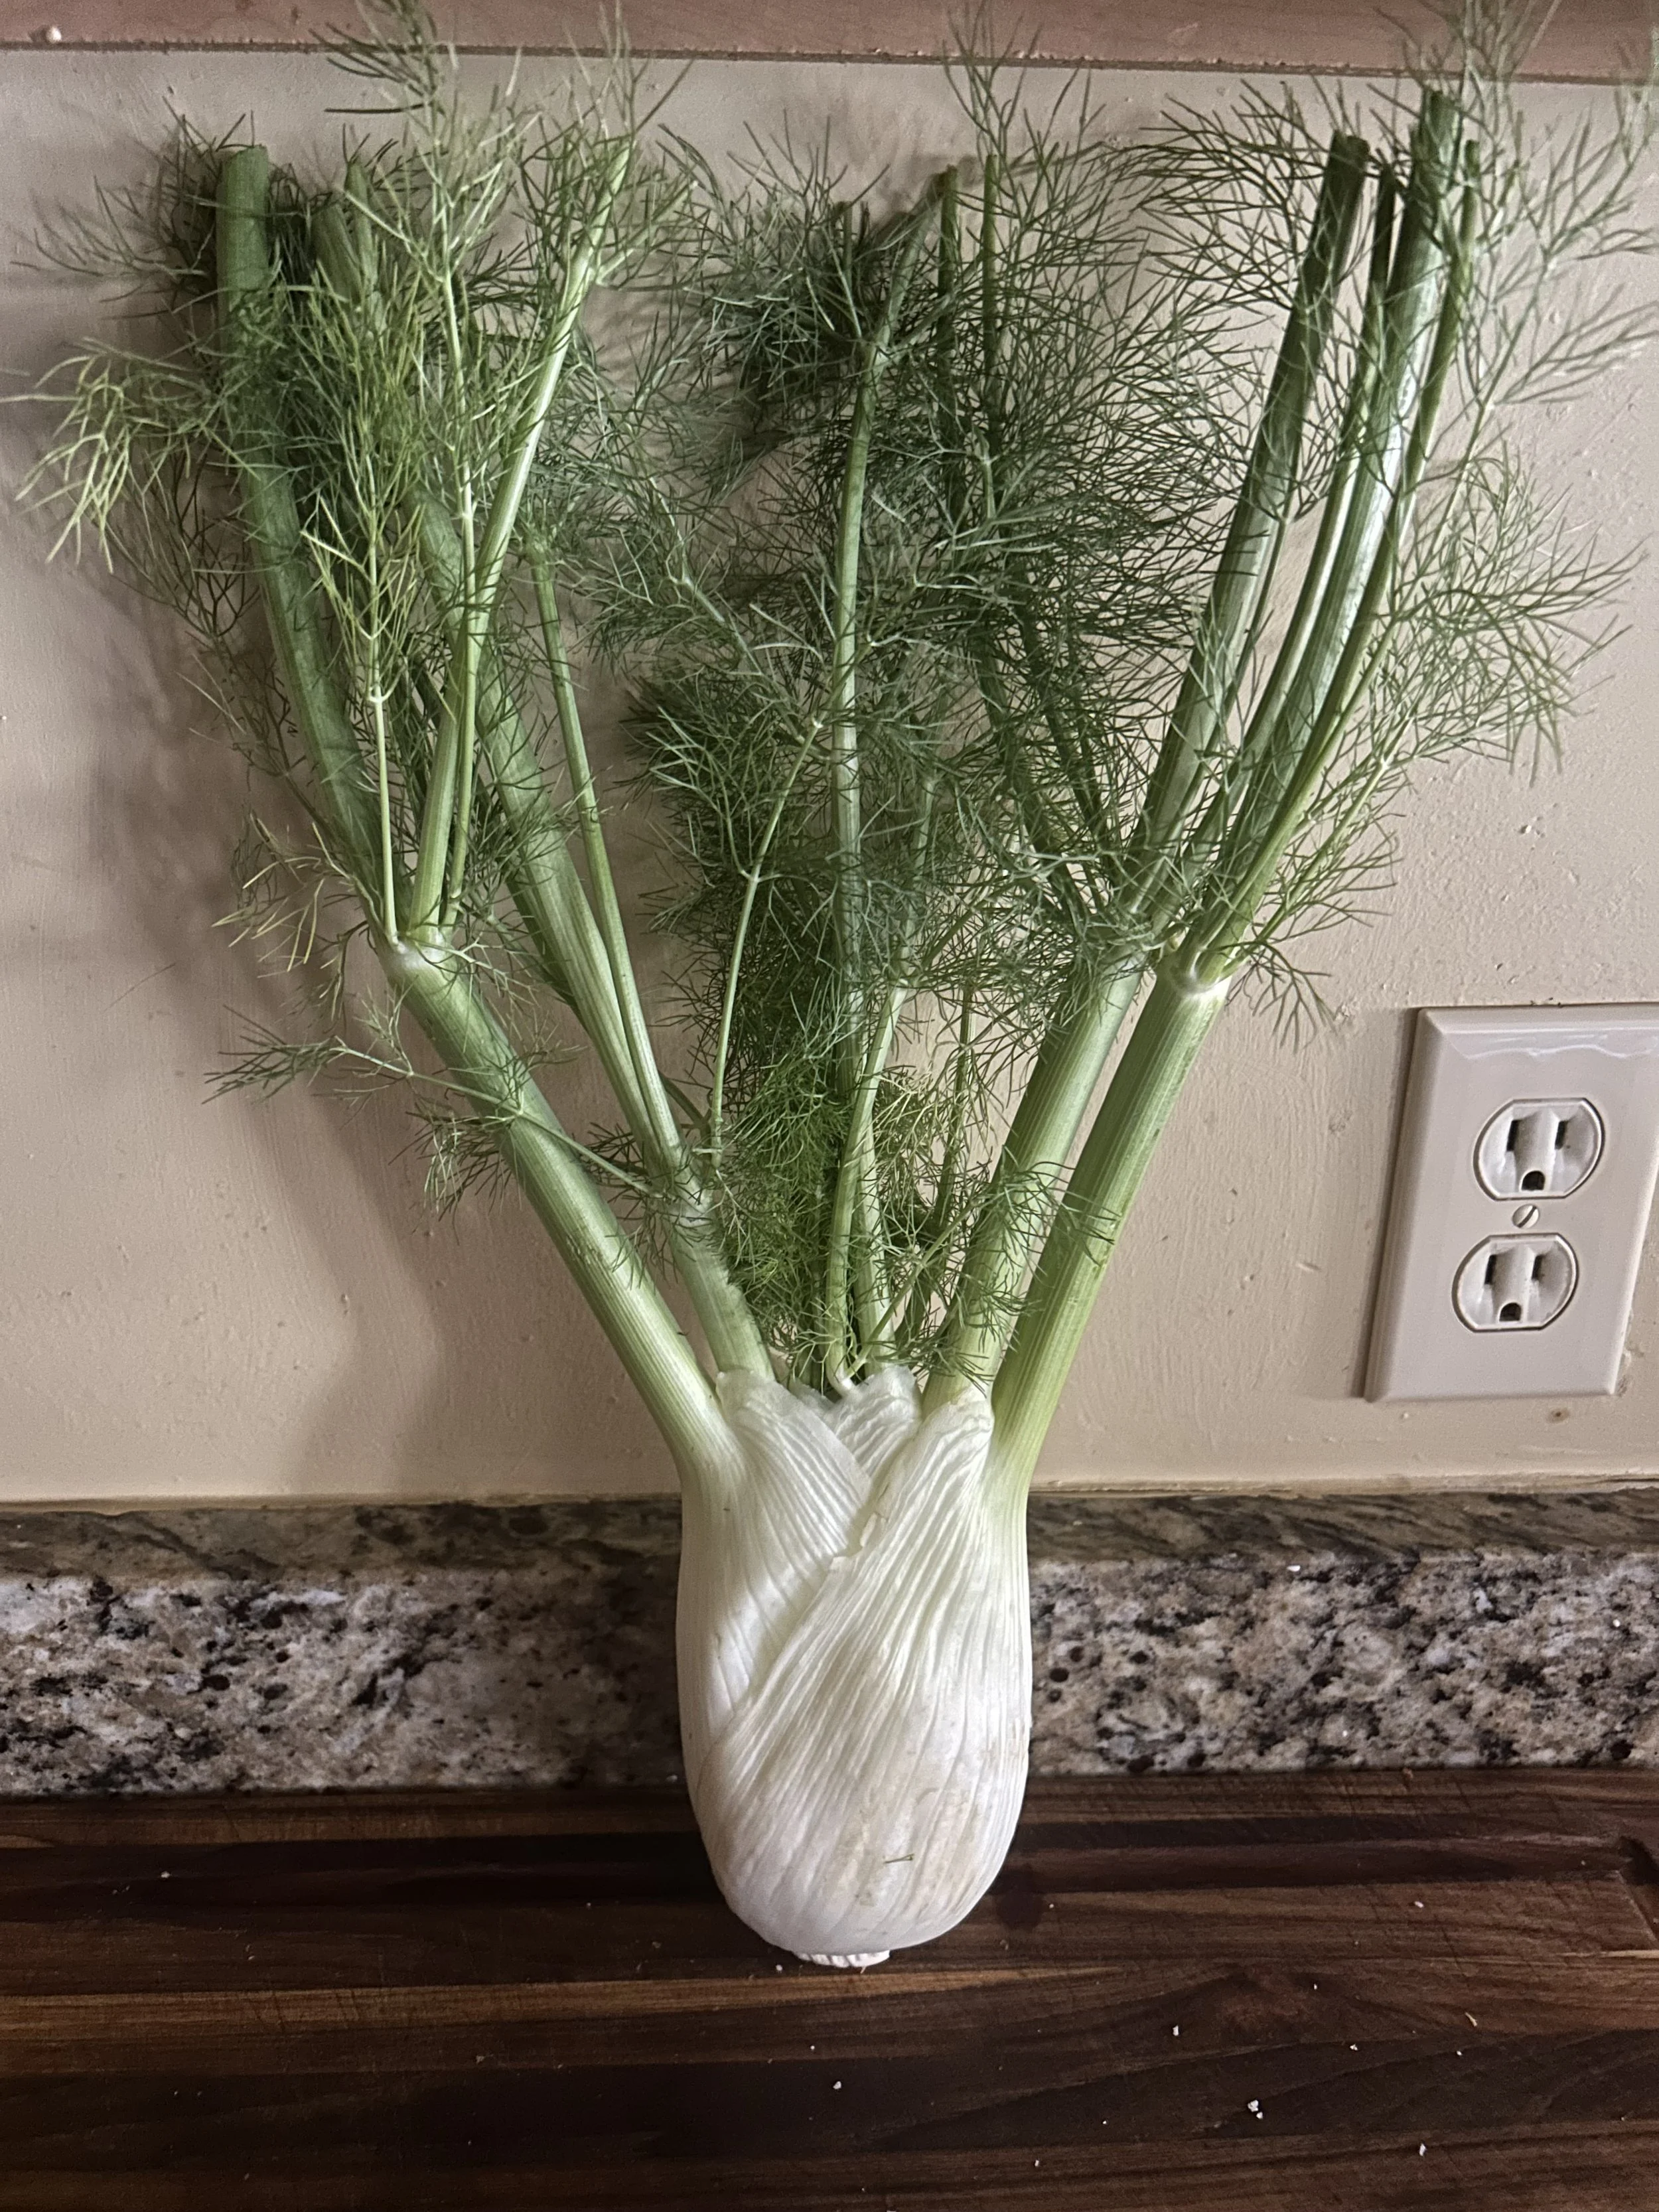
Day 8: Fennel
It is hard to deny the taste and nutrition that fennel provides. Although it may be known for its licorice-like flavor, it also has powerful anti-inflammatory agents, like Vitamin C and quercetin.

There are lots of things that can be done with fennel bulbs, from soups to slaws to salads, but I’m going to show you an easy fennel gratin that might take place on the dinner table instead of potatoes au gratin.
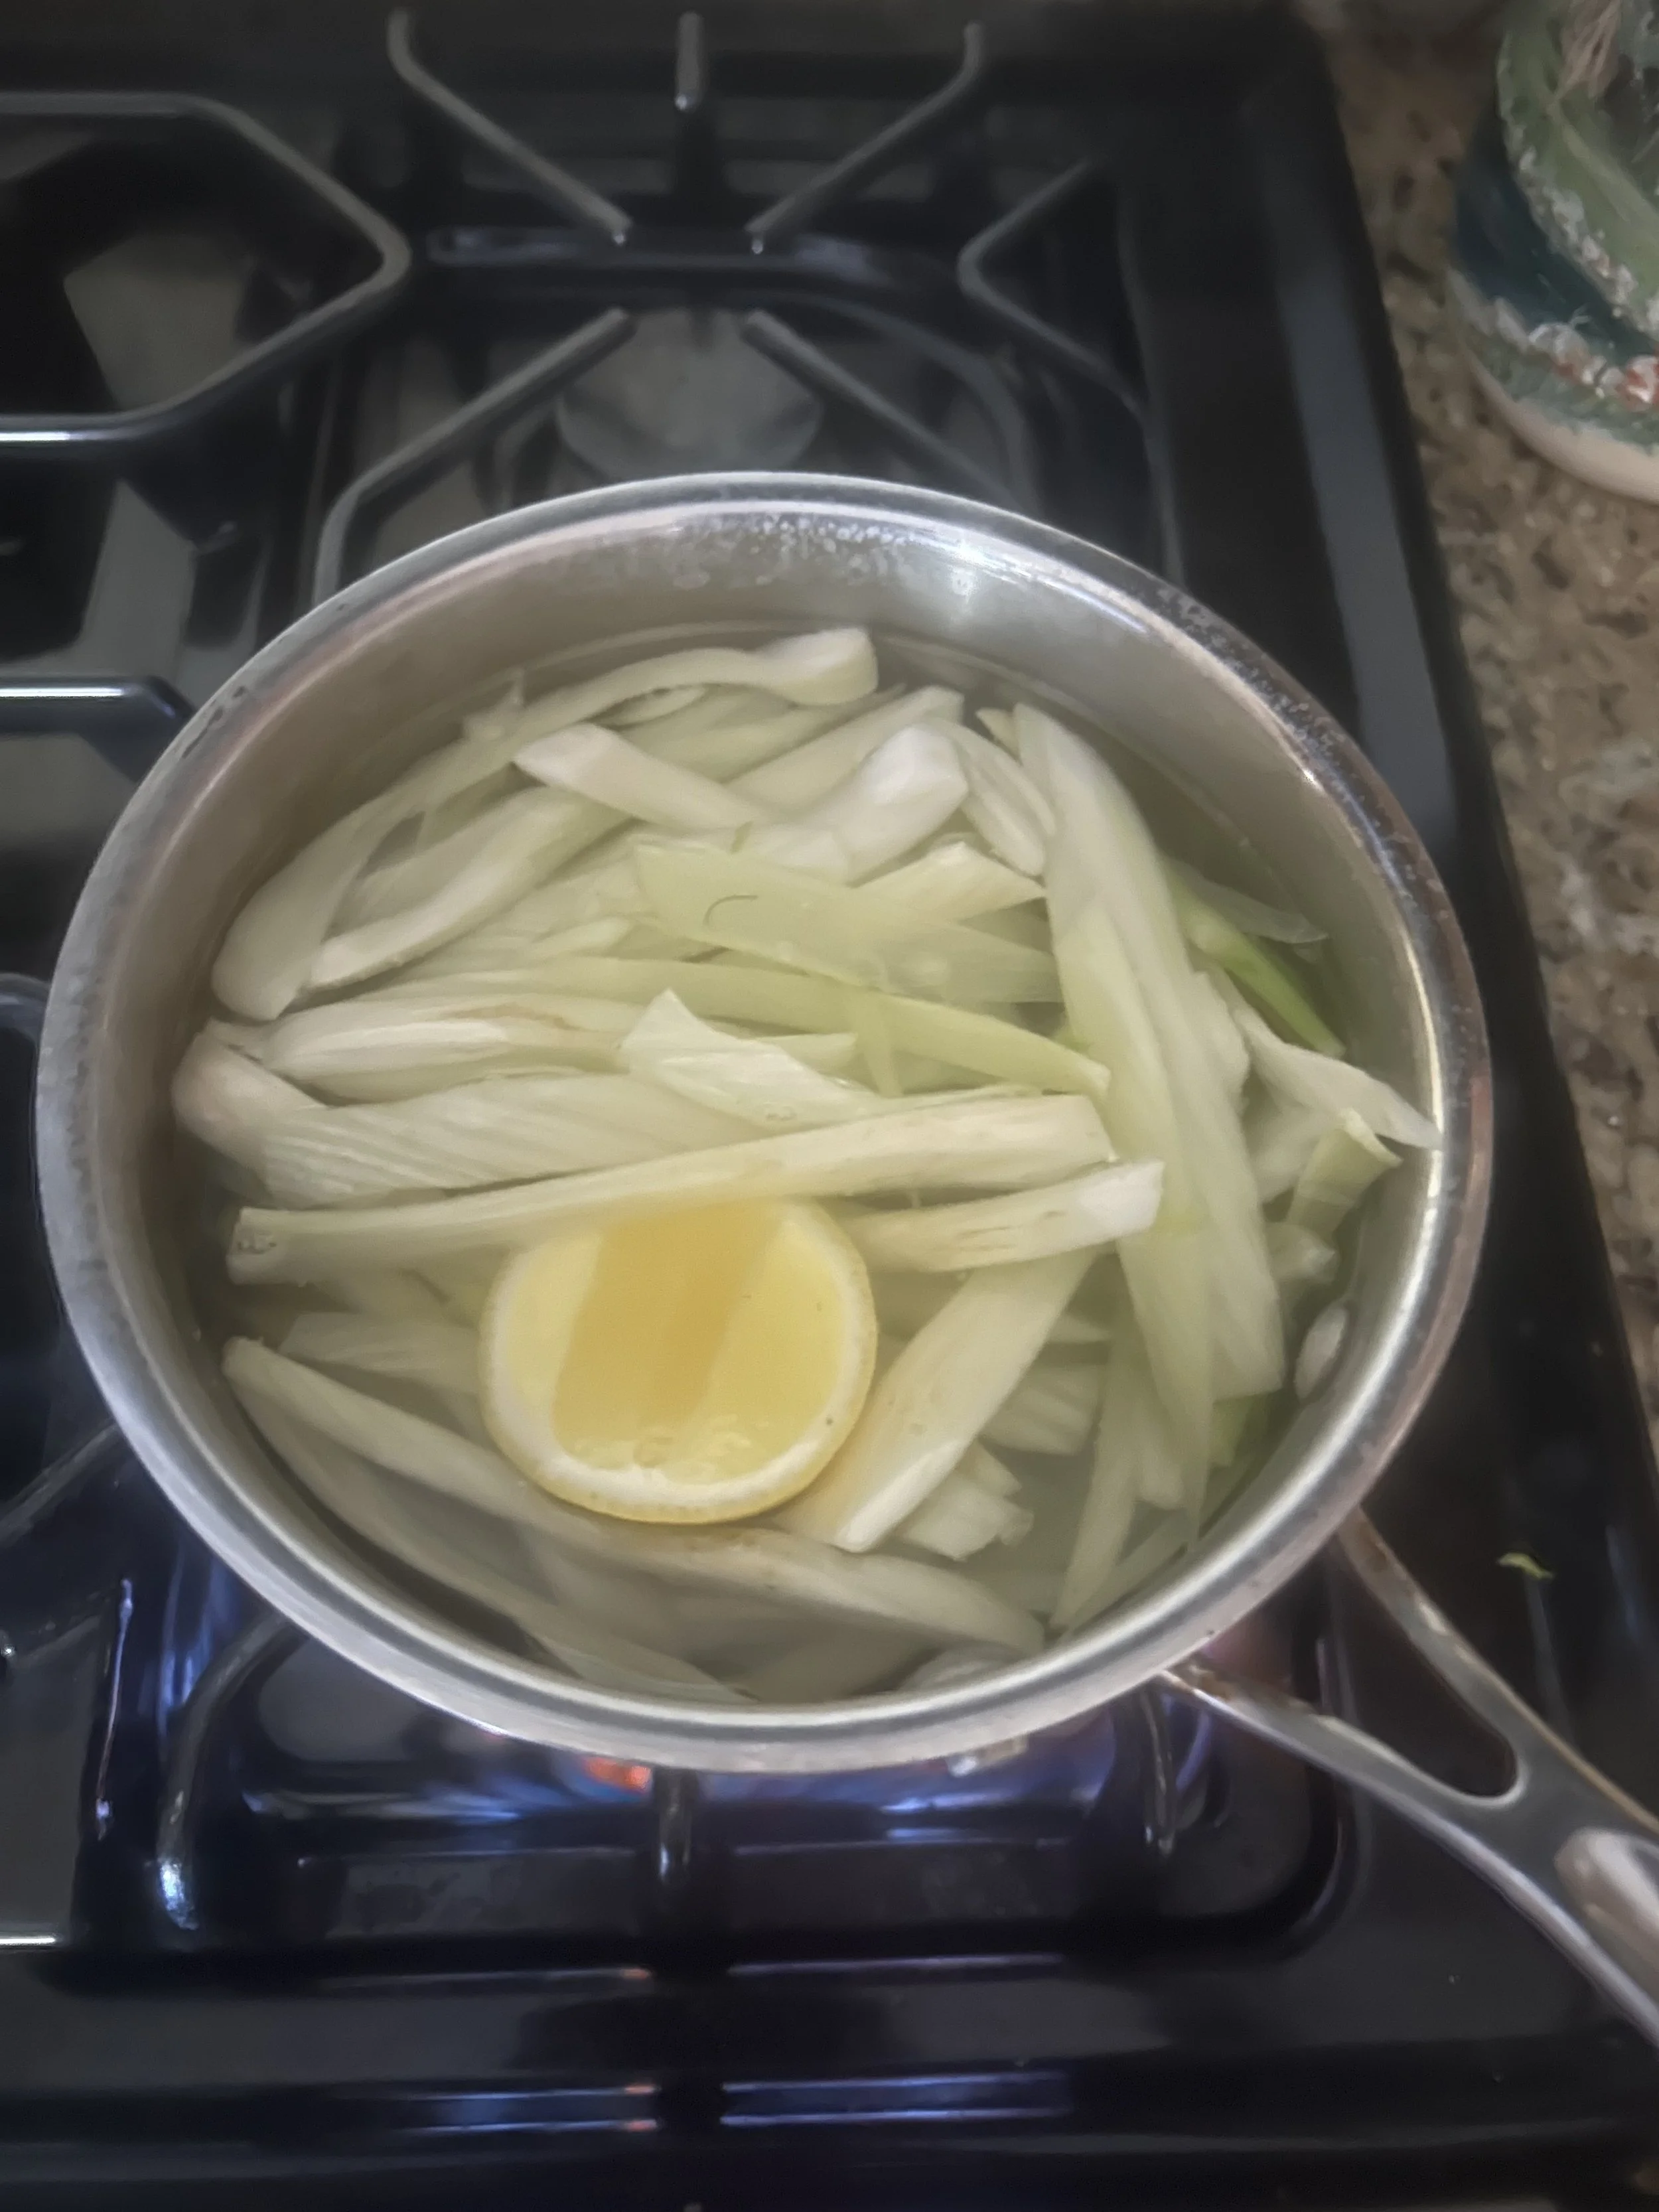
Halve and core 3 bulbs of fennel, then slice them into 1/2-inch thick slices. Discard the top part of the fennel, but save a few tablespoons of the fennel fronds for garnish.
Place the sliced fennel into a pot of salted boiling water along with half of a lemon to infuse flavor and prevent browning, and boil for about 15 minutes, or until crisp-tender.
Drain the fennel, discard the lemon, then dump it into a buttered baking dish.
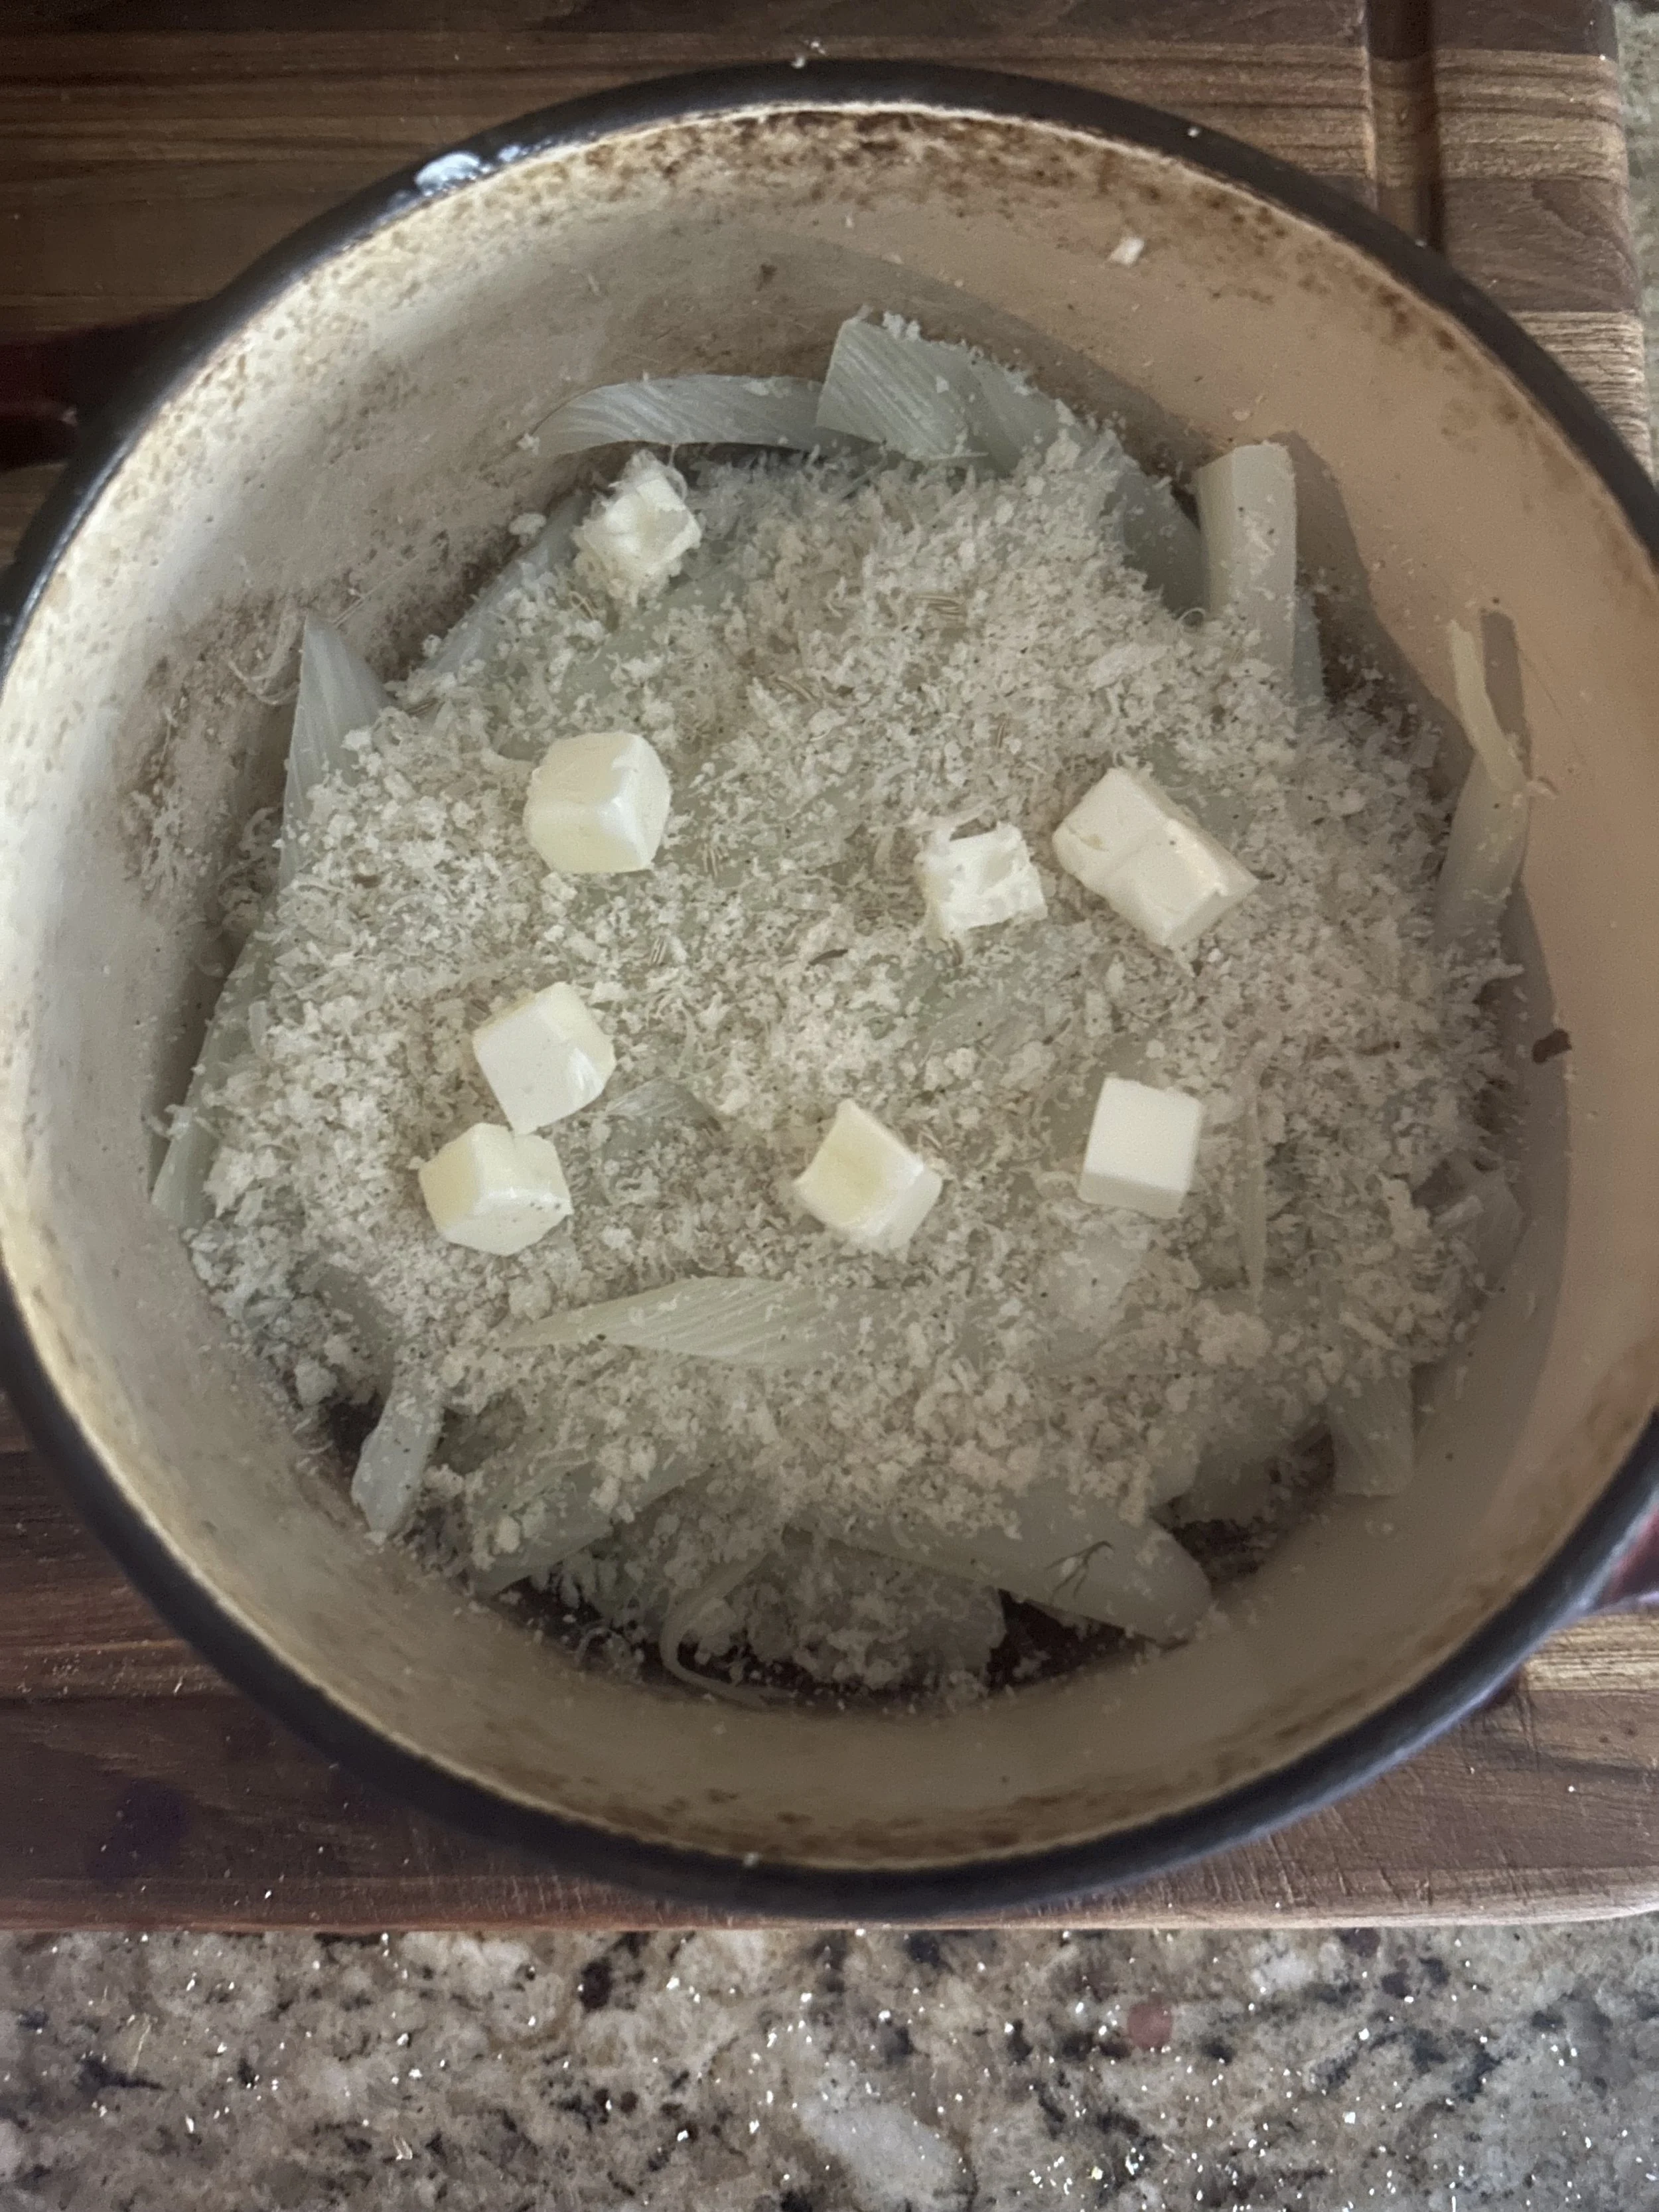
In a small bowl, mix together 1/4 cup each of grated parmesan cheese and panko breadcrumbs, 3/4 teaspoon of chopped fennel seeds, 1/2 teaspoon of salt, and a few grinds of pepper.
Sprinkle the breadcrumb mixture over the fennel and dot with 3 tablespoons of butter.
Broil for about 3 minutes until golden, and garnish with chopped fennel fronds.
Ok, so this isn’t going to have the same creamy cheesiness that we expect from potatoes au gratin, but the buttery, lemony flavor of the fennel plus the crispy breadcrumb topping makes this not only quicker to make than potatoes au gratin, but also tasty and healthier as well!

Day 9: Yogurt (Happy Easter, by the way!)
Yogurt is one of the most nutritionally beneficial things that you can eat. It has calcium, proteins, vitamins, and live-culture bacteria to help promote intestinal health.
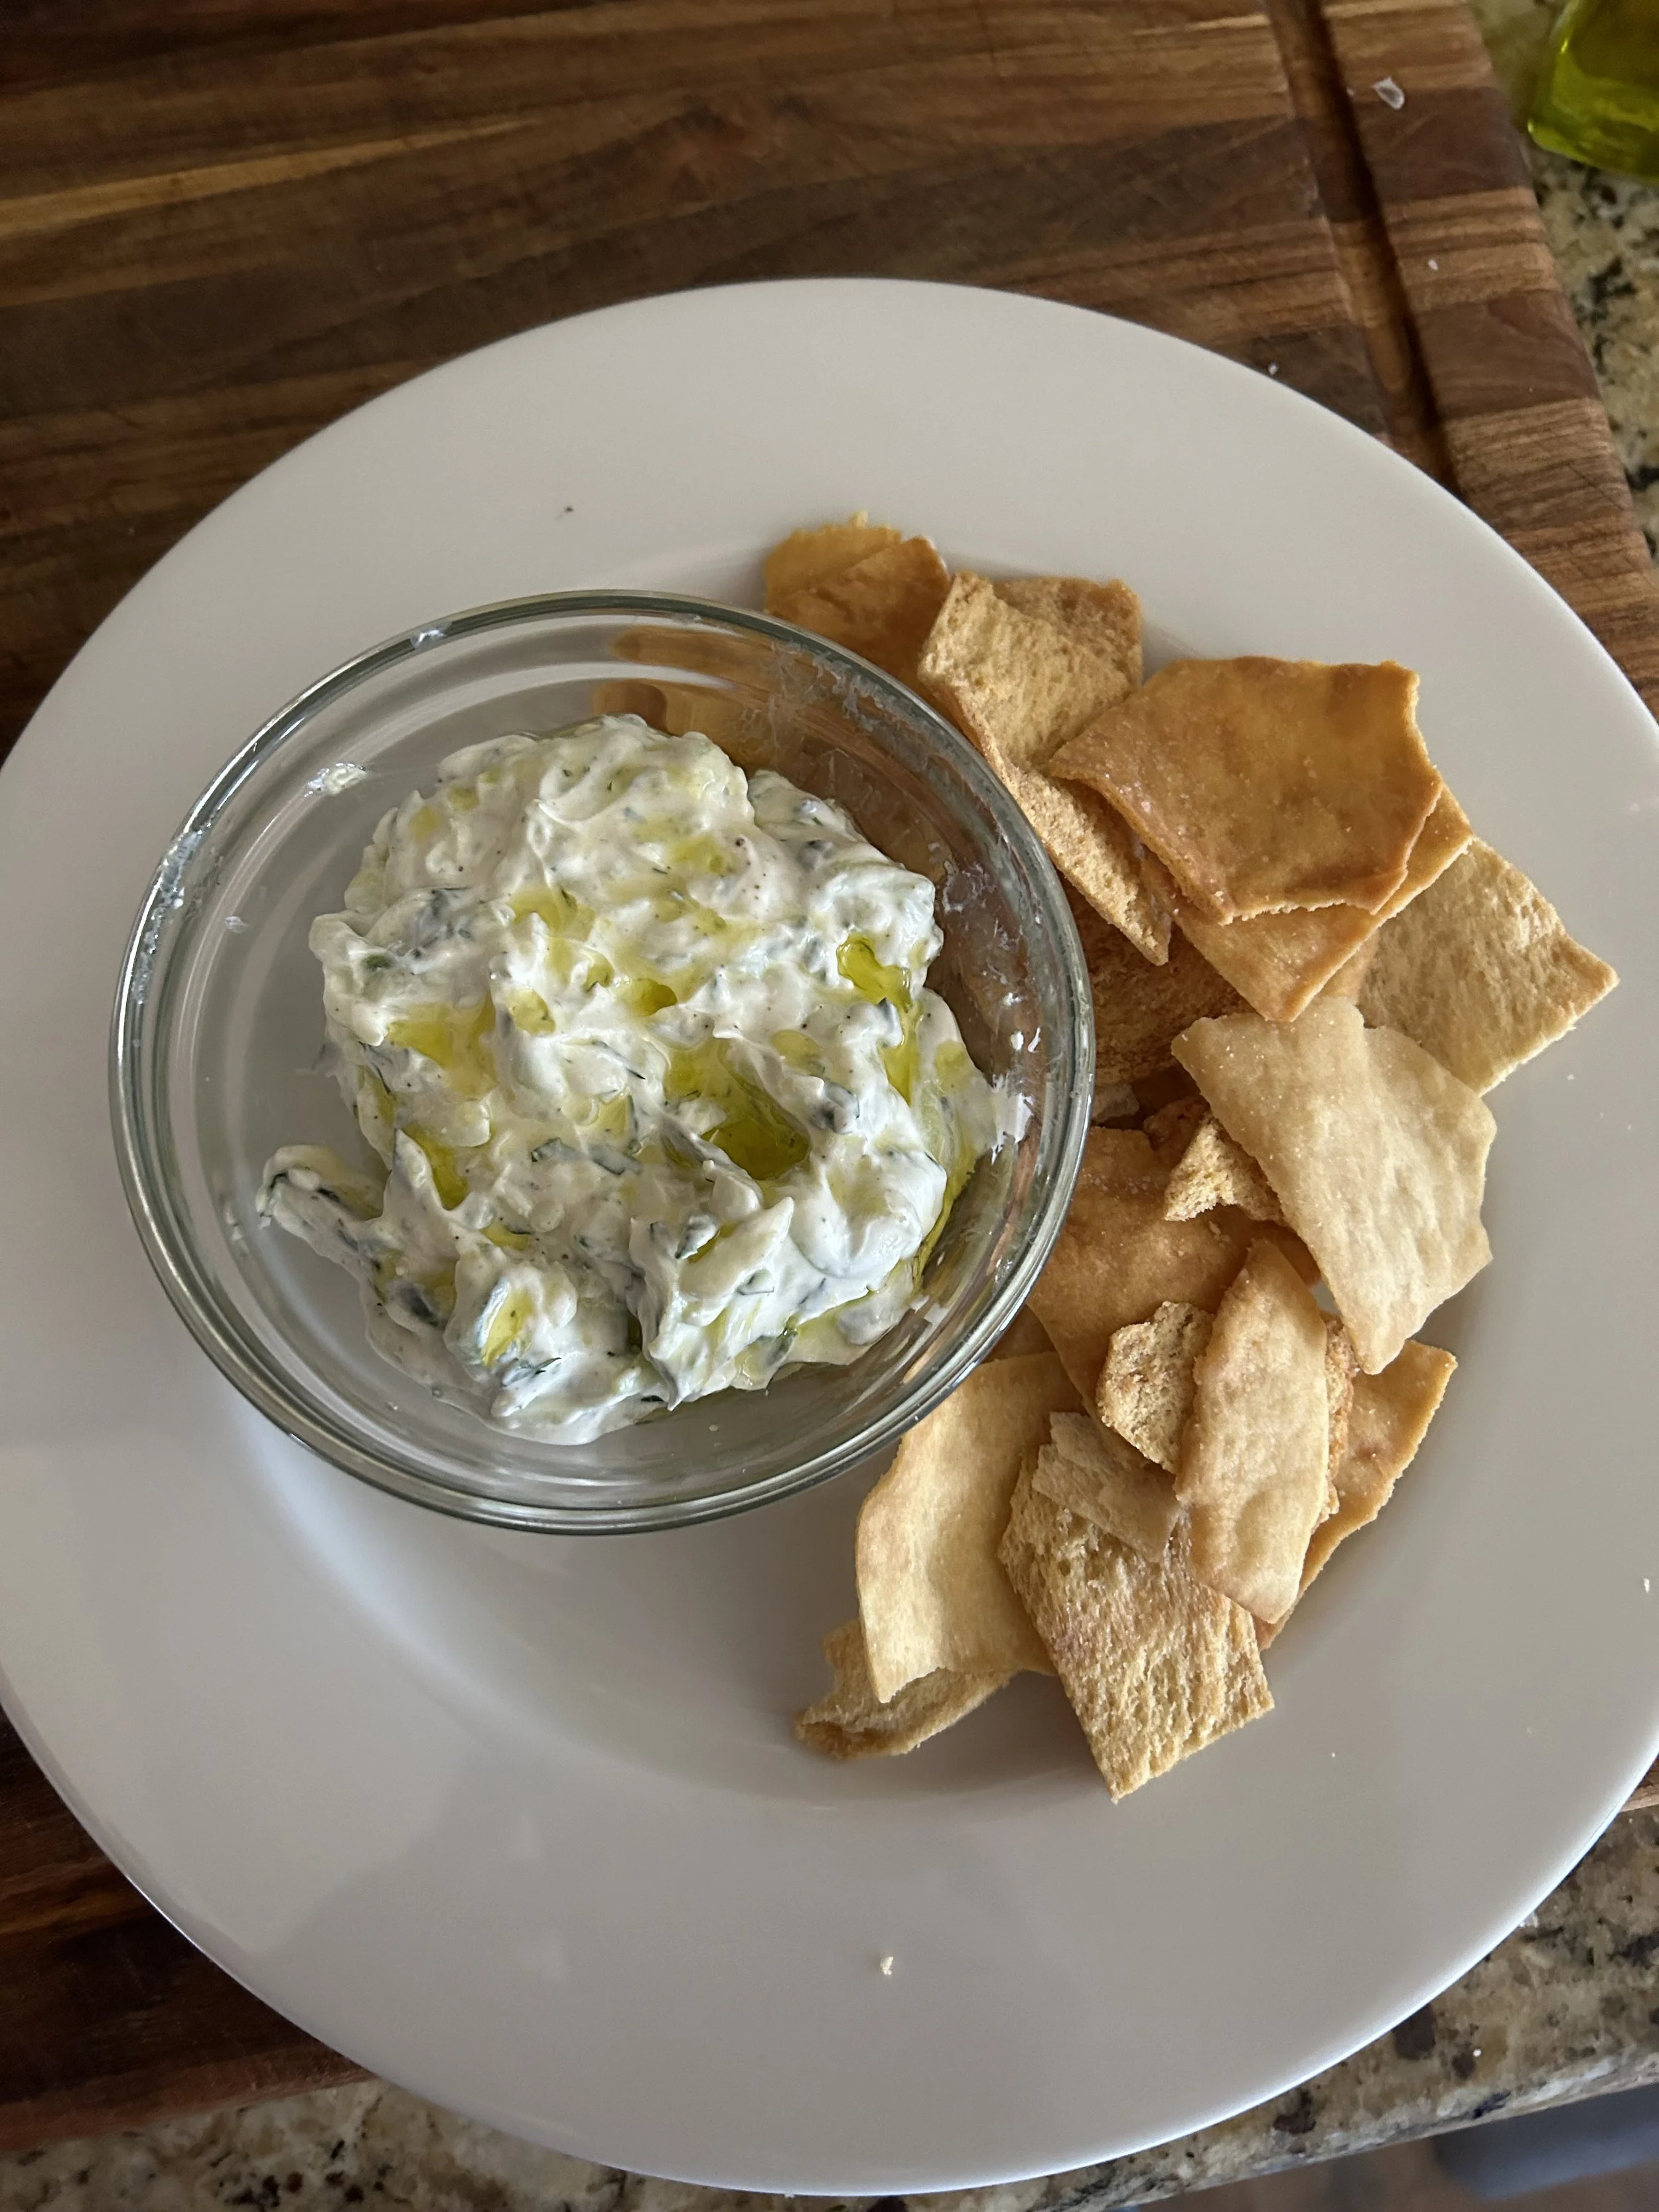
The application I’m about to do for yogurt, a simple tzatziki sauce (pronounced zat-zee-key), isn’t new, but it is certainly delicious!
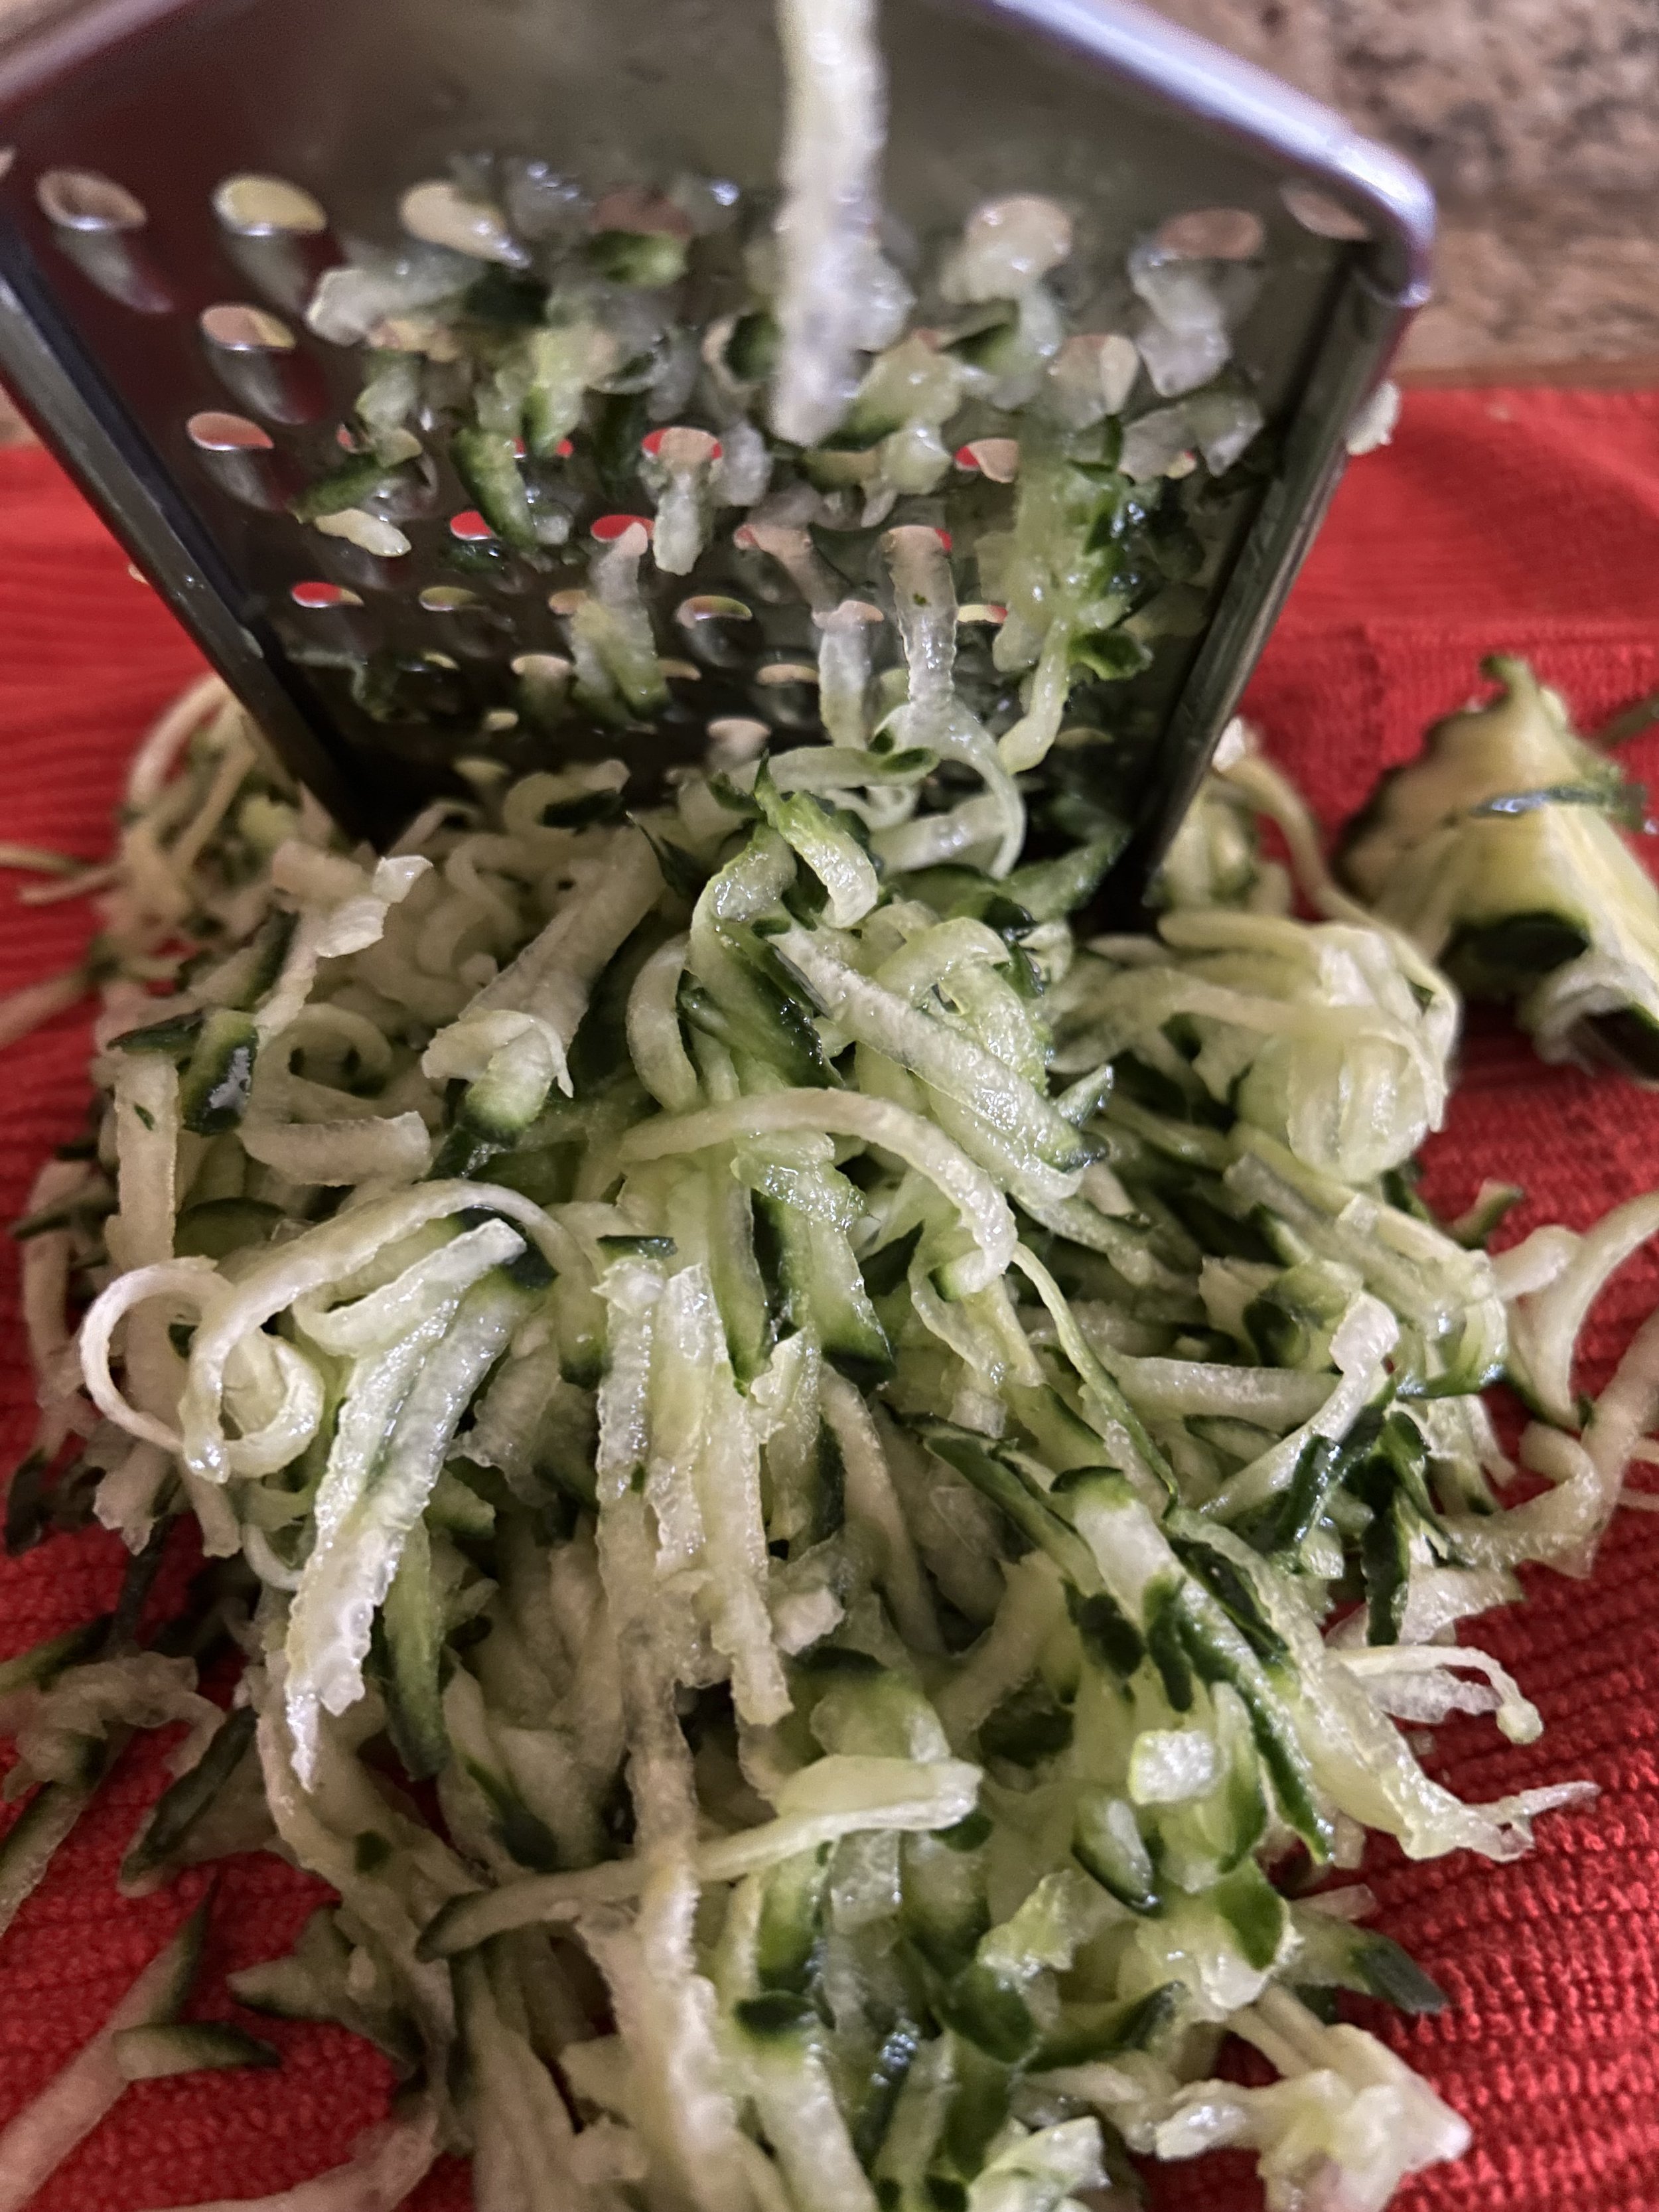
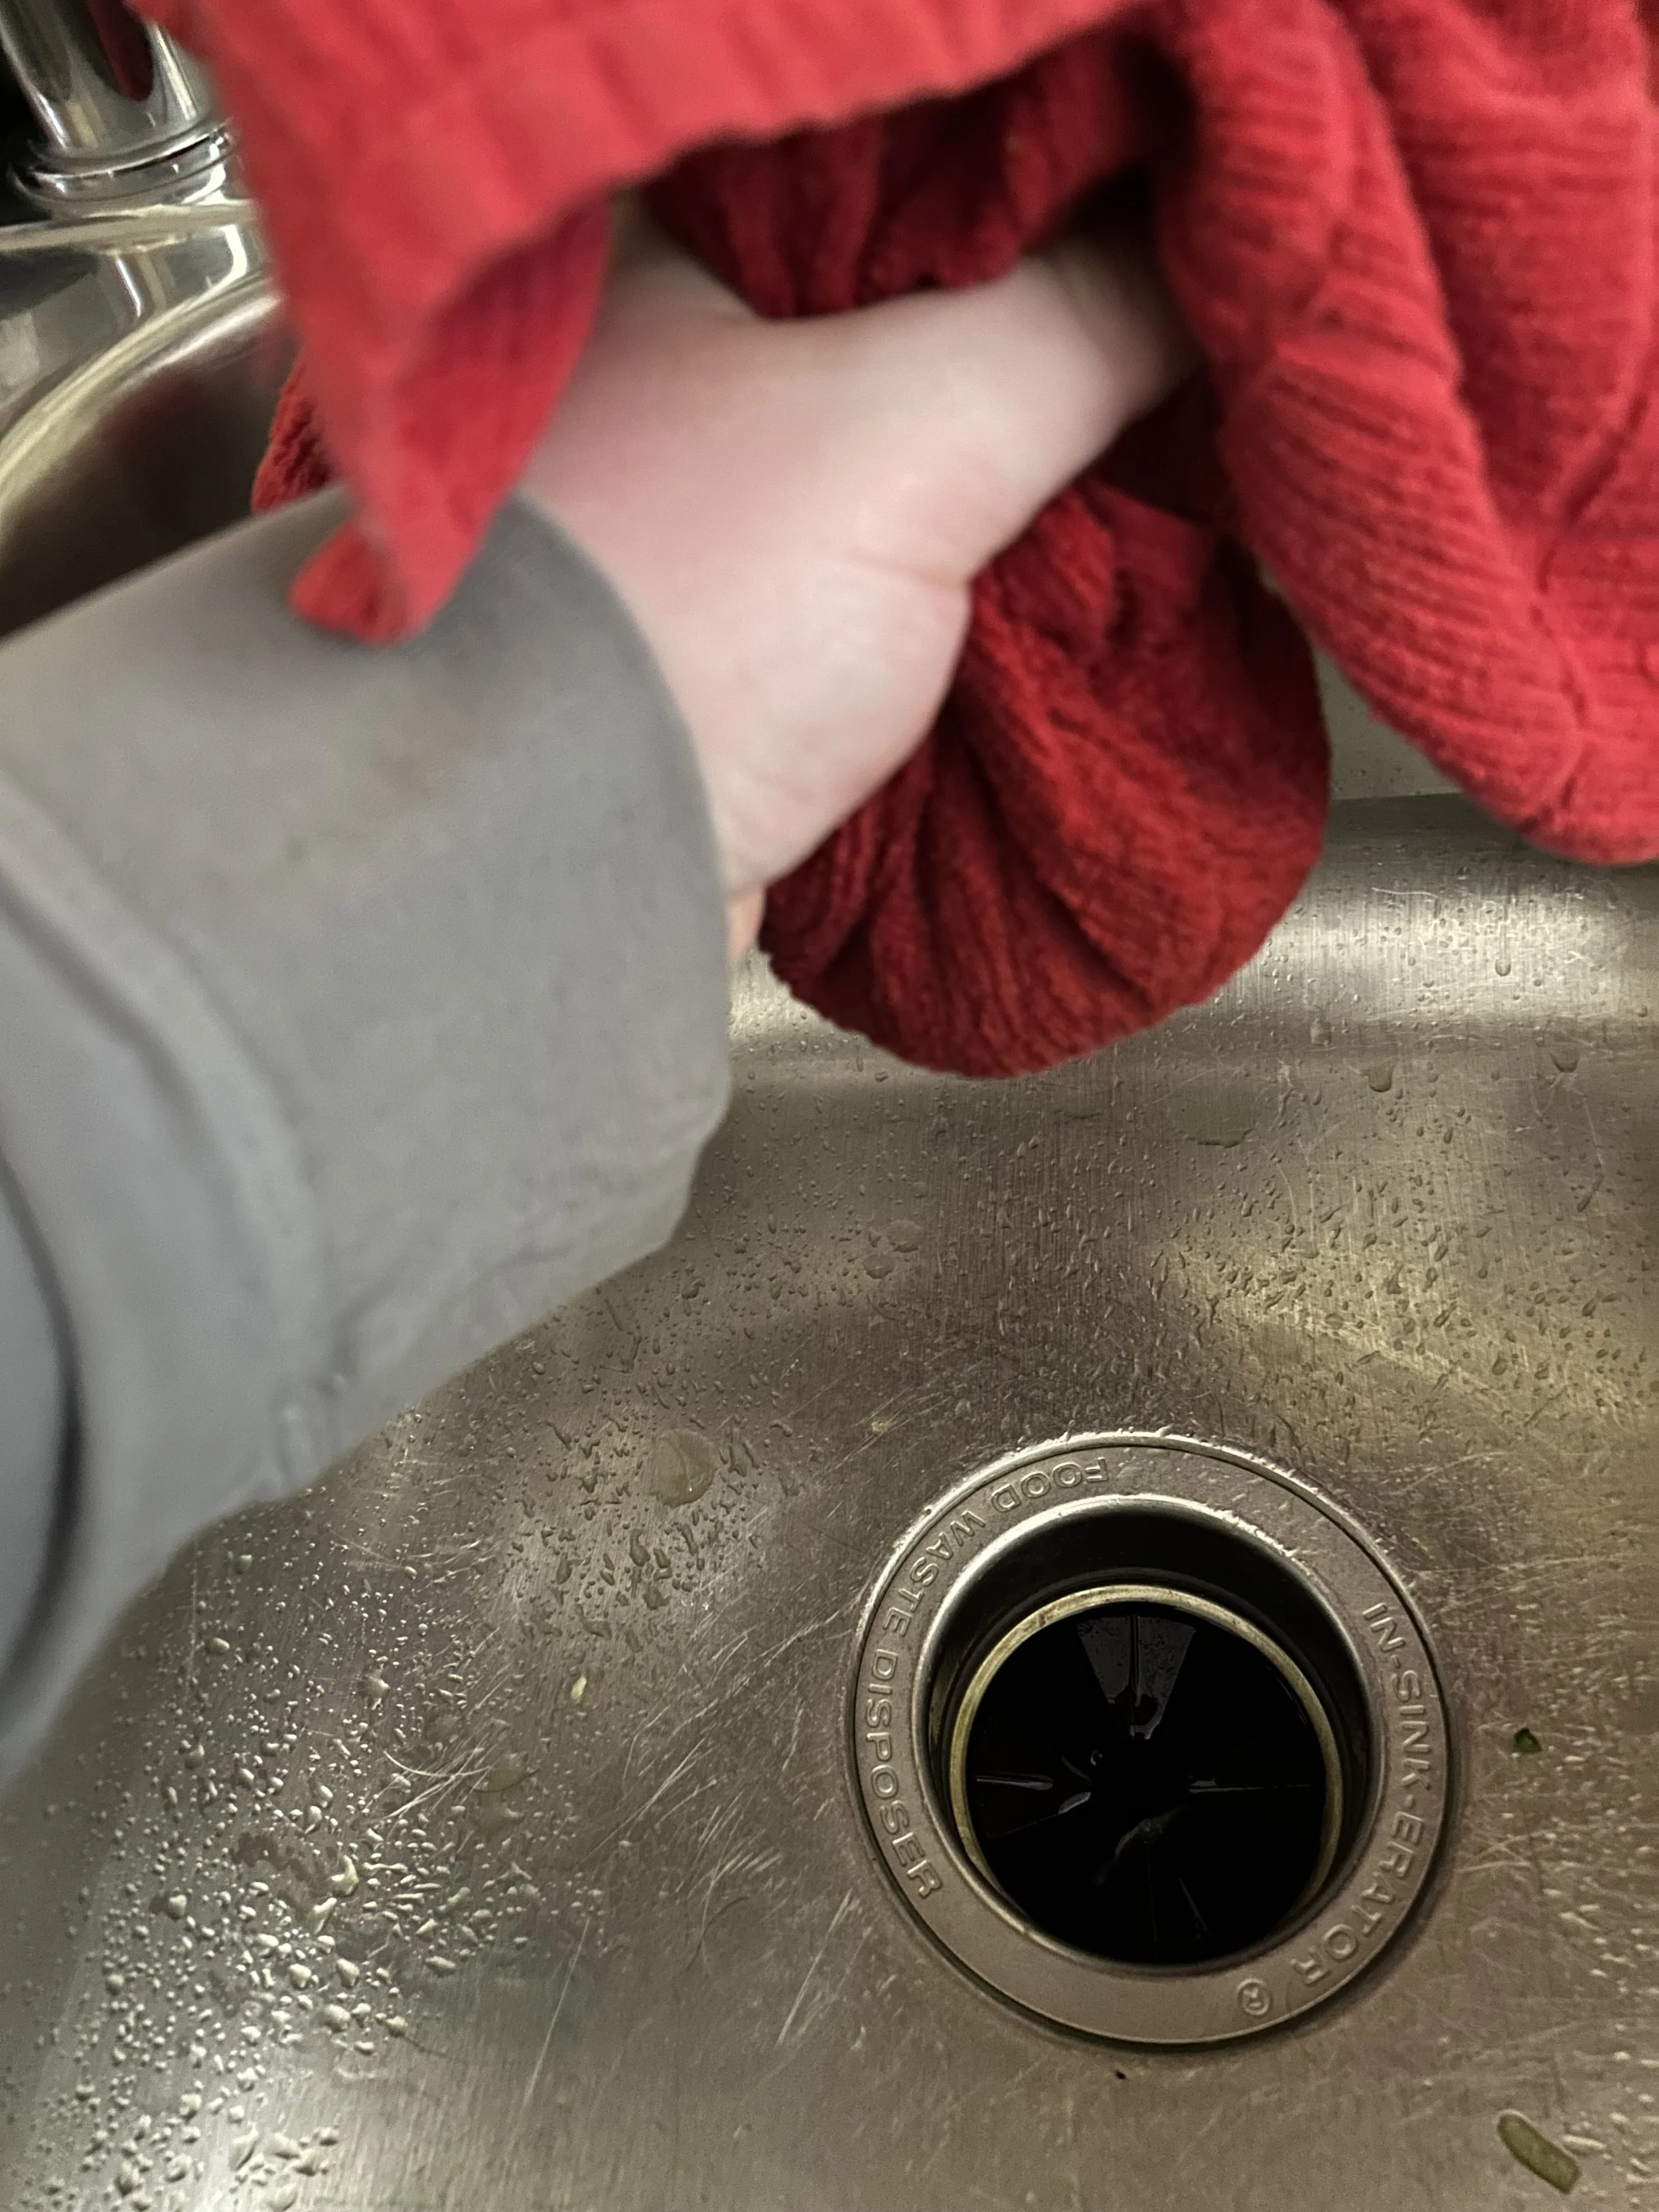
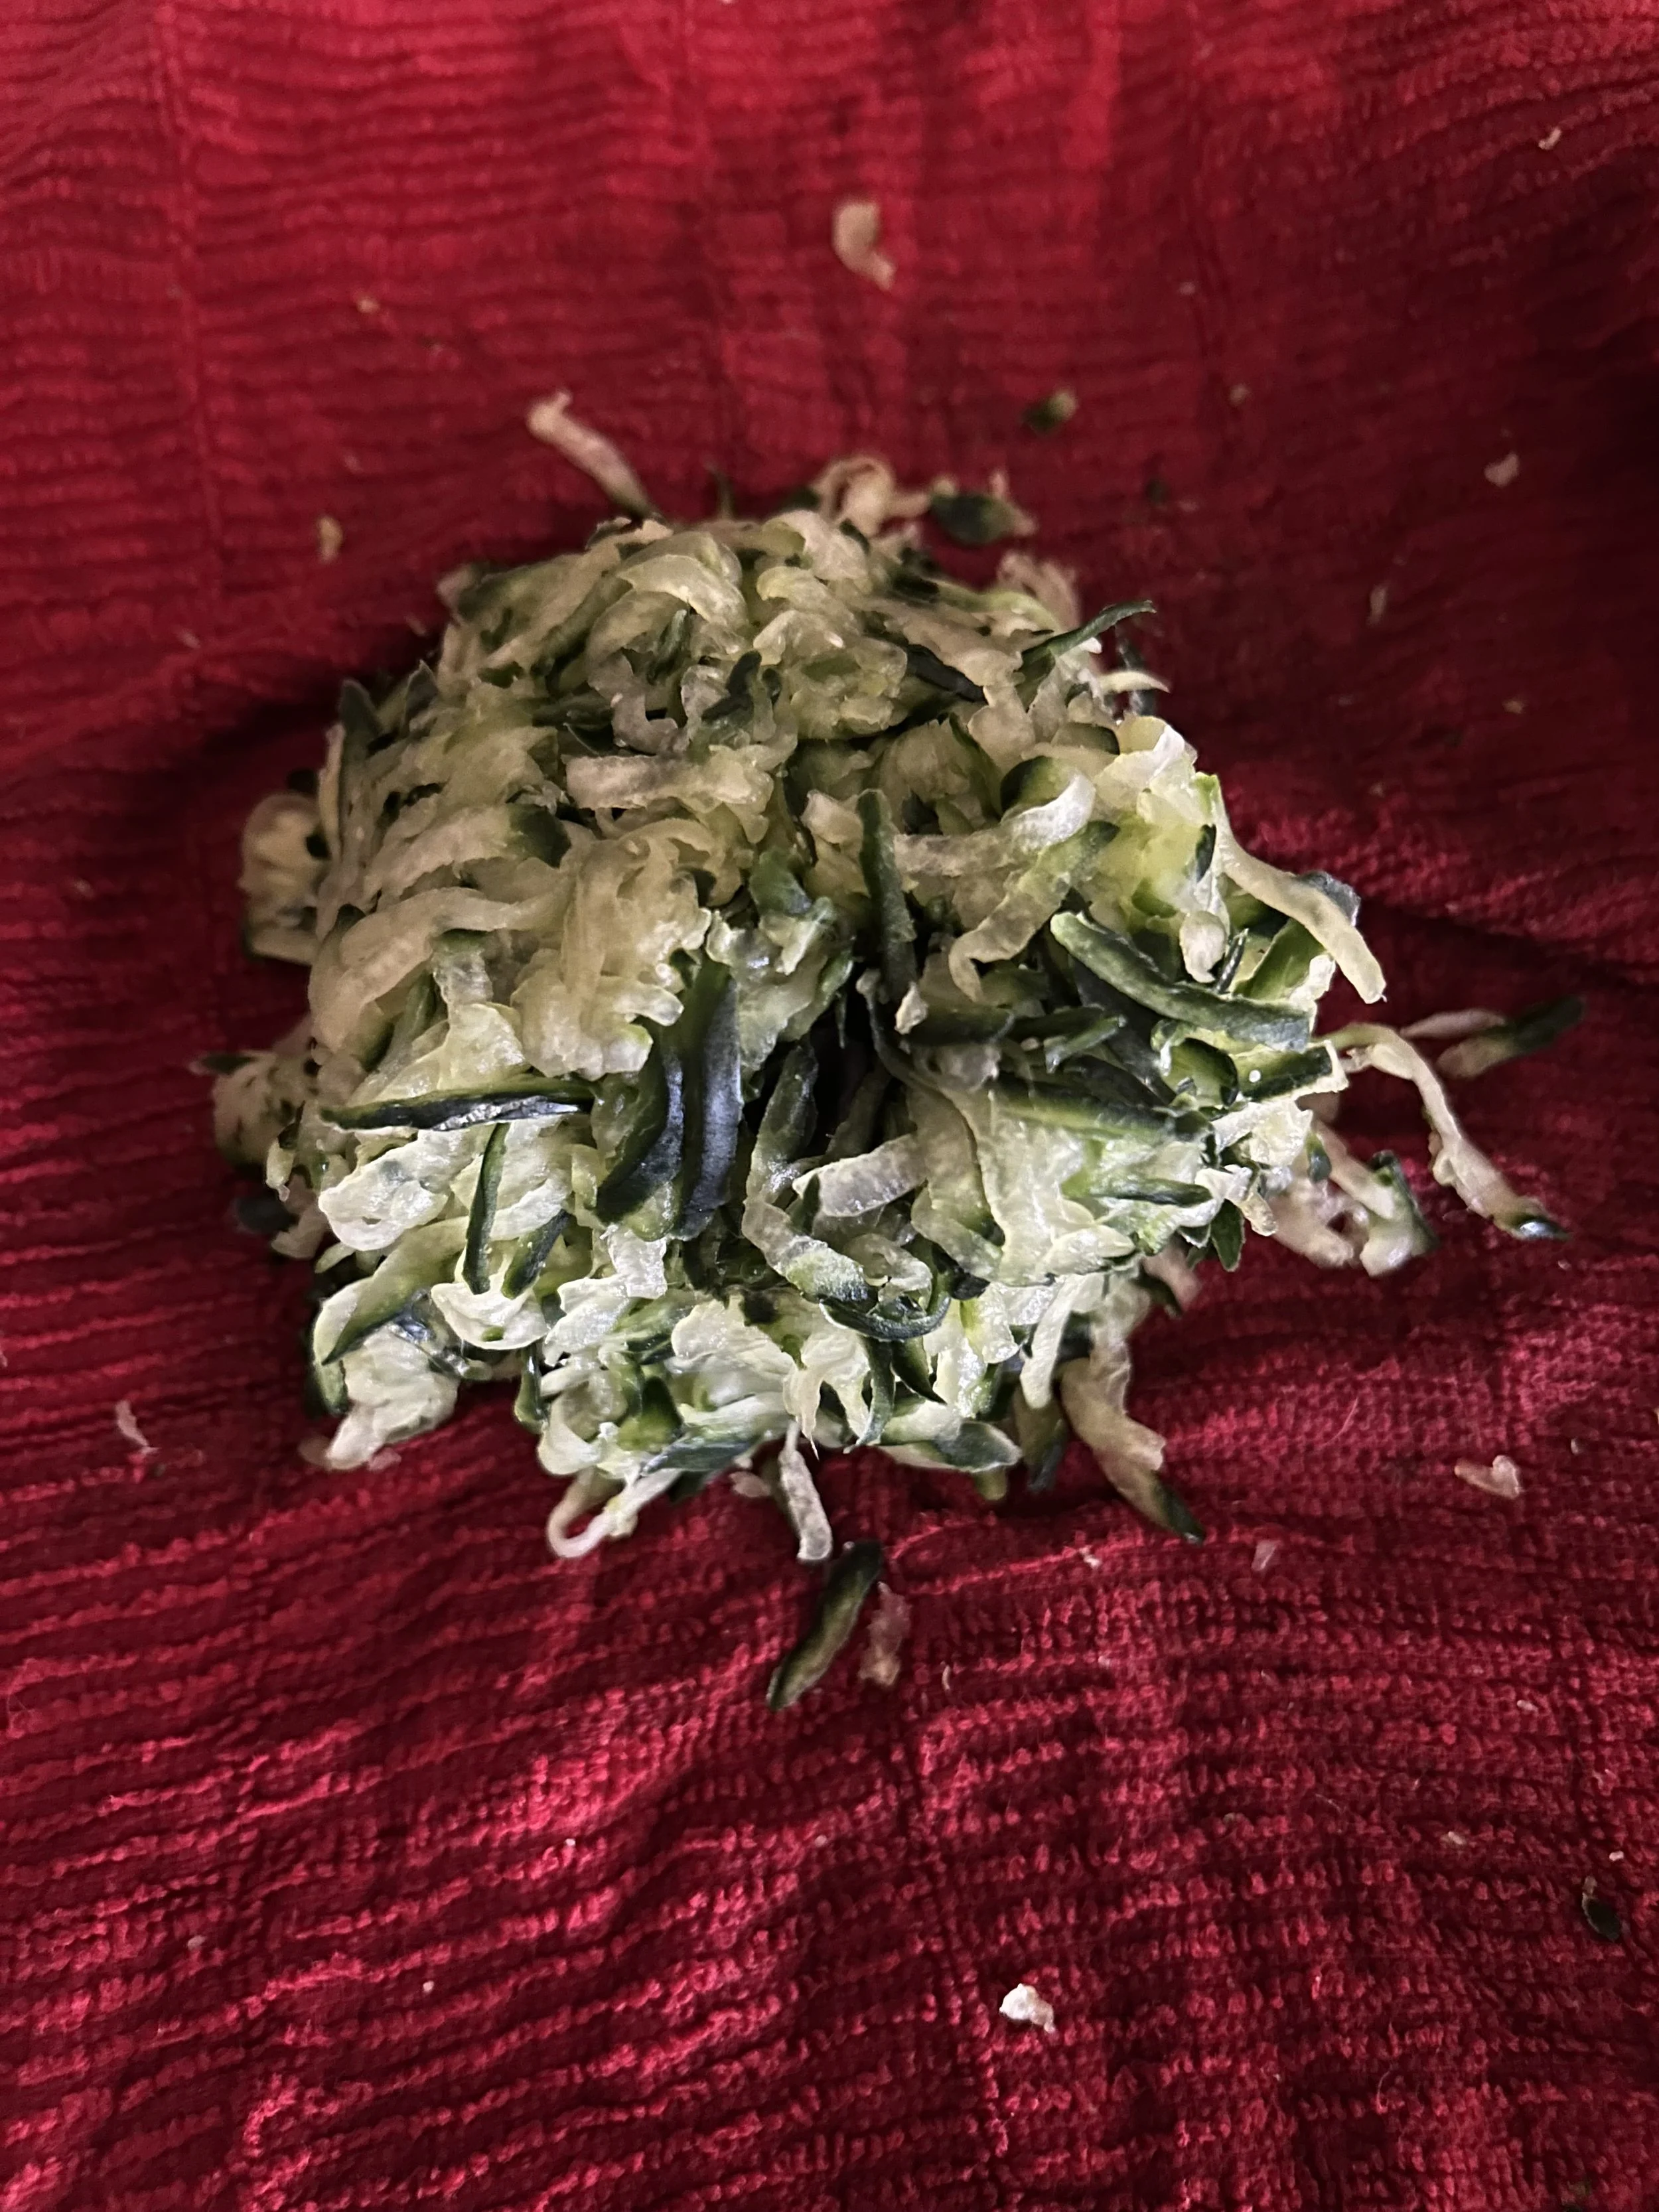
Grate 2 Persian cucumbers (or one English cucumber) with the large holes of a box grater and squeeze dry with clean kitchen towels or paper towels. Doing this will remove the excess water from the cucumber and lead to a nice, smooth sauce.
The cucumber should shrink down to half of it’s volume after doing this.
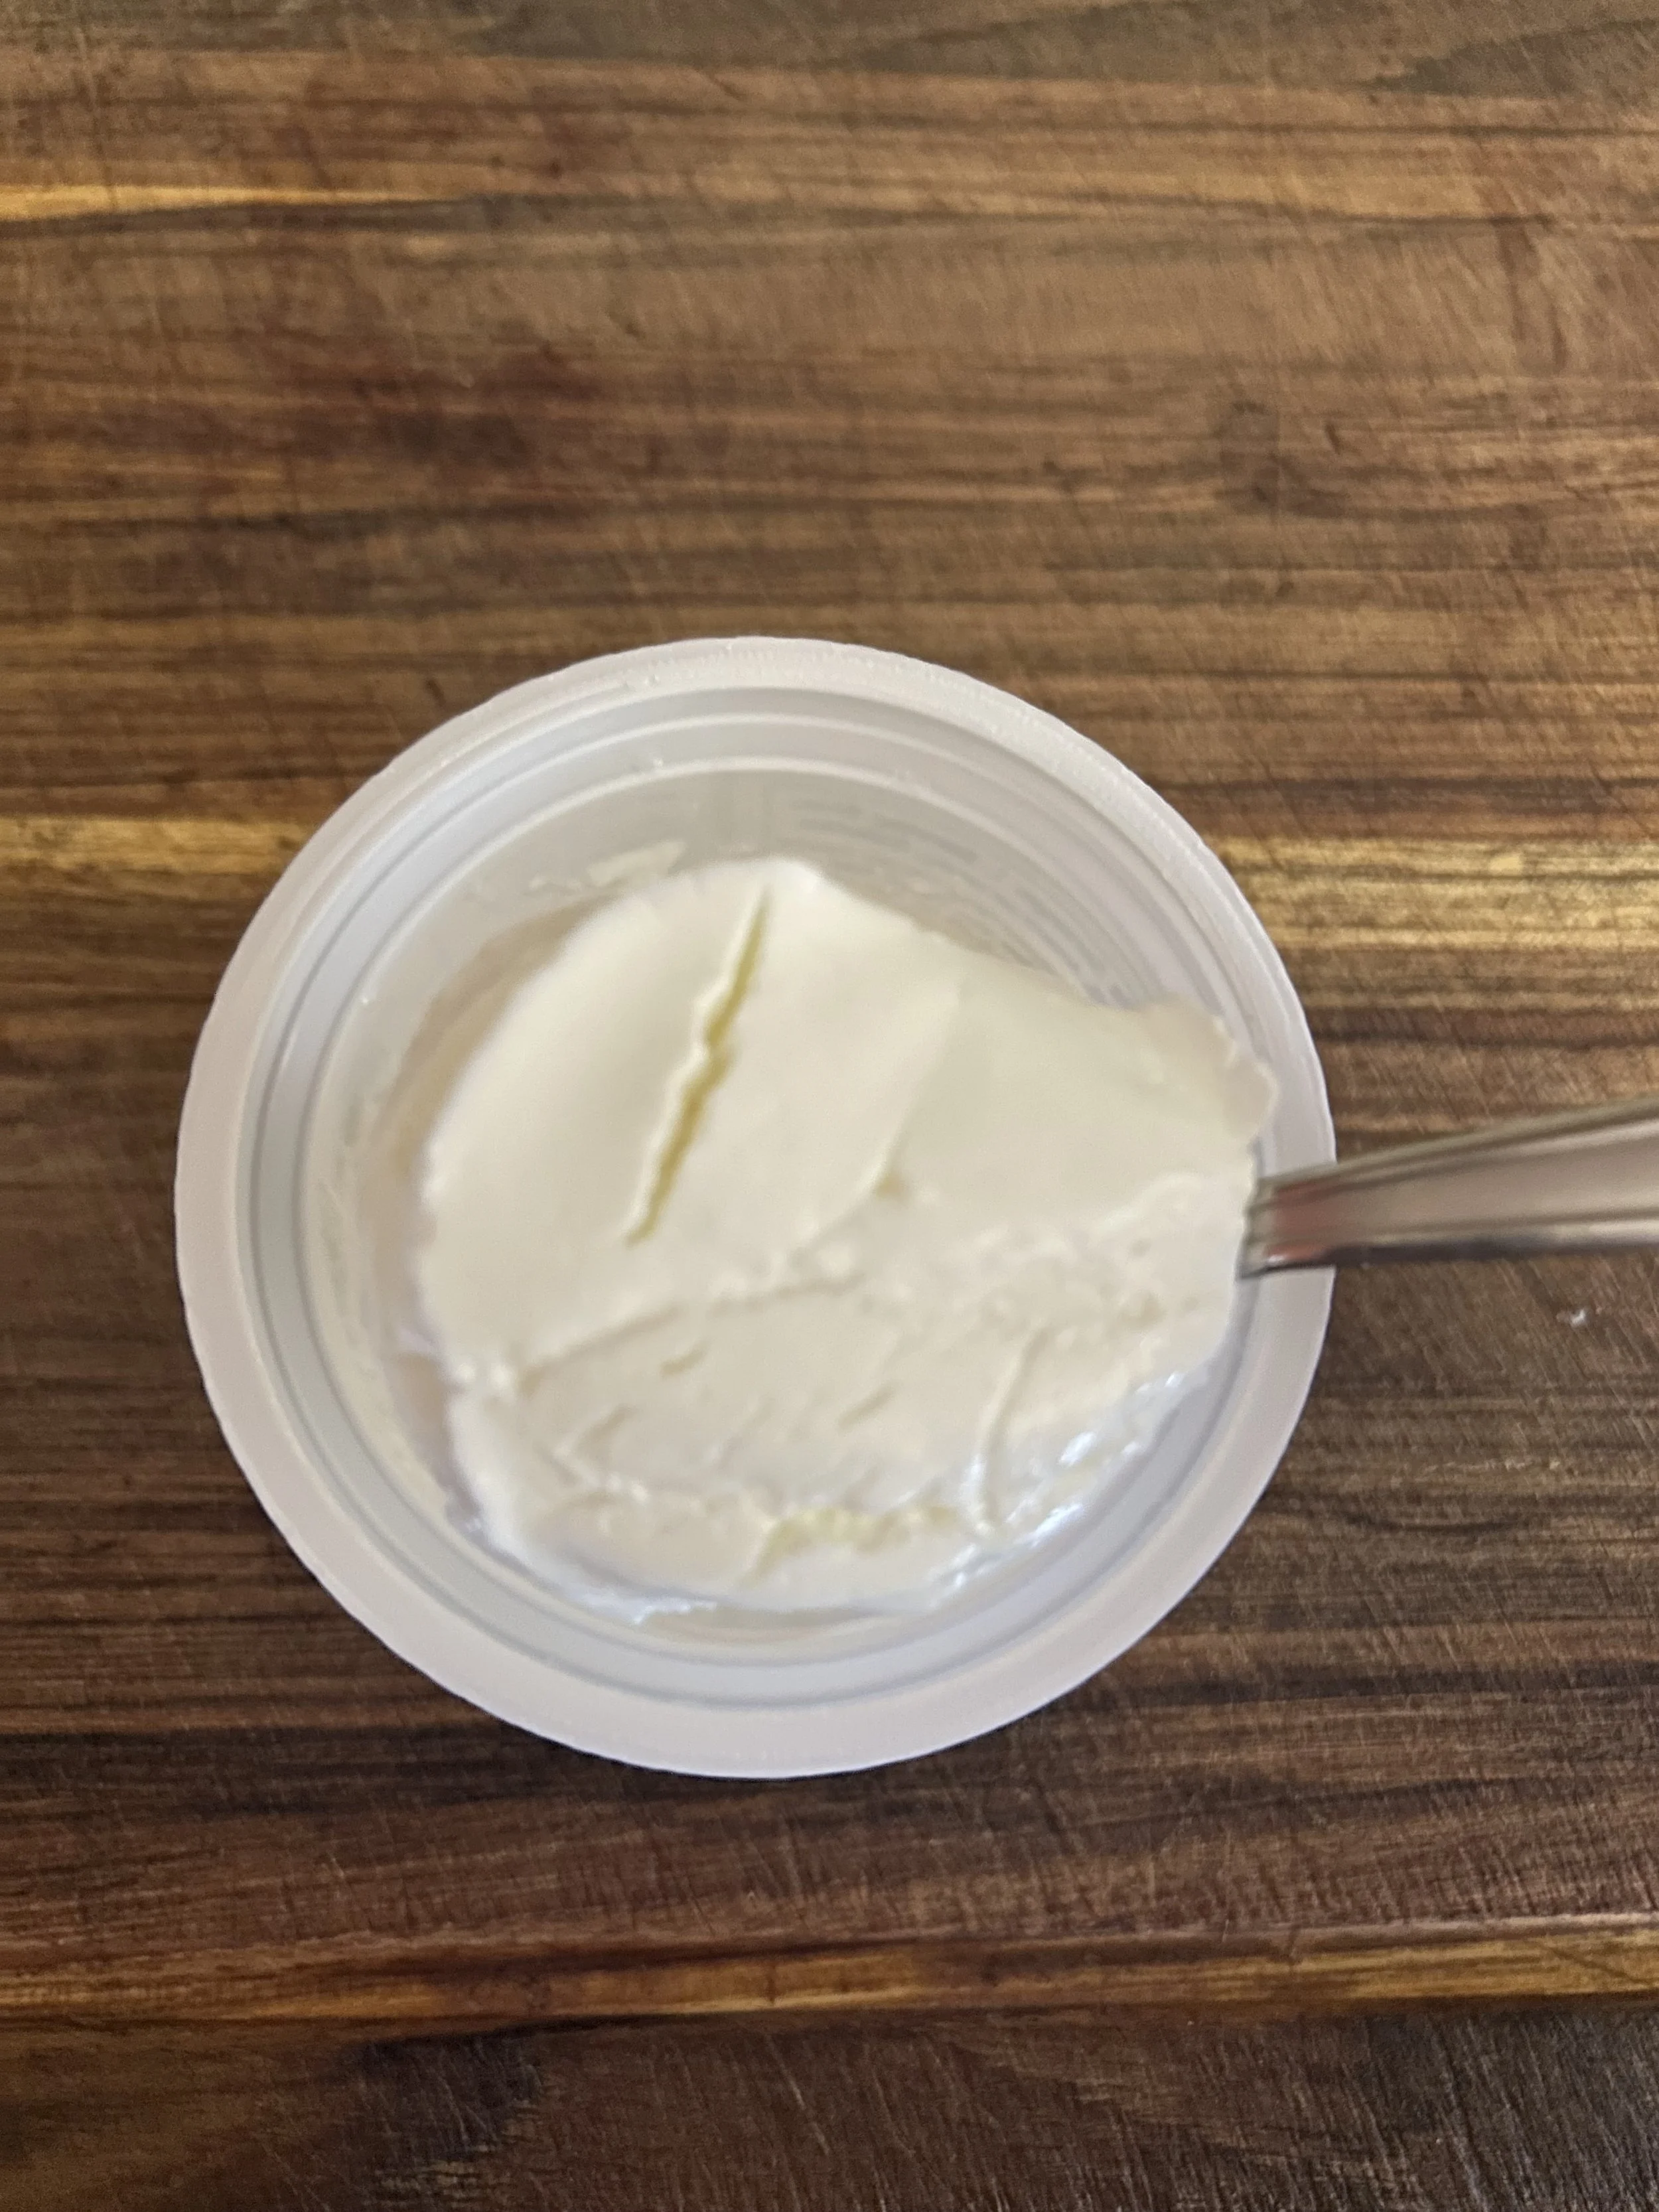
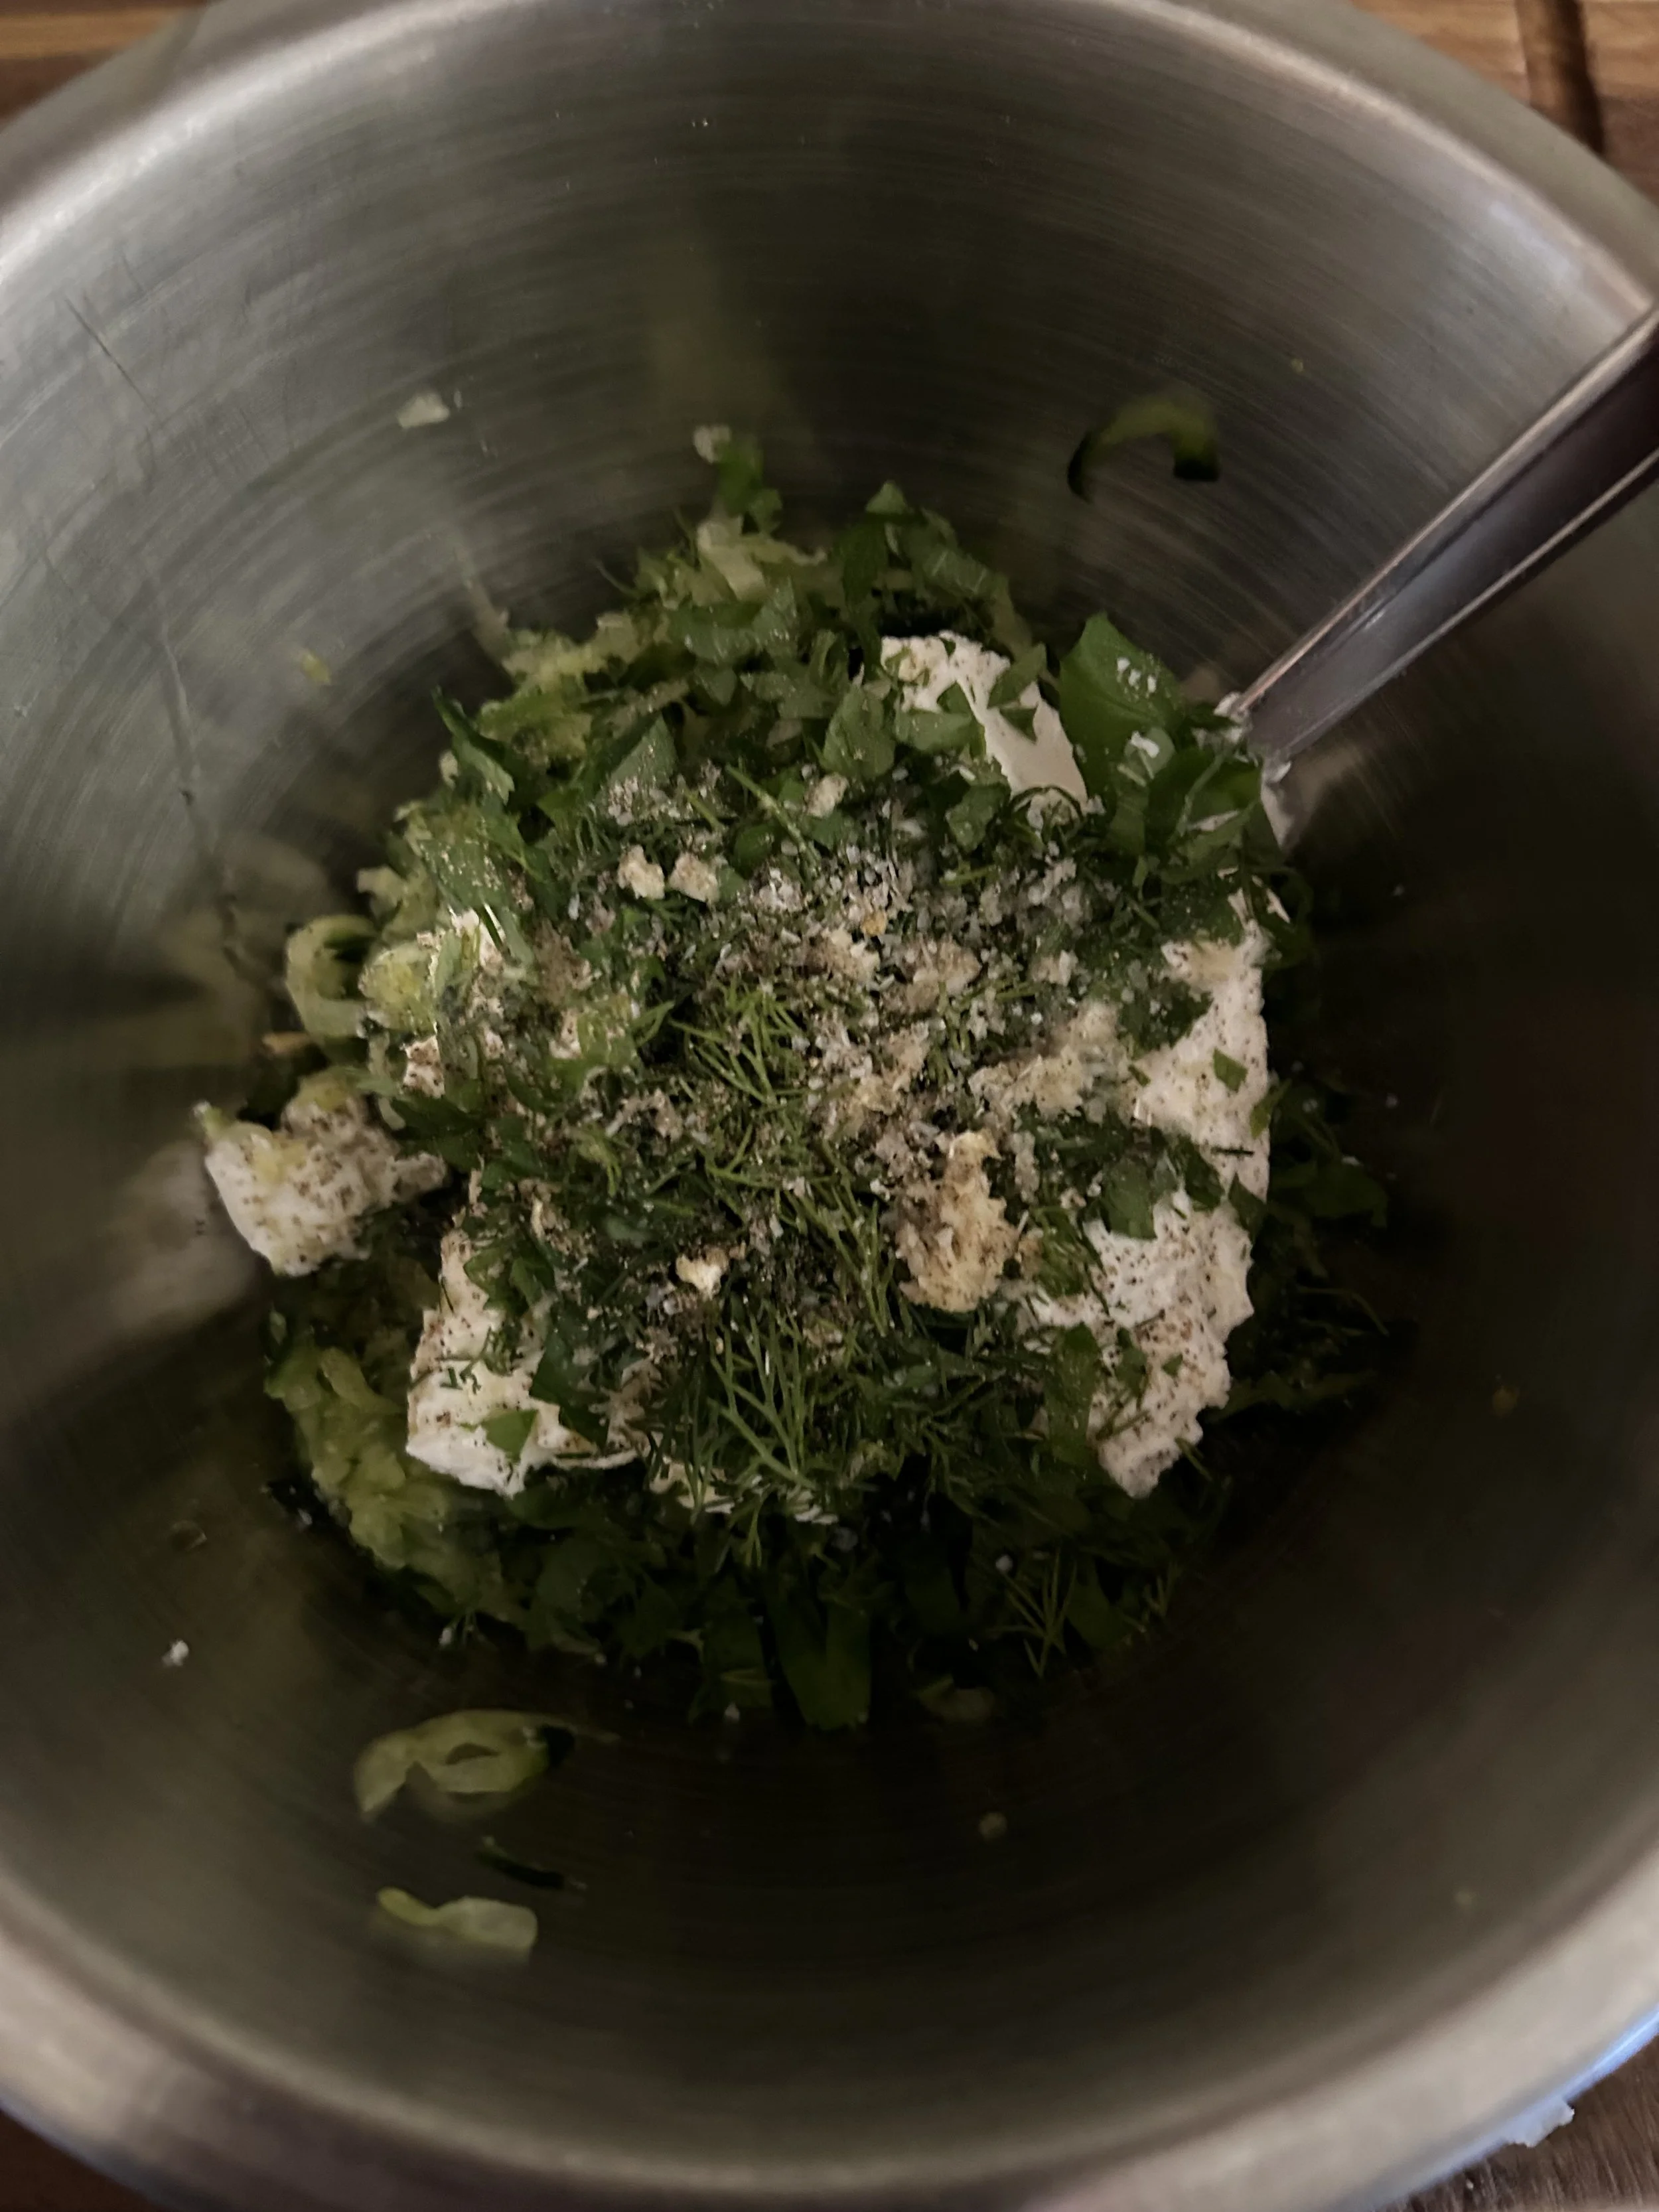
Dump the wrung-out cucumbers into a bowl, and combine with 2 cups of plain Greek yogurt, 1/4 cup of olive oil, 2 tablespoons each of chopped fresh dill and mint, 1 teaspoon of white wine vinegar, and 1 grated garlic clove. Season with salt and pepper.
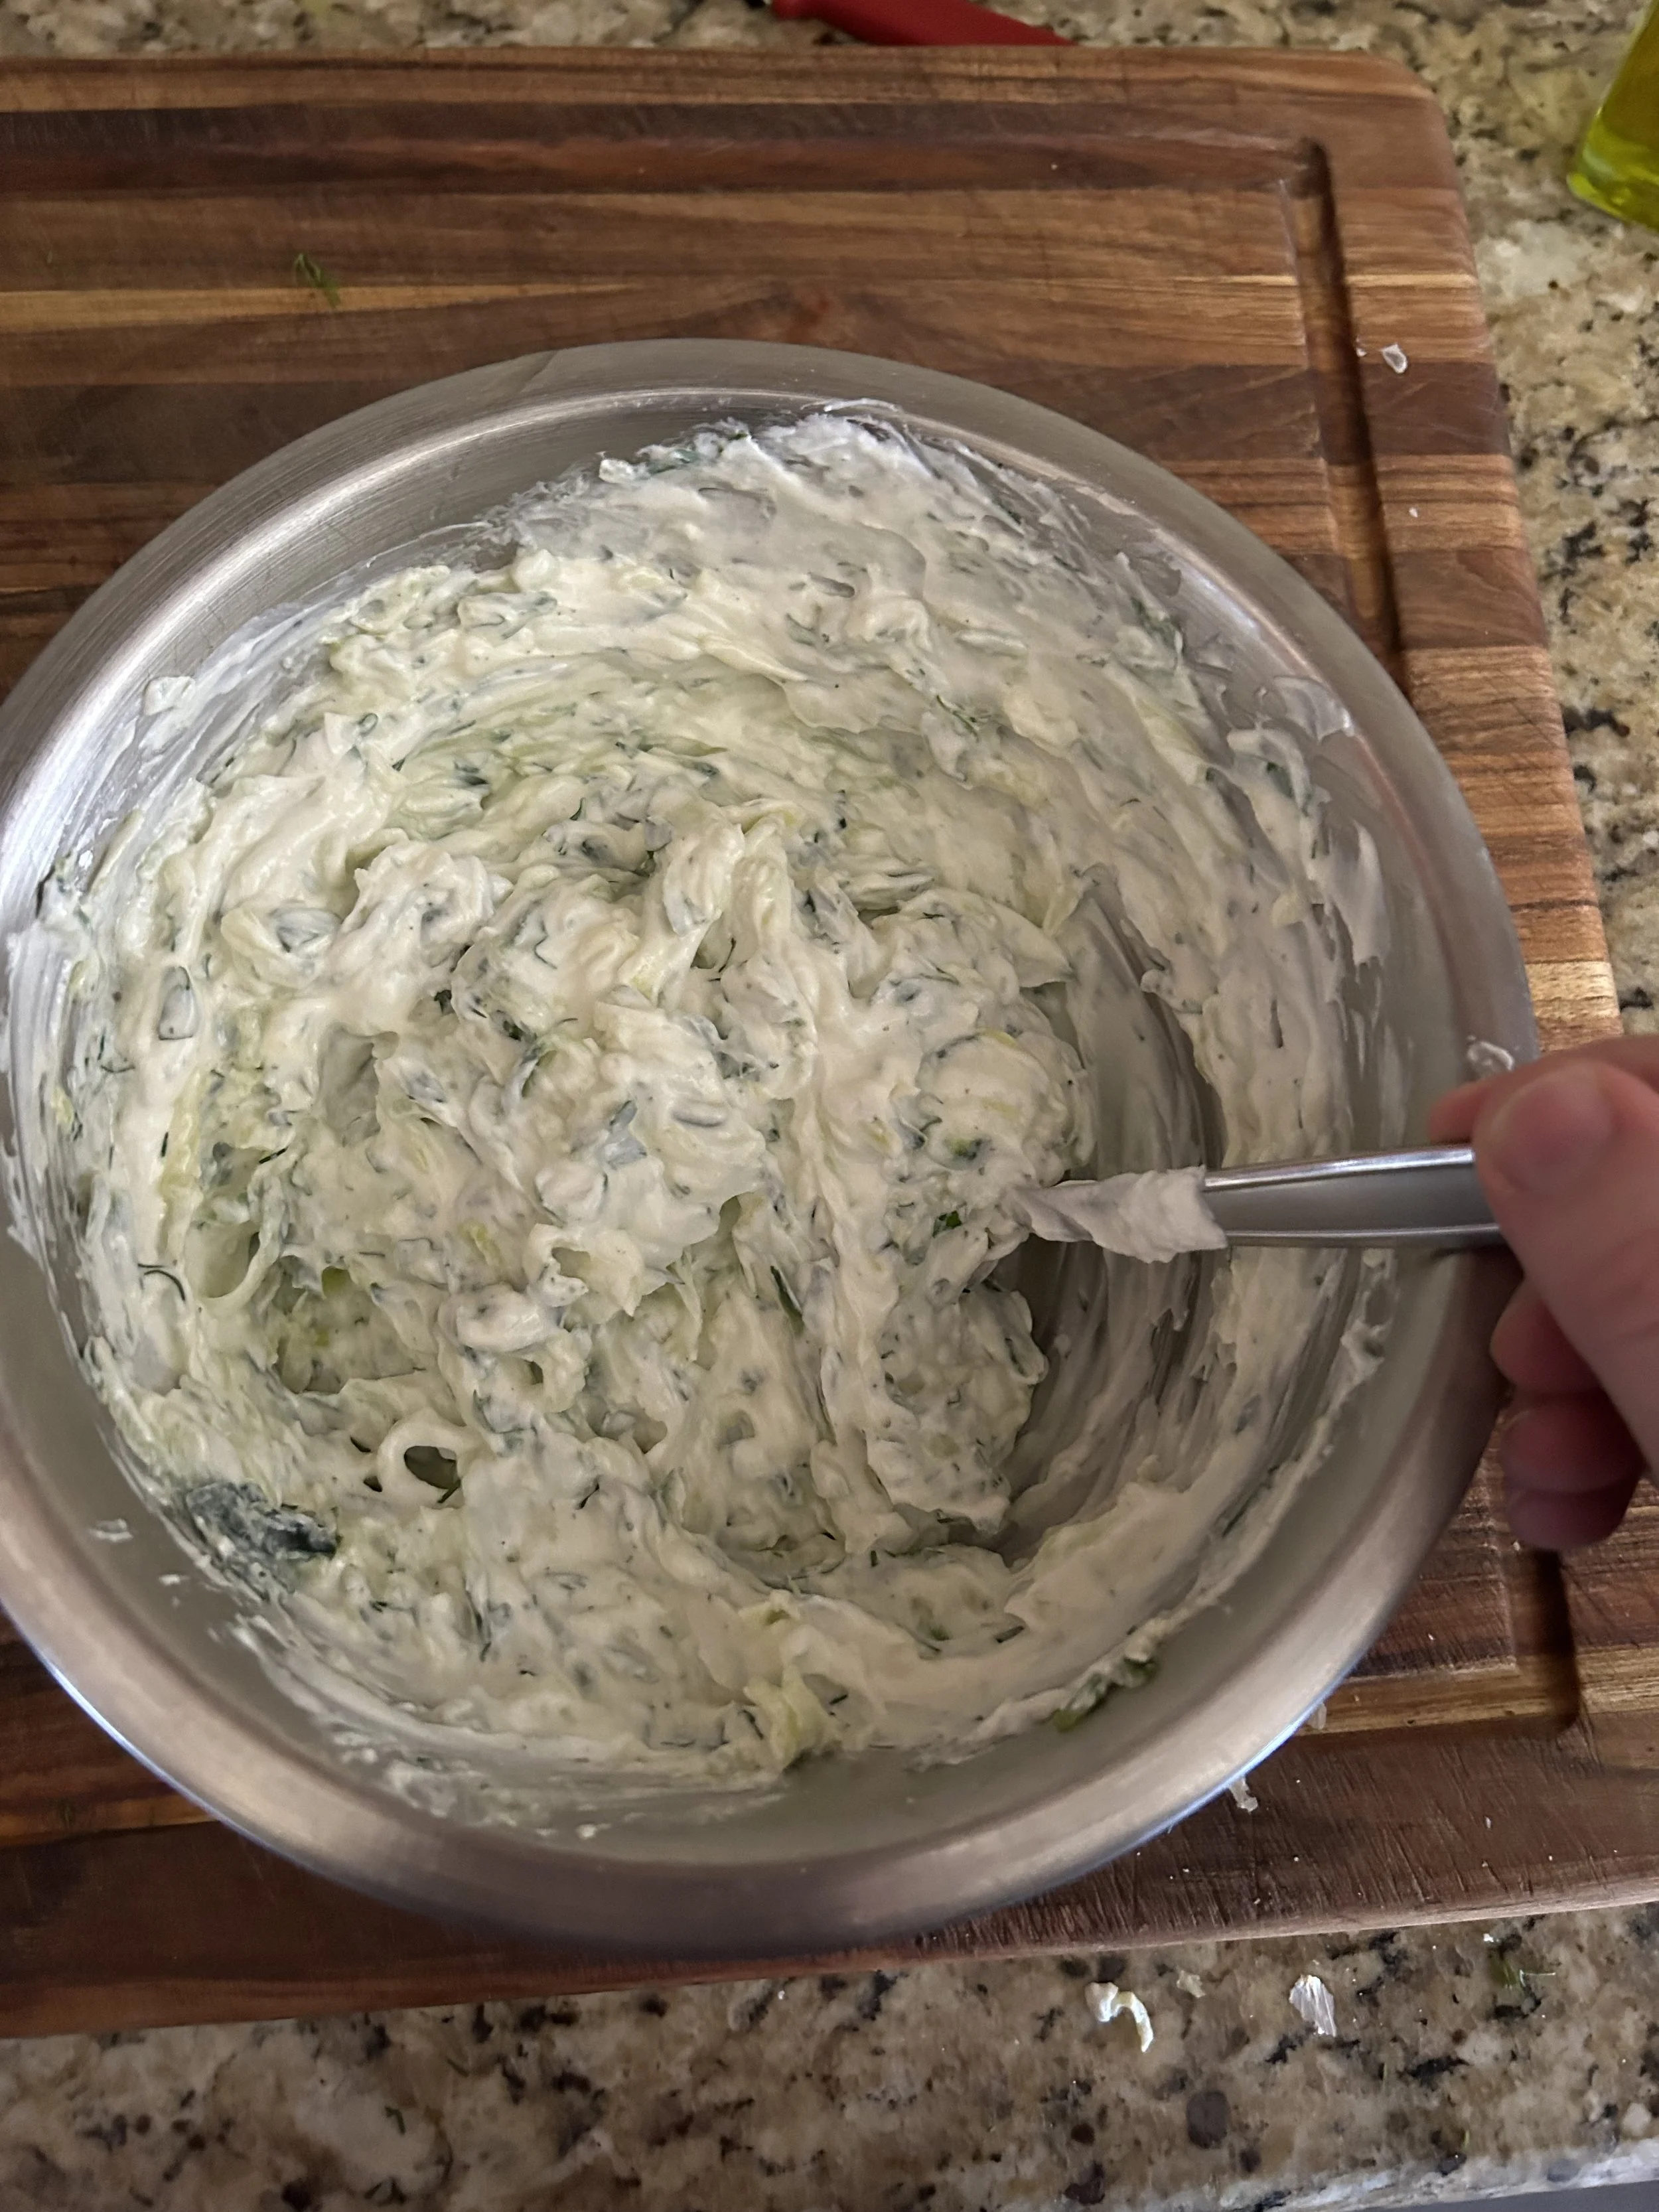
Spoon everything into a bowl, top with a drizzle of olive oil, and serve with pita chips.
Although this sauce is going to be even better if you let it sit in the fridge overnight.
Tzatziki is living proof that a healthy dish can taste amazing as well, and we can thank the bacteria-loaded yogurt for part of that.
This tzatziki is also great as a spread for a sandwich or burger, a salad dressing, as a sauce for grilled chicken or fish, or even served with some of that turmeric flatbread from Day 6!
However you want to serve your yogurt-packed tzatziki is guaranteed to be delicious!
Day 10: Acai
For those who don’t know, acai is a fruit that’s grown on a species of palm trees in Central and South America and looks a bit like tiny plums. Acai is great because it contains more antioxidants than most berries!

Fresh acai is quite hard to find, but acai juice can be found in health stores and some grocery stores, and I’ll be turning this tart, fruity juice into a simple soda.
Sodas get a bad reputation in the health world for being loaded with artificial sweeteners and high-fructose corn syrup, but don’t worry because this soda will have all of the toxin-fighting power of the acai and no additional sugar.
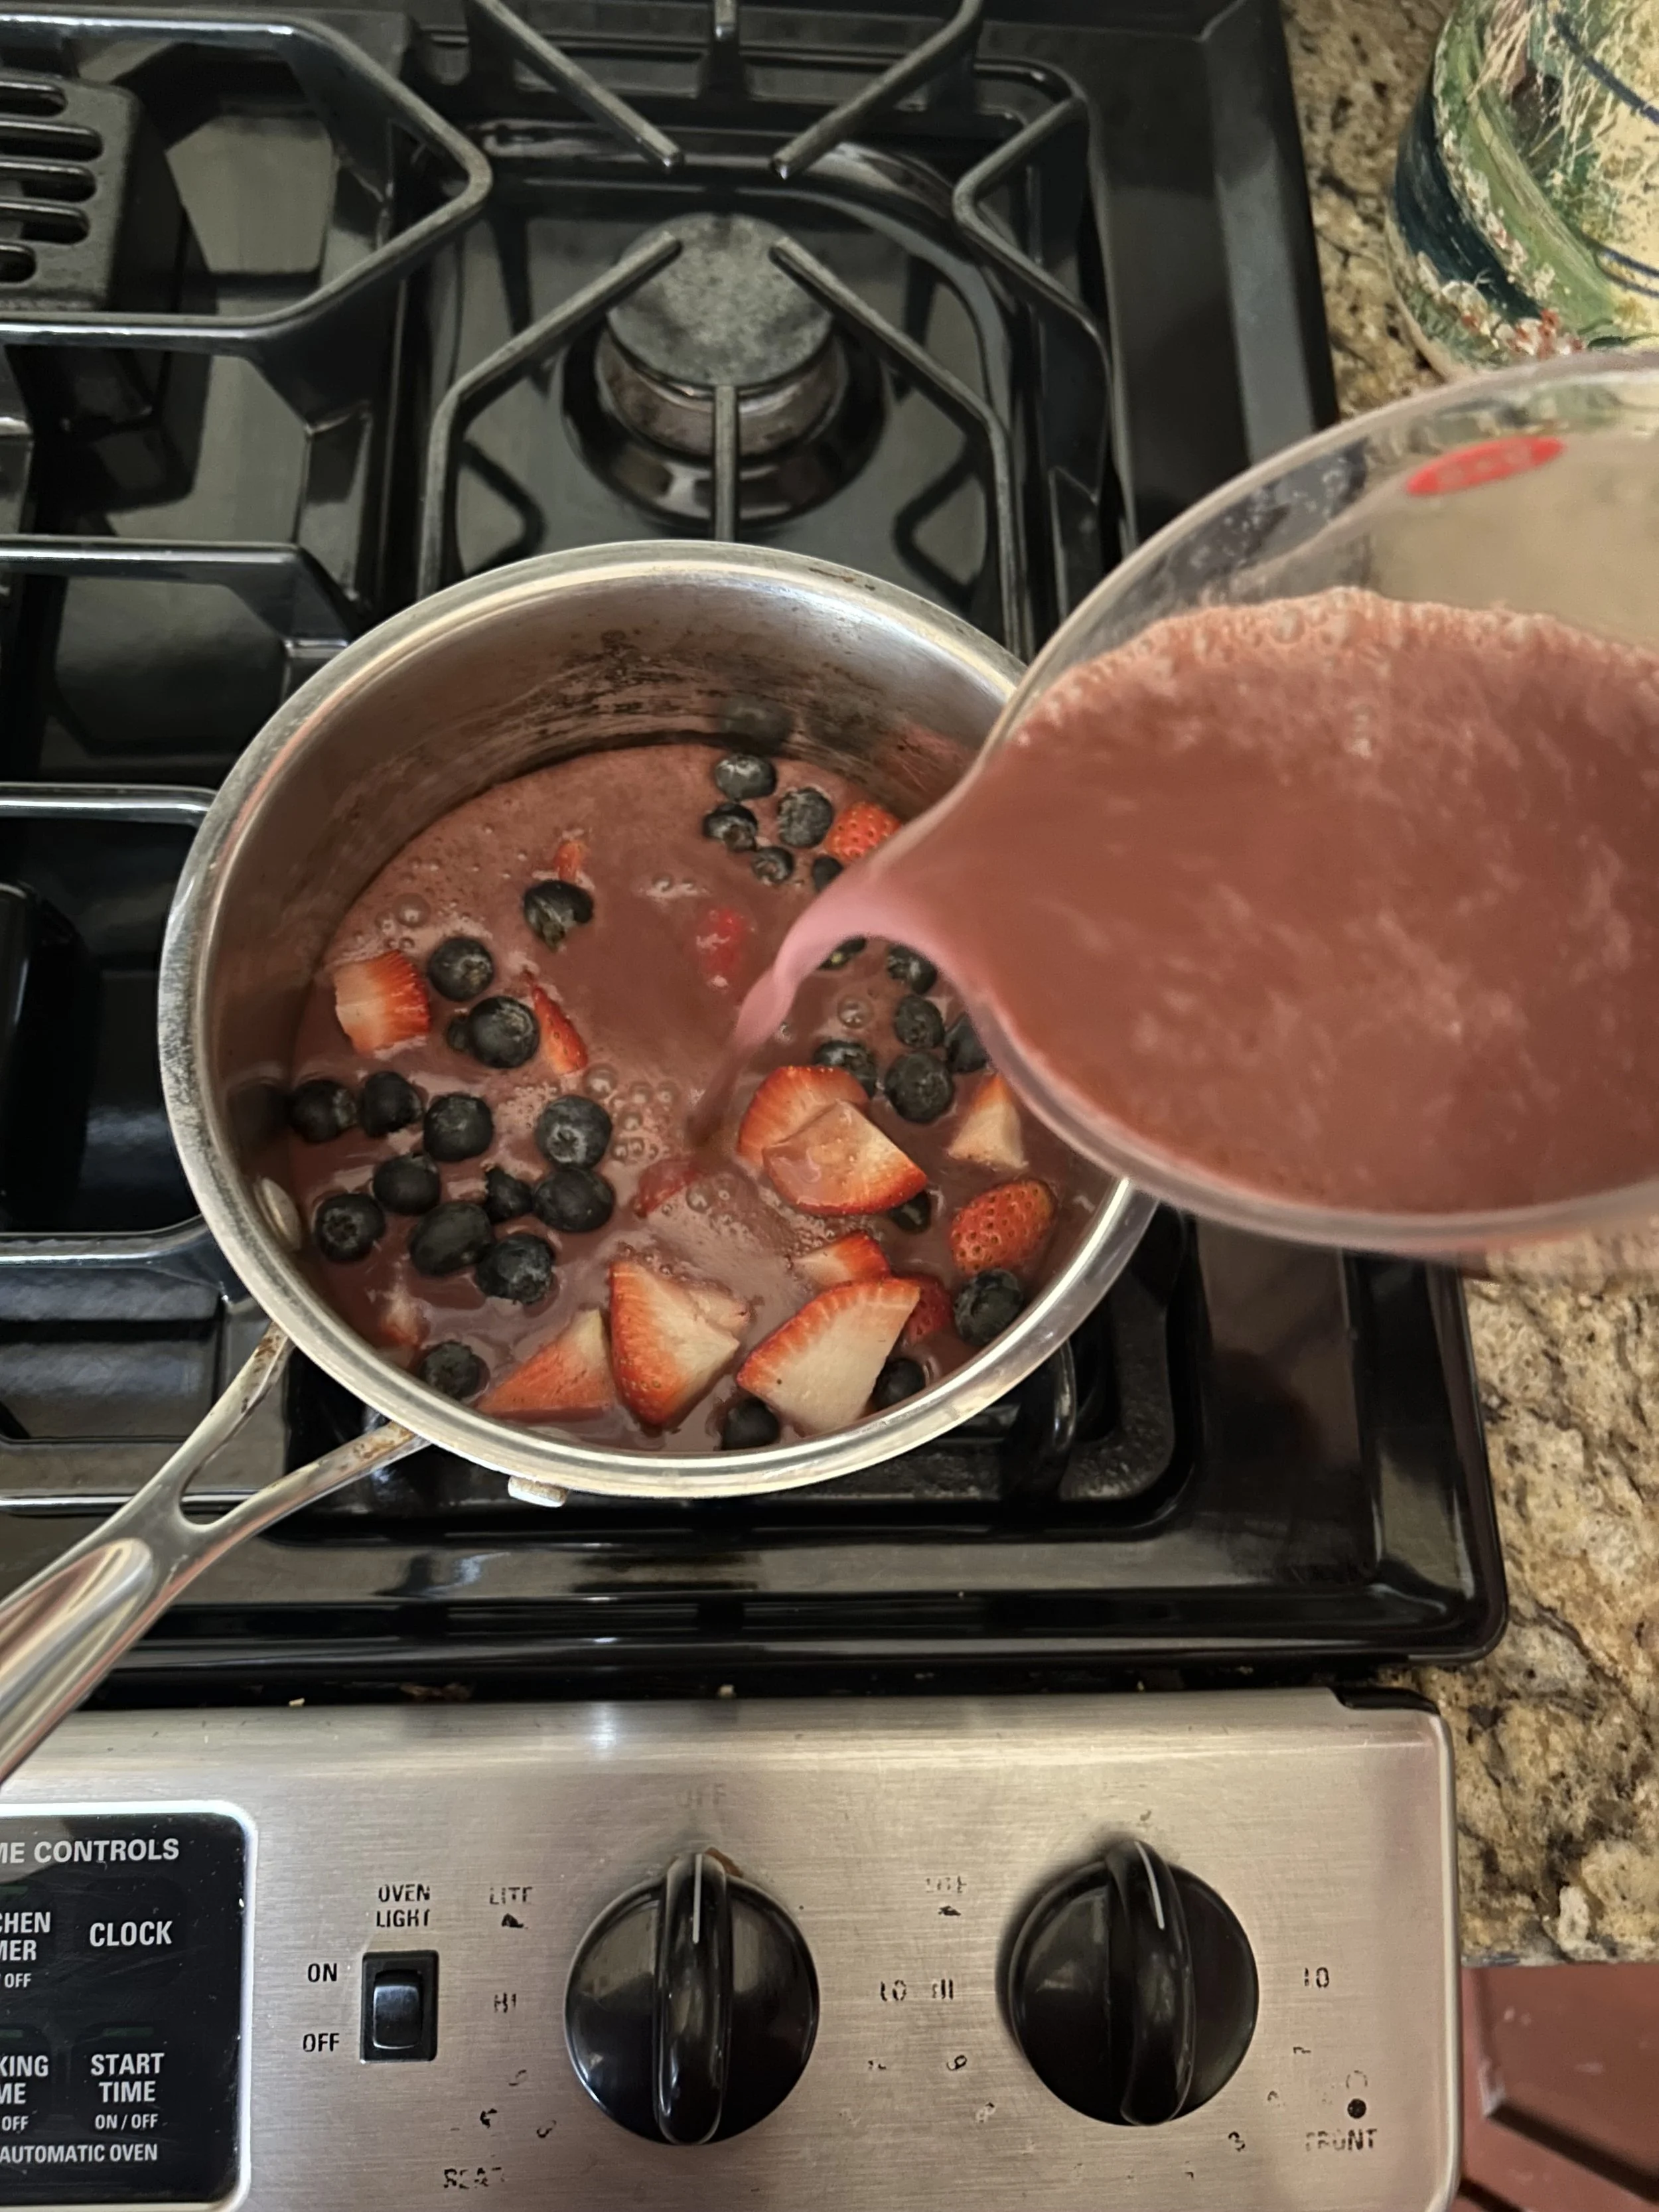
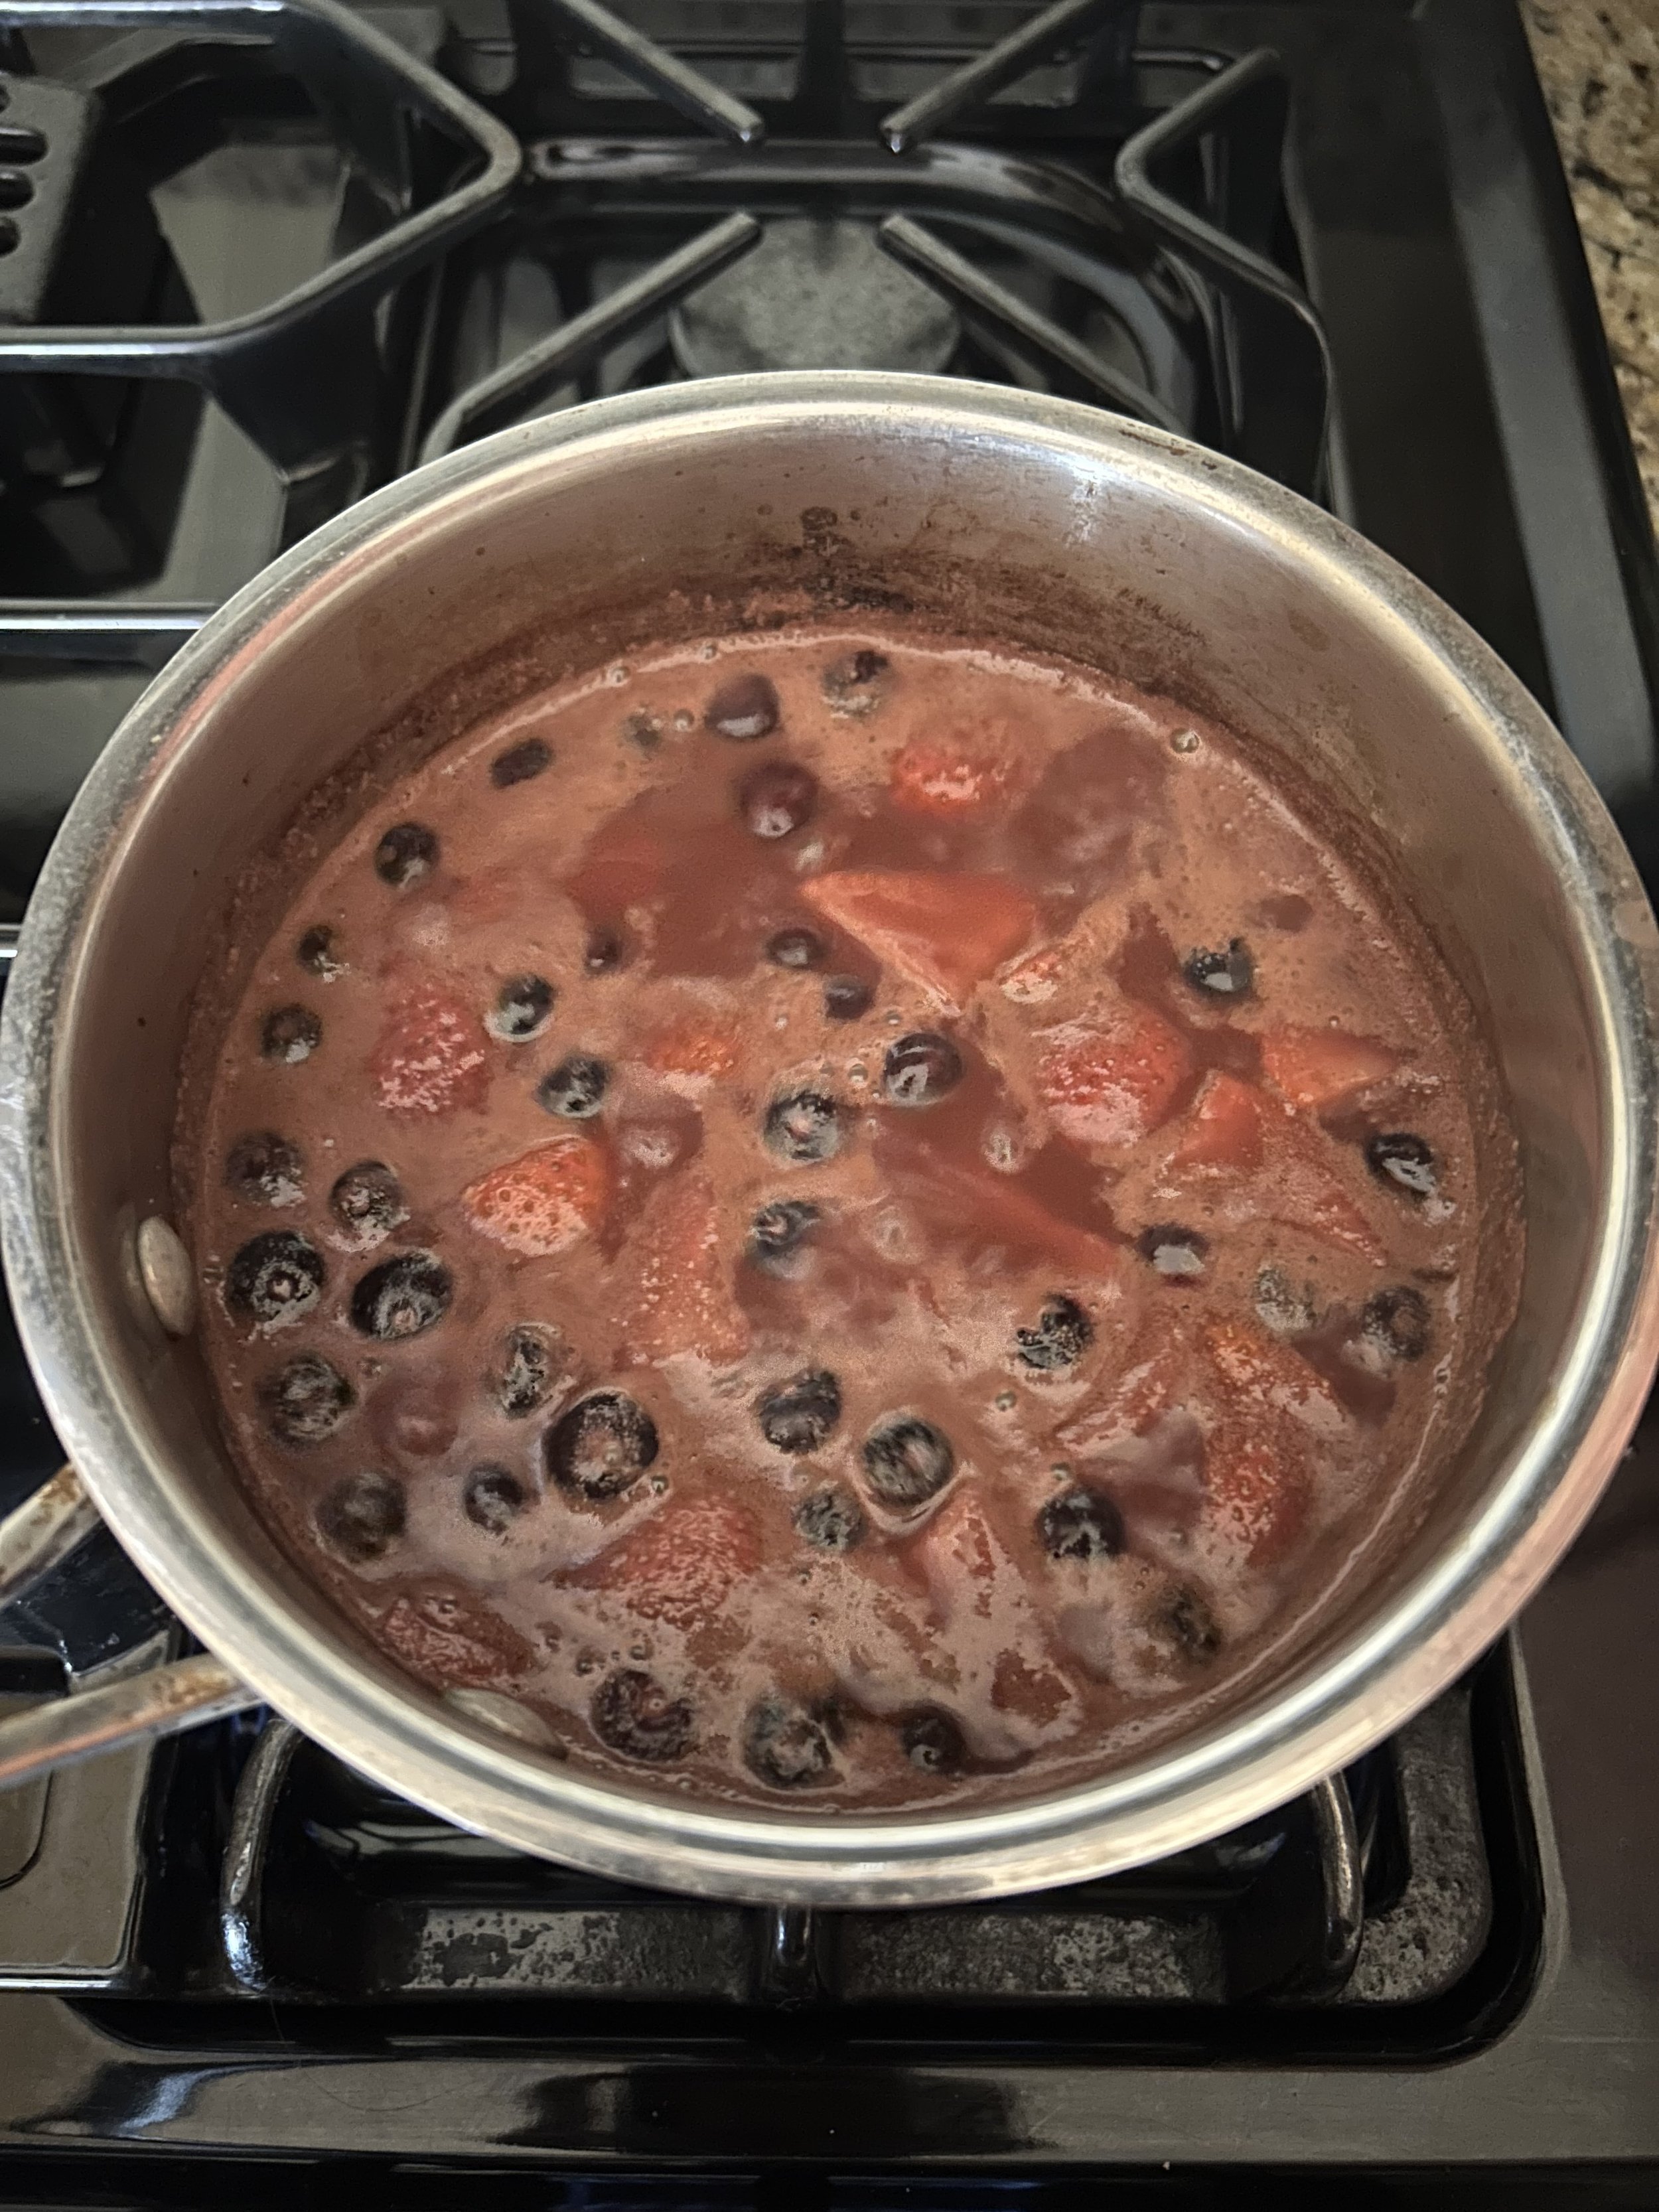
In a saucepan, bring 2 cups of acai juice, 1 cup of mixed berries, and 1 teaspoon of vanilla extract to a simmer. I’m using strawberries and blueberries because that’s what I had, but any berry that you like will be great!
Simmer the mixture for 15-20 minutes, or until syrupy. You should have about 1 1/2 cups of liquid.
Strain the mixture through a fine-mesh strainer, making sure to press on the berries, and stir the juice of one lemon into the liquid. Let it cool to room temperature.
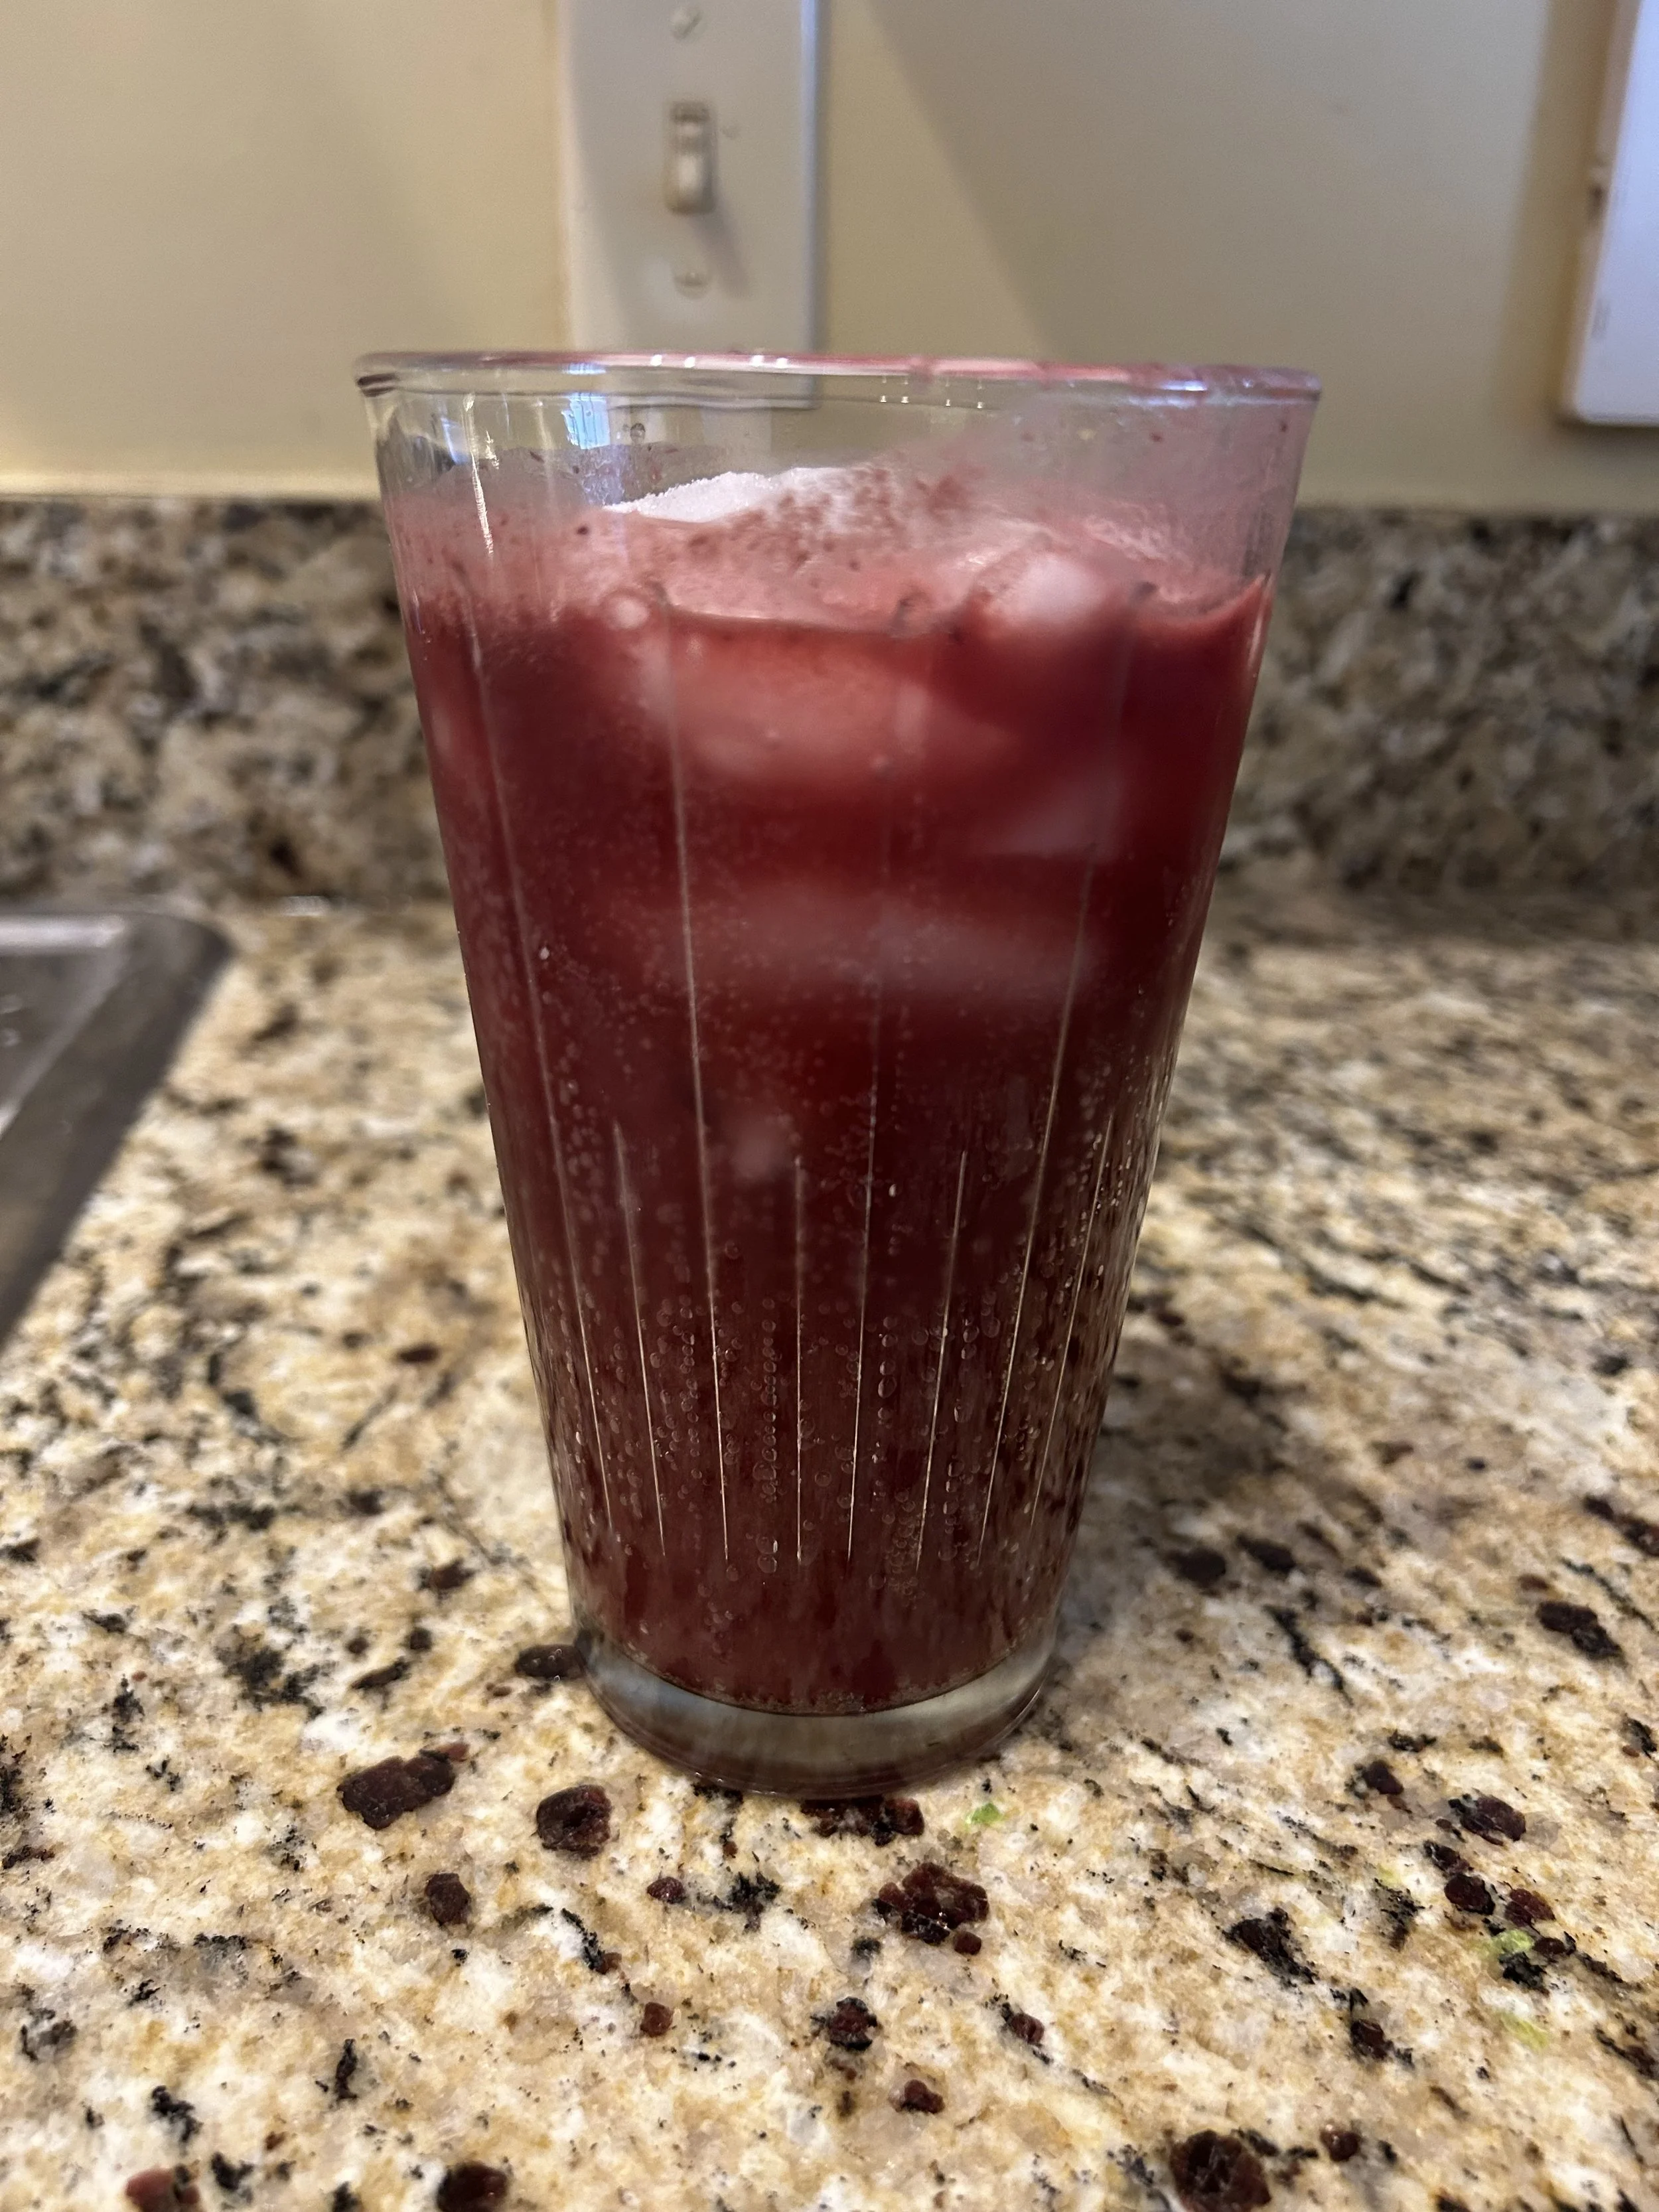
For each soda, pour 1/4 cup of the acai syrup into a drinking glass, add a cup of soda water, sweeten with agave nectar, and top the glass with ice.
(This also tastes great if you swap the soda water for ginger beer)
This is not your ordinary soda, this is a soda that is loaded with antioxidants from the acai and the berries, has no processed sugar, and has a crisp, refreshing taste that you will want to enjoy all summer long!
Thank you for reading this article, I hope it inspires you to try out some of these superfoods yourself!
Keep a lookout for part 2, and I’ll see you later!