
Is This 100-Hour Lasagna Worth it?

For some reason, I seem to love giving myself unnecessarily long cooking projects that only myself will be tasting. I suppose for me there’s something fun about taking the time and making food as stunning as possible.
I have had lasagna in many ways and forms, but usually, when I make it, it takes about 2 hours at least; at no point did I ever consider making a 100-hour lasagna, but here we are. This dish will be a recreation of the 100-hour lasagna featured in Alvin Zhou’s YouTube video literally titled 100-Hour Lasagna. It’s a fairly classic lasagna that features a beef short rib ragu, a cheesy bechamel sauce, and fresh pasta, but almost every component is chilled after being made for a few days before being assembled into the lasagna.
Over these next 100 hours, I will see if all of that extra time really is worth it to make a fantastic lasagna. If it could go well for tiramisu, I can’t see why it wouldn’t go well for lasagna.
Alvin Zhou’s 100-hour Lasanga
Serves 12…or 8 as you would likely be very hungry after waiting 100 hours for lasagna.
For the Meat Sauce
Olive oil, for dizzling
Beef Short Ribs (2-2 1/2 pounds boneless, 3-3 1/2 pounds bone-in)
Salt
8 ounces of pancetta, diced
1 onion, diced
3 carrots, peeled and diced
3 stalks of celery, diced
1 heaping tablespoon of tomato paste
1 cup of red wine
2 jars of marinara sauce, or two 28-ounce cans of crushed tomatoes
1 cup of grated parmesan or pecorino
For the Bechamel Sauce:
4 tablespoons of butter
4 tablespoons of flour
2 cups of milk
Freshly ground black pepper, to taste
Freshly grated nutmeg, to taste
1 1/2 cups of grated parmesan or pecorino
For the Pasta:
1 1/2 cups of flour
A pinch of salt
11 egg yolks
For Topping:
Grated parmesan or pecorino
Step 1: Start Cooking the Meat Sauce
Preheat the oven to 300 degrees.
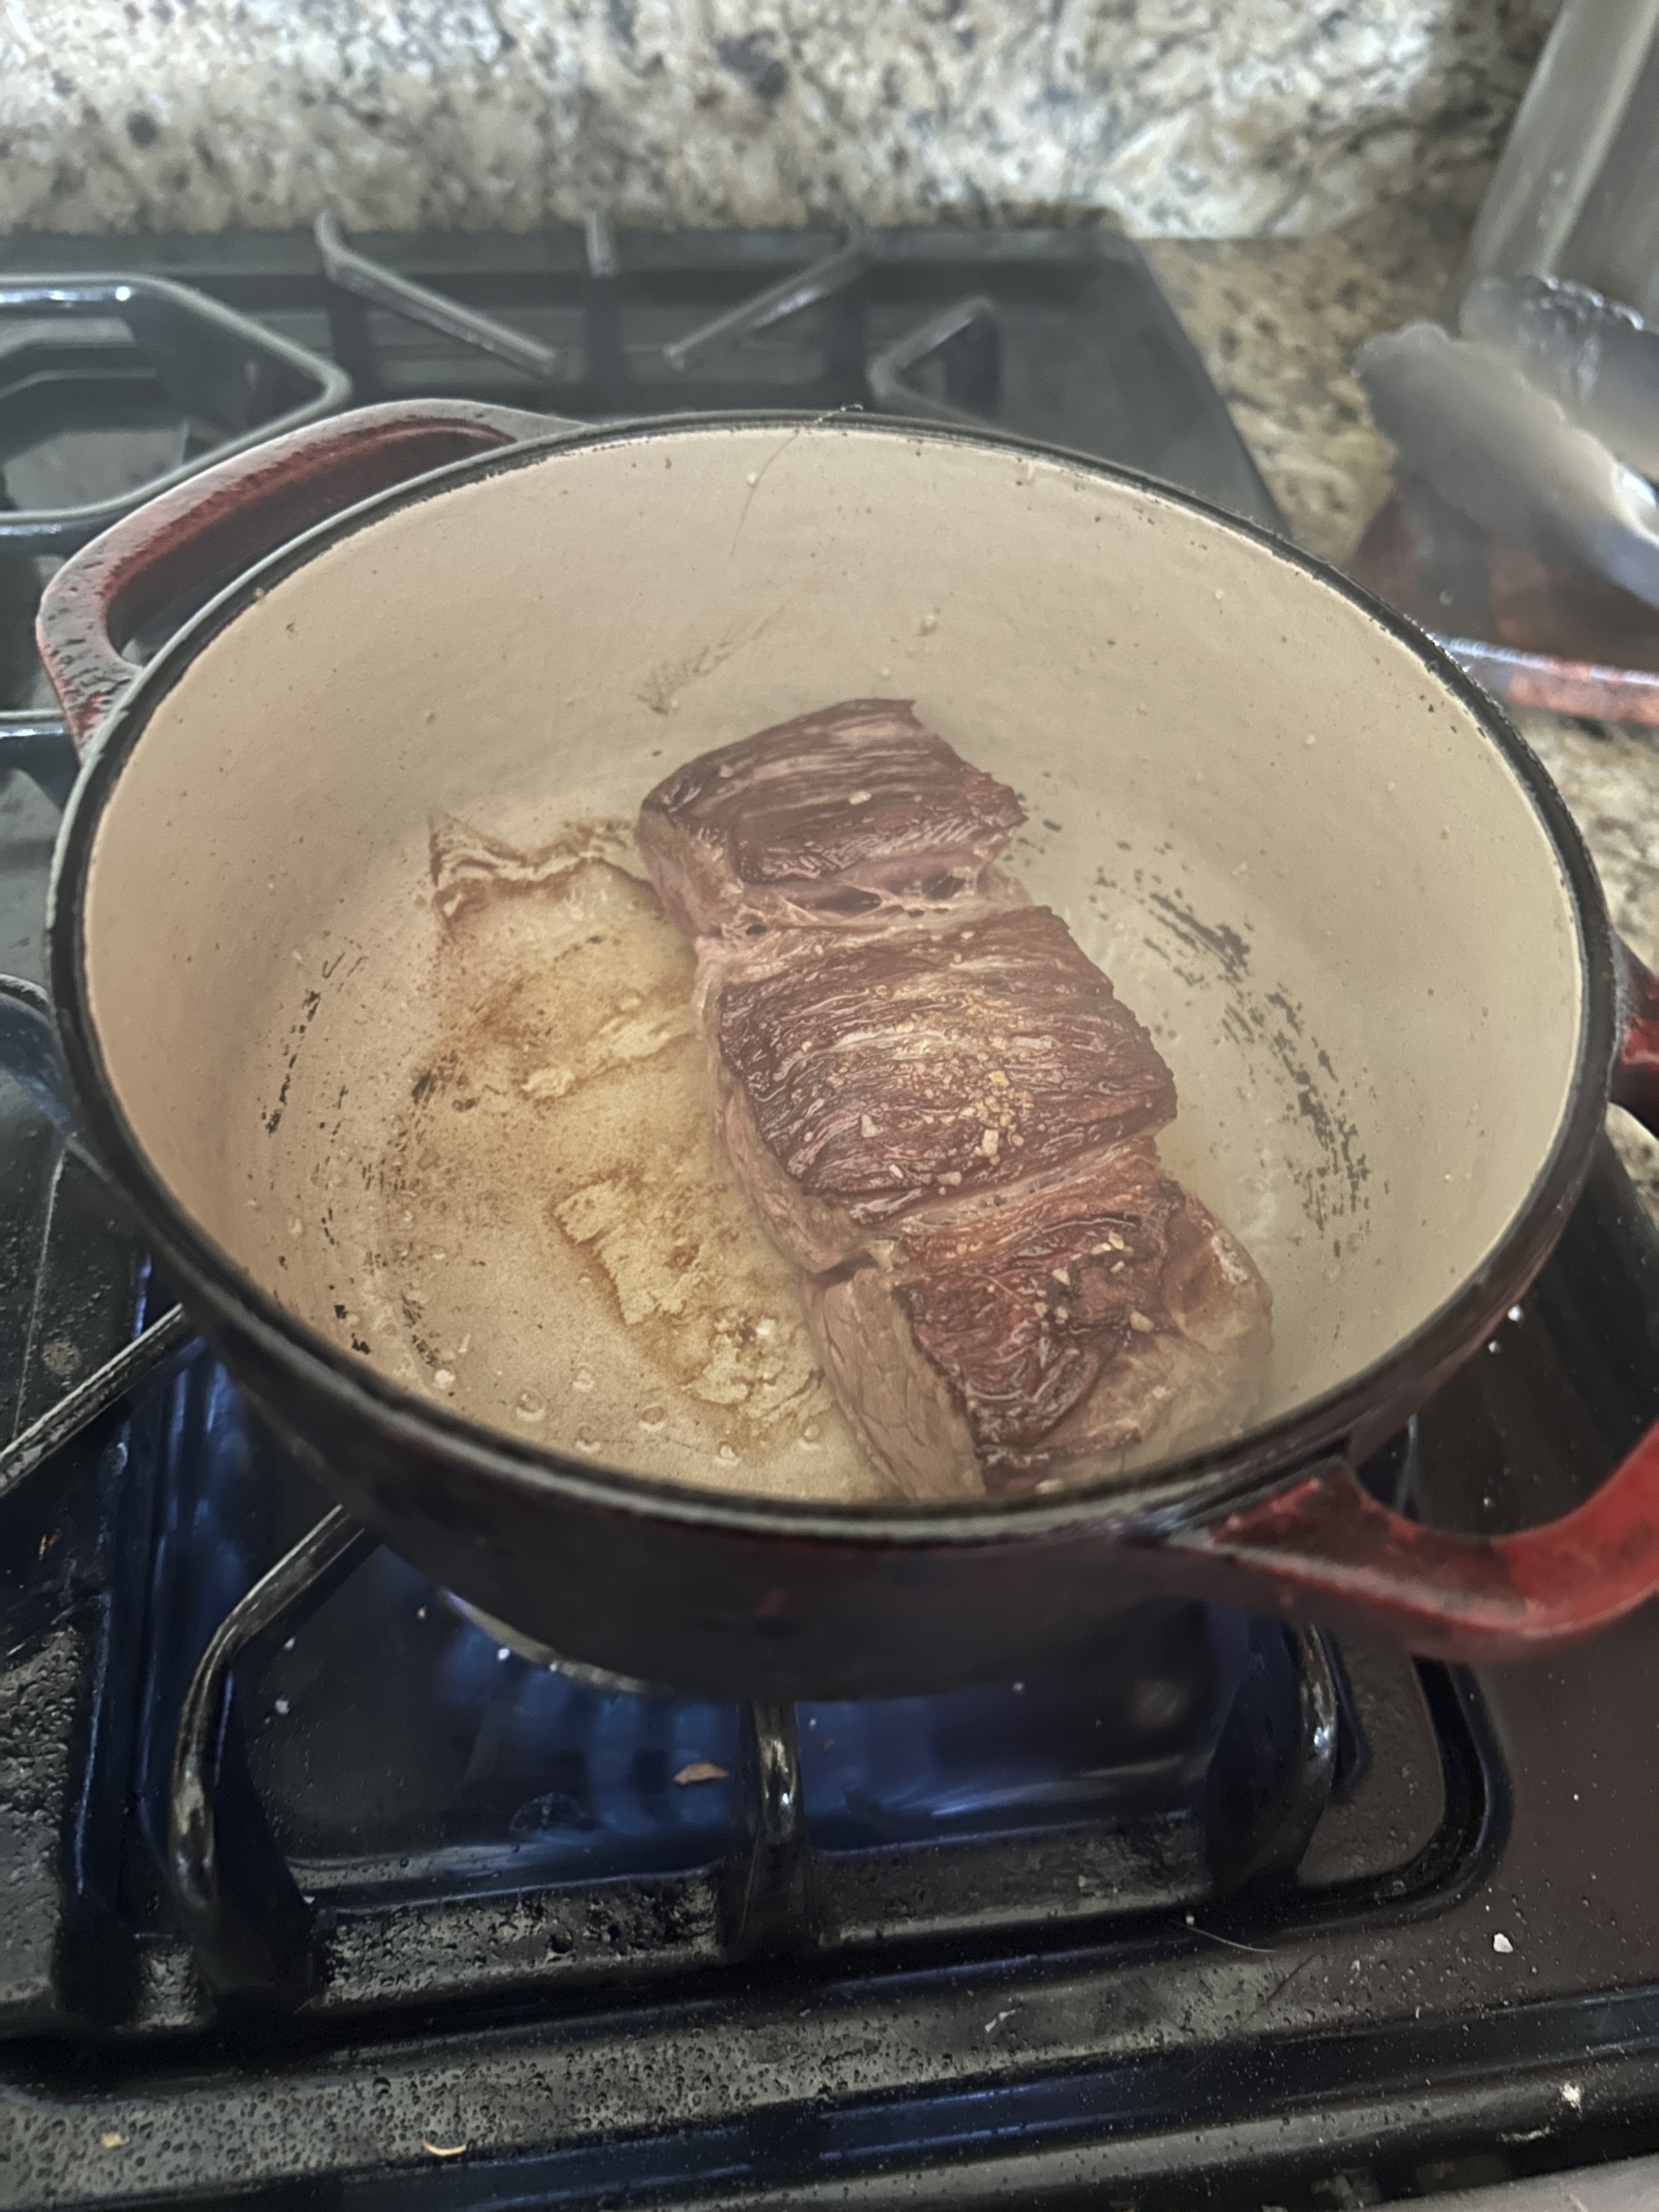
Heat a thin layer of olive oil in a Dutch oven or other heavy-bottomed pot over medium heat. Season the short ribs with salt, then add to the pot and cook undisturbed for about 4-5 minutes on each side, until the short ribs are nicely browned on all sides. Depending on the size of your pot, you may need to do this in batches.
Remove the sort ribs to a place, reduce the heat to medium-low, then add the pancetta and cook for 3-4 minutes, or until the fat has rendered and the pancetta is browned. Add the veggies to the pot, then cook for another 3 minutes, or until they start to soften. Add the tomato paste, then cook for another minute.
Add the red wine to the pot and use a wooden spoon to scrape up any brown bits at the bottom of the pot. Add the marinara sauce and bring that to a simmer.
Return the short ribs to the pot, cover, and place the short ribs into the oven for 3-4 hours, or until the short ribs are fall-apart tender. Check after 2 hours to make sure there’s still enough liquid to properly braise.


Step 2: Finish Sauce
When the short ribs are very tender, carefully remove the pot from the oven. Transfer the short ribs to a bowl and discard any bones, if you used bone-in.
(I’d like to point out that braised short ribs are one of my favorite cold-weather dishes, especially once they’re rolled into the reduced braising liquid they were in.)
Use two forks to separate the meat into shreds, then return to the pot along with the grated cheese. Stir to combine and melt the cheese, taste for seasoning, then allow the sauce to cool before covering and letting it sit in the fridge for 3 days to develop even more flavor.


(2 days later) Step 3: Make the Bechamel Sauce
In a saucepan, melt the butter and cook over medium heat for 3-5 minutes, or until the butter smells toasty and you can see brown specs throughout. (Brown butter isn’t traditional for a Bechamel sauce, but…it’s definitely going to taste great!)
Add the flour, then whisk and cook for about a minute to cook out any raw flour taste. Slowly add the milk, whisking constantly, until smooth. Bring the sauce to a simmer, then add black pepper and nutmeg to taste. Add the grated cheese, then stir until the cheese is melted and the sauce is ultra-smooth. Taste for seasoning, although all of that cheese should provide all of the salt you need.
Allow the sauce to cool for 30 minutes, then cover with either a tight-fitting lid or a sheet of foil and let it chill in the fridge overnight, again to develop flavor.


(The next day) Step 4: Make the Pasta
(I don’t think I need to say that this is my favorite part)
Dump the flour into a mound on a clean cutting board or work surface. Make a well in the middle, then add the egg yolks and salt to the well. Use a fork to beat the yolks and slowly incorporate the flour until a smooth, stiff dough forms. You might not end up needing all of that flour. (Sure, you could do this in an electric mixer or even a food processor, but this way is much more fun.)
Knead the dough for about 5 minutes, or until it’s smooth and elastic. Shape the dough into a ball, wrap in plastic wrap, then let it rest for at least 20 minutes.


Step 5: Roll out and Cook the Pasta
(Edit: So…my pasta machine broke the night before I wanted to do this because that’s just my luck, so I’ll be doing this with a rolling pin. I will say that I felt like an Italian grandmother while doing so.)
Bring a shallow pot of salted water to a gentle boil.
Cut the dough in half, keep one half wrapped in plastic so it doesn’t dry out, then use either a pasta roller or rolling pin to roll the dough into a thin, even sheet. Trim and cut the dough into sheets slightly shorter than the length of the pan you plan on baking your lasagna in, remember that the pasta will expand as it cooks. Repeat with the other half of the dough.
(Any trimmings can be cooked and then tossed with your favorite pasta sauce as a wonderful little snack.)
Working with one or two sheets at a time, cook the pasta in the simmering water for 1-2 minutes, or until the sheets float to the top of the water. Remove from the water, then move any cooked sheets to a sheet tray or shallow plate lined with kitchen towels to remove any excess water.


Step 6: Assemble the Lasagna
Warm the meat sauce and bechamel sauce either in the oven or over a low burner. They don’t need to be piping hot, they just need to be warm enough to spread easily.
Spread a thin layer of the meat sauce into an even layer onto the bottom of a 9x13 baking pan. Lay a layer of pasta sheets on top of that sauce, then top with an even layer of more meat sauce and bechamel. Repeat this step until you’ve used up all of the pasta and both sauces, finishing with a final layer of bechamel on top.
Cover the whole pan with foil, then let it chill overnight.


(The next and final day) Step 7: Bake the Lasagna
Took a while to get here, but it’s finally time to bake and taste this lasagna.
Take the lasagna out of the fridge so it can get closer to room temperature while you heat the oven to 350 degrees. Right before baking, sprinkle the top of the lasagna with a generous amount of grated cheese.
Bake for 40 minutes, or until the edges of the lasagna are bubbly, then switch on the broiler and broil for another 3 minutes, or until the top is crispy and golden.
Let the lasagna cool for at least 15 minutes before slicing and serving.


Right, time for the verdict of was this 100-hour lasagna worth making?
I will say that the individual components of the dish were quite good. The sort rib ragu had a ton of flavor, whether or not that was due to sitting in the fridge for 3 days, who can say? I loved the nutty, cheesy flavor that the bechamel sauce added and the pasta was tender but was still able to support the two sauces.
Was it worth the time, though? I’m going to say…no. I could definitely see myself making a lasagna in this style again, but at the most I might let it chill overnight before baking and serving to family.