
Macaroni and Cheese
For the past 6 years, Epicurious has been peaking our curiosity over the different ways that cooks and chefs at different experience levels make certain food by way of the wildly popular show, 4 Levels of Cooking, where an amateur cook, a home cook, and a professional chef come in and make certain food their way followed by a food scientist reviewing their work, but as far as I know nobody has really dove into the recipes shown on the show to decide which one is worth making, so that is what I am here for!
Today, I’m travelling back to February 20th in the closing year of the pre-Covid era, aka 2019, where Ada, a Level 1 chef, Anthony, a Level 2 chef, and Michael, a Level 3 chef, came in to put their spin on one of America’s most iconic classics, a comforting pasta dish that many of us grew up eating from the blue box. I, of course, speak of macaroni and cheese.
It amazes me how such a comforting classic can lead to so many variations with the type of pasta and cheese used, how the sauce is made, what sort of toppings and mix-ins you can add, in fact you can pretty much ask 100 chefs how to make mac and cheese and you might end up with 100 different answers.
So I am going to dissect Ada, Anthony and Michael’s recipes and see which one I like best, but also see which one is worth making for the amount of work put in. Let’s do this!
The Pasta
It goes without saying that the base for a great bowl of macaroni and cheese is pasta. These days, there are dozens of pasta shapes and varieties that hit the grocery store shelves every day, so it can be hard to know where to start.
With mac and cheese, you generally want a smaller pasta shape that you can spoon into your mouth but also a shape that has some ridges along the sides that your cheese sauce grabs onto, because at the end of the day that’s what this pasta is, it’s a starchy vessel meant to pick up cheese sauce.
Let’s see what pasta variety our chefs chose.
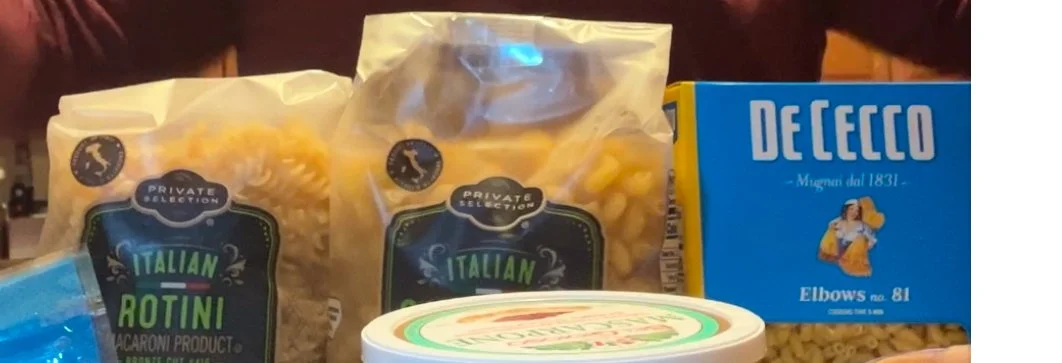
Ada went with the standard elbow macaroni, it’s the classic mac and cheese pasta for a reason, in fact the word macaroni is literally in the name. The curved elbow shape plus the hole that runs through the center acts a bit like a tiny spoon that grabs the cheese and pulls it up as you eat it.
Anthony chose cavatappi, a spiral shaped pasta that has ridges running down the sides, perfect for picking up cheese sauce.
Michael chose gemelli, otherwise known as the double-helix pasta. Gemelli essentially looks like two thin strands of pasta woven together to create lots of ridges for grabbing cheese sauce.
All 3 chefs cooked their pasta the same way, in a pot with salted boiling water until al dente (Still has a bit of bite in the center, ideal for mixing in hot cheese sauce without overcooking the pasta), but Ada added a capful of olive oil to her water. Adding oil to your pasta water, doesn’t actually do anything to the pasta itself, it just sits on top of the water and doesn’t get absorbed.
In addition, once her pasta was cooked and drained, Ada added some butter to help keep the pasta from sticking together and seasoned her pasta with a bit of seasoned salt and black pepper. Seasoning your pasta now is fine, but most chefs prefer to get their seasoning and flavor from the cooking water and the sauce.
The Sauce
Despite what the name might imply, it takes more than just pasta and cheese to make mac and cheese, it’s best to make a thickened white sauce to allow the cheese to melt without splitting, meaning that the fat in the cheese separates from the solids.
The classic sauce for mac and cheese is a bechamel sauce, a sauce made with butter, flour and milk, but it seems that our chefs decided to take another route.
For Ada’s sauce, she started by heating up some milk with a little bit of butter before adding in her cheese and then adding some flour. A slightly unconventional way to make a cheese sauce, but it does ensure that the cheese gets melted thoroughly before the sauce starts thickening.
Ada also added an egg to her sauce once it was made, this is a bit of a secret trick some chefs have up their sleeve as the egg adds some richness and helps keep the sauce from splitting in the oven.
Anthony took more of an Italian route, simply heating up some half n half and then stirring his cheese into that, one by one, and adding no flour to the sauce. This method makes for a looser sauce that relies more on the starch from the pasta to thicken it up into a creamy texture.
Michael started with a classic technique called a bouillie where he combines cold milk and flour, then heats that up and adds his cheese once it’s thickened. By dissolving the flour in the milk, it reduces the chance of any lumps of flour for a nice smooth sauce.
Michael also added some additional flavor with white pepper, nutmeg, roasted garlic and mustard powder. These flavors pair really nicely with the flavors of cheese for a complex and interesting tasting sauce.
Say Cheese!
Ok, let’s just all admit it right now, everything that’s happed up until this point has just been an opening act for the real star of the show, the cheese.
All 3 of our chefs adding a variety of different cheeses to their mac and cheese, offering a nice variety of flavors and in some cases adding extra moisture to help stabilize the sauce and ensure that the water and fat in the sauce doesn’t separate when you bake it, assuming baking is what you have in mind for your mac and cheese.
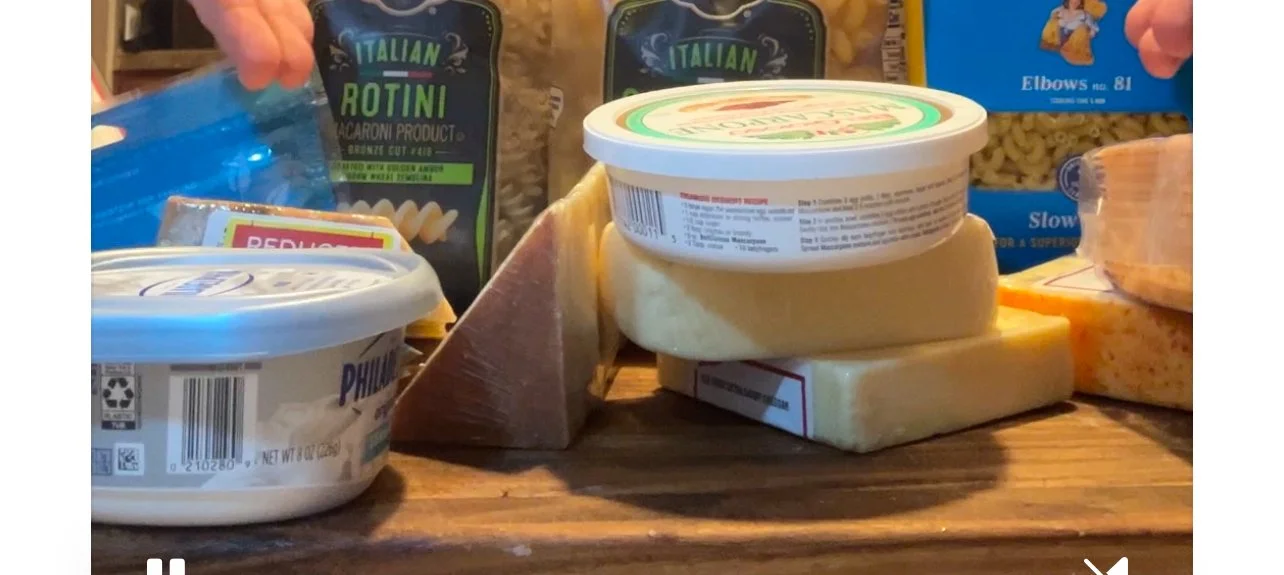
Ada used cheddar, muenster, and American cheese. The first two cheeses add a good deal of flavor to the mac and cheese while the American cheese melts really nicely and helps make for a very smooth sauce.
Anthony used havarti and white cheddar for sharpness, mascarpone for moisture and creaminess, and Parmigiano Reggiano for saltiness and to help season the sauce.
Michael used sharp cheddar cheese and gruyere, both of which are commonly used together for a nice flavor combination, mozzarella cubes for a more stretchy sauce, and also cream cheese for a bit of a tangy flavor and lots of moisture.
Toppings
While there’s nothing wrong with a creamy stovetop mac and cheese, it is amazing the depth of flavor and comfort you achieve when you bake your mac and cheese after it’s made. Plus by doing so you can make your mac and cheese in advance then bake it later. You can also top your mac and cheese with a variety of things to add extra flavor and/or texture.
Ada sprinkled more cheese on top of her mac and cheese before baking, this doesn’t add any additional texture.
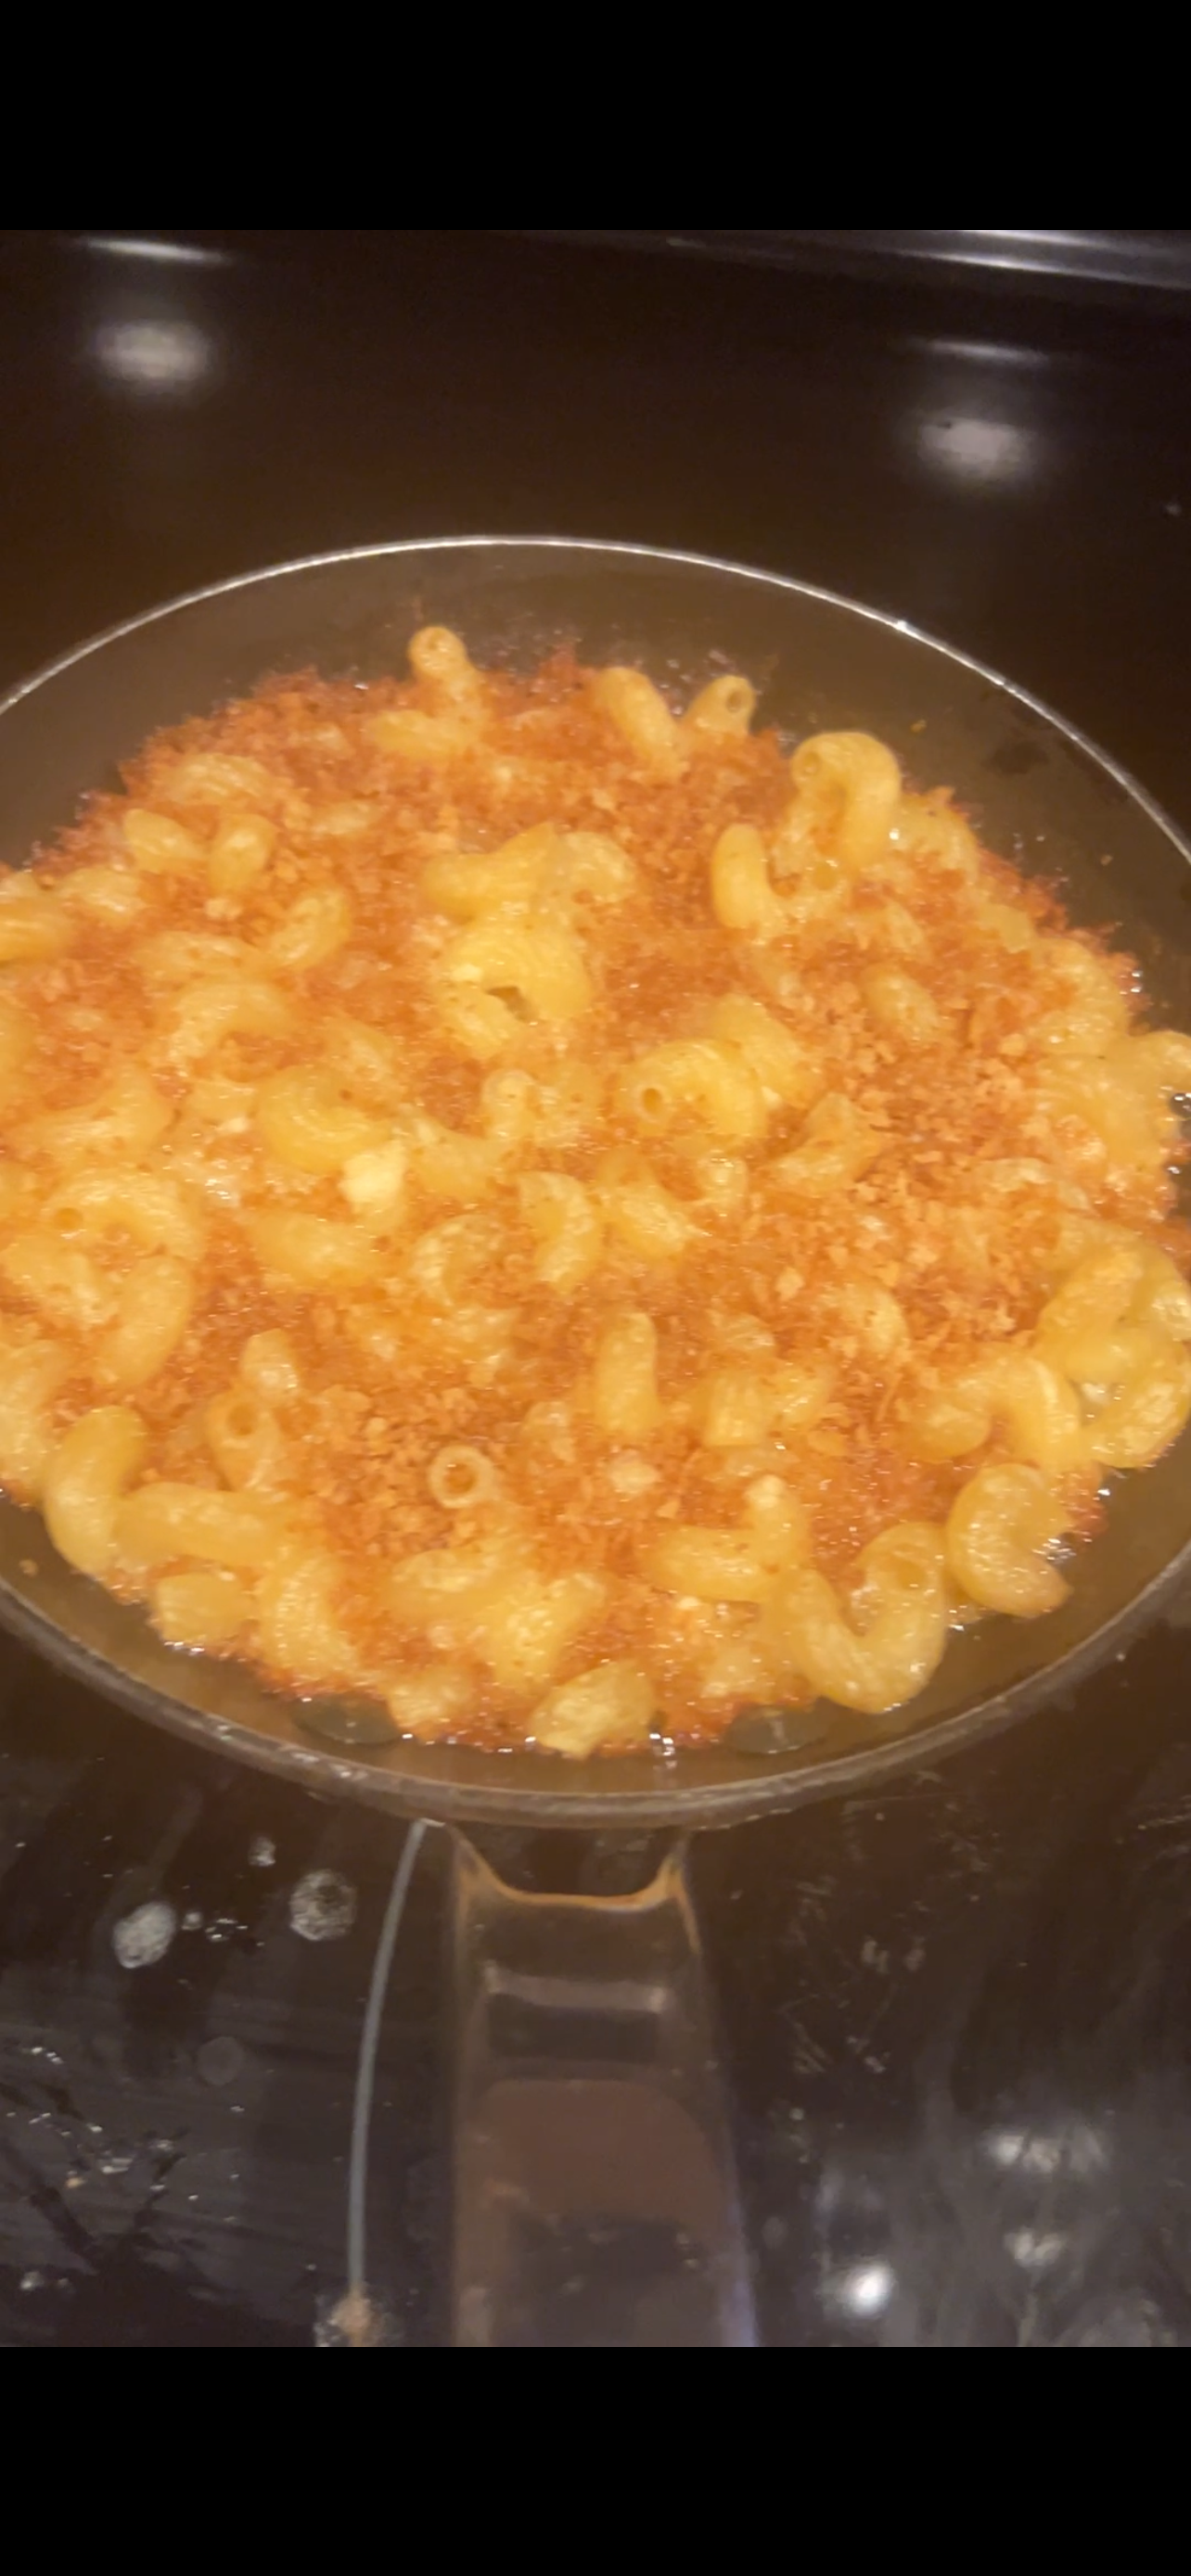
Anthony toasted some Panko breadcrumbs and sprinkled those on top. Panko is a Japanese style of breadcrumb known for large, dry crumbs, so adding them on top of your mac and cheese will ensure a bit of a toasty flavor and a slight crunch on top.
Michael took a very…interesting route by topping his mac and cheese with a streusel made with graham crackers, bacon, and sugar for crunch, a bit of smokiness, and a touch of sweetness.
(While I’m ok with sweet and savory, I’m not sure if I want sweetness on top of my mac and cheese, but he is a pro so perhaps I just need to trust the process.)
Bakeware
Yes, believe it or not the vessel that you cook or bake mac and cheese, or just about anything in, can have an impact on the final results.
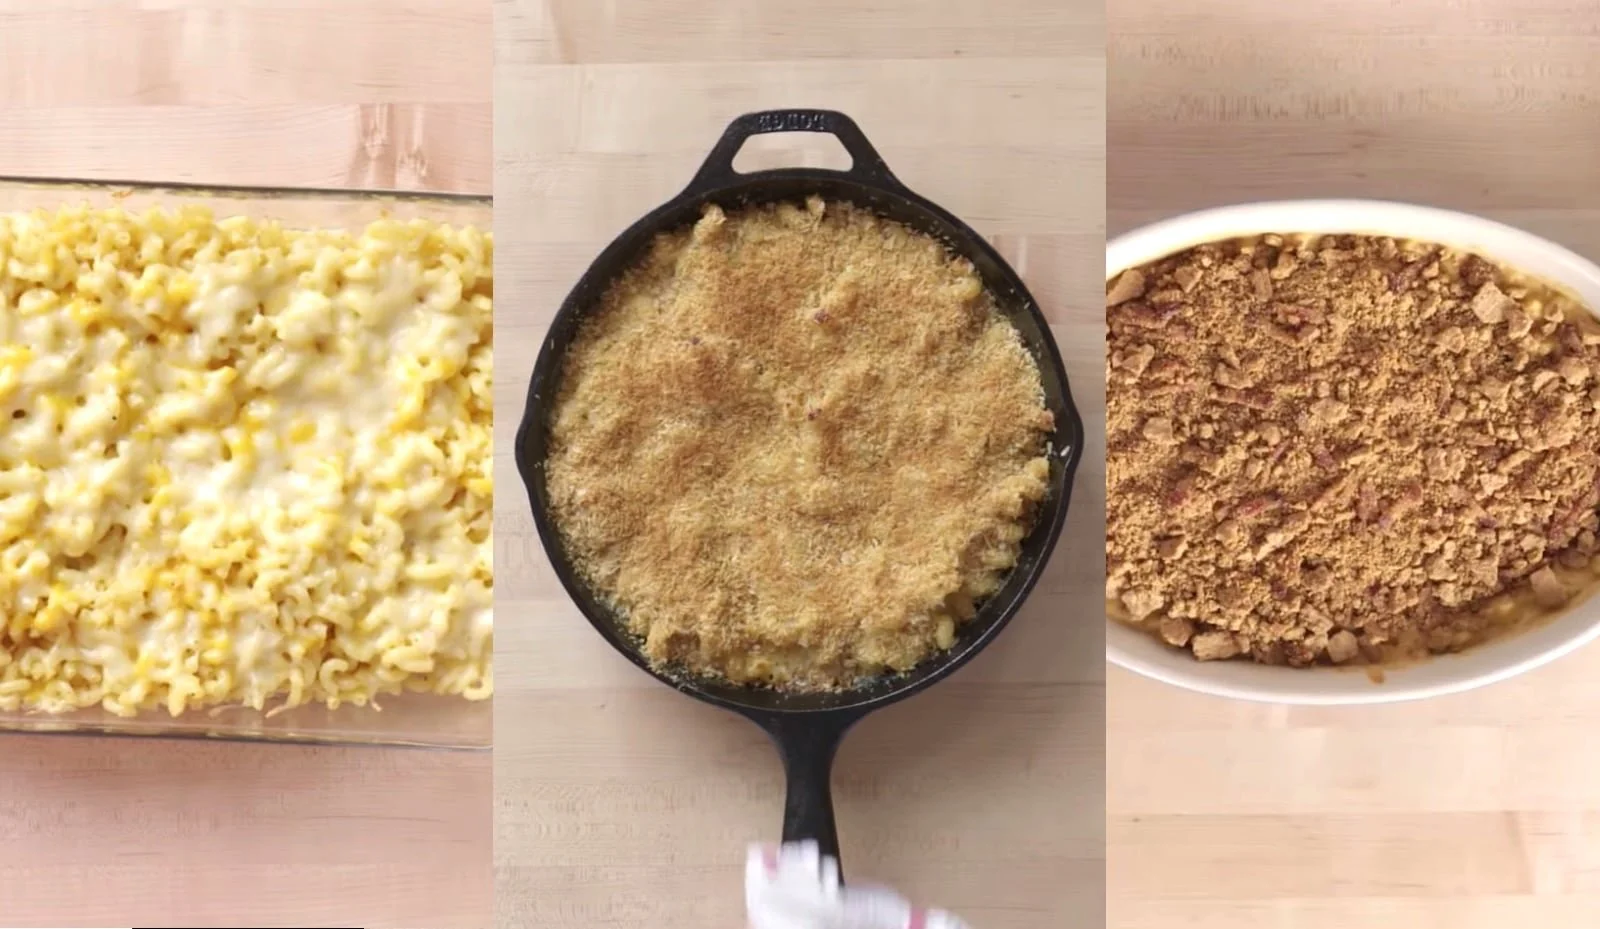
Ada baked her mac and cheese in a glass baking dish, glass isn’t great at holding onto heat but does offer you to see from the sides how your dish is going.
Anthony gave it a country style vibe by baking in a cast iron skillet, cast iron is great because it holds onto heat very well and gives a nice rustic charm to anything you cook or bake in it.
Michael used a ceramic baking dish, ceramic is great because, similar to cast iron, it can hold onto the heat from the oven so that your mac and cheese will stay warm longer even if it’s been sitting out of the oven for a while.
With all of these techniques and ingredients combined, each recipe should result in a creamy, cheesy dish that makes you feel like a kid all over again.
Now, I will take a shot at all 3 recipes myself and determine which one is the best tasting and also which one is worth making.
Level 1 Mac and Cheese (Ada’s Recipe)
Makes 8-10 servings
For the Pasta:
Salt
1 tbsp olive oil
1 pound elbow macaroni
2 tbsp unsalted butter
Lawry’s seasoned salt, to taste
Freshly ground black pepper, to taste
For the Sauce:
2 tbsp unsalted butter, plus more for the pan
1 cup milk
1 cup shredded cheddar cheese, divided
1 cup shredded American cheese, divided
1 cup shredded muenster cheese, divided
1/4 cup flour
Salt, to taste
1 egg
-Bring a pot of water to a boil and preheat the oven to 350 F/180 C. Add a bunch of salt and the olive oil, then add in the elbow macaroni and cook for 7-9 minutes, or until al dente. Drain, then while the pasta is still hot, toss in a bowl with the butter and season with seasoned salt and pepper to taste. Set aside.
-To make the sauce, heat up the butter and milk in a saucepan until the butter melts and the milk is hot, but not boiling. Remove from heat then add in half of the cheese (1/2 cup each), saving the rest for topping and whisking until the cheese has melted. Whisk in the flour, then cook about 2 more minutes, or until the sauce thickens. Transfer to a bowl, let it cool a few minutes, then stir in the egg until combined.
-Grease a glass 9x13 baking dish with butter, then dump in the cooked pasta and sauce, then stir to combine. Top with remaining cheese, then bake for 10-15 minutes, or until the cheese on top is melted and bubbly. Let it cool about 10 minutes before serving.
Level 2 Mac and Cheese (Anthony’s Recipe)
Makes 8-10 servings
Salt, for pasta water
1 pound Cavatappi pasta
1 cup Panko breadcrumbs
2 cups half n half
1/2 cup shredded Havarti cheese
1/2 cup mascarpone cheese
1/2 cup grated Parmigiano Reggiano
1/2 cup shredded white cheddar cheese
Butter, for greasing
-Heat a large pot of water to a boil and preheat the oven to 350 F/180 C. Generously salt the water, then add the Cavatappi pasta and cook for 8-10 minutes, or until al dente. Drain, then set aside.
-While the pasta cooks, toast the Panko in a wide skillet over medium heat, tossing frequently, until golden brown. Dump into a bowl and set aside.
-To make the sauce, bring the half n half to a simmer in a medium saucepan. Add the havarti, and whisk until fully melted, then repeat that step with the mascarpone, Parmigiano Reggiano, and white cheddar.
-To assemble, grease a 9-inch cast iron skillet with butter. Combine the pasta and sauce, and spread that into an even layer in the skillet. Top with the toasted Panko, then transfer to the oven and bake for 30 minutes, or until the sides are bubbly. Let it cool for about 10 minutes before serving.
Level 3 Mac and Cheese (Michael’s Recipe)
Makes 8-10 servings
(The sauce recipe is paired down from what Michael showed us in the video, it just otherwise seemed like way too much sauce)
For the Pasta:
Salt, for pasta water
1 pound Gemelli pasta
For the Sauce:
1 cup milk
4 tbsp flour
1/2 tbsp mustard powder
1 tsp ground white pepper
1/2 tsp freshly grated nutmeg
2 cloves of roasted garlic*
1 cup shredded sharp cheddar cheese
1/2 cup shredded Gruyere cheese
2 ounces Philadelphia cream cheese
1/4 cup cubed mozzarella
For the Graham Cracker and Bacon Streusel
1 1/2 cups crushed graham crackers
4 strips of bacon, cooked and chopped
1/2 cup sugar
1/2 cup brown sugar
2 tsp vanilla extract
A pinch of salt
1 tsp freshly ground black pepper
4 tbsp melted butter
Sliced green onions, for garnish
*To roast garlic, cut a whole bulb of garlic in half crosswise, rub the exposed cloves with olive oil, bring the two halves together, wrap in foil, then cook in a 400 degree oven for 30 minutes, or until easily squishable.
-Bring a pot of salted water to a boil and preheat the oven to 325 F/170 C. Generously salt the water, then cook the Gemelli pasta for 7-9 minutes, or until al dente. Drain, then set aside.
-For the sauce, pour the milk into a cold saucepan, then whisk in the flour, spices, and roasted garlic, then heat over medium, whisking, until the sauce thickens. Remove from the heat, then whisk in the cheddar and gruyere until melted and smooth. Dump in the cream cheese, then whisk to combine, then whisk in the cubed mozzarella until combined. Set aside while you make the streusel.
-For the streusel, combine the graham crackers, chopped bacon, both sugars, vanilla, salt, and pepper in a bowl. Add the melted butter and stir until a sandy texture forms.
-Combine the pasta with enough cheese sauce to generously coat, then spread into an even layer in a 3 quart ceramic baking dish. Top with the graham cracker mixture, then bake for 15-20 minutes, or until the top is golden and the sides are bubbly. Let it cool for about 10 minutes, then top with sliced green onions and serve.
Ok! The time has come for me to taste all 3 recipes!
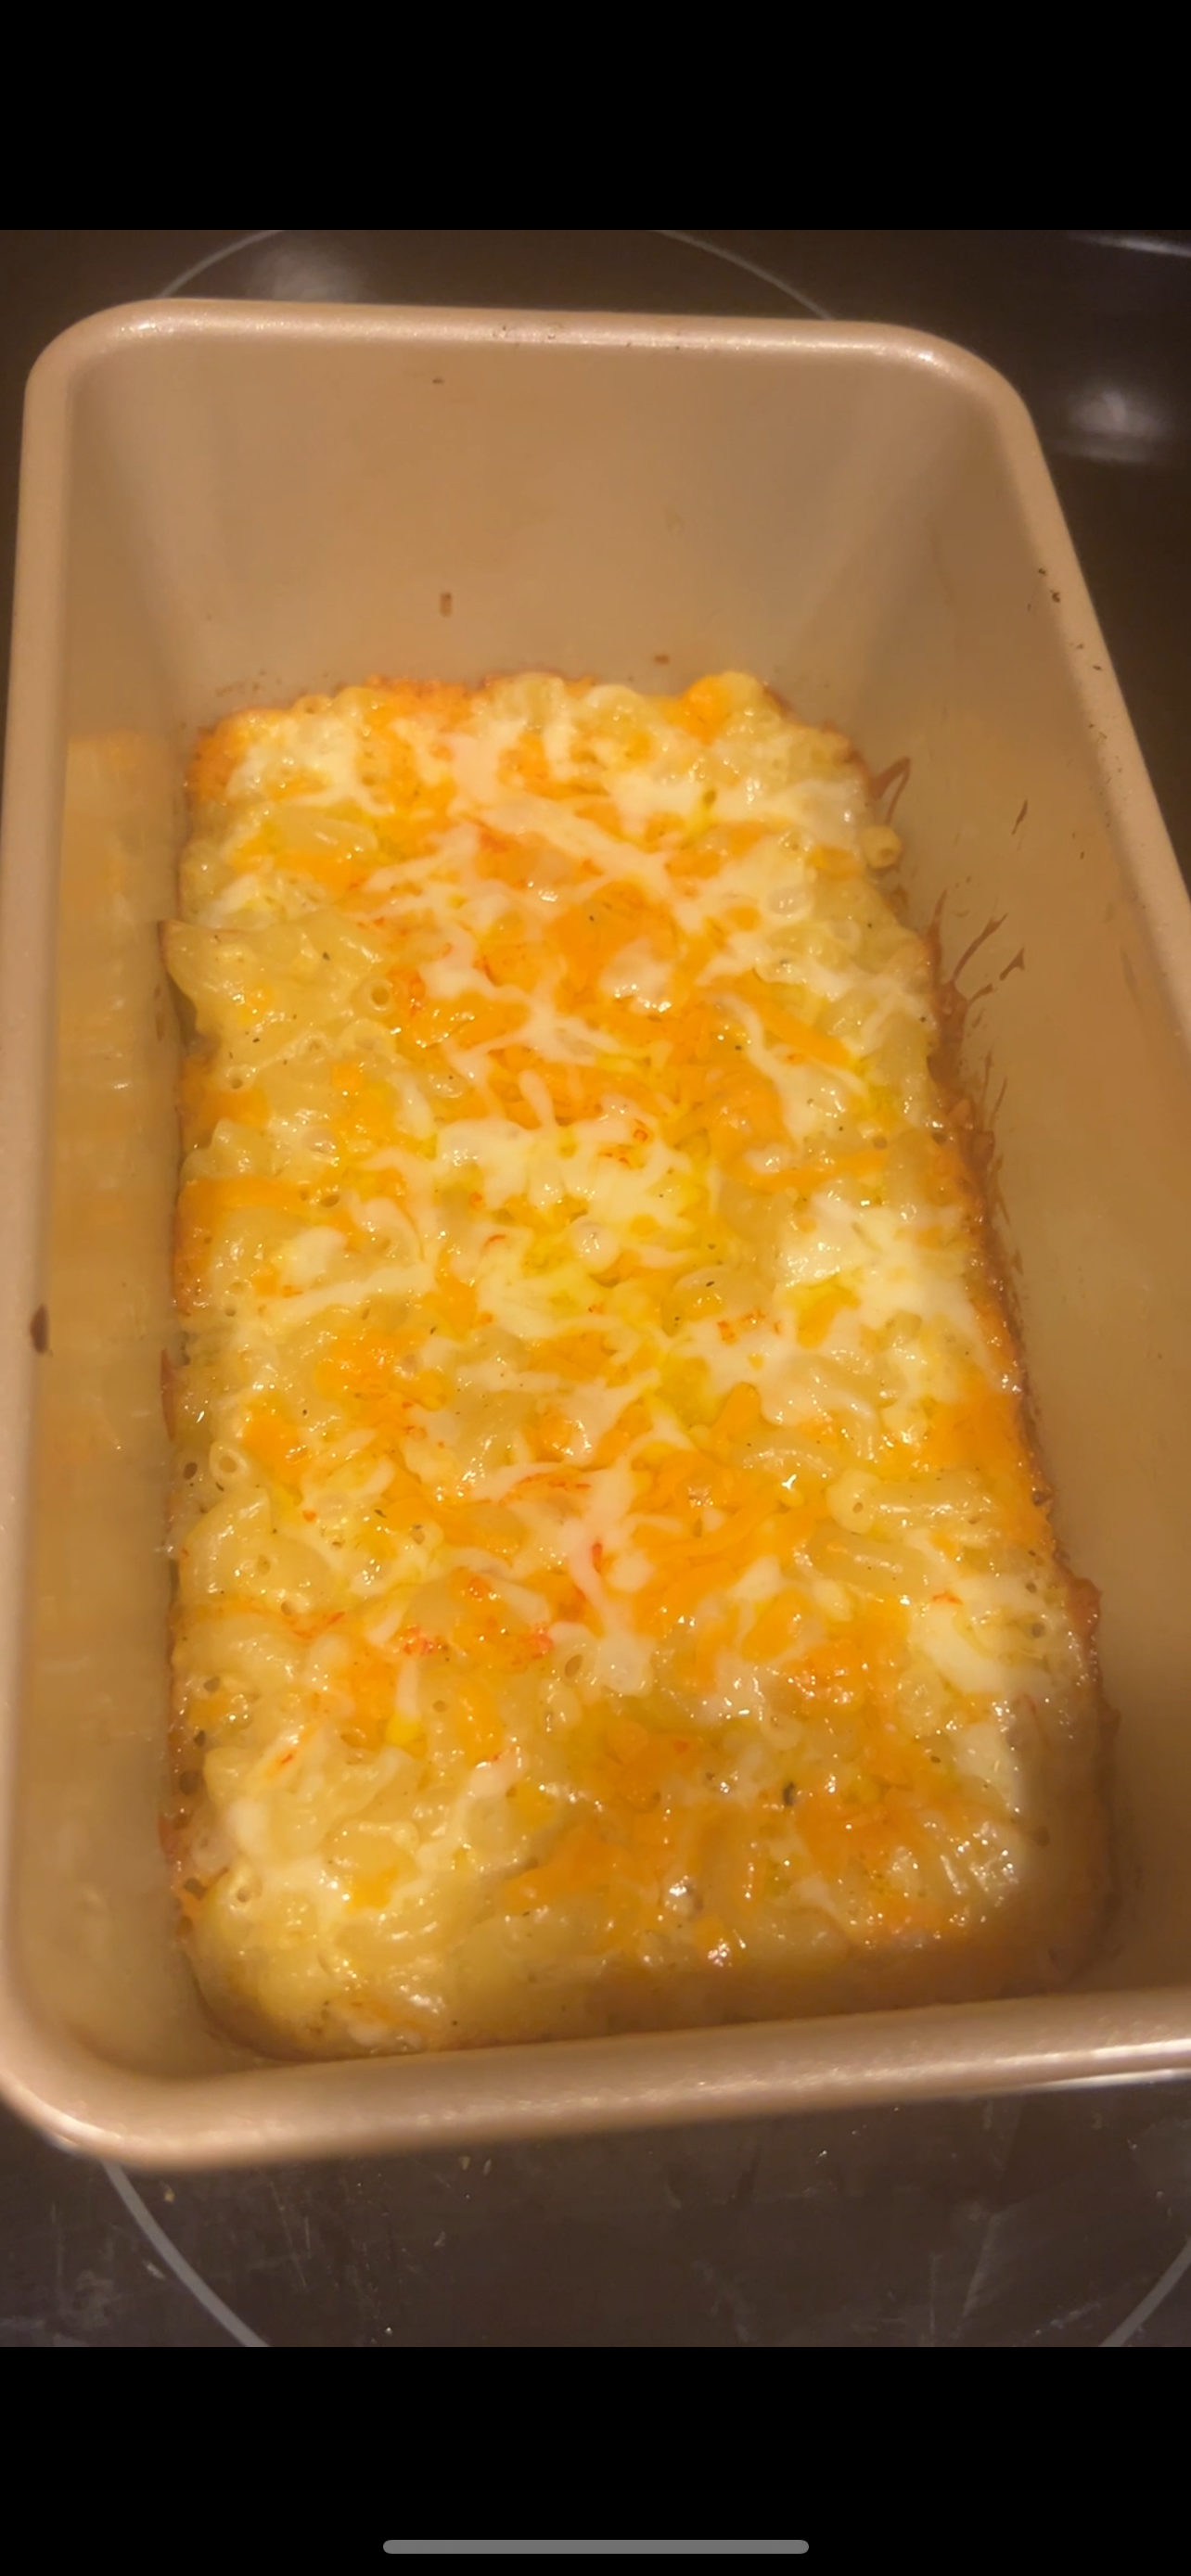
The level 1 mac and cheese had a nice creaminess and also a good deal of cheese flavor, and that egg did do it’s job in adding some richness. While this one lacks the textural contrast of the other two, it sure does deliver on that comforting flavor.
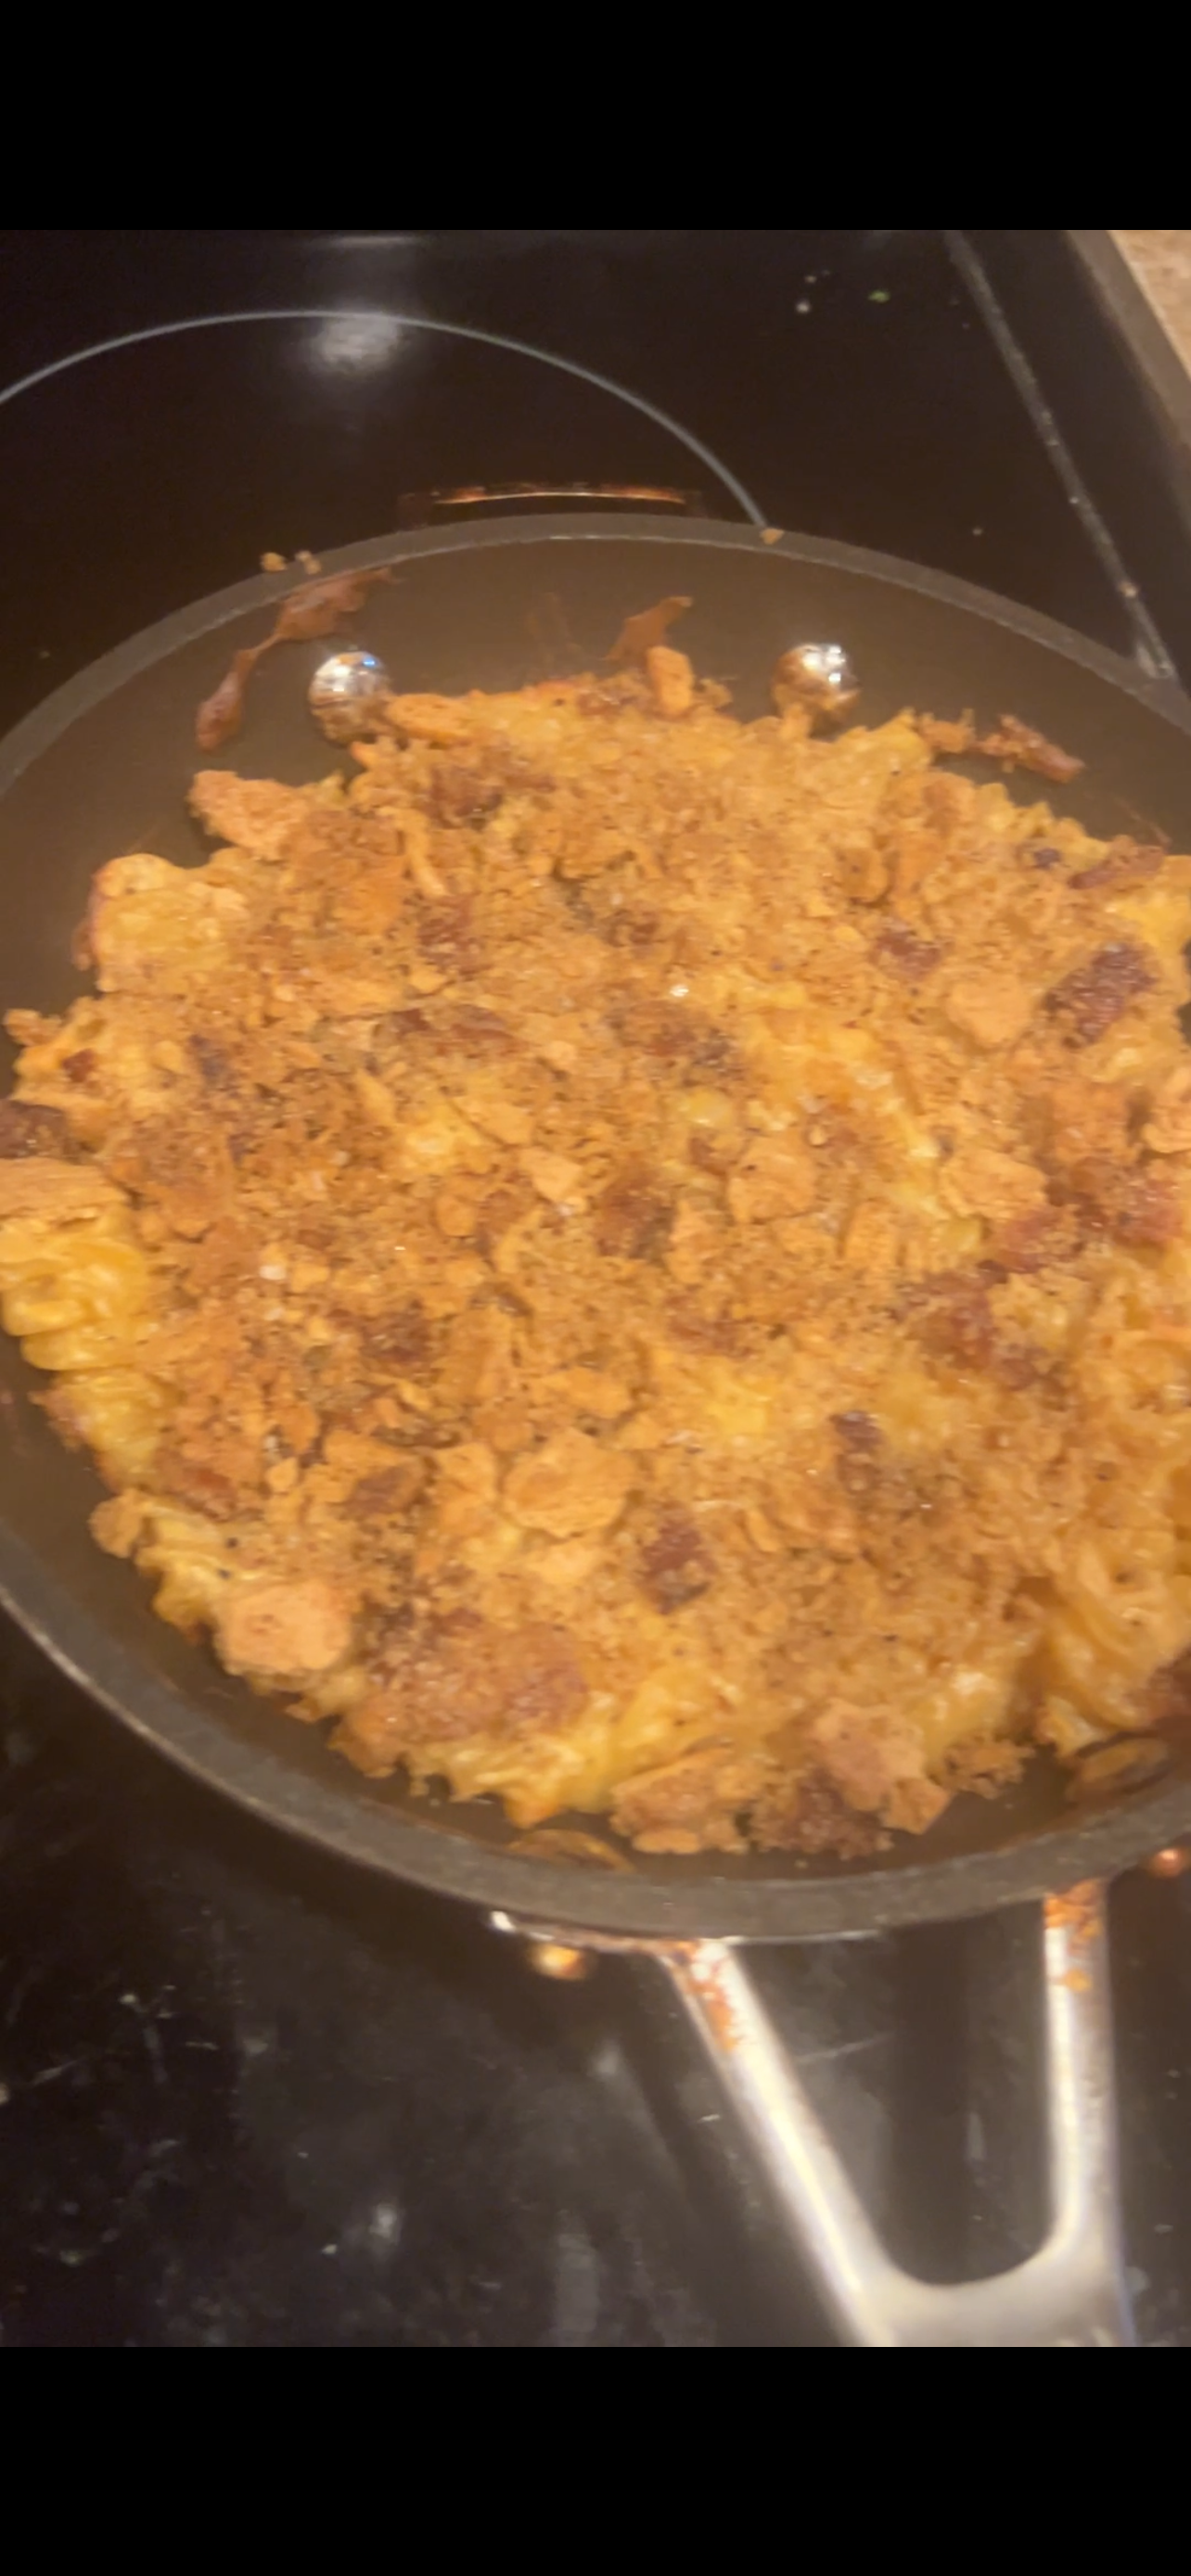
So, something happened with the level 2 mac and cheese to where the sauce ended up curdling a bit and didn’t come out as creamy as I had hoped it would be, maybe that’s just because it sat for a bit while I was making the other dishes. The taste was nice, the different cheeses melded together nicely, and that toasty Panko on top was a nice touch. I feel like if this mac and cheese had turned out creamier, it would’ve been a win.
The level 3 mac and cheese had a good deal of creamy cheesiness backed up by the spices and other flavors that were added to the sauce. As for the graham cracker topping…I went into this expecting to hate it, but it was actually quite good. The salty bacon definitely helped break through the sweetness.
Did it taste good? Yes. Does this mean I will be putting graham crackers on top of my mac and cheese now? Likely not.
Overall, I’d have to say that I enjoyed the level 1 mac and cheese the best! The sauce was creamy and it did not have graham crackers.
If you make any of these dishes yourself, please let me know and let me know if you enjoyed it!