
YPDIW: Cake

To me, there is something magical about having a great cake for either a birthday, anniversary, graduation, or any excuse you can come up with to eat cake.
Sure, store-bought cakes or boxed cake mix is fine, but nothing says I love you more than a tasty cake made from scratch, and it’s easier to do than you might think.
Today, I’ll be going over some common pitfalls when it comes to making cake and also some essential, near-foolproof tips on how to make a cake that both looks and tastes like it belongs in a pastry shop.

Pitfall #1: Incorrect Temperatures
So let’s say you want to make a cake, so you grab that cold butter, cold eggs, and cold milk from the fridge and start making your batter. This is wrong for many reasons.
The butter won’t be smooth, the batter won’t be evenly mixed, and it could bake unevenly. The same goes for the frosting, if you try to make a frosting with cold butter, you’ll end up with a clumpy mess rather than a smooth frosting.
What you want to do is make sure all of your ingredients are at room temperature. Your butter should be soft, like the sort of butter you would spread onto your toast, and your eggs and milk should be slightly warm; this way, they will mix into the batter harmoniously.
Pro tip: if you place your eggs into a bowl of warm water, they’ll warm up in minutes.
Pitfall #2: Not Mixing Properly
It’s a simple fact that human beings are, in some form or another, lazy, but when it comes to a cake you can’t rush it.
I’ve seen it before: people seem to adopt a dump-then-bake mixing method; they will dump all of their ingredients into one big bowl, mix that until it looks smooth, and then bake it from there, like they would with boxed cake mix. The result: A cake that is full of lumps of unmixed flour, that rises unevenly, all sorts of things can happen.
There are different mixing methods for cakes, but the thing to keep in mind is that there is an order of operations. Read the recipe, understand that it’s telling you to mix the cake the way it’s telling you for a reason, and you should have a nice smooth batter.
Pitfall #3: Measuring
In cooking, there is a bit more wiggle room when it comes to measurements, but with baking, there is a bit of science going on. If your ingredients aren’t measured properly, then there’s no way the cake is going to come out the way you expected. This is especially true in the case of flour, which can compact and lead to a dry, dense cake that nobody wants to eat.
Of course, weighing your ingredients is the most accurate measuring method, but if you have to use cups, then your best bet is the scoop-and-sweep method. It’s pretty self-explanatory, use your cup to scoop up the flour in a mound, then use the back of a butter knife, an offset spatula, or any flat tool (not your finger) to level out the top.
Pitfall #4: Opening the Oven too Early
Ok, you have your perfect cake batter mixed up, in the pans, and now it’s in the oven. Your kitchen is starting to smell good, isn’t it? It makes you tempted to just peek into the oven to see how your cake is doing, right?
Well, I’d get your hand away from that oven door handle, because if you open that oven door too early, even just a little bit, some of the heat from the oven will escape and you need that heat to allow the cake to rise properly and get it to a temperature to where it’ll be safe to eat, especially considering raw egg is put in there.
I know that some bakers say you should rotate your cake as it bakes, but to me that means opening the oven door and letting out the heat!
Leave that oven door closed for as long as your recipe tells you to keep it closed, and your cake will come out beautifully.
Pitfall #5: Let it snow, let it snow, let it snow!
When it comes time to make your buttercream frosting, don’t be tempted to just dump a bunch of powdered sugar into your butter.
There’s a good chance the powdered sugar won’t be mixed into the frosting evenly, you might get clumps of powdered sugar that won’t spread onto your cake nicely, plus you could easily end up with powdered sugar flying all over your kitchen and have a big mess to clean up. The key is to slowly add the powdered sugar to your butter so it can become a smooth, beautiful frosting.

Pitfall #6: Frosting Too Early

Alright, your cake is done and your perfect frosting is mixed up! Time to decorate right? Well, hold your horses because you need to let that cake cool now.
One of the worst things you can do to a cake is attempt to frost a hot cake with cold or room temp frosting because what will happen is the hot cake will melt the butter in the frosting and the cake will absorb that and become soggy, so all that work to bake a beautiful cake was now for nothing.
You want to let your cake cool completely before you even think about frosting or decorating, in fact I would even hold off on making the frosting until the cakes are cooled. It also gives the butter for your frosting some extra time to get soft and even.
Ok, I think we’ve covered just about all of the common pitfalls, so now I’m going to share how to make a beautiful cake from scratch. Since it’s Christmas, I’ll be making a festive gingerbread layer cake, but these rules will apply to many other cakes that you want to make.
Step 1: Get ready
Before you even get out ingredients for your cake, you will want to do a few things: Preheat your oven and get your baking pans greased and ready to go; that way, by the time your batter is mixed and ready, so will your oven. This is also important because chemical leaveners like baking soda lose their rising power quickly, so ideally you want to get your cake in the oven as quickly as you can once it’s mixed.
Pro tip: Save the wrapper that your butter was in. There’s still going to be a thin layer of butter left on the wrapper, so you can rub that onto your pans to help grease them.
The other thing you want to do is mix your dry ingredients (flour, baking soda/powder, and salt) before you mix the rest of your batter so they’ll be ready when you are, also because baking powder needs to be mixed into the flour to ensure an evenly smooth batter.


Step 2: Creaming
A lot of cake recipes will tell you to cream the butter and sugar together before adding anything else, so let’s discuss what creaming actually means, because there are plenty of people who don’t do this long enough.
To cream means to beat the butter and sugar together in an electric mixer for at least 5-7 minutes, scraping down the sides of the bowl as you go, almost dissolving the sugar. It sounds like a long time, but this is doing a few things; it’s incorporating lots of air into the butter to ensure a lighter batter, and also, the sugar is drilling tiny holes into the butter so when you add the next ingredient, usually your eggs, it’ll mix in more evenly.
It’ll be done when you can no longer feel any sugar crystals within the butter, that’s how you know it’s time to move on to the next step by adding your eggs and flavoring. Since it’s a Gingerbread cake, I’ll be adding some molasses and some classic gingerbread spices for that wonderful holiday flavor.


Step 3: Add the Dry ingredients
So now it’s time to add the flour mixture, but don’t dump it in all at once, that’s what creates lumpy cake batter. Instead, add about 1/2 of the flour mixture, then turn the mixer on low so you won’t get flour all over your shirt and mix until it looks a bit smoother. Then, add half of your milk and repeat the process until all of your flour and milk is added and your batter is beautifully smooth.
It’s going to look a bit curdled and messed up for a moment, but that’s normal. Just add the rest of your flour, and the batter should smooth itself out.
Also, once the flour is added, you’ll want to pull back on mixing as the longer you mix a cake batter, the more gluten is developed, and that can lead to a tough cake. It’s also a good idea to take your spatula and give the batter a gentle stir, just to make sure everything is incorporated evenly.


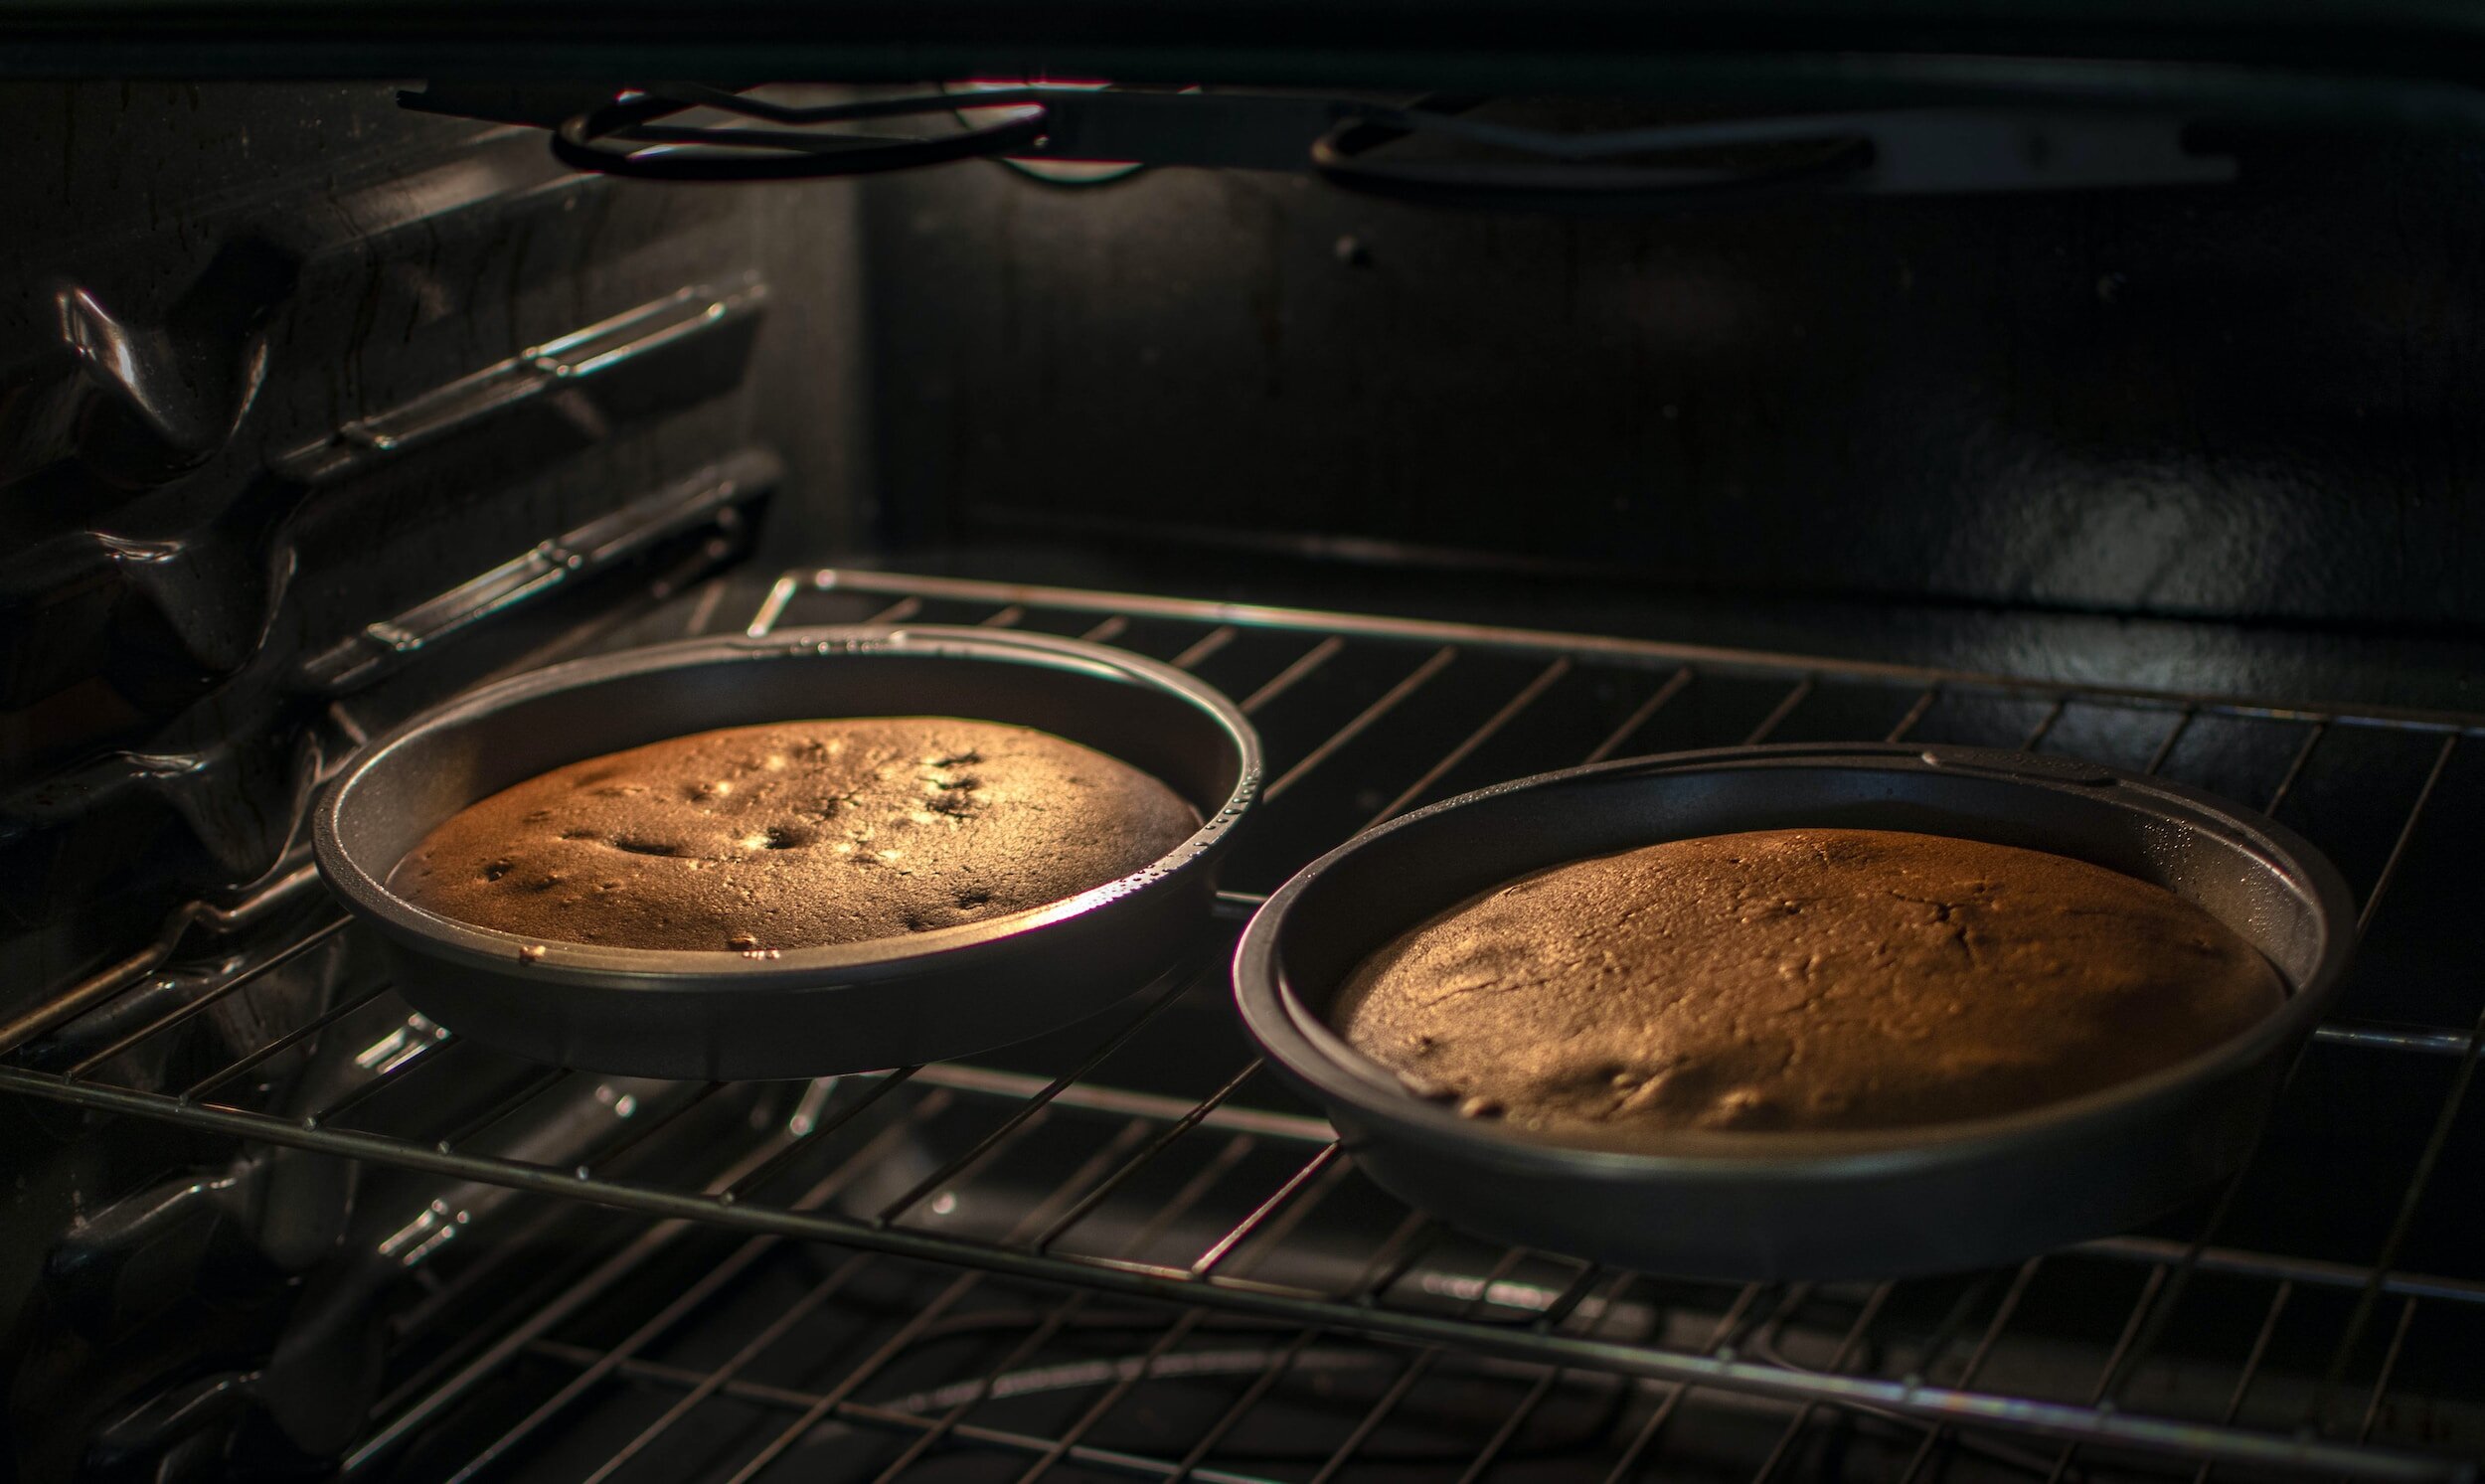
Step 4: Bake
Once your batter is mixed up, it’s time to pan up. I’ll be doing a two-layer cake, so obviously I have two cake pans, and all I need to do is divide the batter amongst the two pans as evenly as I can.
Once the batter is in the pan, spread it out a bit so that it gets into an even layer and that the entire bottom of the pan is coated in batter. Right before baking, you’ll want to lift up your pans about an inch above your counter and then drop it down. Do this two or three times, this will knock out large air bubbles and ensure the cake rises evenly.
As mentioned before, once that cake is in the oven, you will leave it alone. Let it bake for as long as the recipe calls for.
To check that your cake is done, insert either a toothpick or a paring knife into the center of the cake, and if it comes out clean, then it’s done! Also, as mentioned, you’ll want to let the cake cool completely before frosting and decorating; generally, I let it cool for about 10 minutes in the pan, and then I take them out onto a wire rack to cool the rest of the way.


Step 5: Make the Frosting
When your cakes are cooled or almost cooled, it’s time to make what many consider to be the best part of eating cake: the frosting. Here, I’ll be making a very simple buttercream.
To get started, dump a whole bunch of soft butter into your mixer (cleaned after mixing your cake batter), then mix on medium-low to get it a bit softer. Slowly add powdered sugar until it’s fully combined and smooth. Then add enough milk to get a thick, spreading consistency, and you’re good to go!
Since I was making a gingerbread cake, I also added in a bit of molasses and cinnamon to my frosting for an extra kick of holiday flare.


Step 6: Decorating
Now comes the fun part, frosting the cake. If you have a revolving cake stand, that would be ideal, but if not then don’t worry about it.
(Pro tip: Put a little bit of frosting onto the bottom your decorating board or wherever you plan on decorating the cake.
This will keep the cake from sliding around as you’re frosting and decorating.)
For a layered cake, you’ll want to plop about a cup of your frosting onto one cake layer and spread that into an even layer. Then invert a second layer of cake so that the smoother side that touched the pan is facing up, a good tip for an evenly frosted cake.
Dump a bunch of frosting onto the top of the cake, then use an offset spatula to smooth and spread the cake into an even layer on the top and sides of the cake. If you want to, take a bench scraper and run that along the sides of the cake for a more smooth surface.
From there, the decorating options are limitless. You could top it with sprinkles, fresh fruit, maybe do one of those fancy chocolate drizzles, you could color some frosting and put that into a thin-tipped piping bag to write a special message for whoever you’re making the cake for or do some fun frosting designs on the cake, or you could keep it simple and just have a tasty cake with frosting.
And don’t forget to have fun with it! So what if it doesn’t look like it belongs in a bake shop? As long as the frosting covers all sides of the cake in an even layer, and as long as the cake tastes really good, then nothing else should matter! Honestly, I find that the hardest part about cake decorating is knowing when to stop.


Follow all of my instructions carefully, and you’ll have yourself a beautiful, delicious cake that will put a smile on anyone who eats it.
