
How To Bake
Baking might seem like one of those things that only pros can do, and it’s not that baking is necessarily hard, but once you have some basic guidelines and techniques down, you will find yourself baking things you might not have thought you could.
Cookies, cakes, pastries, pies, and all sorts of delicious baked goods and treats, all of which are makable if you keep some rules in mind.
Here are some basic guidelines, tips, and techniques that can help you feel like a more confident baker at home. Besides, what says ‘I love you’ more than home-baked goods?
Tip #1: Read the Instructions Thoroughly
I know this seems like one of those eye-rolling steps, but it really is important that before you even start baking, you read your recipe front and back.
Understanding what you’re getting into before you even start baking will help you understand what you need to do and when, and once you’ve practiced the techniques in that recipe a few times, you can start mixing it up with your own flavors/ingredients to make it taste like yourself.
Also, read through the ingredients list carefully and make sure you have everything you need. It would be a shame if you were in the middle of mixing a dough/batter and realize that you don’t have a key ingredient.
Tip #2: Heating Your Oven Properly
You would not believe how many times I’ve seen people see the step of preheating your oven as a suggestion rather than a step. We’re all impatient, I get it, but this might be the most important step with baking.
Before you even gather your ingredients, you should turn your oven on and get it heating to the right temperature, which takes about 10-15 minutes, depending on your oven, that way your oven will be hot and ready by the time you are ready.
Otherwise, if you bake something in an oven that isn’t hot enough yet, it’ll result in flat cookies, dense cakes, and the people you’re serving it to won’t be happy.
Also, if your oven has a history of uneven baking, consider employing an oven thermometer so you can see if your oven reaches the proper temperature.
Tip #3: Prepare Your Baking Pans in Advance
Another step that’s just as important as heating your oven is getting the pan you plan on using ready.

This is especially important for wet batters that have chemical leaveners because once the batter is mixed and those leaveners are activated, the clock is ticking, you gotta get them into the pan and baking ASAP, otherwise, they will not allow the cake to rise the way you want it to and it’ll come out very dense.
This means greasing it, lining it with parchment paper, or whatever you need to do to get that pan ready. One of the best ways to do this for round cake pans is with a cartouche or a circle of parchment paper.
to make the cartouche, take a square piece of parchment paper that’s wider than the pan, then fold two of the corners together to make a triangle. Take the two wide corners and fold them together, then repeat 2 or 3 more times until you get a little triangle.
Line the tip of the triangle with the center of the pan, then cut the paper where the edge of the parchment overhangs the pan a little bit, and you’ll have a perfect parchment circle.
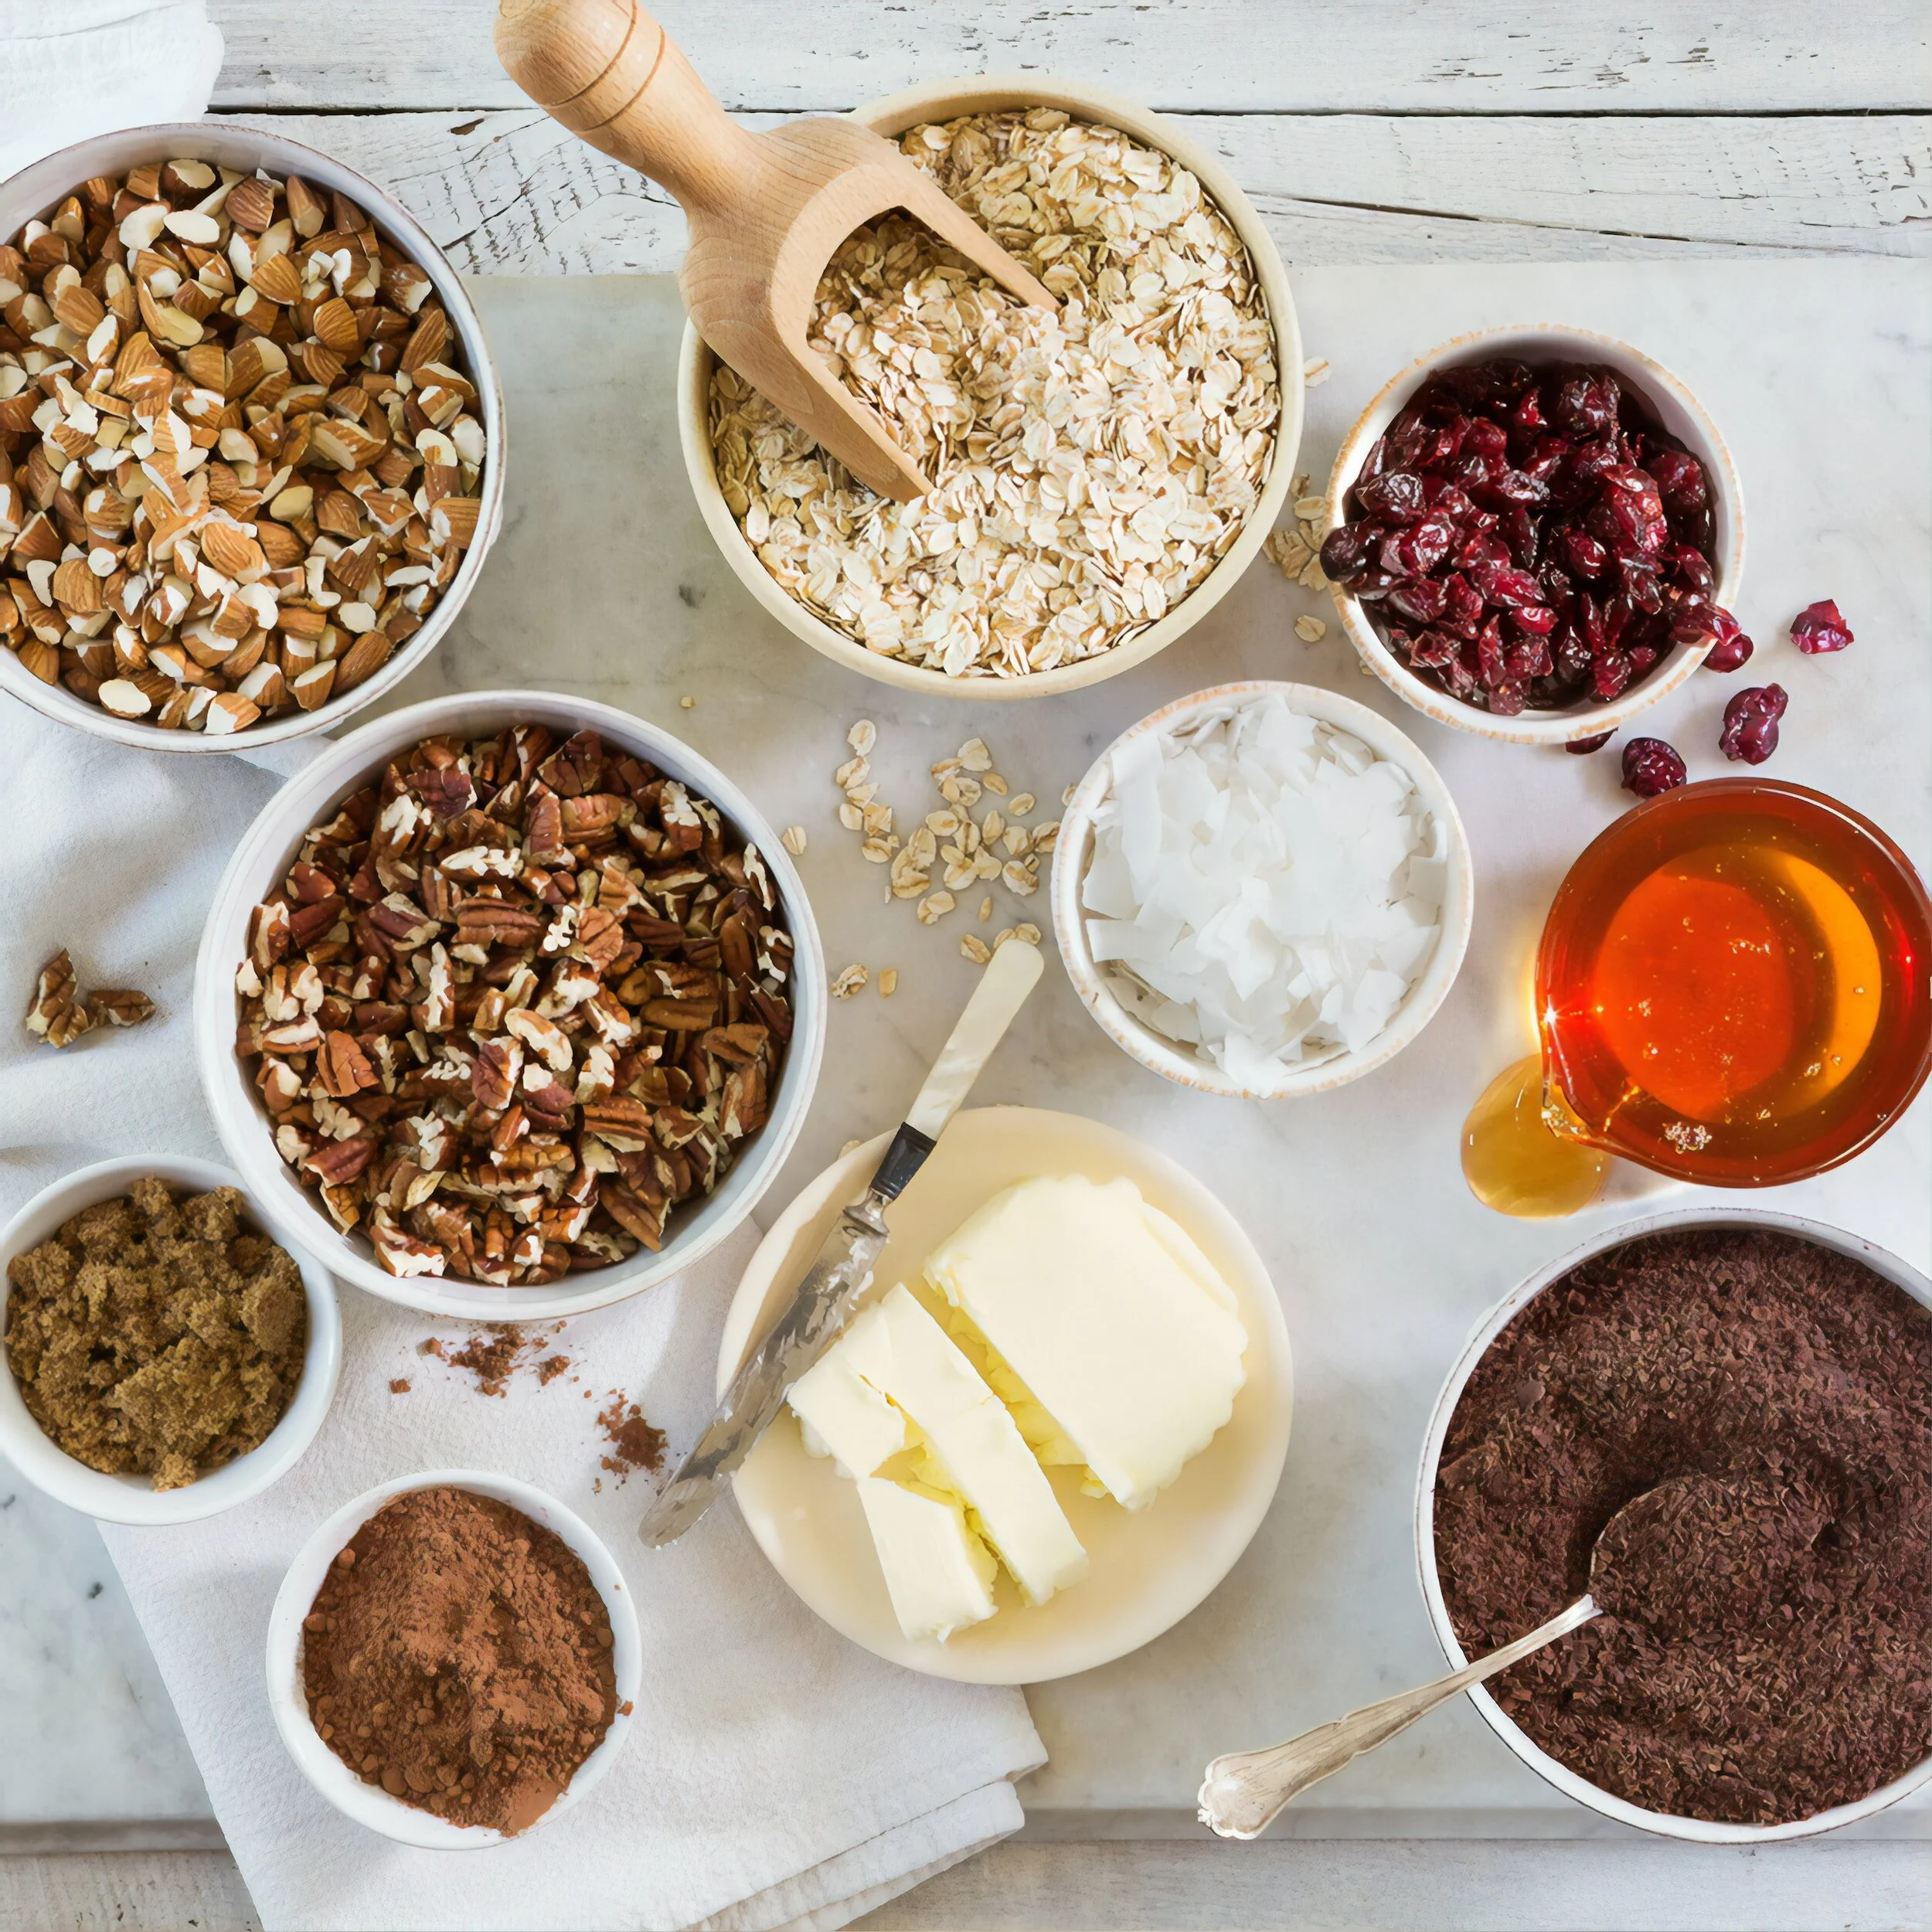
Tip #4: Measure Your Ingredients Properly
I don’t know if I can stress this enough, properly measuring ingredients is incredibly important to achieve the texture in your baked goods that you desire.
This is especially true in the case of flour, which can compact in measuring cups and give you dry, crumbly baked items.
The most accurate method for measuring ingredients is to weigh them, kitchen scales are easy to use and inexpensive.
Turn on the scale, place a bowl on top, then press the ‘Tare’ button to zero out the scale, then add your ingredients accordingly. One cup of flour is approximately 8 ounces or 125 grams.
If you don’t have a scale, then don’t worry, cups are acceptable to use at home.

The best way to measure with cups is by using a spoon to scoop up the ingredient you’re measuring, then mound it up into the cup, not scooping it up like with protein powder. Then, you can use an offset spatula or the back of a knife to level off the top for a measurement that’s right on the money.
Tip #5: Ingredient Temperature
Picture this scenario, you want to make a batch of cookies, so you grab your cold butter and cold eggs from your fridge, then try to make your dough. Forget it.
Hard, cold butter and eggs will not mix into the dough evenly, so you’ll end up with tiny pockets of butter scattered throughout your finished cookies.

For anything you plan on creaming butter for like cookie dough, cakes, and brownies, it’s best to let your butter and eggs come up to room temperature before you start mixing.
That being said, in a pinch, you can zap the butter in the microwave at half power for 15-20 second intervals. The butter might get slightly melted from doing this, but once you mix and bake your dough, it’ll be fine.
Think of the sort of butter that you can spread onto your toast, that’s the level of softness you’re looking for.
As for the eggs, a quick way to bring them to temperature is to place them into a bowl, cover the eggs with warm water, and let them sit for about 5 minutes.
On the other end of that spectrum, there are some types of dough like pie or biscuit dough where you’ll need the butter to be as cold as possible, so I suggest cutting up the butter ahead of time and then keeping it in the fridge until the moment you need it.
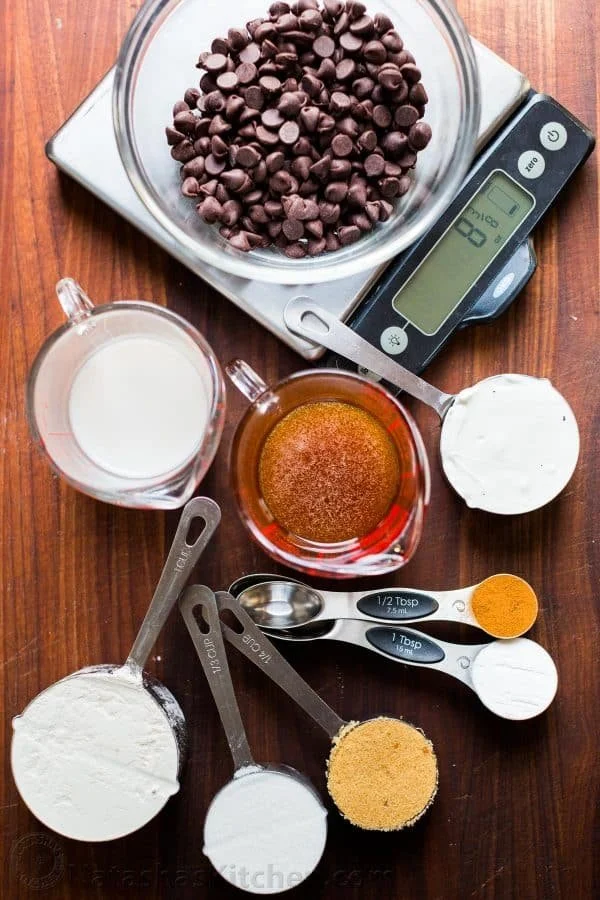
Pour Some Sugar on Me! (Tip #6)
Many different kinds of sugar are used in baking, but the three main varieties are white/granulated sugar, brown sugar, and powdered sugar.

The best way I can describe the difference between white and brown sugar is with cookies.
All white sugar will give you a thin, crispy cookie, not that there’s anything wrong with it.
Brown sugar, however, has that bit of molasses in it, so it’ll give you a much softer, chewier cookie. I like to use both kinds of sugar to get the best of both worlds, crisp outside with a soft, almost melt-in-your-mouth middle.
As for powdered sugar, it’s often mixed with butter or milk to create cake frosting or a simple glaze, but some recipes will add it to their dough, like for shortbread, for a sandy, crumbly texture.
The Eggcellent tip #7
Eggs are a widely used ingredient in baking as they are very versatile. While a lot of batter/dough recipes may call for using whole eggs, there will be times when you’ll need to separate eggs as the yolks are great for making custards while the whites can be whipped into meringue.
There are lots of methods you’ll see on the internet for separating eggs, I’ve even seen people use an inverted plastic water bottle, but my method is tried and true.
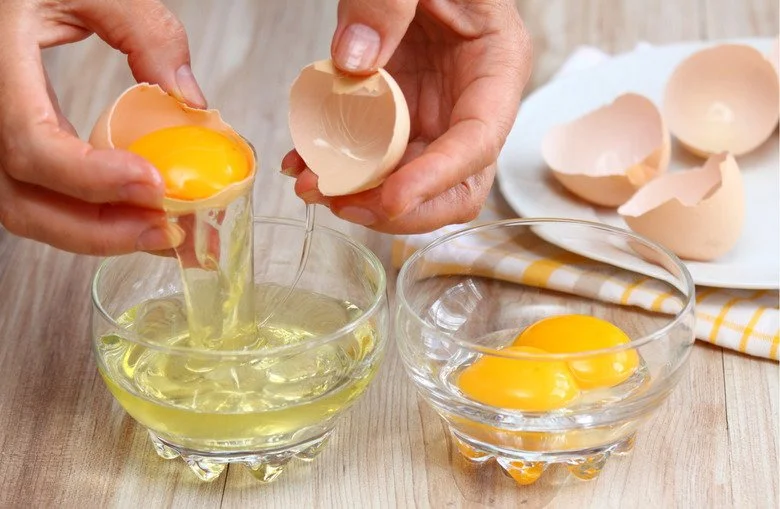
I gently crack my eggs on a flat surface (Not on the side of the bowl!) Then pull the shell apart into two pieces. I then pass the yolk between the two shell halves and let the white drip down into a bowl below me.
There is a slight risk for this method because that shell half could puncture the yolk, but this is the method that does not dirty additional dishes.
By the way, if you’re making a custard and just using some yolks, you don’t have to throw away the leftover whites. You can scramble them the next morning to have with breakfast.
Tip #8: Mixing Properly
I’ve seen a few people make baked goods by just dumping everything into a large bowl, beating it up, and seeing what happens. What you have to understand is that there is always an order for mixing ingredients, and understanding that order can be the difference between an average baker and a great baker.
Let’s take the creaming method, for example, a method often used for cookie dough and some cake batters.

Start by beating together your butter and sugar by themselves with a mixer for at least 2 minutes.
This will allow the sugar to dissolve within the butter, it beats air into the butter for a lighter texture, and the sugar drills tiny holes into the butter as well, which makes mixing in the next liquid ingredient, the eggs, that much easier and smoother.
While you do that, you can mix together your flour, leavening agent, and salt in a separate bowl to ensure that all of those ingredients will be mixed into the final dough/batter evenly.

Once the eggs and flavoring are added, you can then add the flour mixture and gently mix until combined. For cakes, you want a light, tender texture, and the more you mix that flour, the more gluten develops and that can lead to a dense, chewy texture.
Tip #9: Cooling Cakes Before Frosting
This next tip is all about cakes.
It is tempting to try to frost/ice a hot cake that came straight out of the oven and eat it straight away, I get it, but allowing your cakes to cool completely is nonnegotiable.

If you try to frost a hot or even warm cake, what will happen is the butter in the frosting will melt and sink into the cake, causing that beautiful cake you just baked to become soggy and fall apart.
It would be best if you let that cake cool completely before you even begin frosting it, that way the frosting will go onto the cake smooth and evenly.
Bonus tip: Soaking your cake with a flavorful syrup is a real pro-baker move as it adds extra flavor and moisture to your cake. Plus it helps personalize your cake and make it your own.
Dissolve equal parts sugar and water in a small saucepan and let that cook before brushing it onto your cake, and that’s your basic syrup done. You can steep mint sprigs into it, add bourbon for a grownup kick, add extracts like vanilla or almond, and add citrus zest like lemon or lime to get the flavor combination you desire.
Tip #10: Know When Something is Done Baking

Timers are a good way to keep track of what you are baking and to remind you that something is baking, but looking for some visual cues to tell you when something is done baking is equally important.
For cookies, it depends on the texture you’re after, but for me, they’re at their best when they’re baked until they’re firm on the edges, but still soft in the middle, for that crispy outside and soft inside that I devour.
For cakes, the toothpick method is just fine. Stick a toothpick or small knife into the center of the cake, and if it comes out clean, then the cake is done!
Brownies, on the other hand, are different. You want a softer, fudgy texture. For those, you’ll want to bake them until the top is dry but they’re still very soft in the middle.
Follow these basic baking tips, and I can guarantee that you’ll bake yourself into a better and more confident baker in no time, and you’ll be able to bake anything.
