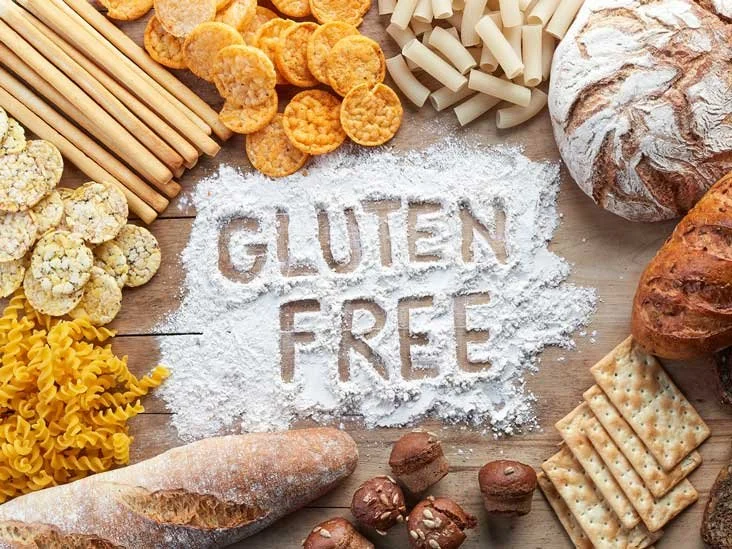
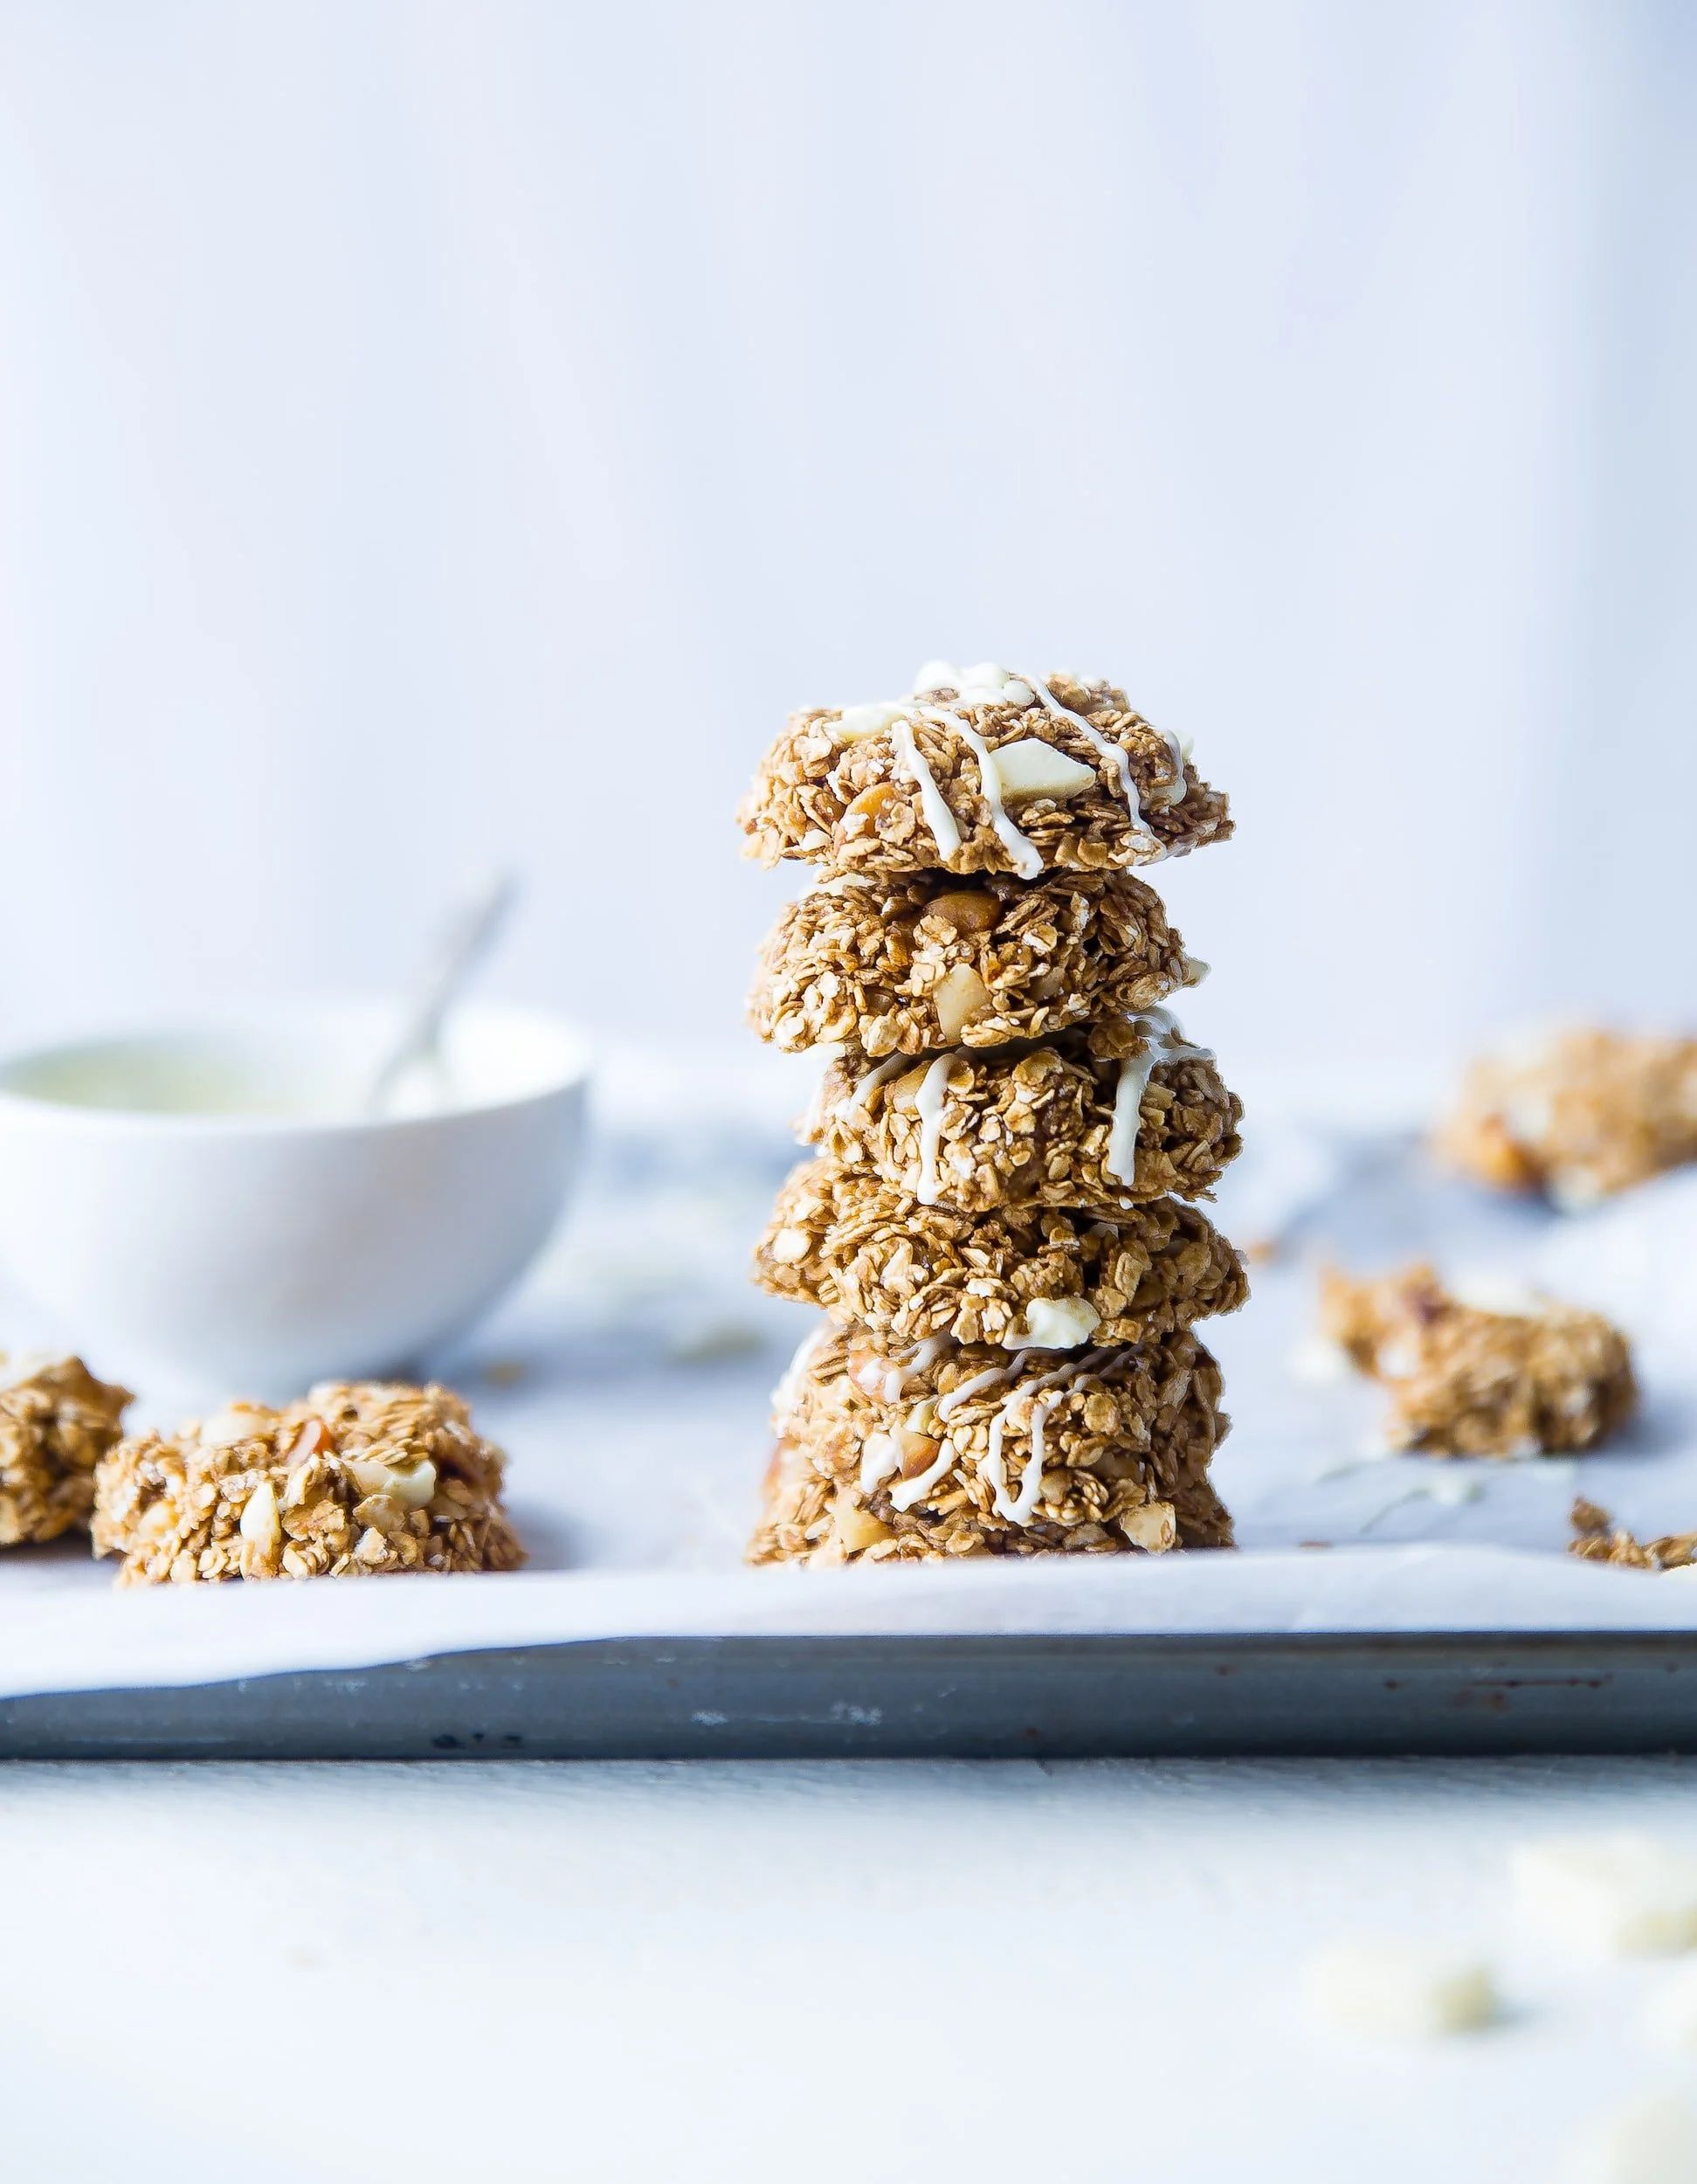
Gluten-Free Baking: The Basics (Plus basics on living gluten-free)
Whether you think it’s a fad or believe it has actual health benefits, many more people are switching to eating gluten-free these days. Some do it to try to lose weight, some do it due to an allergy or disease, and some do it without any knowledge of what they’re getting into.
Regardless of the cause, knowing the ins and outs of gluten-free baking can be beneficial if you have family or friends on such a diet. I hope you learn as much about this as I am willing to teach.
I’ll also provide a few easy gluten-free baked goods recipes to get you on the right path.
If you like the article you’re about to read, then make sure to subscribe using the link below. I can promise you that the subscribe button is gluten-free.
Before diving into the basics of GF baking, I need to answer one simple question: What is gluten?
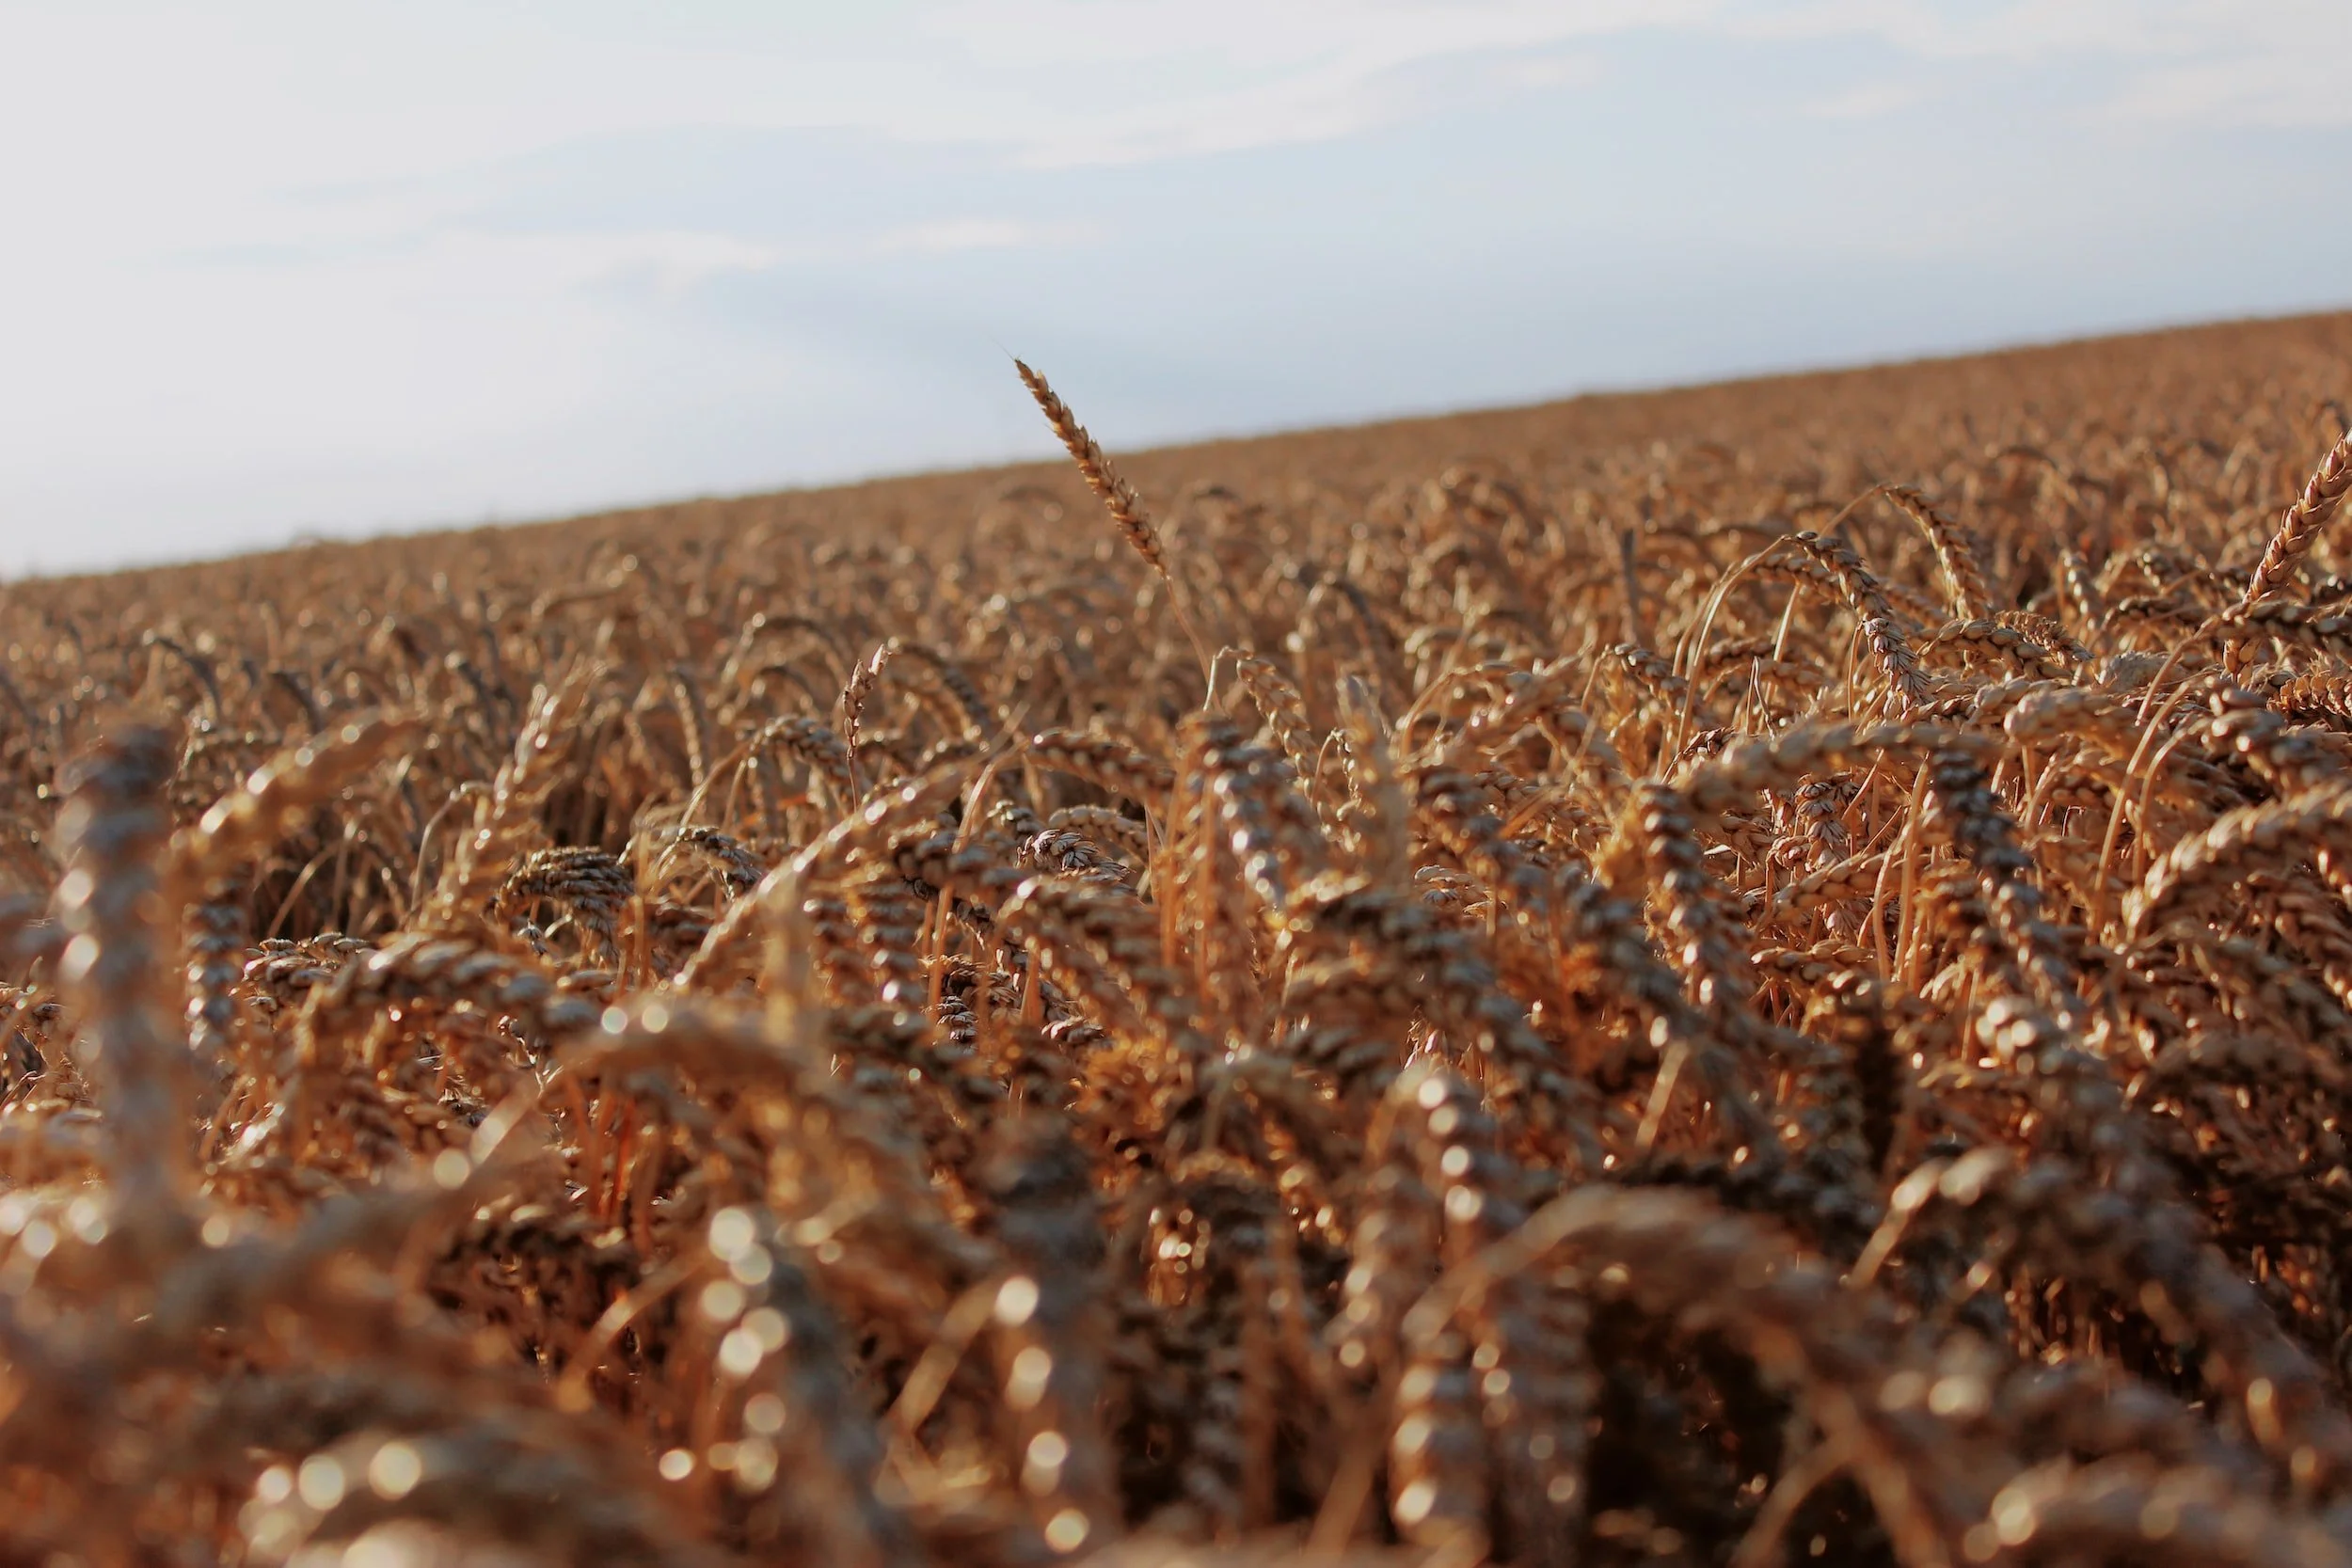
In short terms, gluten is a protein molecule found in wheat, barley, and rye. The edible glue holds certain foods together and gives structure; if you mix flour and water, you have gluten, continue to work that mixture, and you’ll feel it get tougher as the gluten strands develop. Gluten isn’t necessarily bad for your health; it’s just not good if eaten excessively.
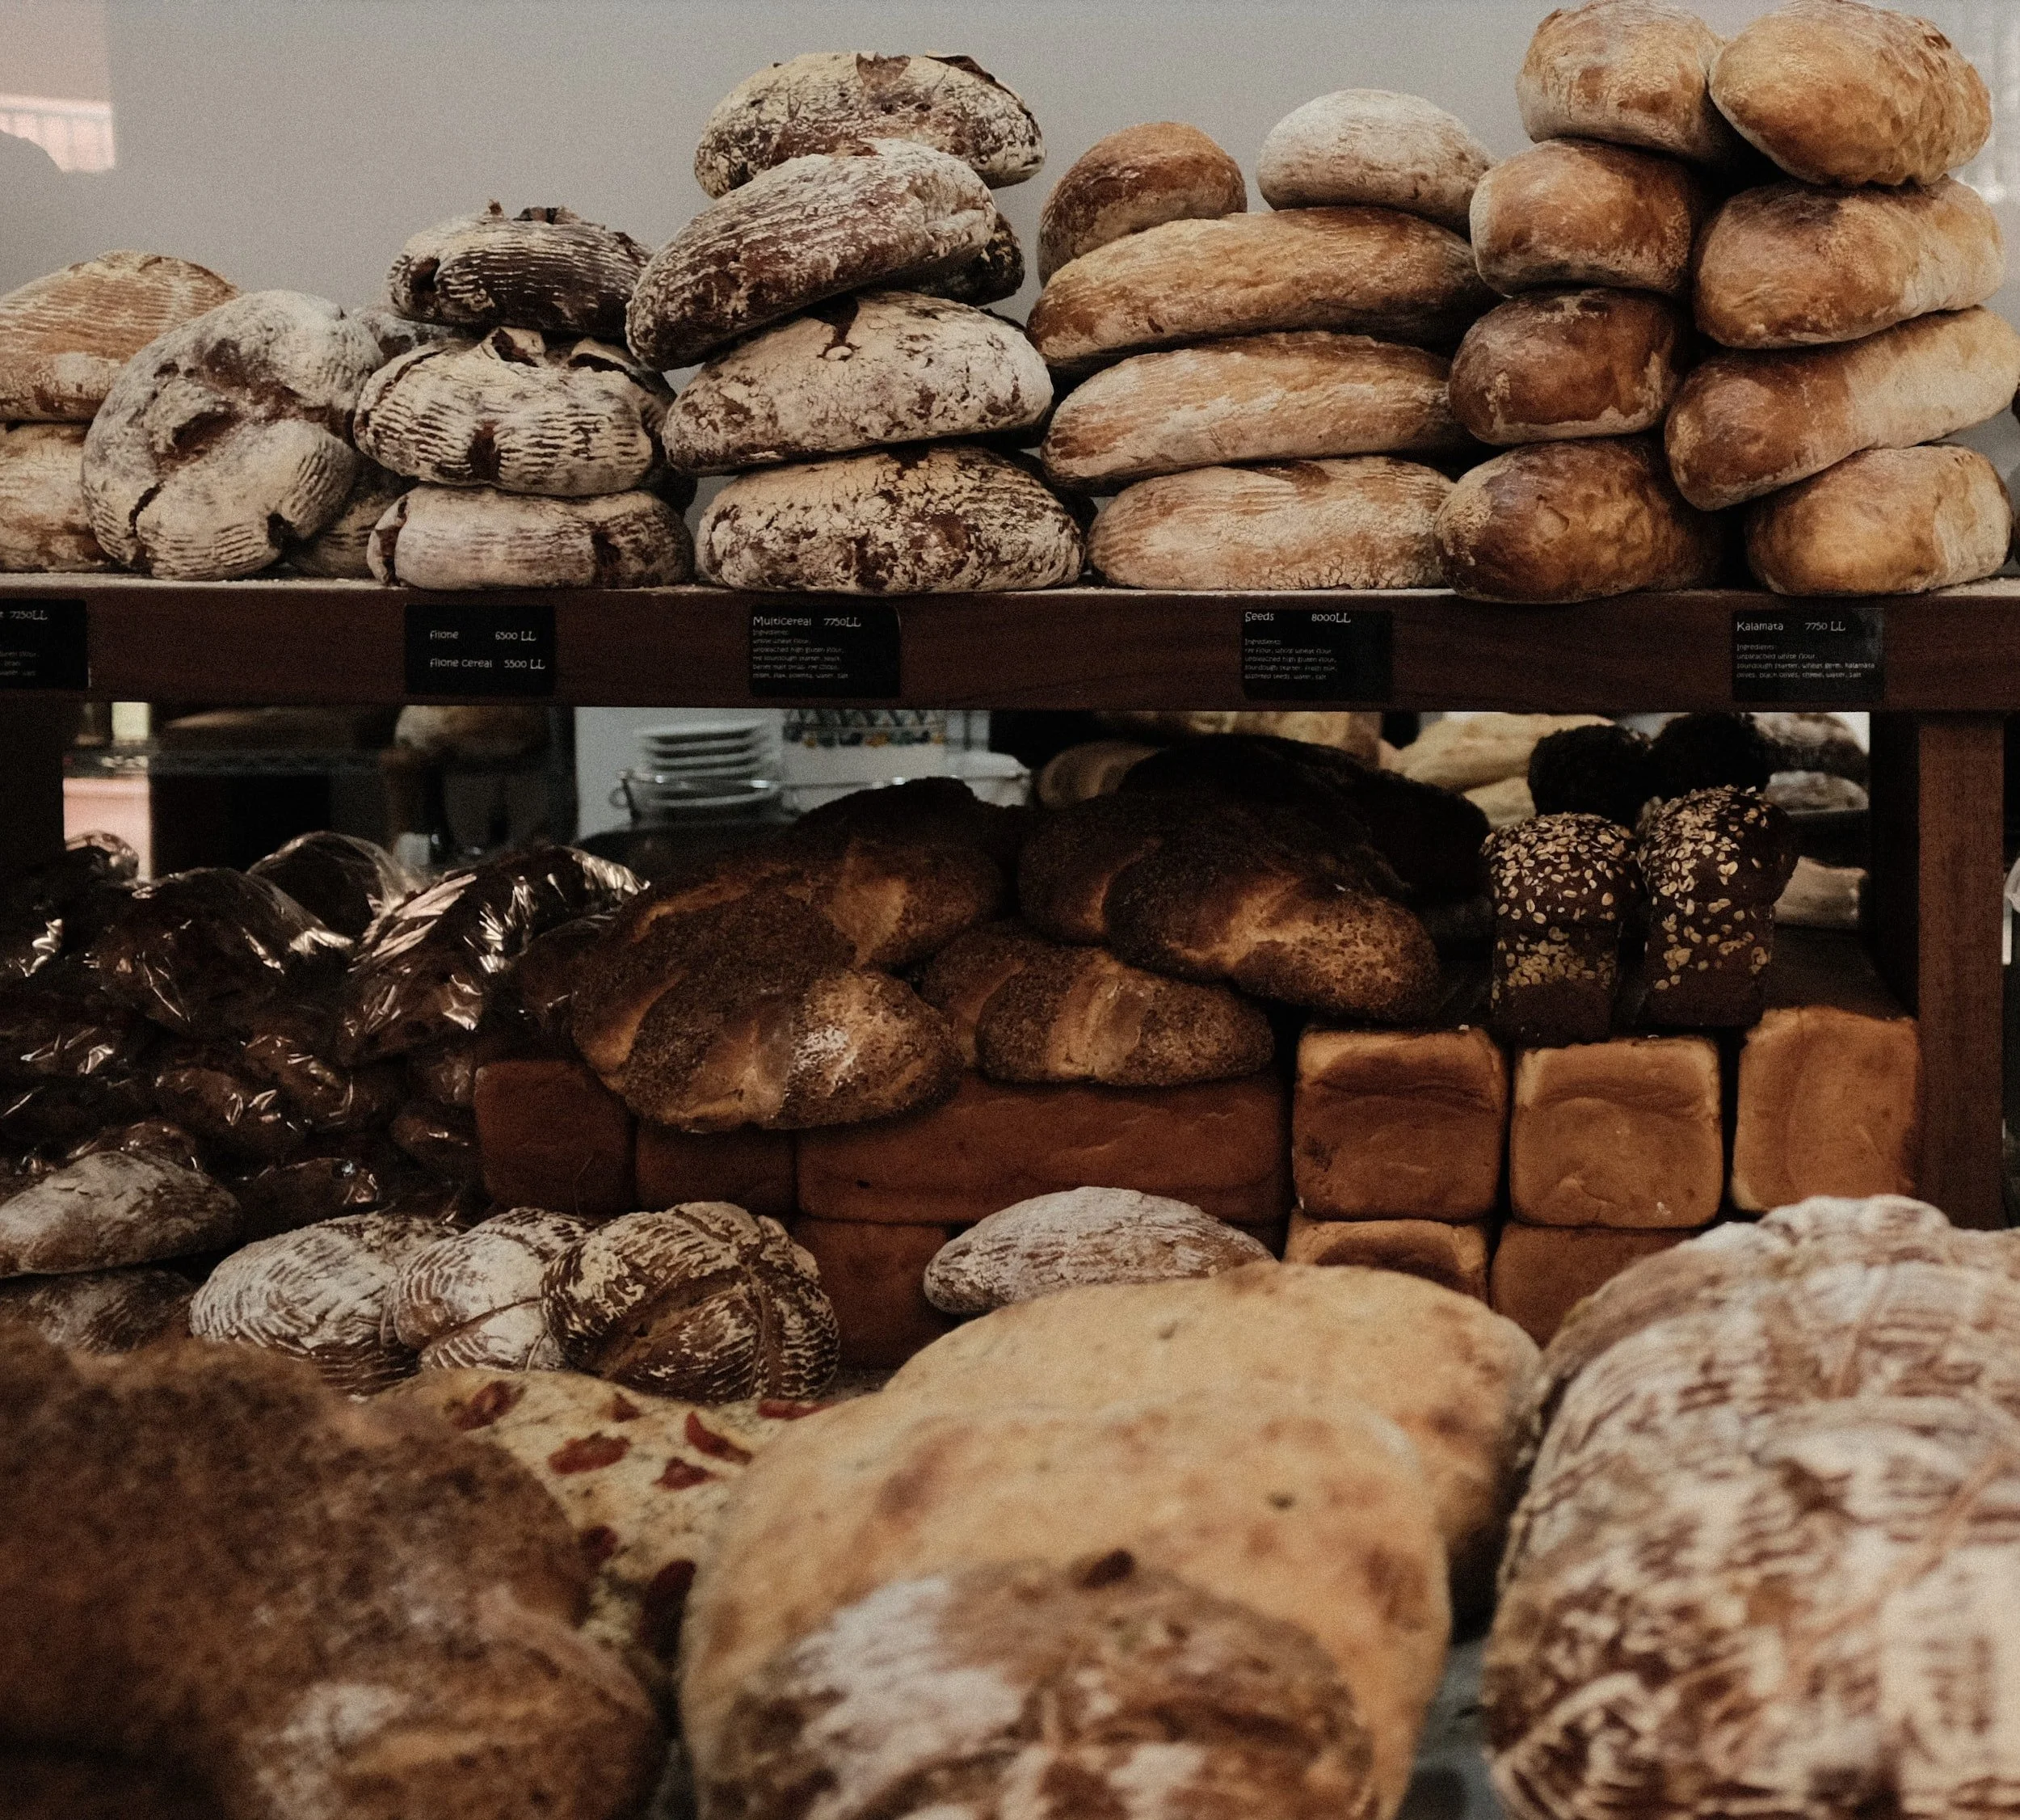
Gluten has its obvious places, such as bread, pasta, cakes, and pastries, and there are also some hidden spots like soy sauce, beer, soups like chowder that are often thickened with flour, and most fried food like french fries as they are often cooked in the same deep fryer as items that have gluten like fried chicken or onion rings, as many restaurants only have one fryer.
While some choose not to eat gluten to try to improve their health (no judgment there), some people can develop a gluten intolerance where gluten can mess with their digestive tract. Then there are those who have Celiac disease, where even a tiny amount of gluten can mess up their system.
Fortunately, restaurant owners and grocery store managers have realized this, so a lot of gluten-free options are available on restaurant menus and in supermarkets, but knowing how to make gluten-free baked goods can show your Celiac friends or loved ones that you care.
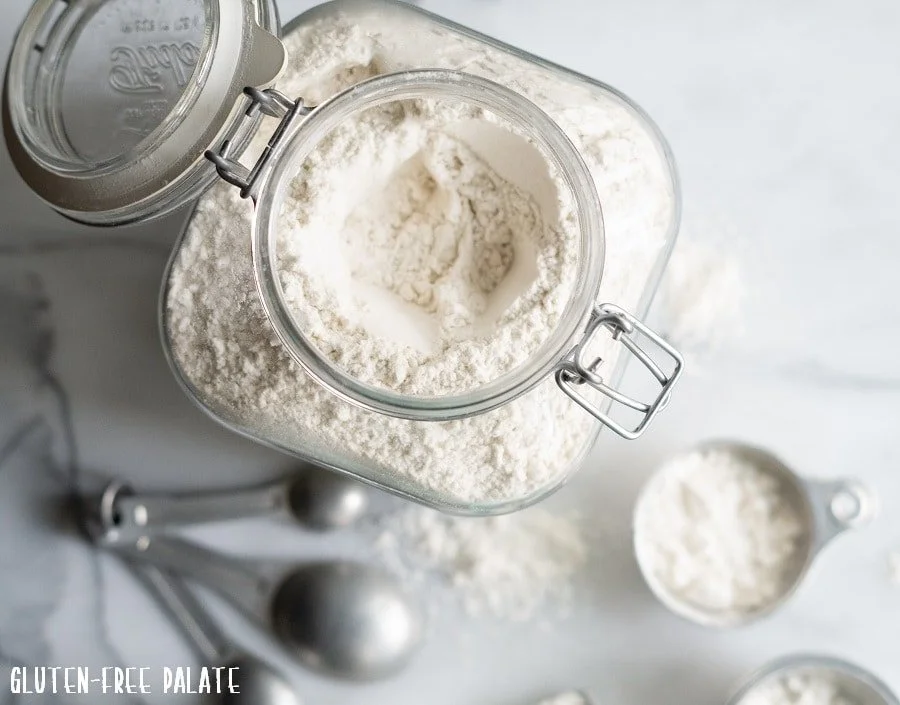
Where do you start? Well, there are a few brands of gluten-free flour blends available in most supermarkets; if you have a mix that you know, trust, and use consistently, then have at it. However, making your own blend can give you control over what goes into your baked goods.
Why a blend? Well, the truth is that no single wheat-free flour blend or starch behaves like wheat flour, so a blend is inevitable.
Here is a recipe for an easy gluten-free flour blend. All ingredients listed can be found in the baking section of supermarkets or health food stores. This recipe will make 42 ounces or about 9 1/2 cups of the blend, but you can easily double it.
(recipe courtesy of America’s Test Kitchen)
24 ounces (4 1/2 cups plus 1/3 cup) white rice flour
7 1/2 ounces (1 2/3 cups) brown rice flour
7 ounces (1 1/3 cups) potato starch
3 ounces (3/4 cup) tapioca starch
3/4 ounce (3 tablespoons) nonfat dry milk powder
mix everything in a large bowl and move to an airtight container with a lid; it should keep up to a month.
Ok, now you have your gluten-free flour, so you’re just going to sub-regular flour for this blend. Oh, if only it were that simple.
The problem with GF flour blends is that they don’t provide the same structure to hold onto gases released by chemical leaveners or yeast, so whatever you bake could end up flat, crumbly, and unappetizing.
What you need to add is a thickening agent like xanthan gum, agar agar, or guar gum, these ingredients will give the GF flour blend something to grab onto as steam and gases release, and you’ll end up with a light, chewy texture in your baked goods that will make you forget there’s no wheat in it.
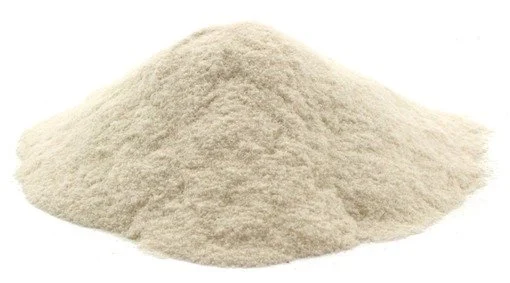
For those who don’t know, Xanthan gum is a bacteria derived from corn, soy, or dairy. It’s used as a thickener, a stabilizer, and an emulsifier
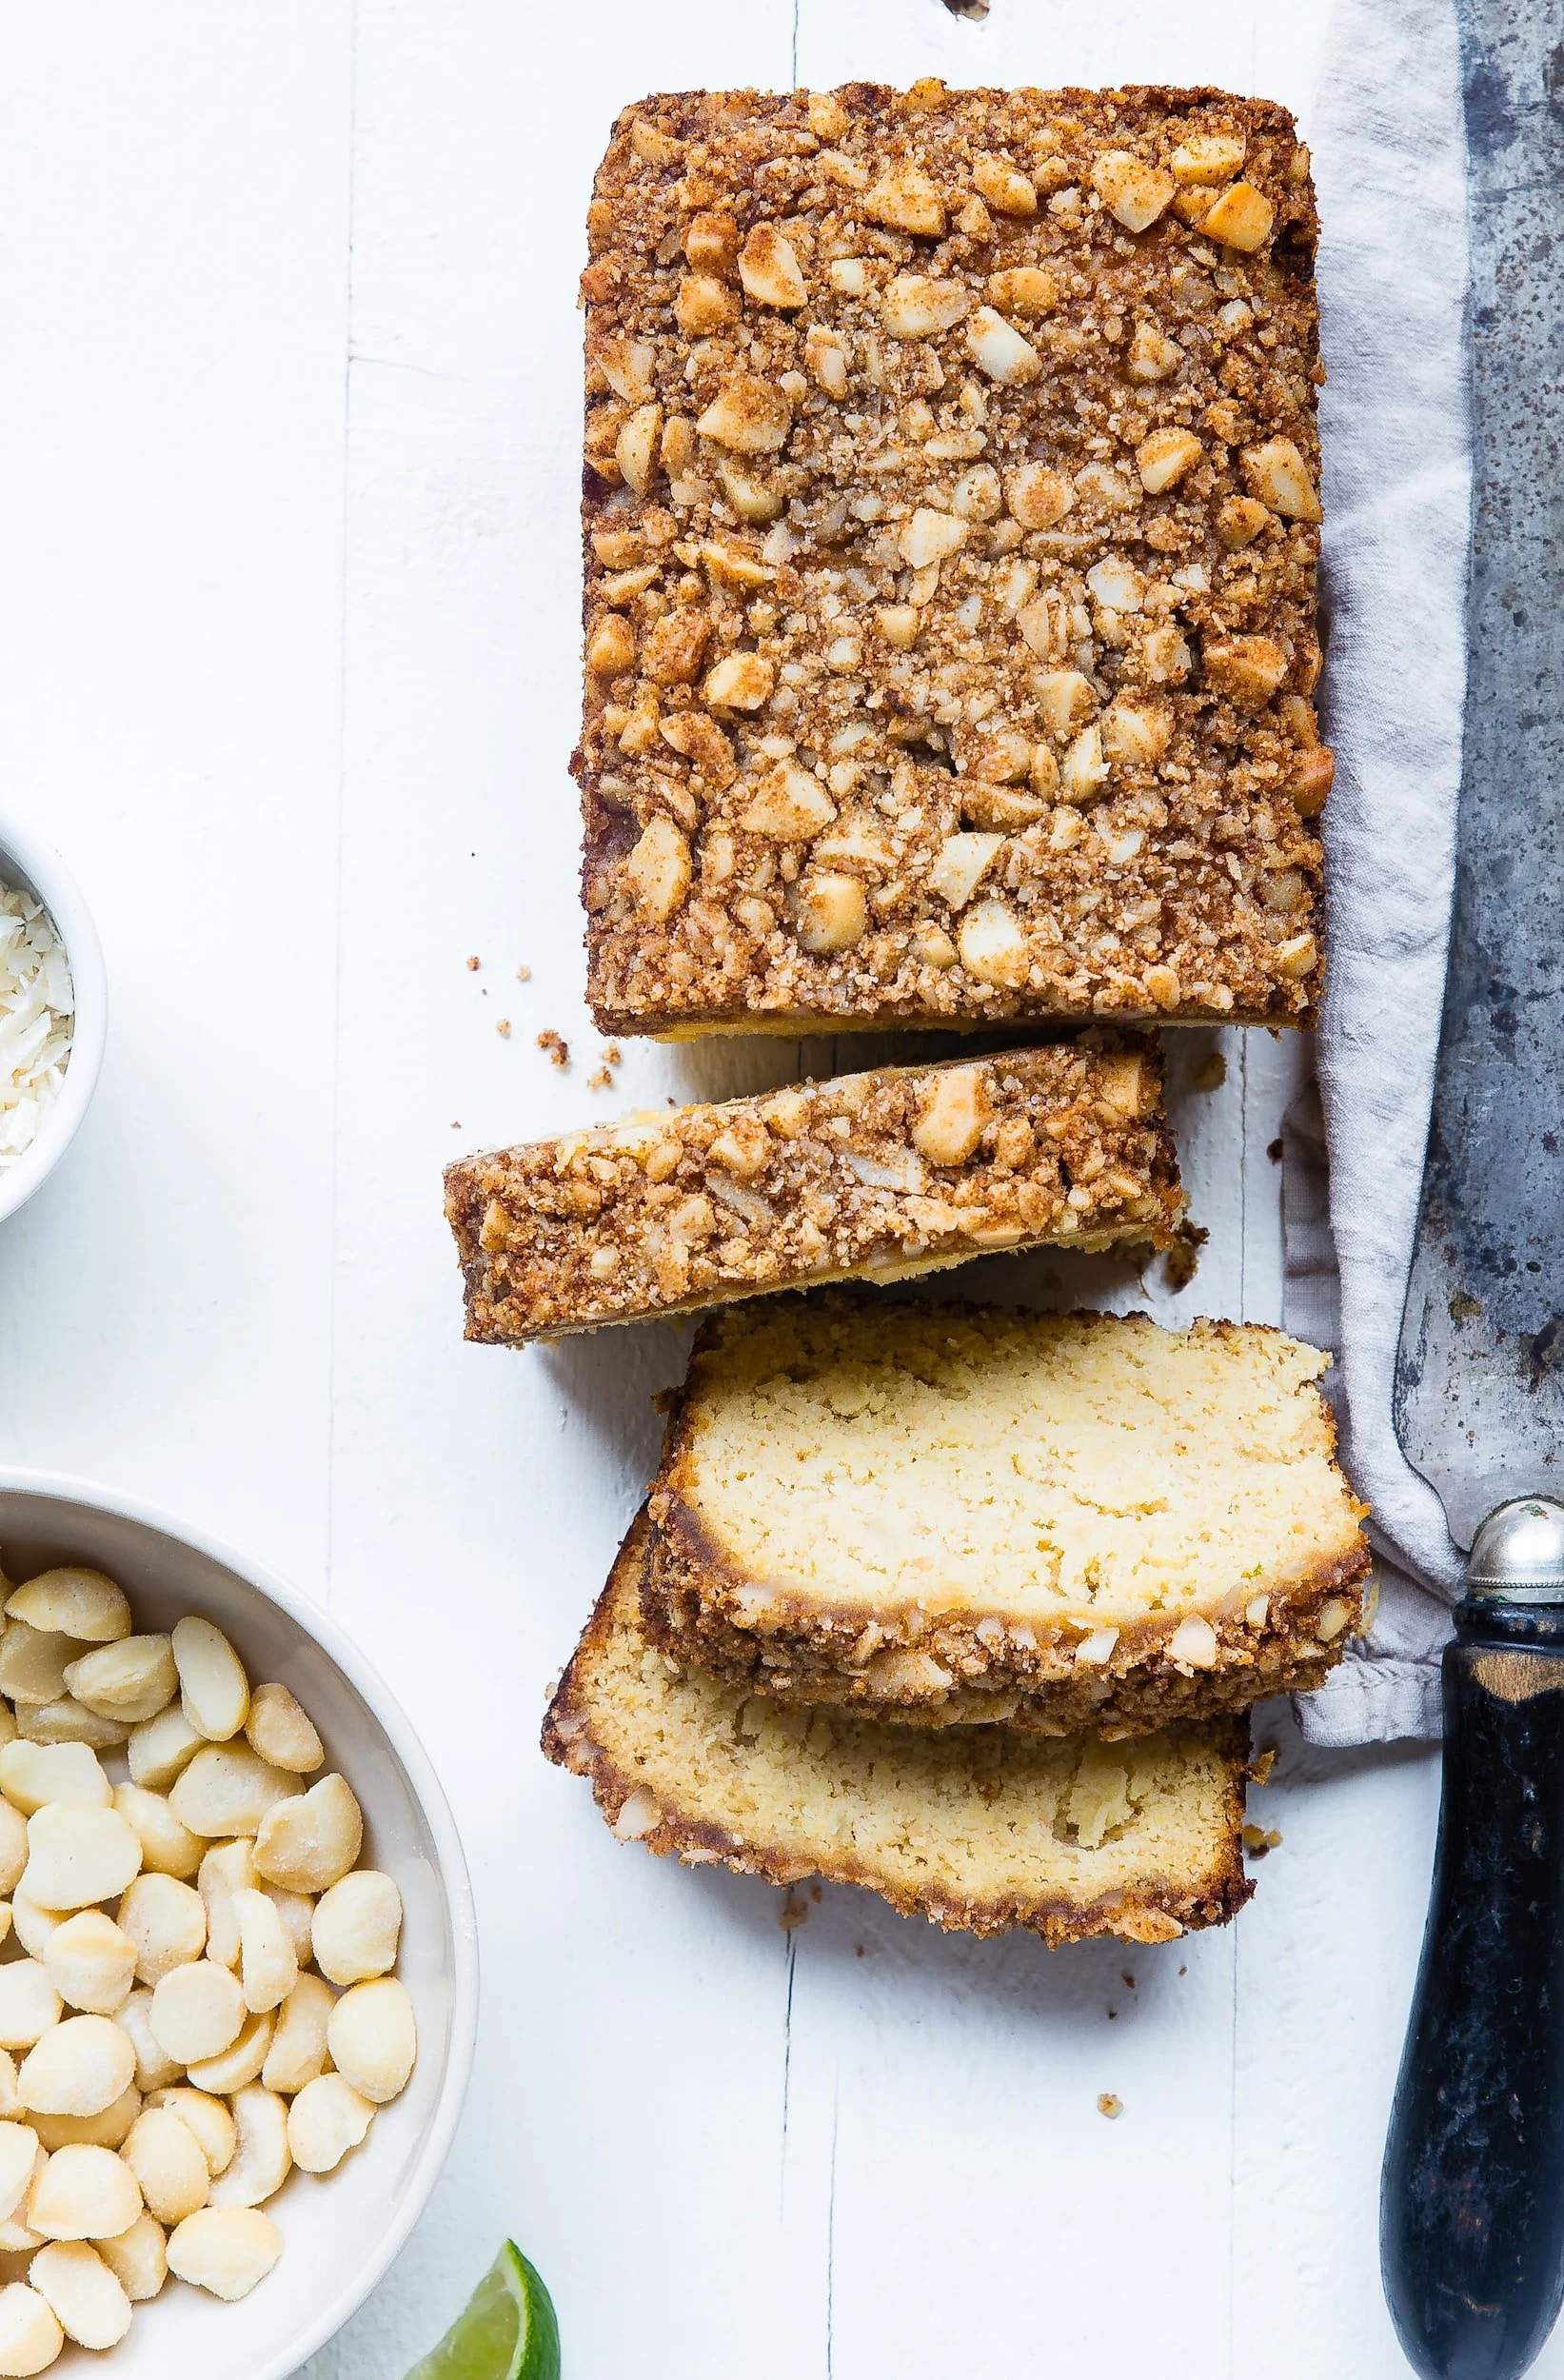
Now that the basics are covered, here are a few helpful recipes to get you started, starting with a gluten-free pizza crust. This recipe will make about two 12-inch pizzas that can accommodate any topping you like!
16 ounces (3 1/3 cups plus 1/4 cup) GF flour blend (See above)
2 1/2 ounces (1/2 cup plus 1 tablespoon) almond flour
2 1/4 teaspoons xanthan gum
2 1/2 teaspoons baking powder
2 teaspoons salt
1 teaspoon instant yeast
2 1/2 cups warm water (100 degrees)
1/4 cup vegetable oil
Cooking spray

Method:
In a stand mixer fitted with a paddle, mix the dry ingredients (through yeast) on low speed until combined. Slowly add warm water and oil until mixed in, then increase the mixer to medium and beat for about 6 minutes until the dough is sticky and uniform.
Cover the dough with plastic wrap, then let it proof for 1 1/2 hours. The dough won’t rise like regular pizza dough but will puff slightly.
Preheat oven to 325, line two rimmed baking sheets with parchment paper, and spray liberally with cooking spray. (The dough will be very sticky)
Using a sprayed rubber spatula, take the dough out of the bowl and divide it in half. Lay each dough half on the baking sheets, cover with plastic wrap, then, using your hands, press the dough out to a 1/4 inch thickness, leaving the outer crust slightly thicker.
Bake the dough for about 45 minutes, or until firm to the touch and just beginning to brown on top. Remove from oven, then increase oven to 500 degrees.
Top each dough portion with your favorite sauce, cheese, and toppings, then bake for 10 minutes or until the cheese is bubbly. Slice the pizzas into wedges, and serve.
The crust won’t have the same flavor as a typical pizza dough, but the texture will be the same!
—————————————————————————————————————
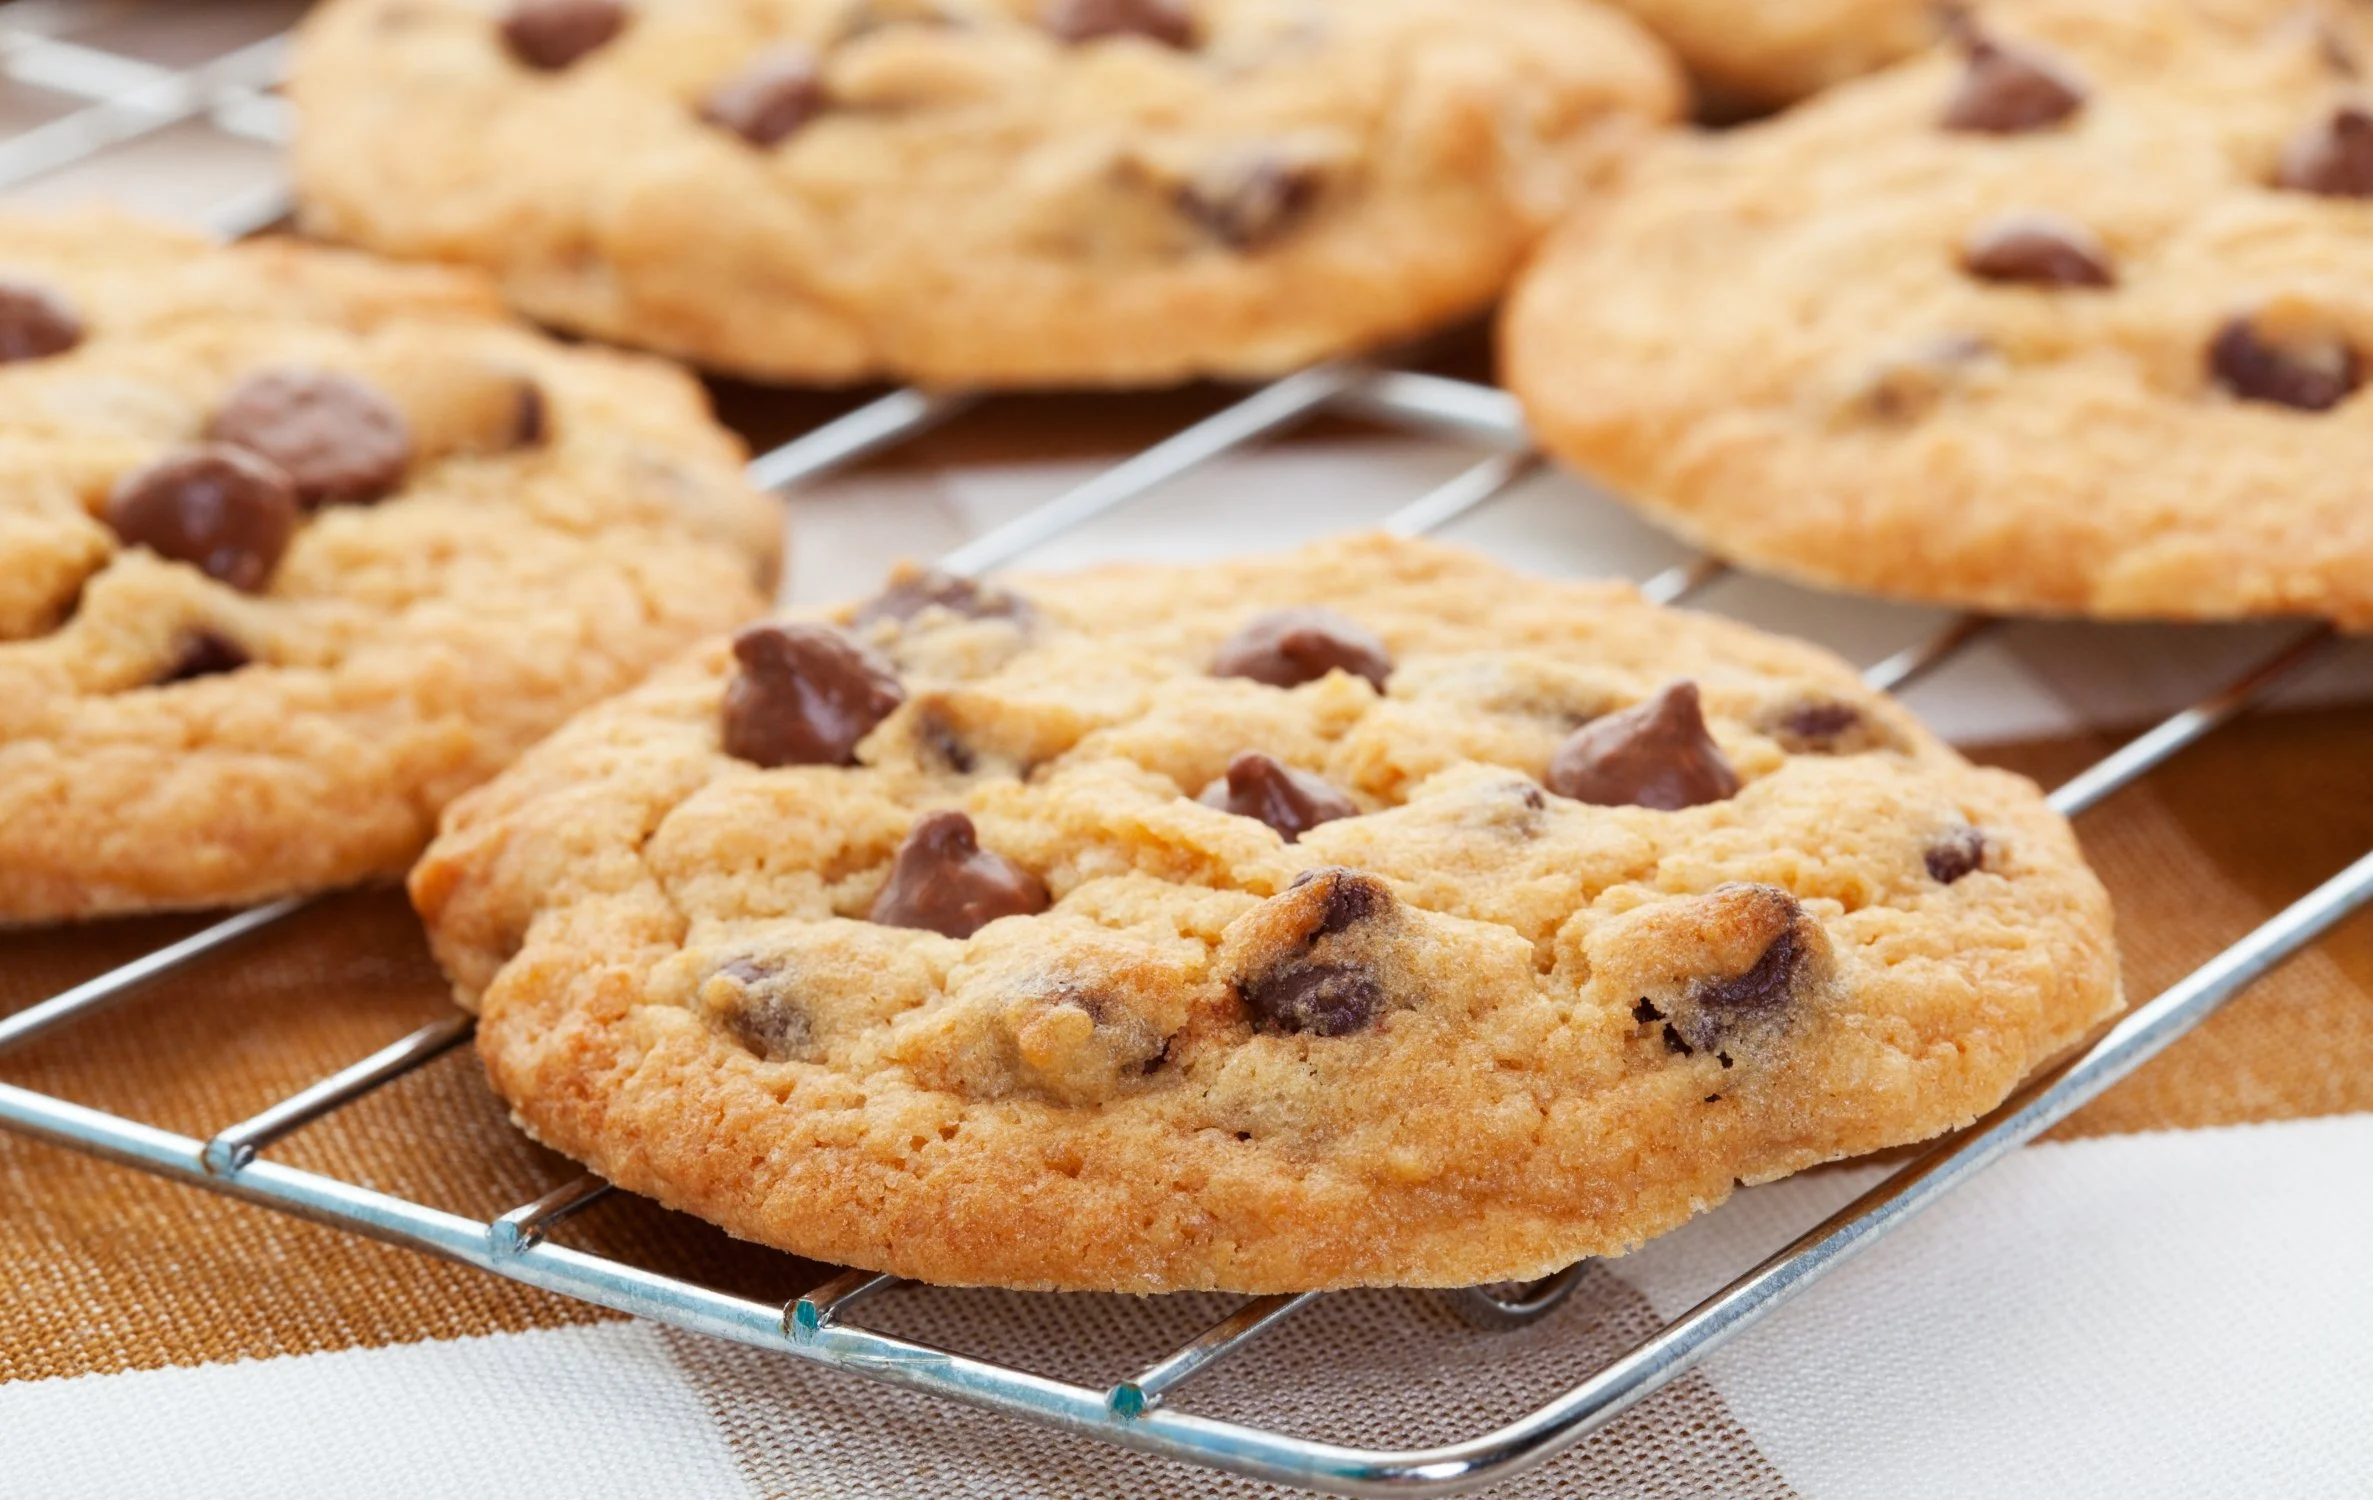
The other recipe I’d like to share is for gluten-free chocolate chip cookies that will be as indulgent as they are free of wheat. This will make about 24 cookies.
8 ounces ( 1 3/4 cups) GF flour blend (See above)
1 teaspoon baking soda
3/4 teaspoon xanthan gum
1/2 teaspoon salt
1 stick unsalted butter, melted
5 1/2 ounces (3/4 cup packed) light brown sugar
2 1/3 ounces (1/3 cup) sugar
1 egg
2 tablespoons milk
1 tablespoon vanilla extract
7 1/2 ounces (1 1/4 cups) semisweet chocolate chips
Method:
Whisk flour blend, baking soda, xanthan gum, and salt in a medium bowl and set aside.
Whisk melted butter and both sugars in a large bowl until well combined and smooth. Whisk in egg, milk, and vanilla and continue to whisk until smooth. Stir in flour mixture with a rubber spatula until a dough starts to form, then fold in chocolate chips. Cover the bowl with plastic wrap, and let it rest for 30 minutes.
Line 2 baking sheets with parchment paper and scoop 1 1/2 tablespoonfuls of dough onto the sheets, spacing them 2 inches apart. Bake cookies for 11 minutes, rotating halfway until brown and the edges are firm but the center is still soft.
Let the cookies rest on the sheet pan for five minutes, then transfer them to a wire rack to cool completely.
These cookies are going to be so good that you’ll be glad you went to the effort of making them gluten-free.
I’m not saying that I will be switching to a GF diet anytime soon, I love pasta too much for that, but I will tell you that once you know how to bake delicious gluten-free treats and dishes, your Celiac sufferer and their digestive system will thank you.