
Easy Tiramisu
The ultimate Italian dessert, tiramisu combines all things great about Italian cooking. Soft, fluffy ladyfingers dipped in espresso and layered with a rich, creamy mascarpone custard filling and topped with a bit of cocoa powder, there are hardly any desserts that can beat it.
Today, I will be sharing a delicious tiramisu recipe that will make you feel like you’re sitting in a coffee shop in Venice with just one bite.
To get things started, I will be making my own ladyfinger sponge cake.
For those unaware, ladyfingers are cakey cookies shaped like an old lady’s finger, hence the name. Big grocery stores will sell pre-made ladyfingers in the cookie aisle, for that you would need about 2 packs of them, but nothing says ‘I love you’ more than making a dessert from scratch.
This type of sponge cake is quite easy and only requires 5 ingredients.
To start, I separated 6 eggs, putting the yolks in one bowl and the whites in another. You want to be very careful with separating the eggs at this stage because I plan on whipping the egg whites to stiff peaks, and if even a tiny amount of the yolk gets in there, then the whites will not whip properly.
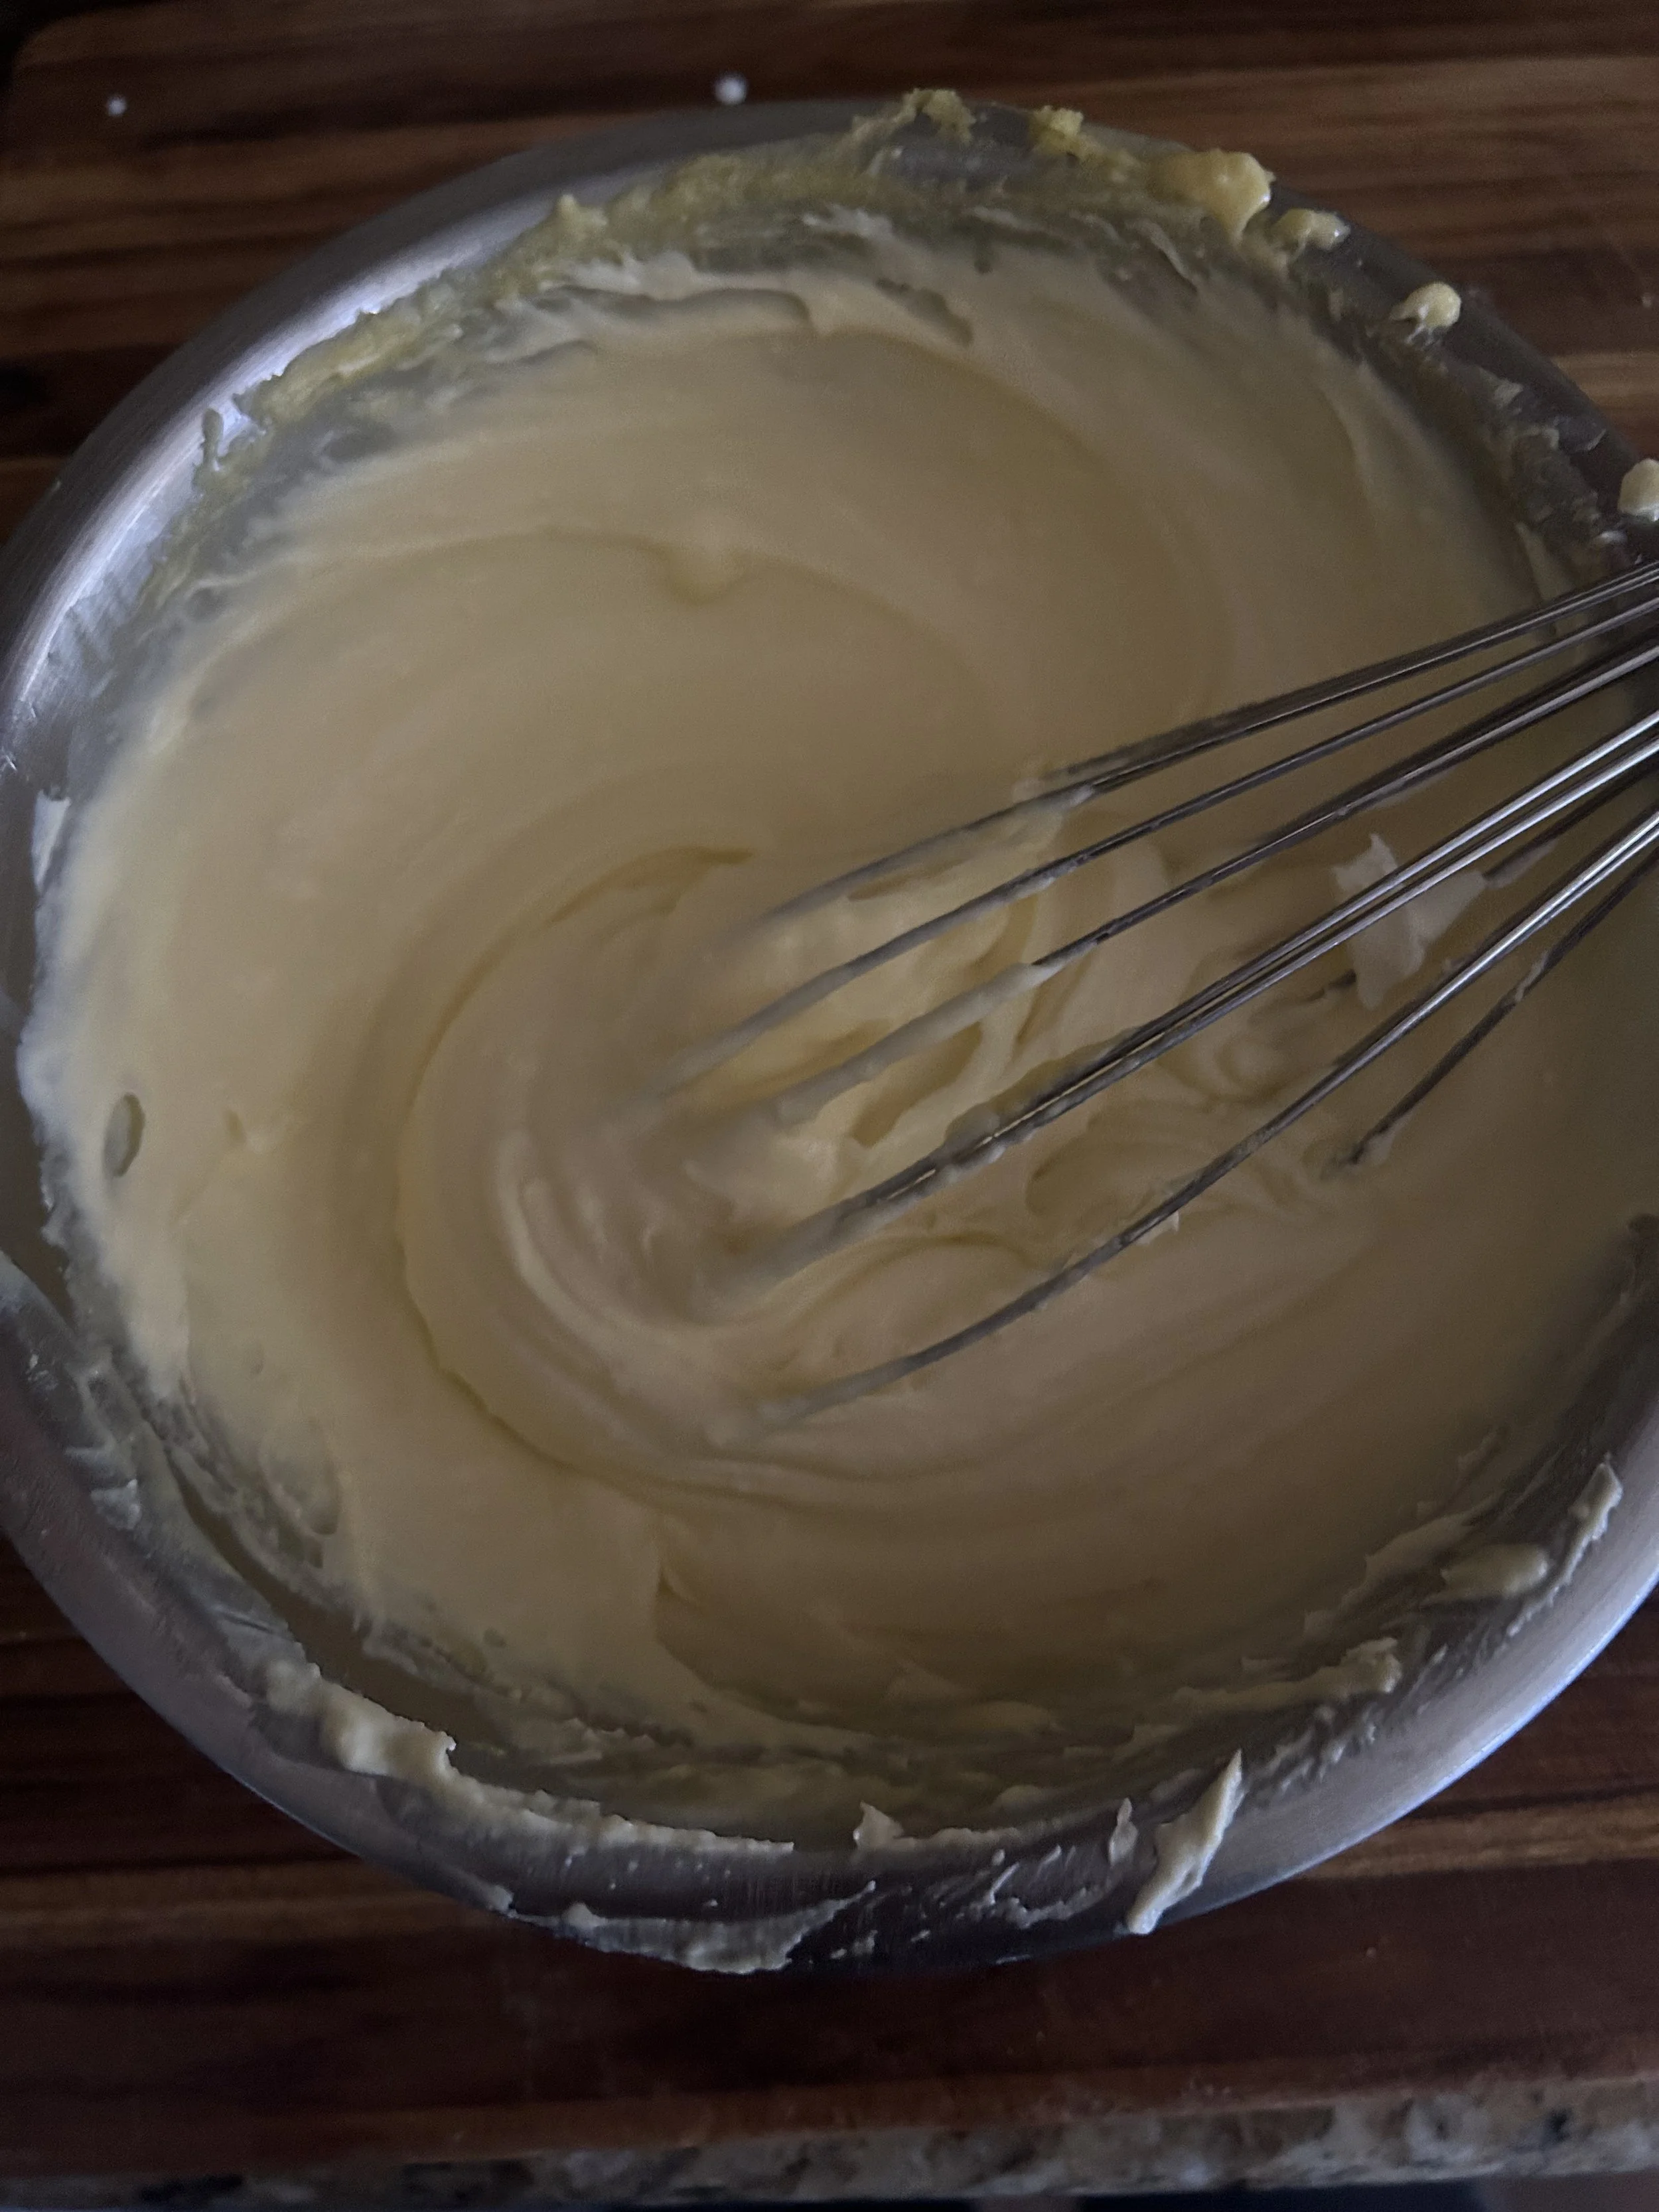
To the yolks, I added 1/4 cup of sugar and whipped those with an electric whisk on medium-high speed for about 5 minutes, or until the yolks turn very pale.
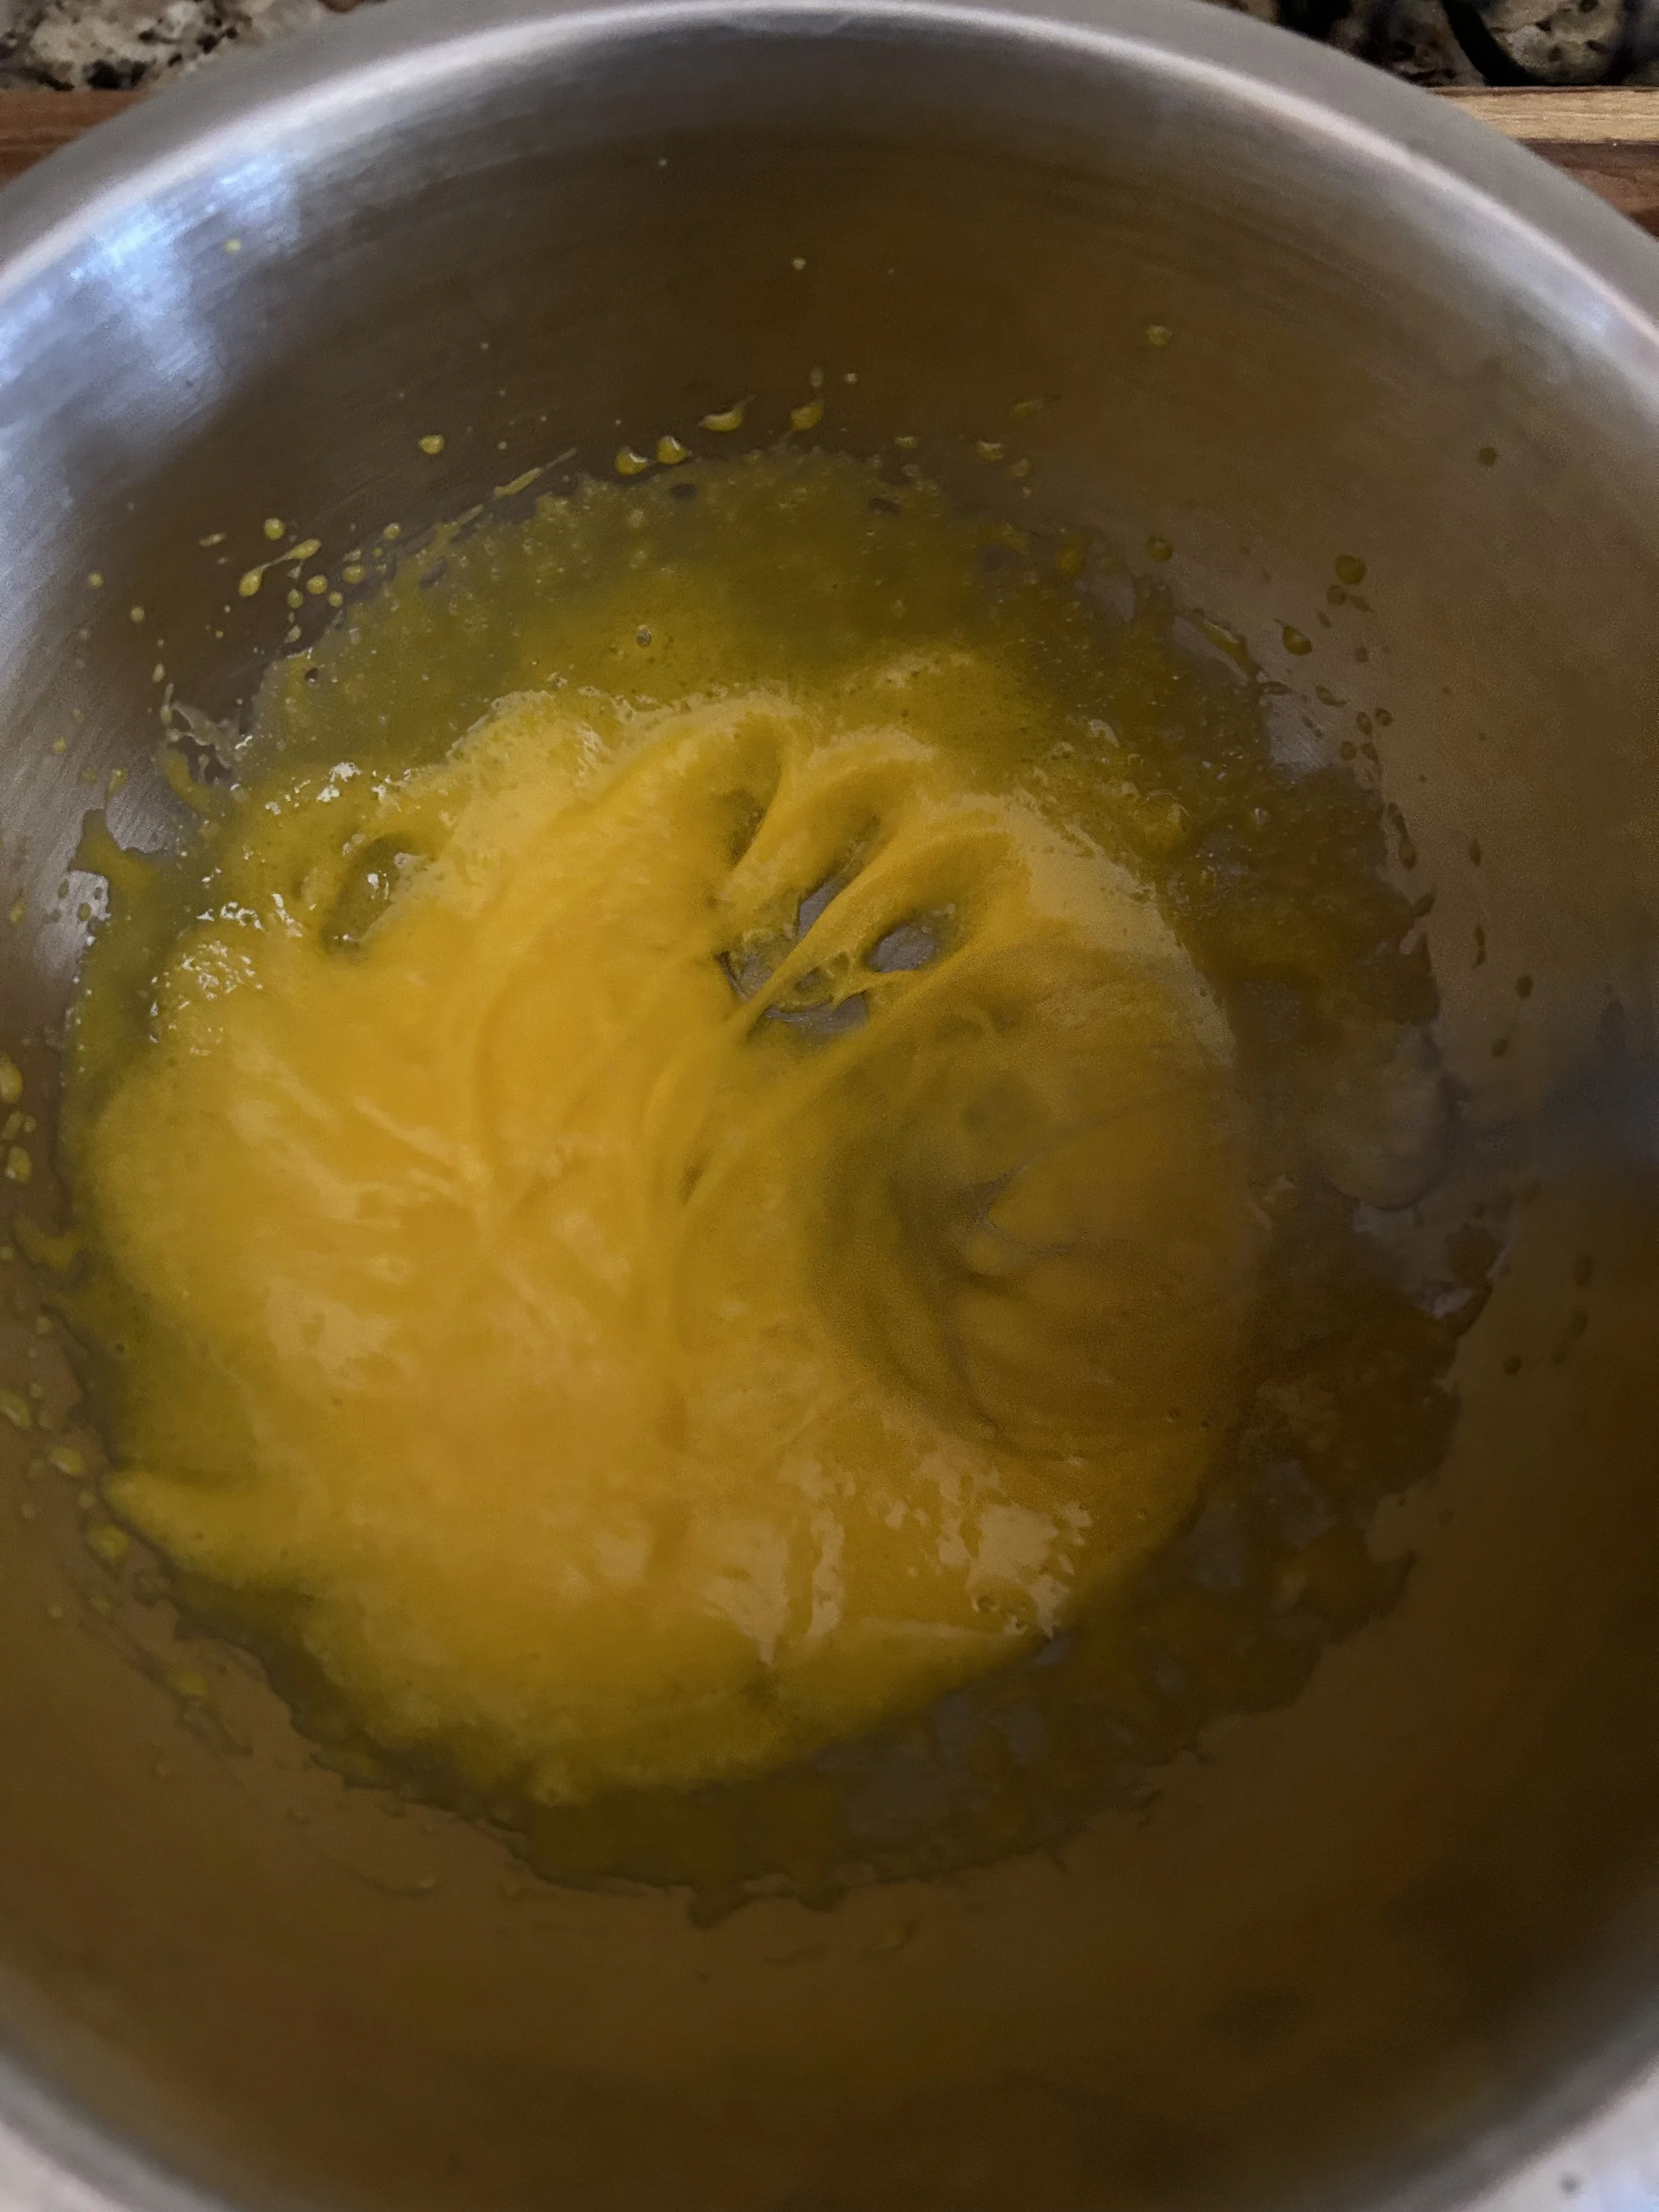
The reason why I’m whipping the egg yolks like this is that I want to incorporate lots of air into the yolks, which will help get me a light, airy cake in the end. If you don’t whip the egg yolks long enough, the final cake could be a bit dense.
The yolks should have the color of pancake batter and be very thick, thick enough that if you drizzle a bit on top of the batter, it’ll stay for a moment before sinking back in.
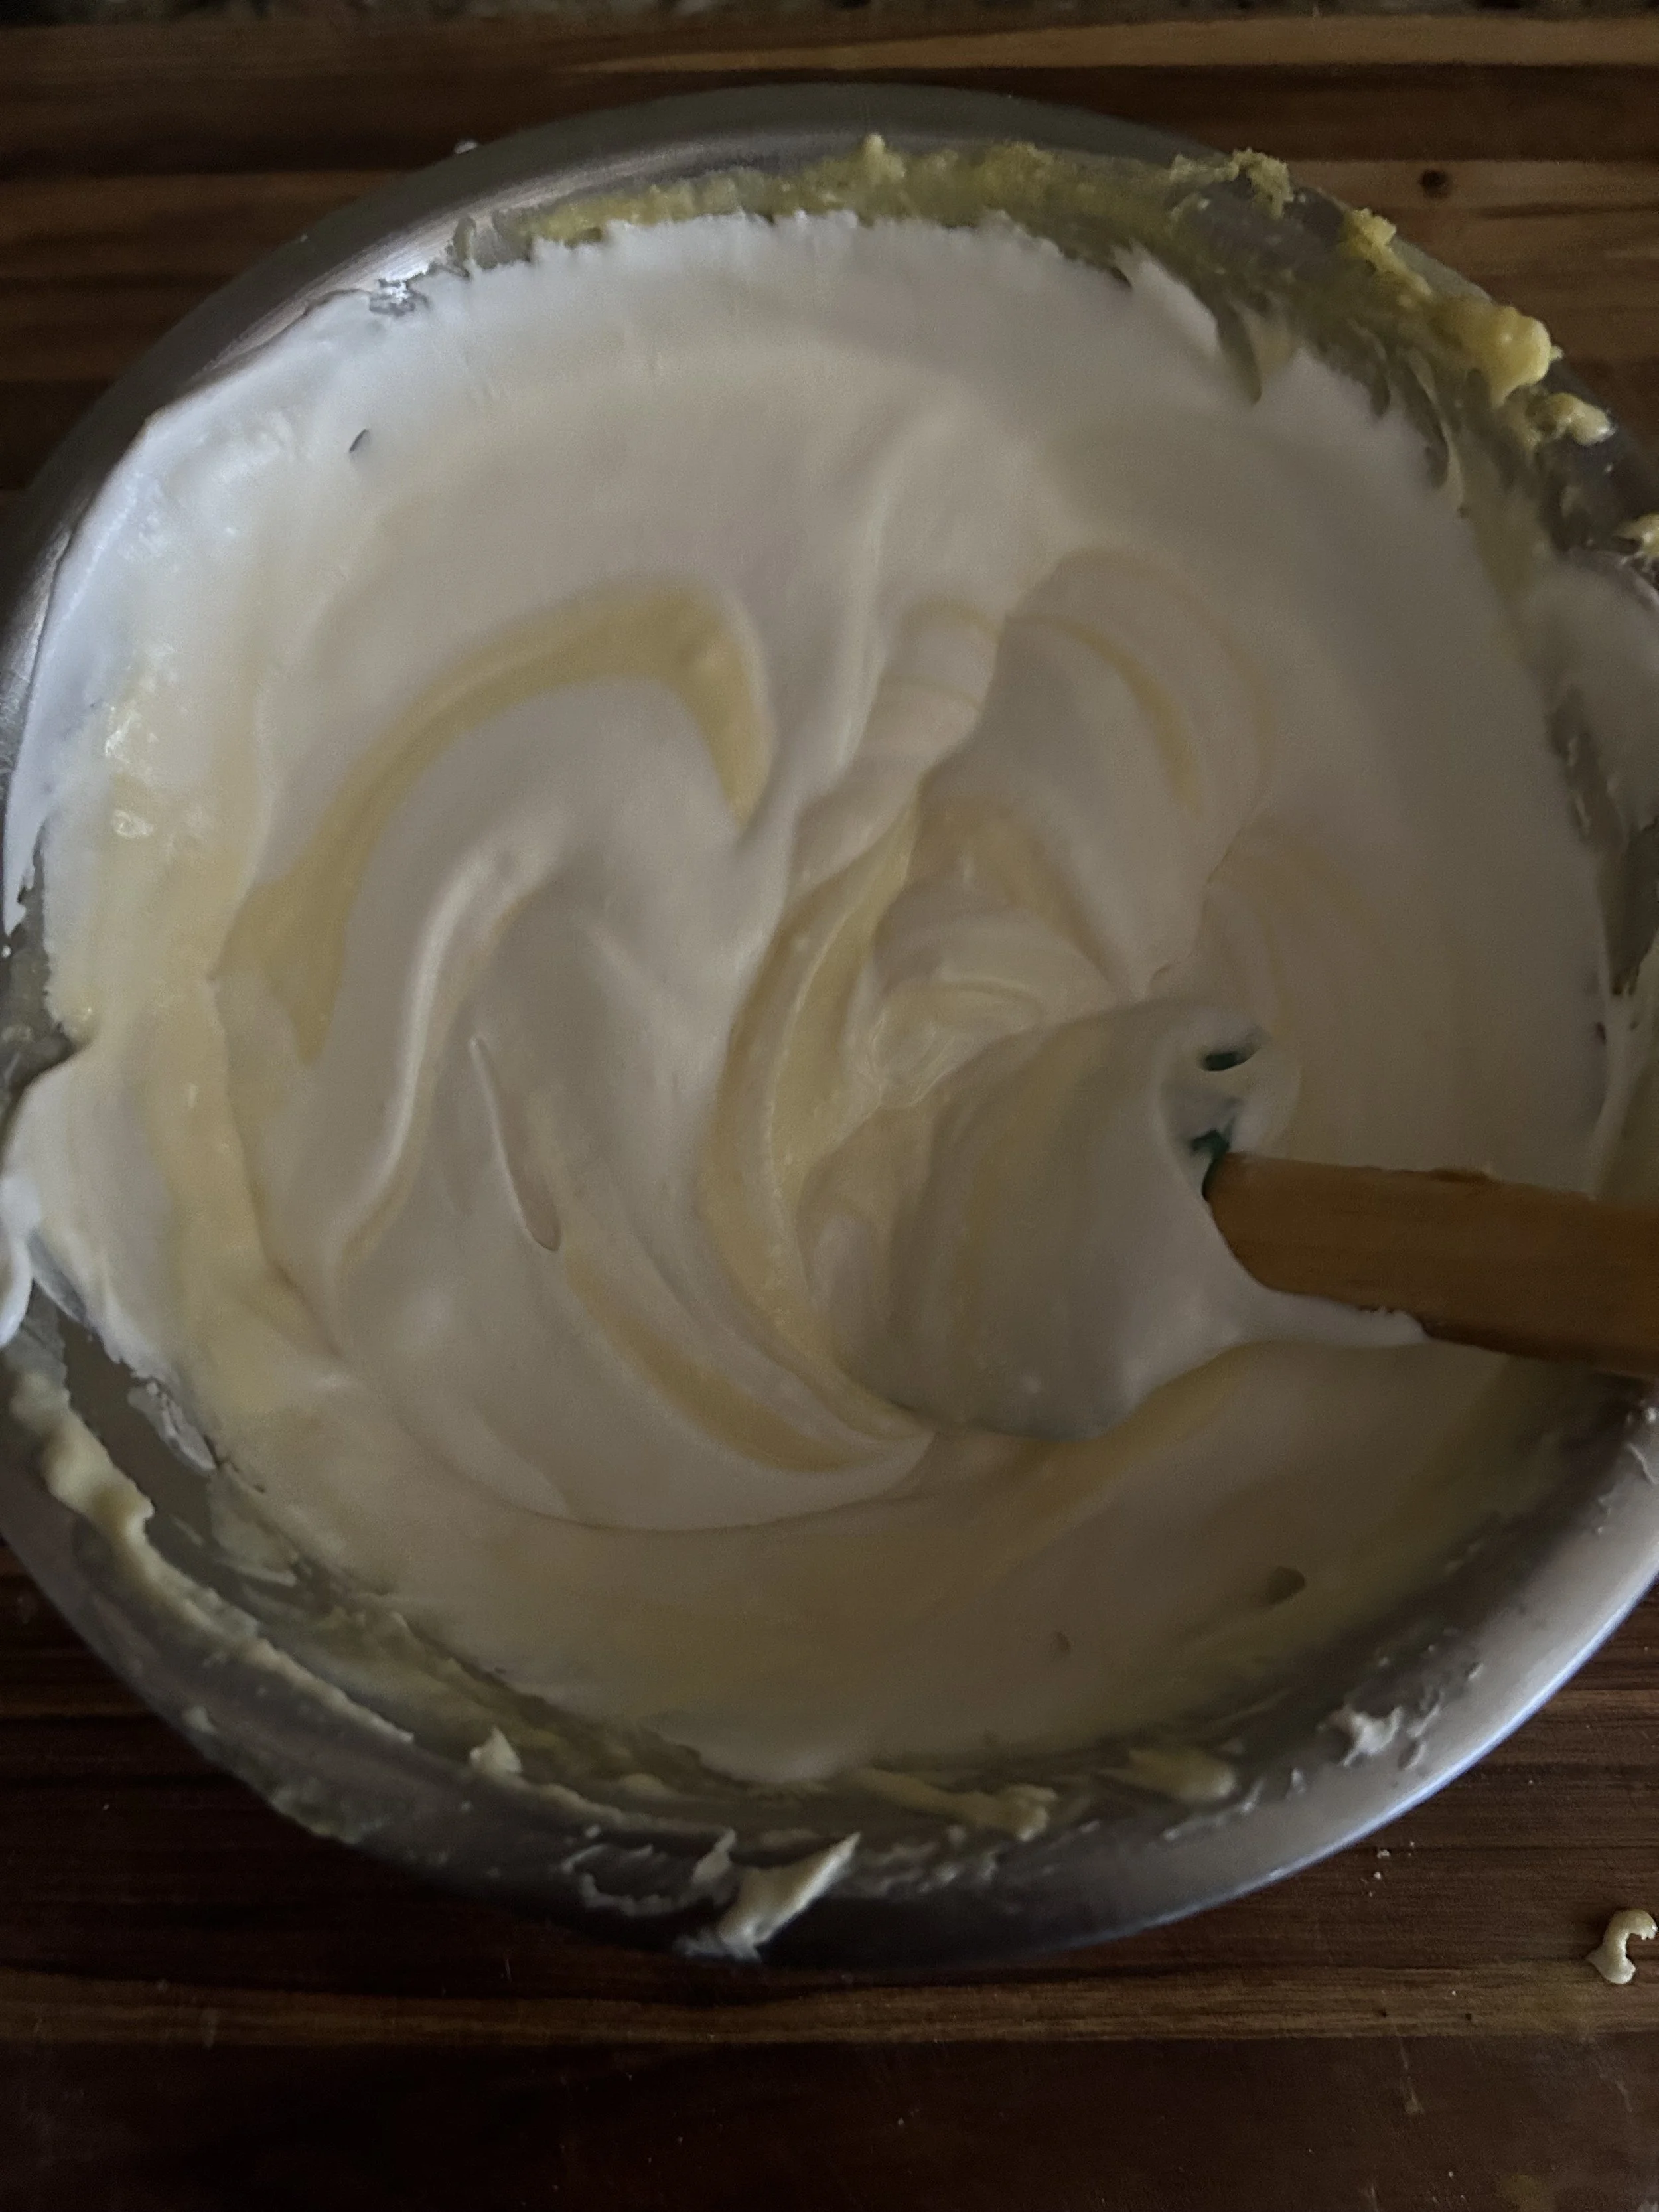
Once the yolks were whipped up, I then cleaned off my whisk and proceeded to whip the egg whites. (Ideally, I should’ve done that in a bigger bowl but…I made it work.)
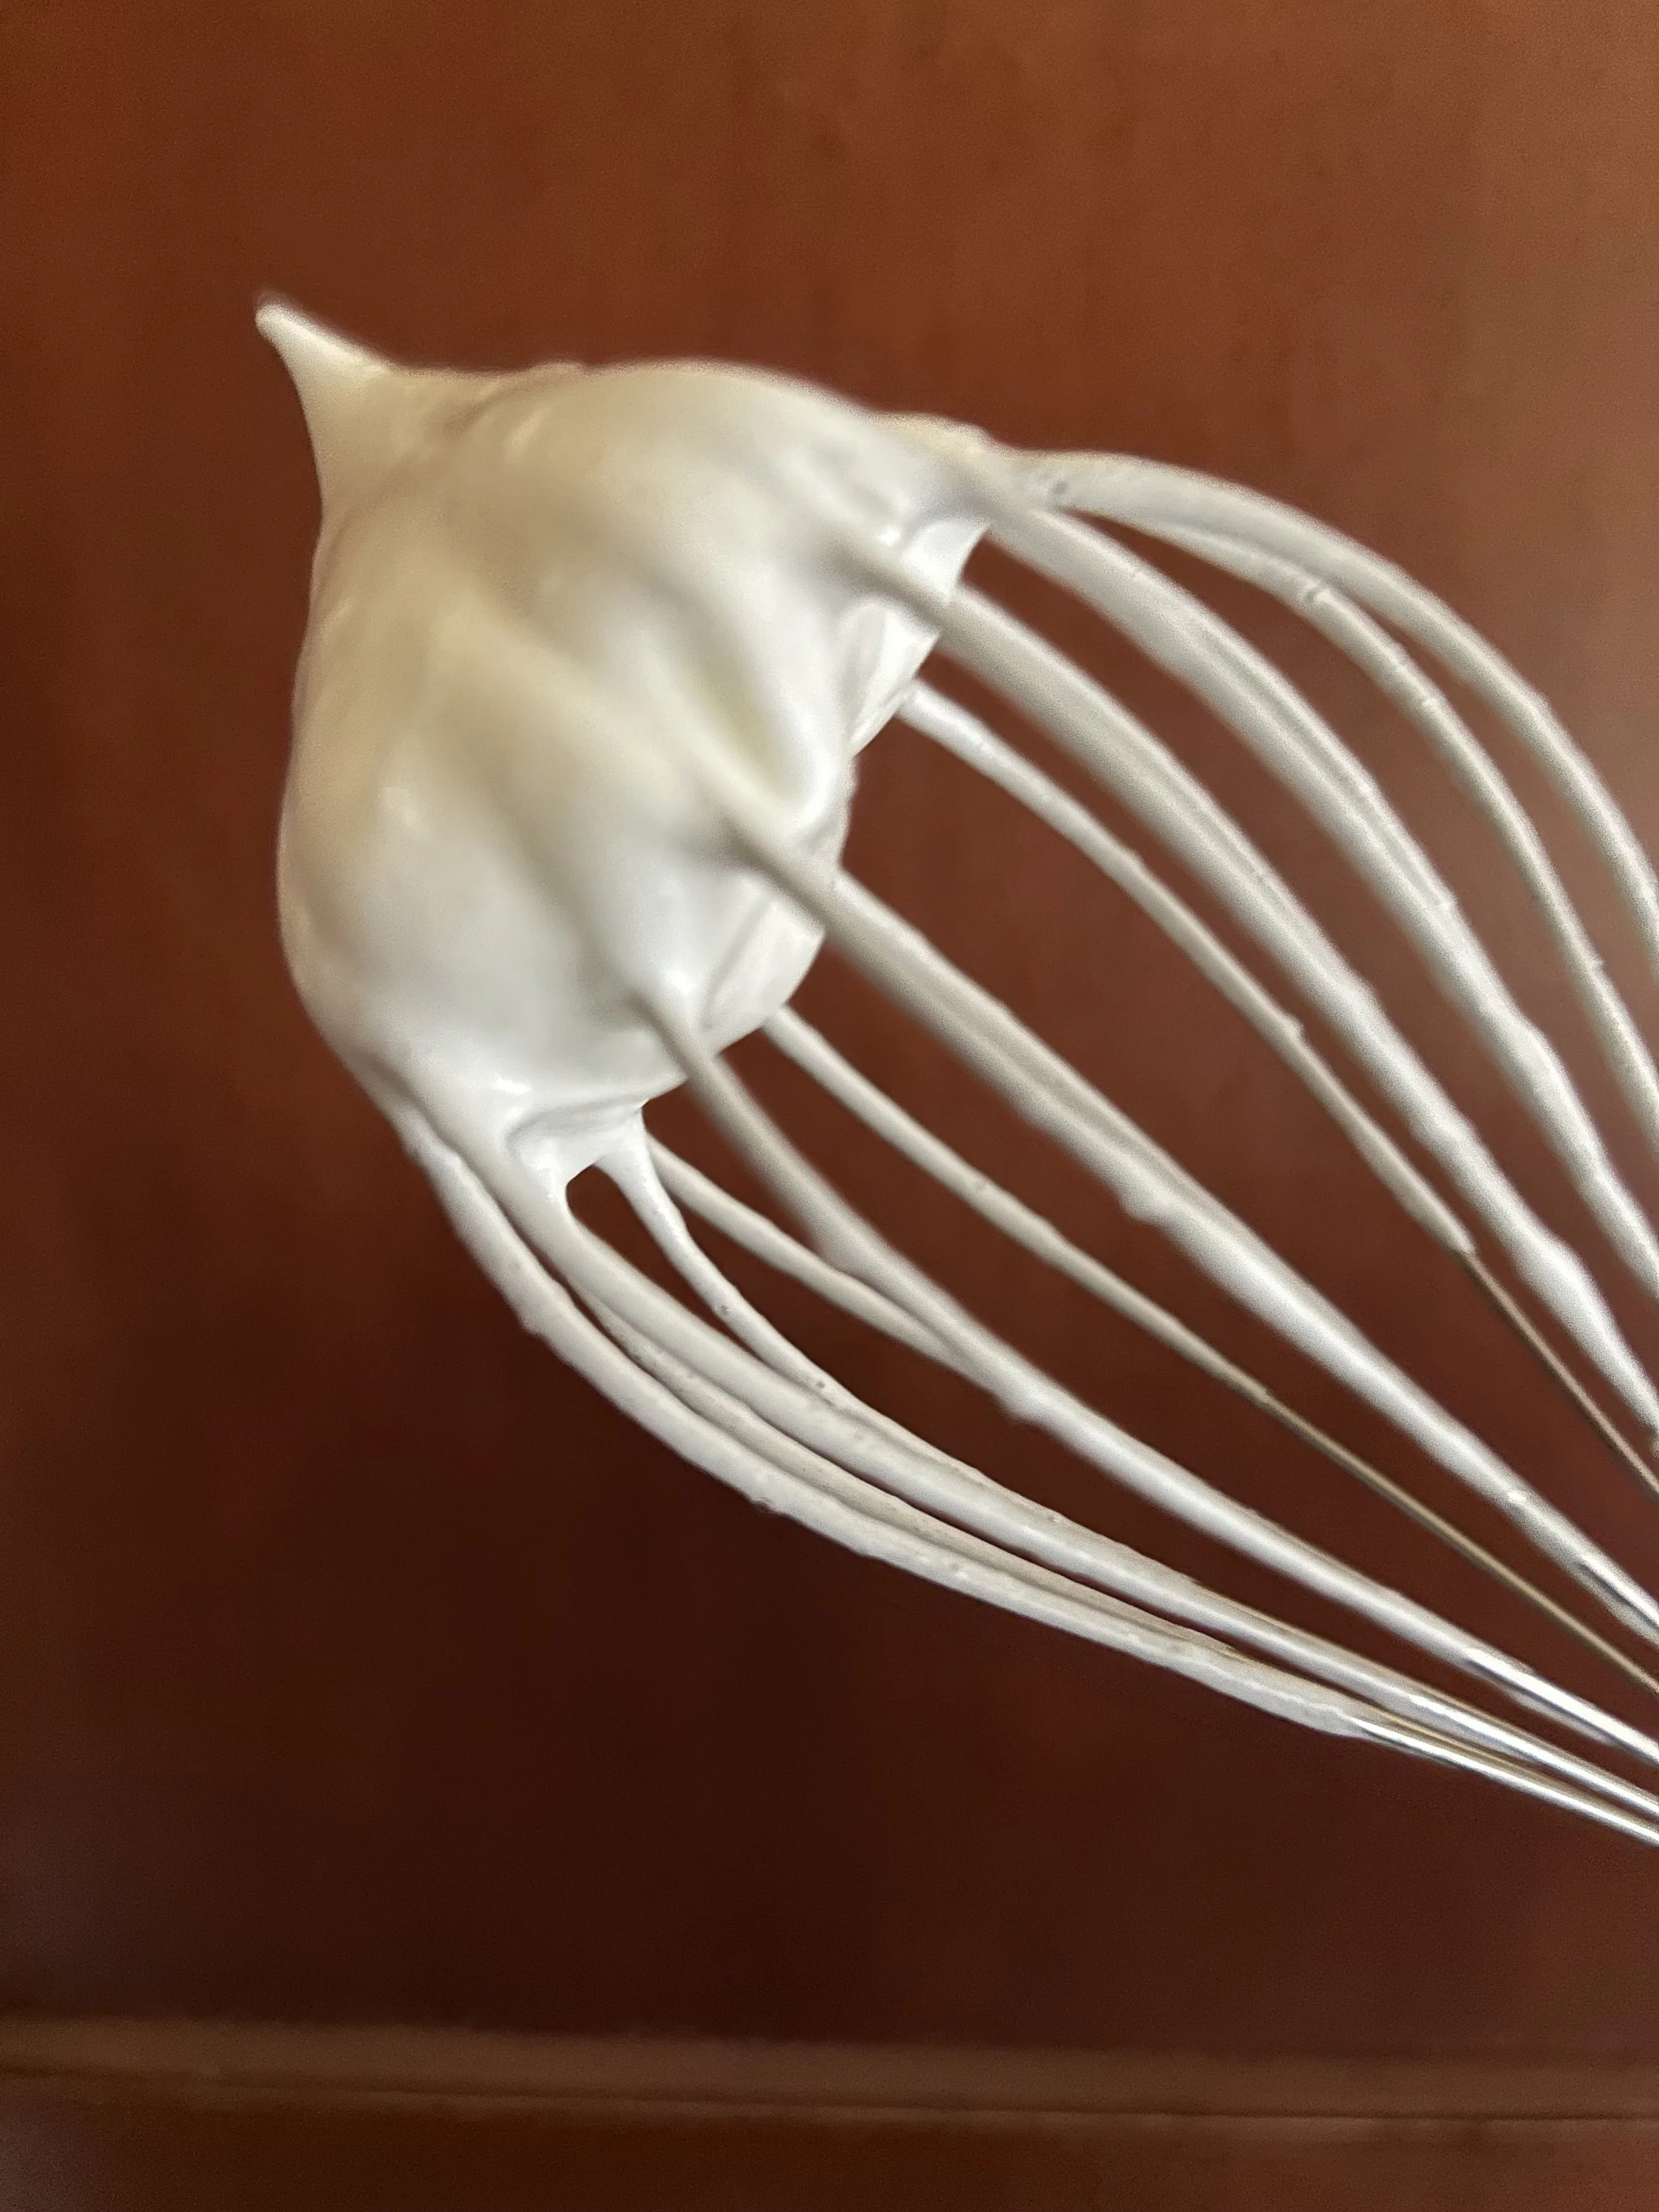
Once the whites started to get foamy, I then added in an additional 1/2 cup of sugar and continued to whip on medium speed until the whites were glossy and stiff. I then added in one teaspoon of vanilla extract to the whipped egg whites and mixed that in on low.

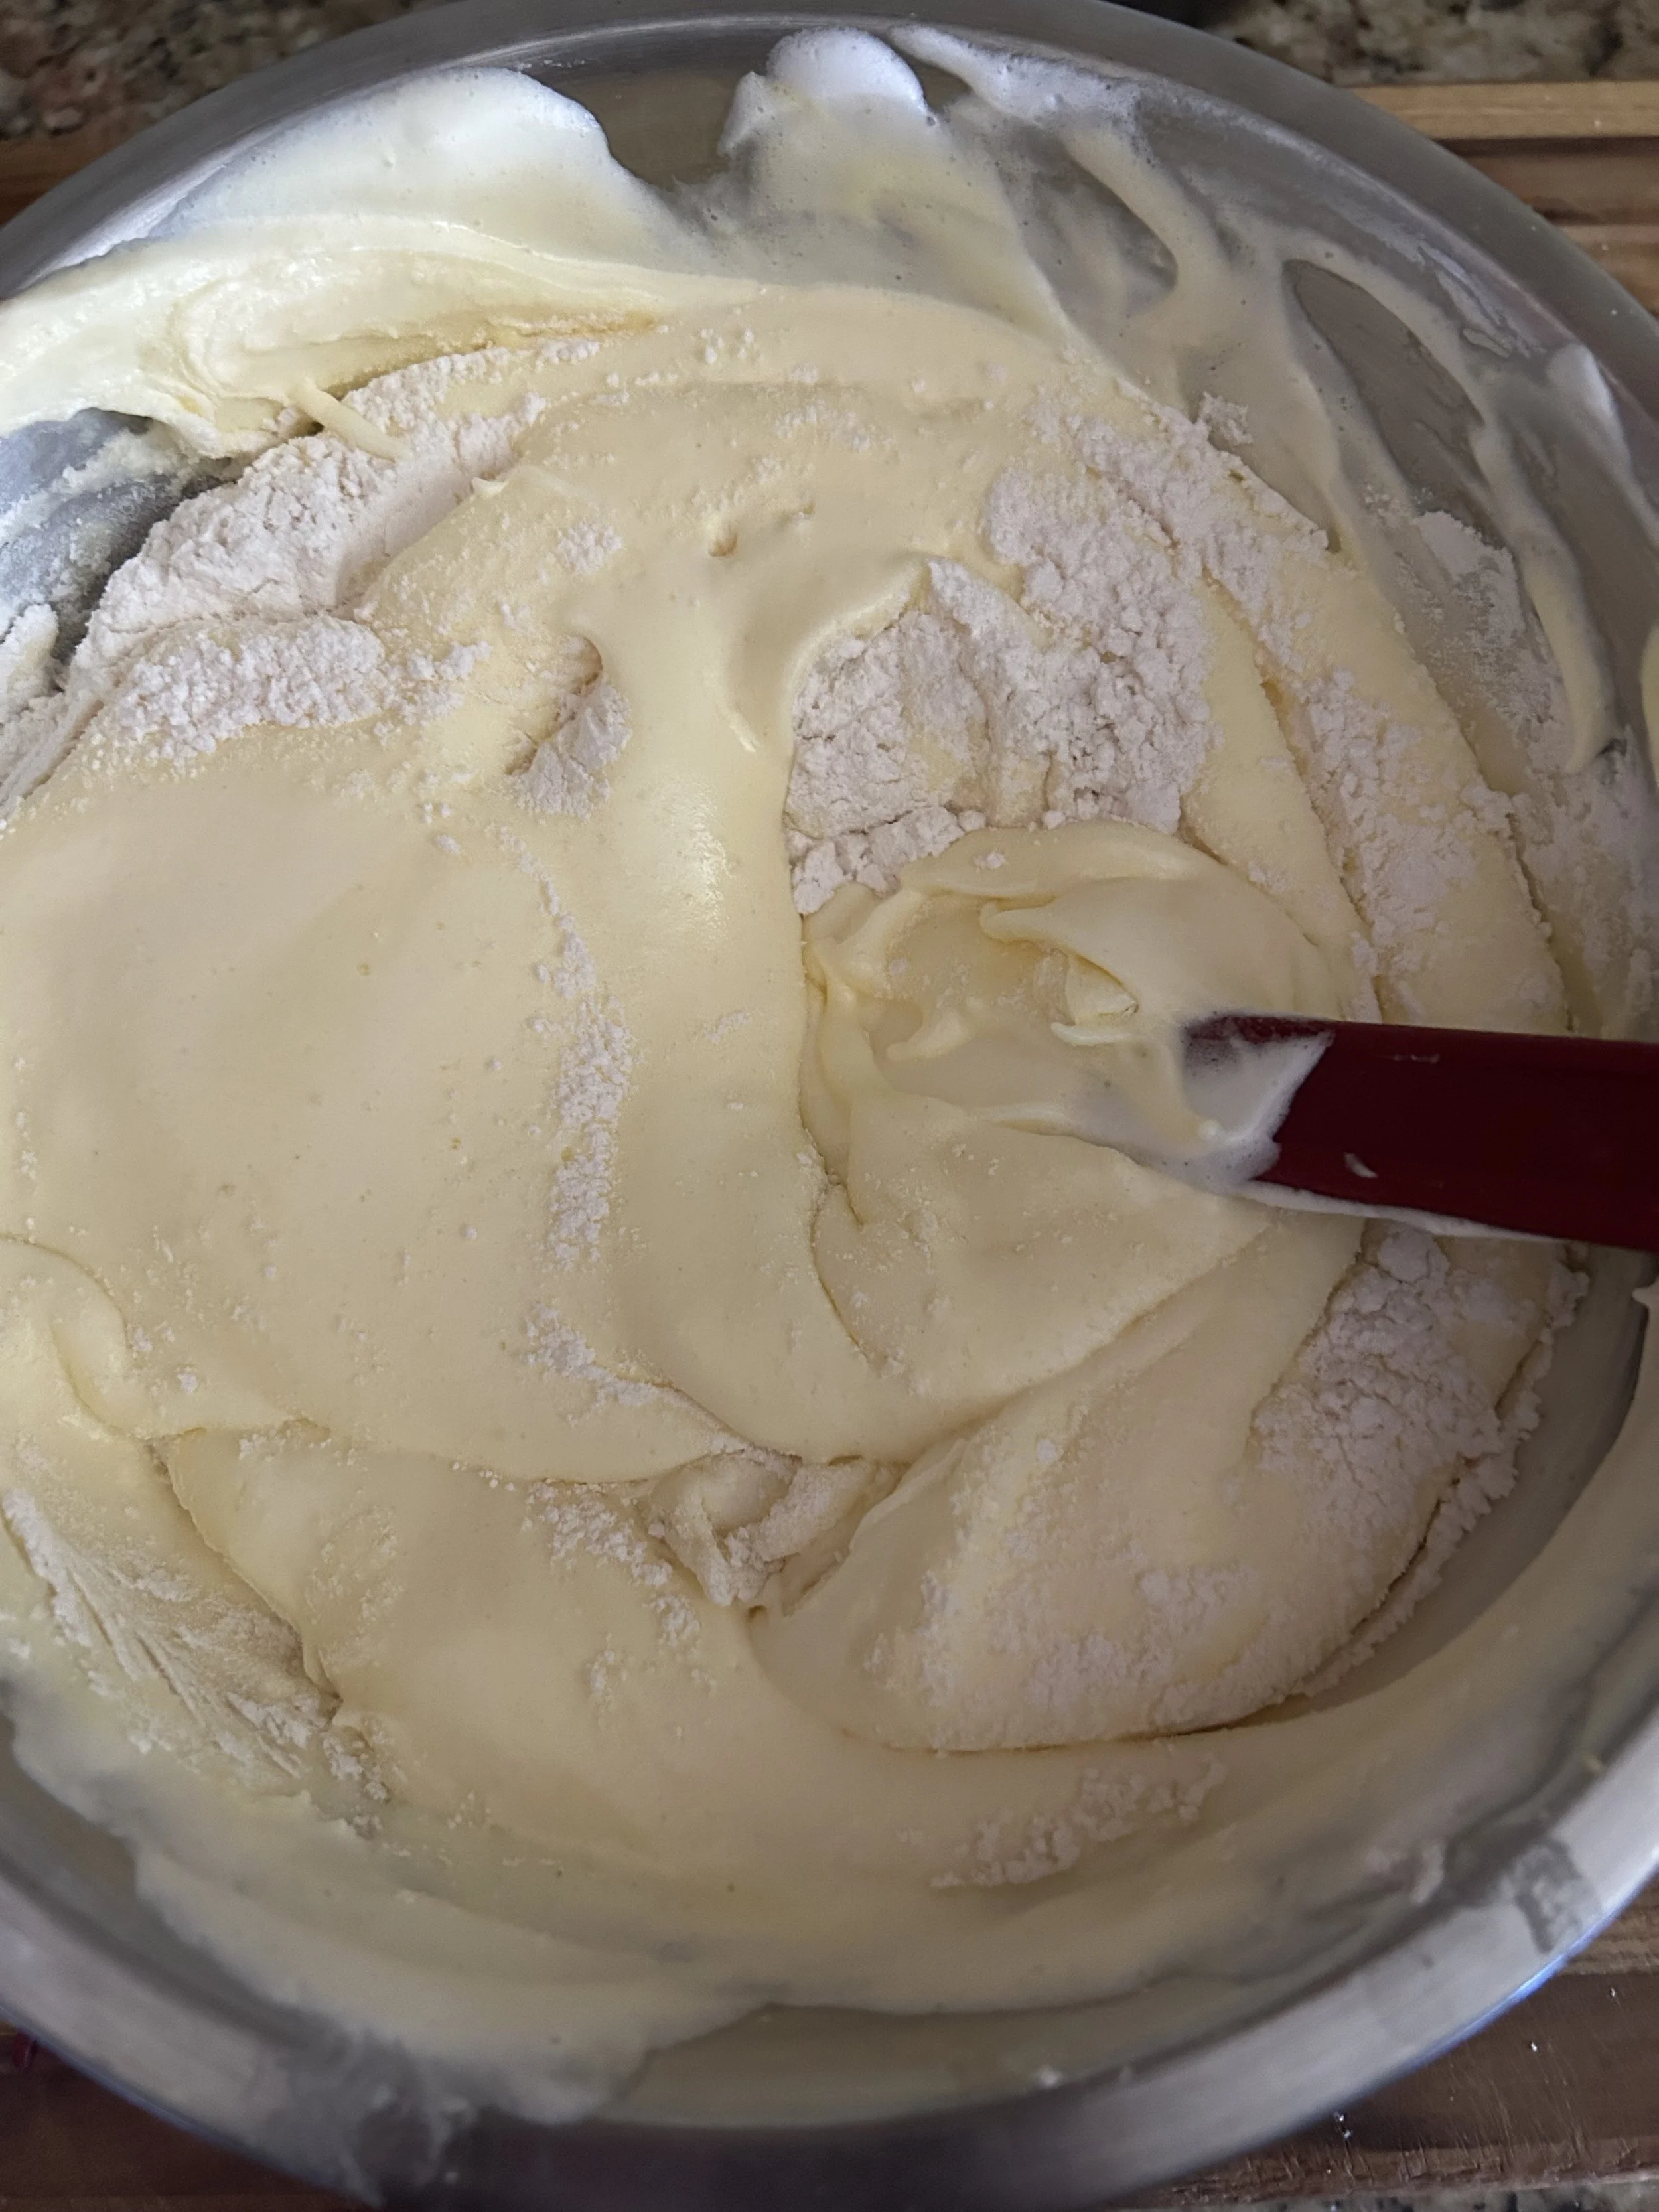
I then dumped my whipped egg whites into the egg yolks and proceeded to gently fold the two together until I couldn’t see any more streaks of egg white.
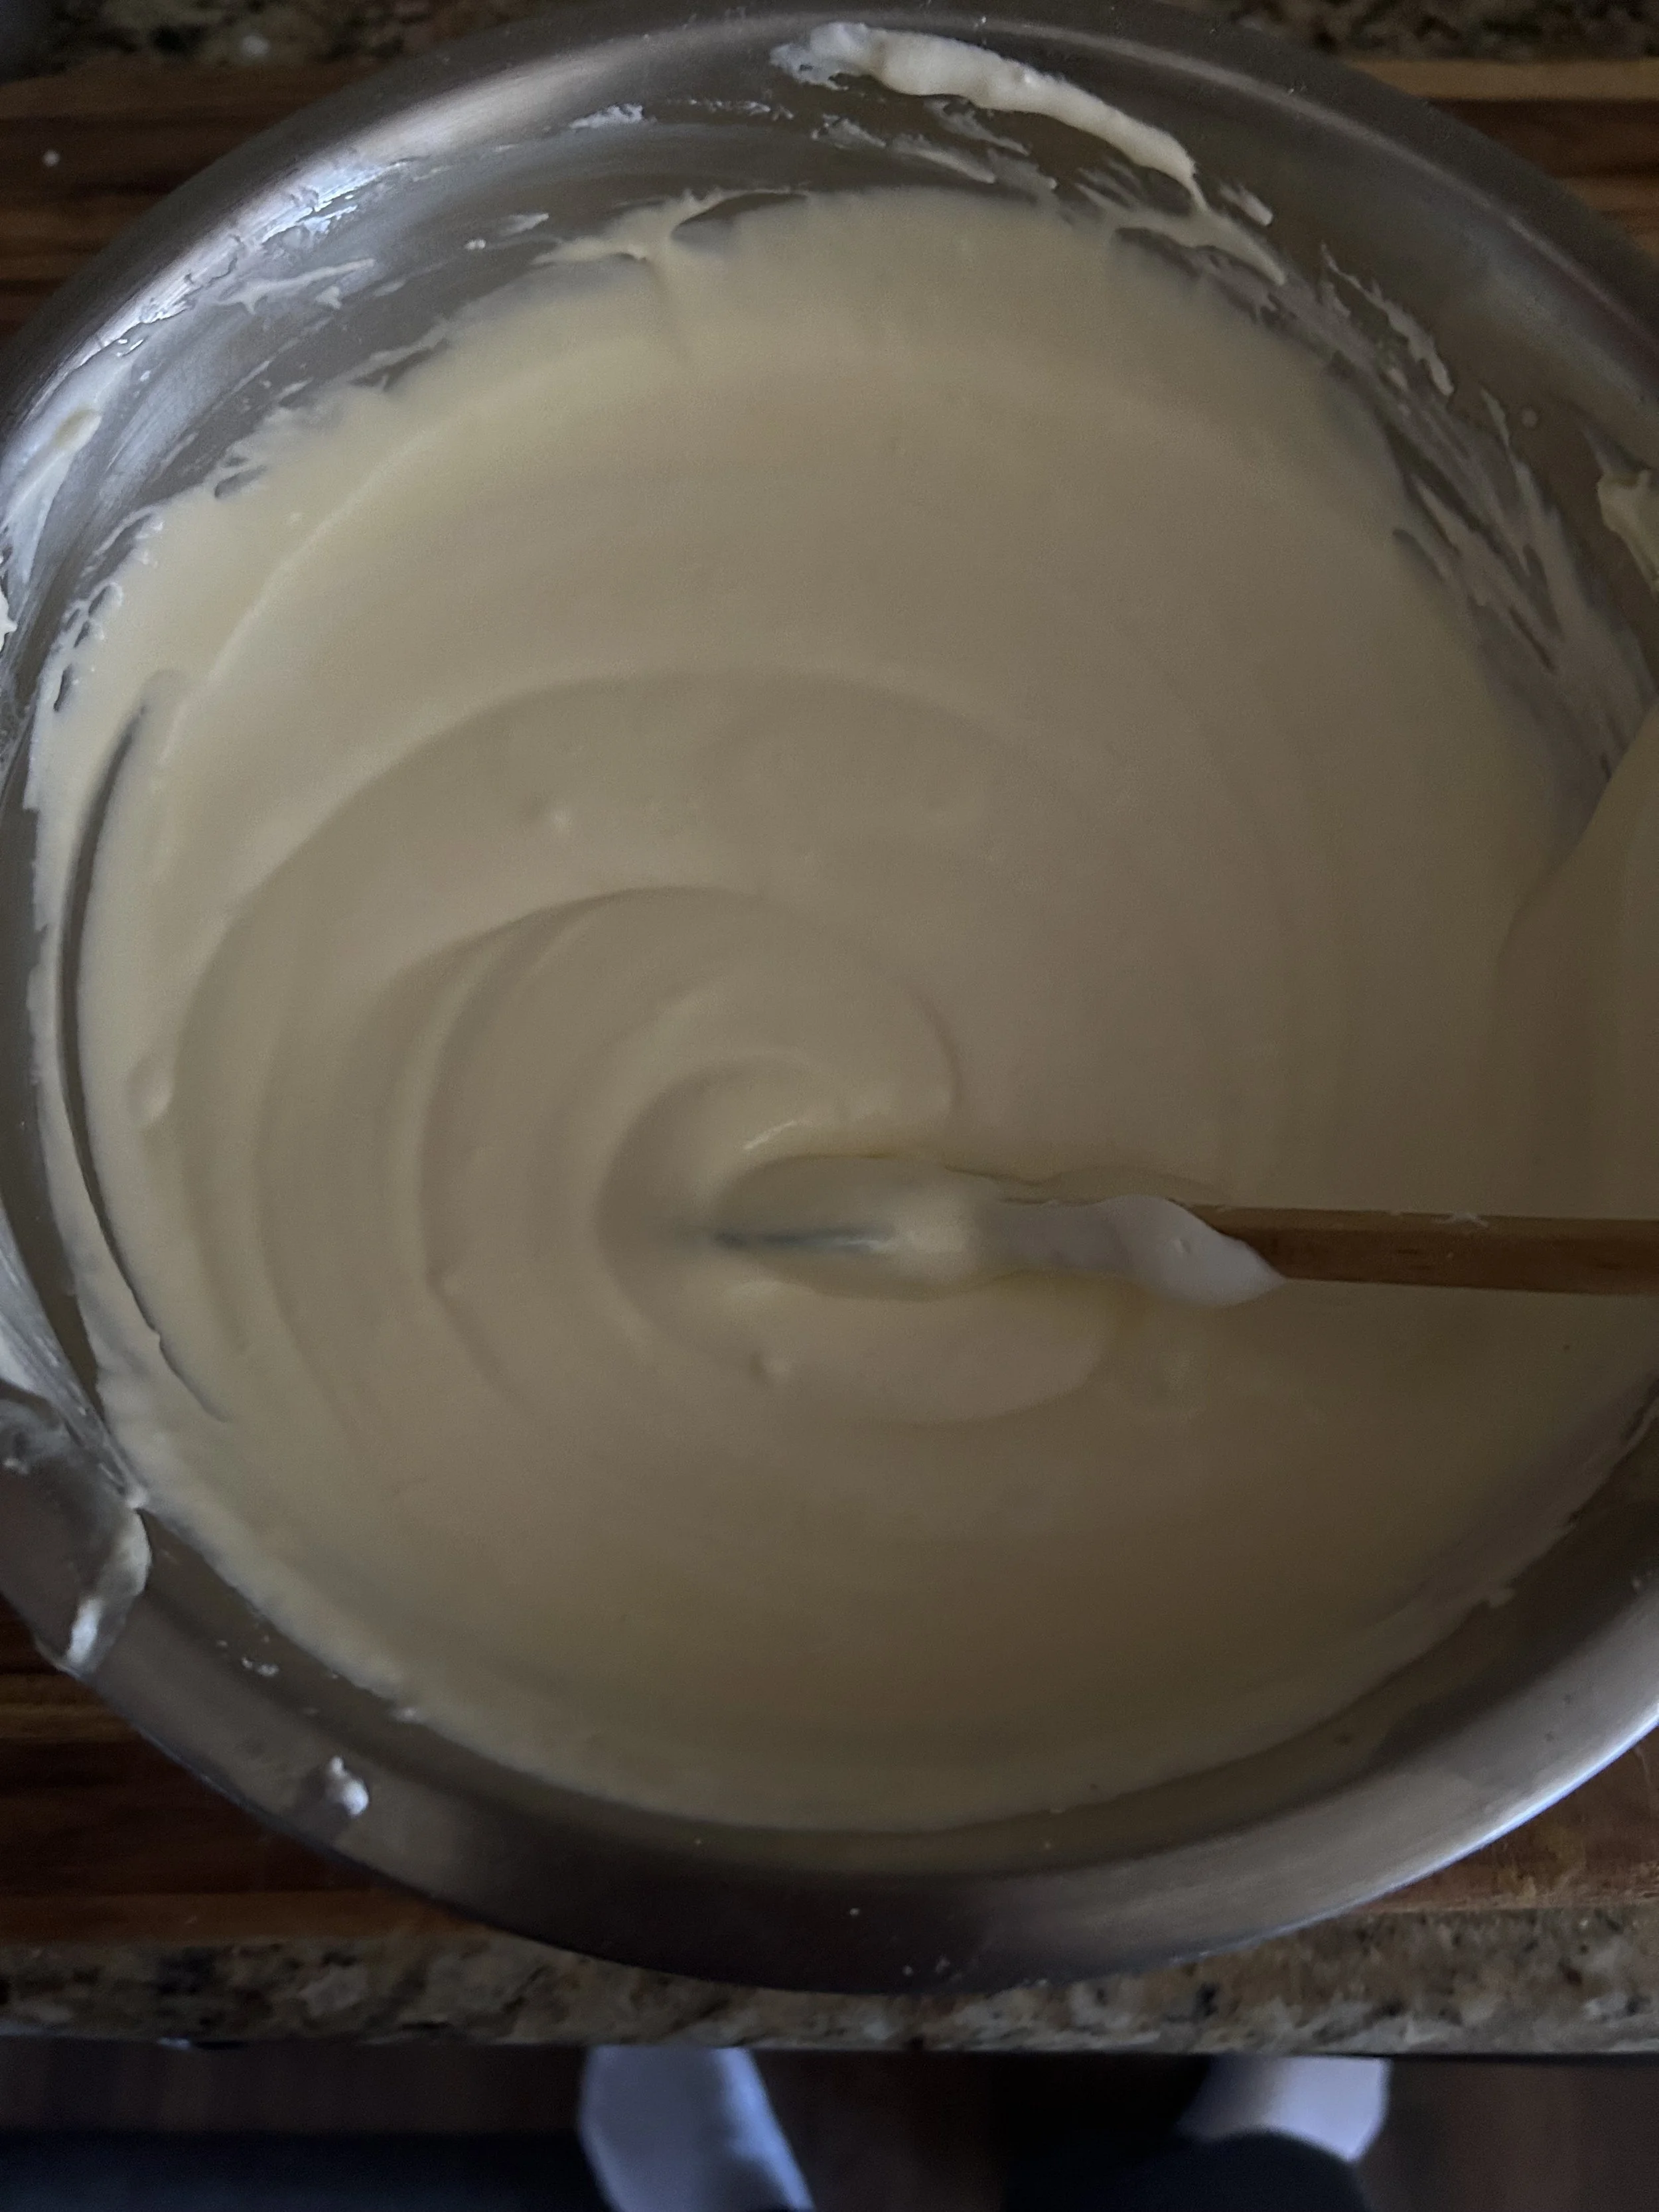
I then added 1 1/2 cups of flour and 1/4 teaspoon of salt and folded that until combined, making sure there were no patches of dry flour remaining.
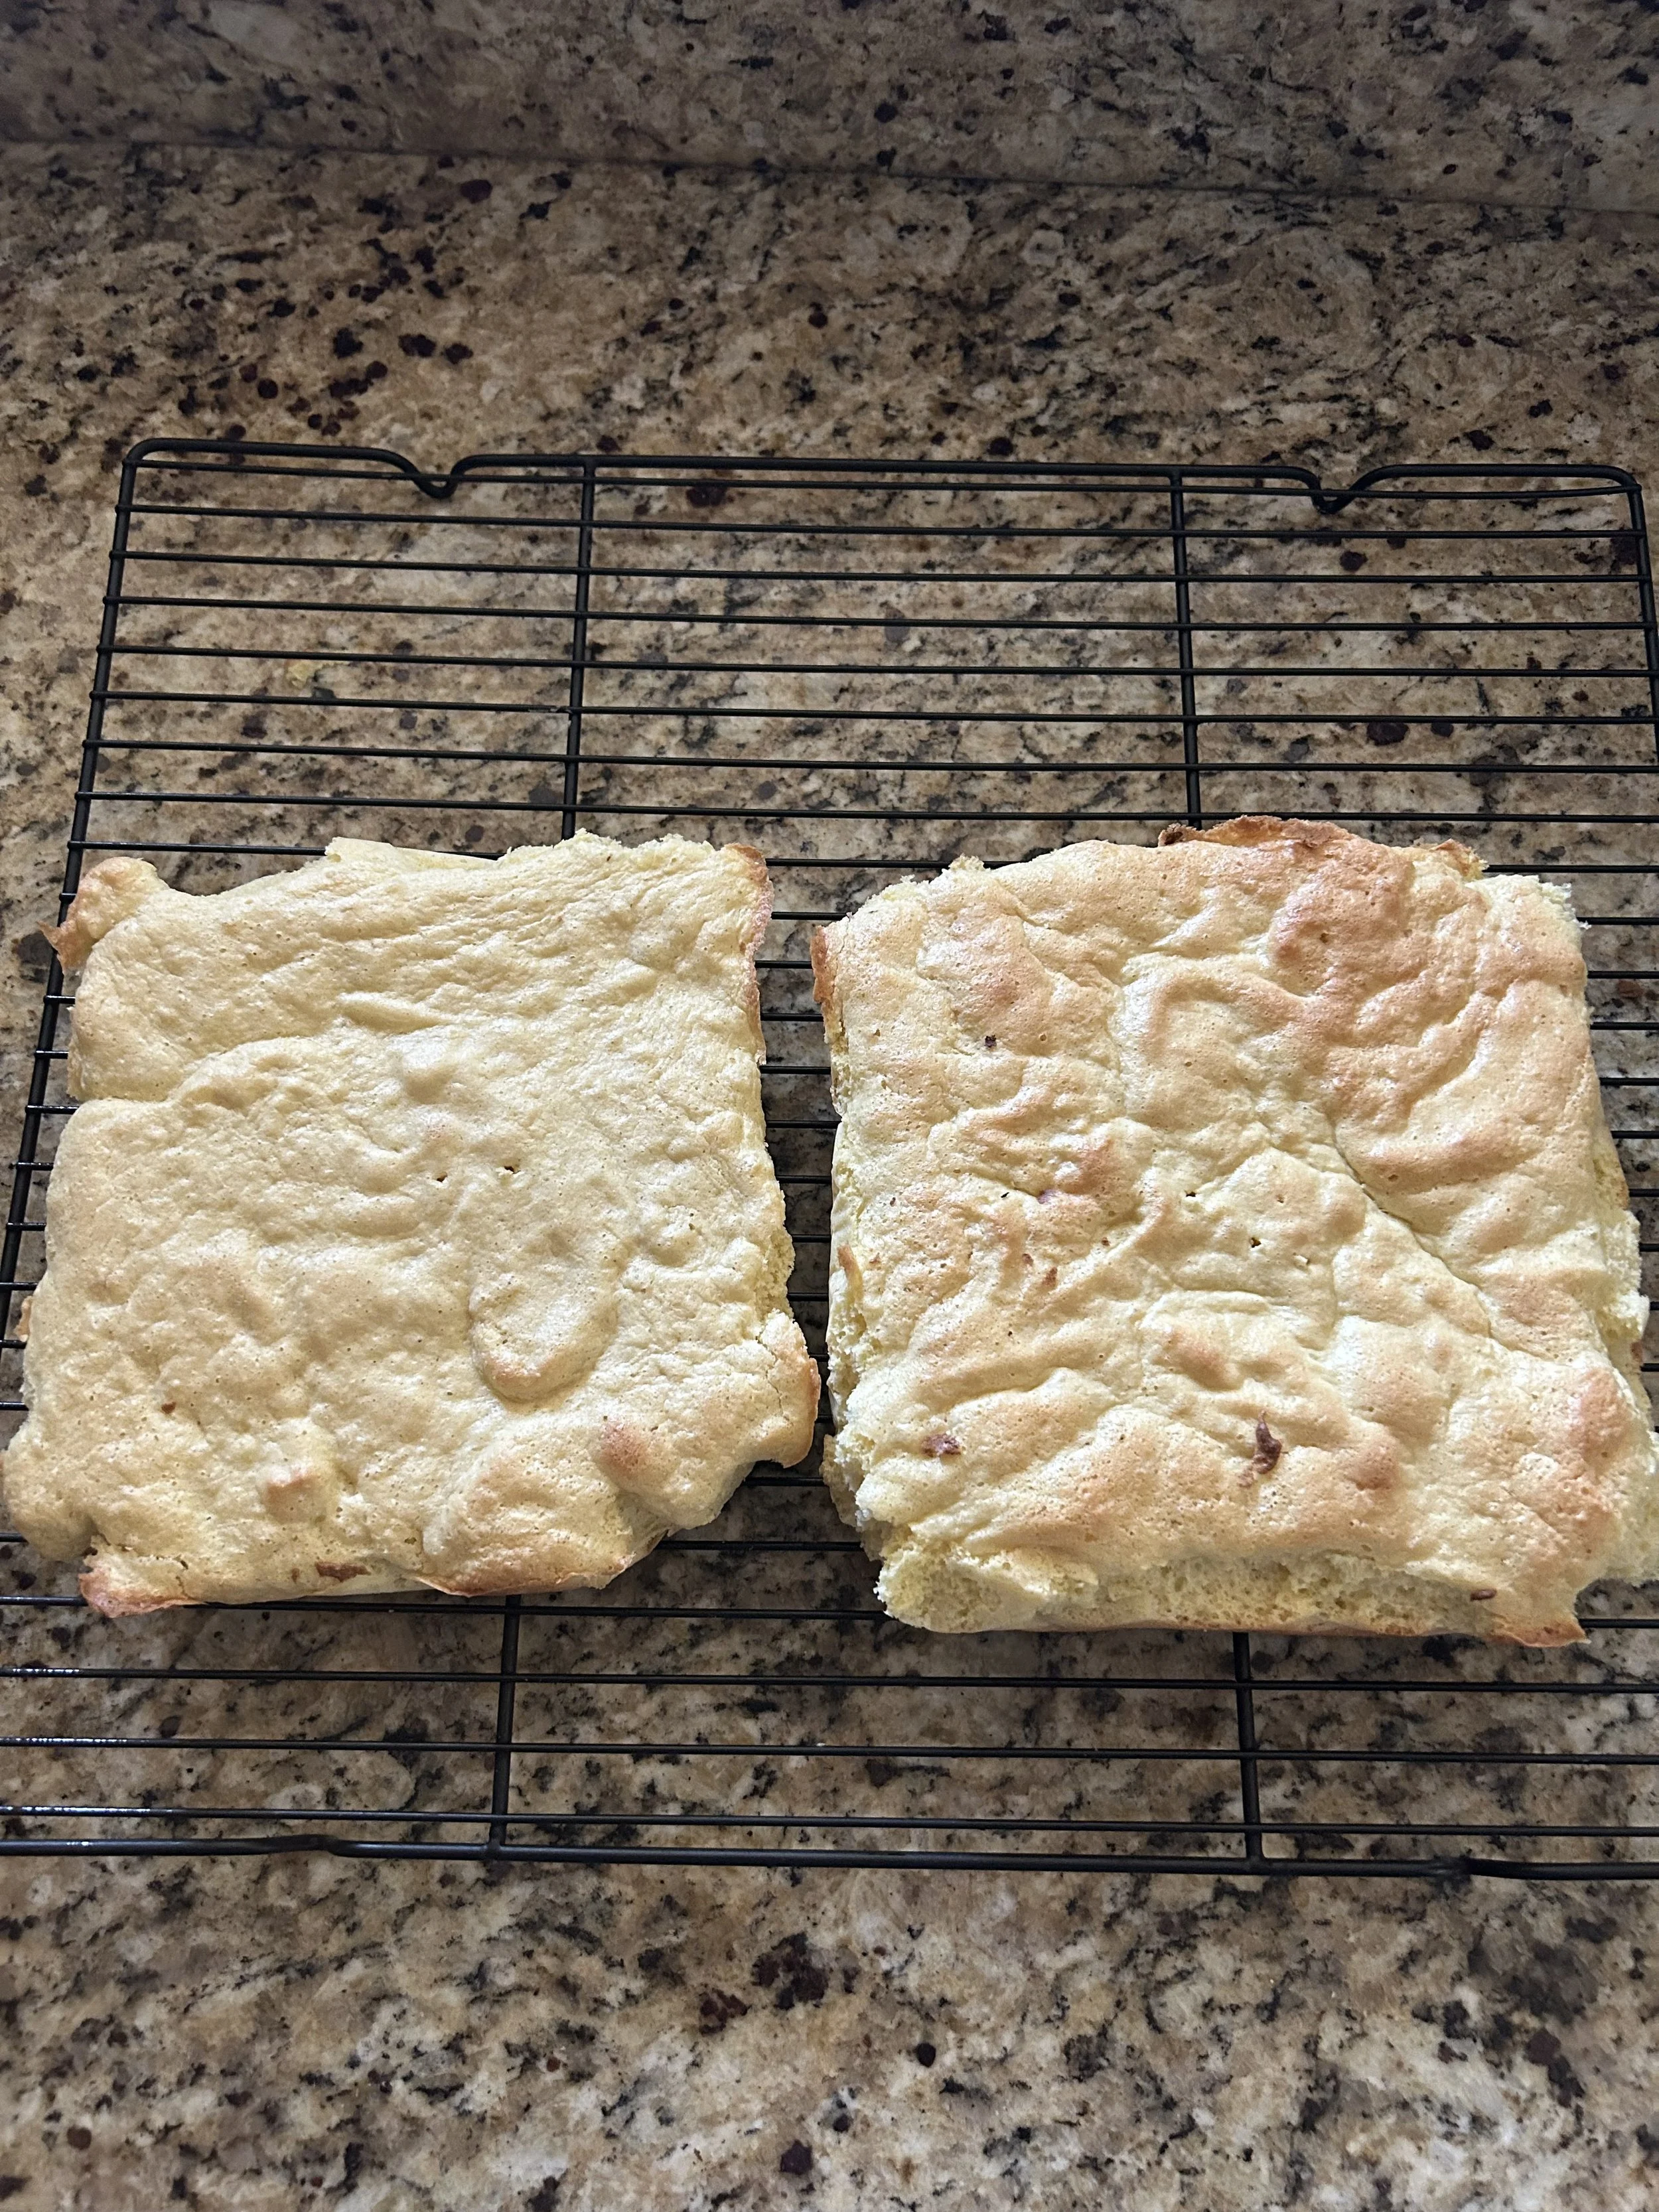
Once the batter was nice and smooth, I then divided the batter into two 8-inch square baking pans lined with parchment paper.
Normally, you would load the ladyfinger batter into a piping bag and pipe out 8-inch long sticks onto sheet pans, but I find that it’s quicker and easier to bake them in two pans and cut them once they’re baked.
I bake my ladyfinger cake in a 350-degree oven for 15-17 minutes, or until they were firm on the top and a toothpick inserted in the center of one cake came out clean.
Once baked, I let the cake cool completely on a wire rack.
While the cake was cooling, I then moved on to a custard which would become the base for my tiramisu cream. This is a very basic custard and is easy to make if you follow some simple guidelines.
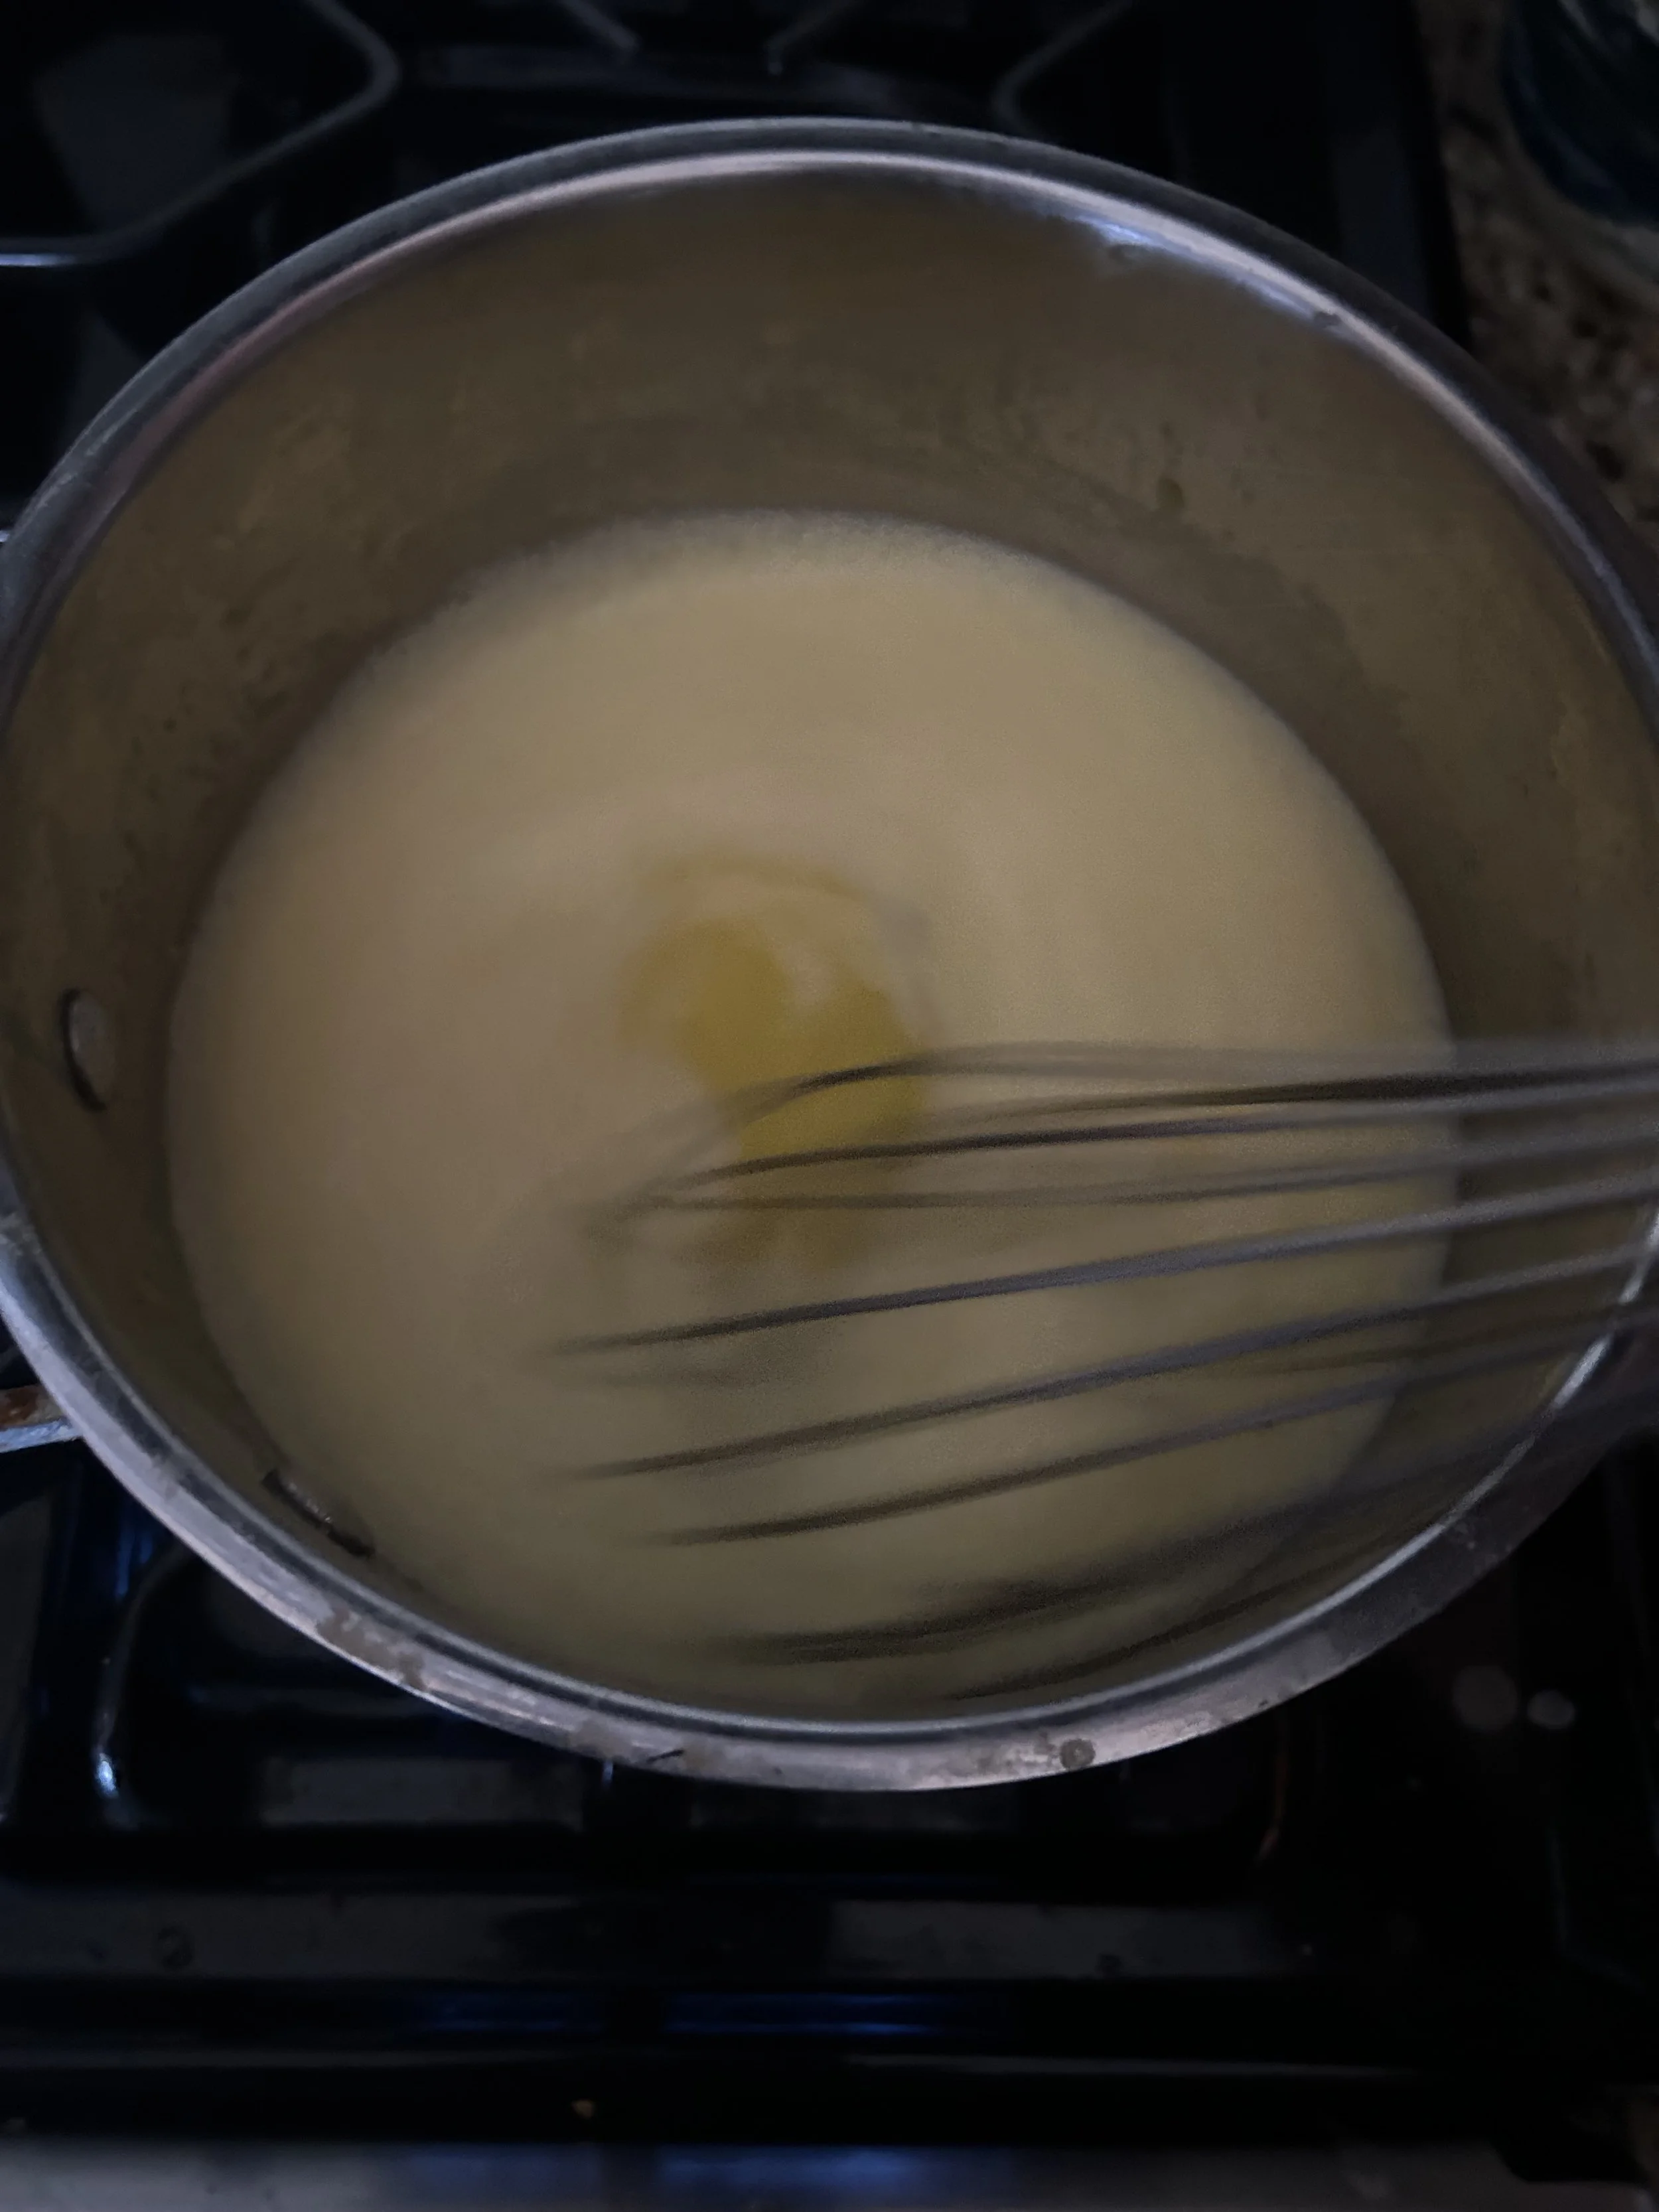
To make the custard, I put 6 egg yolks, 1 cup of sugar, and 1/2 cup of milk into a medium saucepan over medium heat. Then, while constantly whisking, I brought the mixture to a boil, which took about 5 minutes.
When cooking any custard, it is incredibly important that you constantly whisk it, as if you leave it alone, then the egg yolks could curdle, and instead of a smooth, creamy custard, you’d end up with sweet scrambled eggs swimming in milk, and doesn’t sound very good.
For a few minutes, it’ll seem like the custard isn’t really doing anything, but give it some time, keep whisking it, and I can guarantee that it’ll thicken up before you know it.
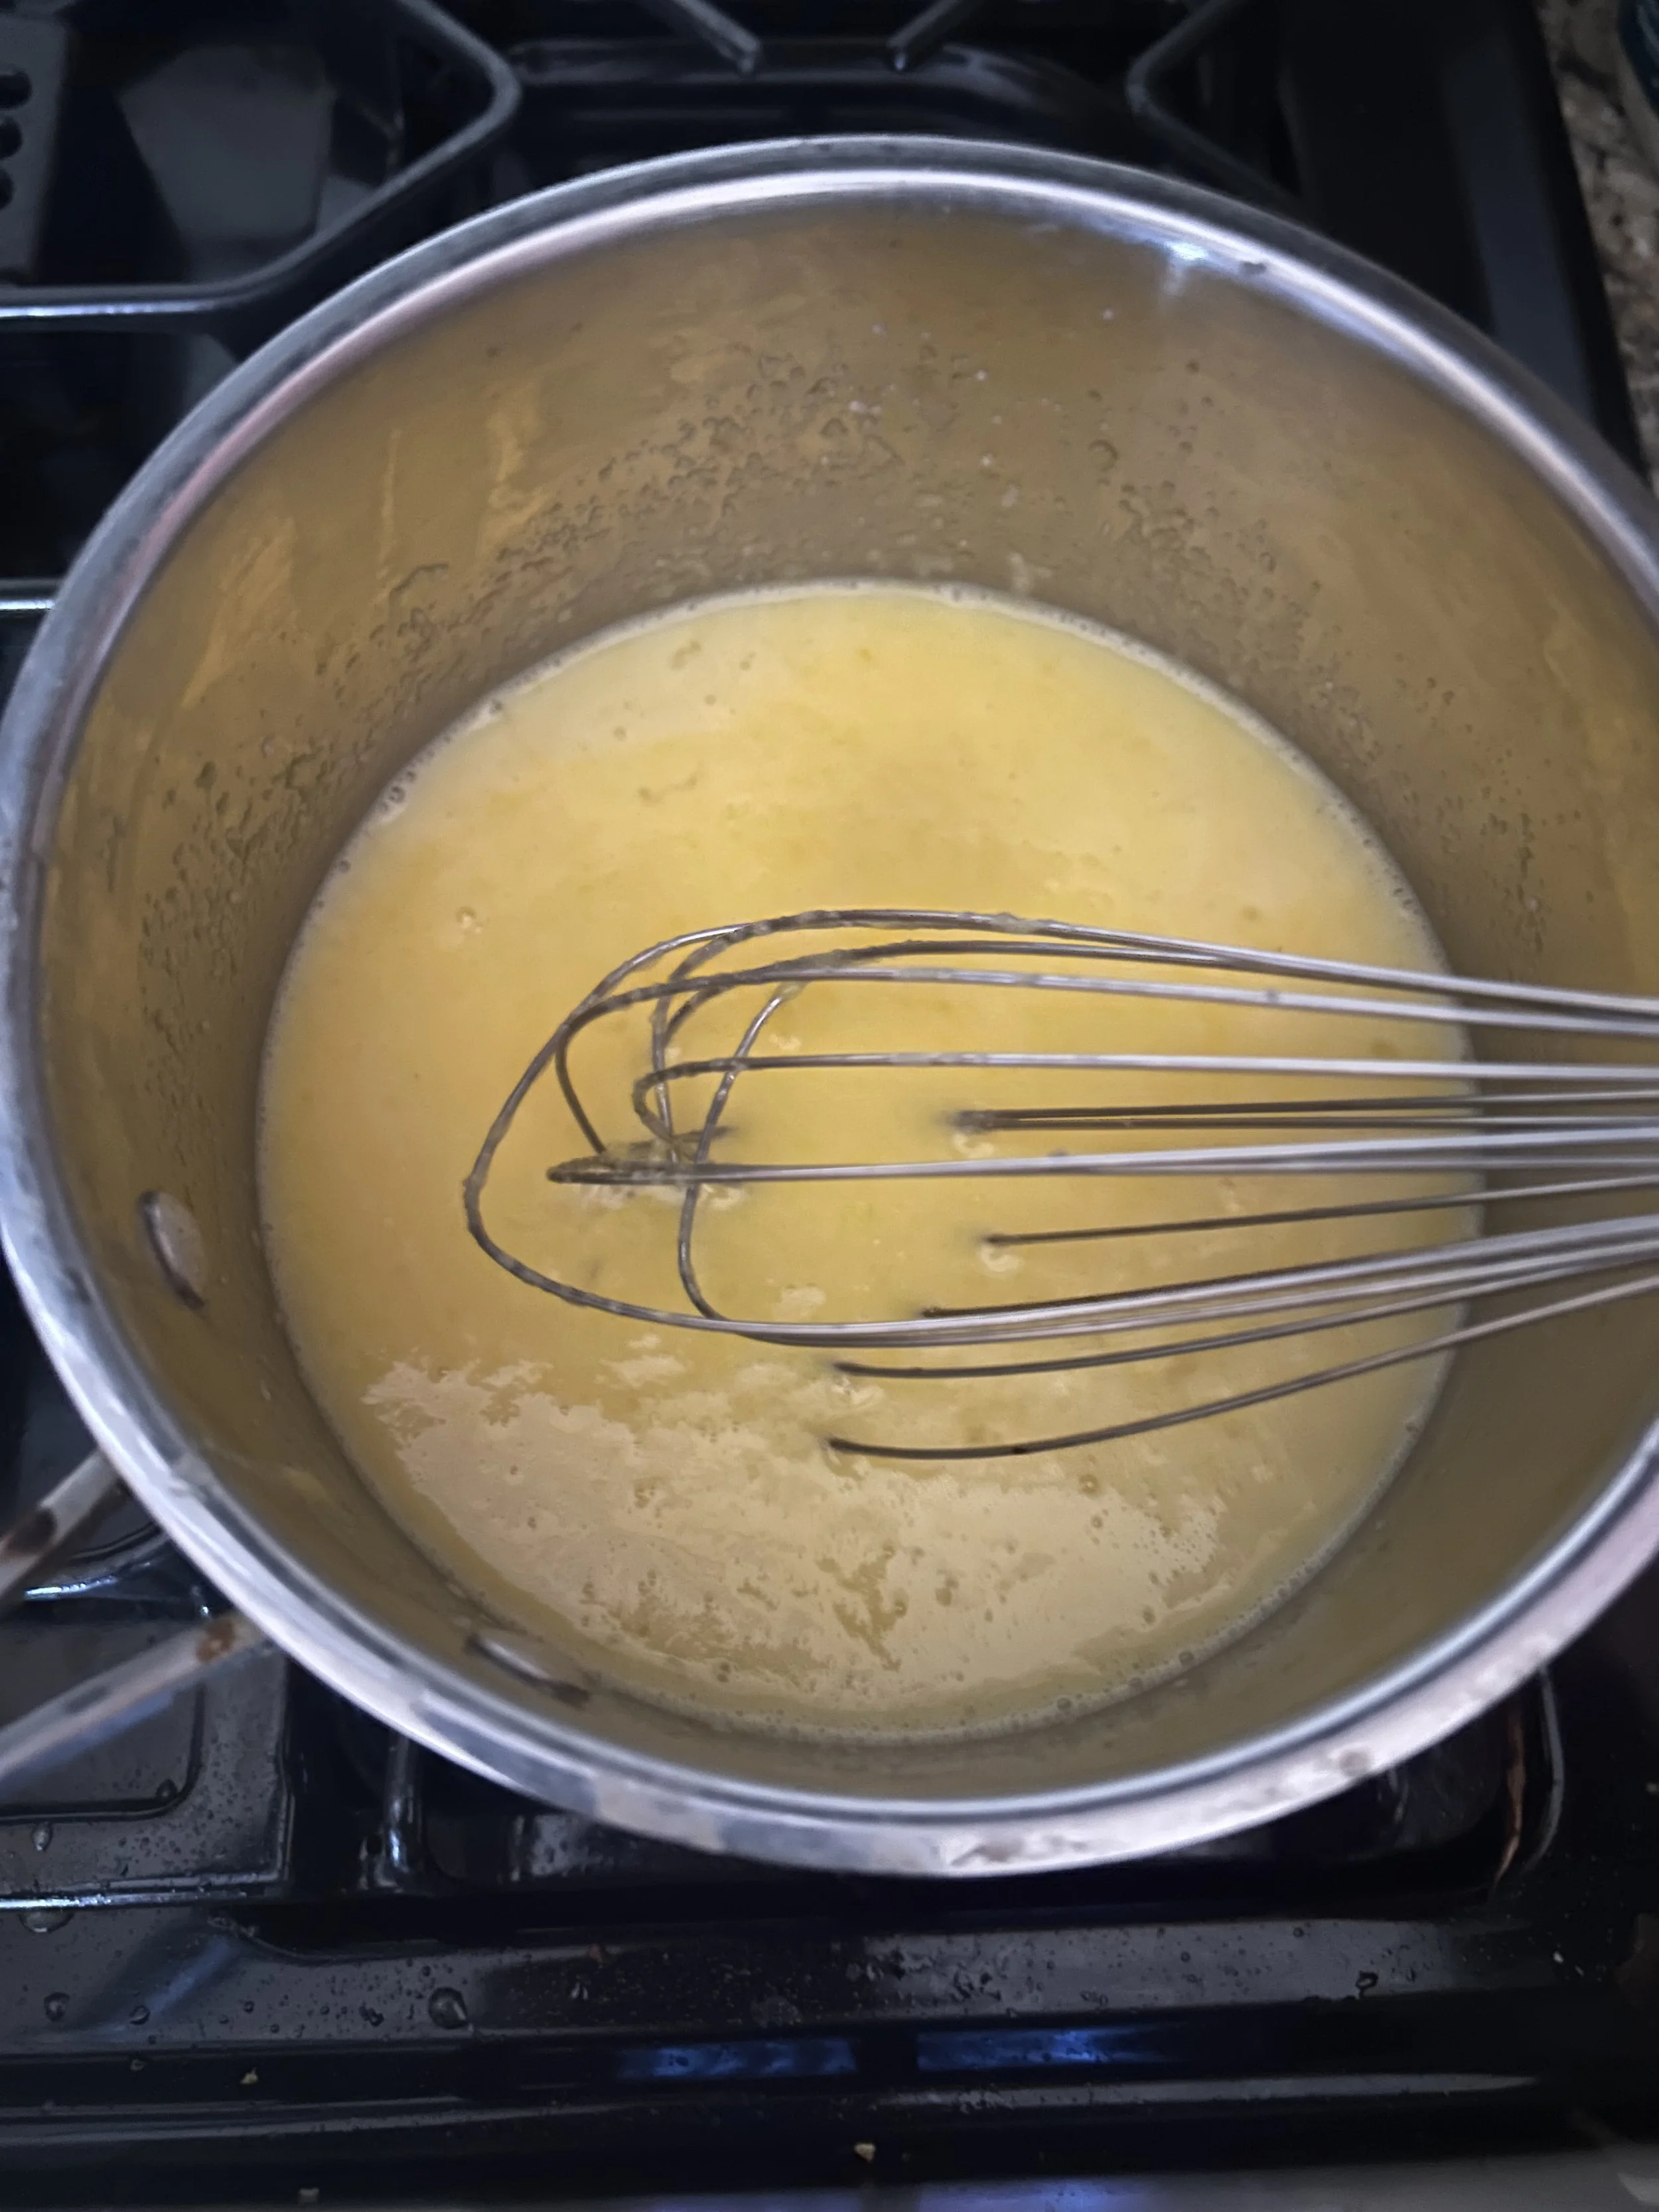
Then I lowered the heat to medium-low and let that cook for another minute or until it was thick enough to coat the back of a spoon. Remember, the custard will get thicker as it cools down.
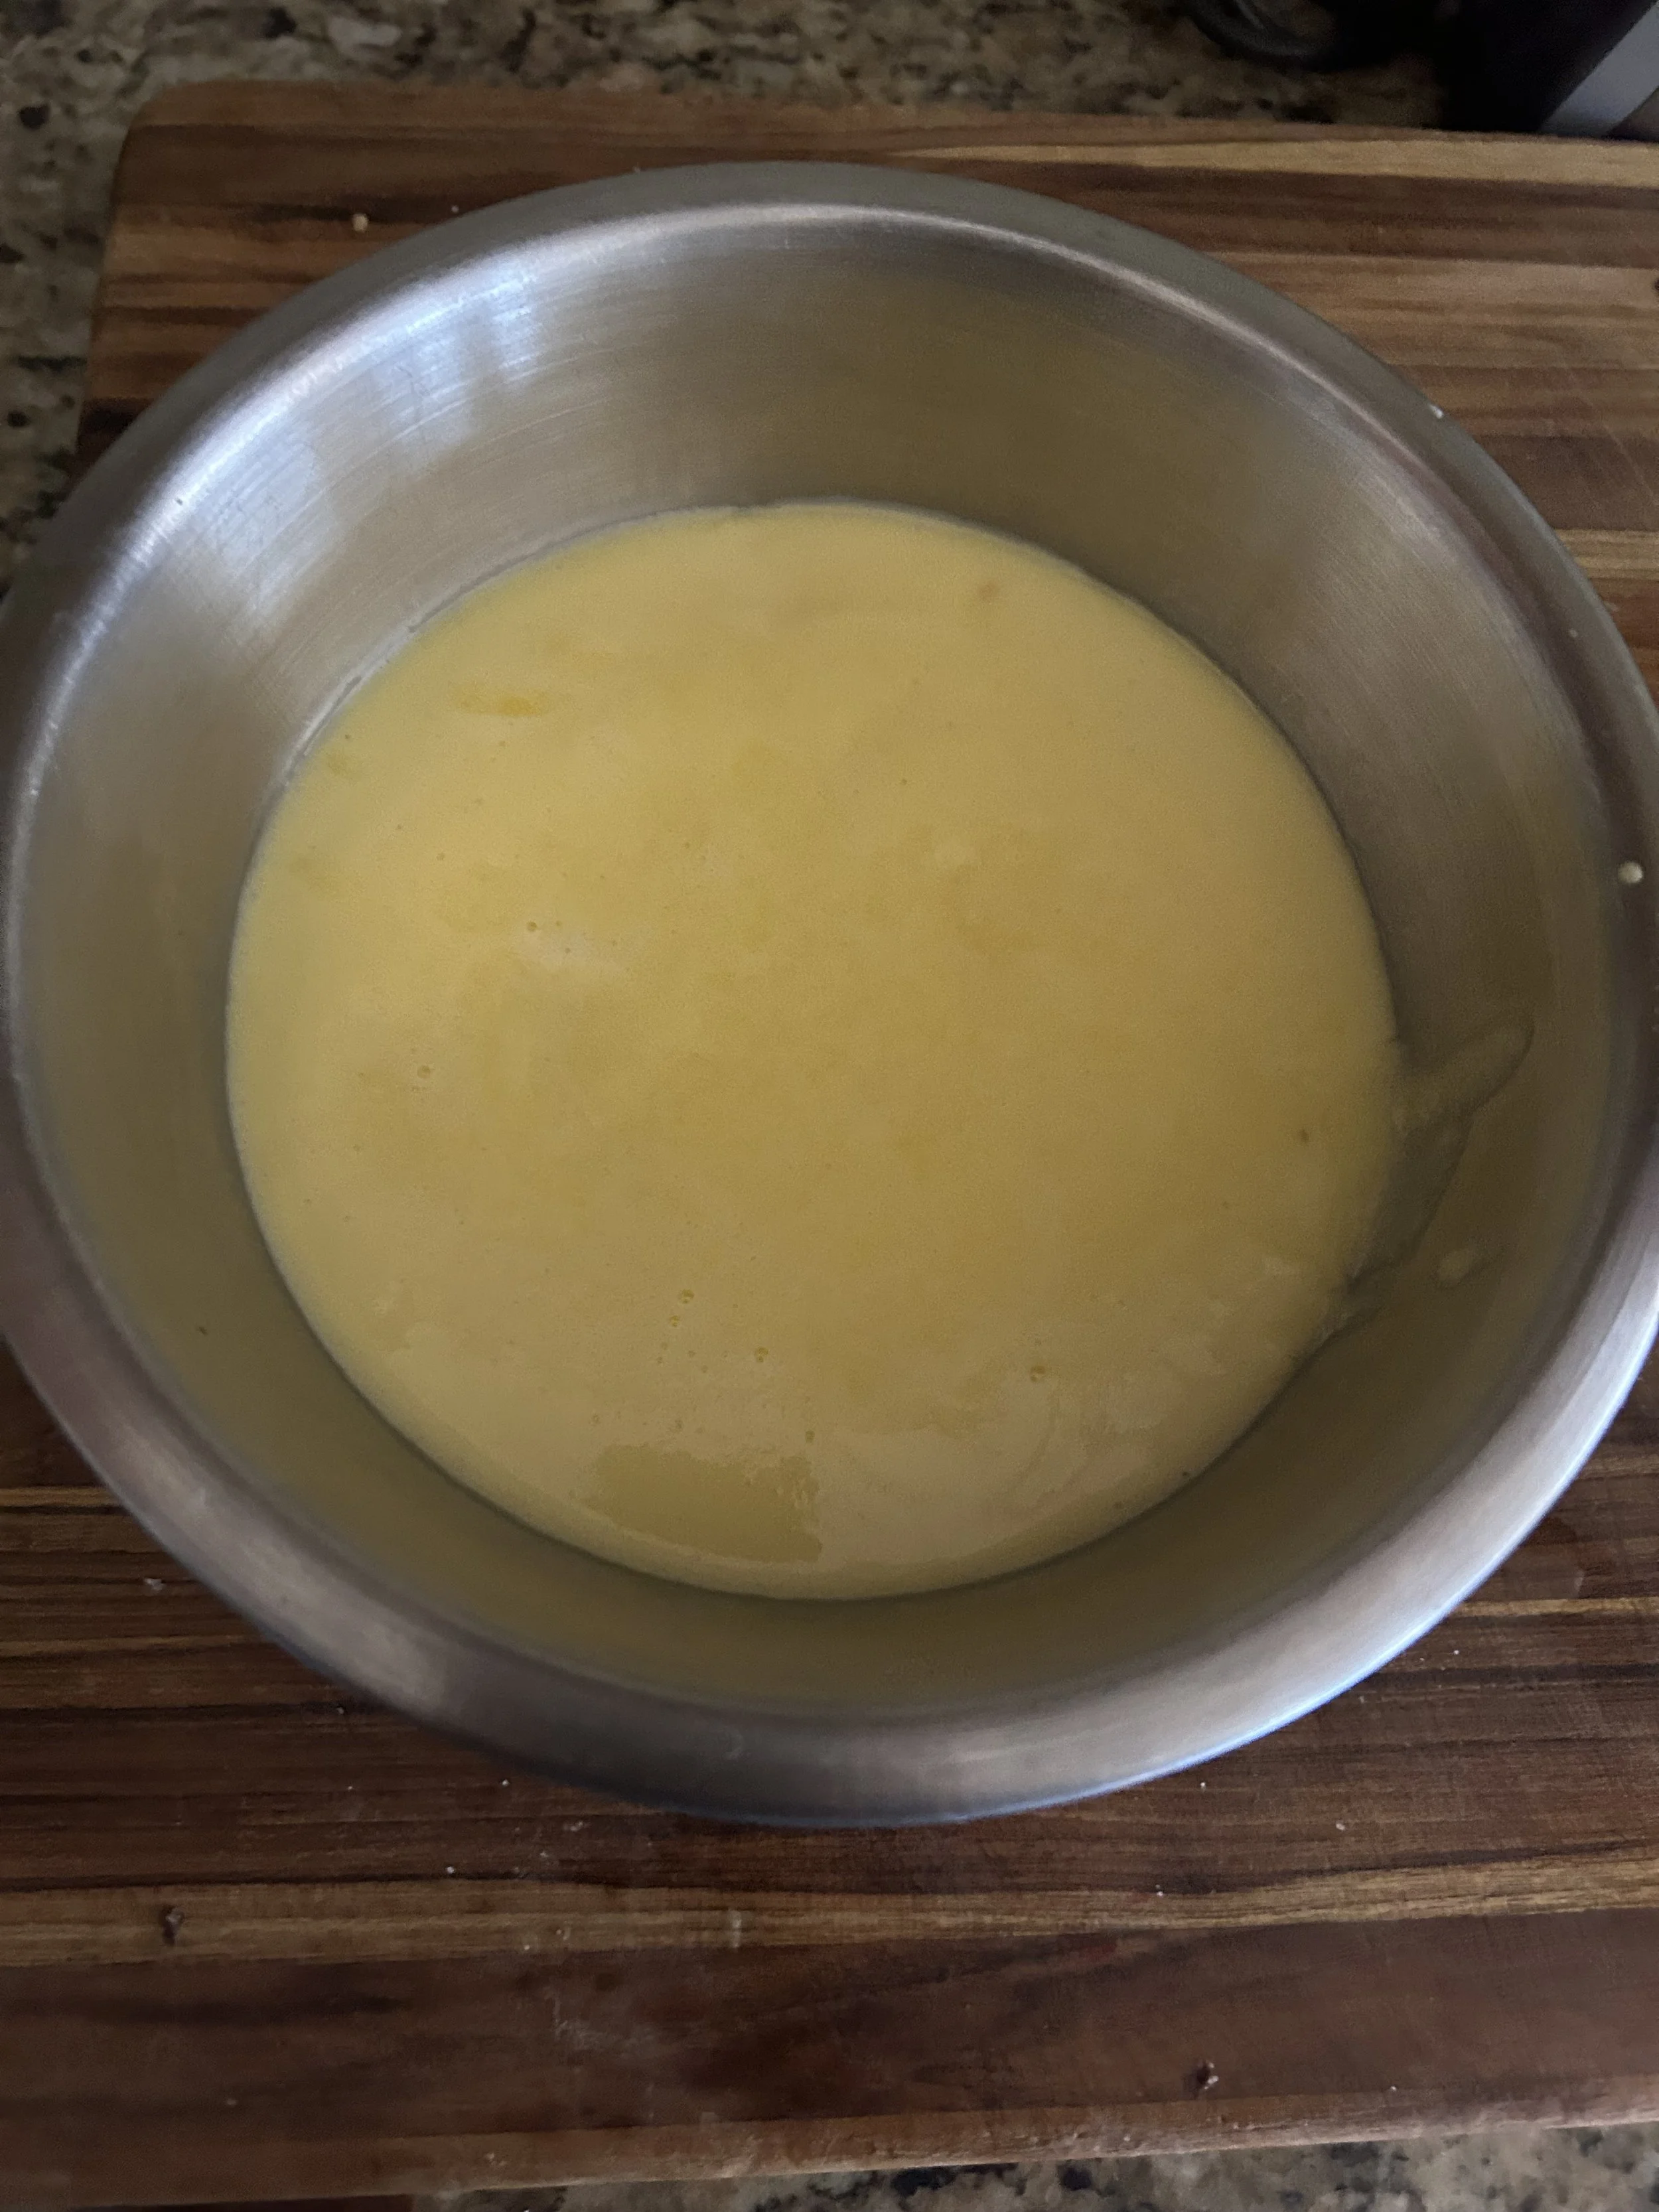
I then strained my custard to get rid of any bits of egg yolk that might’ve curdled, because that can happen to even the best of us, and let the custard cool uncovered at room temperature, stirring it occasionally to prevent a skin from forming at the top.
The reason why I’m not putting the custard into the fridge now is that if I put the hot custard into the fridge now, it could warm the fridge a bit and cause anything in there to spoil faster.
Once the custard had cooled for a bit, I then directly covered it in plastic warp and put it into the fridge to cool completely. This step can be done before you make the ladyfingers so it’ll be cool by the time they’re ready, or you could even make it the day before.
While the custard cools, let’s talk about one of the most important components of any tiramisu, the coffee soak.
Tiramisu means ‘pick me up,’ So it makes sense that the ladyfingers are classically dipped in coffee before going into the layers of the final dessert.
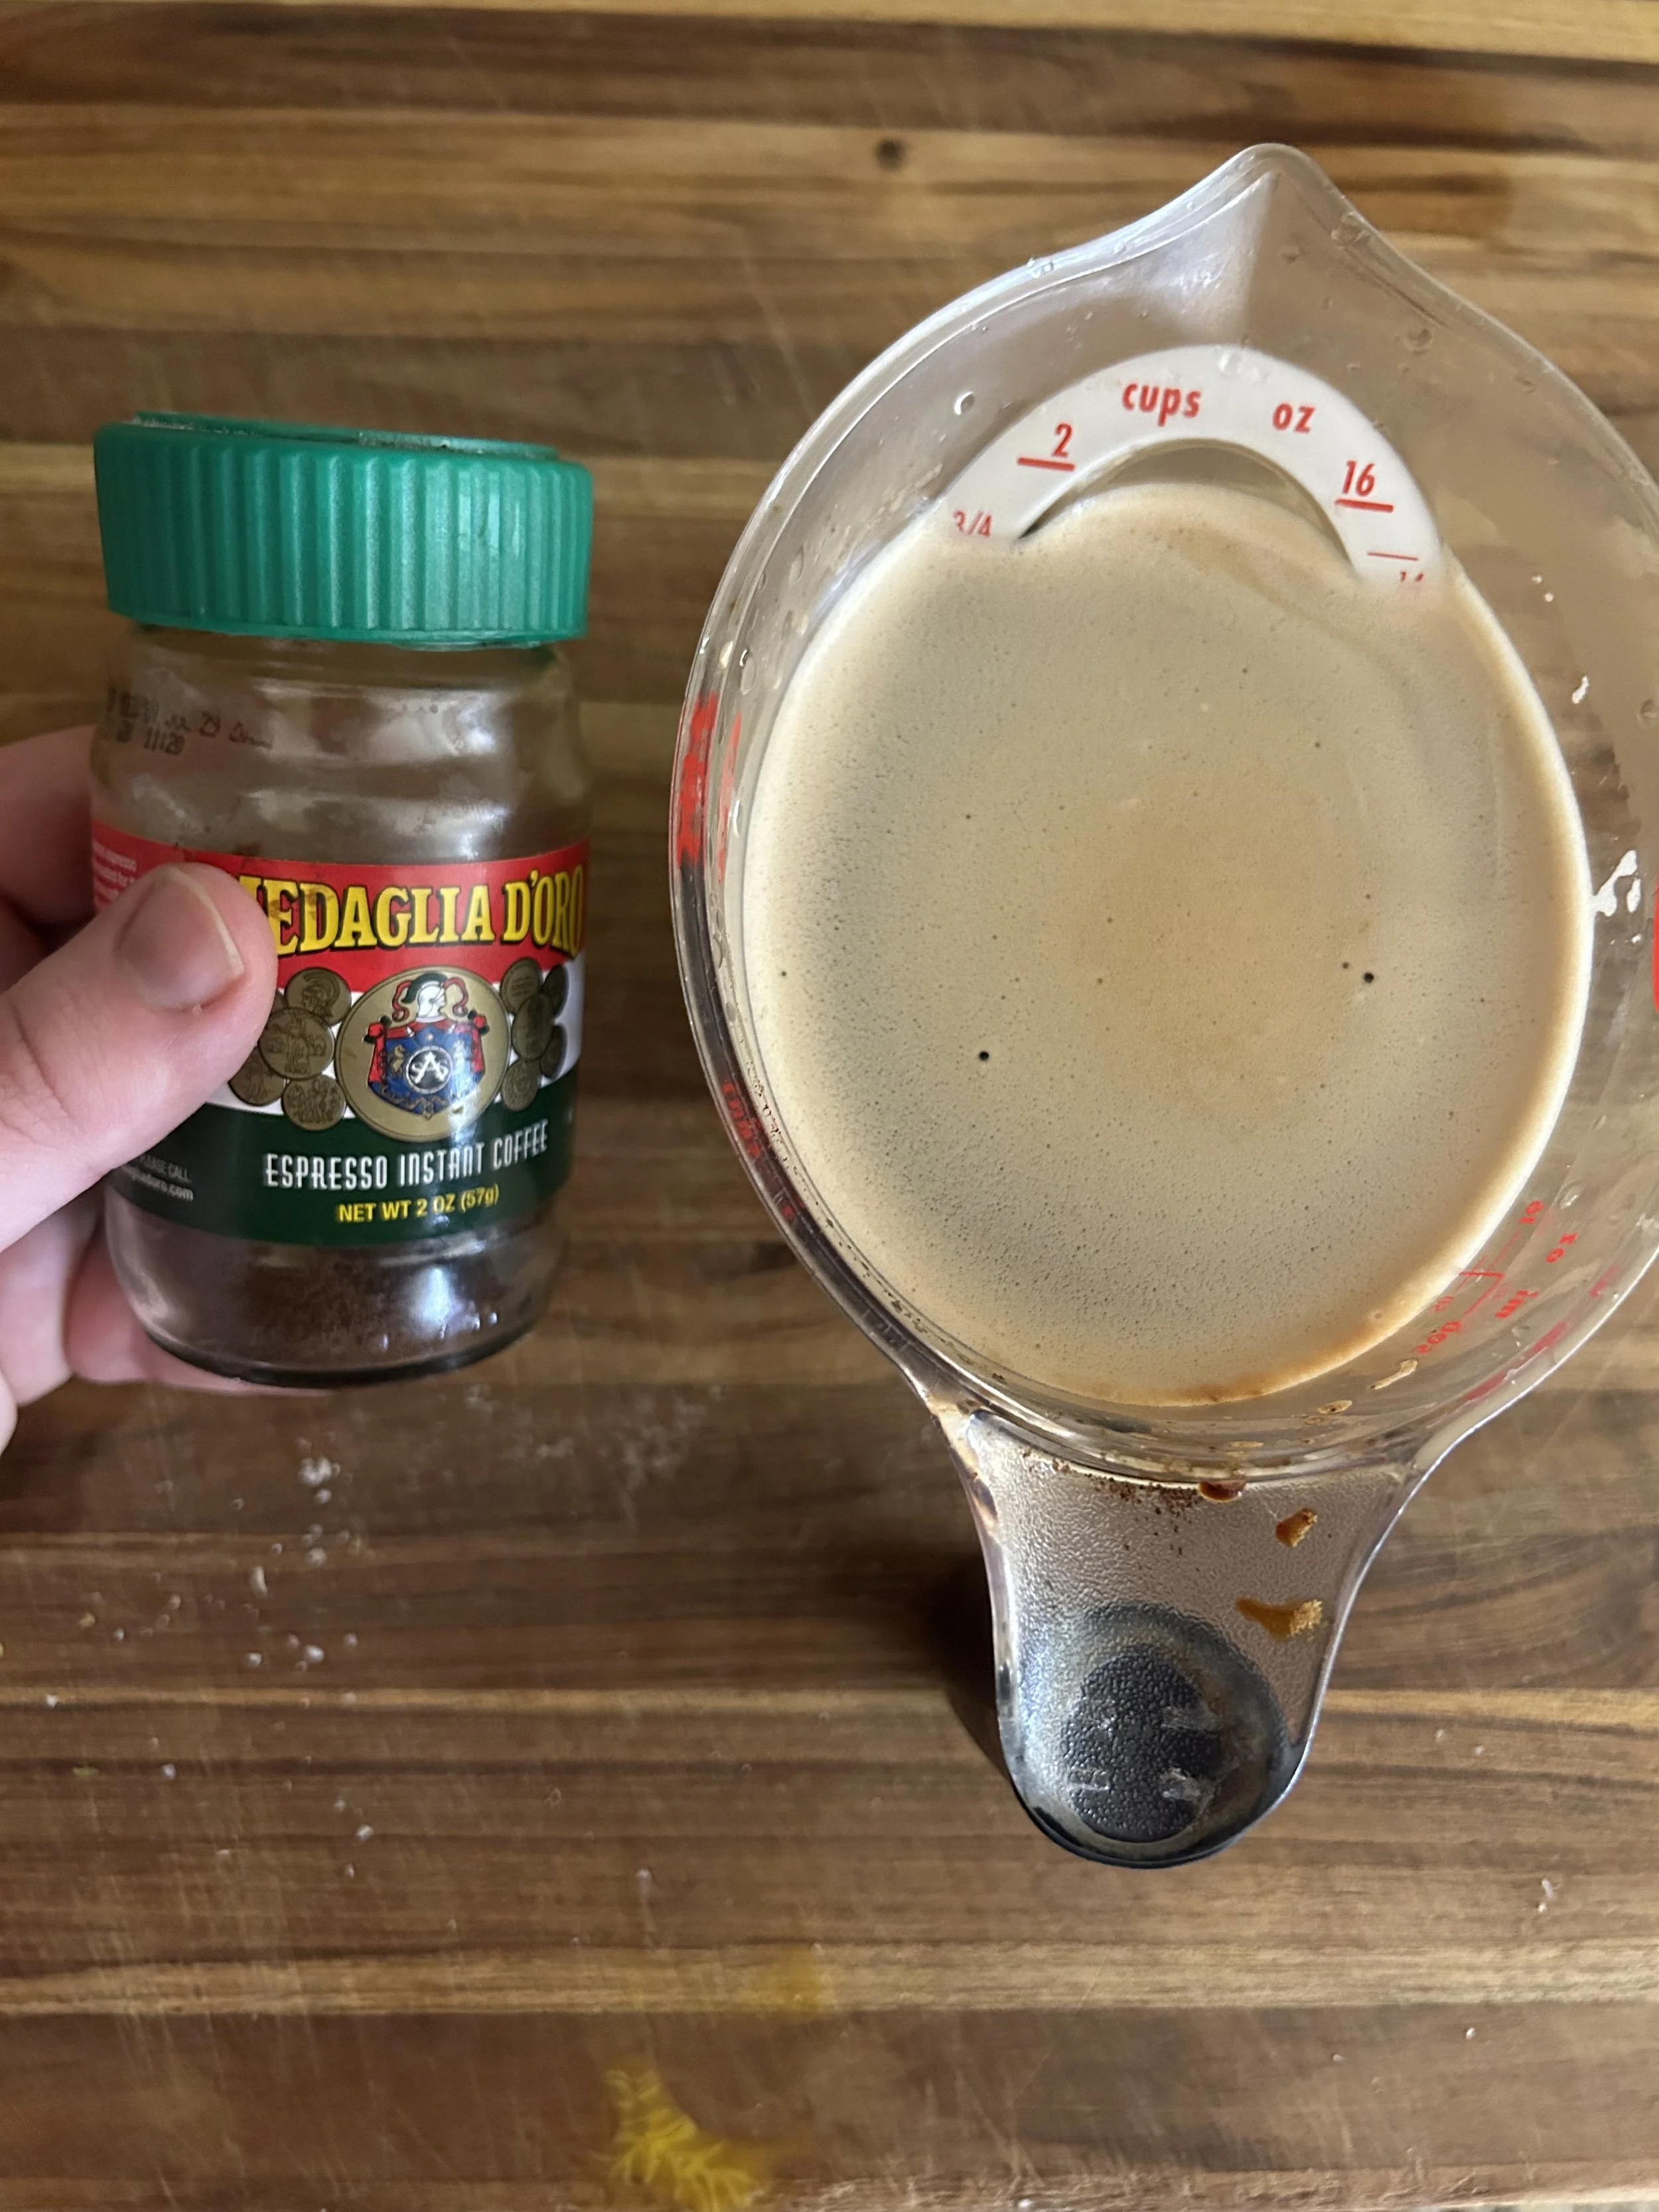
You could brew some strong coffee or espresso yourself, for that you’ll need 1 3/4 cups of it, but I will be going with some…wait for it…instant espresso powder.
Listen, I am not a coffee drinker, plus espresso powder is convenient and easy to use. All I did was mix 1 tablespoon of the espresso powder with 1 3/4 cups of hot water and put that aside to steep and bloom.
Also, since tiramisu does mean pick me up, I will also be adding 1/3 cup of rum! (I do not suggest serving this to kids.)
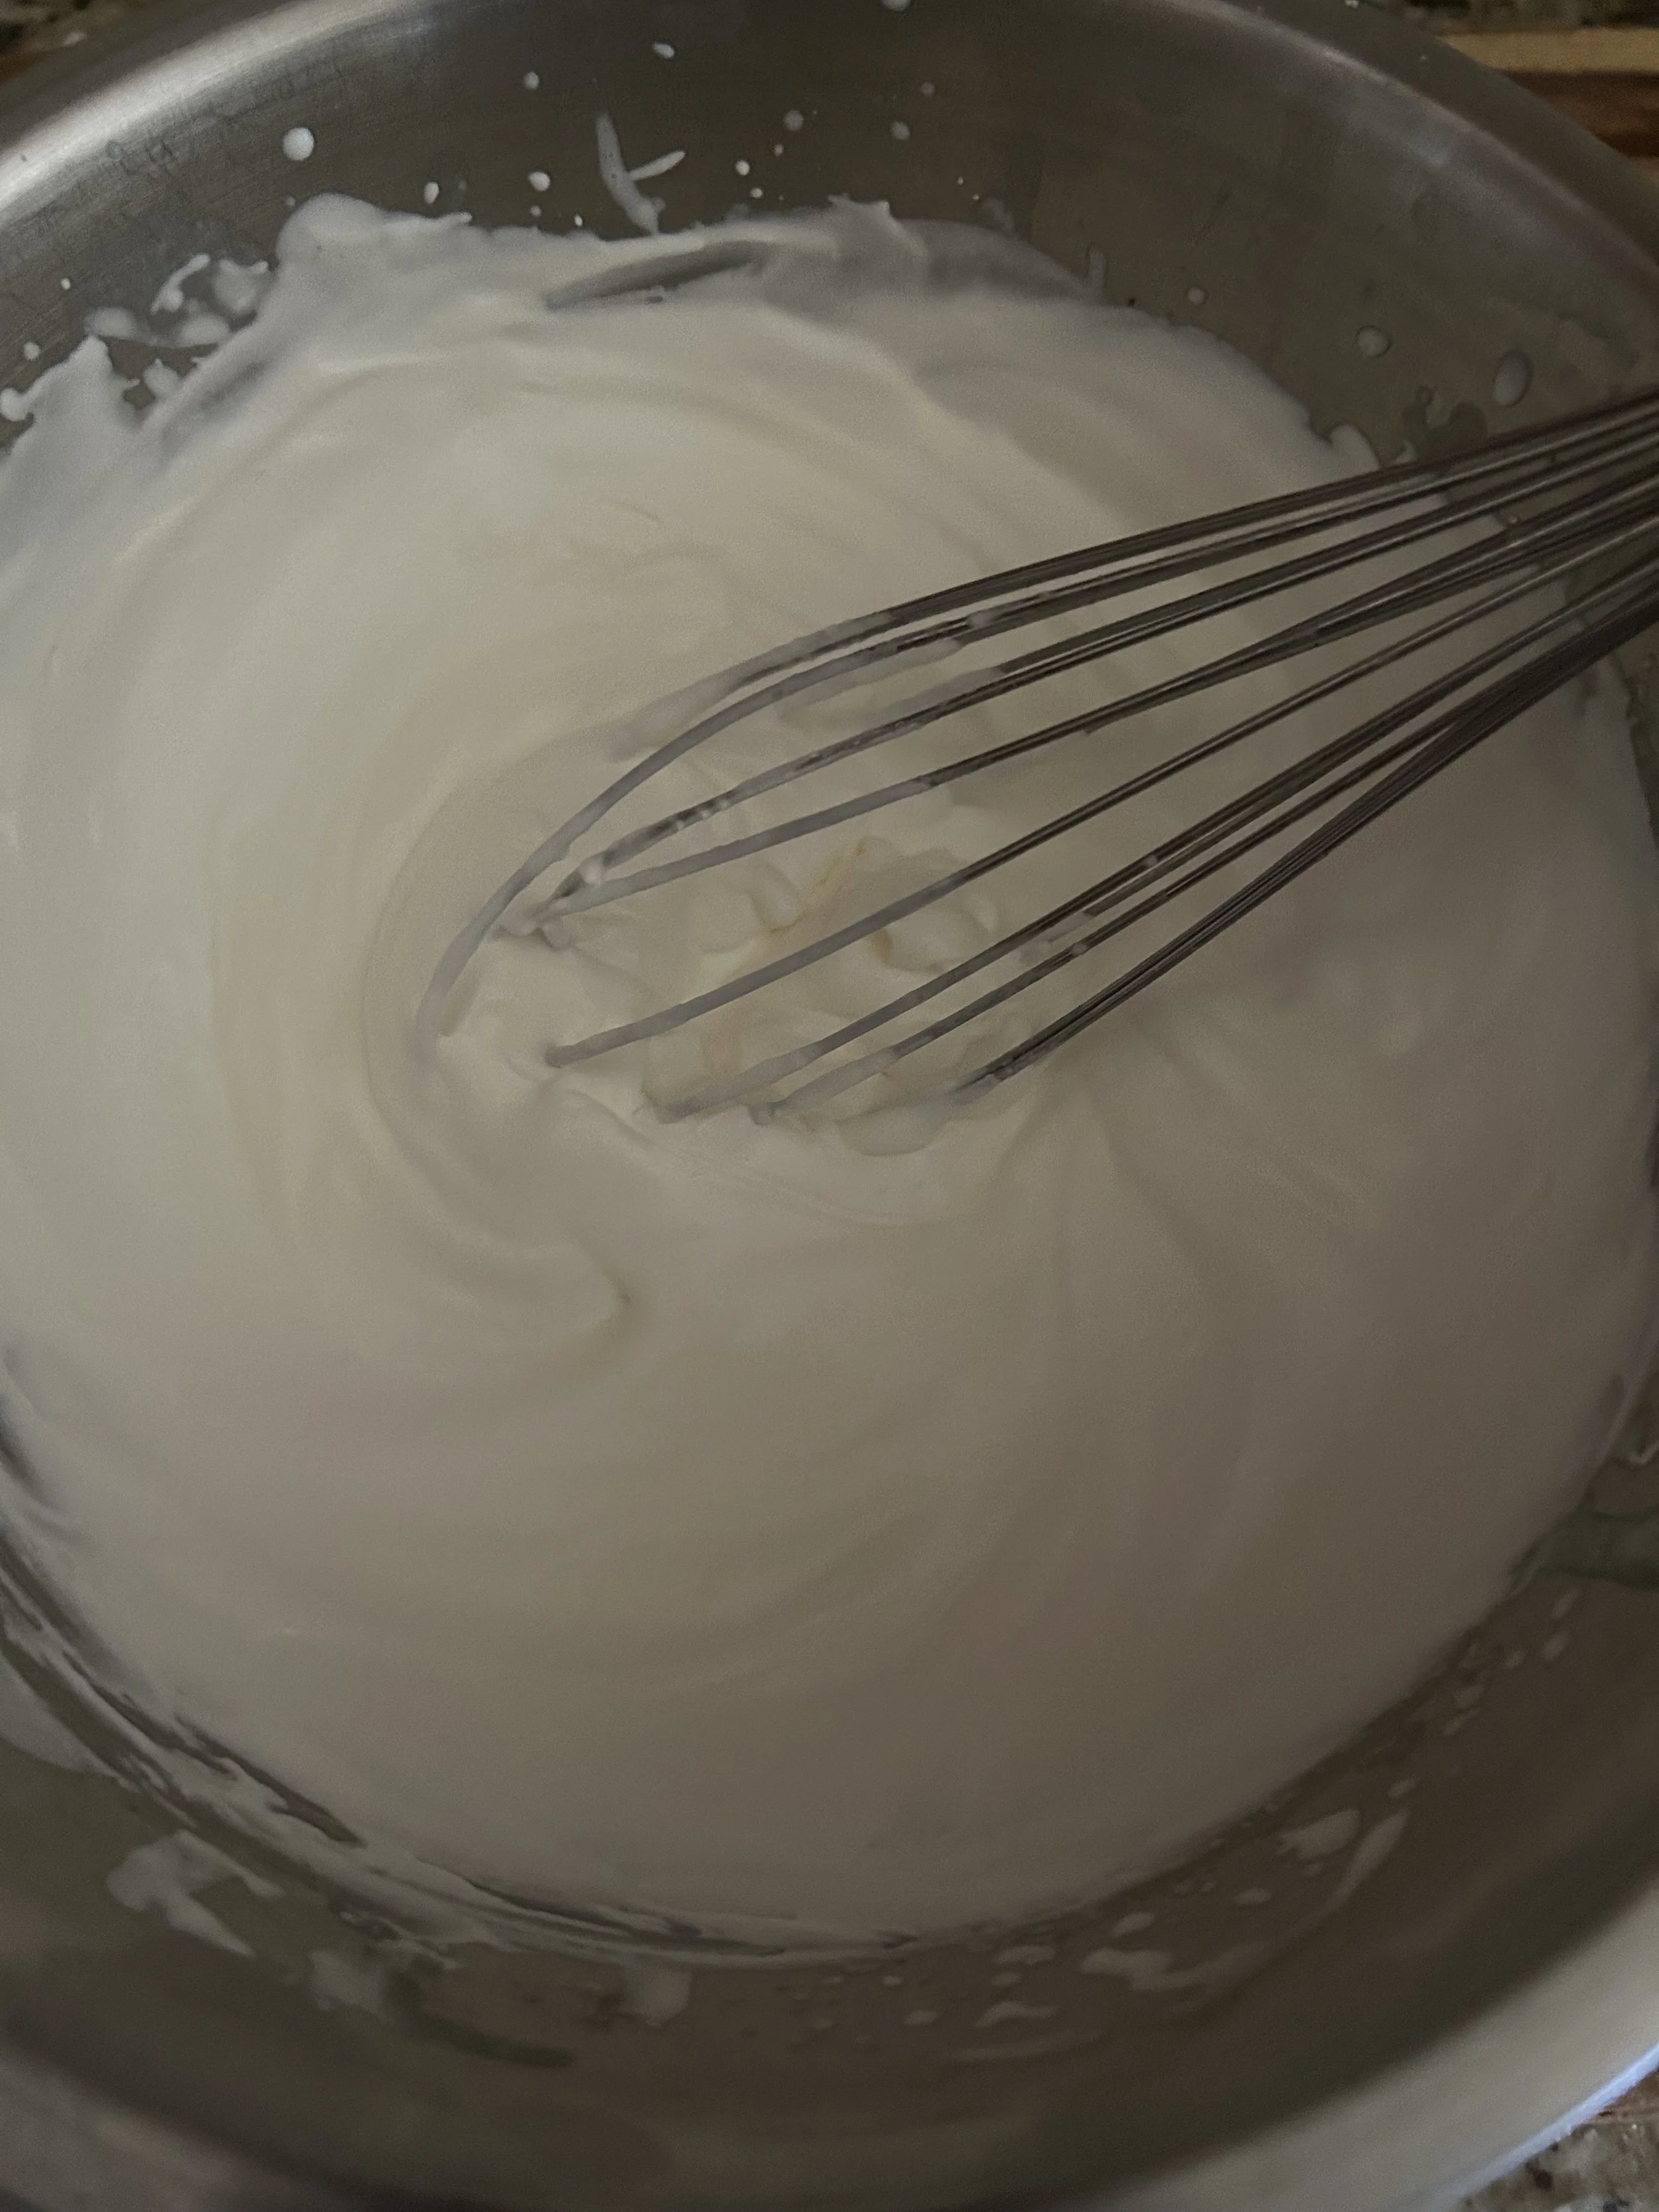
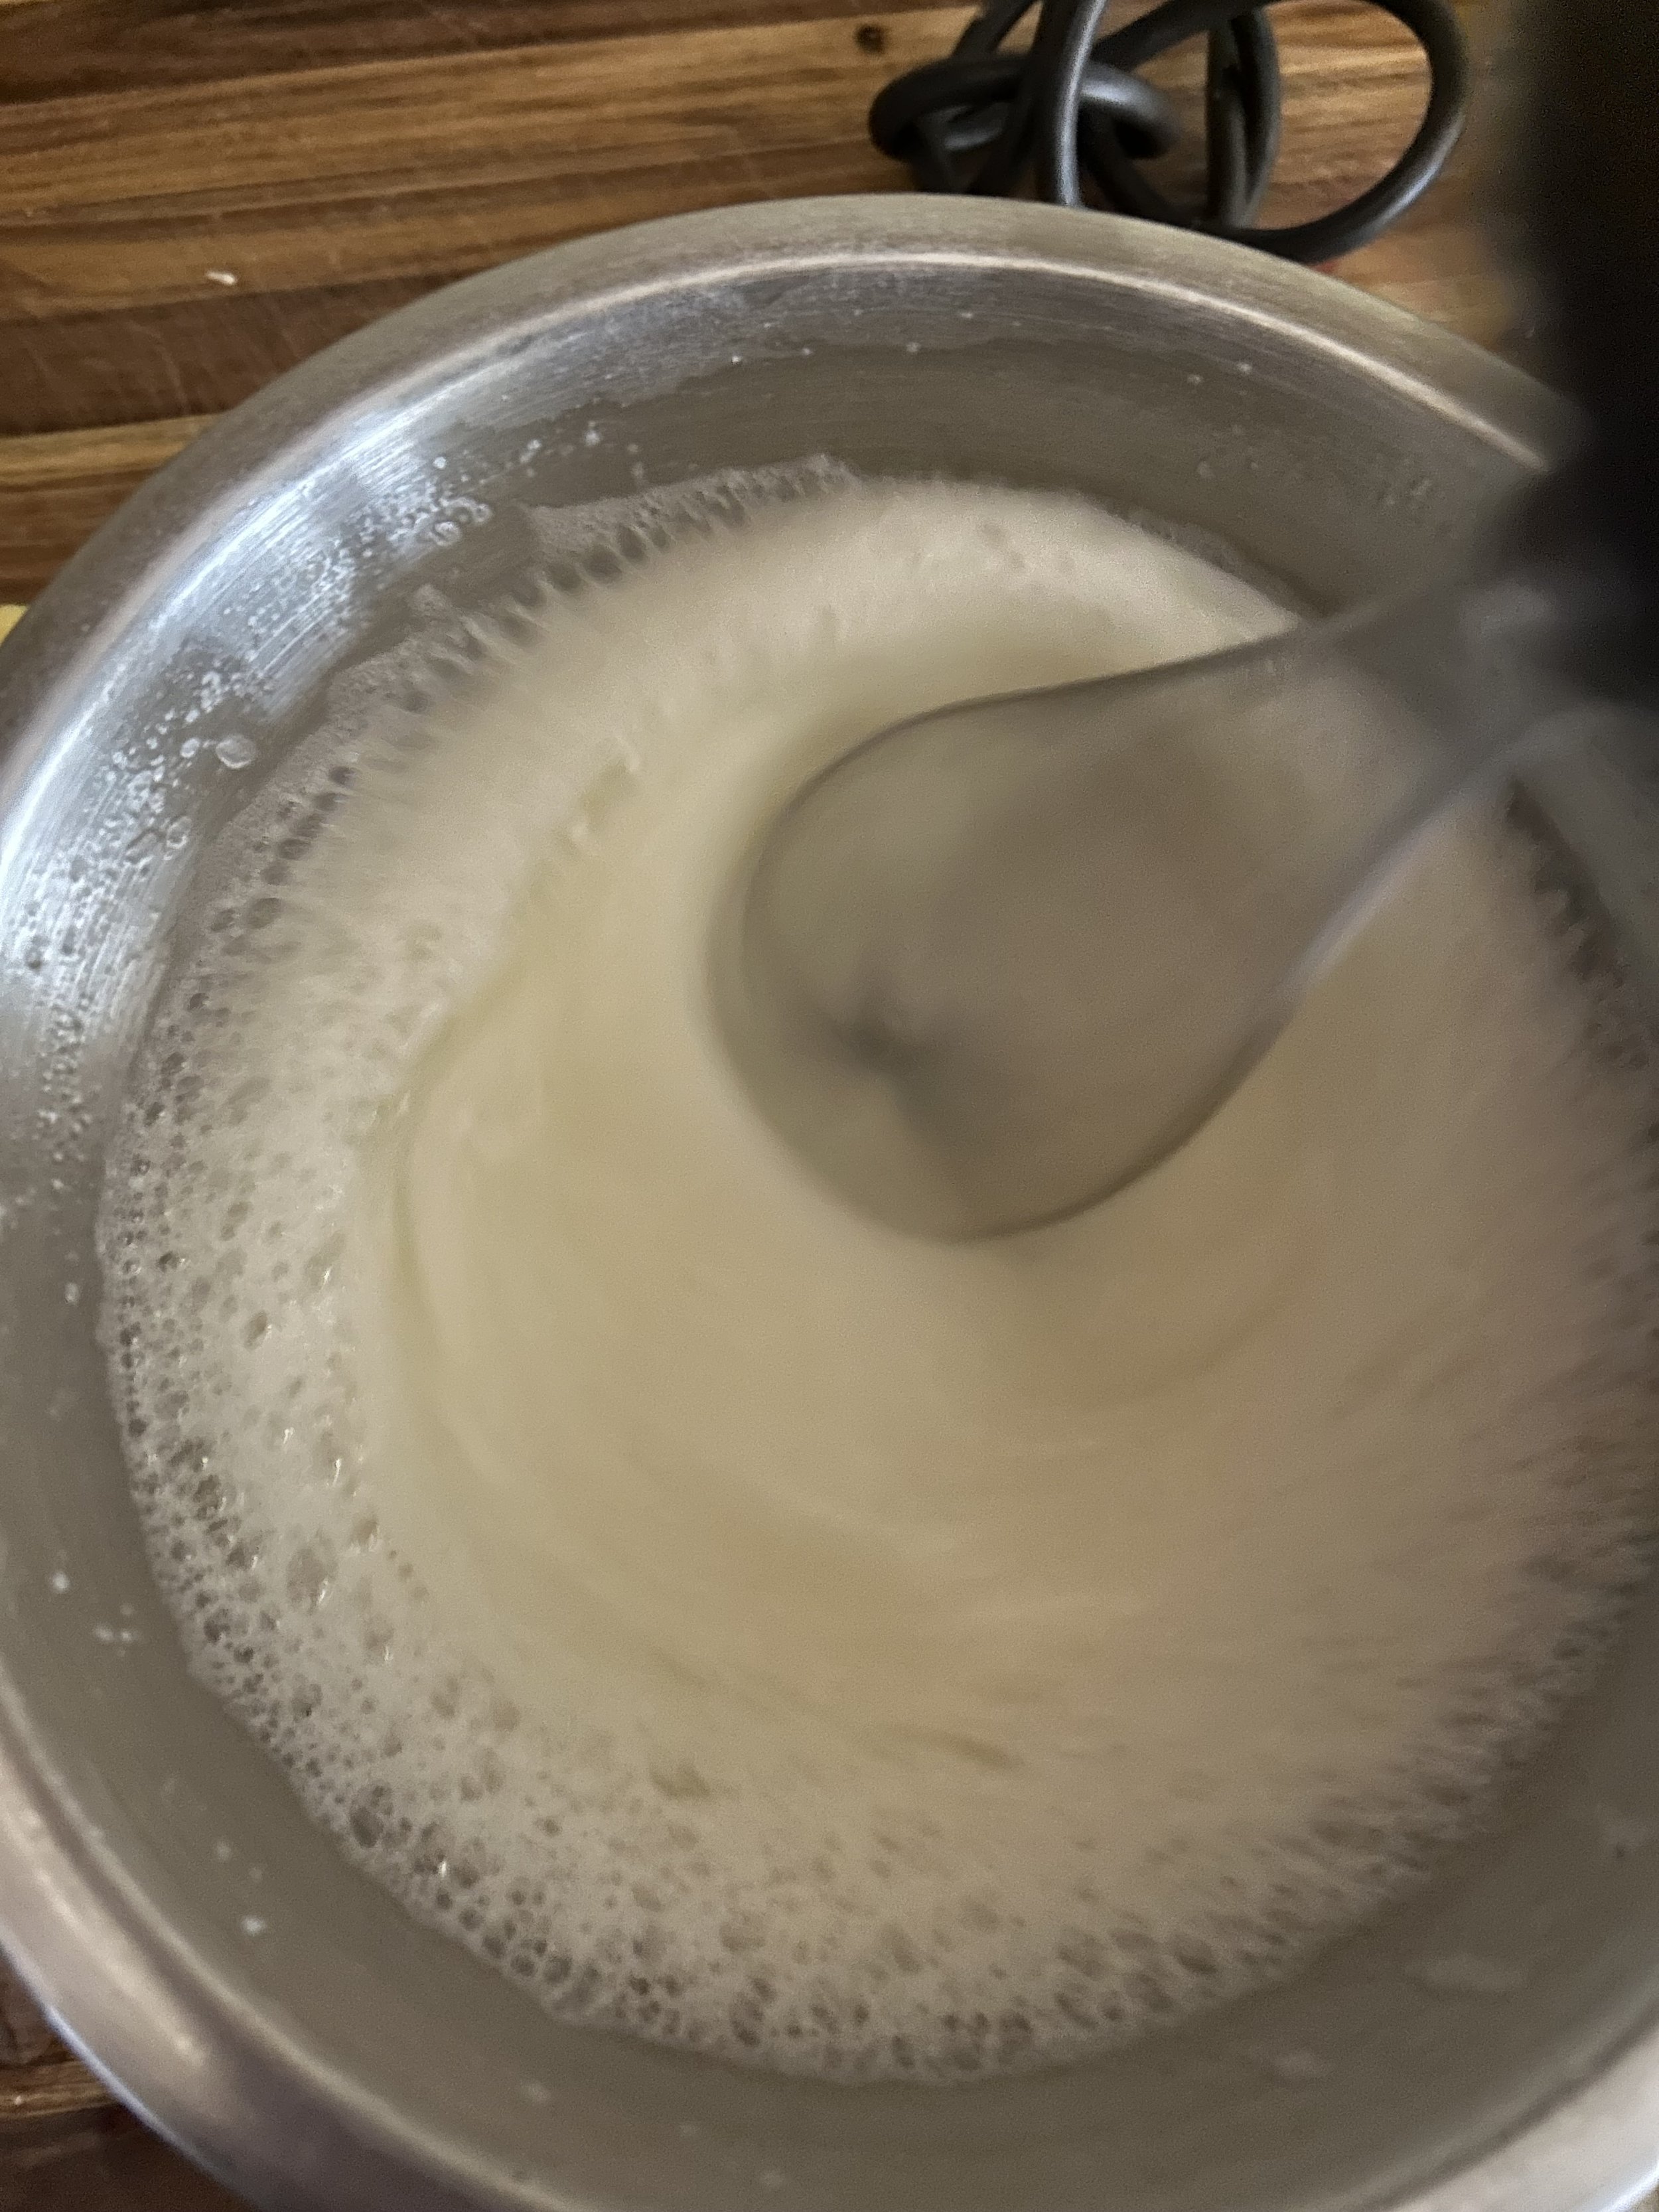
Once my custard was cooled completely, I then whipped up 1 1/2 cups of heavy cream with 1/4 cup of powdered sugar until it formed stiff peaks.
With whipping egg whites, I do prefer to do so with an electric mixer, but for whipping cream, I like to do it by hand as I find that it’s easier to over-whip the cream when you use a mixer, and over-whipped cream is basically just butter.
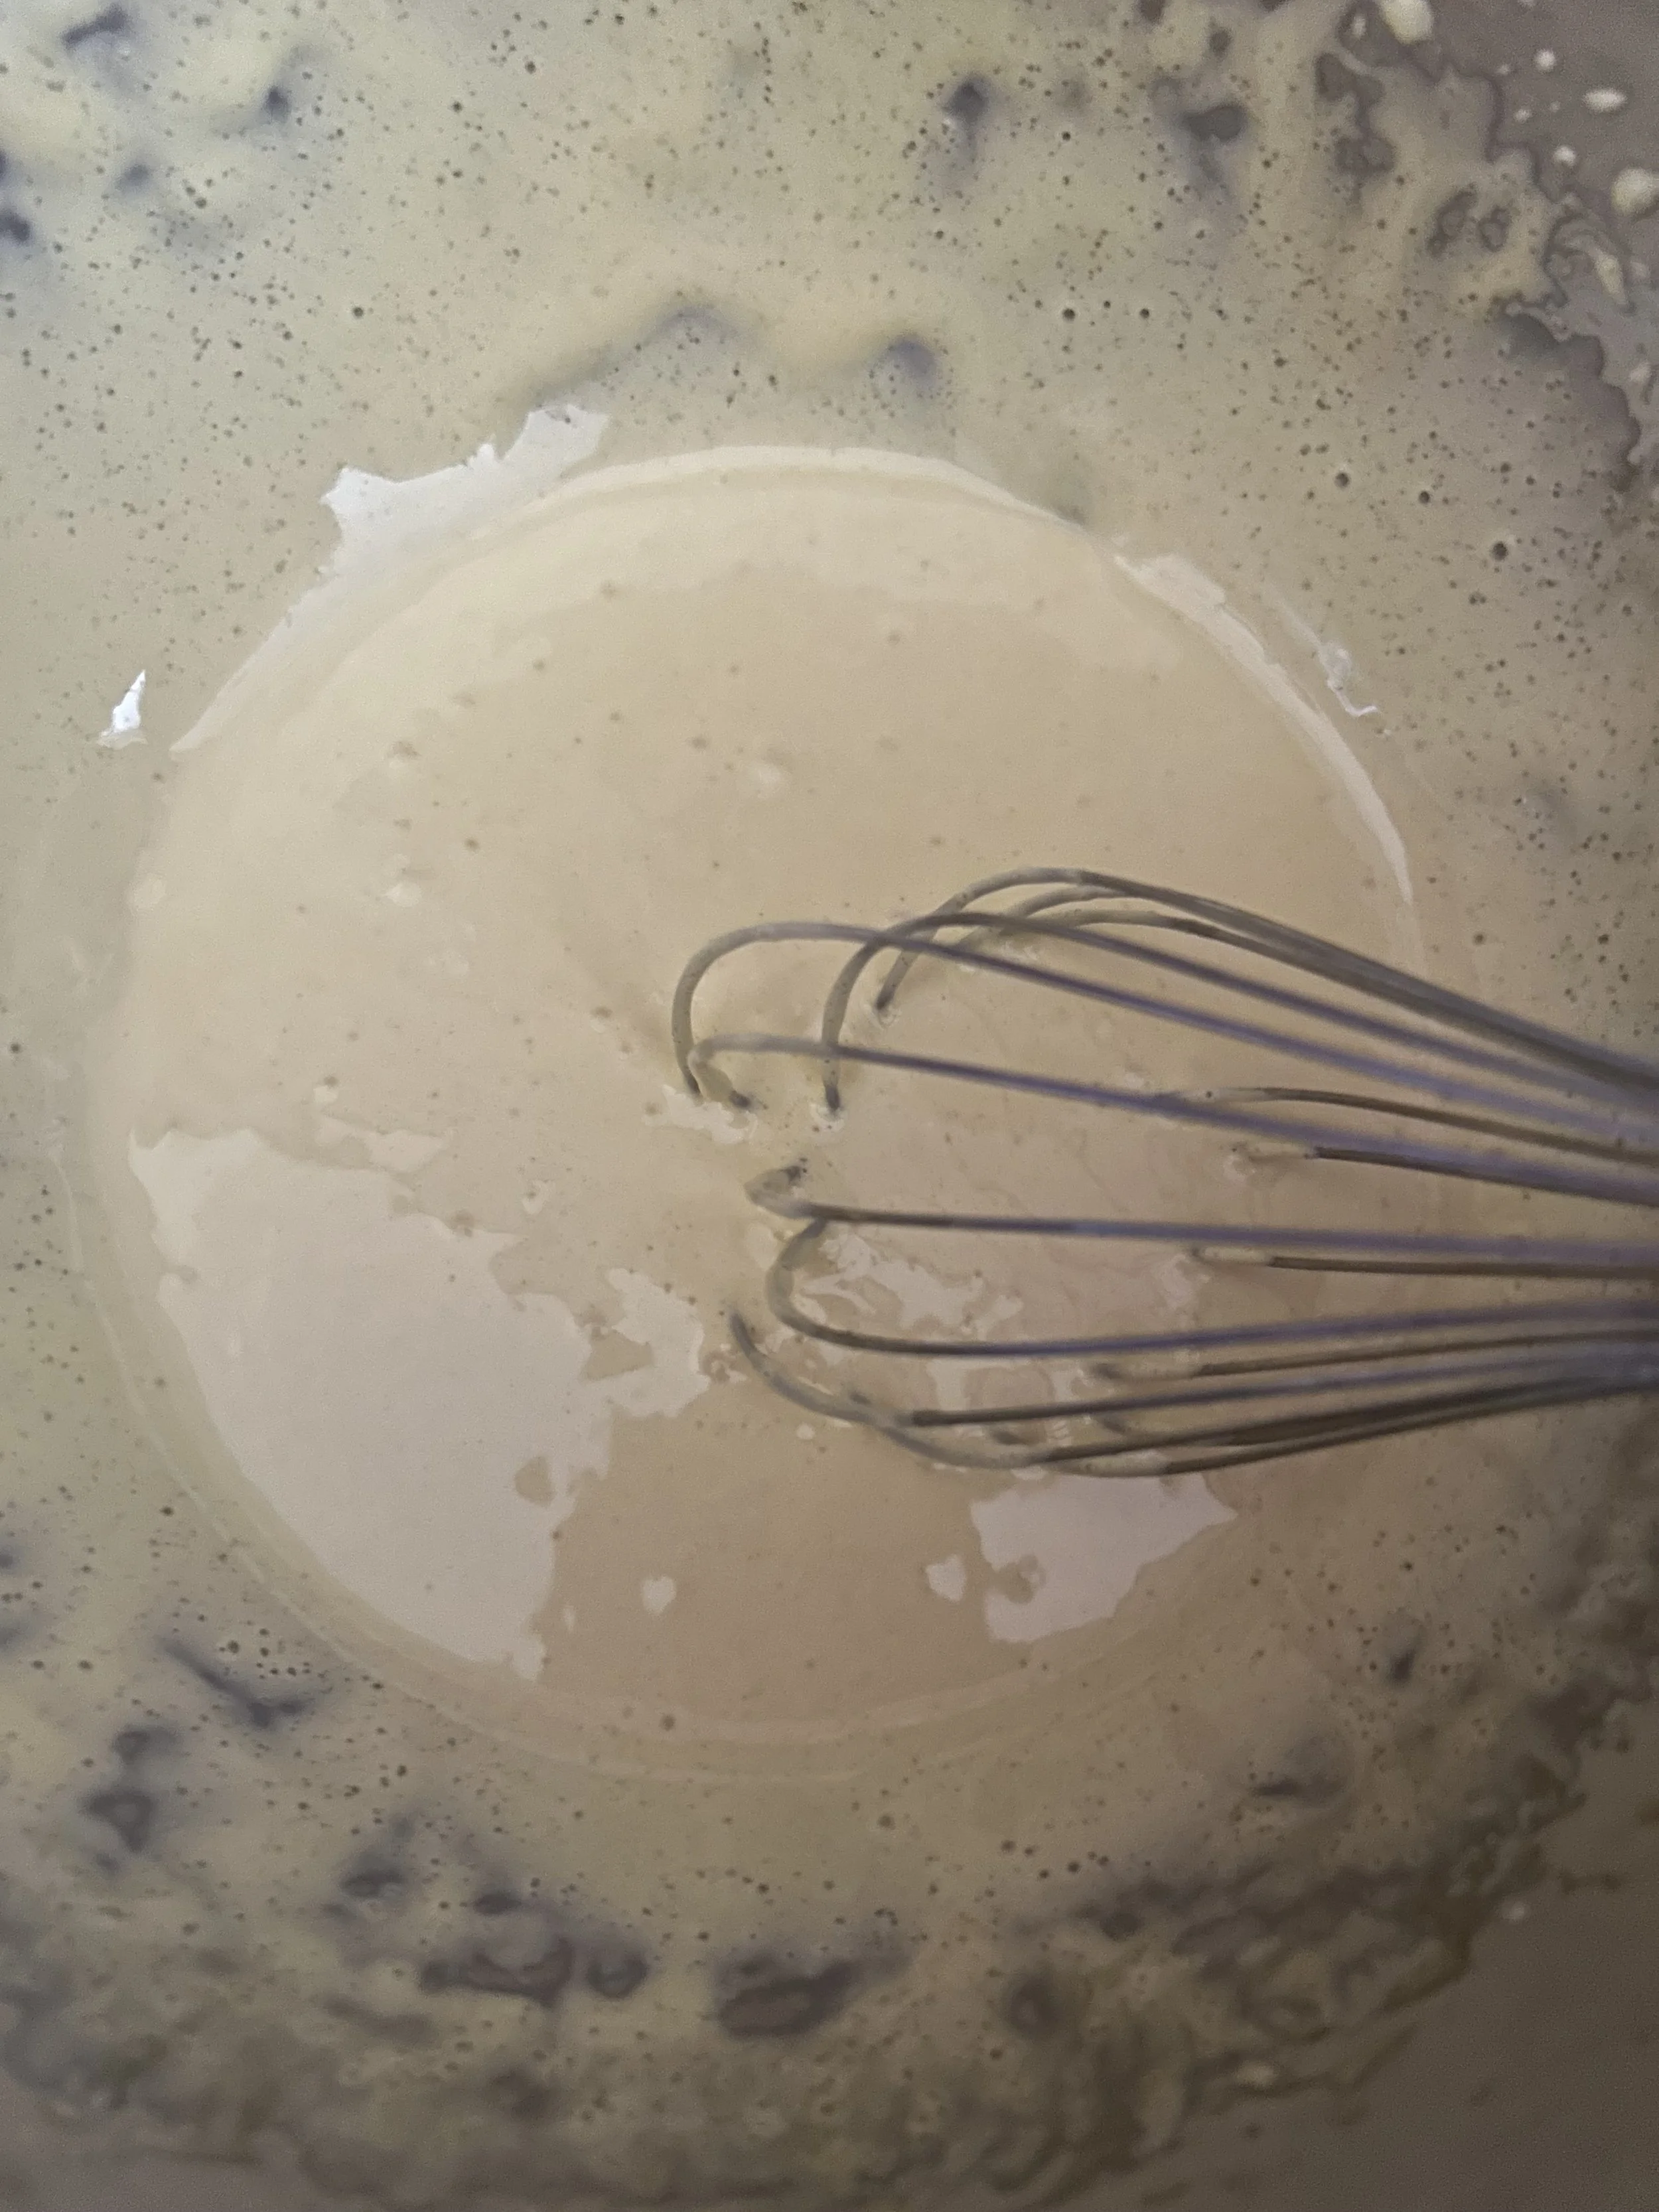
Once the cream was whipped, I then took my cooled custard out of the fridge and whisked in 2 teaspoons of vanilla extract and 16 ounces of mascarpone cheese.
Mascarpone is a thick, soft, creamy cheese from Italy that is essential for classic tiramisu. I don’t think anyone can call it tiramisu without it. In fact, on the container for mascarpone, it does say ‘for tiramisu and more’.
Right away, you’re going to see how much lighter in color the mascarpone has made the custard. I do suggest taking the mascarpone out of the fridge for about 5 minutes before mixing it into the custard, as it’ll be softer and easier to incorporate.
I then folded about a quarter of my whipped cream into the mascarpone custard to loosen it a bit and help it mix into the cream better.
I then pour the custard into the whipped cream and proceeded to fold the mixture until it was combined evenly.
And now comes the fun part, assembling my tiramisu.
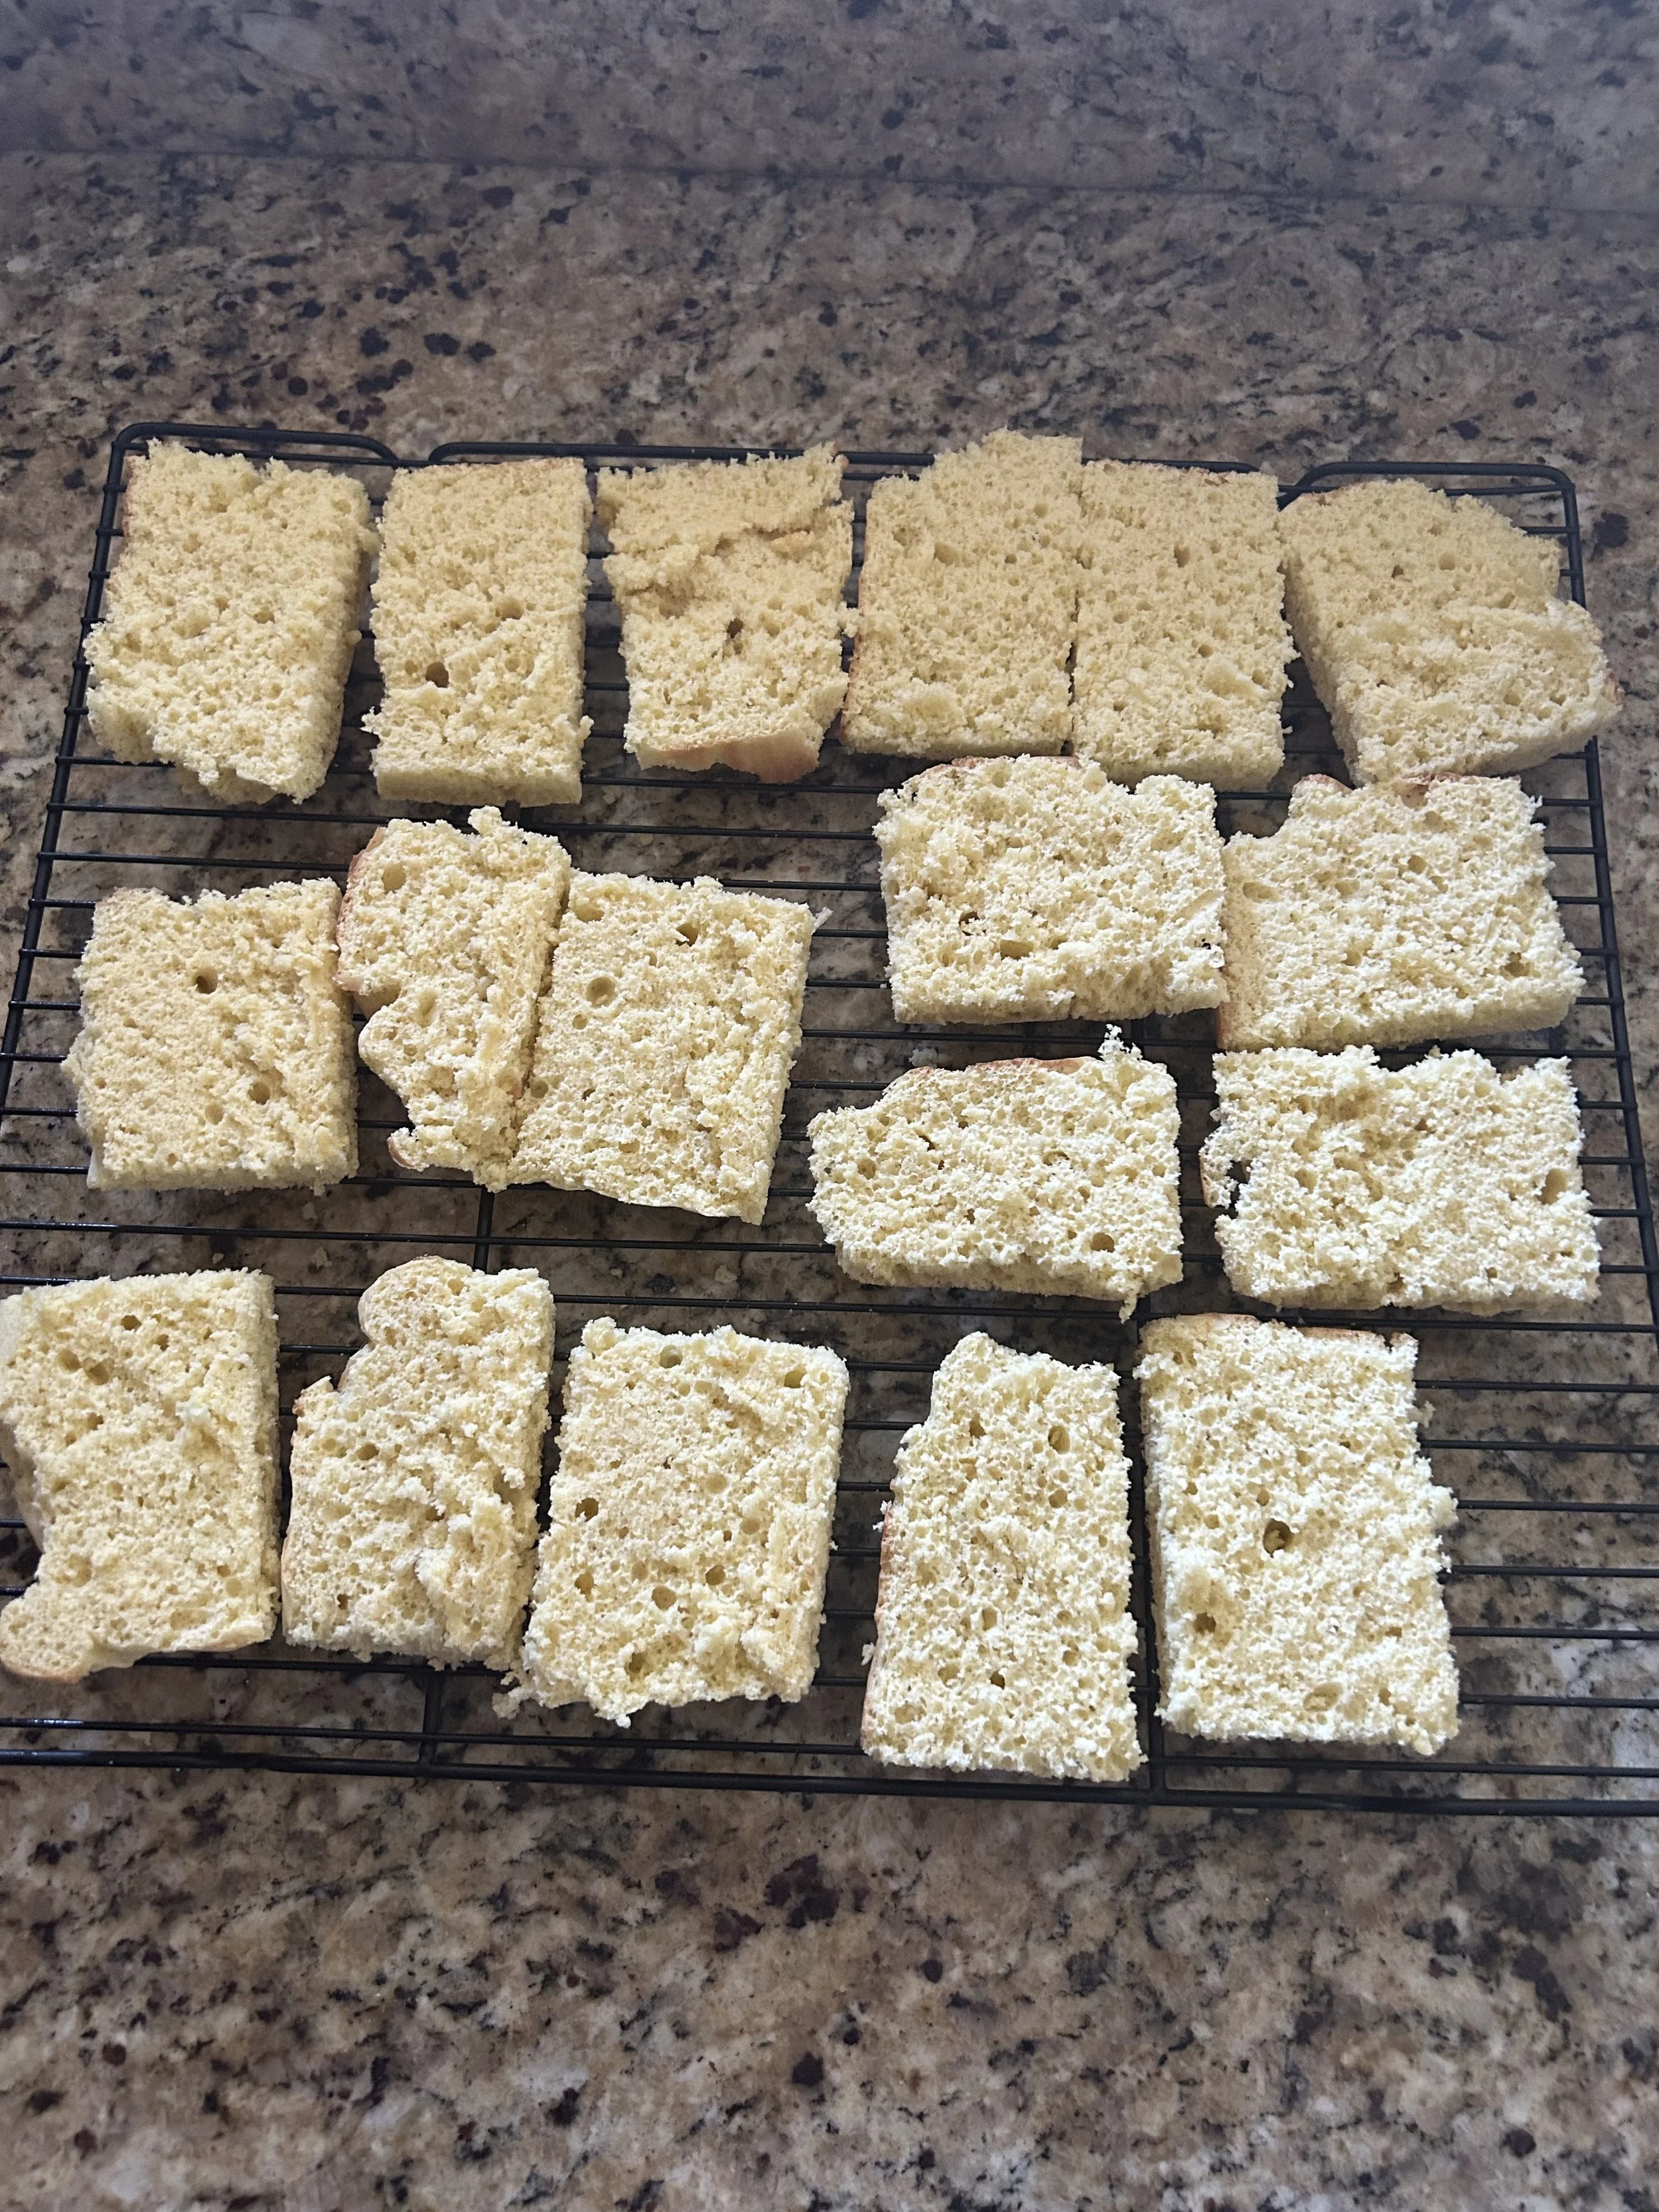
So, I will admit, I could’ve done a better job with dividing the batter for my ladyfinger sponge into the two pans, so as a result, I did get one cake that was twice as thick as the other.
Not to worry, I knew how to fix that.
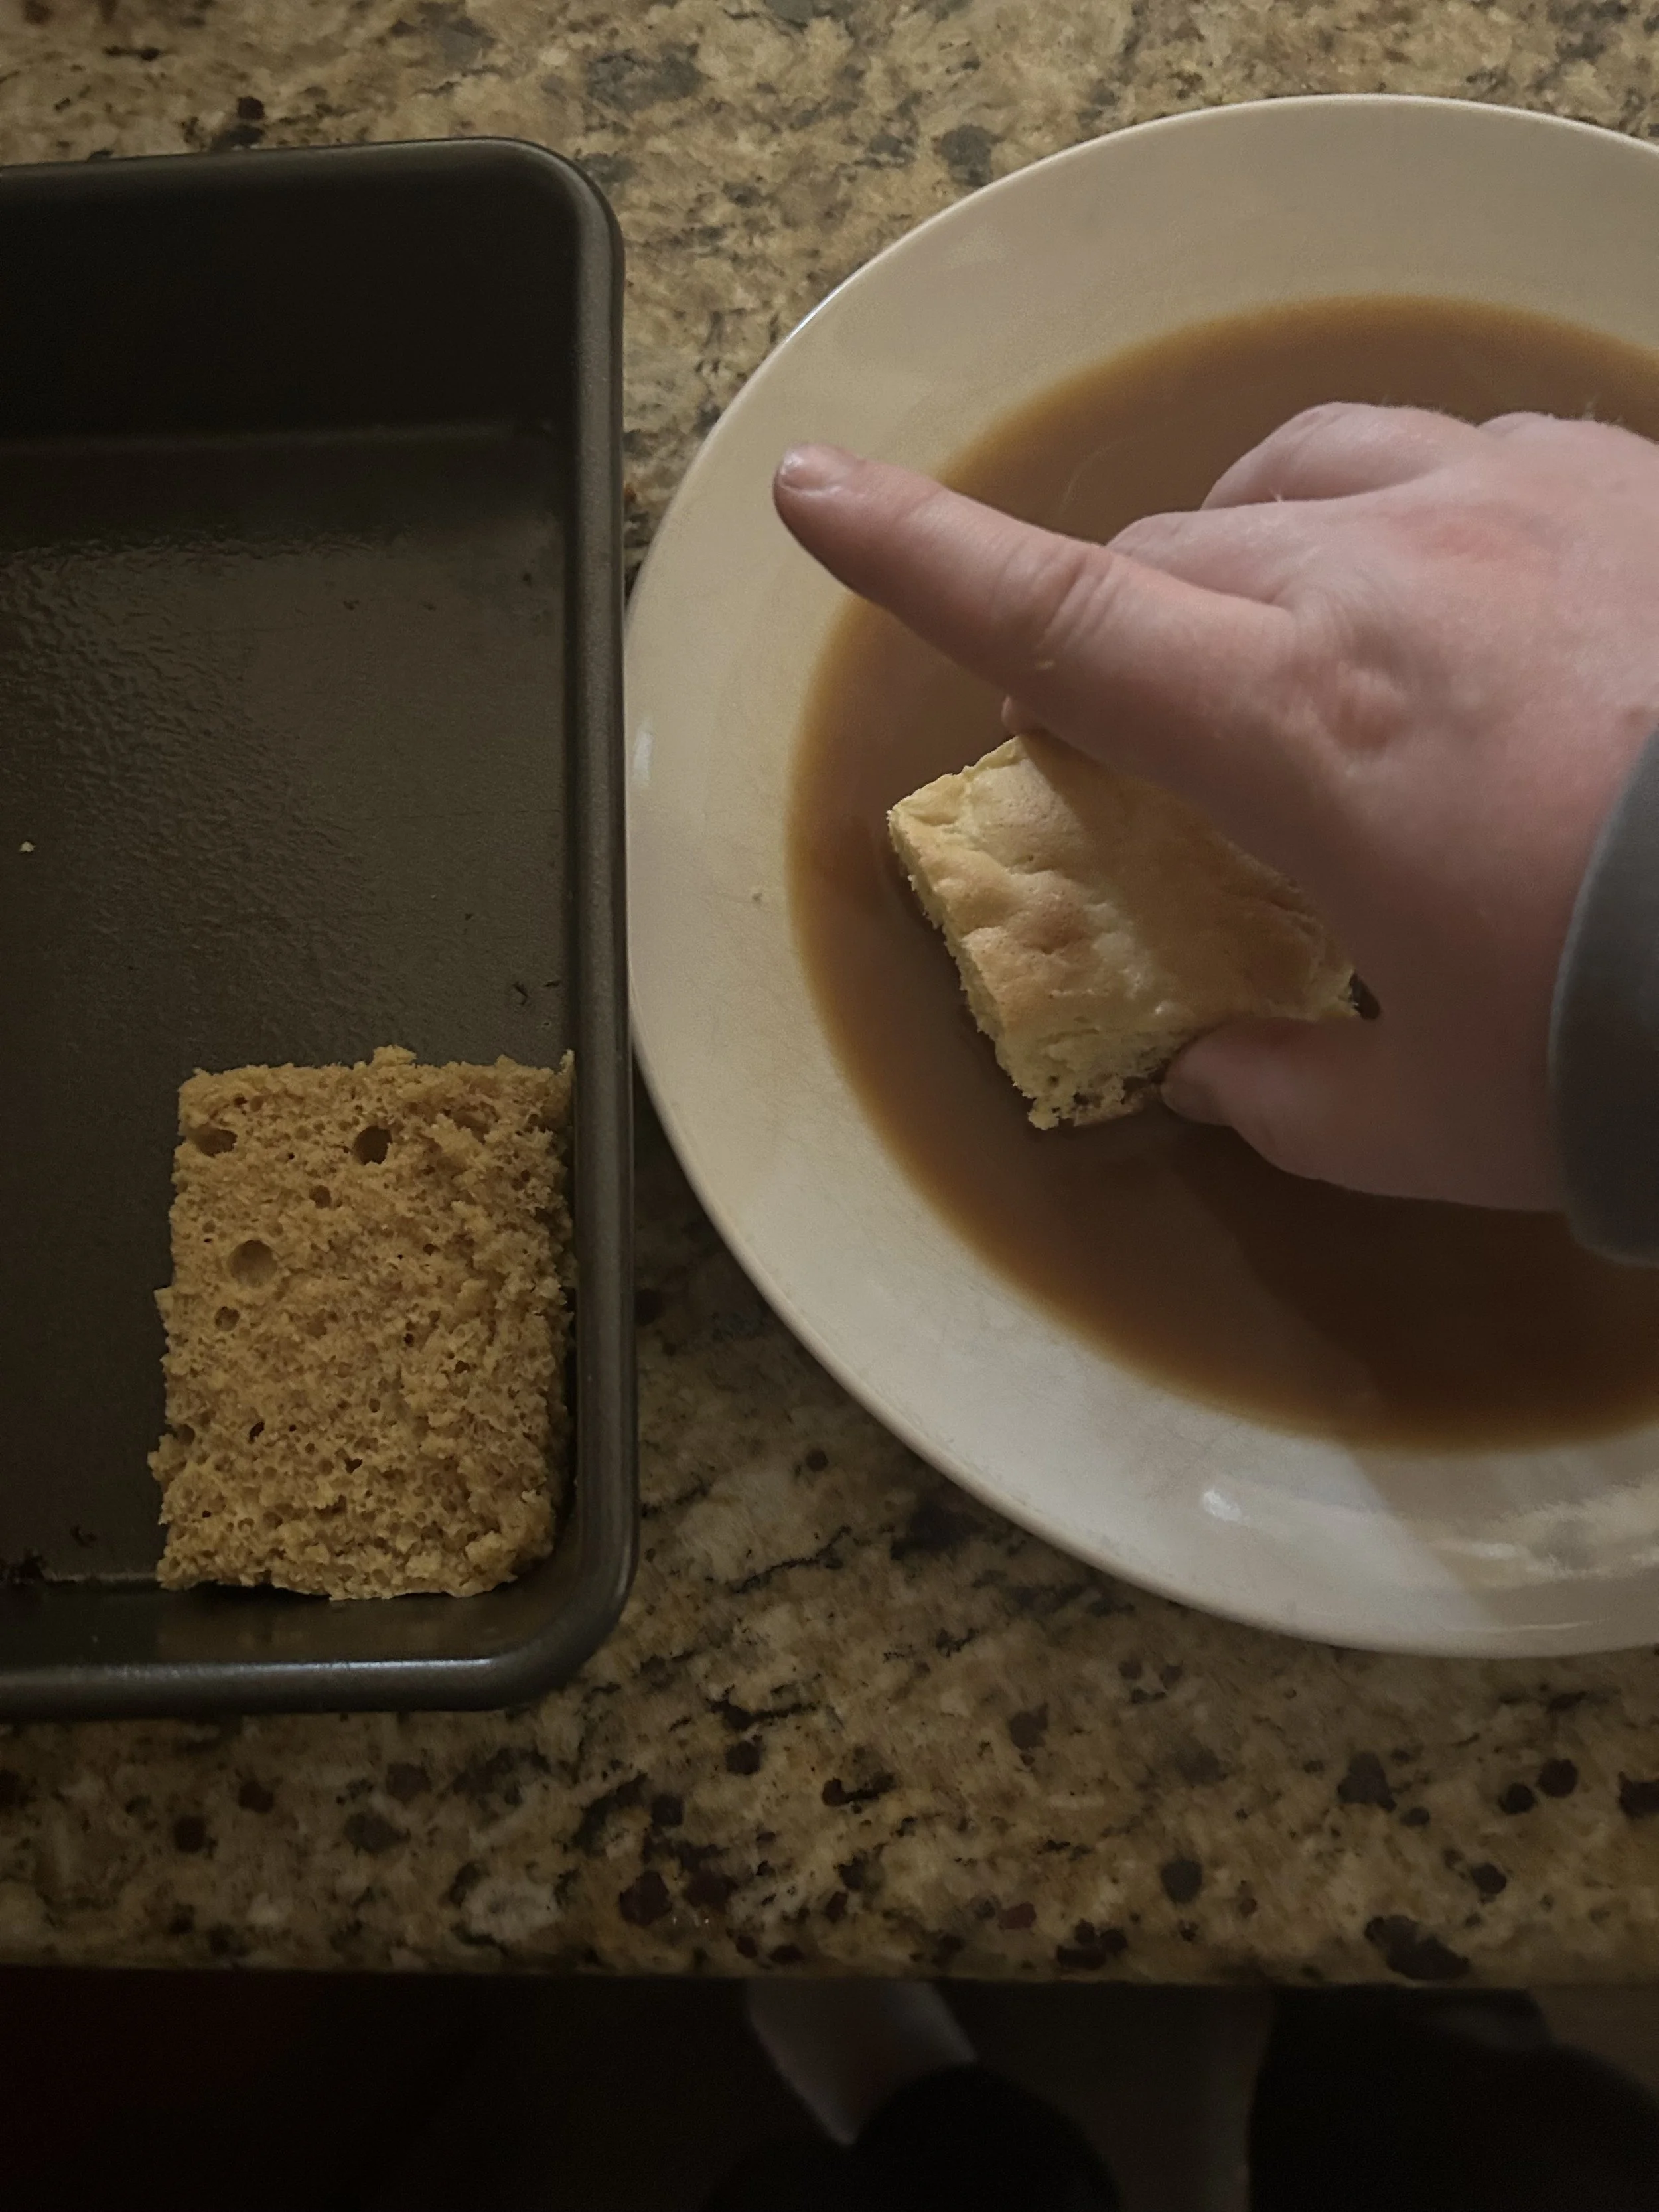
I cut the thicker cake into 6 pieces then cut those pieces in half, crosswise. I also cut the thinner cake into 6 pieces and trimmed off a bit at the top to make the thickness more uniform, creating 18 pieces of cake that were all begging to be made into tiramisu.
To start assembling, I pour my coffee-rum mixture into a plate and, one by one, dipped a piece of my ladyfinger cake into the coffee for about 5 seconds, until it was partially absorbed, before placing it into a greased 9x9 square cake pan.
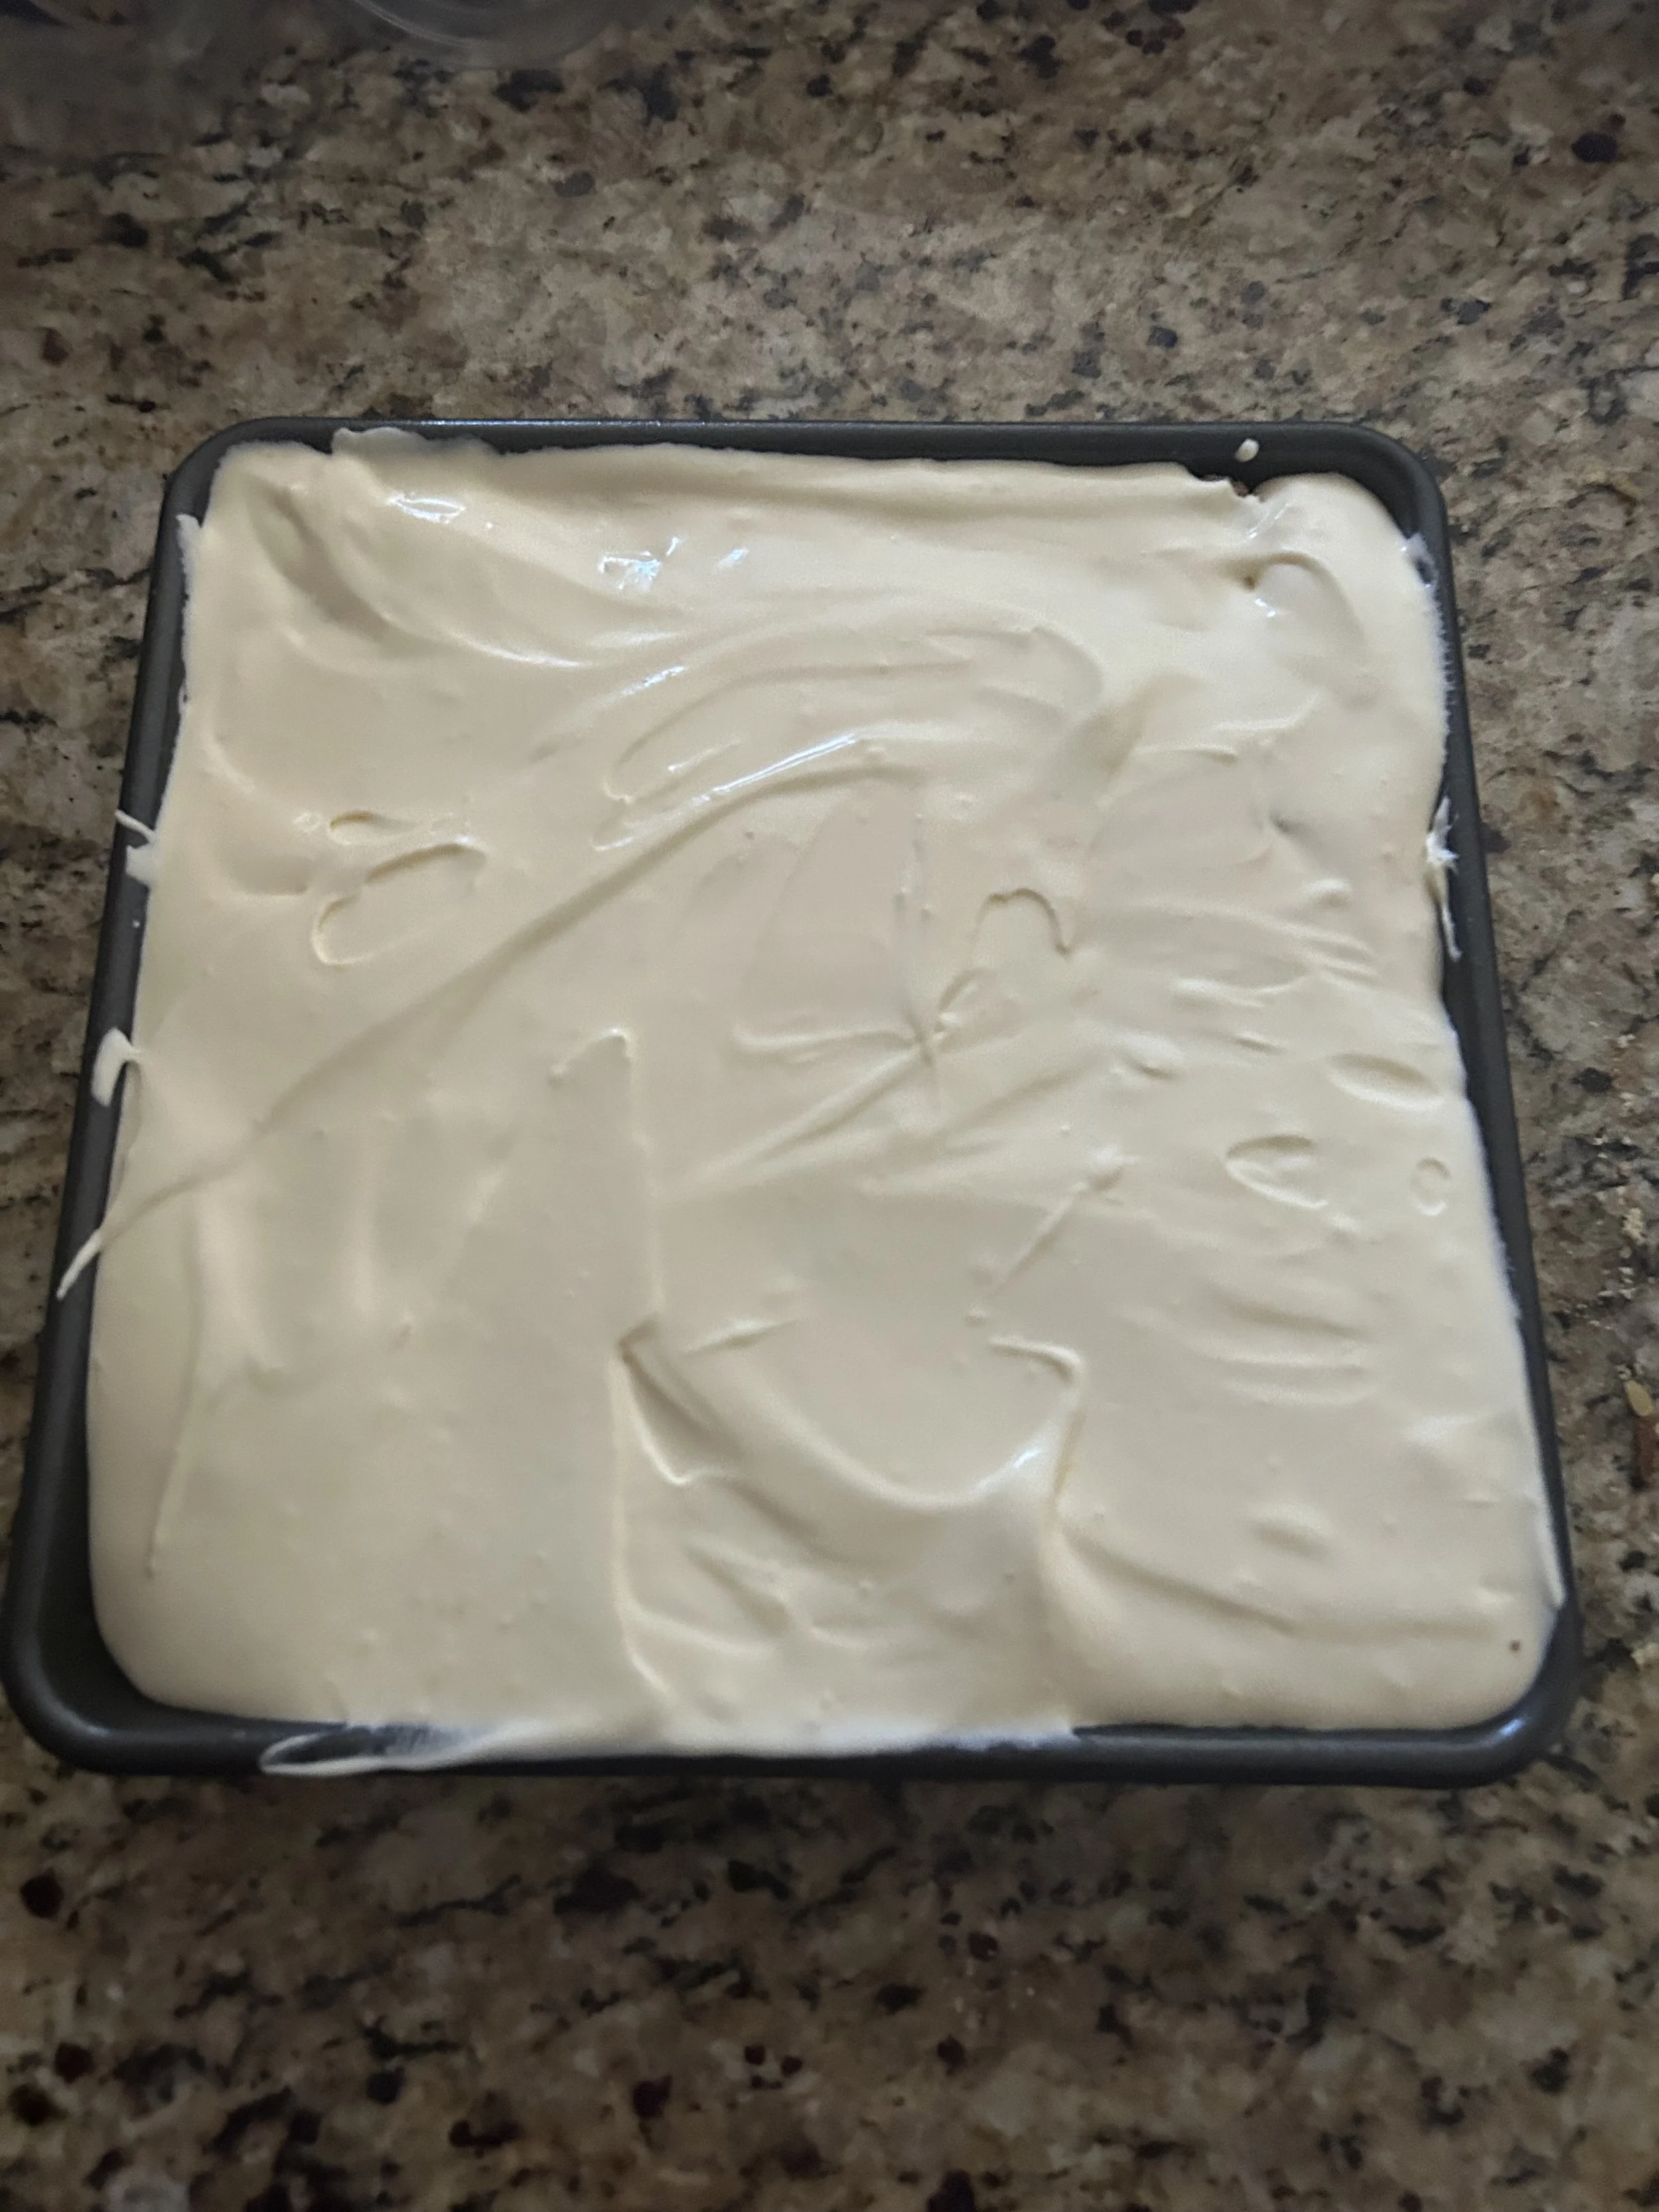
I repeat this with half of my ladyfingers until the bottom of the pan was lined. I then cover my ladyfingers with a generous layer of my mascarpone cream, making sure to spread that evenly, and repeat with the remaining cake and more of the cream until the pan was completely filled.
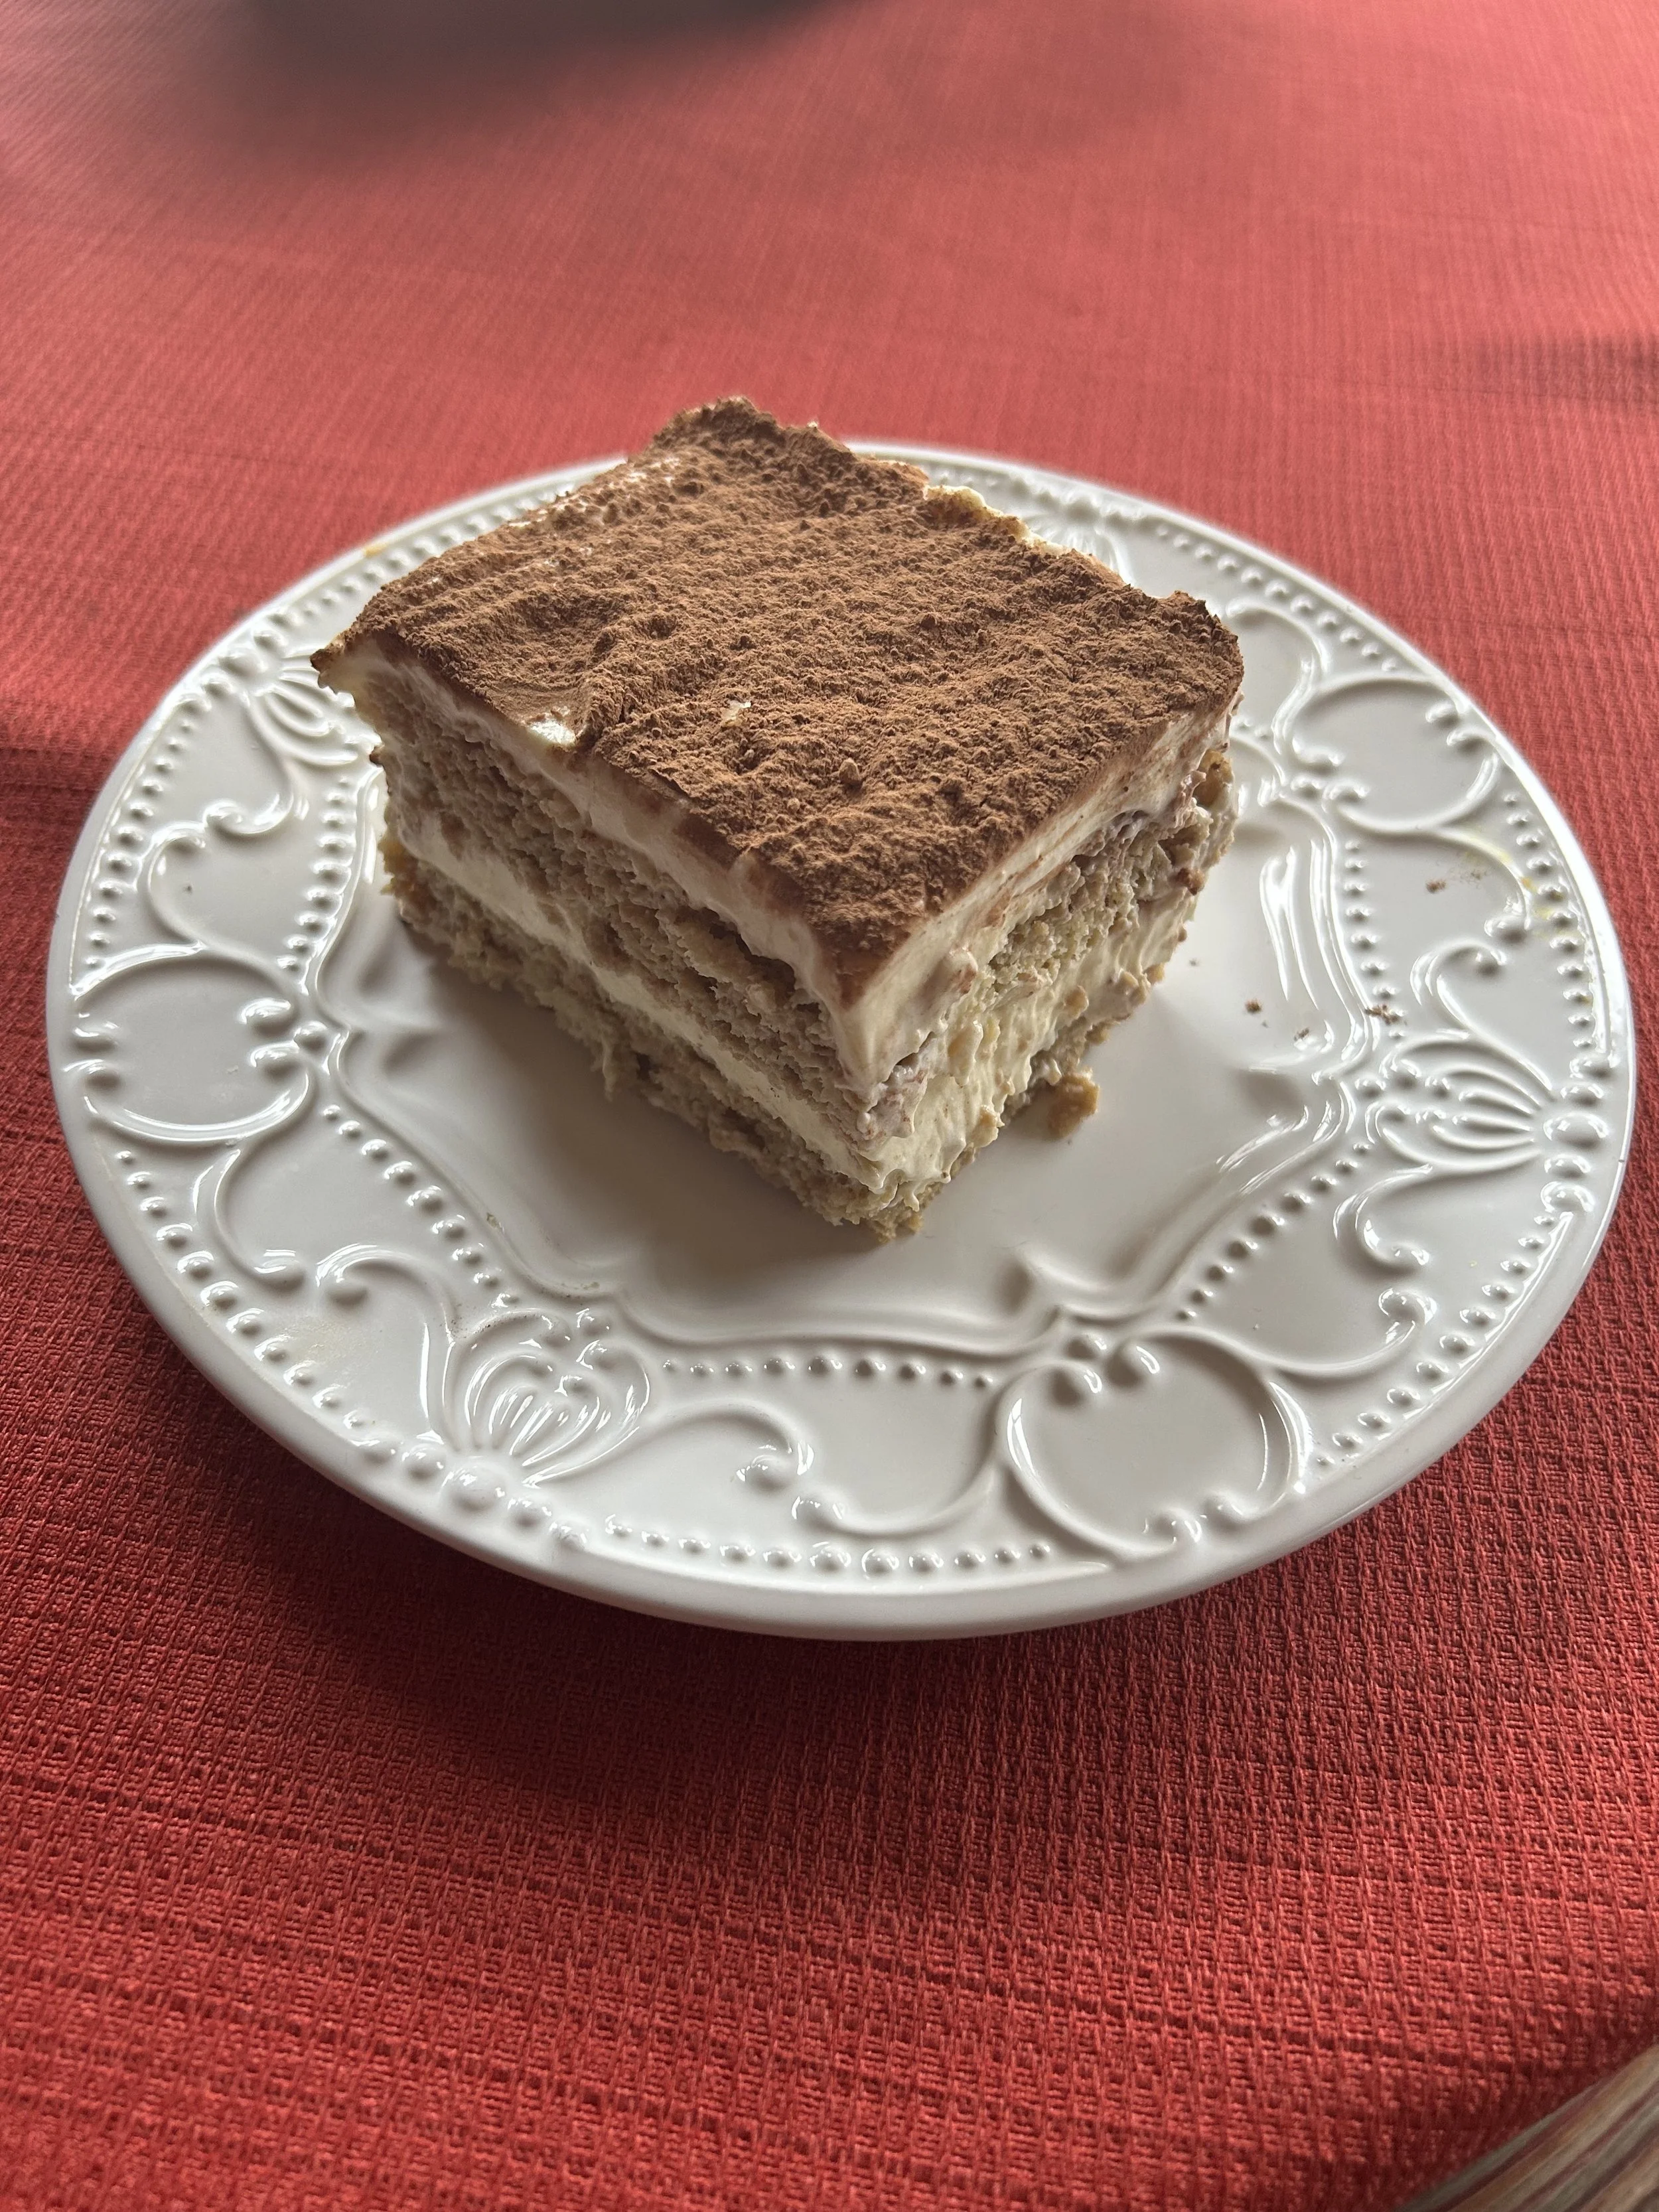
As amazing as this looks, it is now time for the hardest part of making tiramisu, waiting for it to chill. I will cover it with plastic wrap and let it chill overnight so that when I cut a portion out of it, it will come out as a beautiful piece.
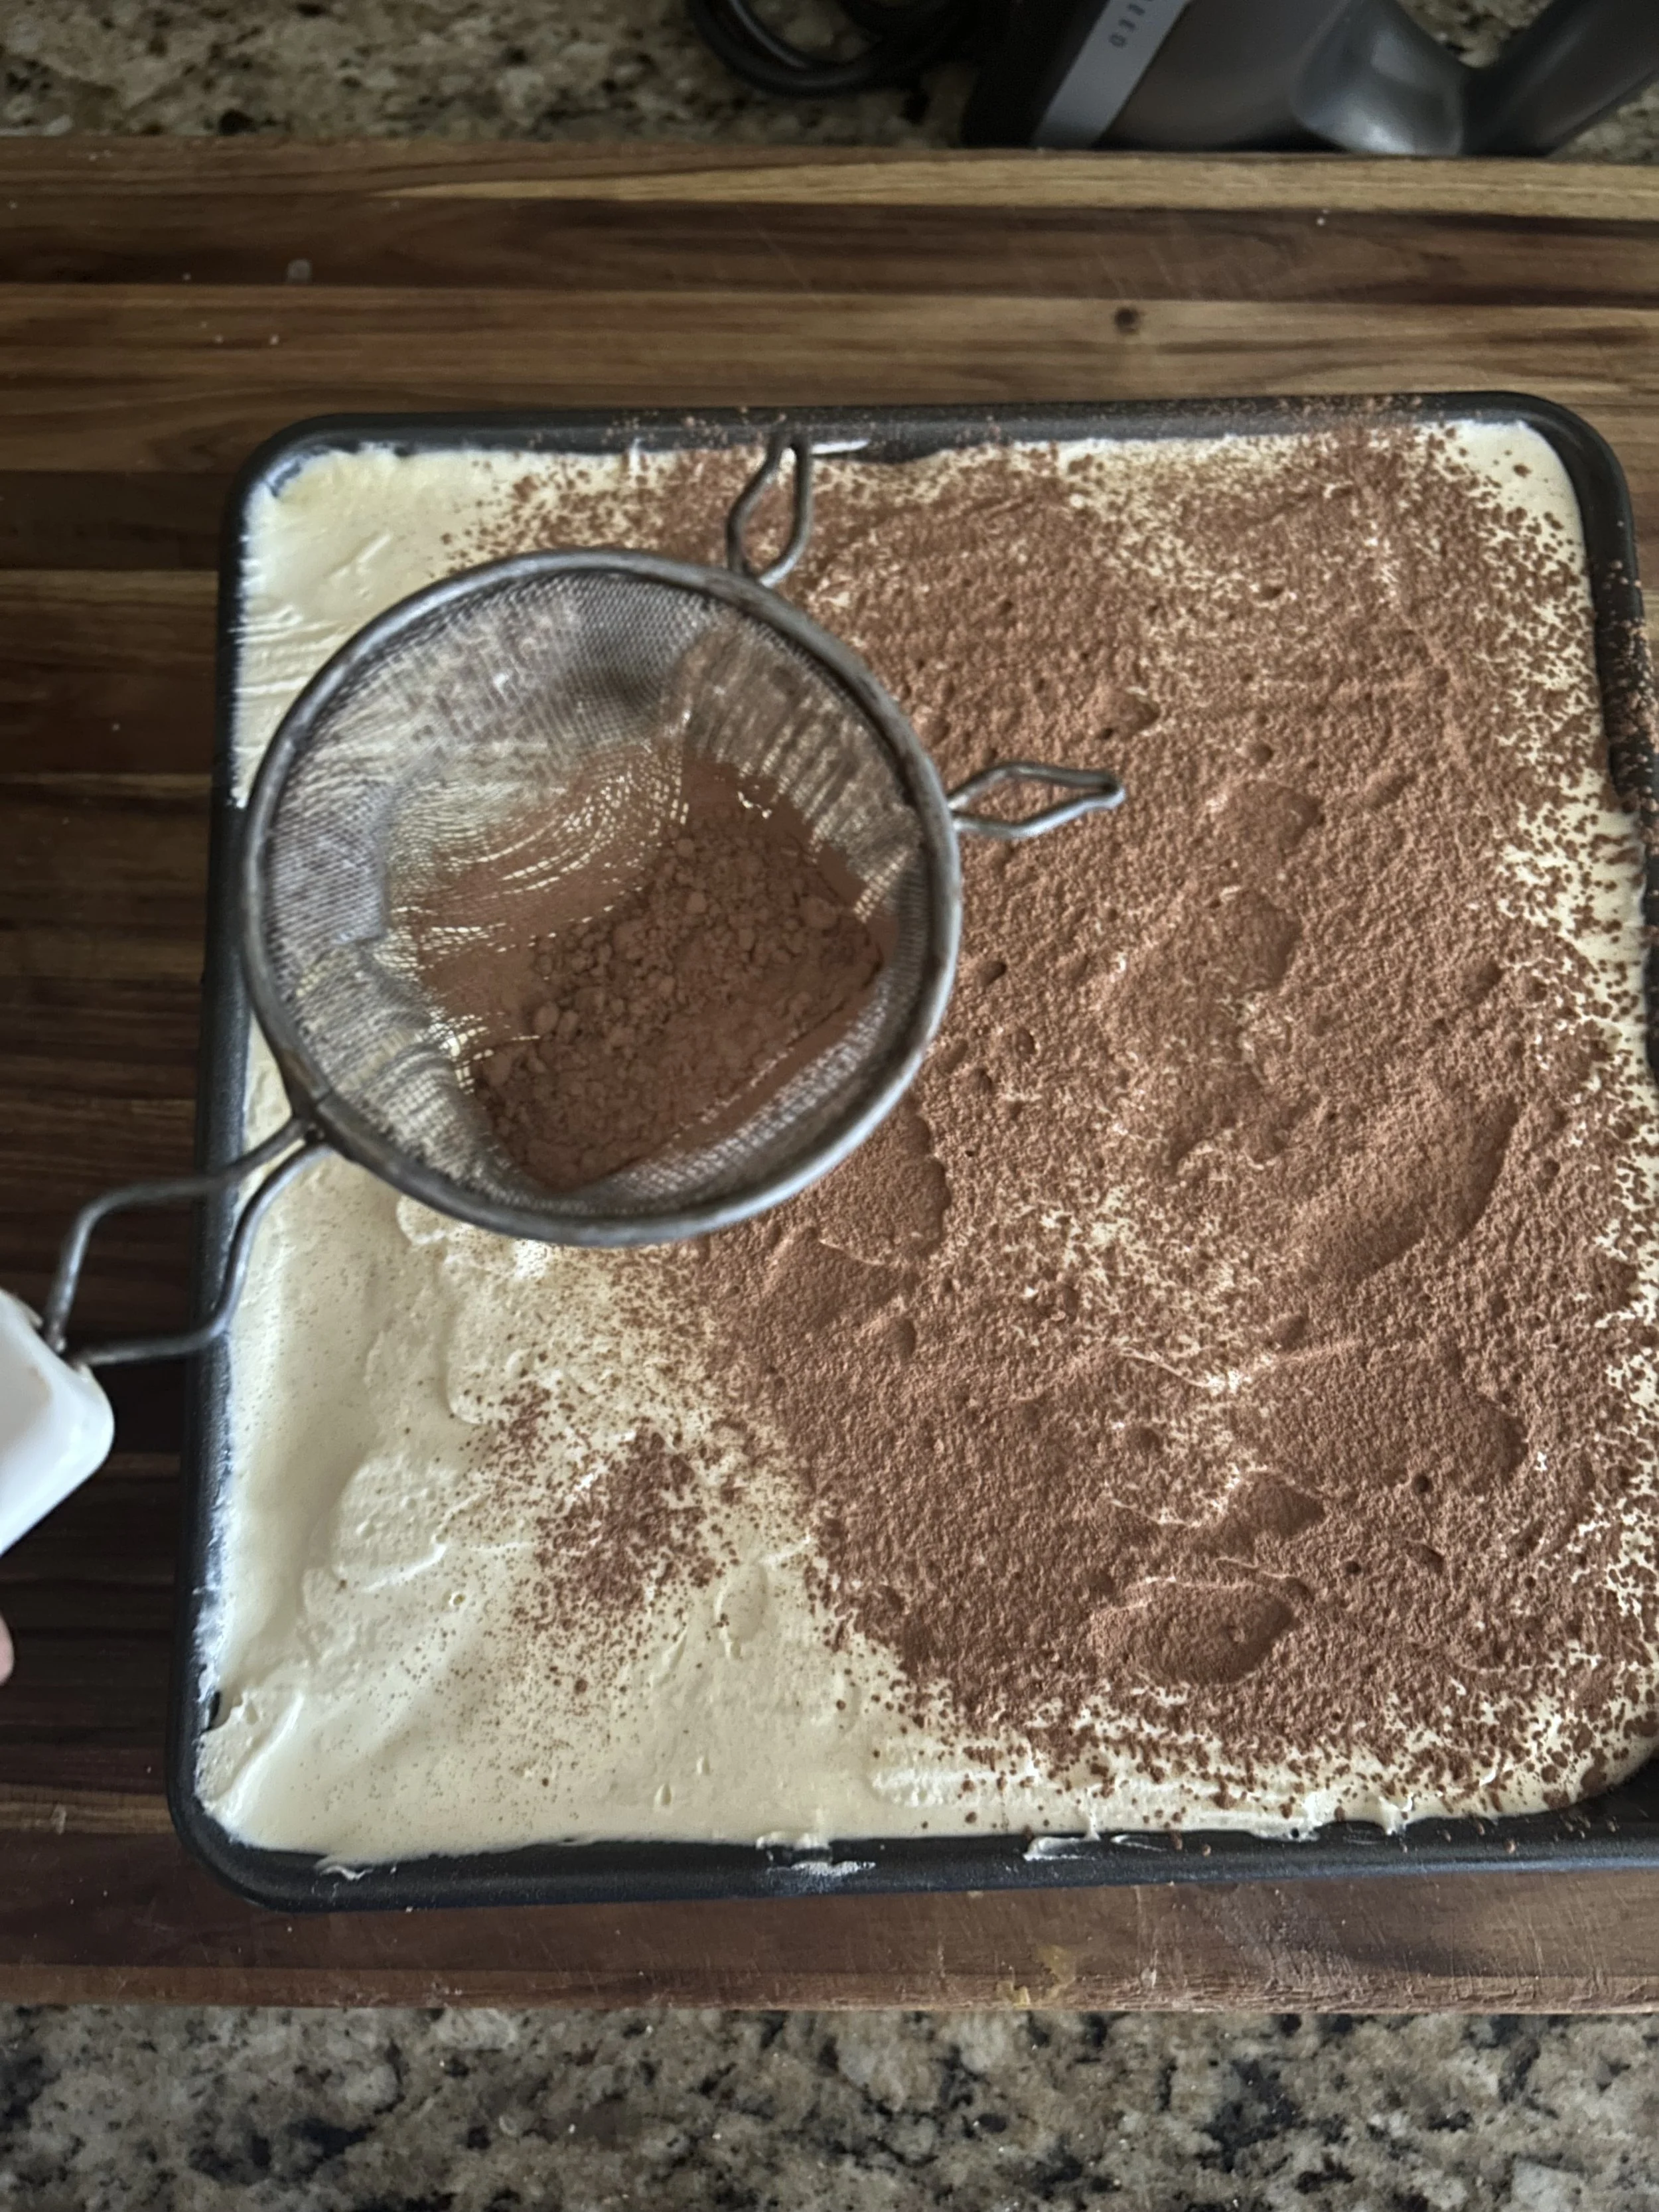
For a finishing touch, I dusted a tablespoon of cocoa powder over the entire thing before slicing and serving.
The taste…oh my goodness…this tastes incredible.
The ladyfingers are fluffy but have just the right amount of that coffee soak, the cream is super creamy, thick, and has that light tang of the mascarpone, and it all sings like an opera in my mouth.

Easy Tiramisu
Servings: 8
Prep time: 2 hours, plus overnight chilling
For the Ladyfinger Sponge (see note):
6 eggs, separated
3/4 cup of sugar, divided
1 teaspoon of vanilla extract
1 1/2 cups of flour
1/4 teaspoon of salt
For the Mascarpone Custard:
6 egg yolks
1 cup of sugar
1/2 cup of milk
16 ounces (2 containers) of mascarpone cheese
2 teaspoons of vanilla extract
1 1/2 cups of heavy whipping cream
1/4 cup of powdered sugar
For the soak and garnish:
1 3/4 cups of brewed coffee or espresso, cooled. (Or a tablespoon of instant espresso mixed with 1 3/4 cups of hot water and left to cool)
1/3 cup of rum
1 tablespoon of cocoa powder.
(Note: if you wish to use store-bought ladyfingers, then skip steps 1-5 and use 2 packages of ladyfinger cookies)
Preheat the oven to 350 degrees and line two 9-inch square or round cake pans with parchment paper. Also, grease a separate 9-inch square cake pan.
Make the ladyfinger sponge. In a medium bowl, whip the egg yolks and 1/4 cup of the sugar with an electric mixer with a whisk attachment on medium-high speed for about 5 minutes, or until the yolks turn very pale and thick.
Wash the whisk, then whip the egg whites in a large bowl on medium speed for about 5-8 minutes until stiff peaks form, adding the remaining 1/2 cup of sugar once the whites turn foamy. Add the vanilla extract, and whisk to combine.
Pour the whipped egg whites into the egg yolks and gently fold to combine. Add the flour and salt and fold until the batter is smooth and no patches of dry flour remain.
Divide the batter between the two pans, then bake for 15-17 minutes, or until a toothpick inserted comes out clean. Let the cakes cool on a wire rack before removing them from the pans and carefully peeling off the parchment paper.
Make the custard: Whisk the egg yolks, sugar, and milk together in a medium saucepan, then cook over medium heat, whisking constantly, until the mixture boils. It’ll take about 5 minutes.
Lower the heat to medium-low, then continue whisking until the custard thickens. Strain into a clean bowl, then let cool at room temperature, stirring occasionally, until cooled but not cold, then cover the custard directly with plastic wrap and chill until cold.
Brew the coffee, or mix espresso powder with water, then let it cool completely. Stir in the rum, then pour into a plate or wide, shallow dish.
When the custard is cold, whisk in the mascarpone and vanilla until smooth and combined.
Whip the heavy cream with the powdered sugar until stiff peaks form, it should take about 5 minutes. Add about a quarter of the whipped cream to the mascarpone mixture and stir to combine, then pour that into the remaining cream and gently fold until fully combined.
Cut each of the cooled ladyfinger sponges into 9 pieces (skip if using store-bought ladyfingers), then dip each sponge into the coffee-rum mixture for 5 seconds before moving to the prepared pan.
You want to be careful as homemade ladyfingers are going to be softer and more delicate than store-bought ones.
Line the bottom of the pan with soaked ladyfingers, then top with a generous layer of the cream mixture. Repeat with the remaining ladyfingers and enough cream to fill the pan. Cover with plastic wrap, then chill for 8 hours or overnight.
When ready to serve the next day, dust the entire dish with the cocoa powder, then slice and serve!
Enjoy!